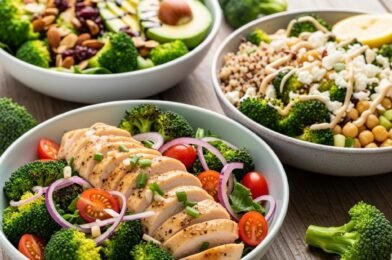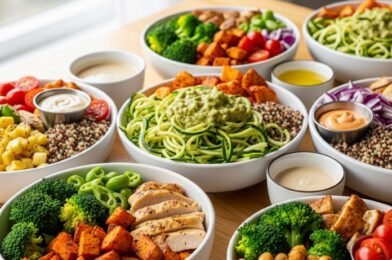
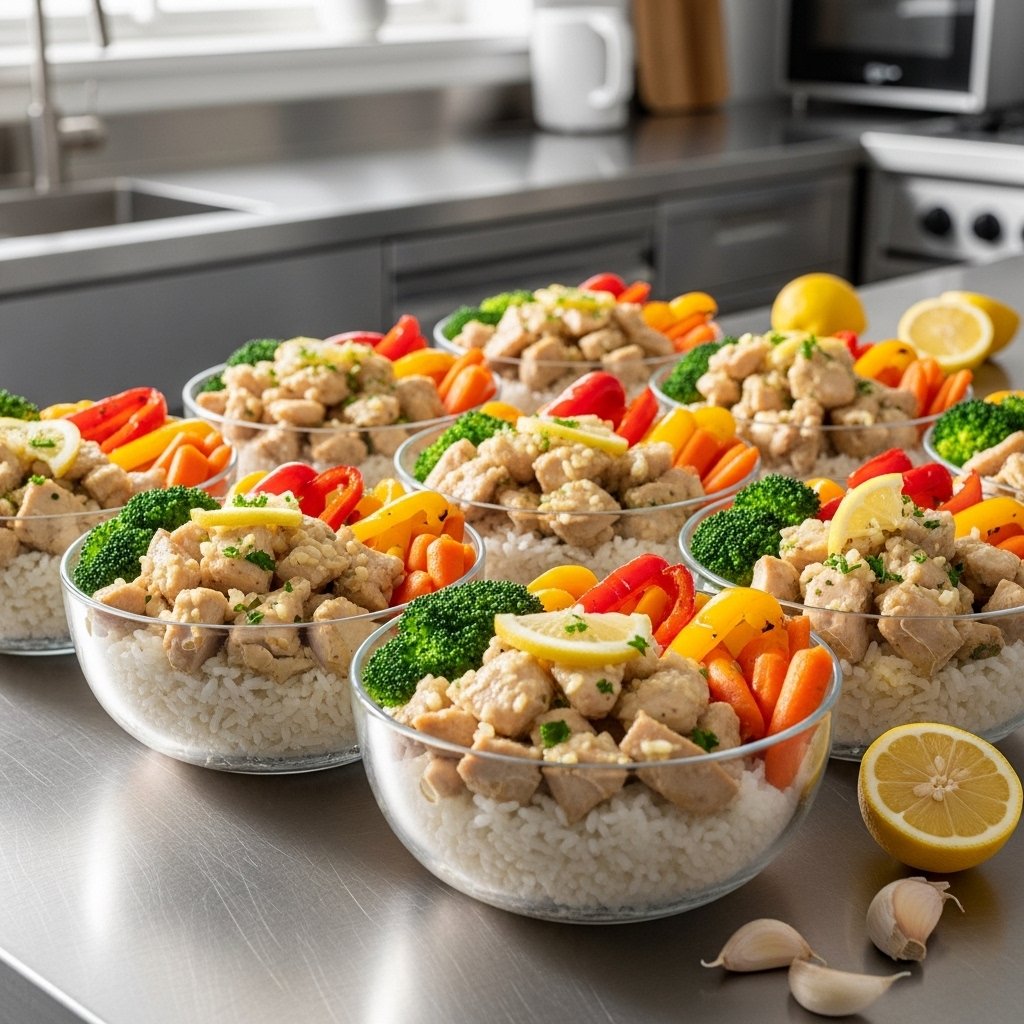
If you’re looking for a simple, nourishing way to stay on track during busy weeks, these healthy lemon garlic chicken meal prep bowls (quick recipe!) are exactly what you need. Packed with lean protein, vibrant vegetables, and bright citrus flavor, this recipe makes meal prep feel effortless and enjoyable.
Whether you’re planning lunches for work or quick dinners at home, these bowls deliver freshness, balance, and convenience in every bite. Plus, they’re easy to customize based on your preferences.
Why You’ll Love These Lemon Garlic Chicken Meal Prep Bowls
These healthy lemon garlic chicken meal prep bowls (quick recipe!) are perfect for anyone who wants to eat well without spending hours in the kitchen. They come together quickly and store beautifully for several days.
You’ll also love how balanced they are. With protein, fiber, and healthy carbs, these bowls keep you full and energized throughout the day.
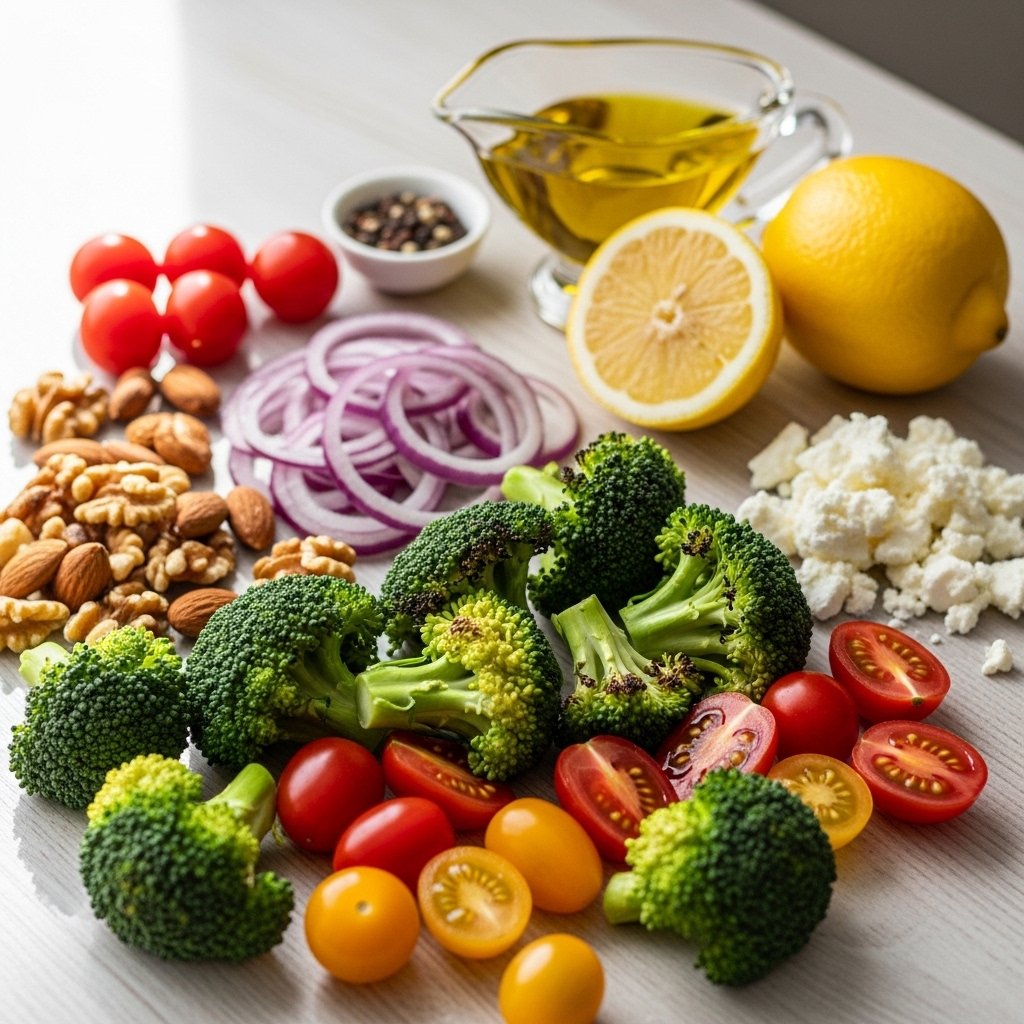
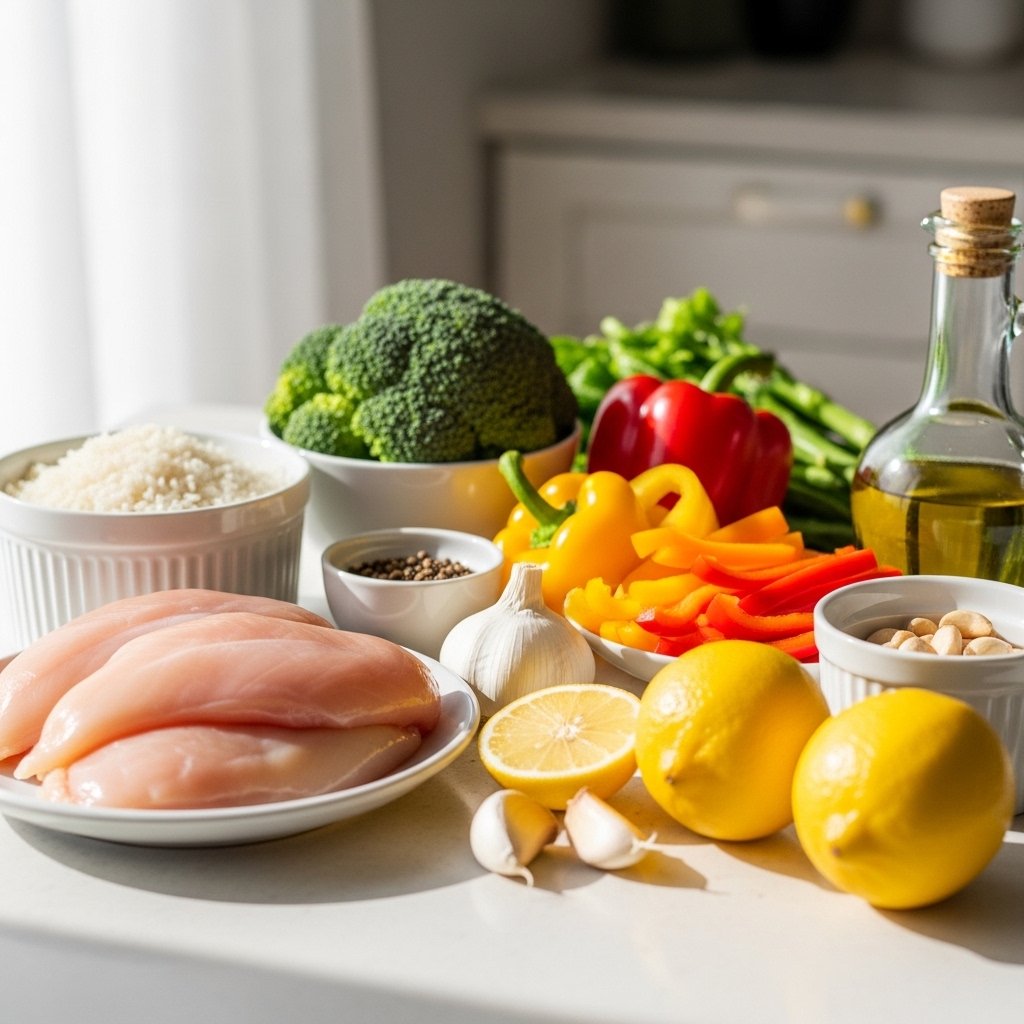
Ingredients You’ll Need
To make these healthy lemon garlic chicken meal prep bowls (quick recipe!), gather the following:
- 2 chicken breasts, sliced
- 2 cups cooked rice or quinoa
- 1 cup broccoli florets
- 1 cup sliced bell peppers
- 2 tablespoons olive oil
- 3 cloves garlic, minced
- Juice of 1 lemon
- Salt and pepper
Optional toppings:
- Fresh parsley
- Avocado slices
- Feta cheese
These ingredients create a bright and flavorful meal prep option.
Ingredient Notes and Substitutions
These healthy lemon garlic chicken meal prep bowls (quick recipe!) are highly adaptable. You can swap rice for cauliflower rice for a low-carb version or use brown rice for added fiber.
Chicken can also be replaced with tofu or shrimp if you want a different protein option. This flexibility makes the recipe perfect for any dietary preference.
Step-by-Step Instructions
Cook the Chicken
- Heat olive oil in a pan over medium heat.
- Add garlic and sauté until fragrant.
- Add chicken, season with salt and pepper, and cook until golden.
- Squeeze fresh lemon juice over the chicken.
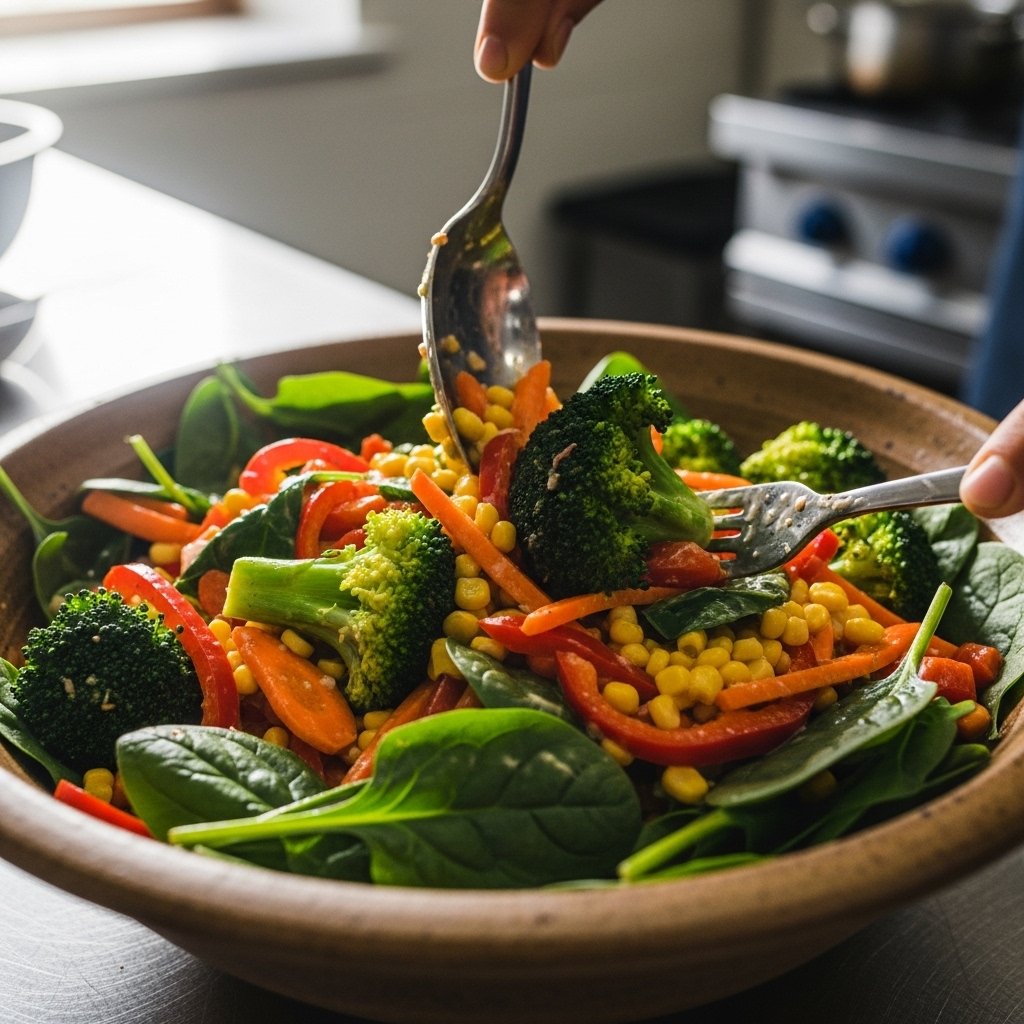
Prepare the Vegetables
- Steam or sauté broccoli and bell peppers until tender-crisp.
Assemble the Bowls
- Divide rice or quinoa into meal prep containers.
- Add cooked chicken and vegetables.
- Top with optional toppings like parsley or avocado.
This method ensures your healthy lemon garlic chicken meal prep bowls (quick recipe!) are fresh, flavorful, and perfectly portioned.

Tips for Perfect Results
For the best healthy lemon garlic chicken meal prep bowls (quick recipe!), avoid overcooking the chicken. Cook just until done to keep it juicy and tender.
Another tip is to add the lemon juice at the end of cooking. This preserves its bright, fresh flavor.
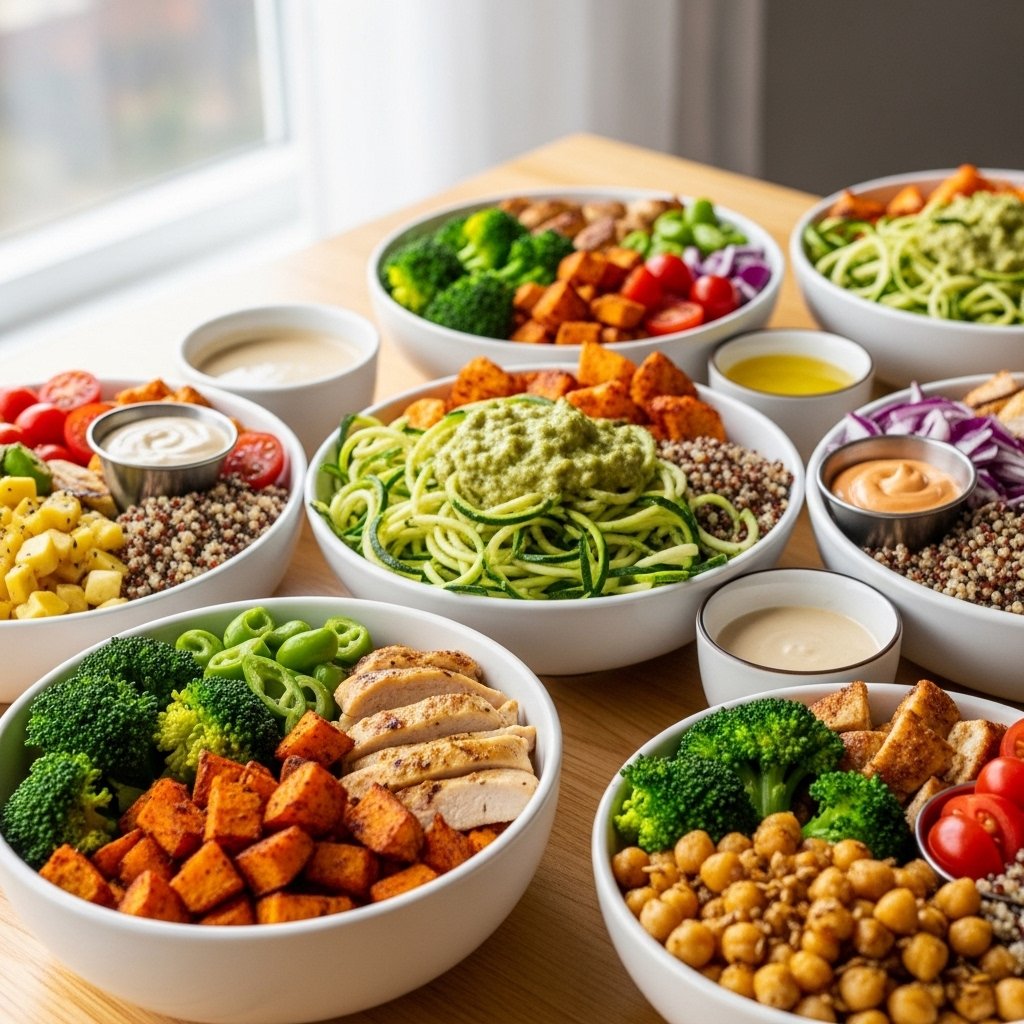
Delicious Variations to Try
Keep your healthy lemon garlic chicken meal prep bowls (quick recipe!) exciting with these variations:
- Add roasted sweet potatoes for extra flavor
- Use zucchini noodles instead of rice
- Add a yogurt-based sauce for creaminess
- Include chickpeas for extra protein
These variations help you enjoy something new every week.
What to Serve With Meal Prep Bowls
These healthy lemon garlic chicken meal prep bowls (quick recipe!) are complete meals, but you can pair them with:
- A fresh green salad
- A side of hummus and pita
- Fresh fruit
These additions make your meals even more satisfying.
Storage and Reheating Tips
Store your healthy lemon garlic chicken meal prep bowls (quick recipe!) in airtight containers in the refrigerator for up to 4 days.
Reheat in the microwave for 1–2 minutes, or enjoy them cold for a refreshing option. Add fresh toppings after reheating for the best taste.
Common Mistakes to Avoid
One common mistake is overloading your bowls with too many ingredients, which can make them less balanced.
Another mistake is not seasoning enough. Proper seasoning is key to making your healthy lemon garlic chicken meal prep bowls (quick recipe!) truly flavorful.
Frequently Asked Questions
1. Can I freeze these meal prep bowls?
Yes, but fresh vegetables may lose texture after thawing.
2. How long do they last in the fridge?
Up to 4 days when stored properly.
3. Can I use pre-cooked chicken?
Absolutely, it saves even more time.
4. Are these bowls good for weight loss?
Yes, they are balanced and portion-controlled.
Final Thoughts
These healthy lemon garlic chicken meal prep bowls (quick recipe!) are a perfect solution for busy lifestyles. They’re quick to make, packed with flavor, and easy to customize.
Once you try them, you’ll see how simple meal prep can be—and how delicious healthy eating really is.