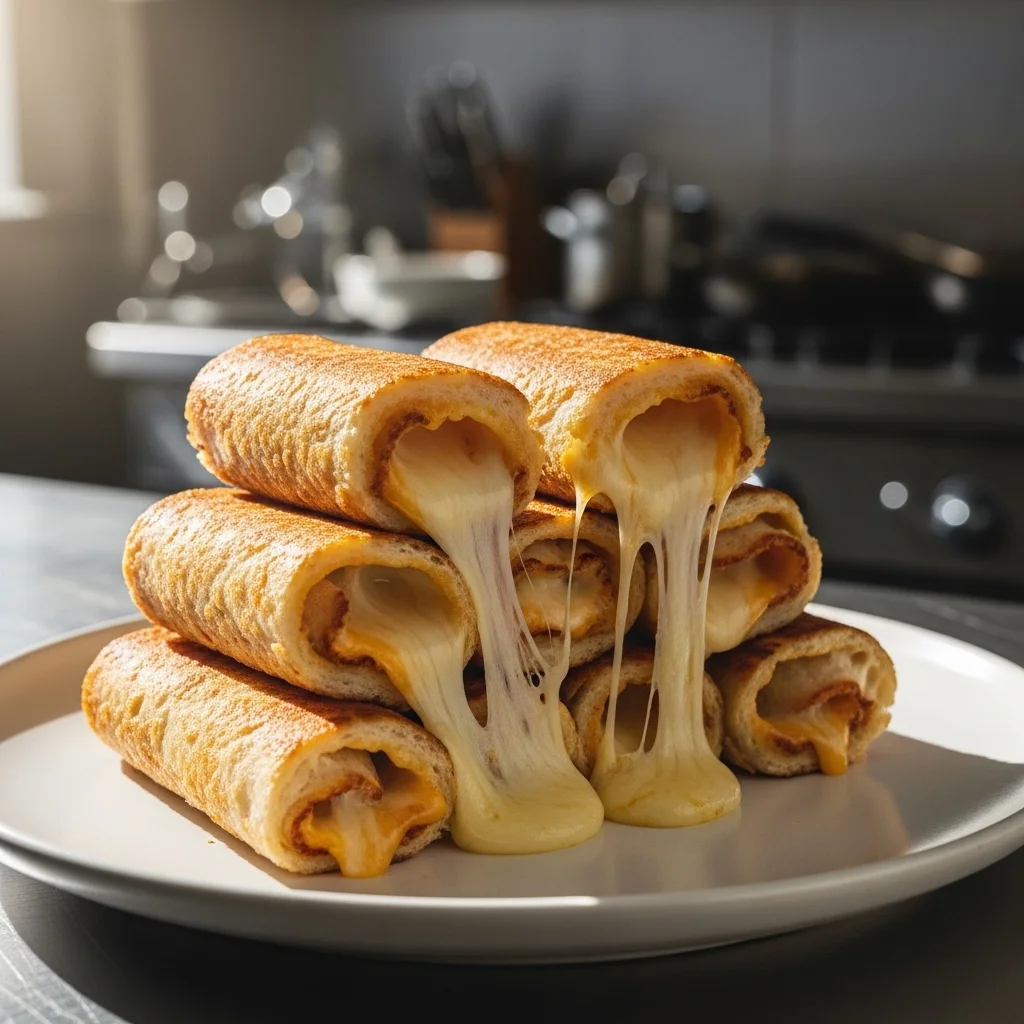
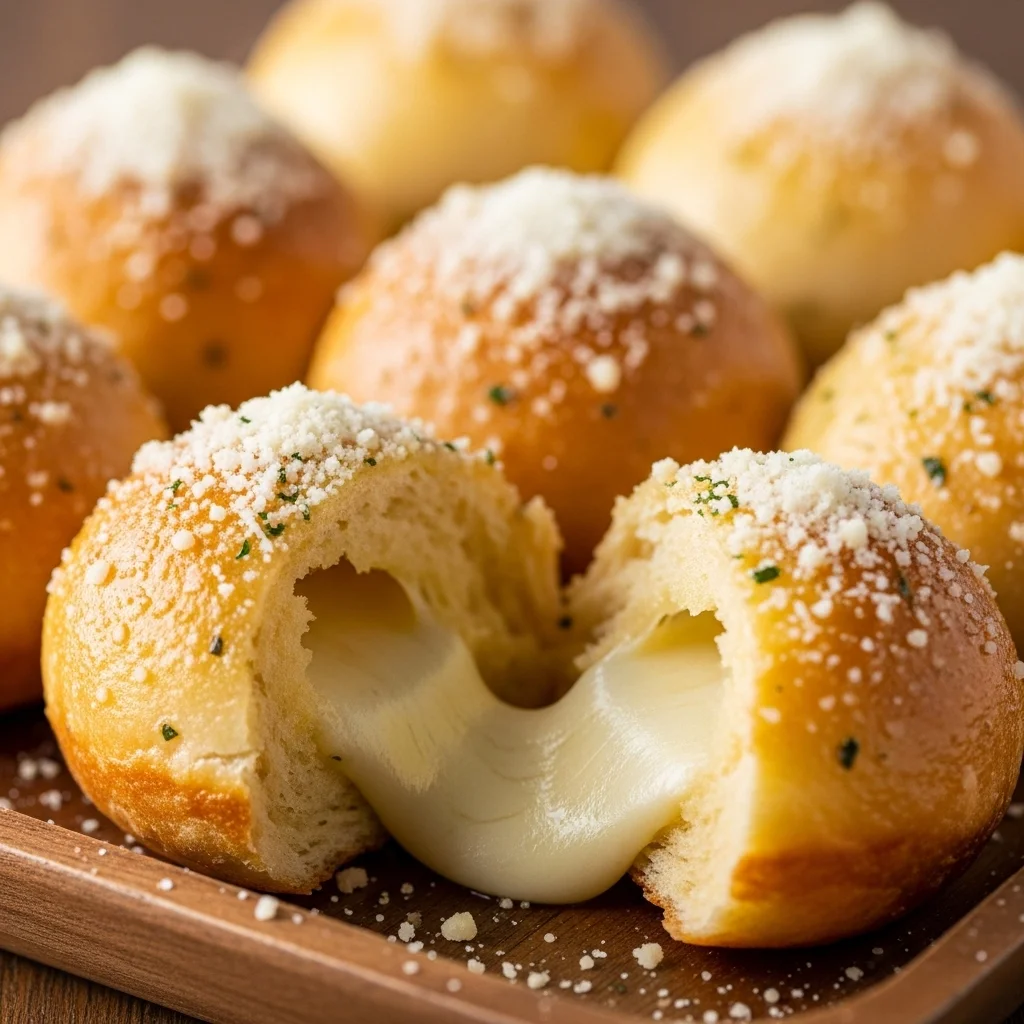
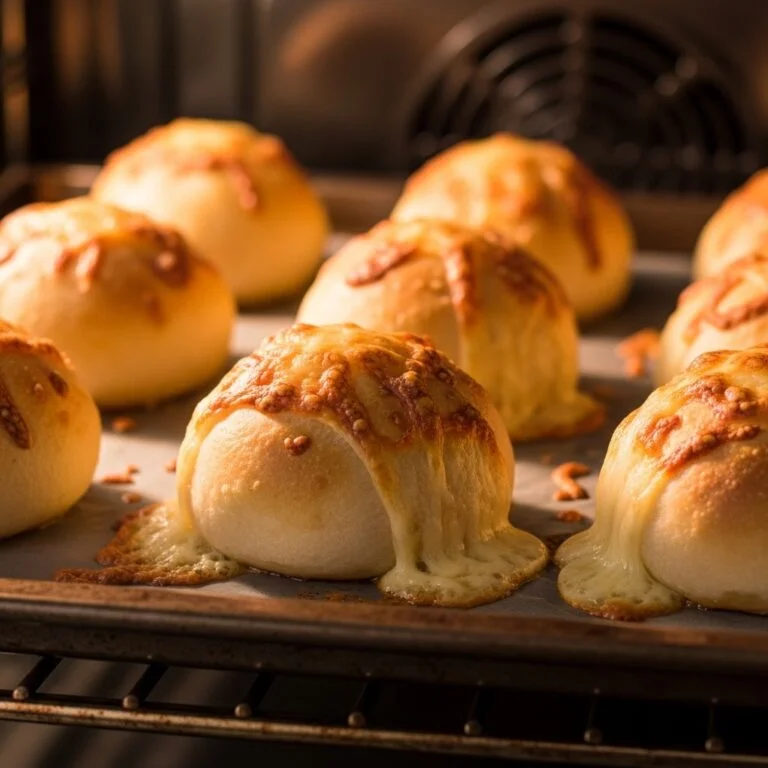
If you’re craving something cheesy, garlicky, and absolutely indulgent, these Cheesy Garlic Parmesan Bombs are going to hit the spot. Imagine soft golden dough stuffed with melty cheese, brushed with garlic butter, and finished with a savory Parmesan coating.
They’re the perfect combination of comfort food and party snack. Whether you serve them alongside burgers, soups, or as a stand-alone appetizer, these little bombs disappear fast—so you might want to make a double batch.
Why You’ll Love These Cheesy Garlic Parmesan Bombs
These Cheesy Garlic Parmesan Bombs are pure comfort food bliss:
- Loaded with melted cheese in every bite
- Coated in rich garlic butter and Parmesan
- Crispy on the outside, soft inside
- Perfect appetizer or side dish
- Easy to make with simple ingredients
- Crowd-pleasing for parties and game nights
Once you try them, they’ll become a permanent favorite in your kitchen.
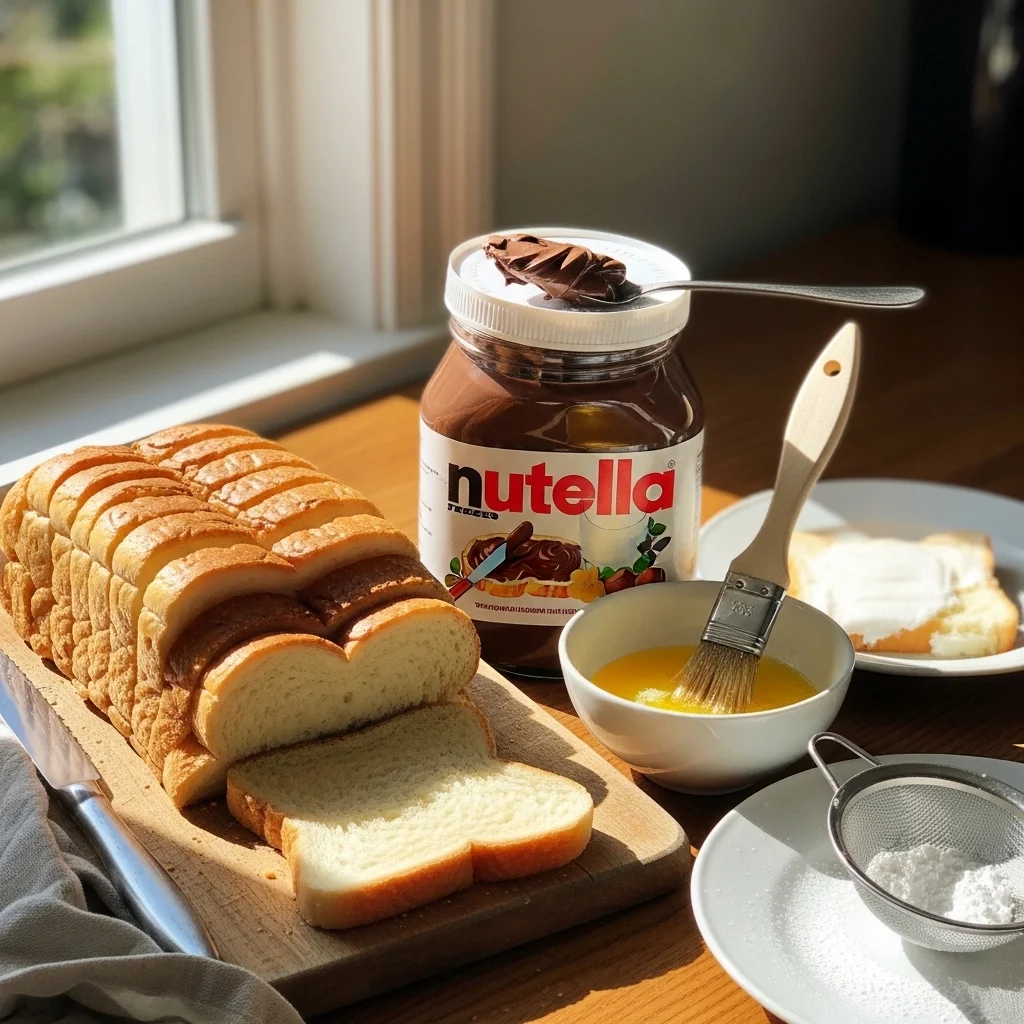
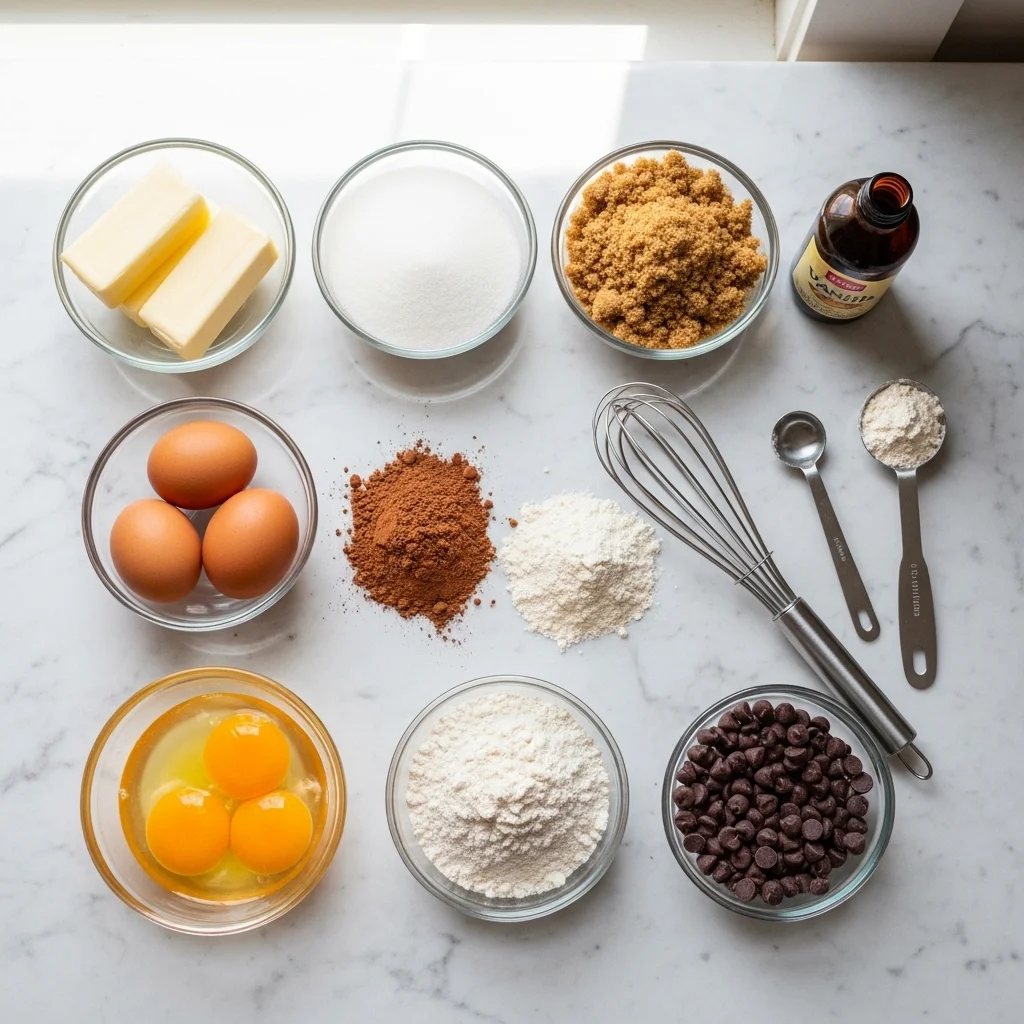
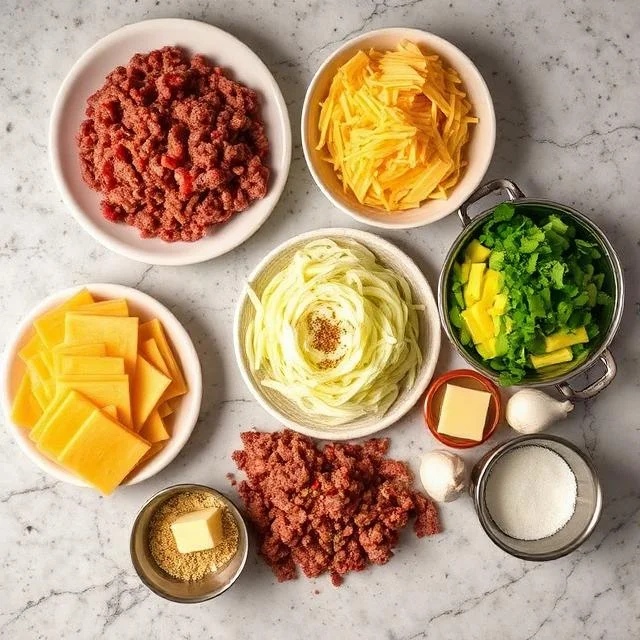
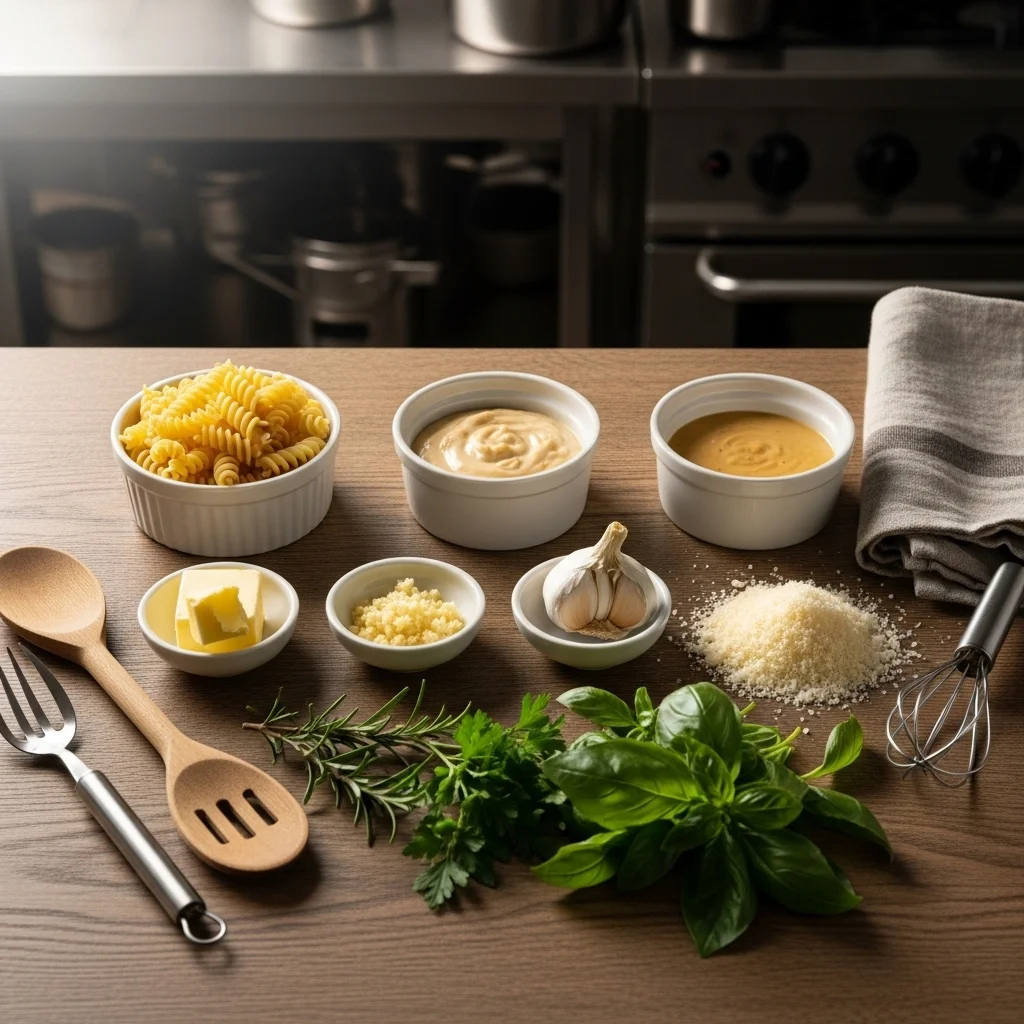
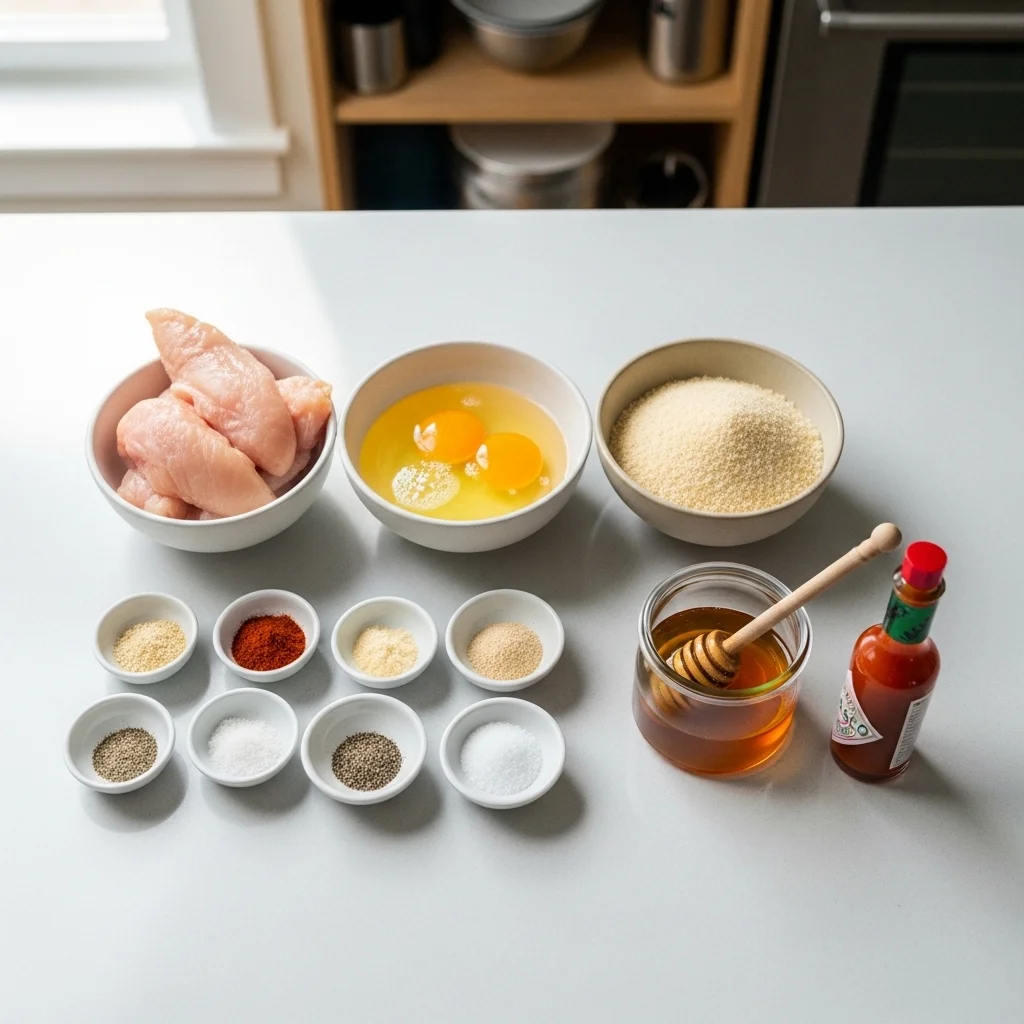
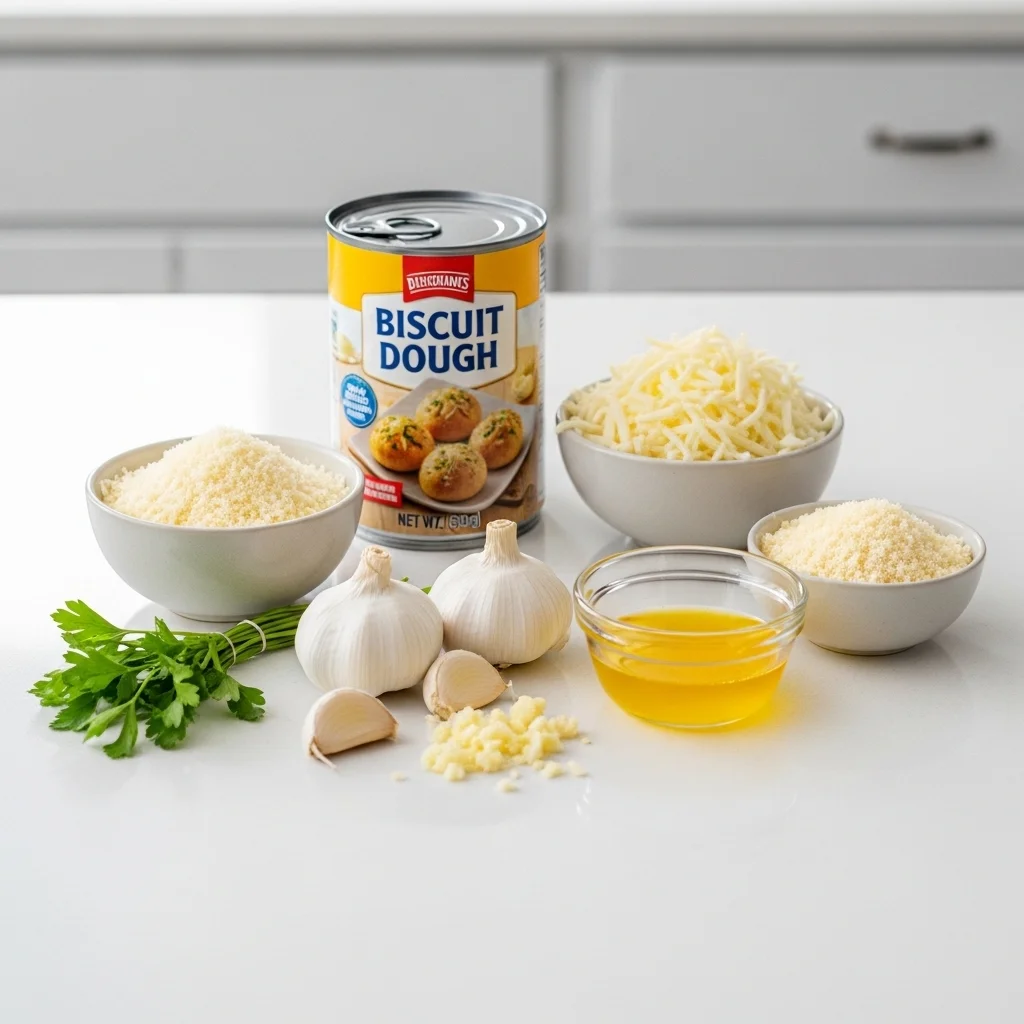
Ingredients
To make these Cheesy Garlic Parmesan Bombs, you’ll need:
- 1 can refrigerated biscuit dough or pizza dough
- 1½ cups shredded mozzarella cheese
- ½ cup grated Parmesan cheese
- 4 tablespoons butter, melted
- 3 cloves garlic, minced
- 1 teaspoon Italian seasoning
- 1 tablespoon chopped parsley (optional)
- Salt and pepper to taste
Ingredient Notes
The success of these Cheesy Garlic Parmesan Bombs comes from balancing buttery garlic flavor with rich cheese.
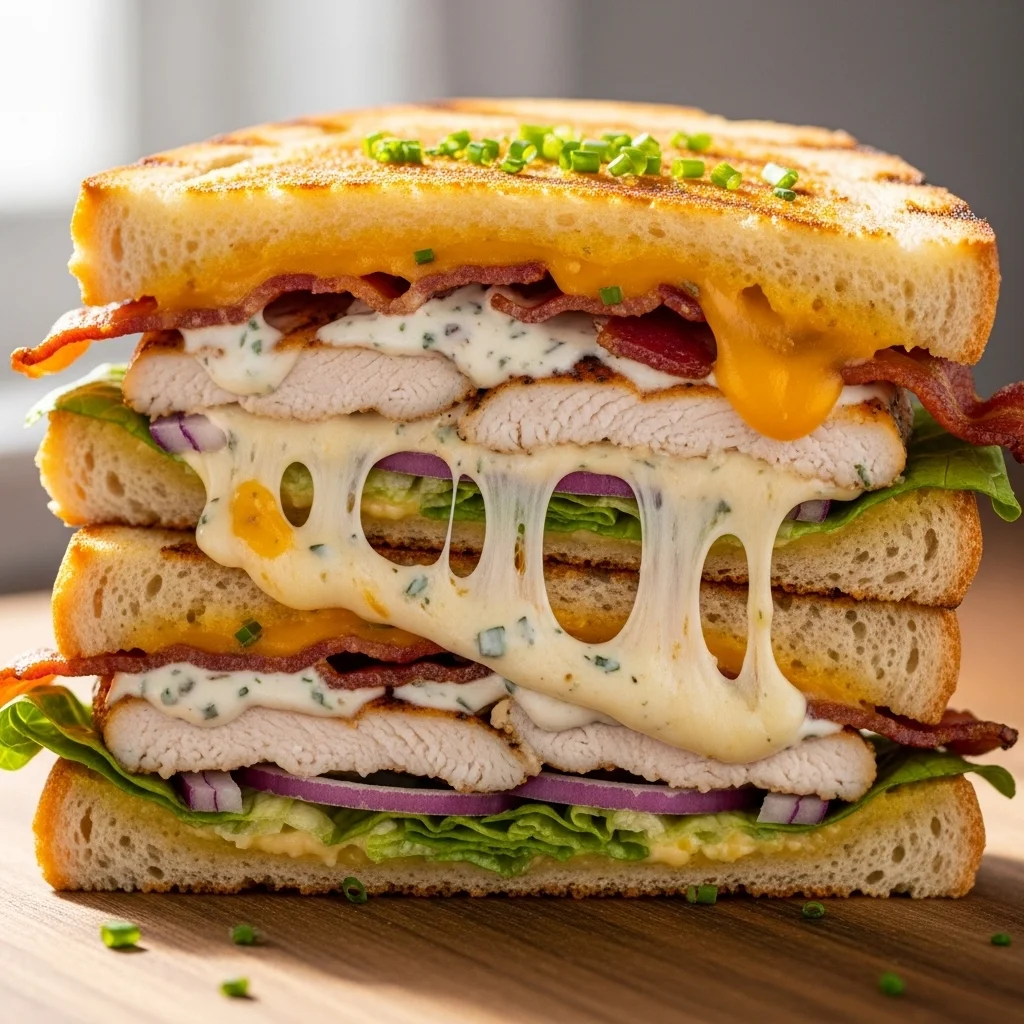
Mozzarella gives that perfect gooey cheese pull, while Parmesan adds a salty, nutty finish. Fresh garlic is essential for bold flavor, and melted butter helps create the golden crust that makes these bombs irresistible.
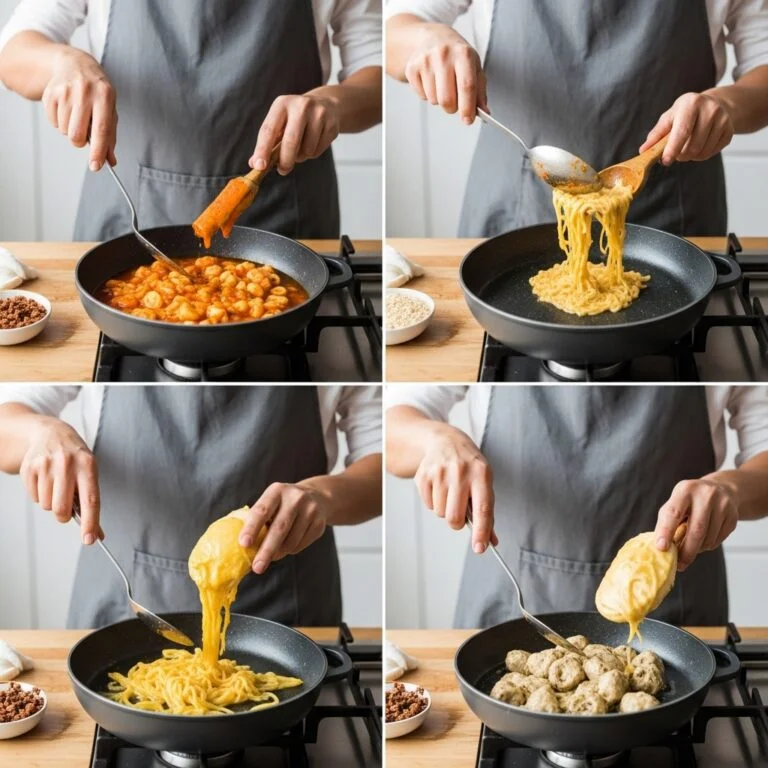
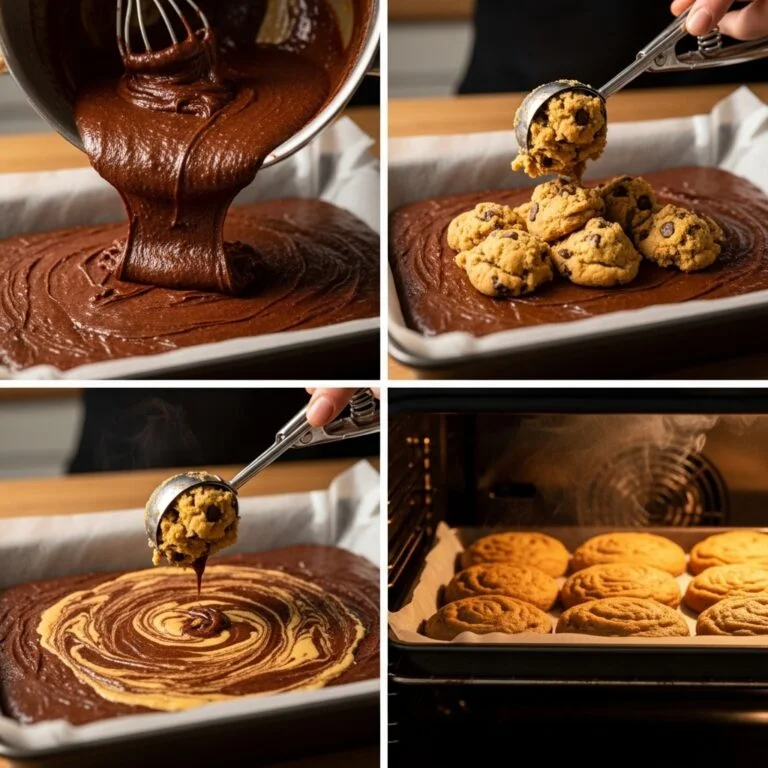
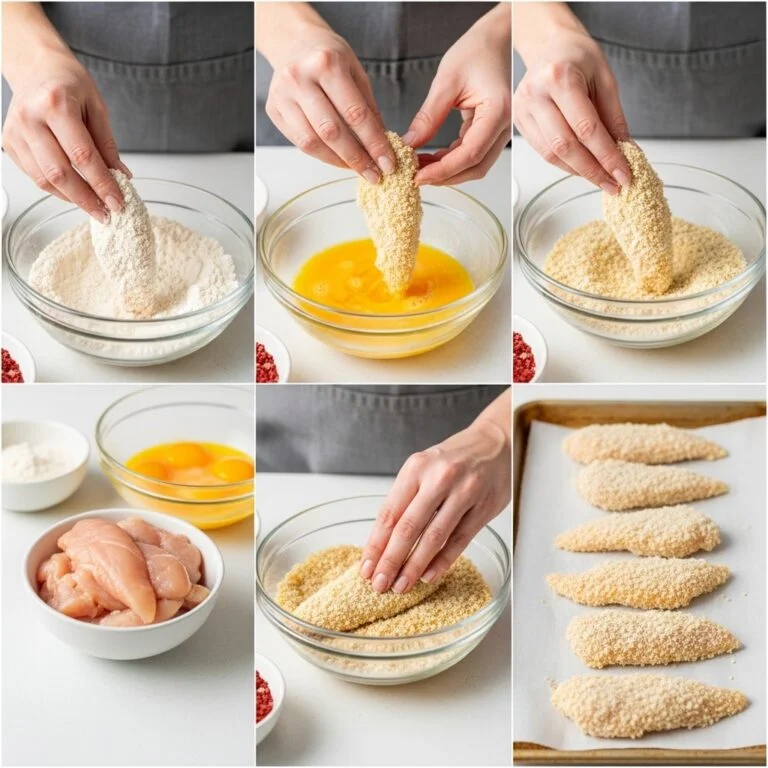
Step-by-Step Instructions
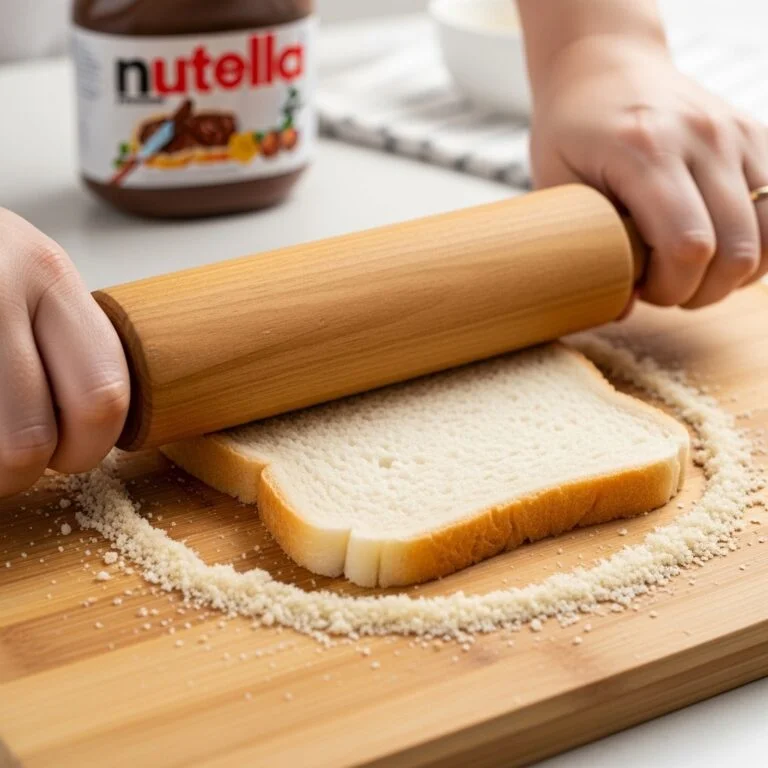
1. Prepare the Filling
Flatten dough pieces into small circles and add mozzarella in the center.
2. Seal the Bombs
Wrap dough around cheese and pinch tightly to seal into balls.
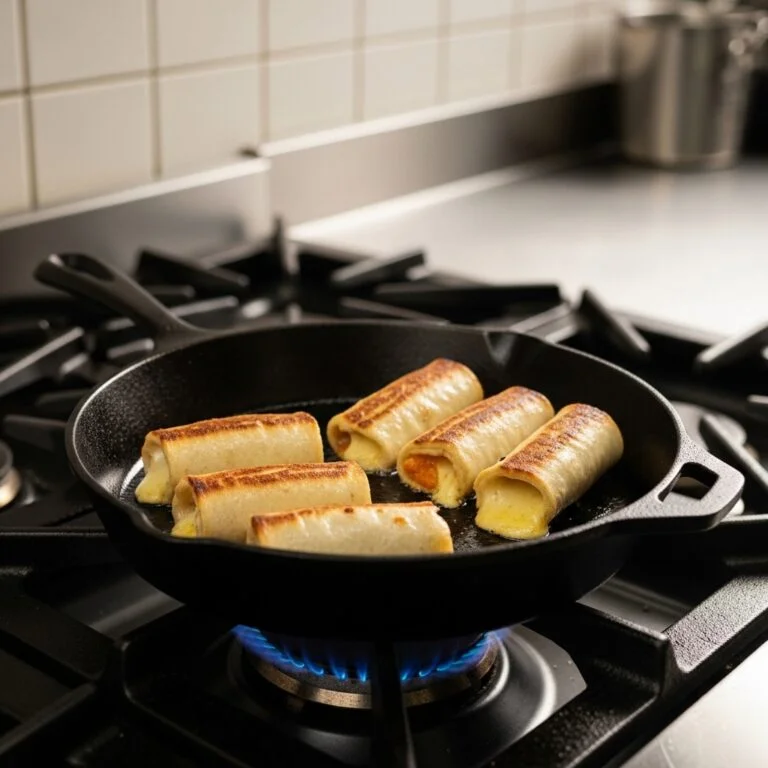
3. Bake Until Golden
Place on baking tray and bake at 375°F for 15–18 minutes.
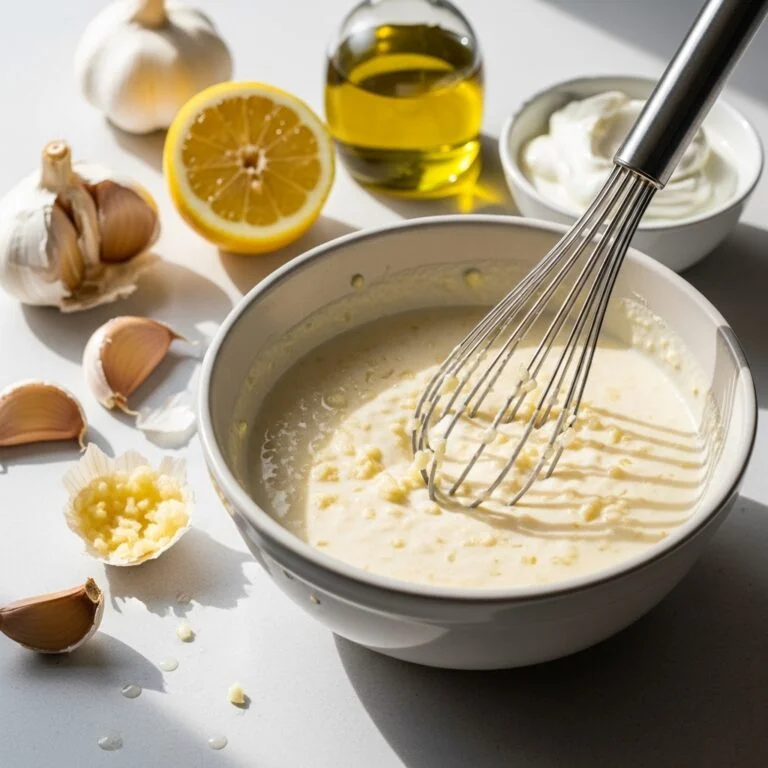
4. Make Garlic Butter
Mix melted butter, minced garlic, Italian seasoning, salt, and pepper.
5. Coat the Bombs
Brush hot bombs with garlic butter and sprinkle Parmesan cheese.
6. Garnish and Serve
Top with parsley and serve warm.
Tips for Perfect Results
To make the best Cheesy Garlic Parmesan Bombs, follow these tips:
- Seal dough tightly to prevent cheese leakage
- Use freshly grated Parmesan for best flavor
- Brush garlic butter immediately after baking
- Don’t overbake or they may dry out
- Serve warm for maximum cheese pull
These small steps make a big difference in texture and taste.
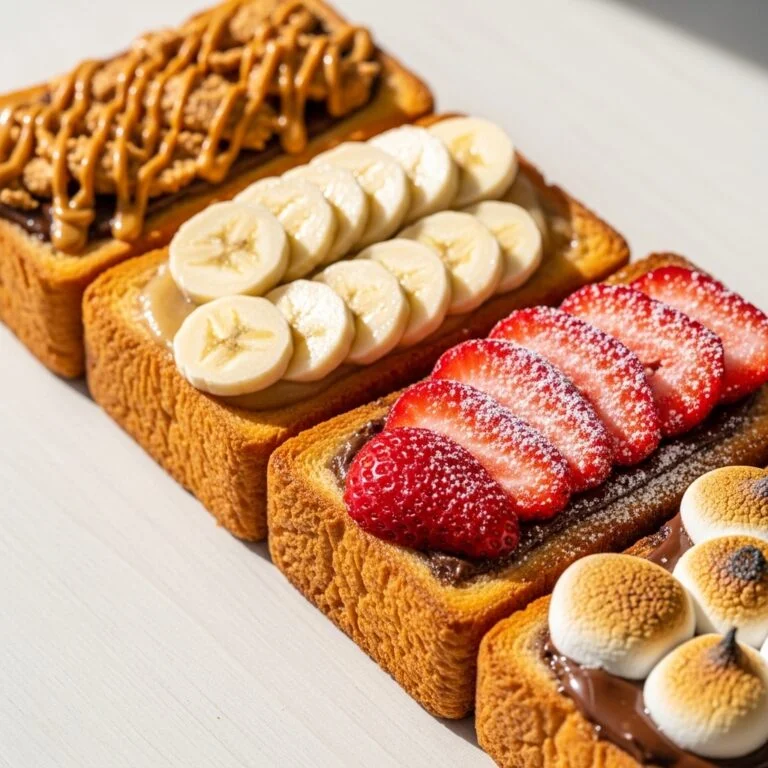
Variations
You can easily customize Cheesy Garlic Parmesan Bombs:
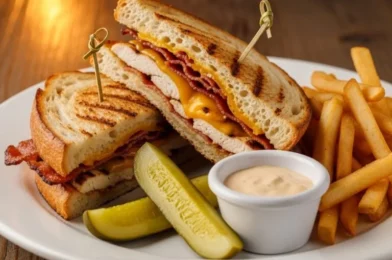
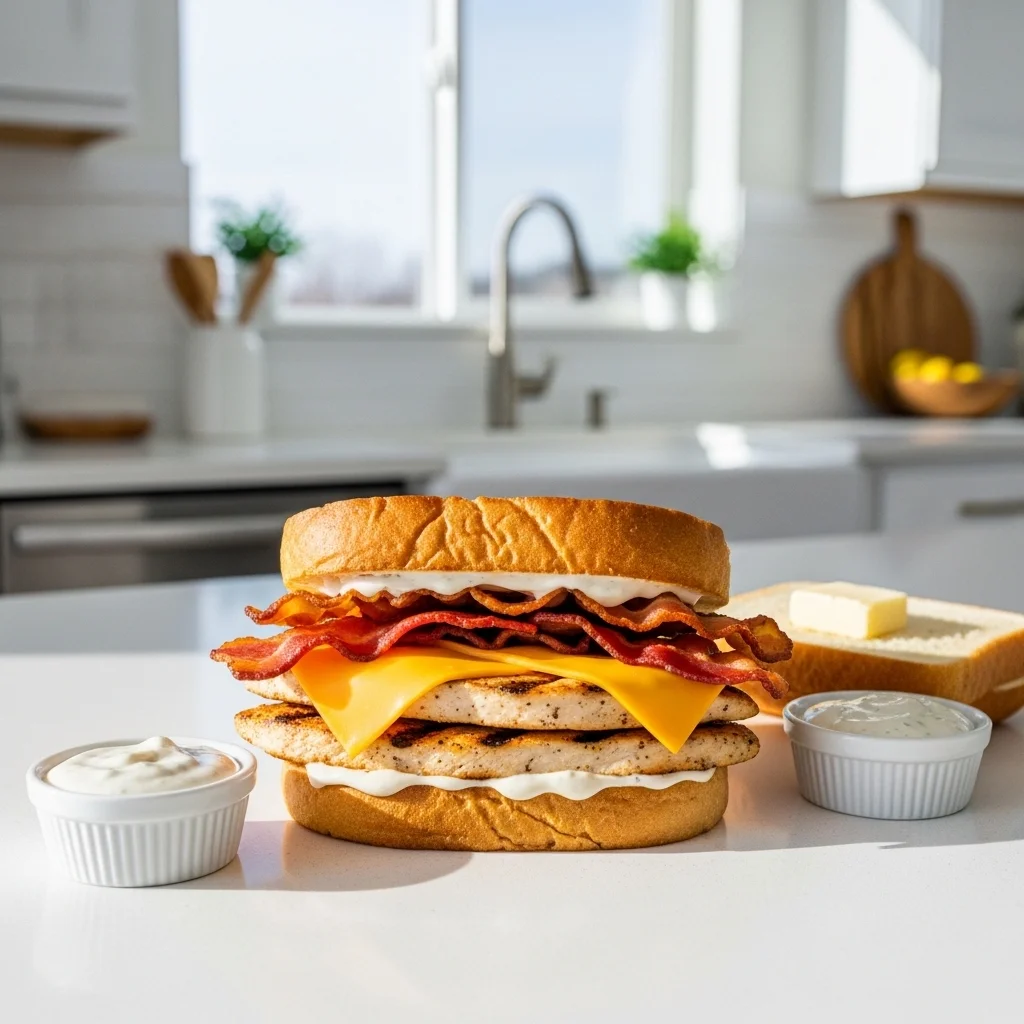
Bacon Garlic Bombs
Add crispy bacon bits inside for smoky flavor.
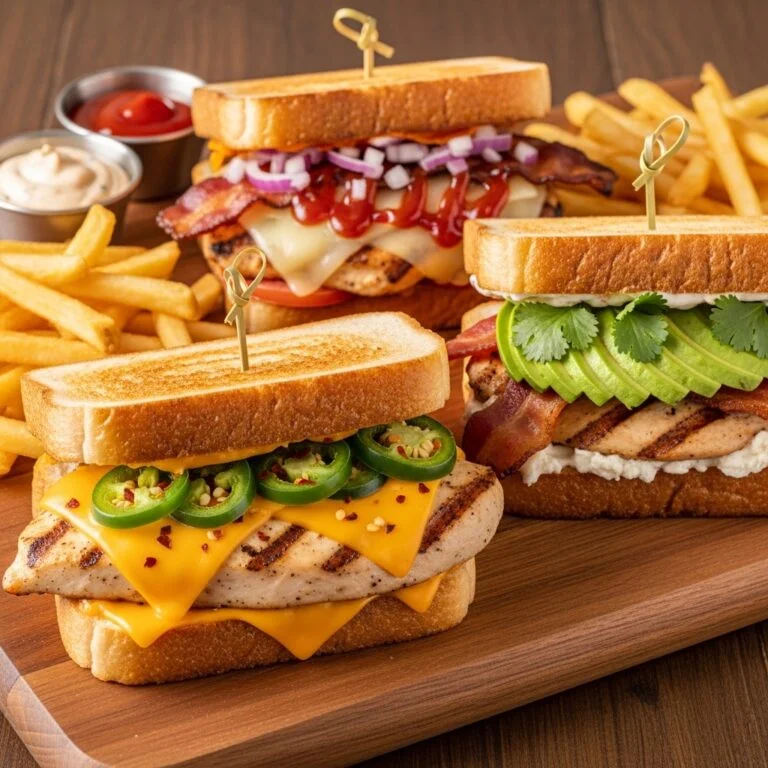
Spicy Version
Add chili flakes or jalapeños for heat.
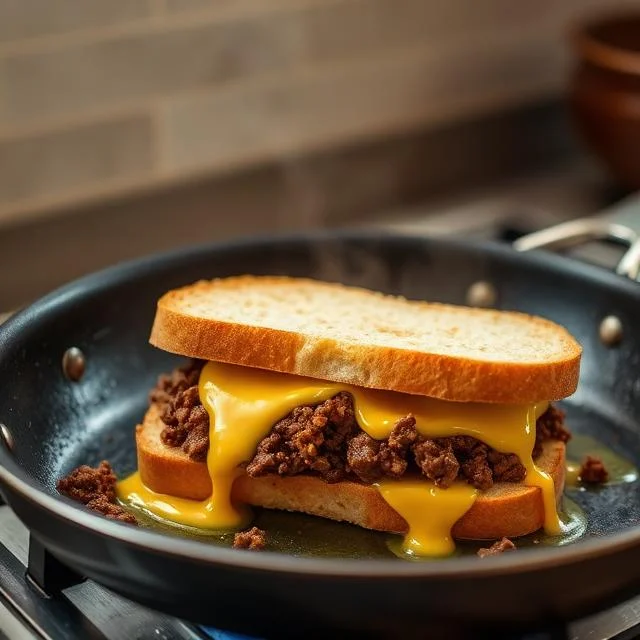
Stuffed Burger Bombs
Add cooked ground beef for burger-style filling.
Herb Butter Bombs
Add rosemary or basil to the garlic butter.

What to Serve With Them
These Cheesy Garlic Parmesan Bombs pair perfectly with:
- Marinara sauce
- Ranch dressing
- Tomato soup
- Burgers or grilled meats
- Caesar salad
They fit perfectly as appetizers or side dishes.
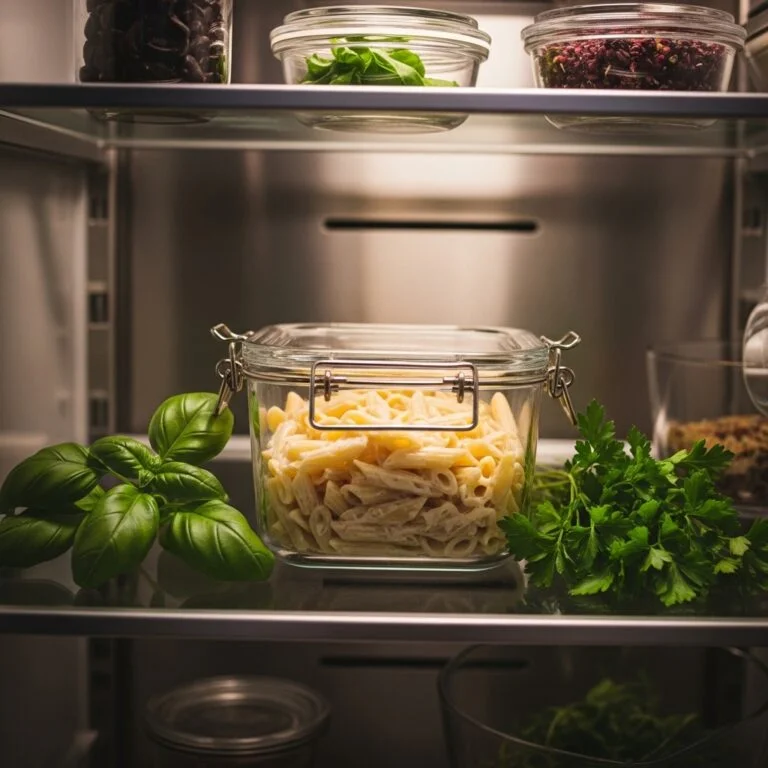
Storage & Reheating
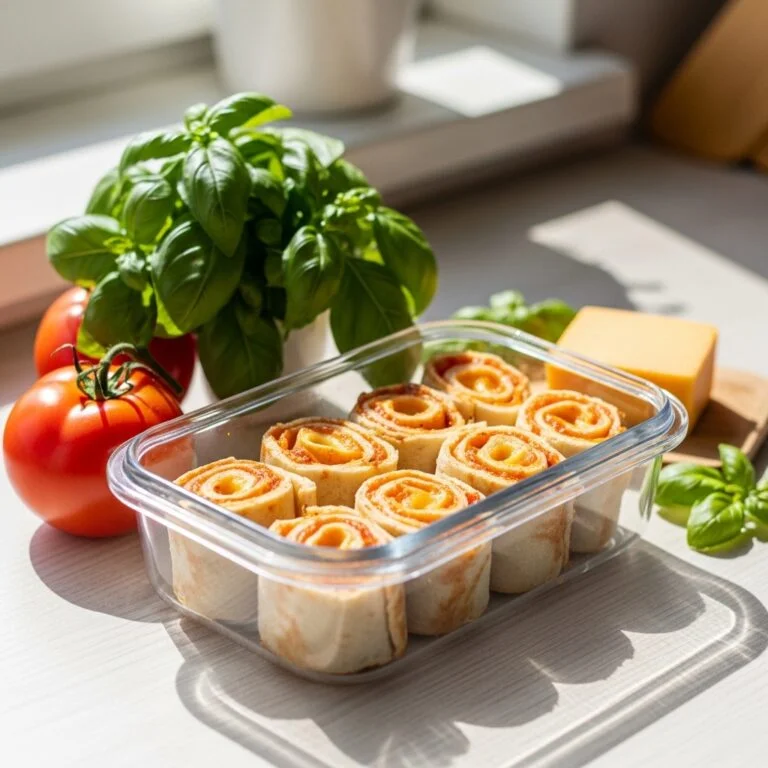
To store your Cheesy Garlic Parmesan Bombs:
- Store in airtight container for up to 3 days
- Reheat in oven or air fryer for crisp texture
- Avoid microwaving to prevent sogginess
They taste best fresh or reheated until warm and crispy.
Common Mistakes to Avoid
When making Cheesy Garlic Parmesan Bombs, avoid:
- Overfilling with cheese
- Not sealing dough properly
- Skipping garlic butter step
- Overbaking until dry
- Using pre-ground Parmesan with low flavor
Avoiding these ensures perfect results every time.
FAQs
Can I make these ahead of time?
Yes, assemble and refrigerate before baking.
Can I freeze cheesy garlic parmesan bombs?
Yes, freeze before baking for best results.
What cheese works best?
Mozzarella is best for melting, Parmesan for topping.
Can I air fry them?
Yes, air fry at 350°F for 10–12 minutes.
Final Thoughts
These Cheesy Garlic Parmesan Bombs are the ultimate comfort snack—crispy, buttery, cheesy, and full of bold garlic flavor. They’re perfect for parties, game nights, or anytime you want something indulgent and satisfying.