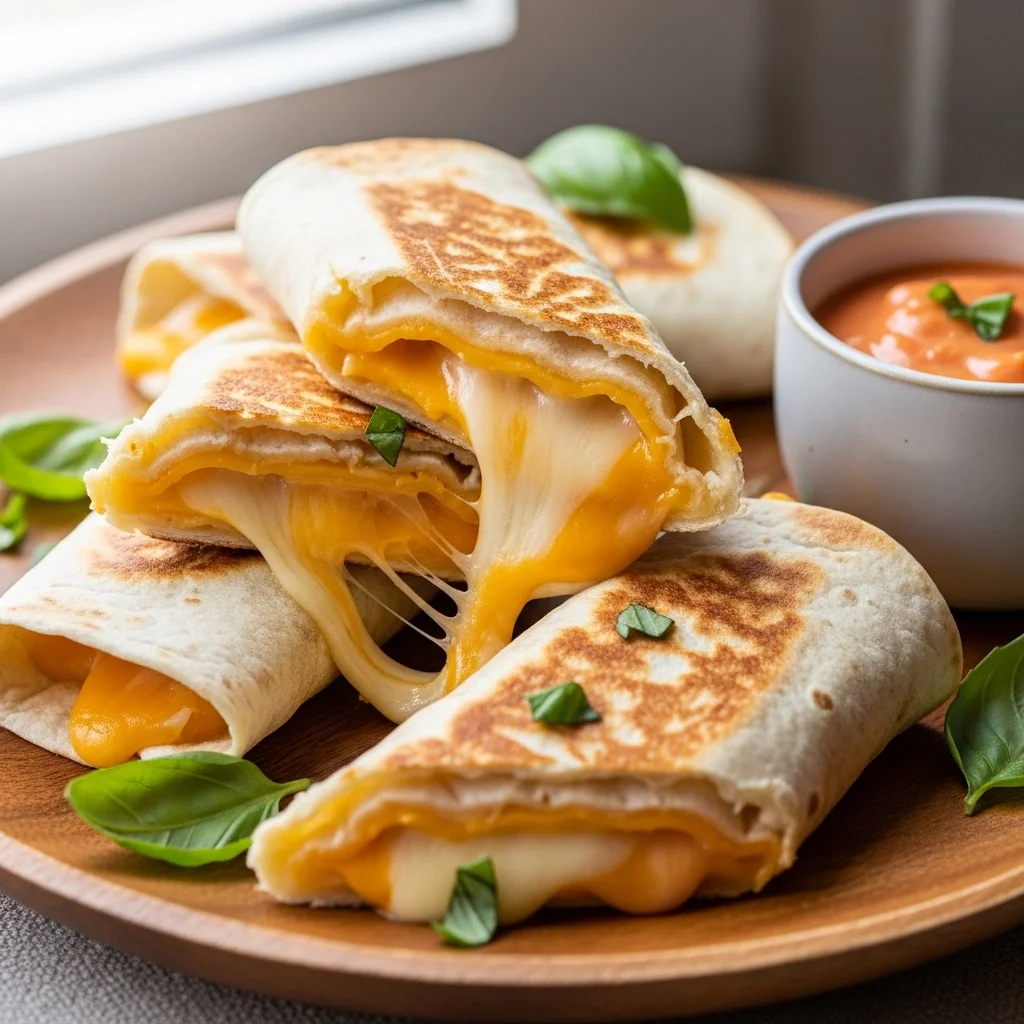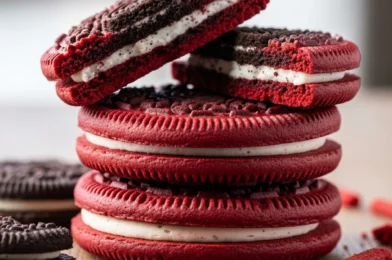
if you’re looking for quick, crowd-pleasing treats that don’t require turning on the oven, these 15 easy no-bake snack mix recipes are exactly what you need. Whether you’re prepping for a party, packing school lunches, or just craving something crunchy and satisfying, snack mixes are one of the simplest solutions out there.
The beauty of these easy no-bake snack mix recipes lies in their versatility. You can go sweet, savory, or a little bit of both—all with minimal effort. Plus, they’re incredibly customizable, making them perfect for picky eaters, dietary preferences, or whatever ingredients you already have on hand.
Why You’ll Love These Easy No-Bake Snack Mix Recipes
These easy no-bake snack mix recipes are designed for convenience without sacrificing flavor. They’re perfect for busy lifestyles and spontaneous cravings.
Here’s why they’re a must-try:
- No oven required
- Quick to prepare
- Perfect for all ages
- Great for meal prep
- Endless flavor combinations
Once you try these easy no-bake snack mix recipes, you’ll always have a go-to snack idea ready.
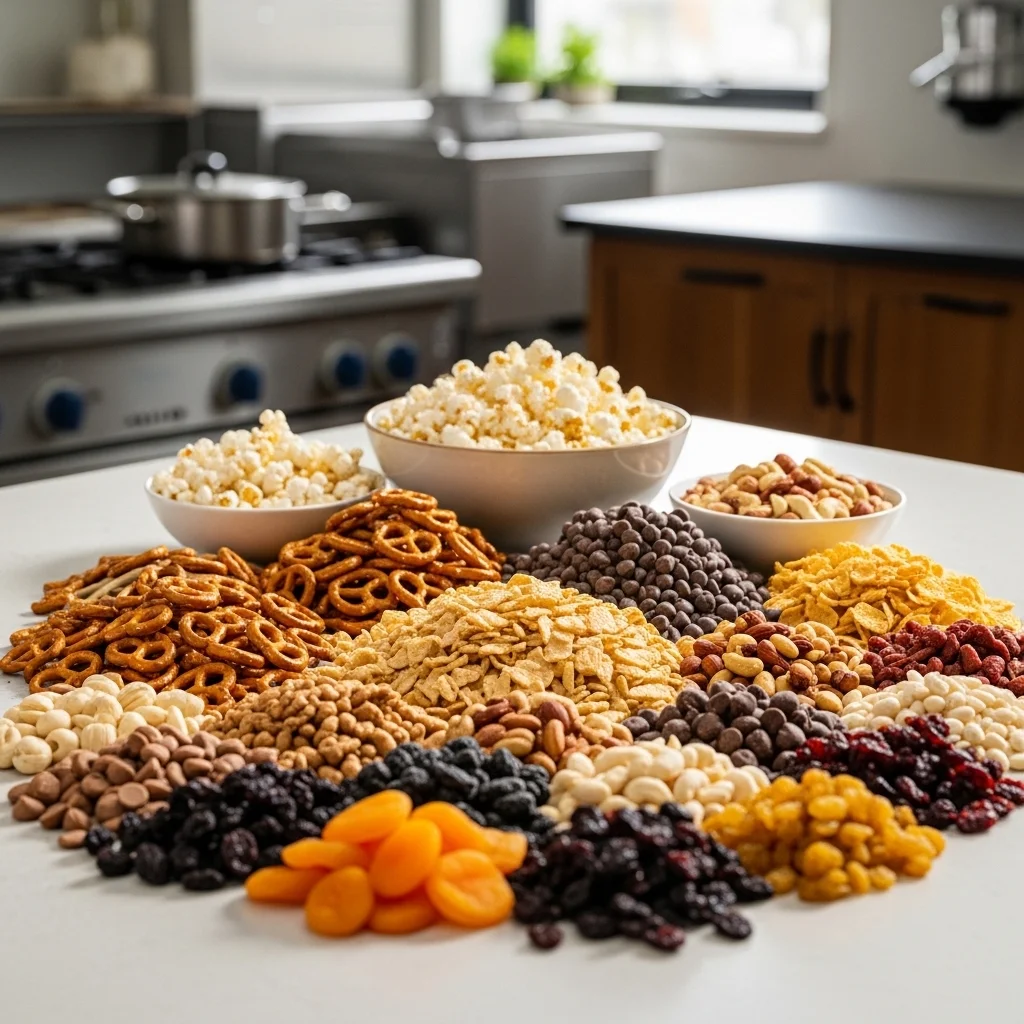
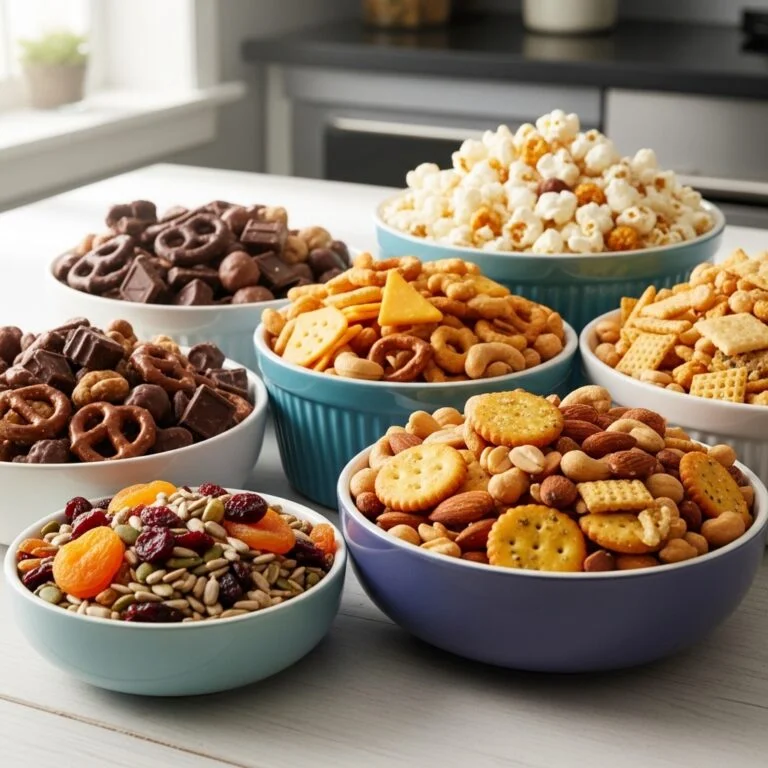
Ingredients You’ll Commonly Use
To make these easy no-bake snack mix recipes, you’ll typically need a mix of pantry staples:
- Pretzels
- Popcorn
- Cereal (like Cheerios or Chex)
- Nuts and seeds
- Chocolate chips or candy
- Dried fruit
- Crackers
- Peanut butter or caramel
These ingredients are easy to find and perfect for mixing and matching.
15 Easy No-Bake Snack Mix Recipes
Here are some of the best easy no-bake snack mix recipes to try:
Sweet Snack Mixes
- Chocolate peanut butter mix
- S’mores snack mix
- Caramel popcorn mix
- White chocolate party mix
- Cinnamon sugar cereal mix
Savory Snack Mixes
- Classic ranch mix
- Spicy pretzel mix
- Garlic parmesan mix
- BBQ snack mix
- Cheese cracker mix
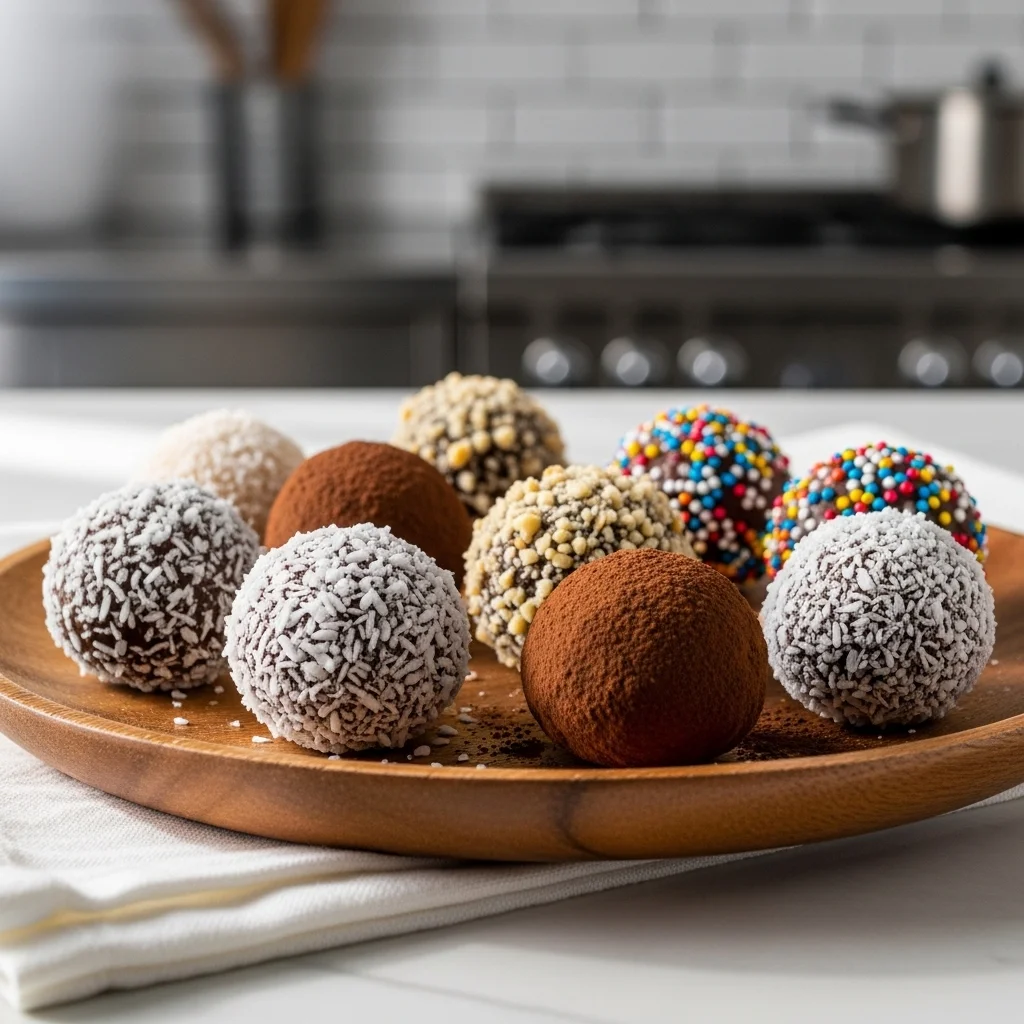
Sweet & Salty Combos
- Chocolate-covered pretzel mix
- Trail mix with nuts and candy
- Yogurt-covered snack mix
- Honey roasted nut mix
- Maple popcorn mix
These easy no-bake snack mix recipes offer something for every craving.
Ingredient Notes & Tips
Balance Flavors
Combine sweet and salty elements for the best taste.
Texture Matters
Mix crunchy, chewy, and crispy ingredients.
Use Fresh Ingredients
Freshness makes a big difference in flavor.
Customize Freely
Swap ingredients based on preference or availability.
These tips help elevate your easy no-bake snack mix recipes.
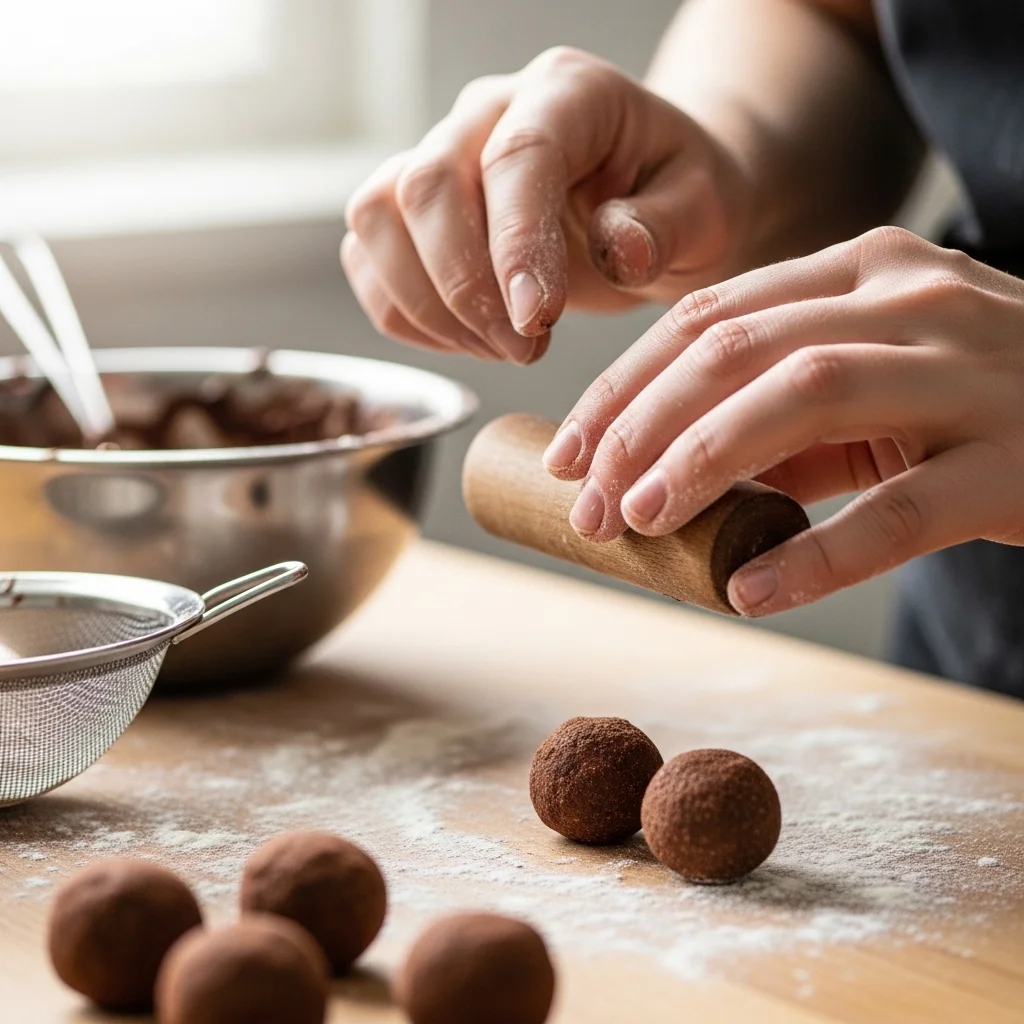
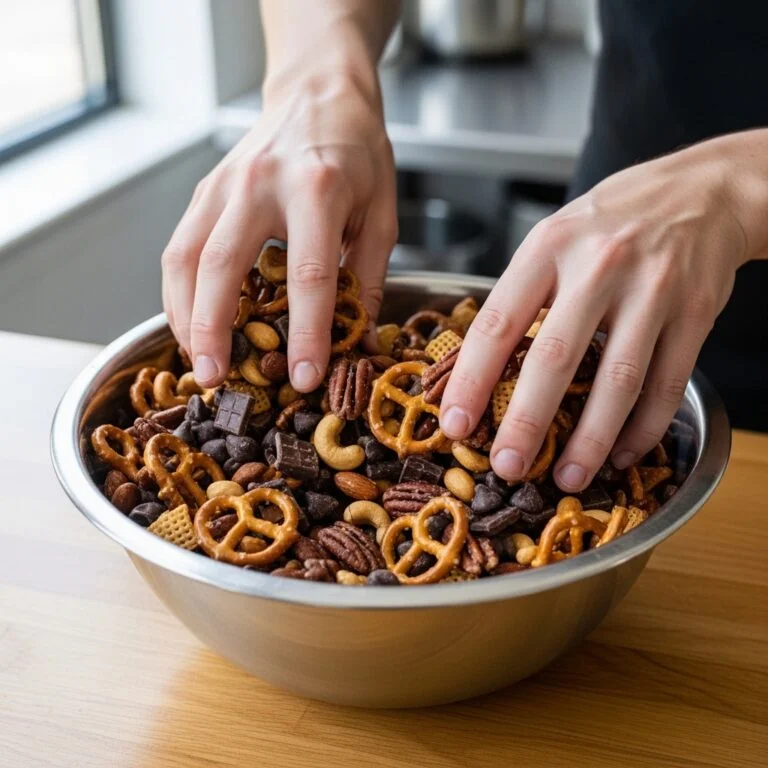
Step-by-Step Instructions
Step 1: Choose Your Base
Start with cereal, popcorn, or pretzels.
Step 2: Add Mix-Ins
Include nuts, chocolate, or dried fruit.
Step 3: Add Flavor
Drizzle melted chocolate, caramel, or seasoning.
Step 4: Mix Well
Toss everything together evenly.
Step 5: Let Set (if needed)
Allow coatings to harden before serving.
Tips for Perfect Results
To get the best from your easy no-bake snack mix recipes, keep these tips in mind:
- Don’t overload with too many ingredients
- Mix thoroughly for even flavor
- Let coated mixes set completely
- Store properly to maintain freshness
These simple steps ensure delicious results every time.
Variations to Try
These easy no-bake snack mix recipes are easy to customize:
Healthier Option
Use unsweetened dried fruit and dark chocolate.
Kid-Friendly Version
Add colorful candies and mini marshmallows.
Holiday Theme
Use seasonal colors and flavors.
High-Protein Mix
Add extra nuts and seeds.
These variations keep your snack mixes exciting and versatile.
What to Serve With It
These easy no-bake snack mix recipes pair well with:
- Fresh fruit
- Smoothies
- Milk or hot chocolate
- Party platters
They’re perfect for snacking anytime, anywhere.
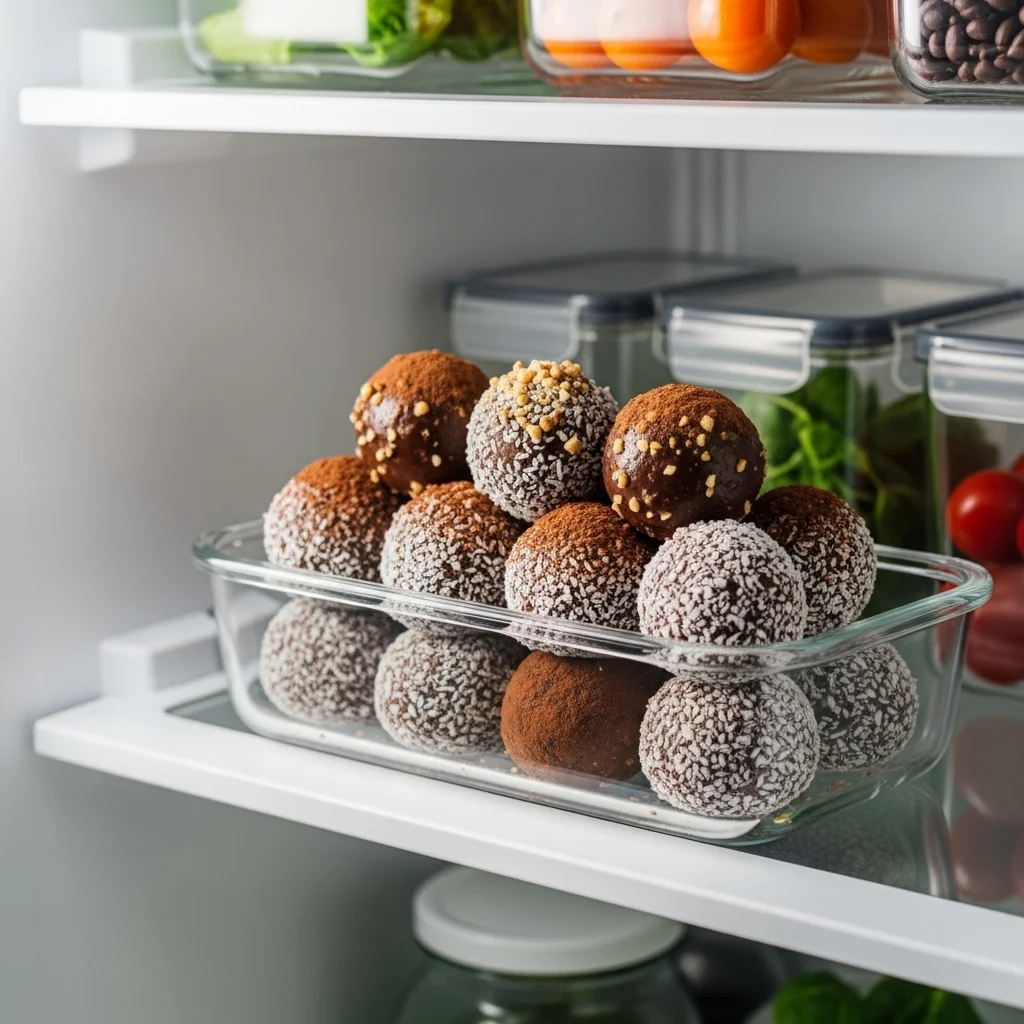
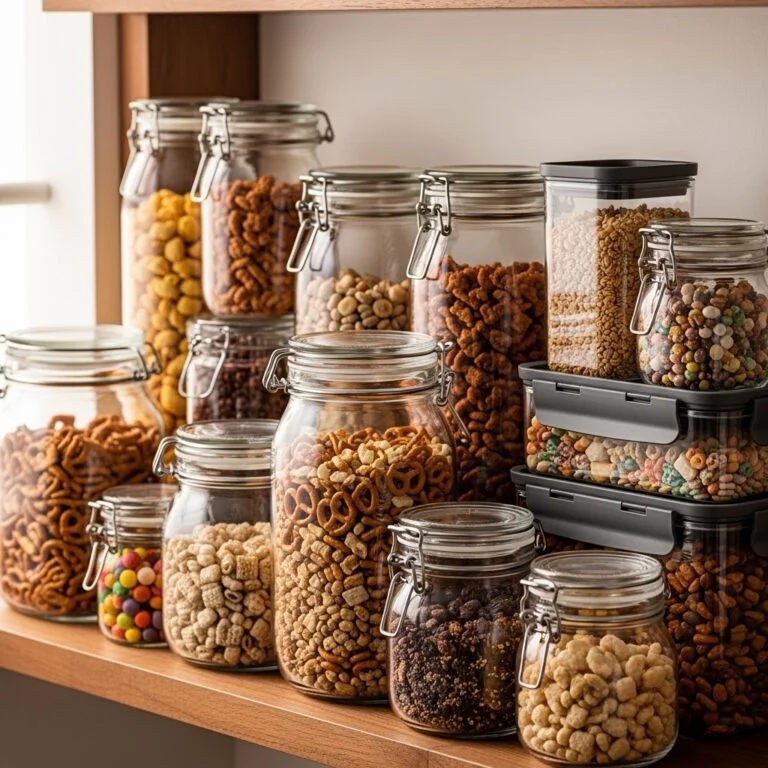
Storage & Reheating
Storage
- Store in airtight containers for up to 1 week
Reheating
- Not needed—these are no-bake snacks
Freshness Tip
- Keep in a cool, dry place
Common Mistakes to Avoid
When making easy no-bake snack mix recipes, avoid:
- Using stale ingredients
- Overmixing delicate items
- Adding too much coating
- Not letting mixtures set
Avoiding these ensures perfect texture and flavor.
Frequently Asked Questions
How long do snack mixes last?
Most last up to a week when stored properly.
Can I make snack mixes ahead of time?
Yes, they’re perfect for meal prep.
Are these recipes kid-friendly?
Absolutely! Kids love helping and eating them.
Can I make them healthier?
Yes, use natural sweeteners and whole ingredients.
Do I need special equipment?
No, just a bowl and spoon will do.
Final Thoughts
These 15 easy no-bake snack mix recipes prove that delicious snacks don’t have to be complicated. With simple ingredients and endless combinations, you can create treats that are perfect for any occasion.
Whether you’re prepping for a party or just need a quick snack, these easy no-bake snack mix recipes are reliable, customizable, and always satisfying. Once you start making them, you’ll never run out of snack ideas again!