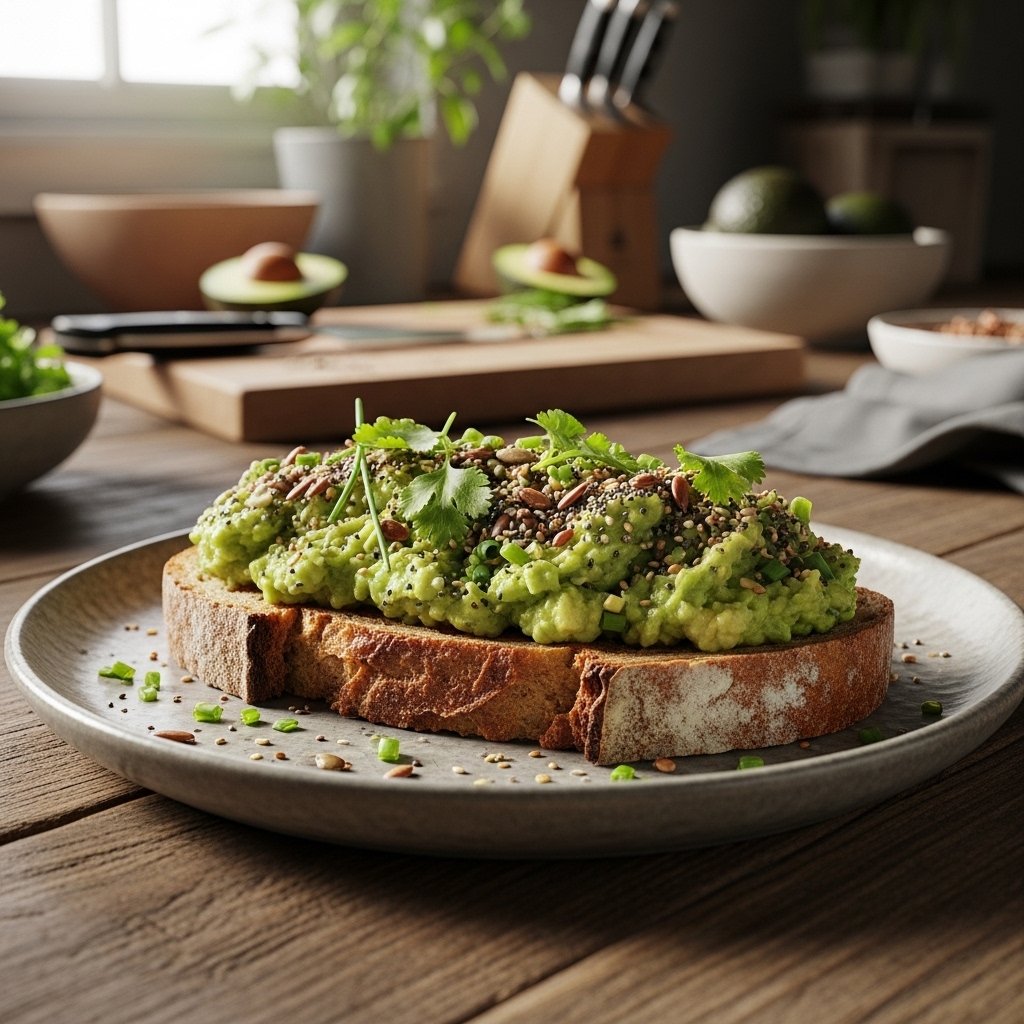
If you’re ready to elevate your sandwich game, this everything cheddar, tomato, and brie grilled cheese is about to become your new obsession. It takes the nostalgic comfort of a classic grilled cheese and upgrades it with bold flavors, creamy textures, and a gourmet touch.
With sharp cheddar, buttery brie, juicy tomatoes, and the irresistible crunch of everything seasoning, this sandwich hits every note—savory, creamy, crispy, and slightly tangy. It’s perfect for lunch, dinner, or even a cozy weekend treat.

Why You’ll Love This Everything Cheddar, Tomato, and Brie Grilled Cheese
This everything cheddar, tomato, and brie grilled cheese is the perfect balance of flavors and textures. The cheddar adds sharpness, the brie brings creaminess, and the tomatoes add freshness and acidity.
It’s also incredibly easy to make while feeling fancy enough to impress. Whether you’re cooking for yourself or guests, this sandwich delivers restaurant-quality results with minimal effort.
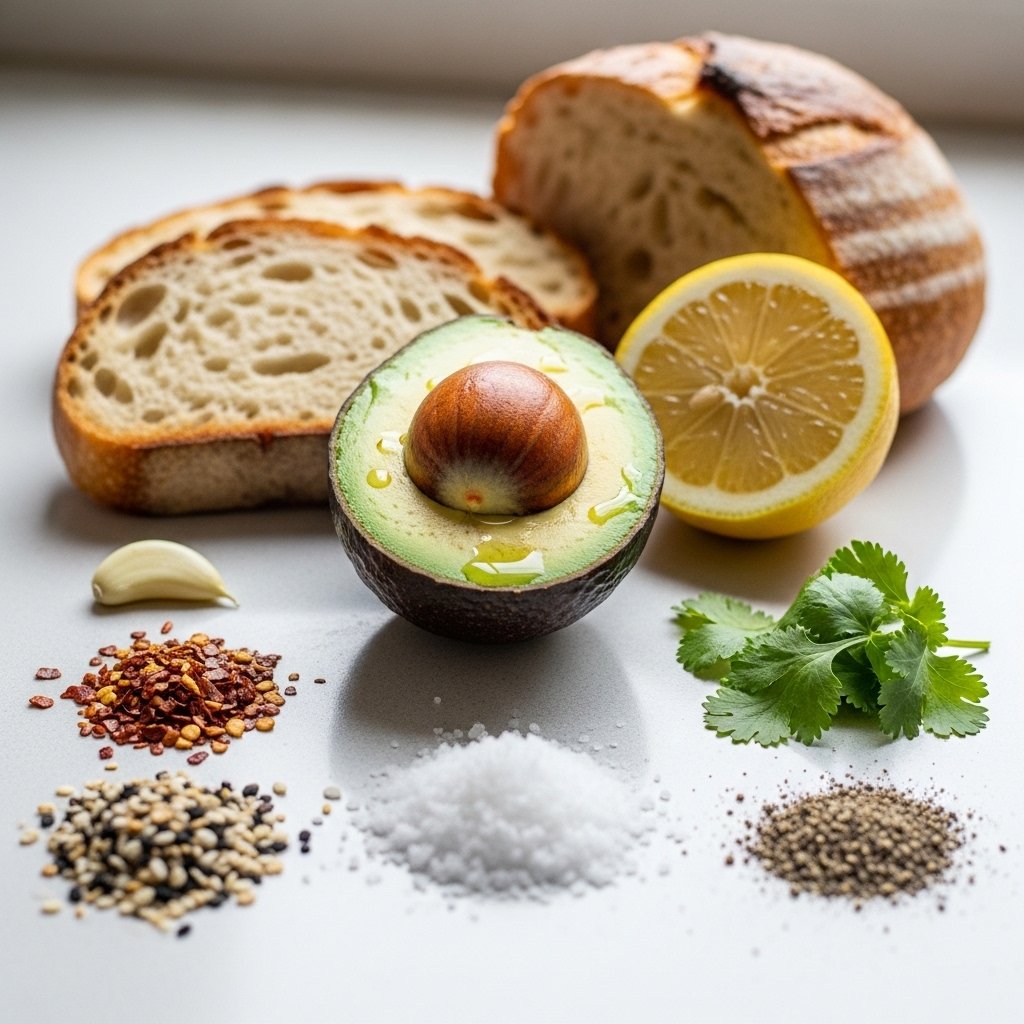
Ingredients You’ll Need
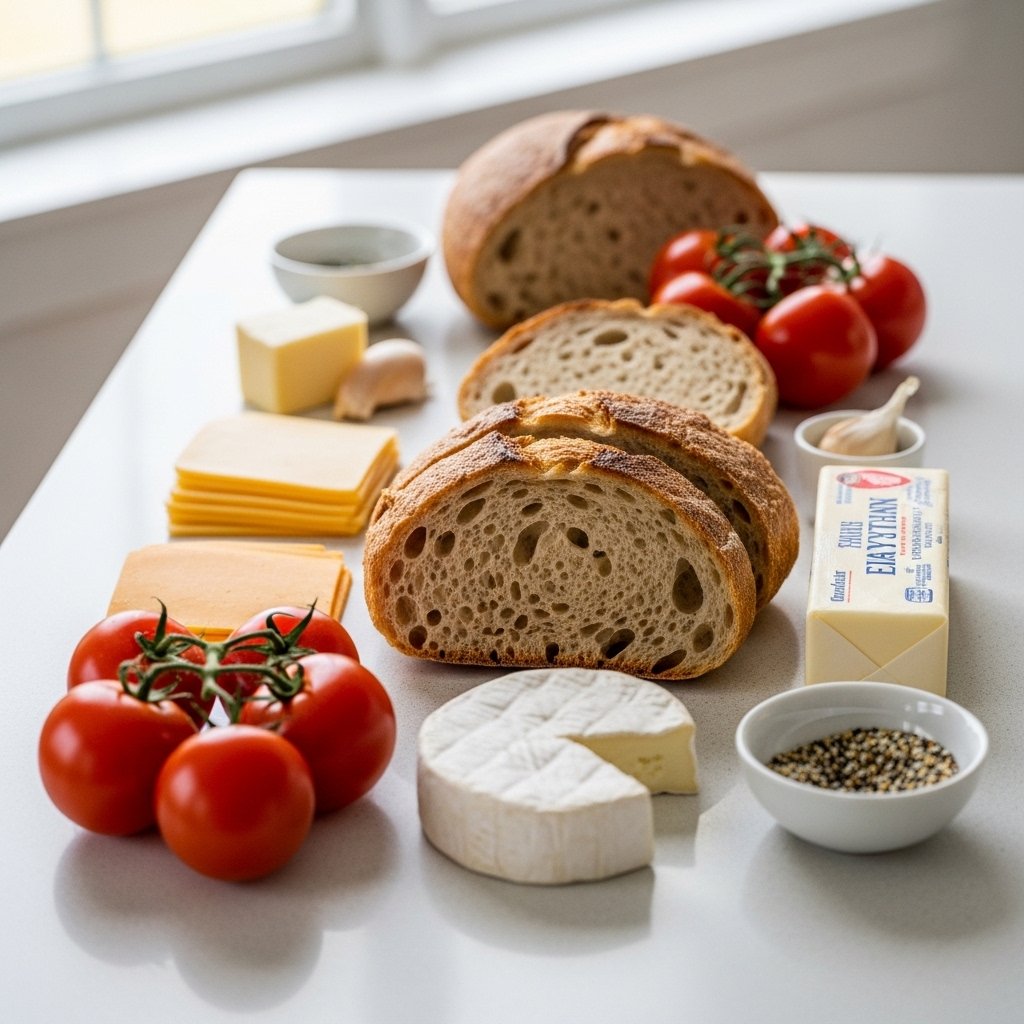
To make this irresistible everything cheddar, tomato, and brie grilled cheese, gather the following:
- 2 slices of sourdough or artisan bread
- 2 slices sharp cheddar cheese
- 2–3 slices brie cheese
- 2 slices ripe tomato
- 1 tablespoon butter
- 1 teaspoon everything bagel seasoning
These simple ingredients come together to create a rich and satisfying sandwich.
Ingredient Notes and Substitutions
This everything cheddar, tomato, and brie grilled cheese is flexible and easy to customize. You can swap sourdough for whole grain or ciabatta depending on your preference.
If brie isn’t available, try camembert for a similar creamy texture. You can also add a thin layer of mayo on the bread instead of butter for extra crispiness.
Step-by-Step Instructions
Prepare the Sandwich
- Butter one side of each bread slice.
- Place cheddar and brie on the unbuttered side of one slice.
- Add tomato slices and sprinkle everything seasoning.
- Top with the second slice of bread, buttered side facing out.
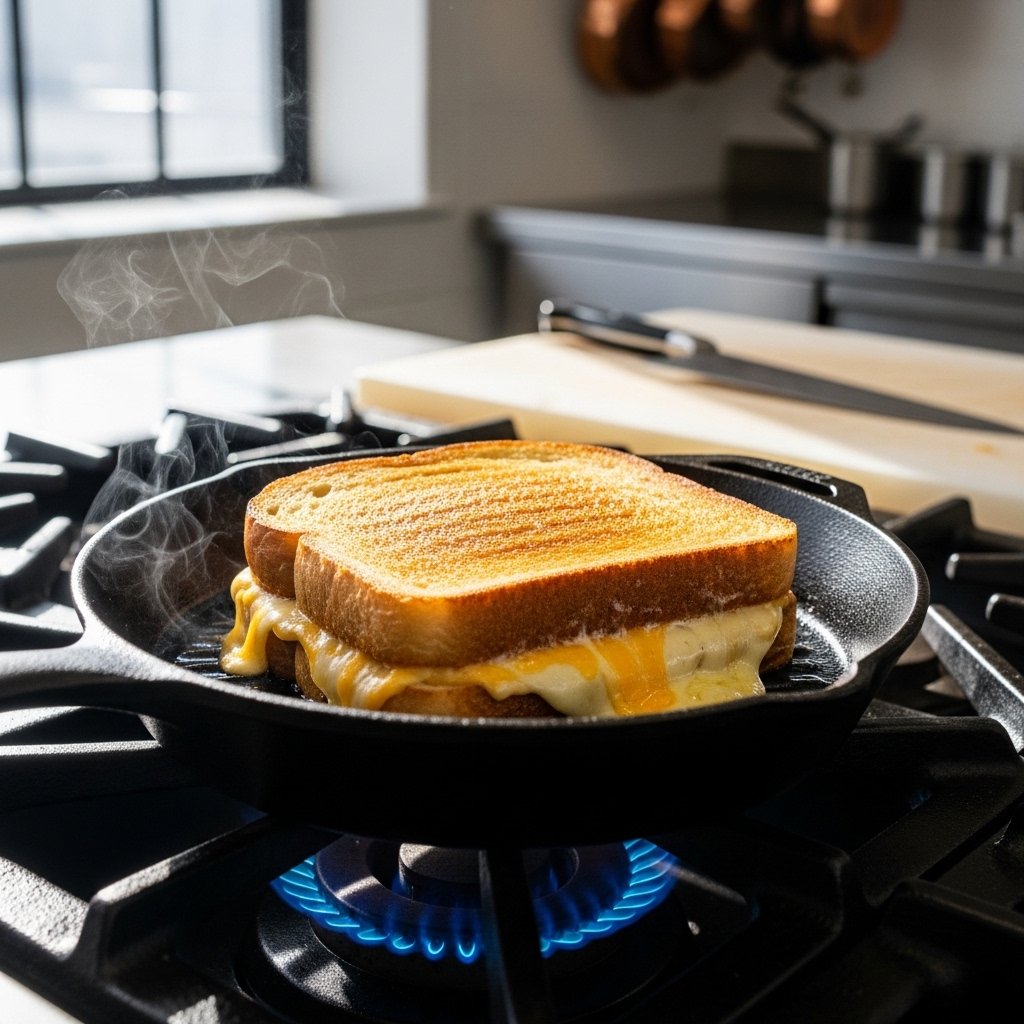
Cook to Perfection
- Heat a skillet over medium heat.
- Cook the sandwich for 3–4 minutes per side until golden brown.
- Press gently to help the cheese melt evenly.
This method ensures your everything cheddar, tomato, and brie grilled cheese is perfectly crispy and melty.
Tips for Perfect Results
For the best everything cheddar, tomato, and brie grilled cheese, cook on medium heat rather than high. This allows the bread to crisp up while giving the cheese time to melt fully.
Another tip is to pat the tomato slices dry before adding them. This prevents excess moisture and keeps your sandwich from becoming soggy.
Delicious Variations to Try
Switch things up with these variations of everything cheddar, tomato, and brie grilled cheese:
- Add crispy bacon for a smoky flavor
- Include caramelized onions for sweetness
- Spread pesto for an herby twist
- Add spinach or arugula for freshness
These variations make the sandwich even more exciting.

What to Serve With This Grilled Cheese
This everything cheddar, tomato, and brie grilled cheese pairs perfectly with:
- Tomato soup for a classic combo
- A fresh green salad
- Pickles or chips for crunch
These sides complement the richness of the sandwich.
Storage and Reheating Tips
Grilled cheese is best enjoyed fresh, but you can store leftovers in the refrigerator for up to 1 day.
Reheat in a skillet or toaster oven to restore crispiness. Avoid microwaving, as it can make the bread soggy.
Common Mistakes to Avoid
One common mistake is using heat that’s too high, which can burn the bread before the cheese melts.
Another mistake is overloading the sandwich, which can make it difficult to cook evenly.
Frequently Asked Questions
1. Can I make this sandwich ahead of time?
It’s best fresh, but you can prep ingredients in advance.
2. What bread works best?
Sourdough or any sturdy artisan bread works great.
3. Can I make it vegetarian?
Yes, it’s already vegetarian-friendly.
4. How do I get the perfect crispy crust?
Use butter or mayo and cook on medium heat.
Final Thoughts
This everything cheddar, tomato, and brie grilled cheese is a simple yet elevated take on a classic favorite. With its crispy exterior, melty interior, and bold flavors, it’s comfort food at its finest.
Whether you’re making a quick lunch or a cozy dinner, this sandwich is guaranteed to satisfy every craving.