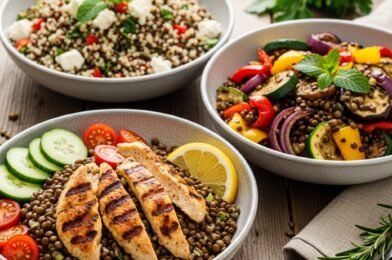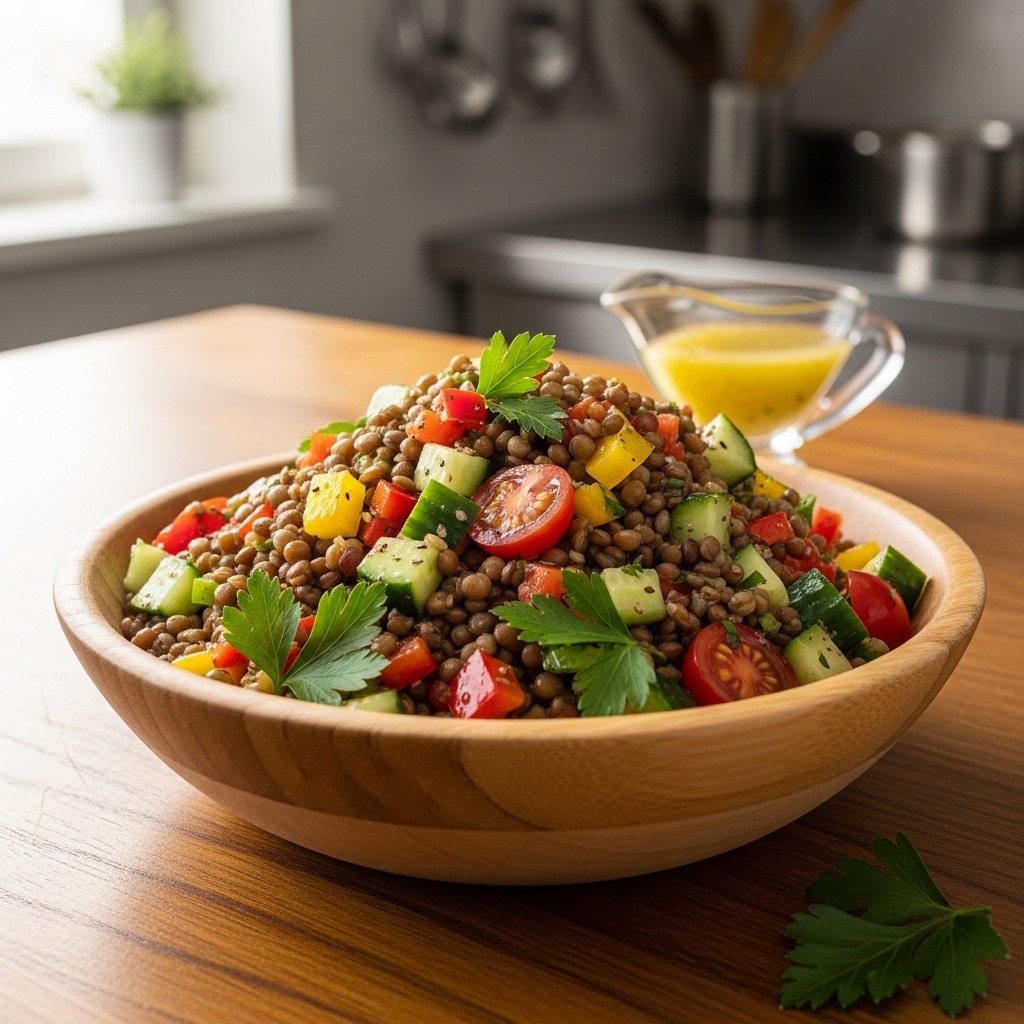
If you’re searching for a healthy, flavorful, and easy meal prep solution, this Mediterranean lunch box is exactly what you need. Inspired by the vibrant flavors of the Mediterranean diet, this lunch box is filled with fresh vegetables, lean proteins, wholesome grains, and delicious dips that make every bite satisfying.
Perfect for busy weekdays, work lunches, or school meals, a Mediterranean lunch box is not only convenient but also incredibly nourishing. It’s a balanced way to enjoy a variety of textures and flavors while keeping your meals exciting and wholesome.
Why You’ll Love This Mediterranean Lunch Box
This Mediterranean lunch box is a game-changer for anyone looking to eat healthier without sacrificing flavor. It’s colorful, fresh, and packed with nutrients that keep you energized throughout the day.
Another reason to love it is its versatility. You can mix and match ingredients based on your preferences, making it easy to customize for different dietary needs. Plus, it’s perfect for meal prep, saving you time during the week.
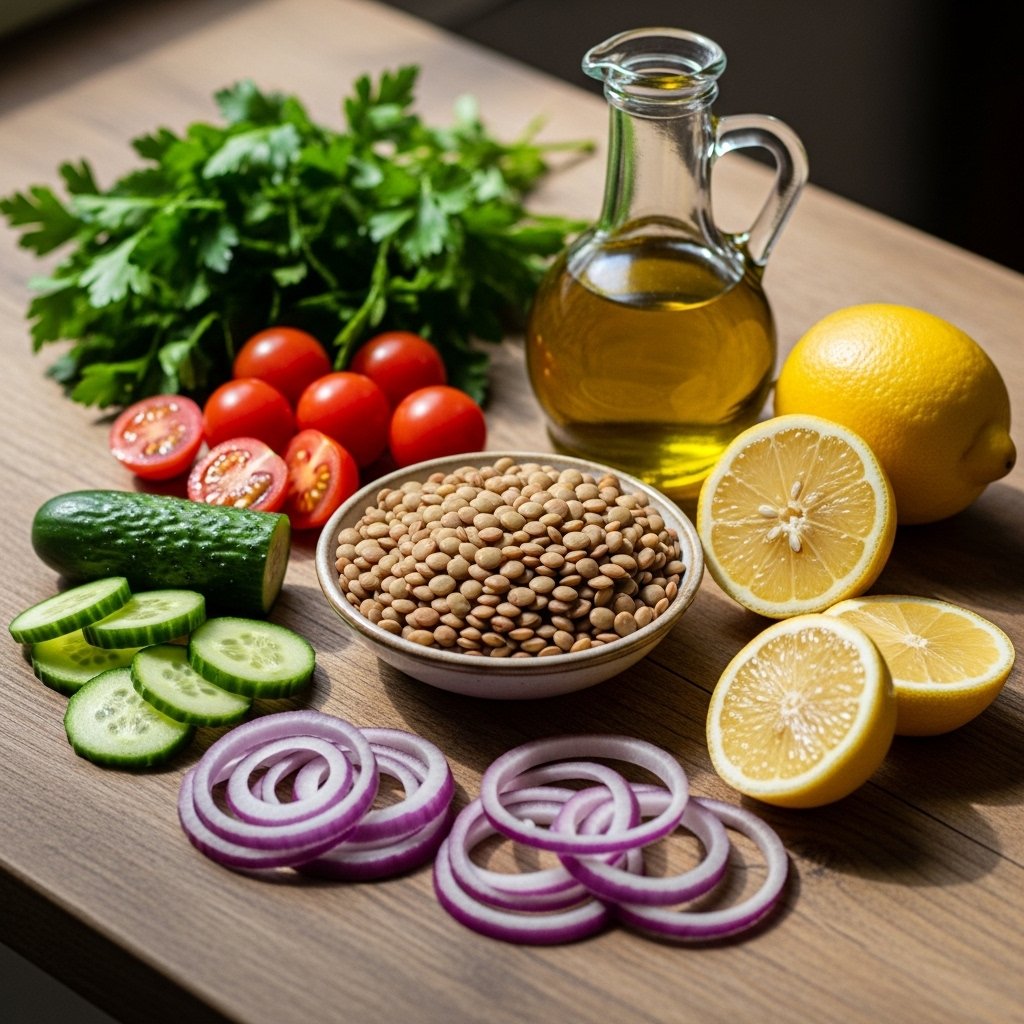
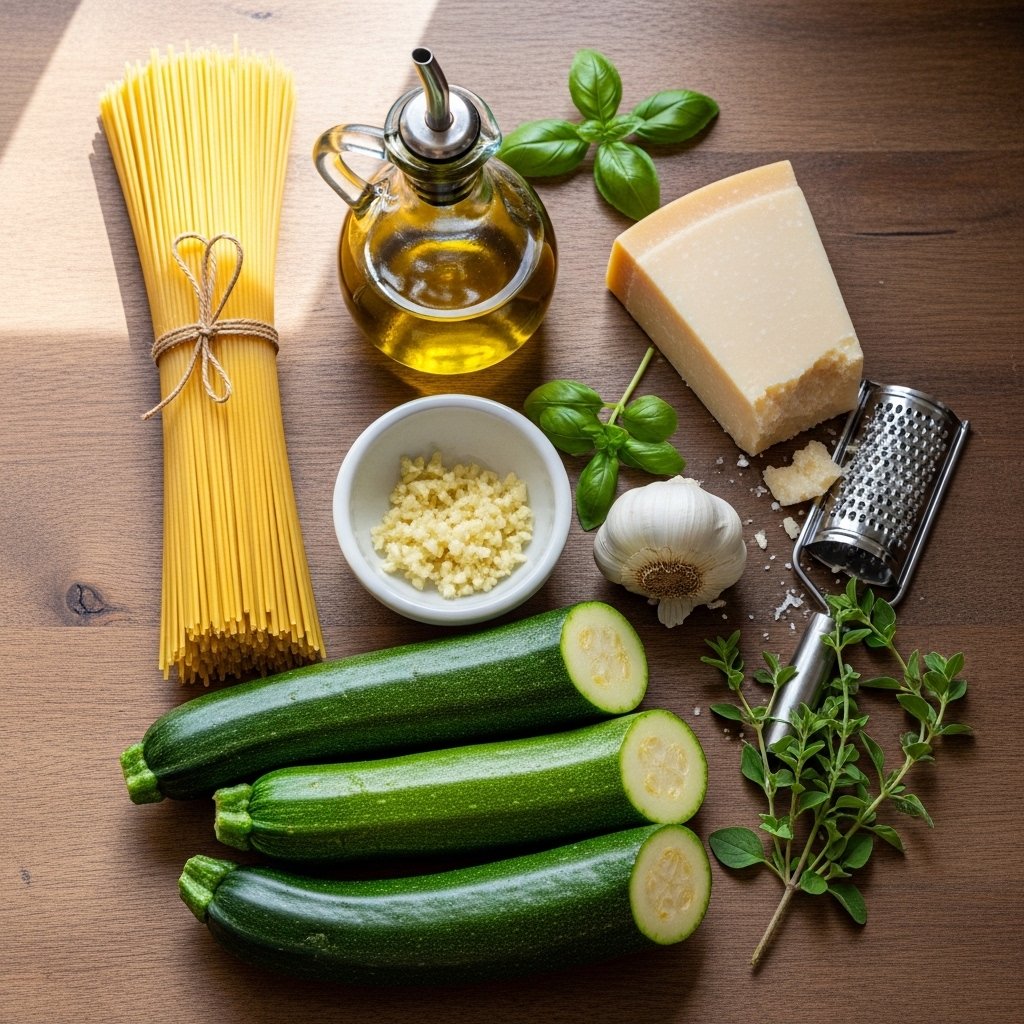
Ingredients You’ll Need
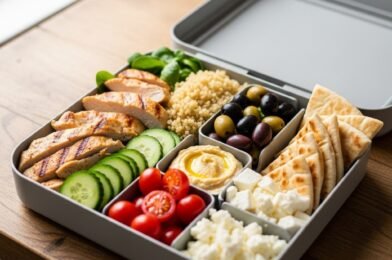
To build the perfect Mediterranean lunch box, you’ll need a variety of fresh and wholesome ingredients:
- Grilled chicken or chickpeas
- Cooked quinoa or couscous
- Cherry tomatoes
- Cucumber slices
- Kalamata olives
- Hummus or tzatziki
- Feta cheese
- Whole wheat pita bread
These ingredients come together to create a balanced and satisfying meal.
Ingredient Notes and Substitutions
One of the best things about a Mediterranean lunch box is how flexible it is. You can easily swap ingredients based on what you have available.
For example, replace chicken with grilled tofu or falafel for a vegetarian option. If you don’t have quinoa, couscous or brown rice works just as well. You can also experiment with different dips like baba ganoush or a simple yogurt sauce.
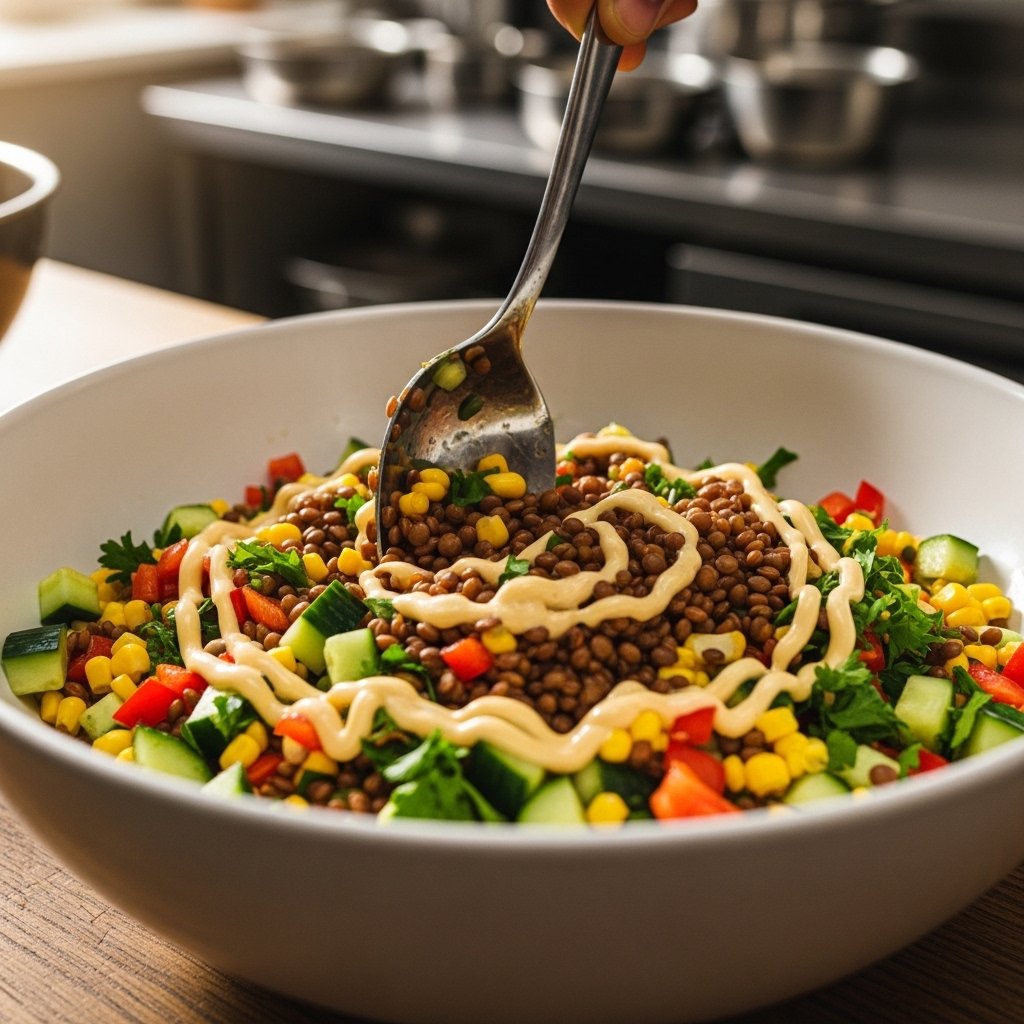
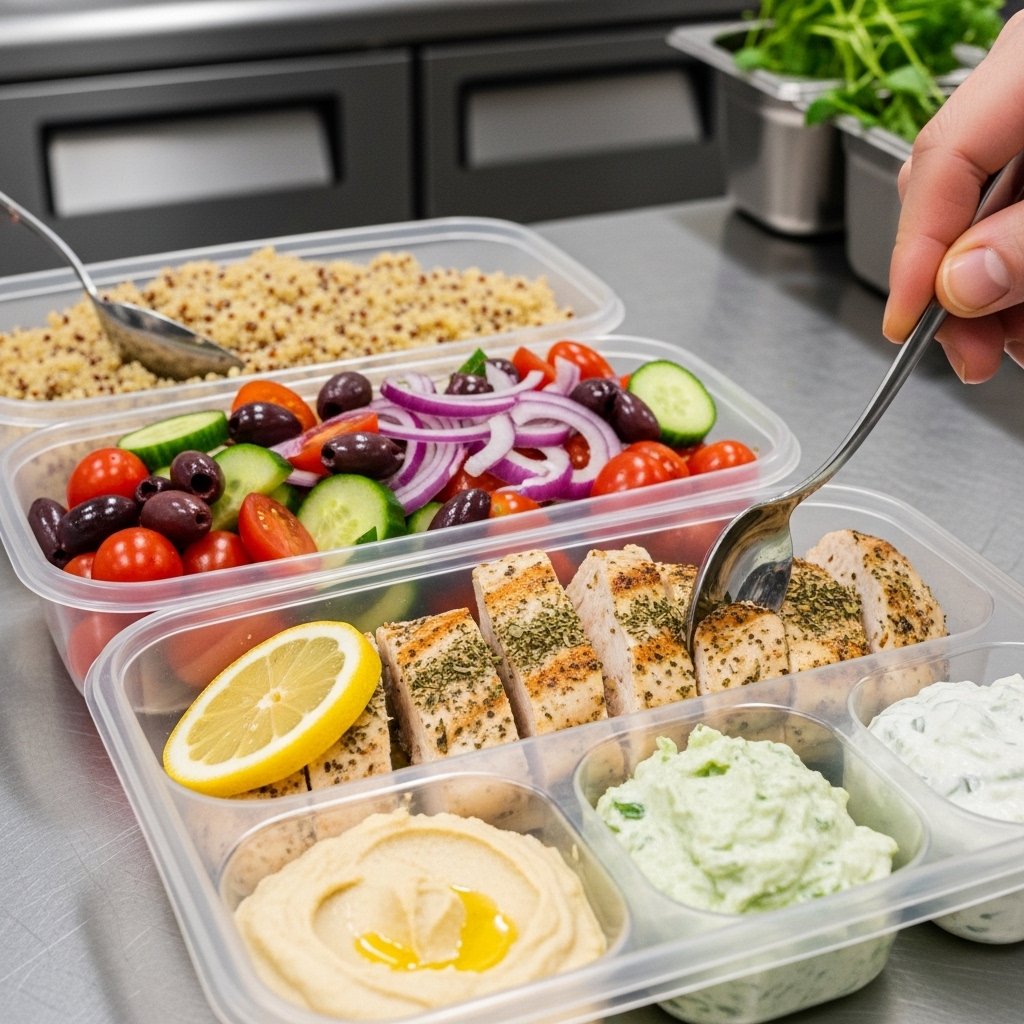
Step-by-Step Instructions
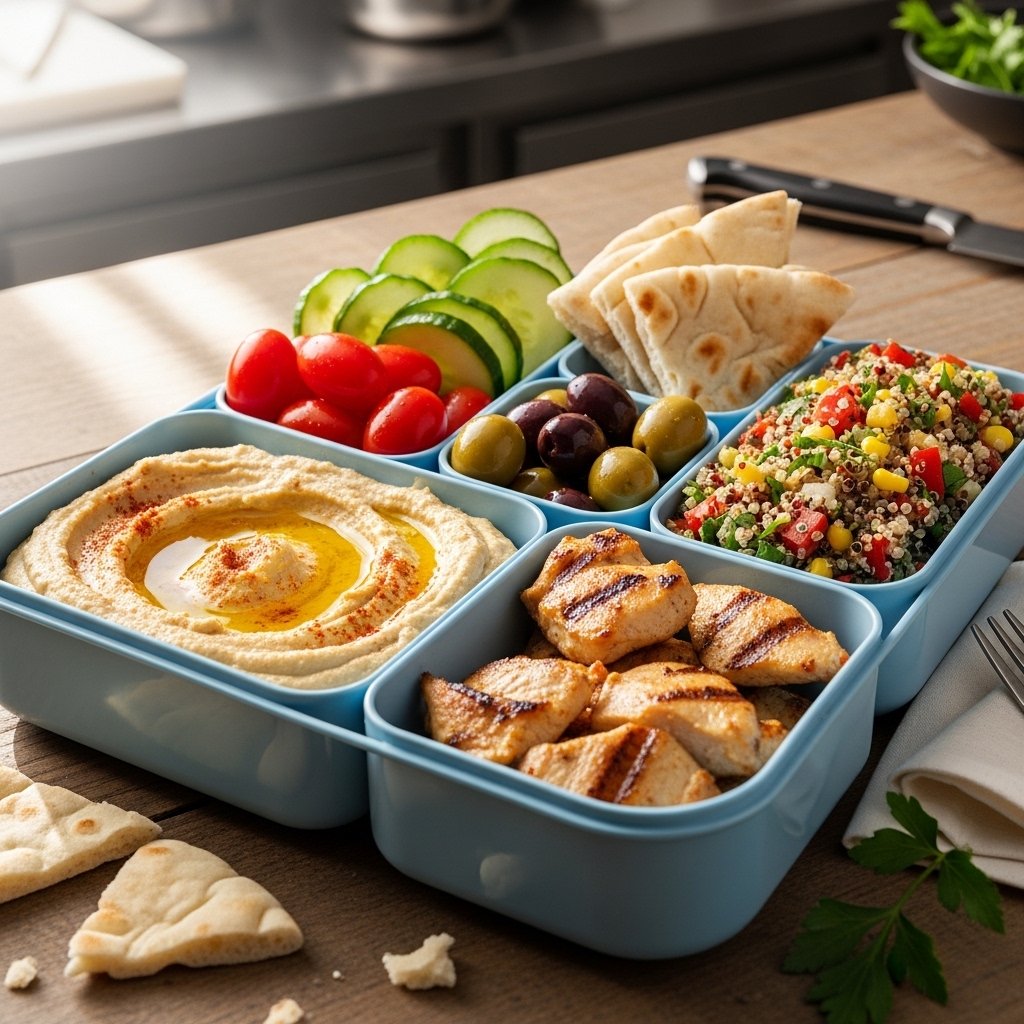
Assemble the Lunch Box
- Start by adding your base, such as quinoa or couscous, to one section.
- Add protein like grilled chicken or chickpeas.
- Fill other sections with vegetables like cucumbers and tomatoes.
- Add olives and feta cheese for extra flavor.
- Include a small container of hummus or dip.
- Finish with pita bread on the side.
This simple process makes your Mediterranean lunch box quick to prepare and easy to enjoy.
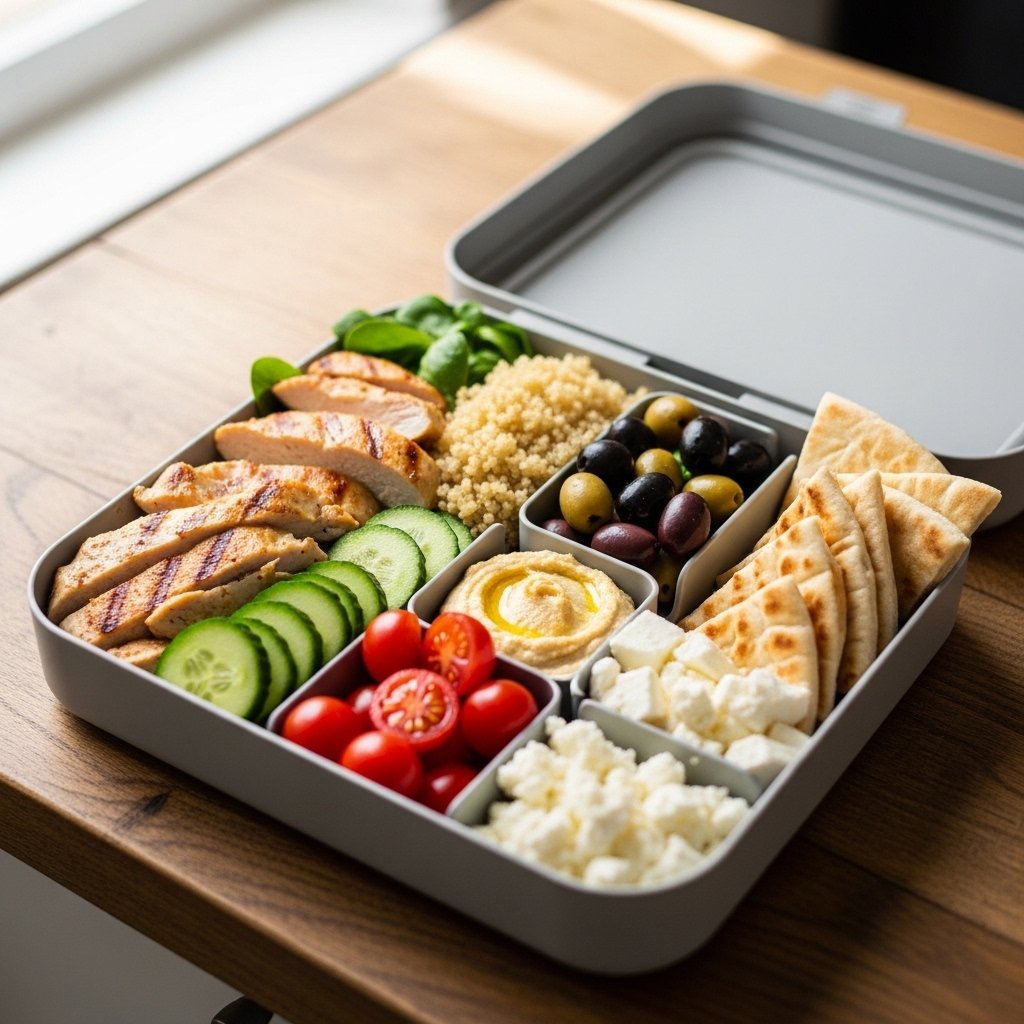
Tips for Perfect Meal Prep
To make the most of your Mediterranean lunch box, prep ingredients in batches at the beginning of the week. Store them separately to maintain freshness and assemble your lunch boxes daily.
Another helpful tip is to keep dressings and dips in small containers. This prevents your ingredients from becoming soggy and keeps everything tasting fresh.
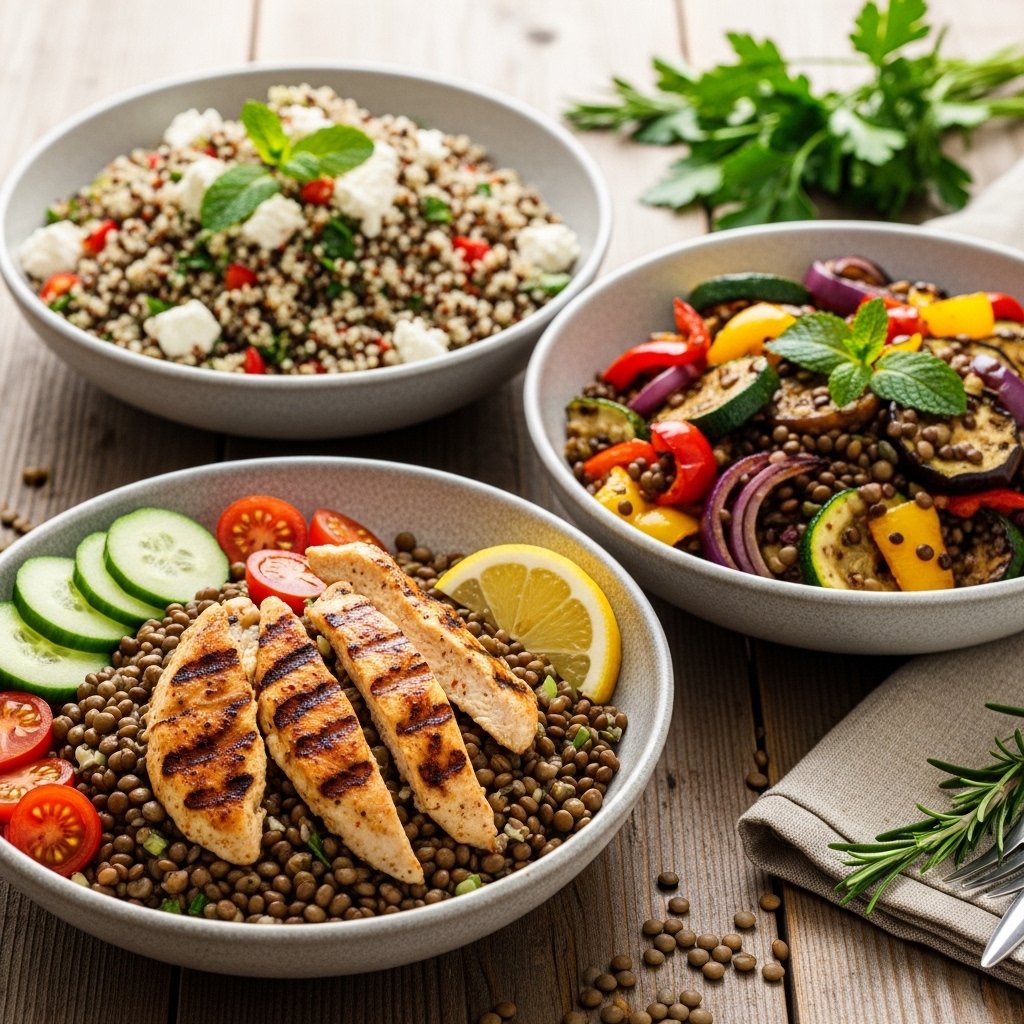
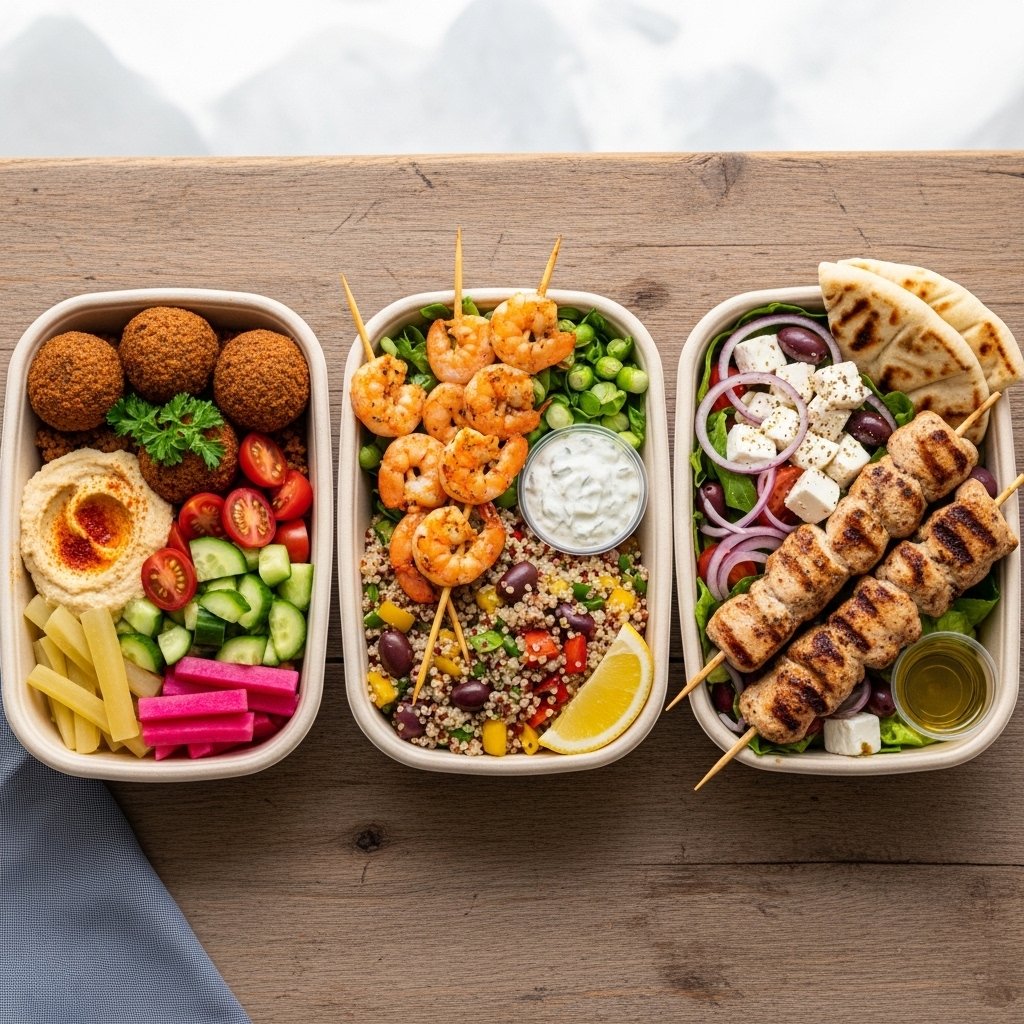
Delicious Variations to Try
Keep your Mediterranean lunch box exciting with these variations:
- Greek-style with extra feta and olives
- Vegan version with falafel and hummus
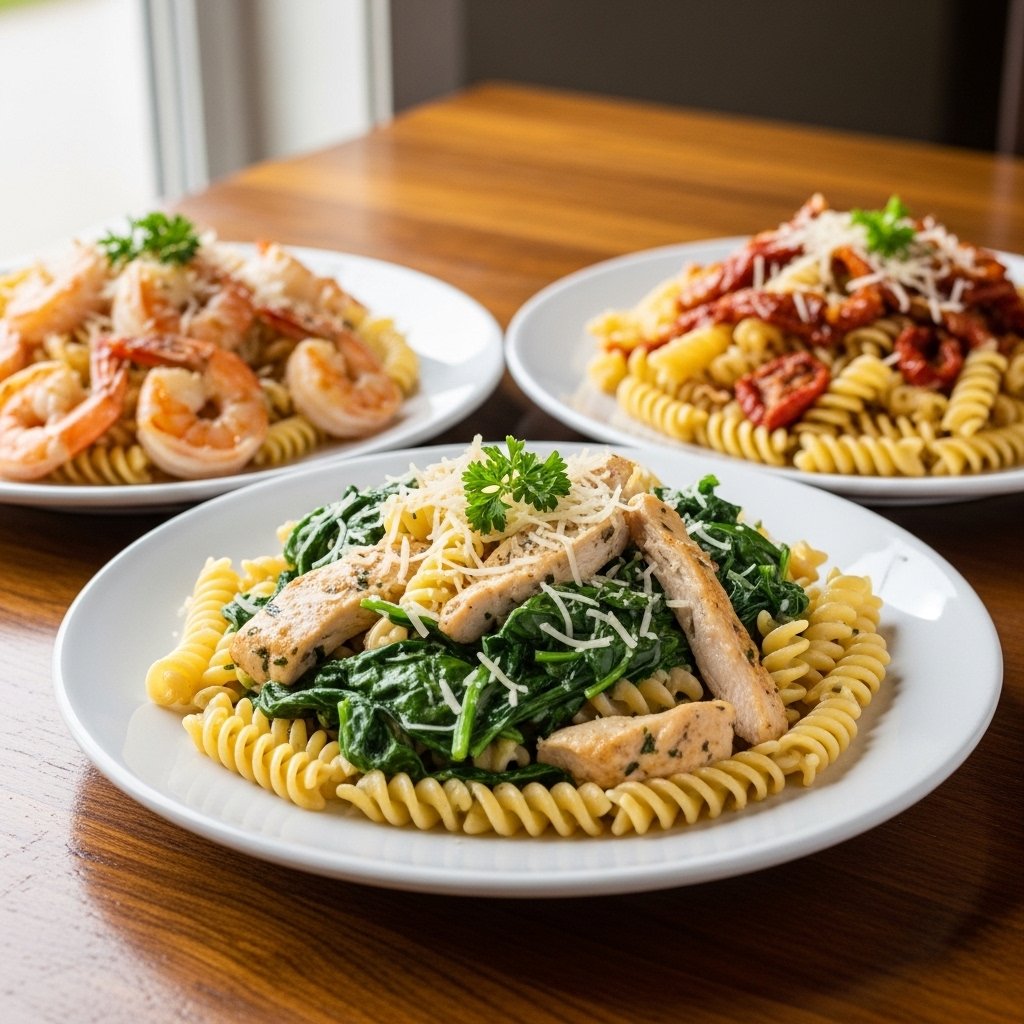
- Seafood option with grilled shrimp
- Low-carb version with extra veggies and no grains
These variations ensure you never get bored with your meals.
What to Serve With a Mediterranean Lunch Box
While this meal is complete on its own, you can enhance your Mediterranean lunch box with:
- Fresh fruit like grapes or oranges
- A small yogurt cup
- Nuts or trail mix
These additions provide extra nutrients and variety.
Storage and Reheating Tips
Store your Mediterranean lunch box in airtight containers in the refrigerator for up to 4 days. Keep ingredients separate when possible to maintain texture.
Most components can be enjoyed cold, but grains and proteins can be reheated if preferred. Always add fresh ingredients like herbs or avocado just before serving.
Common Mistakes to Avoid
One mistake is overloading your lunch box, which can make it messy and less enjoyable. Keep portions balanced and neatly arranged.
Another common issue is using overly watery vegetables, which can affect texture. Stick to fresh, crisp produce for the best results in your Mediterranean lunch box.
Frequently Asked Questions
1. Is a Mediterranean lunch box healthy?
Yes, it’s packed with fresh ingredients, healthy fats, and lean proteins.
2. Can I make it vegetarian?
Absolutely! Use chickpeas, tofu, or falafel instead of meat.
3. How long does it last in the fridge?
Up to 4 days when stored properly.
4. Can I prepare it in advance?
Yes, prep ingredients ahead and assemble when needed.
Final Thoughts
This Mediterranean lunch box is the perfect combination of convenience, nutrition, and flavor. It’s easy to prepare, endlessly customizable, and ideal for busy lifestyles.
Whether you’re meal prepping for the week or packing a quick lunch, this recipe helps you stay on track while enjoying delicious, wholesome food every day.