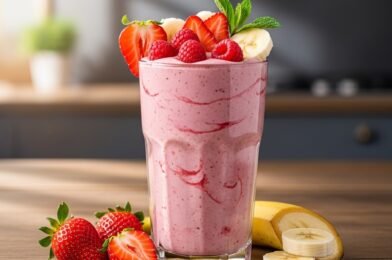
There’s nothing quite as refreshing and satisfying as a perfectly blended strawberry banana smoothie. With its naturally sweet flavor, creamy texture, and vibrant color, this classic smoothie is a staple for busy mornings, post-workout snacks, or even a light dessert.
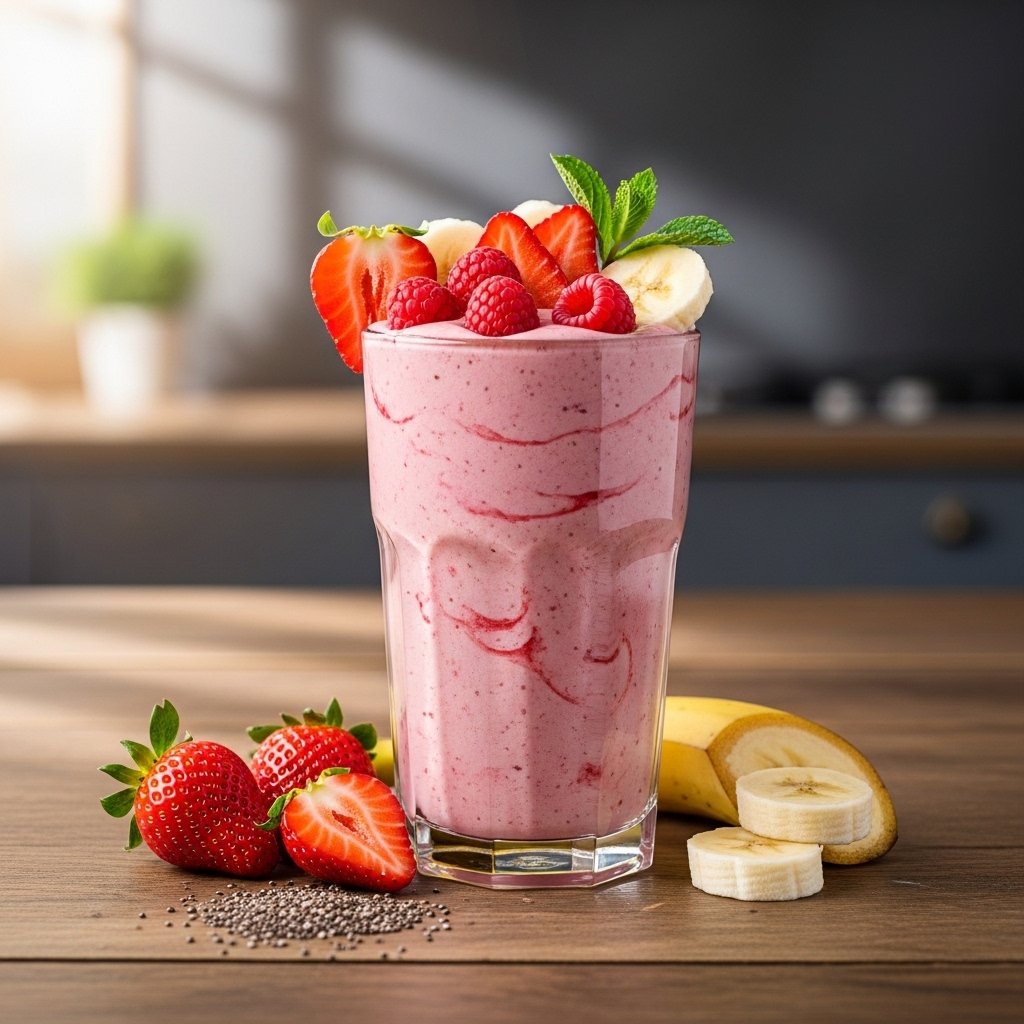
What makes this smoothie so popular is its simplicity—you only need a handful of ingredients to create something delicious, nourishing, and energizing.
Why You’ll Love This Recipe
This strawberry banana smoothie is loved for its balance of taste and nutrition. It’s quick, easy, and incredibly versatile.
- Naturally sweet without added sugar
- Rich in vitamins and antioxidants
- Creamy and satisfying texture
- Ready in under 5 minutes
- Perfect for breakfast or snacks
It’s a go-to recipe that fits effortlessly into a healthy lifestyle.
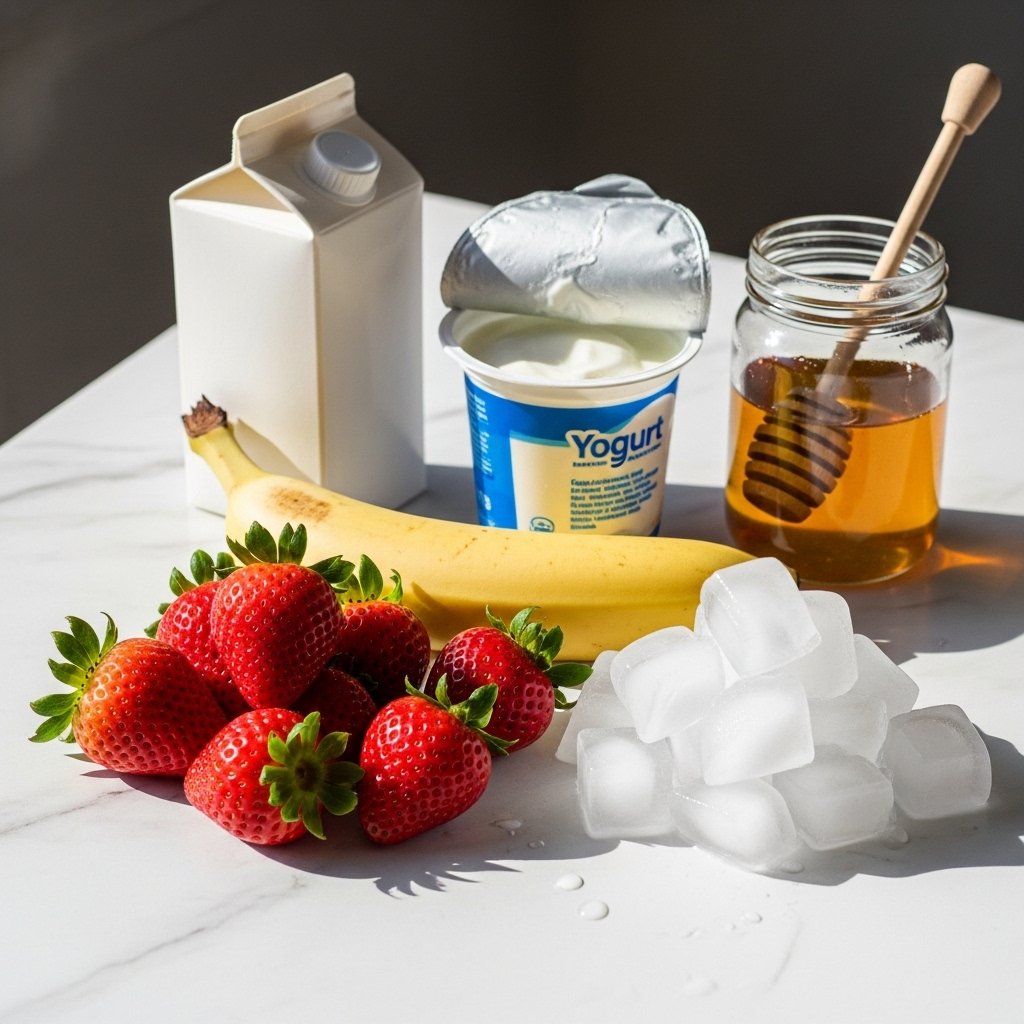
Ingredients
To make this classic strawberry banana smoothie, you’ll need:
- 1 cup fresh or frozen strawberries
- 1 ripe banana
- 1 cup milk (dairy or plant-based)
- ½ cup yogurt (optional for extra creaminess)
- 1–2 teaspoons honey or maple syrup (optional)
- Ice cubes (optional for thicker texture)
Ingredient Notes
Using ripe bananas is key to achieving the best flavor in your strawberry banana smoothie. They provide natural sweetness and a smooth, creamy consistency.
Frozen strawberries are a great option too—they make your smoothie thicker and colder without needing extra ice.
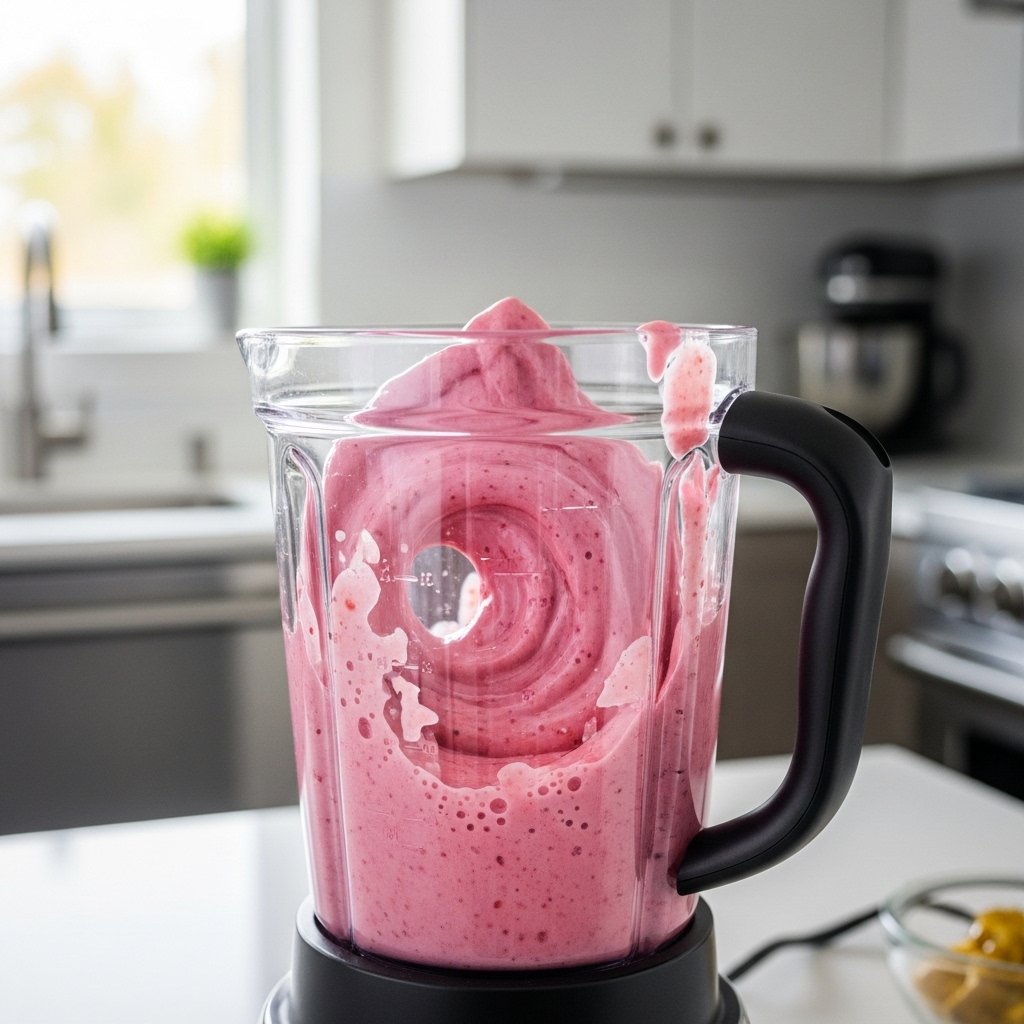
Step-by-Step Instructions
1. Add Ingredients to Blender
Place strawberries, banana, milk, and yogurt into a blender.
2. Blend Until Smooth
Blend on high speed until creamy and lump-free.
3. Adjust Consistency
Add more milk if needed for a thinner texture.
4. Taste and Sweeten
Add honey or maple syrup if desired.
5. Serve Immediately
Pour into a glass and enjoy fresh.
Tips for Perfect Results
For the best strawberry banana smoothie, follow these helpful tips:
- Use frozen fruit for a thicker texture
- Blend in stages for smoother consistency
- Don’t overdo the liquid
- Taste before adding sweetener
- Serve immediately for best flavor
These simple tips make a big difference in texture and taste.
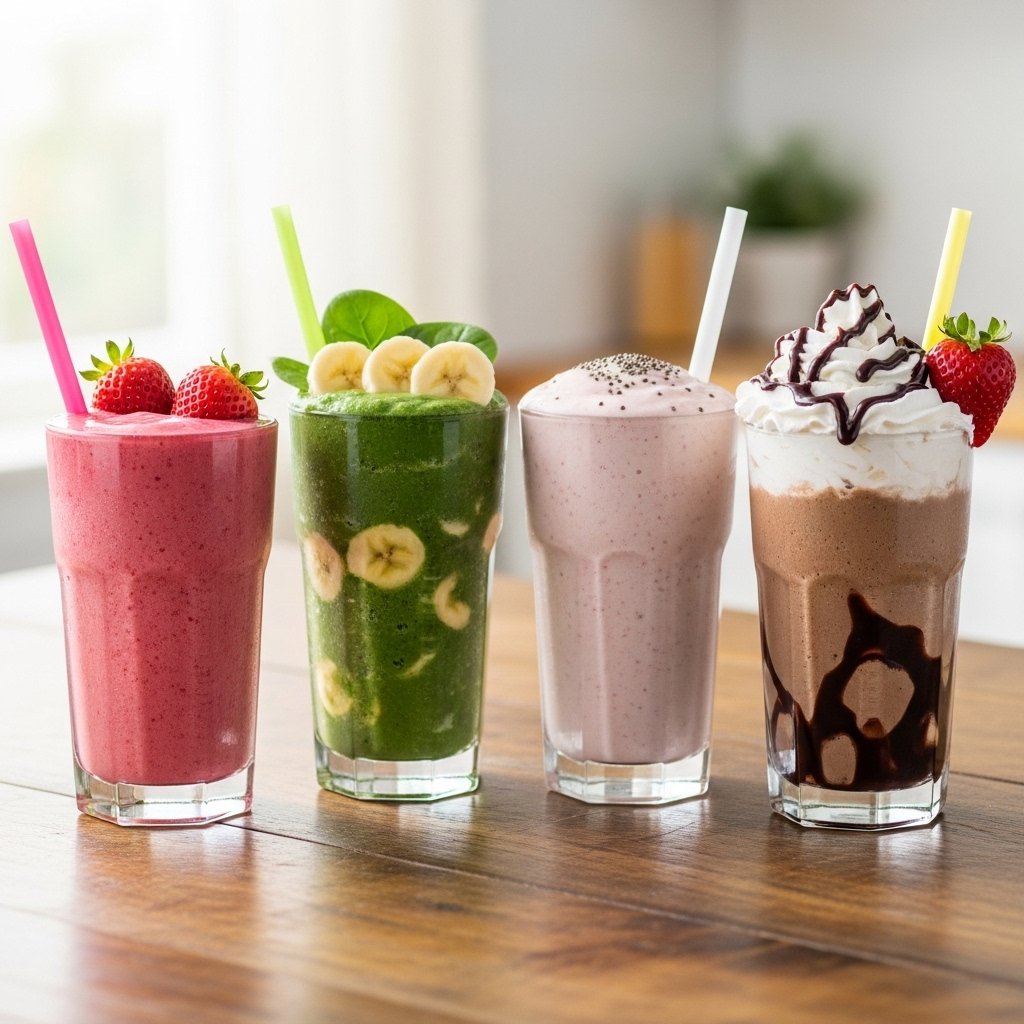
Variations to Try
Protein Smoothie
Add a scoop of protein powder.
Green Smoothie
Blend in spinach or kale.
Dairy-Free Option
Use almond, oat, or coconut milk.
Dessert Style
Add a scoop of vanilla ice cream.
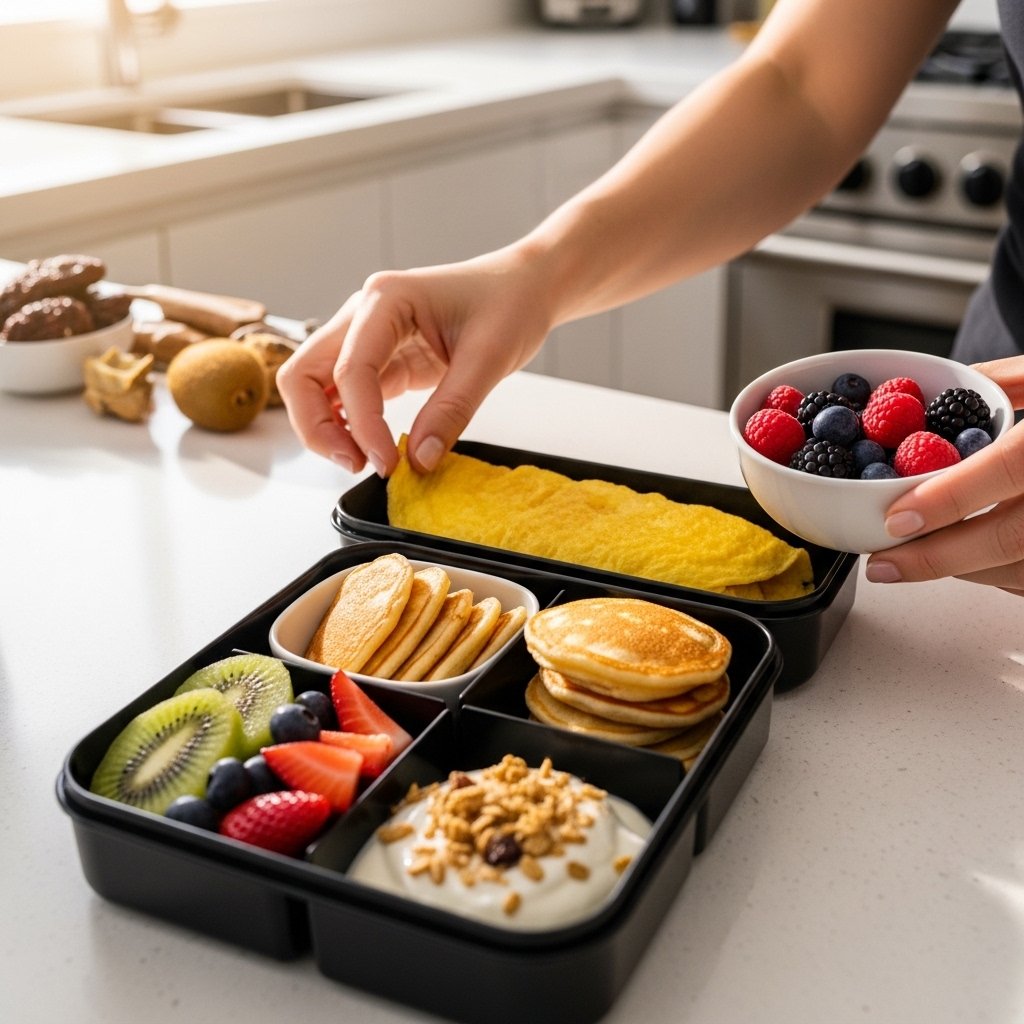
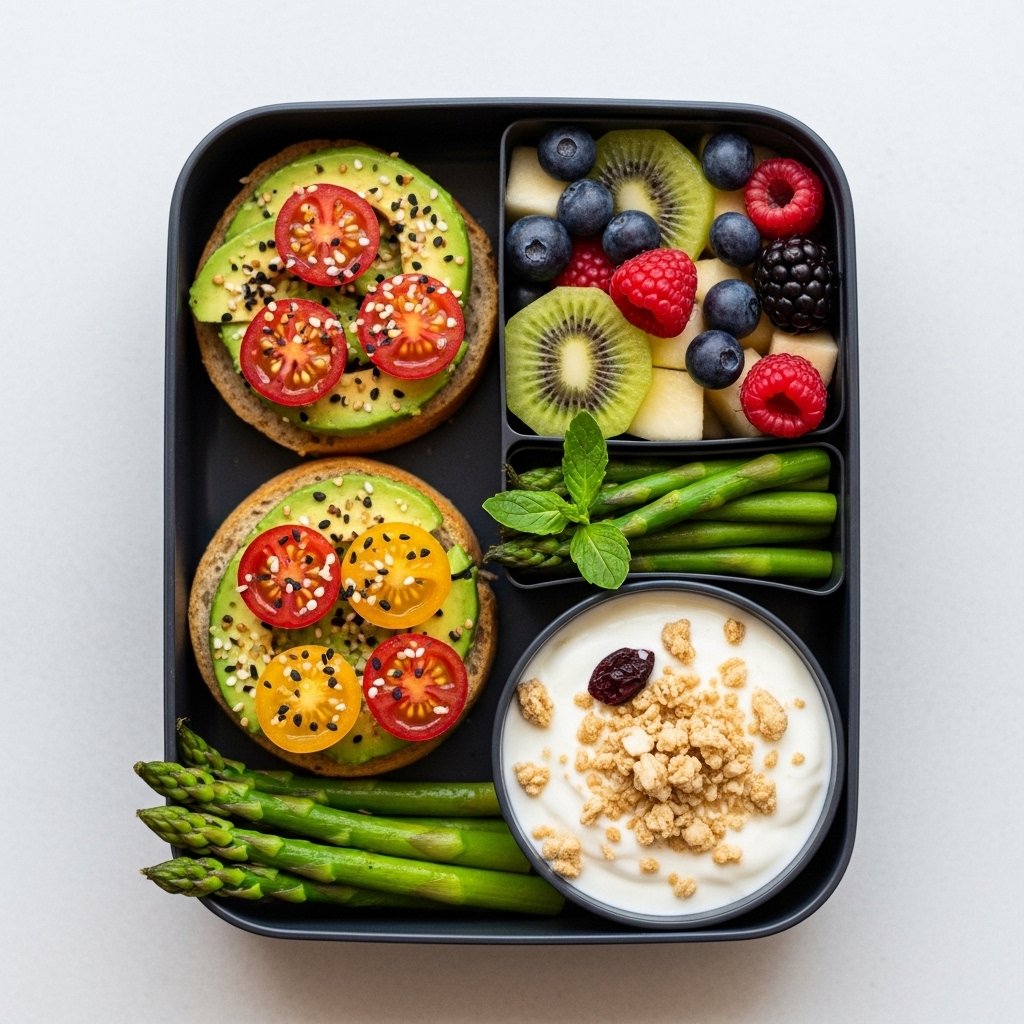
What to Serve With It
Pair your strawberry banana smoothie with:
- Toast or bagels
- Granola or oatmeal
- Fresh fruit bowls
It complements a balanced breakfast or snack perfectly.
Storage & Reheating
While best enjoyed fresh, you can store your strawberry banana smoothie:
- In the fridge for up to 24 hours
- In a sealed container to maintain freshness
- Shake or stir before drinking
Freezing is also an option for smoothie packs.
Common Mistakes to Avoid
Avoid these mistakes when making a strawberry banana smoothie:
- Using unripe bananas
- Adding too much liquid
- Over-blending (can thin texture)
- Skipping frozen ingredients for thickness
Keeping these in mind ensures a perfect smoothie every time.
FAQs
1. Can I make this smoothie without yogurt?
Yes, it’s still creamy thanks to the banana.
2. Is this smoothie good for weight loss?
It can be, especially if you control added sugars.
3. Can I use frozen bananas?
Absolutely—they make the smoothie even creamier.
4. How can I make it thicker?
Use frozen fruit or reduce the liquid.
Final Thoughts
This strawberry banana smoothie is a timeless favorite that never goes out of style. It’s quick, nutritious, and endlessly customizable—perfect for anyone looking to enjoy a healthy and delicious drink.
Whether you’re starting your day or refueling after a workout, this smoothie delivers flavor, energy, and satisfaction in every sip. Try it once, and it’s sure to become a regular part of your routine.