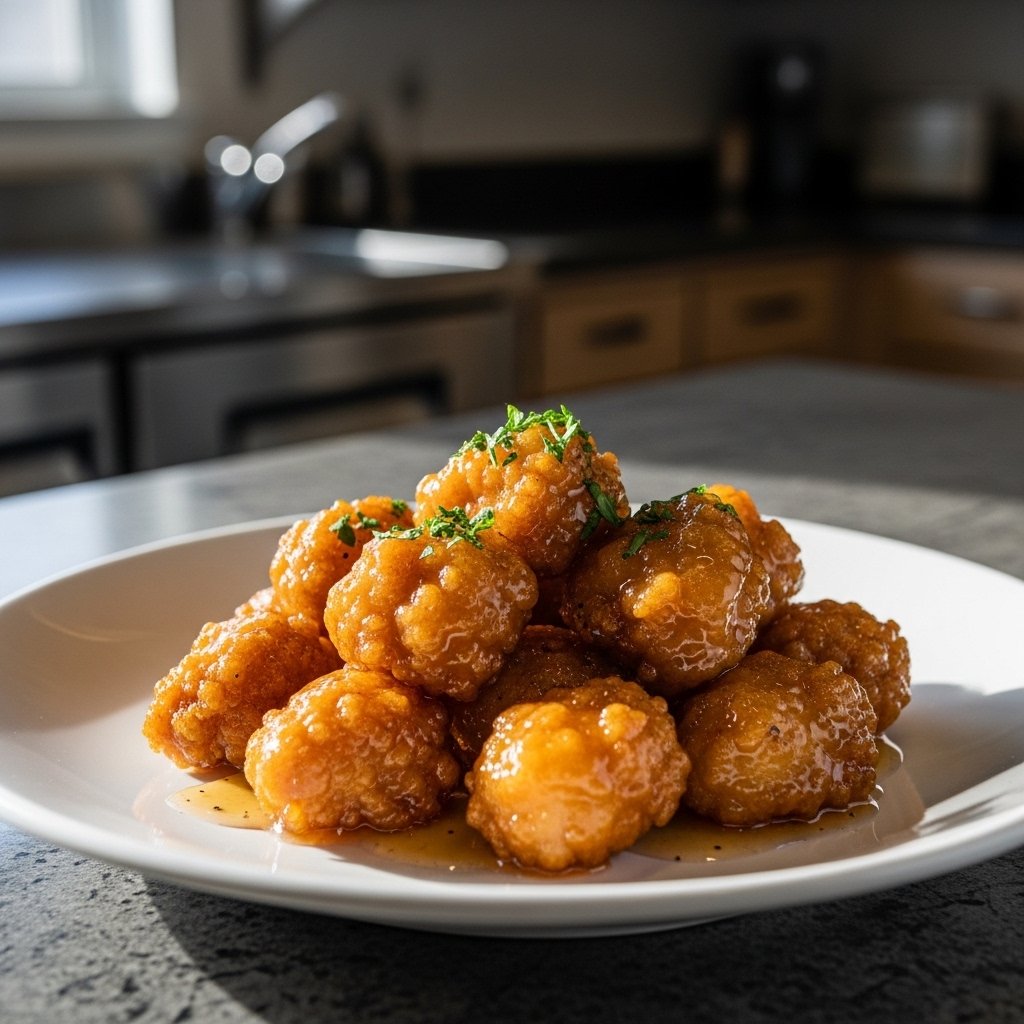
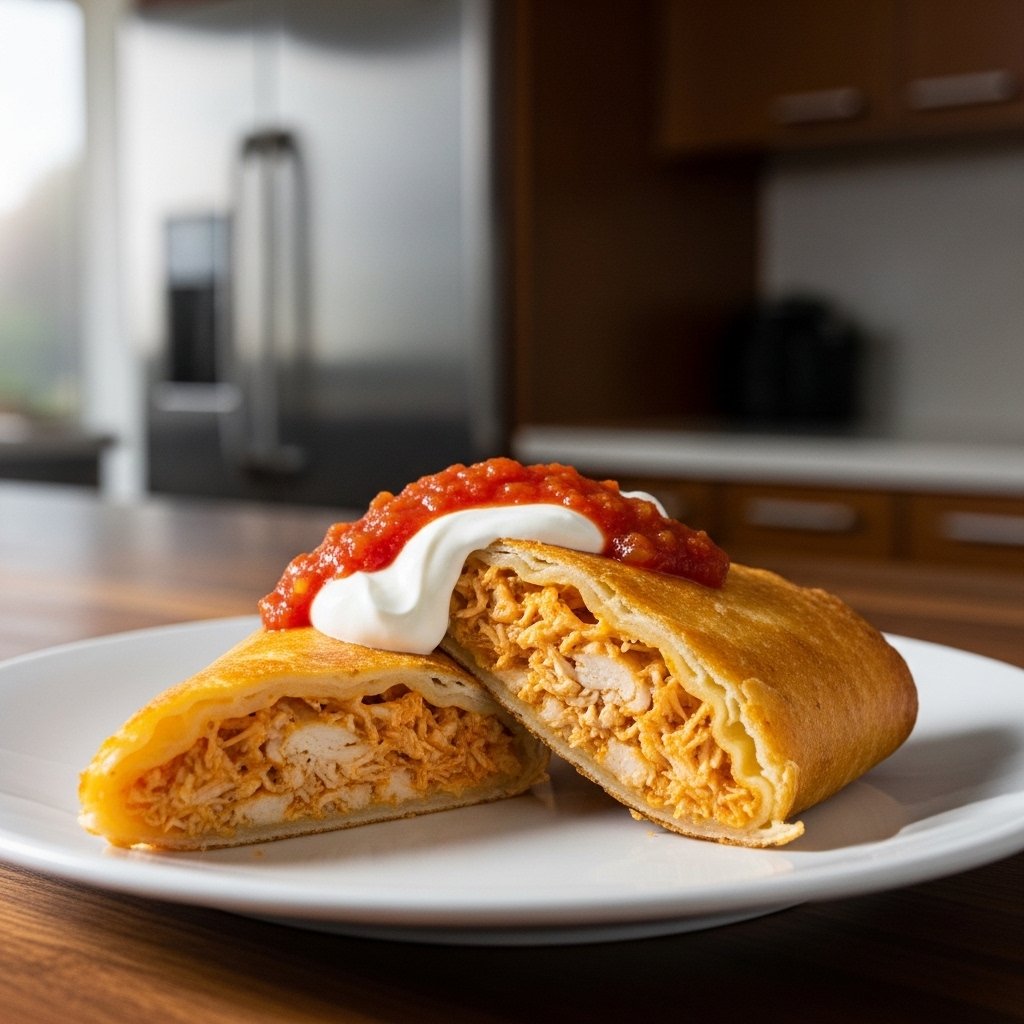
If you’re craving something crunchy, cheesy, and packed with bold flavor, these crispy chicken chimichangas are exactly what you need. This Tex-Mex favorite transforms simple ingredients into a golden, deep-fried masterpiece that’s crispy on the outside and irresistibly savory on the inside.
Whether you’ve enjoyed chimichangas at your favorite restaurant or are trying them for the first time, this homemade version delivers everything you love—without the need for complicated techniques. With seasoned shredded chicken, melted cheese, and a perfectly crisp tortilla, these chimichangas are pure comfort food.
Why You’ll Love This Recipe
These crispy chicken chimichangas are guaranteed to become a household favorite for so many reasons:
- Ultra crispy exterior with a satisfying crunch
- Flavor-packed filling with seasoned chicken and cheese
- Easy to customize with your favorite ingredients
- Perfect for family dinners or parties
- Freezer-friendly and great for meal prep
Once you make them at home, you’ll realize just how simple and delicious this classic dish can be.
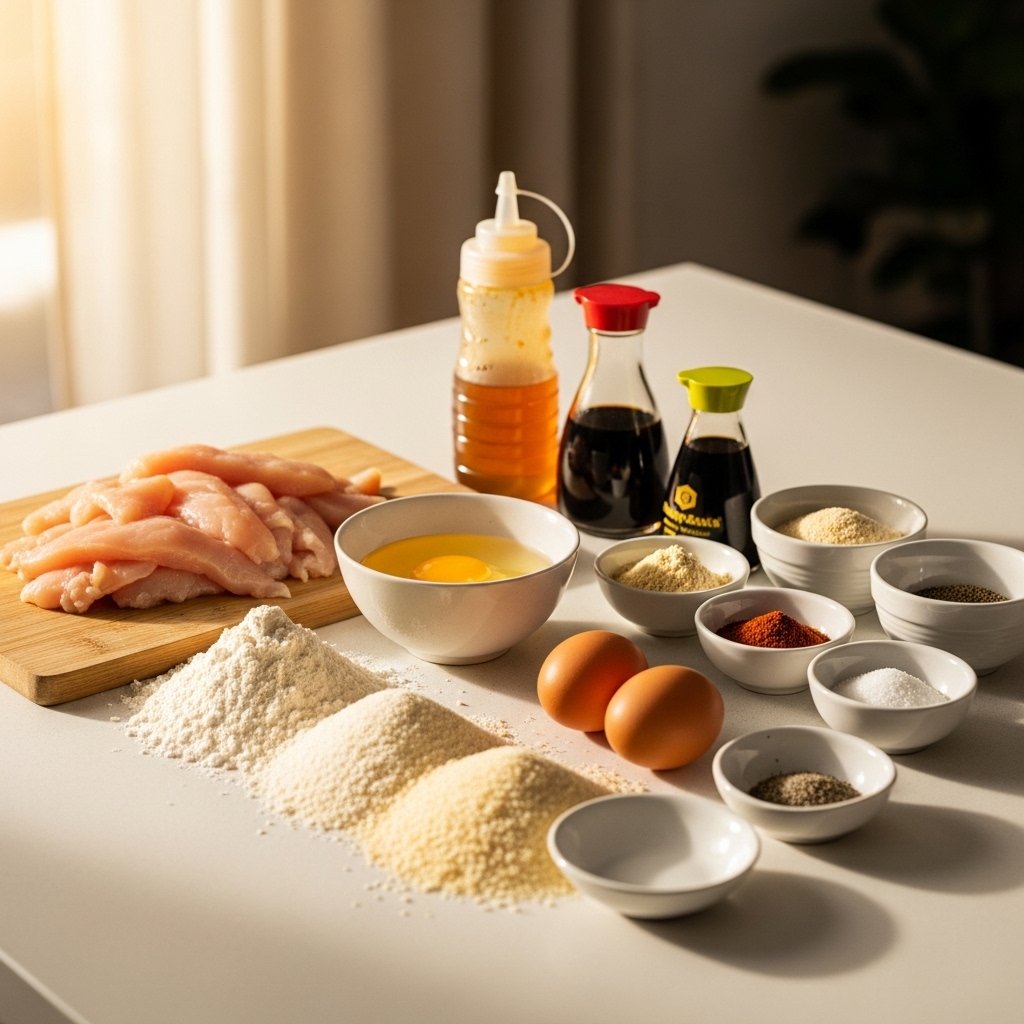
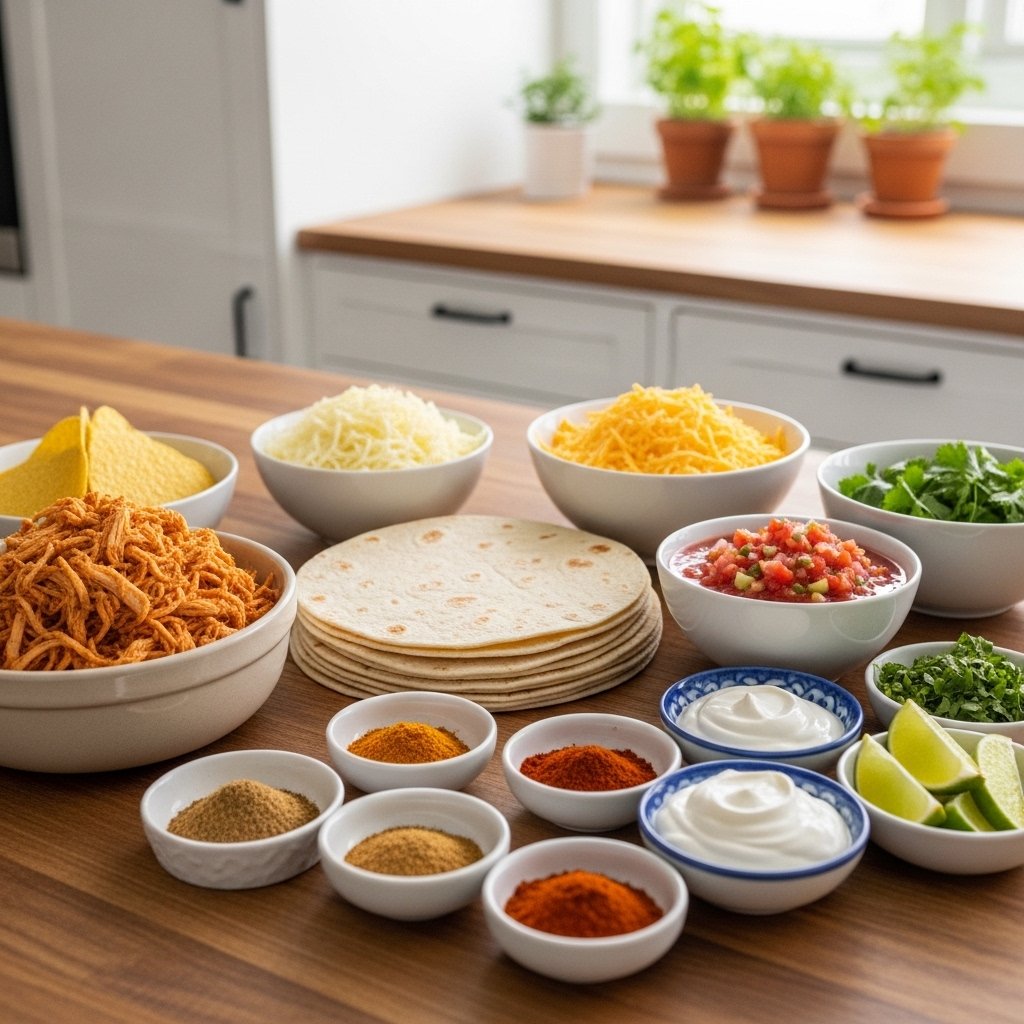
Ingredients
Here’s everything you need to make the best crispy chicken chimichangas:
For the Filling:
- 2 cups cooked shredded chicken
- 1 cup shredded cheese (cheddar or Mexican blend)
- ½ cup salsa
- 1 teaspoon chili powder
- ½ teaspoon cumin
- Salt and pepper to taste
For Assembly:
- 6 large flour tortillas
- Oil for frying
Optional Toppings:
- Sour cream
- Guacamole
- Salsa
- Fresh cilantro
Ingredient Notes
To make truly delicious chicken chimichangas, a few ingredient tips go a long way.
Chicken Options
Rotisserie chicken is a fantastic shortcut, adding both flavor and convenience. You can also use leftover grilled or baked chicken.
Cheese Choices
A Mexican blend melts beautifully, but cheddar, Monterey Jack, or even pepper jack can add a unique twist.
Tortillas
Use large, soft flour tortillas to ensure easy rolling without tearing.
Step-by-Step Instructions
Making crispy chicken chimichangas at home is easier than you think. Follow these simple steps:
1. Prepare the Filling
In a bowl, mix shredded chicken, cheese, salsa, and spices until well combined.
2. Fill the Tortillas
Place a generous portion of filling in the center of each tortilla.
3. Fold and रोल
Fold in the sides, then roll tightly like a burrito to seal.
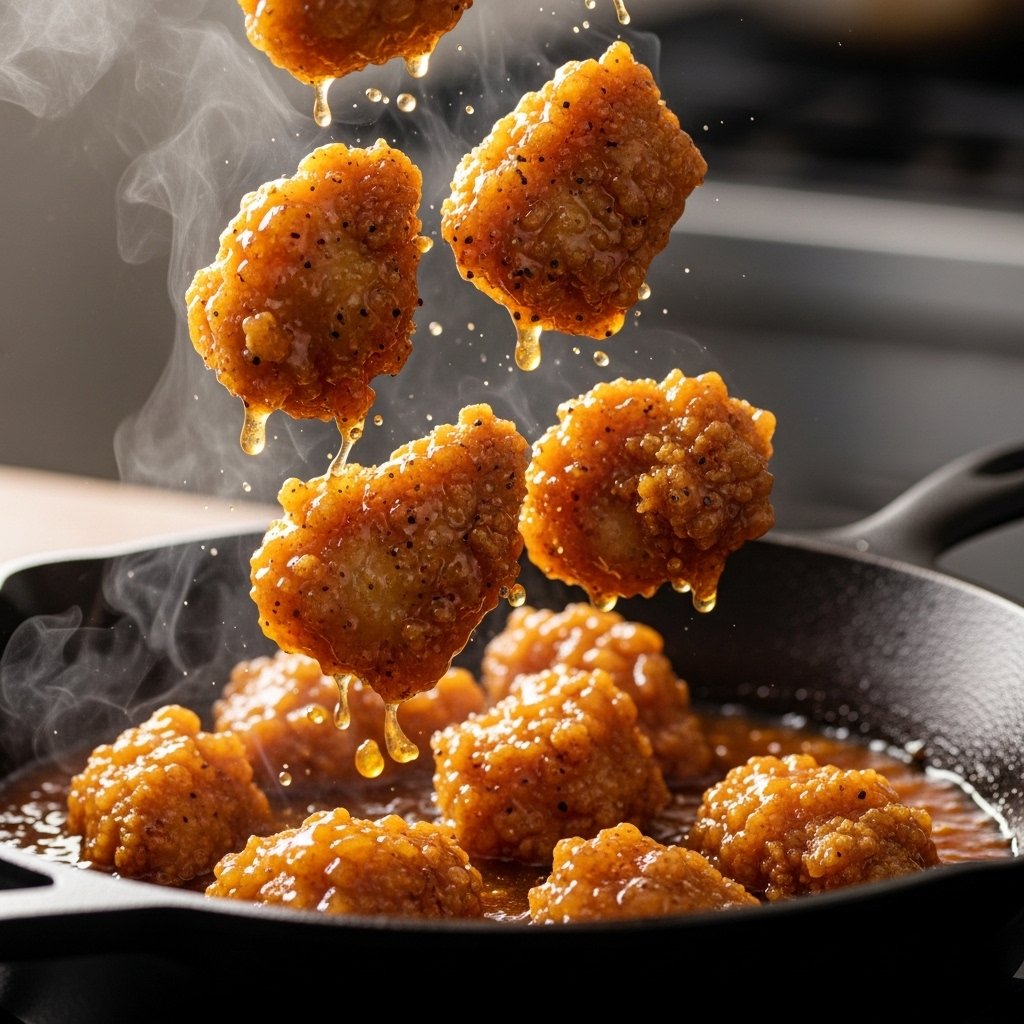
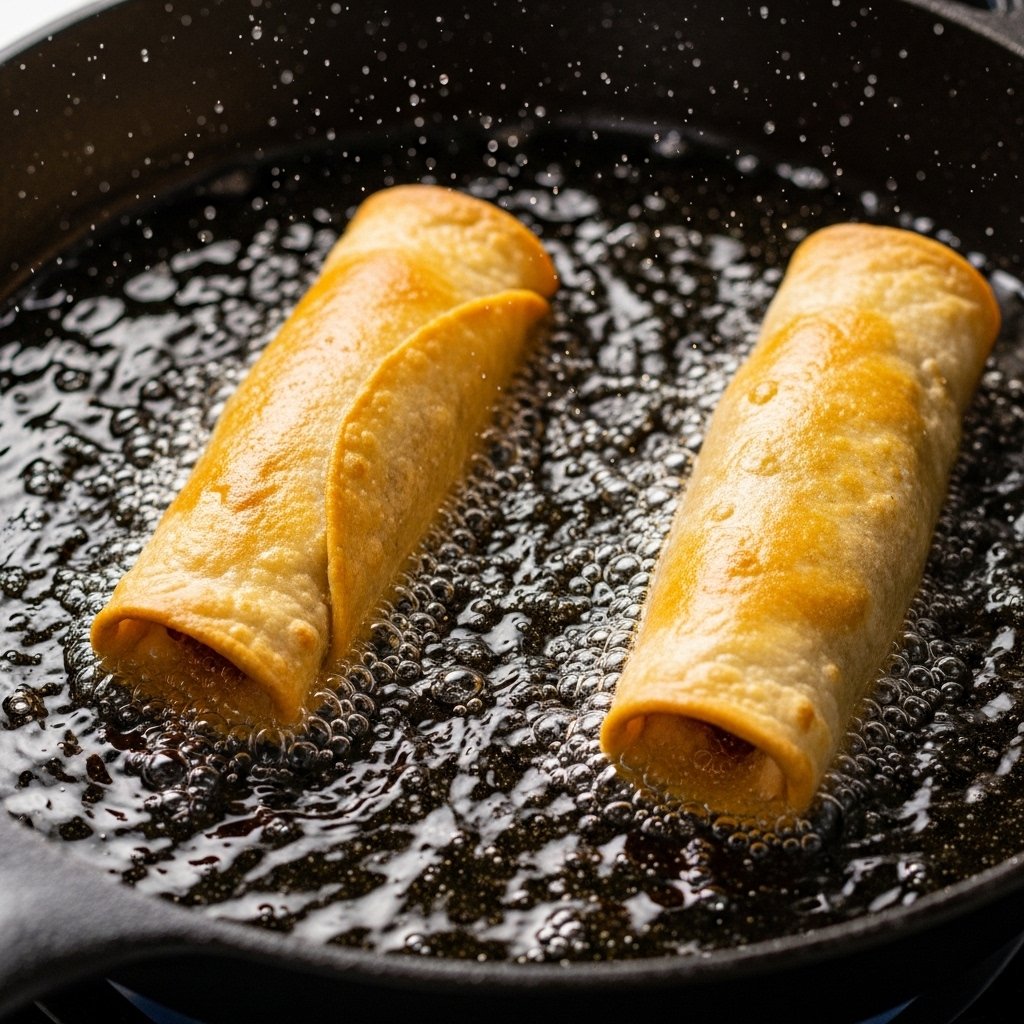
4. Fry Until Golden
Heat oil in a pan and fry chimichangas seam-side down until golden and crispy on all sides.
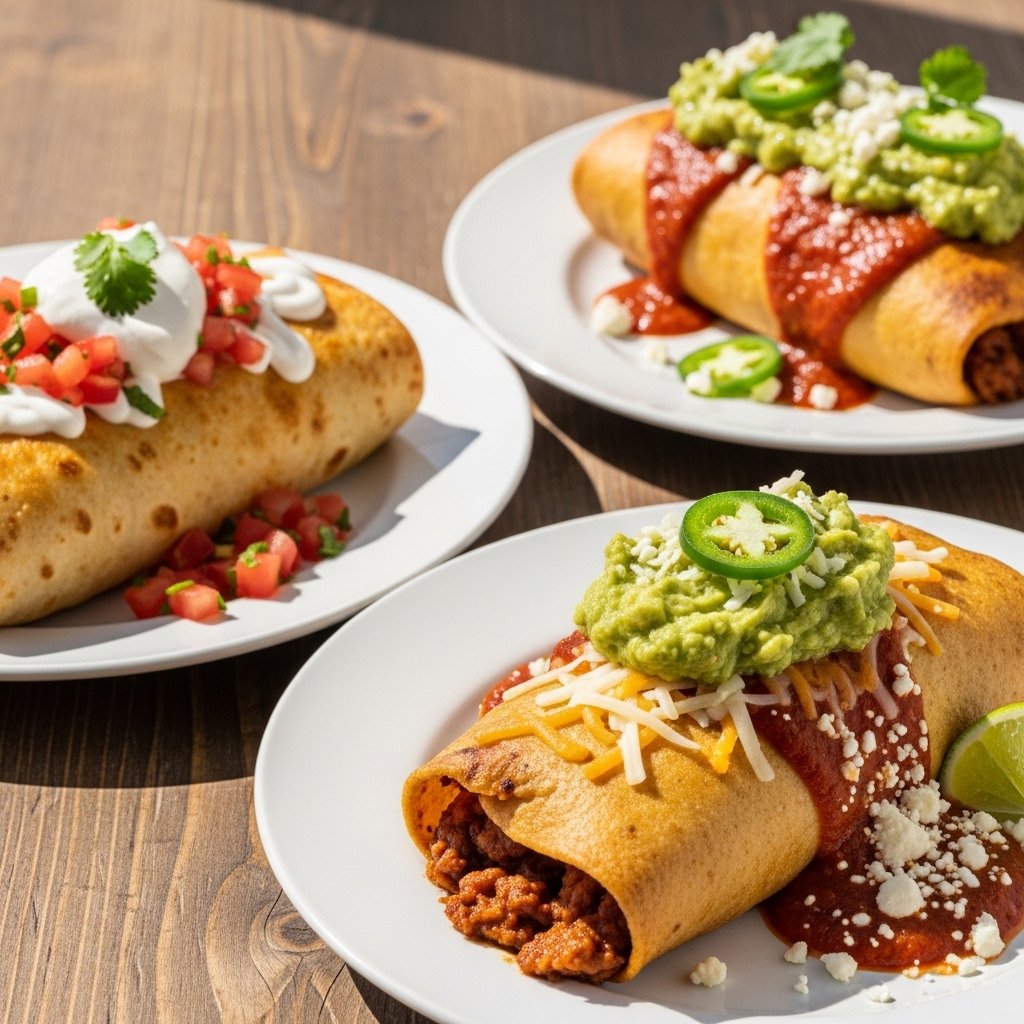
5. Drain and Serve
Place on paper towels to remove excess oil, then serve hot with toppings.
Tips for Perfect Results
For the crispiest and most flavorful crispy chicken chimichangas, keep these tips in mind:
- Don’t overfill the tortillas to prevent bursting
- Secure tightly before frying
- Use medium heat for even browning
- Drain properly to keep them crispy
Taking your time during assembly makes a big difference in the final result.
Variations
One of the best things about this chicken chimichangas recipe is how versatile it is.
Healthier Option
- Bake at 400°F for 20–25 minutes or air fry instead of deep frying
Flavor Variations
- Add black beans or rice to the filling
- Use spicy salsa for extra heat
- Include sautéed onions and peppers
Protein Swaps
- Ground beef
- Shredded pork
- Vegetarian beans and veggies
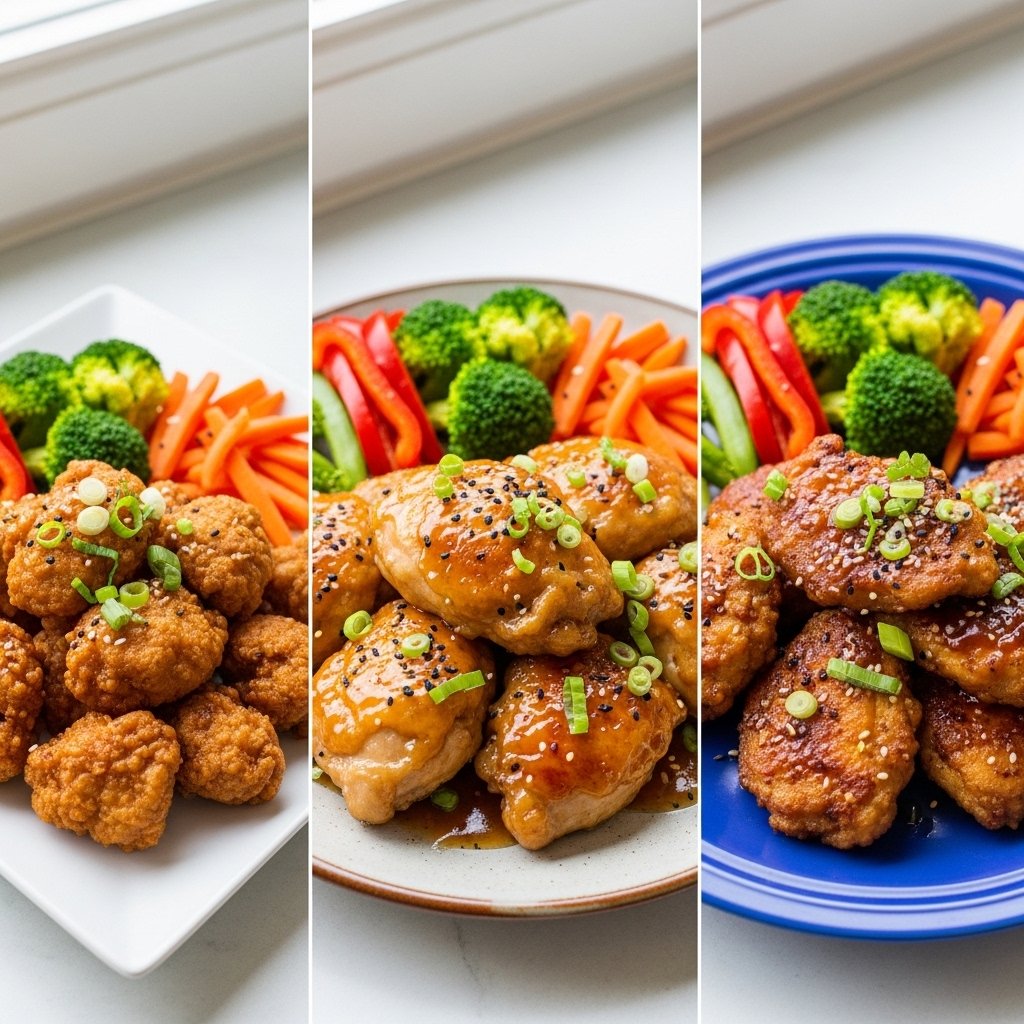
What to Serve With It
Pair your crispy chicken chimichangas with delicious sides to create a complete meal:
- Mexican rice
- Refried beans
- Corn salad
- Chips and guacamole
- Fresh green salad
These sides complement the rich, crispy chimichangas perfectly.
Storage & Reheating
If you have leftovers, here’s how to keep your chicken chimichangas fresh:
Storage
- Store in an airtight container in the fridge for up to 3 days
Freezing
- Wrap individually and freeze for up to 2 months
Reheating
- Reheat in oven or air fryer to restore crispiness
- Avoid microwaving for best texture
Proper reheating helps maintain that signature crunch.
Common Mistakes
Avoid these common mistakes when making crispy chicken chimichangas:
- Overfilling the tortillas
- Not sealing them tightly
- Frying at too high heat
- Skipping the draining step
Paying attention to these details ensures perfect results every time.
FAQs
What is a chimichanga?
A chimichanga is a deep-fried burrito, typically filled with meat, cheese, and other flavorful ingredients.
Can I bake chimichangas instead of frying?
Yes! Baking is a great healthier alternative, though they’ll be slightly less crispy.
How do I keep chimichangas from falling apart?
Roll them tightly and place seam-side down first when frying.
Can I make them ahead of time?
Absolutely! Assemble them in advance and fry or bake when ready to serve.
Final Thoughts
These crispy chicken chimichangas are everything you want in a comfort food meal—crunchy, cheesy, flavorful, and incredibly satisfying. With simple ingredients and easy steps, you can recreate a restaurant-quality dish right at home.
Whether you fry, bake, or air fry them, this recipe is flexible, delicious, and sure to impress. Once you try it, it’ll quickly become a regular in your dinner rotation.