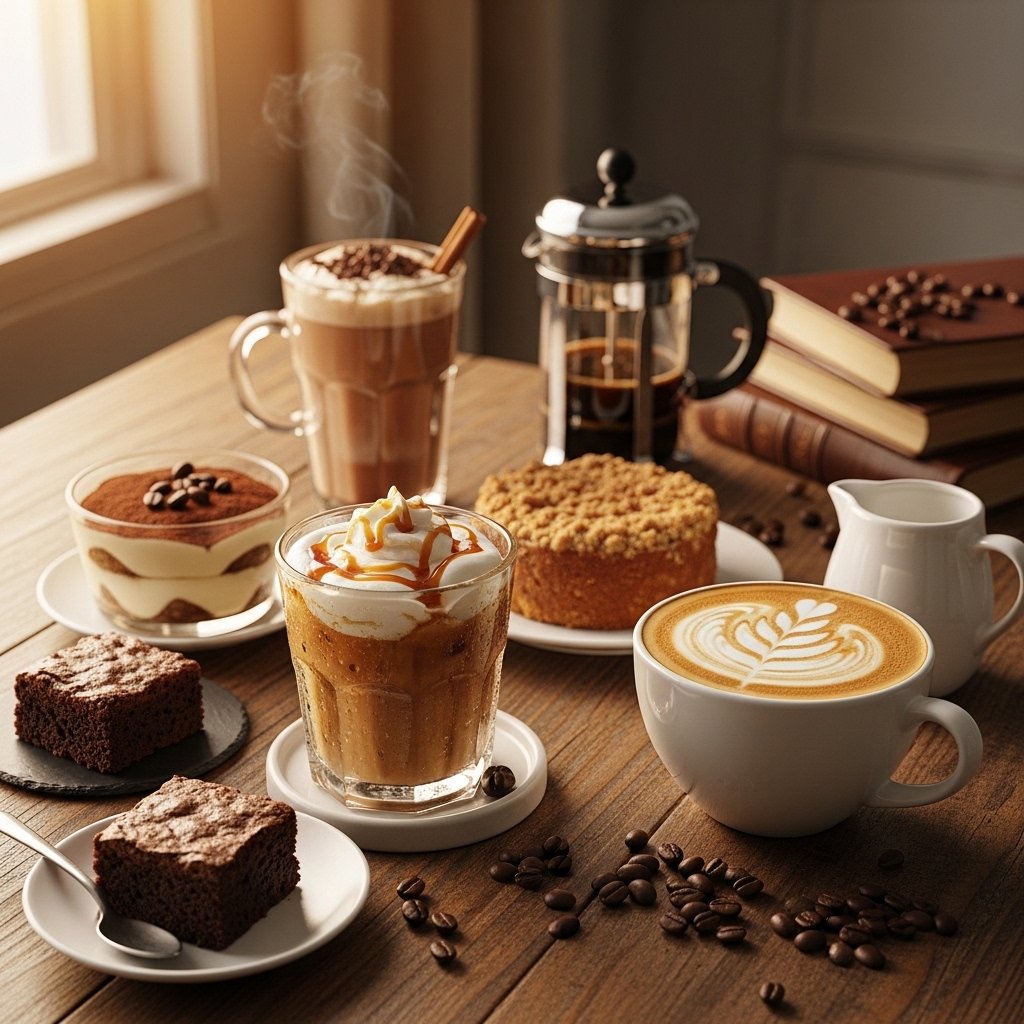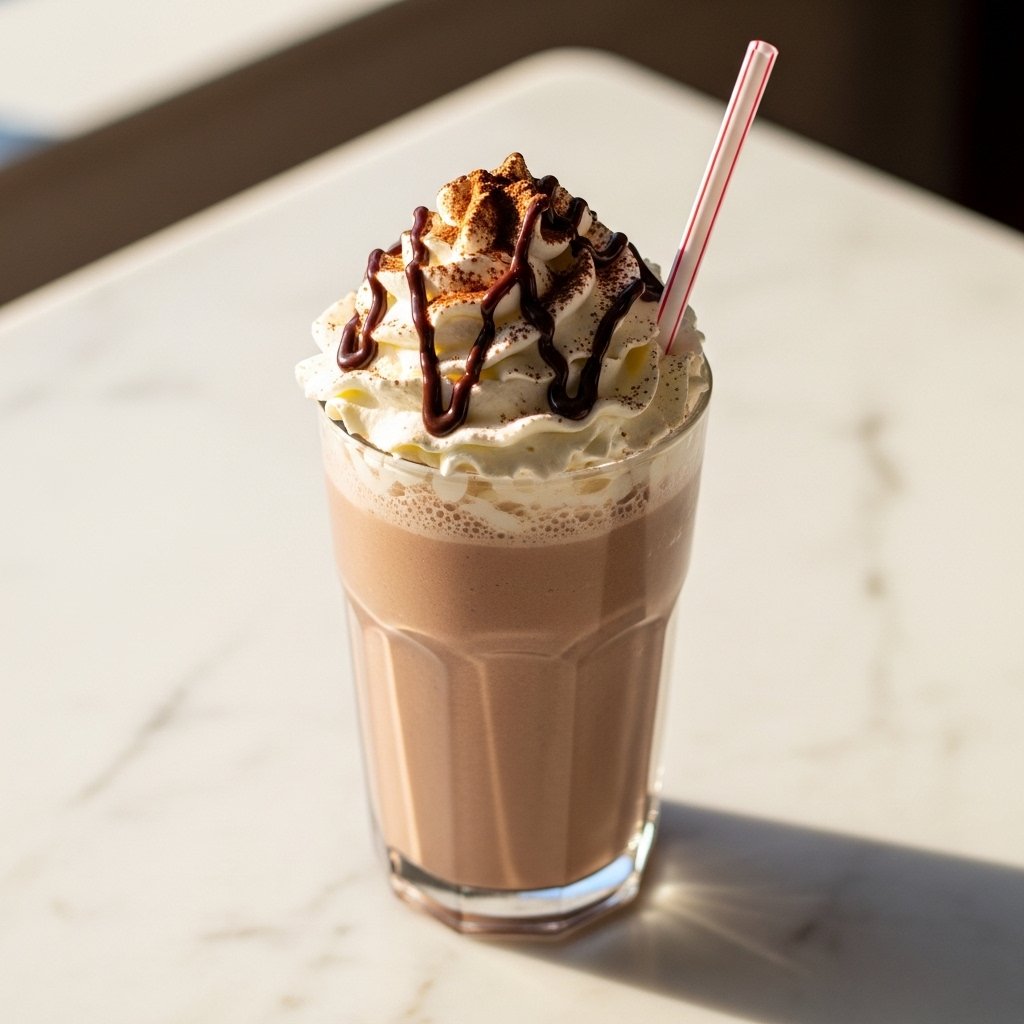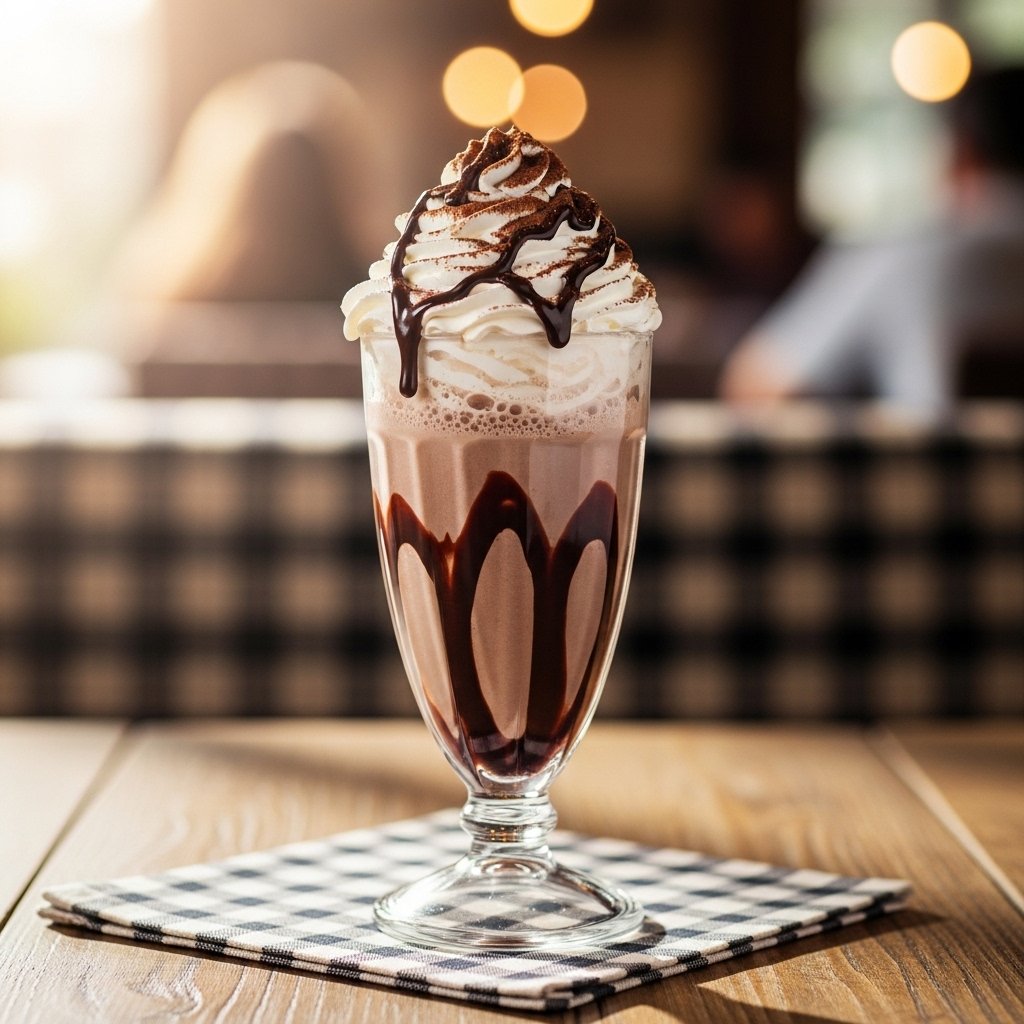
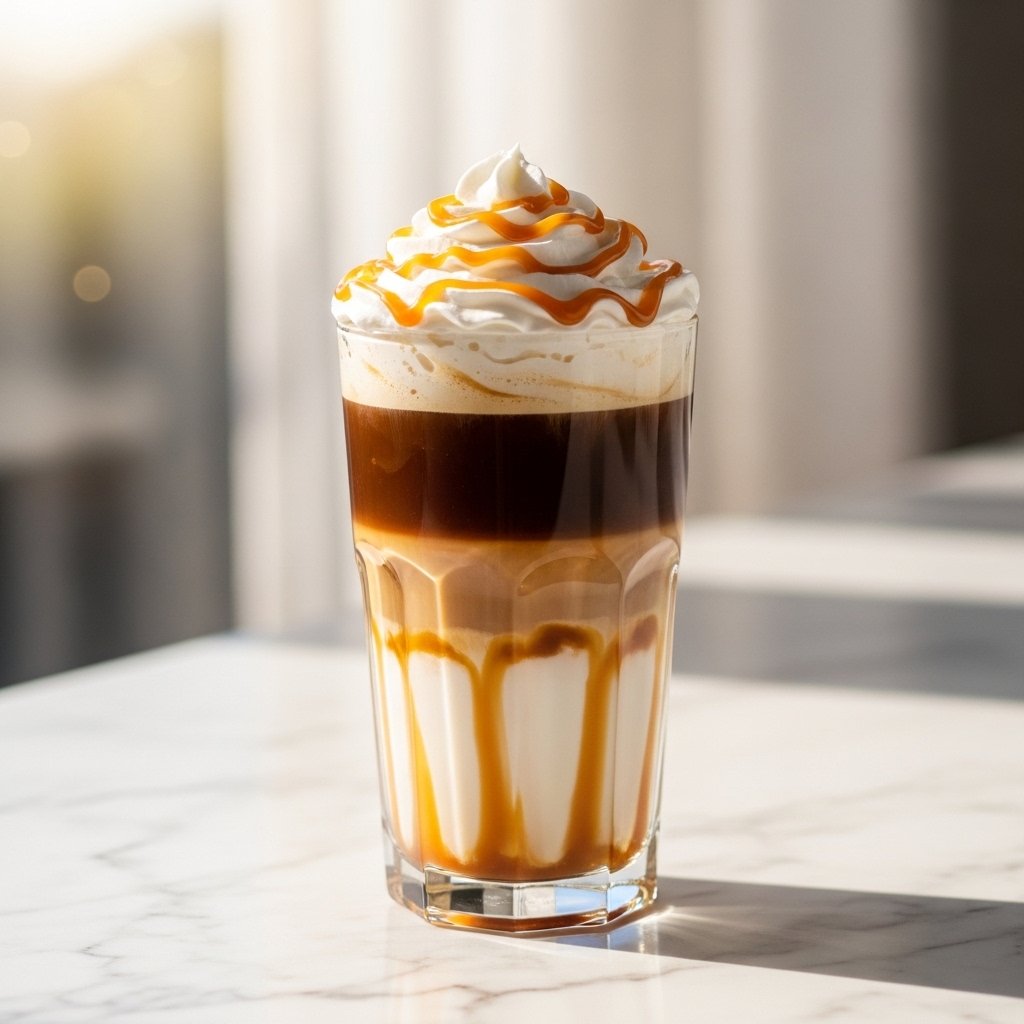
If you love café-style drinks but want to enjoy them at home without spending extra money, this Homemade Caramel Sauce Coffee Delight is about to become your new favorite recipe. It’s rich, smooth, and perfectly balanced with bold coffee flavor and buttery caramel sweetness in every sip.
This drink is more than just coffee—it’s a cozy experience in a cup. Whether you’re starting your morning, taking a mid-day break, or treating yourself after dinner, this caramel coffee delight brings warmth and comfort instantly. The best part is that it only requires a few simple ingredients, yet tastes like something from a high-end coffee shop.
Why You’ll Love This Homemade Caramel Sauce Coffee Delight
There are many reasons why this Homemade Caramel Sauce Coffee Delight will become a staple in your kitchen.
- Café-quality at home: Tastes like a professional coffee shop drink
- Quick and easy: Ready in under 10 minutes
- Budget-friendly: Uses simple pantry ingredients
- Customizable sweetness: Adjust caramel and coffee strength easily
- Perfect for any season: Enjoy it hot or iced
This drink is the perfect blend of comfort and indulgence, making every sip feel special.
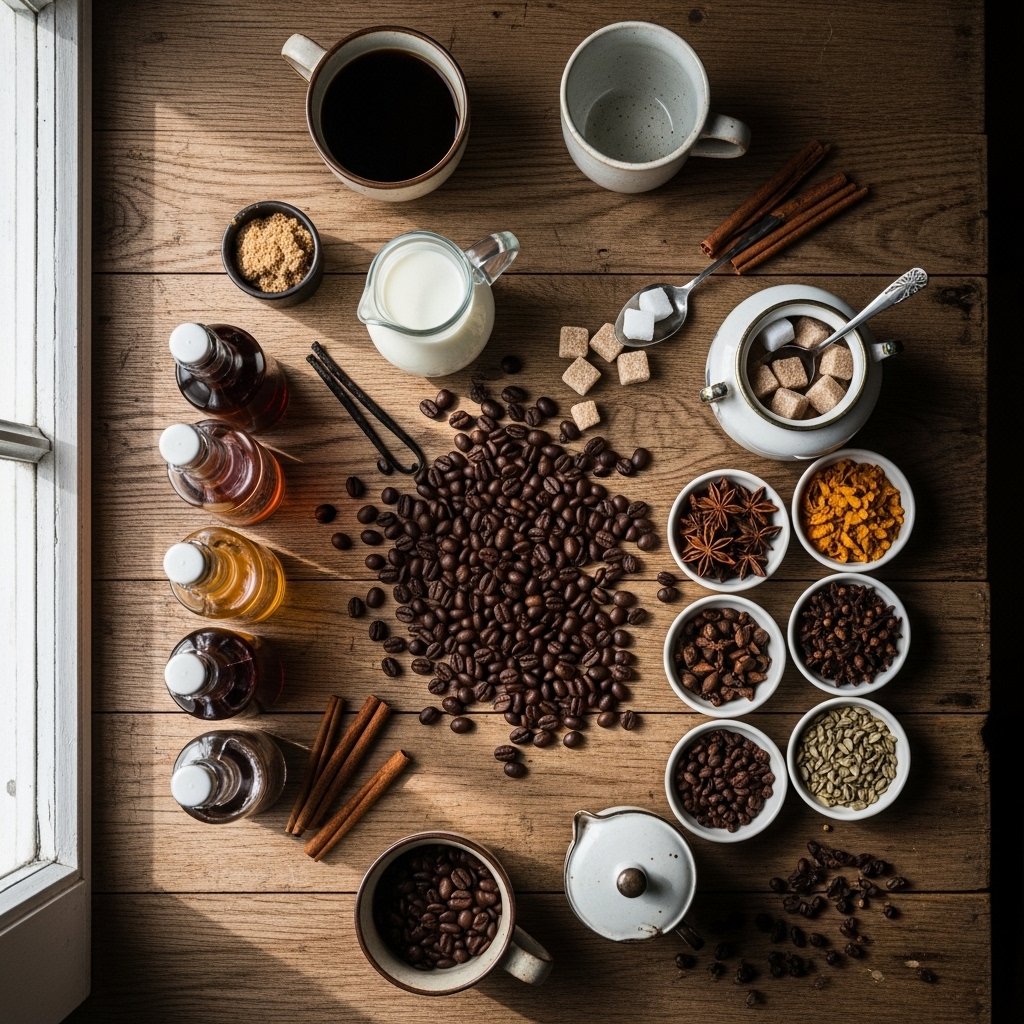
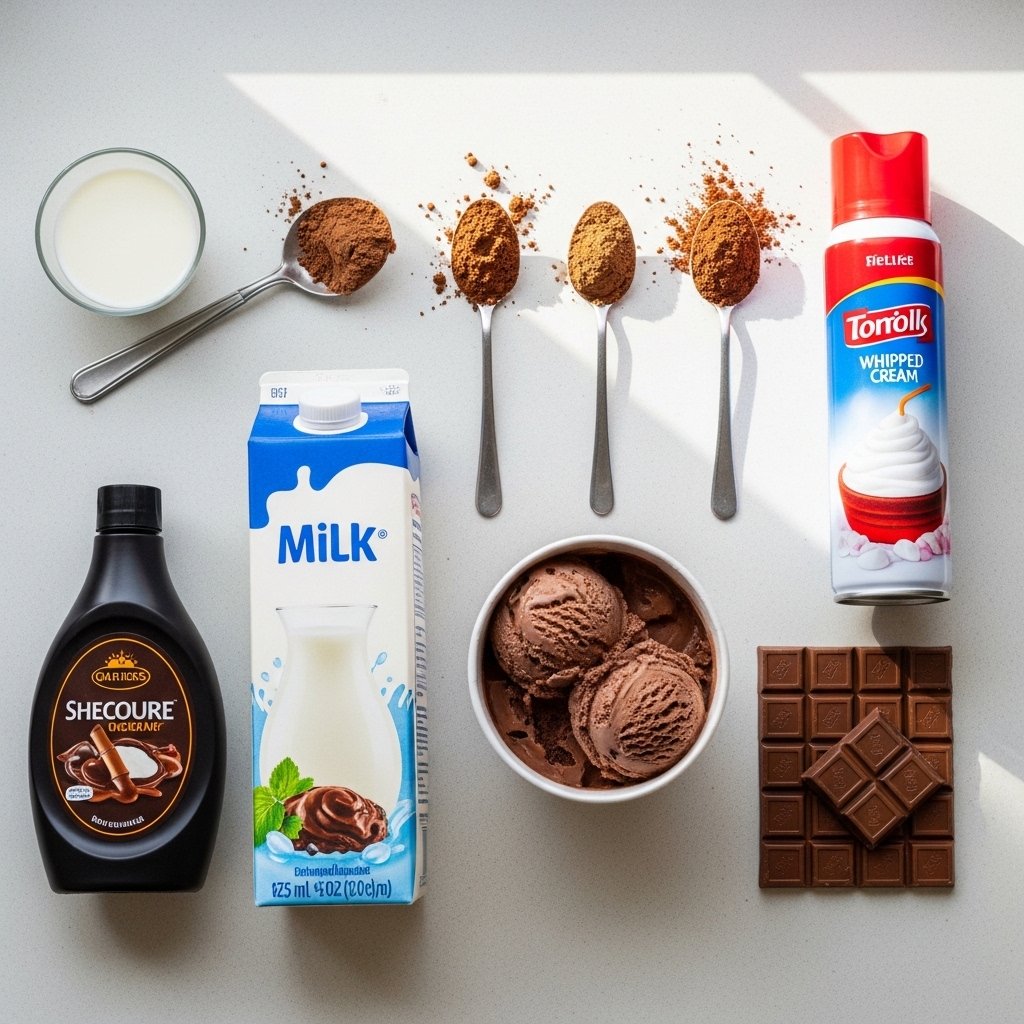
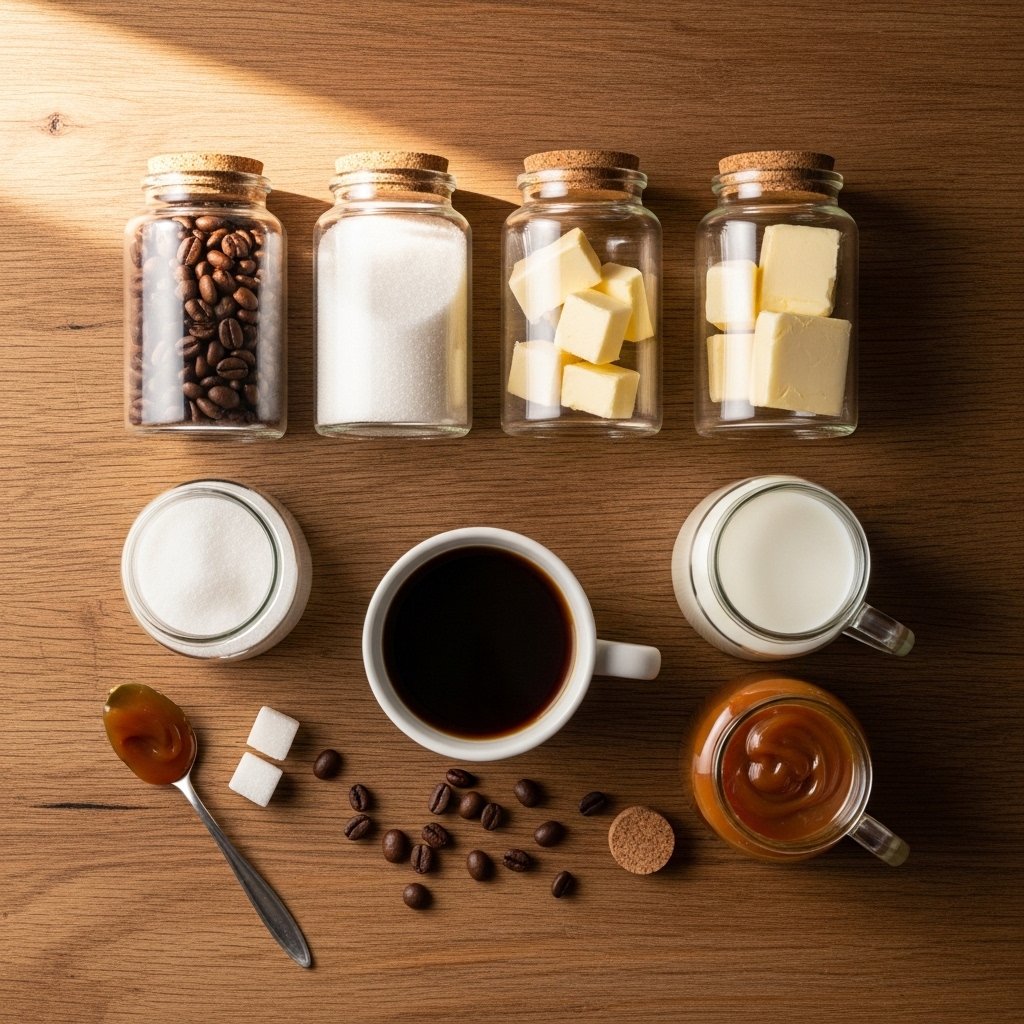
Ingredients
To make the perfect Homemade Caramel Sauce Coffee Delight, you’ll need:
Coffee Base:
- Freshly brewed hot coffee or espresso
- Instant coffee (optional quick version)
Caramel Sauce:
- Granulated sugar
- Butter
- Heavy cream
- Pinch of salt
Milk & Toppings:
- Whole milk or oat milk
- Whipped cream
- Extra caramel drizzle
- Ice cubes (for iced version)
Ingredient Notes
The secret to a great Homemade Caramel Sauce Coffee Delight is the quality of your caramel sauce. Homemade caramel gives a deep, buttery flavor that store-bought versions often lack. However, if you’re short on time, a good-quality store-bought caramel sauce can still work well.
For coffee, freshly brewed espresso creates the strongest and richest flavor, but strong drip coffee also works. Whole milk creates a creamy texture, while oat milk adds a slightly nutty sweetness that pairs beautifully with caramel.
Step-by-Step Instructions
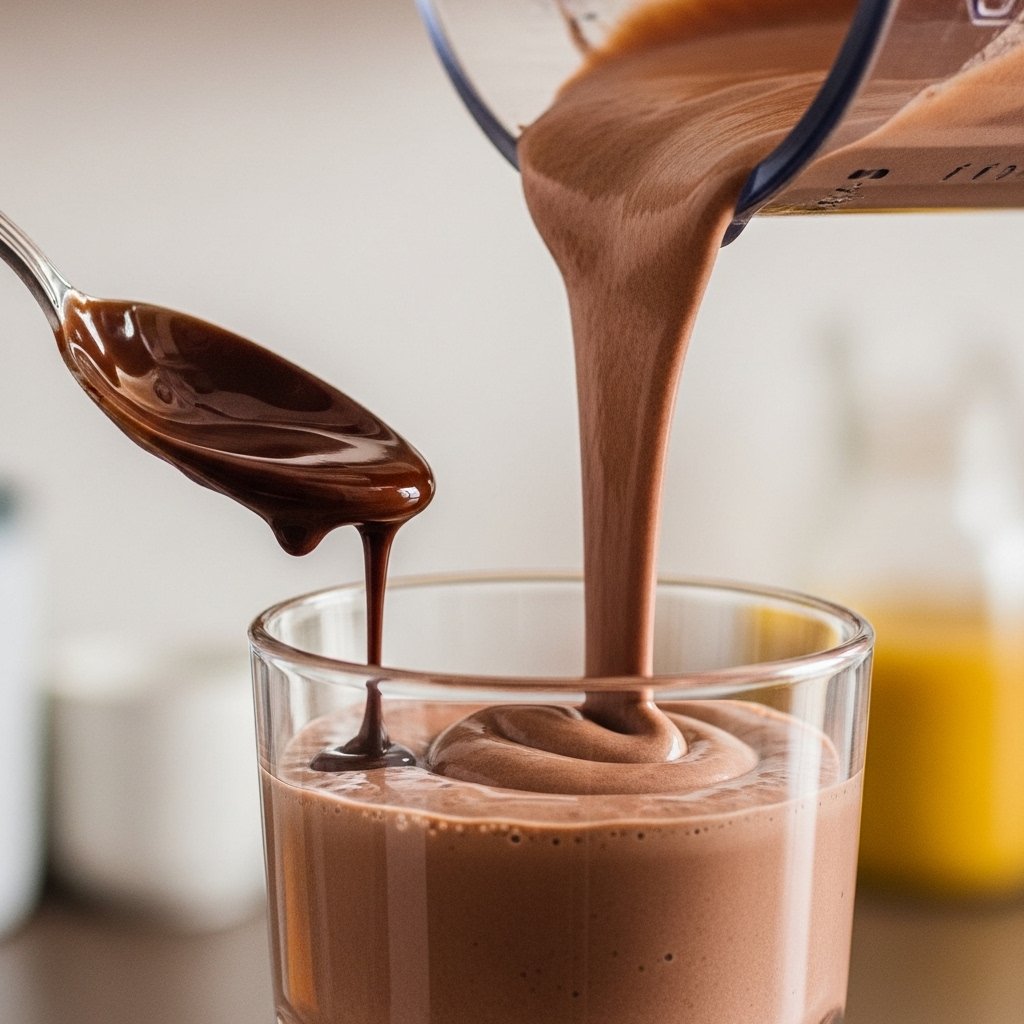
Step 1: Make the Caramel Sauce
In a saucepan, melt sugar over medium heat until golden brown. Add butter and stir, then slowly pour in heavy cream. Mix until smooth and set aside.
Step 2: Brew the Coffee
Prepare strong hot coffee or espresso depending on your preference.
Step 3: Assemble the Drink
Add caramel sauce to your cup, pour in coffee, then add milk and stir well.
Step 4: Add Finishing Touches
Top with whipped cream and a generous caramel drizzle for extra indulgence.

Tips for Perfect Results
To make the best Homemade Caramel Sauce Coffee Delight, follow these expert tips:
- Stir caramel constantly to avoid burning
- Use warm milk for a smoother blend
- Adjust sweetness gradually to taste
- Froth milk for a café-style texture
- Use a clear glass to show beautiful layers
These small details make your drink look and taste professional.
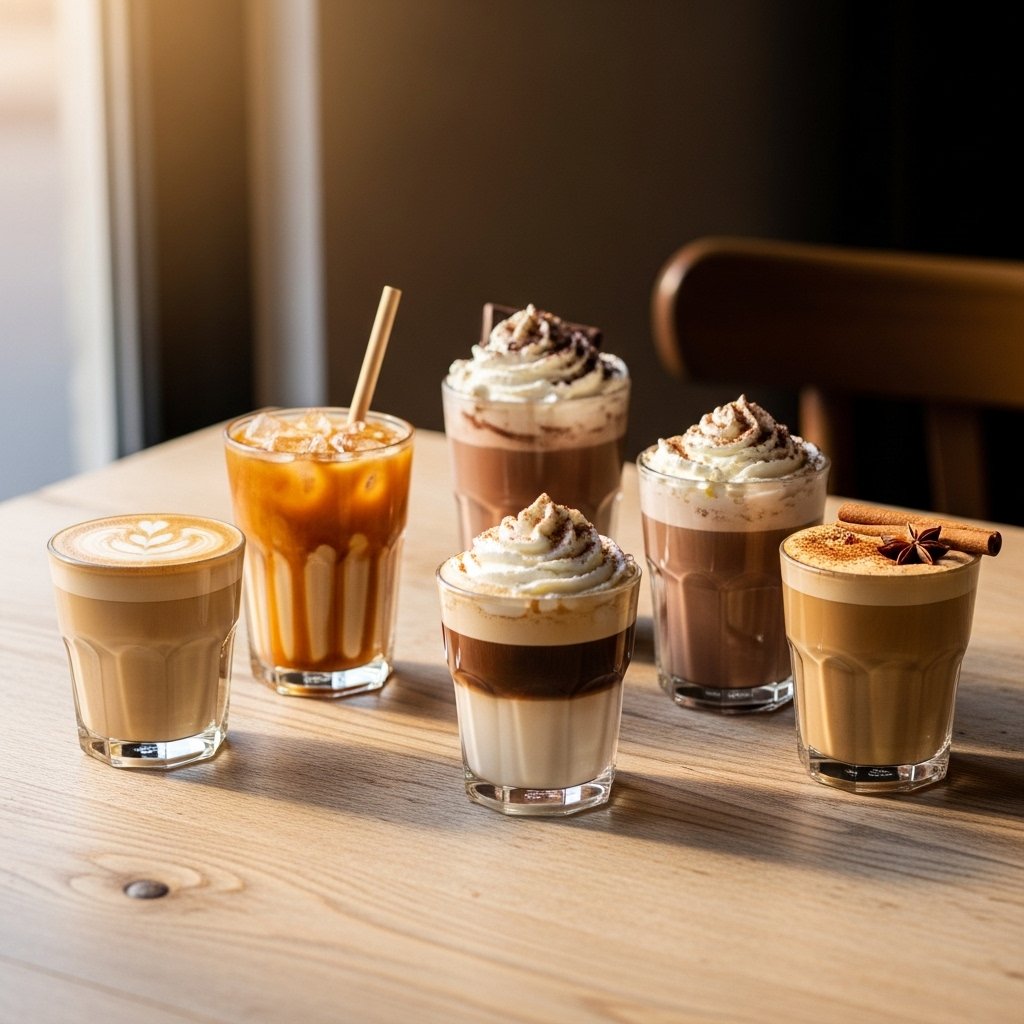
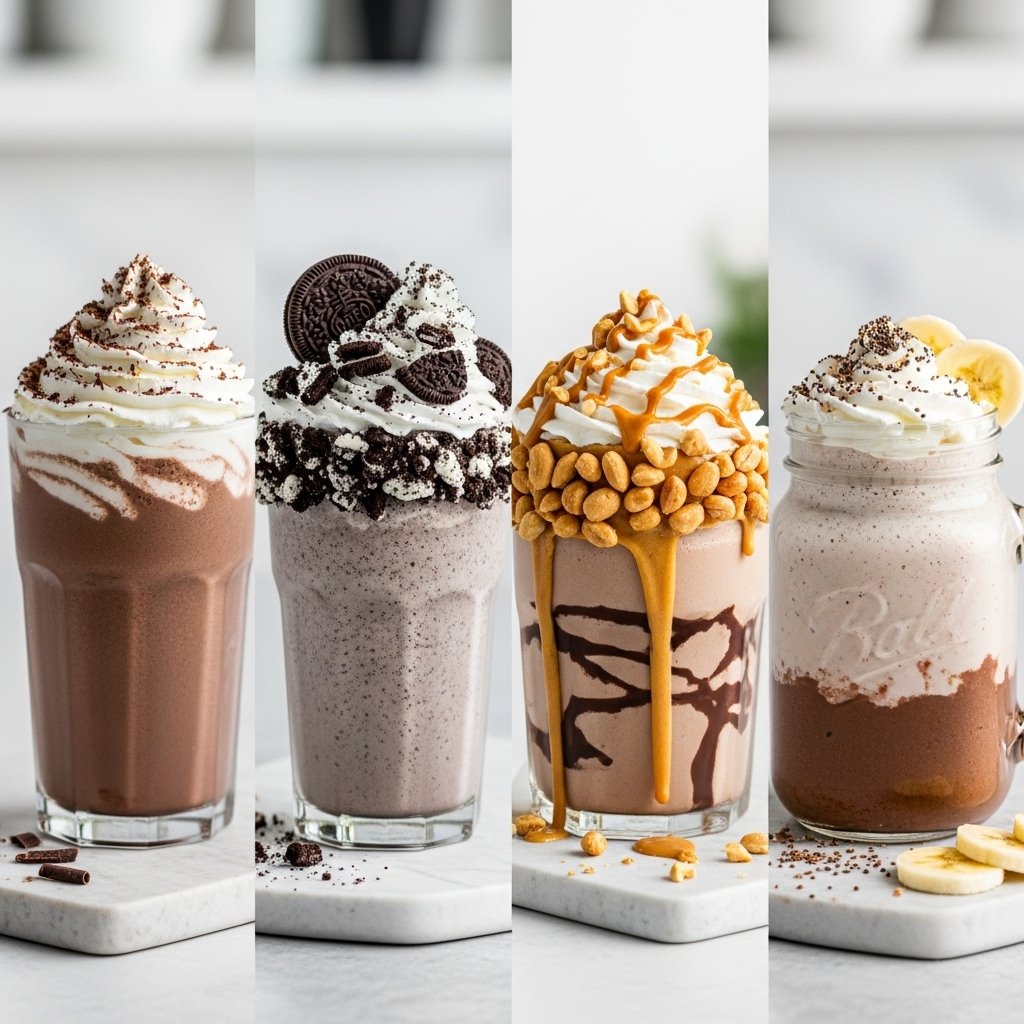
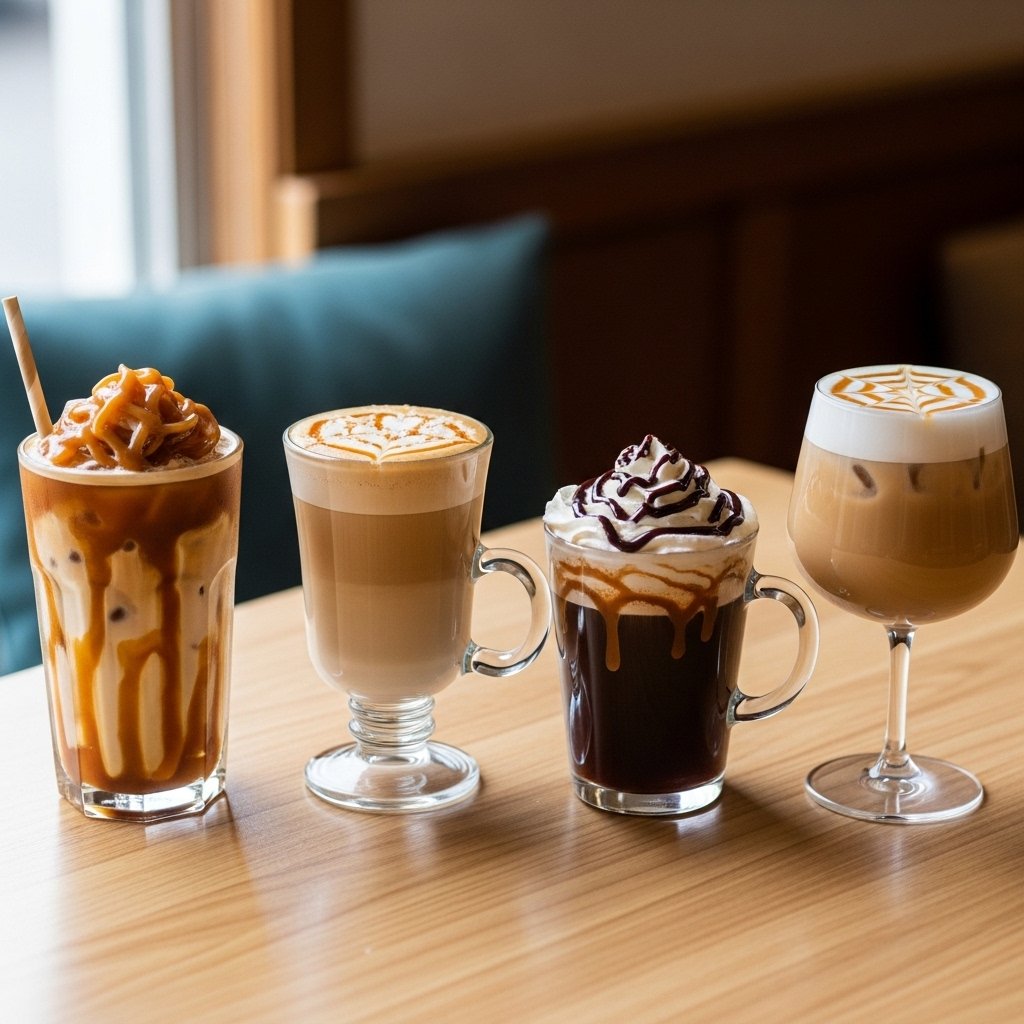
Variations
This Homemade Caramel Sauce Coffee Delight is easy to customize based on your preferences.
Iced Caramel Coffee Delight
- Pour over ice and use cold milk for a refreshing version
Salted Caramel Coffee
- Add extra sea salt to enhance caramel depth
Mocha Caramel Delight
- Add cocoa powder or chocolate syrup for a chocolate twist
Vegan Version
- Use plant-based milk and vegan butter for caramel
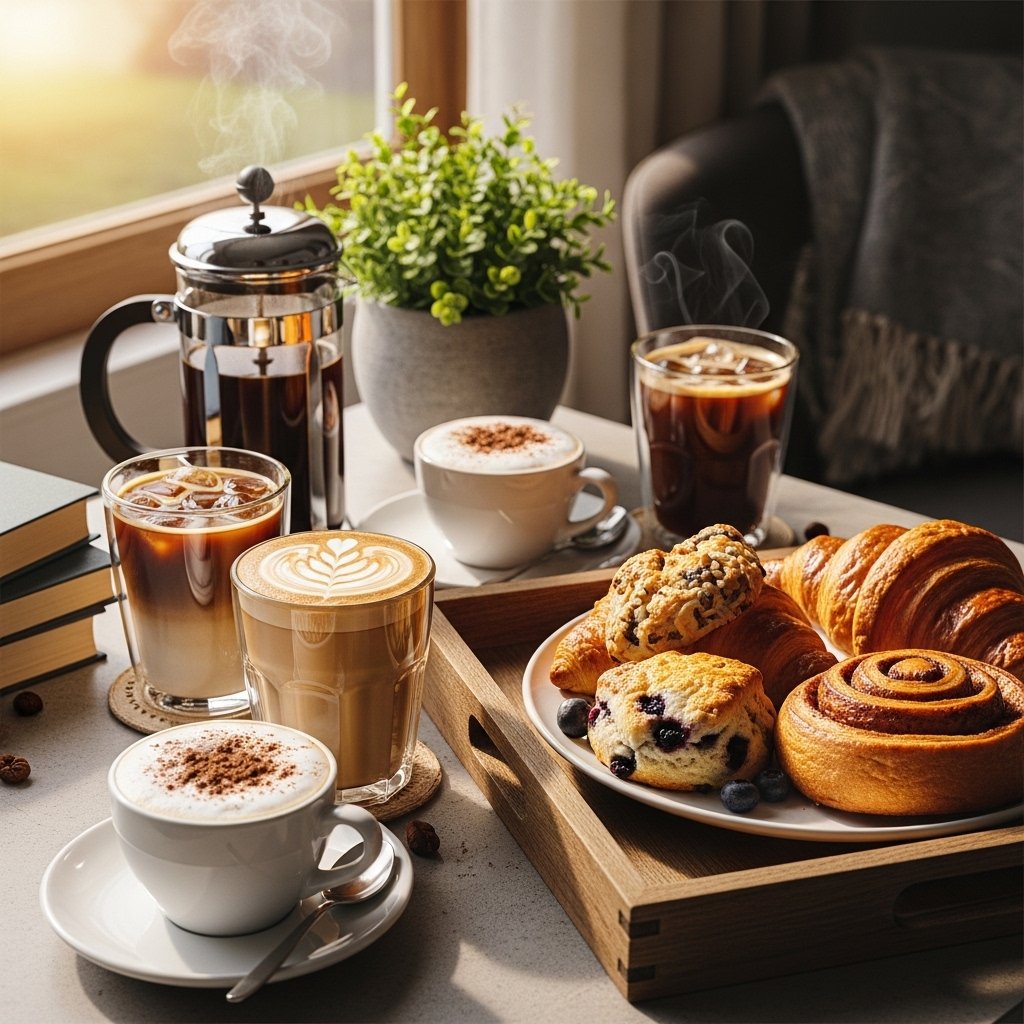
What to Serve With It
This Homemade Caramel Sauce Coffee Delight pairs beautifully with:
- Butter croissants
- Chocolate chip cookies
- Cinnamon rolls
- Pancakes or waffles
- Biscotti or shortbread
These pairings enhance the cozy café experience at home.
Storage & Reheating
If you prepare extra caramel sauce or coffee base:
- Caramel sauce: Store in a sealed jar in the fridge for up to 2 weeks
- Coffee: Keep refrigerated for up to 3 days
- Reheat caramel: Warm gently in a saucepan or microwave
- Avoid mixing in advance: Assemble drinks fresh for best taste
Fresh preparation always gives the best flavor and texture.
Common Mistakes to Avoid
Even a simple Homemade Caramel Sauce Coffee Delight can go wrong if you’re not careful:
- Burning the sugar while making caramel
- Adding cream too quickly (can cause clumps)
- Using weak coffee (flavor gets lost)
- Over-sweetening the drink
- Skipping proper stirring
Avoiding these mistakes ensures a smooth, rich coffee experience.
FAQs
1. Can I use store-bought caramel sauce?
Yes, but homemade caramel gives a richer and deeper flavor.
2. Can I make this coffee iced?
Absolutely! Just pour over ice and use cold milk.
3. What type of coffee works best?
Espresso or strong brewed coffee works best for bold flavor.
4. Can I make it dairy-free?
Yes, use oat milk or almond milk and vegan butter for caramel.
Final Thoughts
This Homemade Caramel Sauce Coffee Delight is the perfect blend of comfort, sweetness, and rich coffee flavor. It’s easy to make, customizable, and tastes like something straight from a café menu.
Once you try it, it will quickly become one of your favorite homemade drinks. Whether hot or iced, simple or topped with whipped cream, this caramel coffee treat is pure indulgence in every sip.