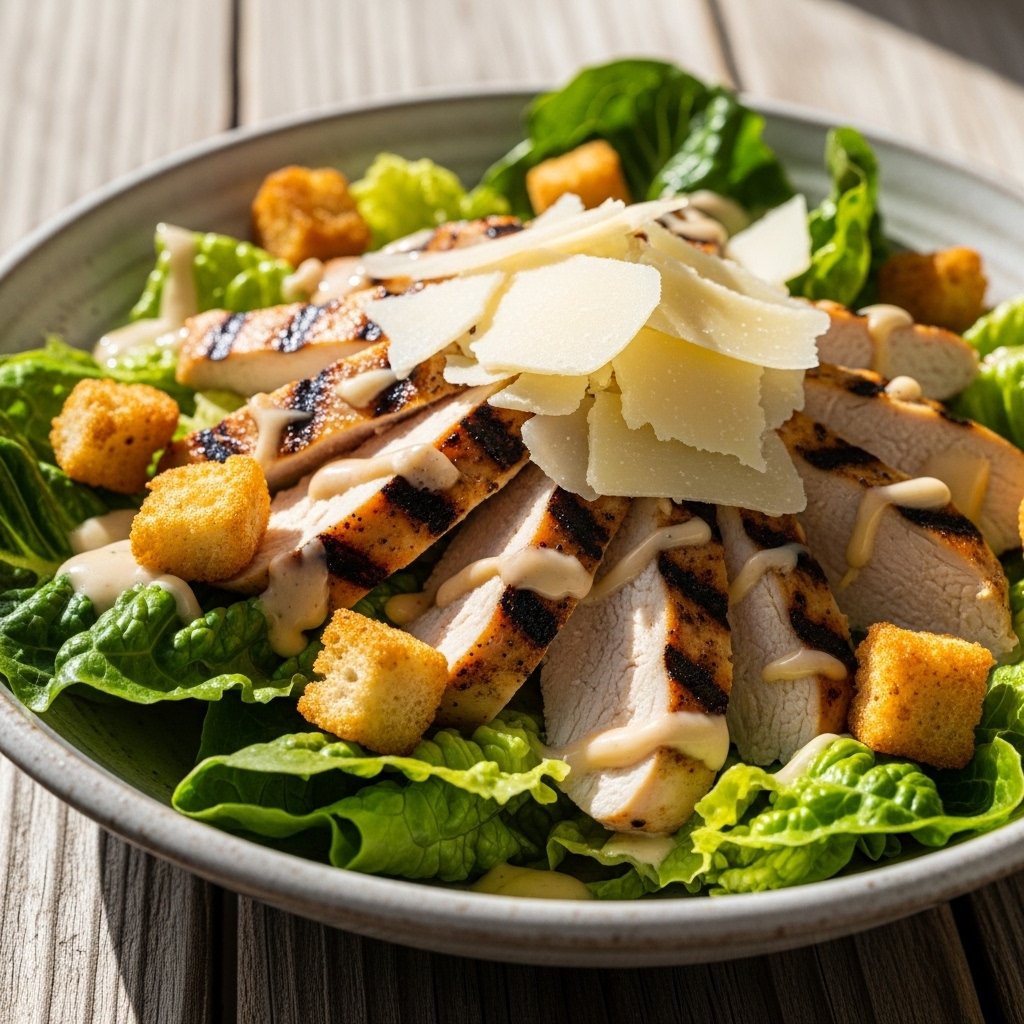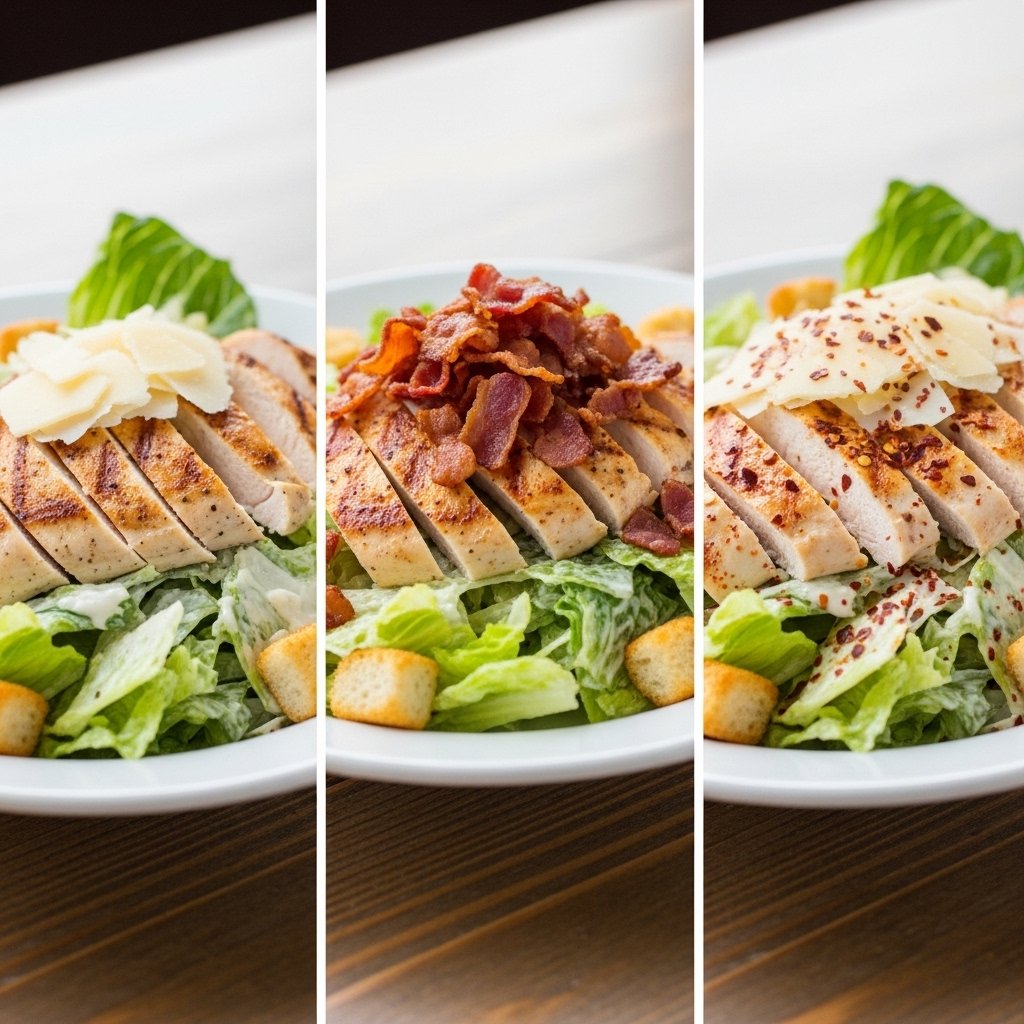
If you’re craving something fresh, filling, and packed with bold flavor, this healthy BBQ chicken chopped salad recipe is exactly what you need. It combines smoky BBQ chicken, crisp chopped vegetables, and a light, tangy dressing that brings everything together beautifully.
Unlike heavy comfort foods, this salad gives you that satisfying BBQ taste without feeling overly rich or unhealthy. It’s perfect for lunch, dinner, or weekly meal prep, especially when you want something quick, nutritious, and full of flavor.

Why You’ll Love This Healthy BBQ Chicken Chopped Salad Recipe
This healthy BBQ chicken chopped salad recipe is a perfect balance of flavor and nutrition.
- High in protein: BBQ chicken keeps you full and satisfied
- Fresh and crunchy: Loaded with chopped vegetables
- Quick and easy: Ready in under 30 minutes
- Meal prep friendly: Stays fresh for days
- Bold BBQ flavor: Smoky, sweet, and tangy
It’s the kind of salad that doesn’t feel like a compromise—it feels like a real meal.
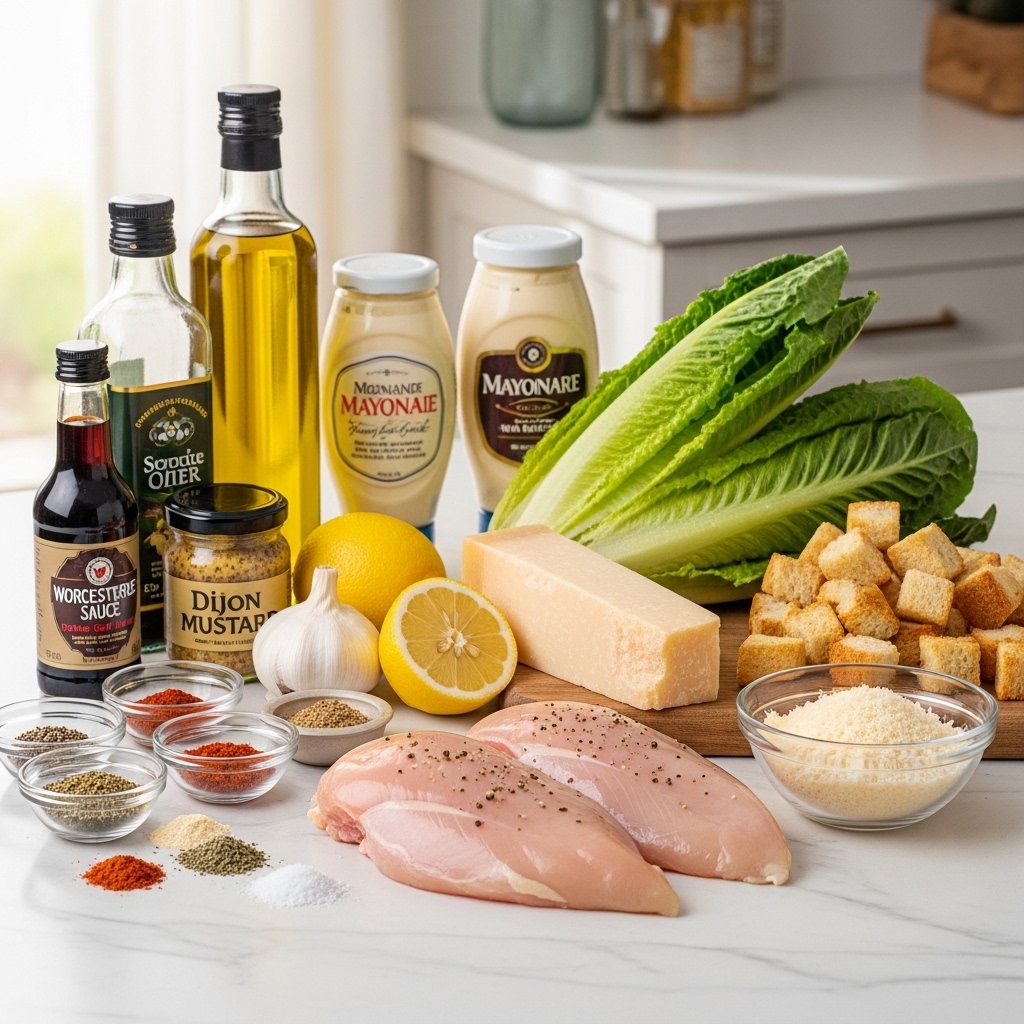
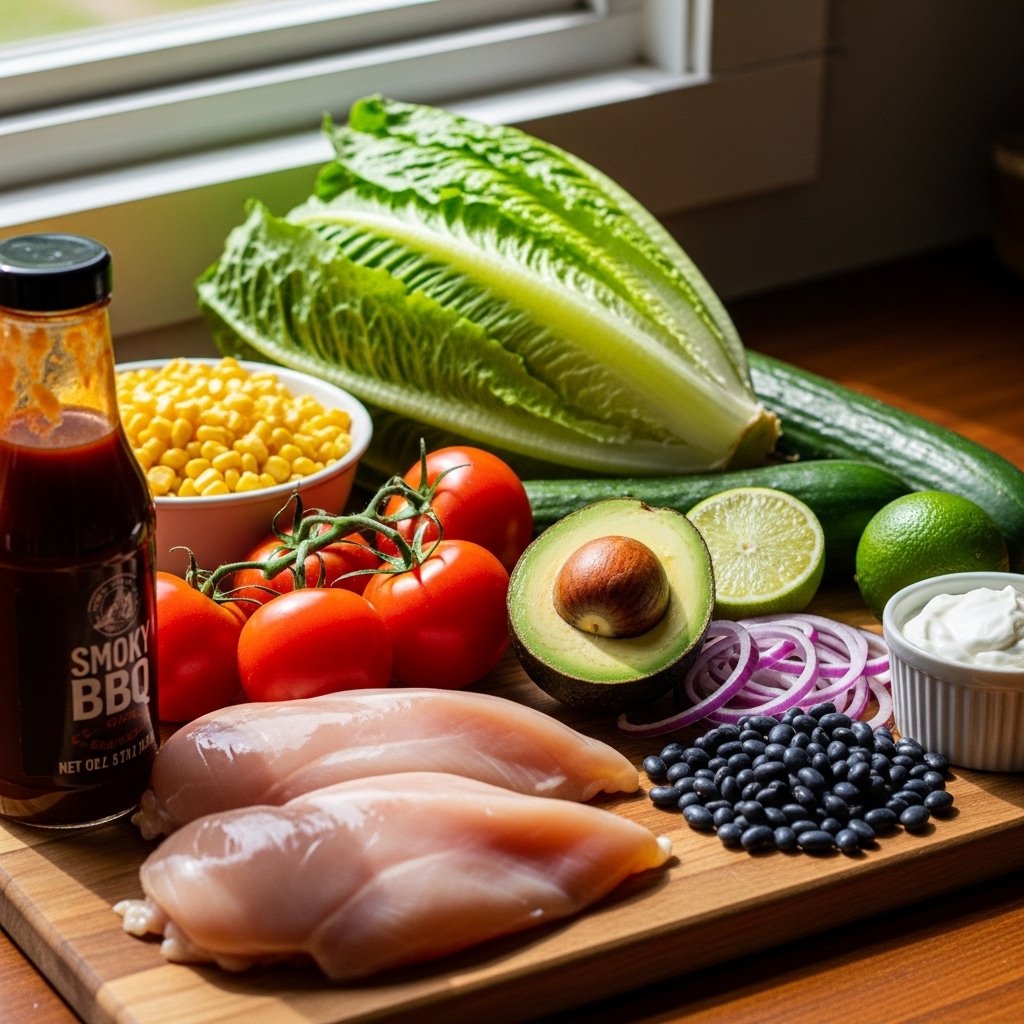
Ingredients for Healthy BBQ Chicken Chopped Salad Recipe
To make this healthy BBQ chicken chopped salad recipe, you’ll need:
For the Chicken
- 2 large chicken breasts
- 1/2 cup BBQ sauce (low sugar preferred)
- 1 teaspoon olive oil
- Salt and pepper
For the Salad Base
- 1 head romaine lettuce, chopped
- 1 cup cherry tomatoes, halved
- 1 cup corn kernels (fresh or canned)
- 1 cucumber, diced
- 1 avocado, chopped
- 1/4 red onion, thinly sliced
- 1/2 cup black beans (optional)
For the Dressing
- 2 tablespoons Greek yogurt
- 1 tablespoon lime juice
- 1 tablespoon BBQ sauce
- Salt and pepper to taste
Ingredient Notes and Substitutions
Understanding your ingredients improves your healthy BBQ chicken chopped salad recipe.
BBQ Sauce
Choose a low-sugar BBQ sauce to keep it healthy.
Chicken
Grilled chicken adds smoky flavor, but baked or air-fried works too.
Vegetables
Use fresh, crunchy vegetables for the best texture contrast.
Step-by-Step Instructions
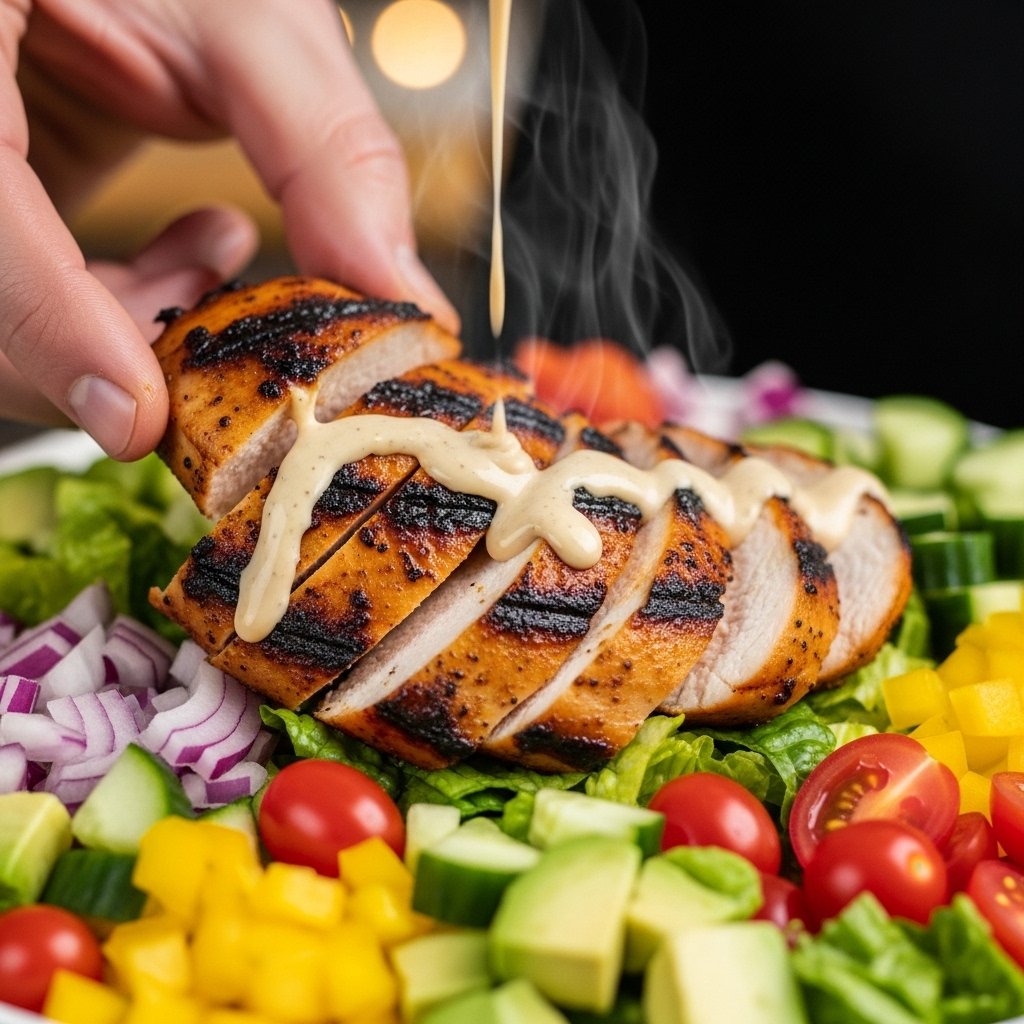
1. Cook the Chicken
Season chicken with salt and pepper, then grill or pan-cook until fully done.
2. Add BBQ Flavor
Brush BBQ sauce onto chicken and let it caramelize slightly.
3. Chop Ingredients
Dice all vegetables into small, even pieces for a true chopped salad texture.
4. Prepare Dressing
Mix Greek yogurt, lime juice, BBQ sauce, salt, and pepper.
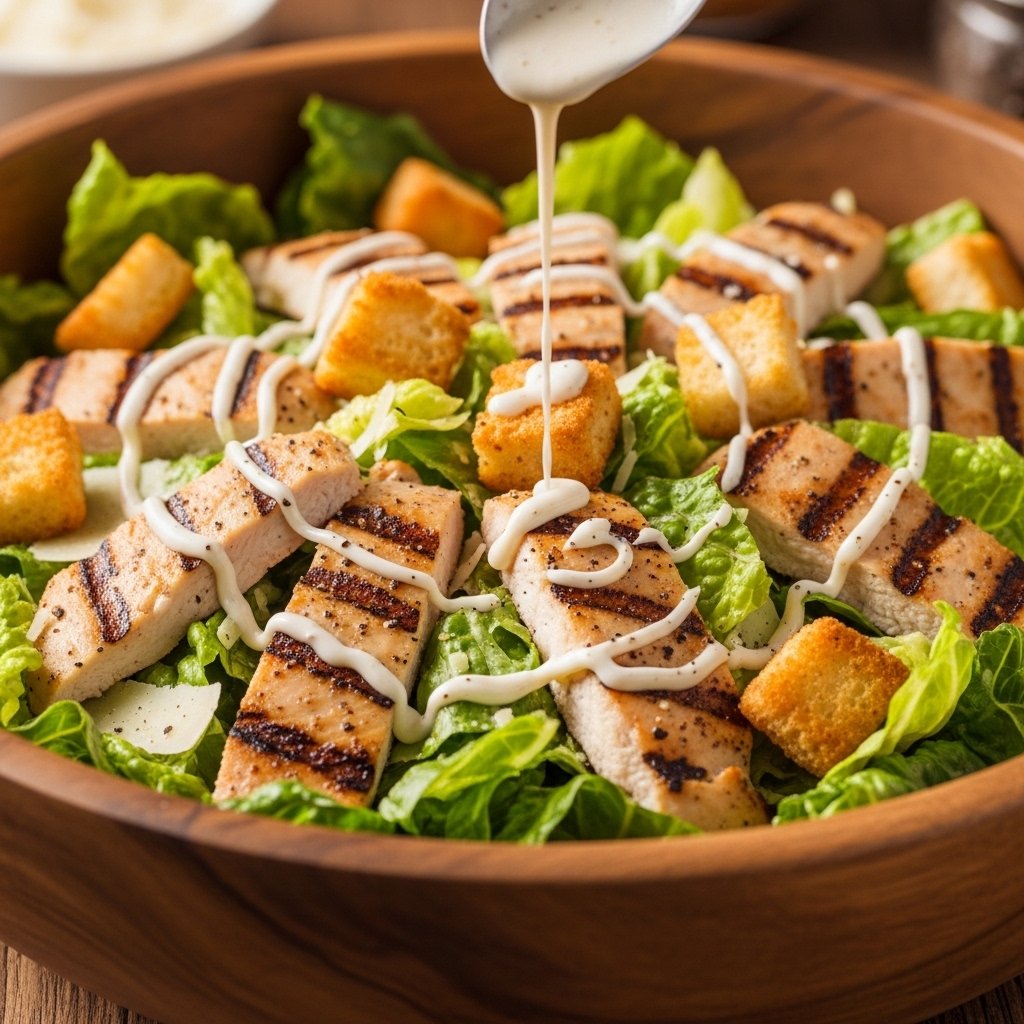
5. Assemble Salad
Combine vegetables in a large bowl, add sliced BBQ chicken, and drizzle dressing.
Tips for Perfect Results
To make the best healthy BBQ chicken chopped salad recipe, follow these tips:
- Chop ingredients evenly for better texture
- Don’t overdress the salad
- Let chicken rest before slicing
- Use fresh lime juice for brightness
- Add BBQ sauce gradually to control sweetness
These small steps improve both flavor and presentation.
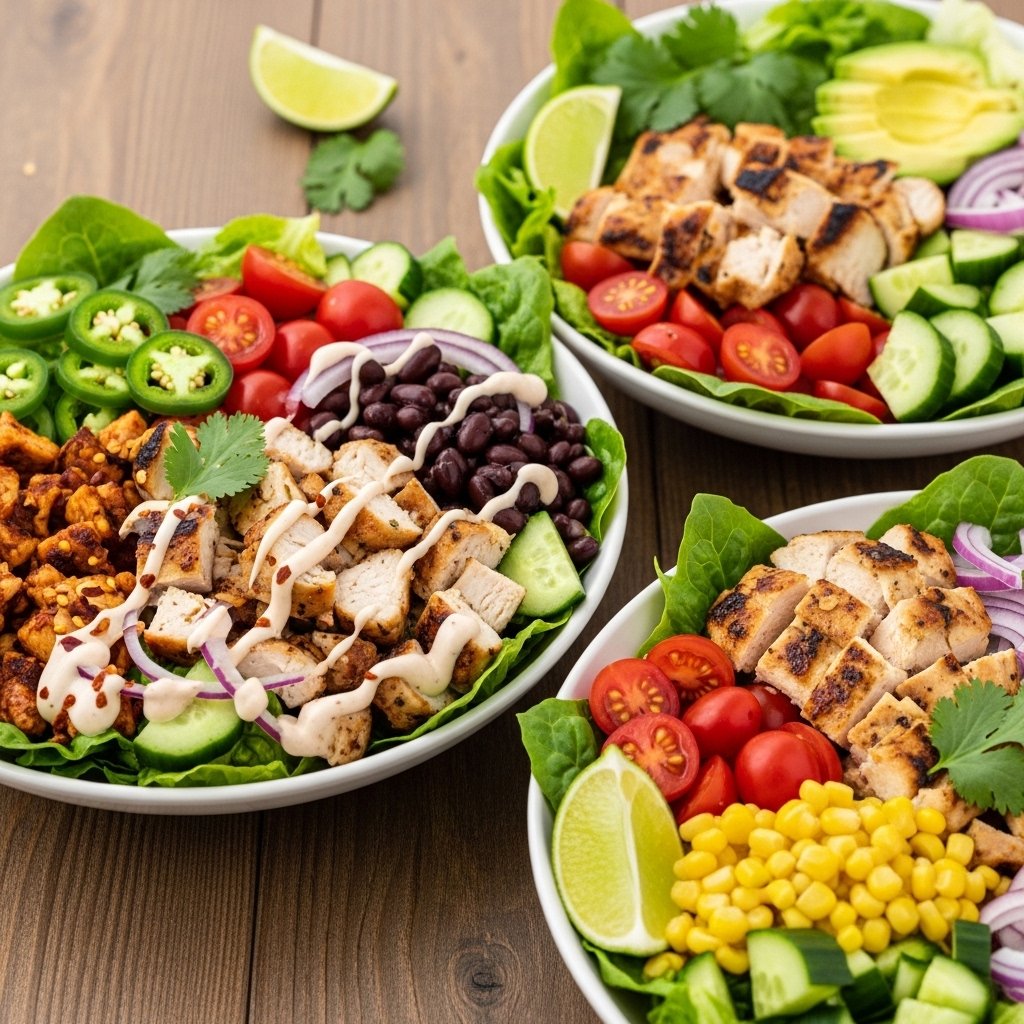
Variations to Try
This recipe is easy to customize.
Spicy Version
Add jalapeños or spicy BBQ sauce.
Low-Carb Version
Skip corn and beans for a keto-friendly option.
Extra Protein Version
Add boiled eggs or extra chicken.
What to Serve With Healthy BBQ Chicken Chopped Salad
This healthy BBQ chicken chopped salad recipe pairs well with:
- Sweet potato fries
- Cornbread
- Garlic toast
- Fresh fruit
- Iced tea or lemonade
These sides complement the smoky BBQ flavor perfectly.
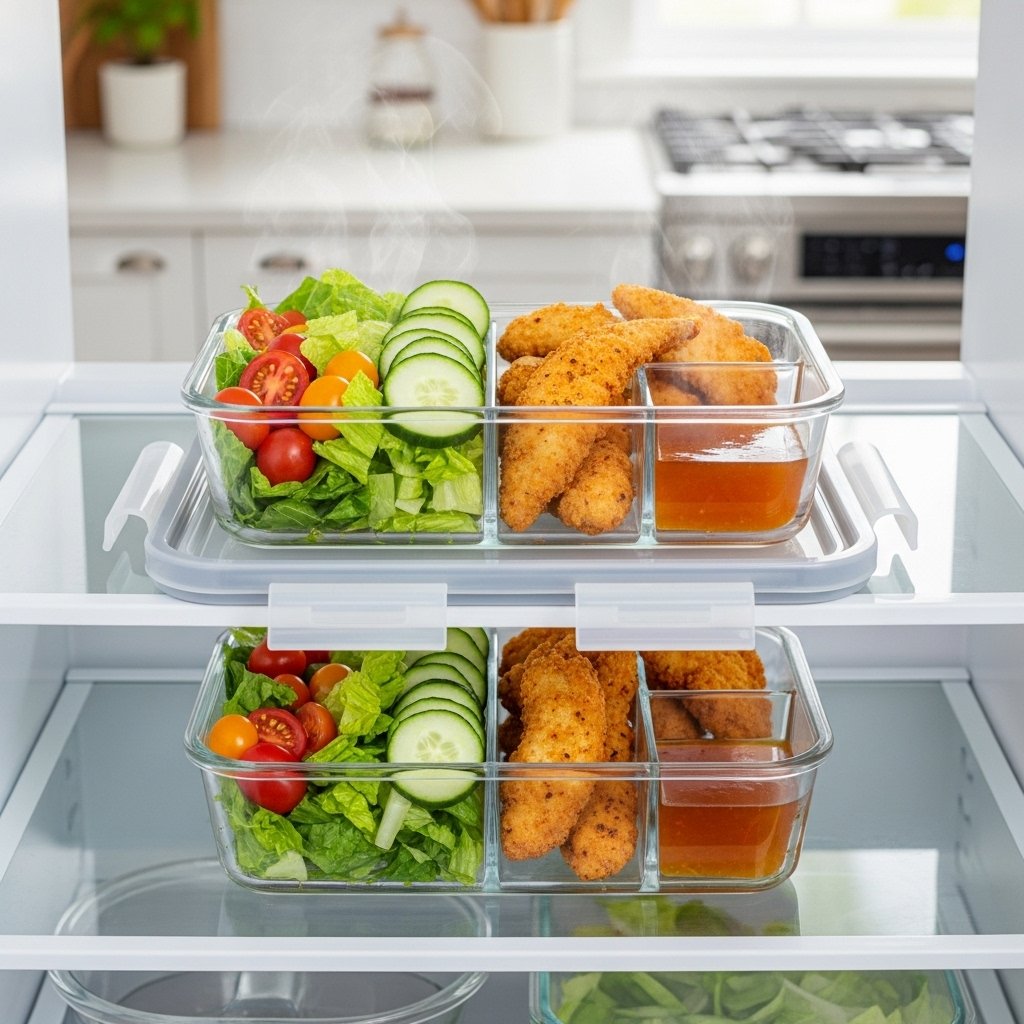
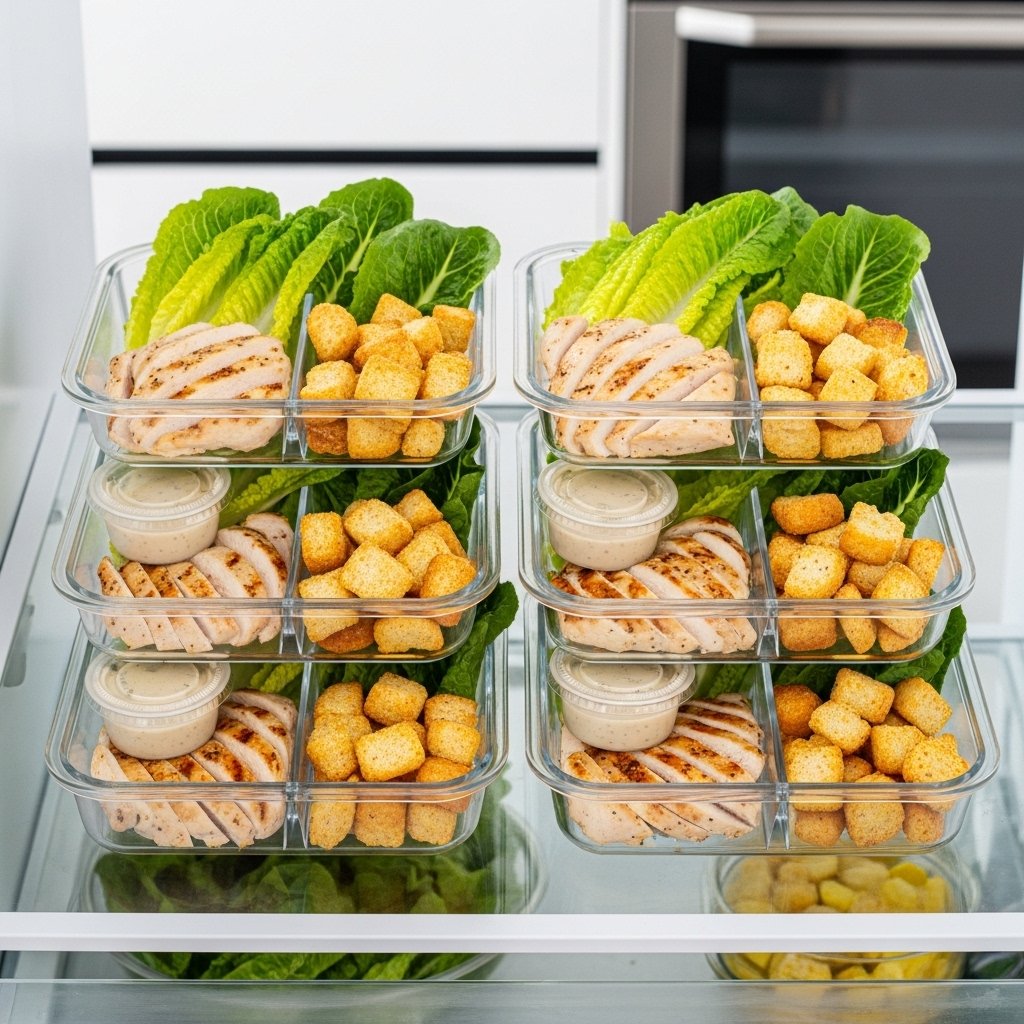
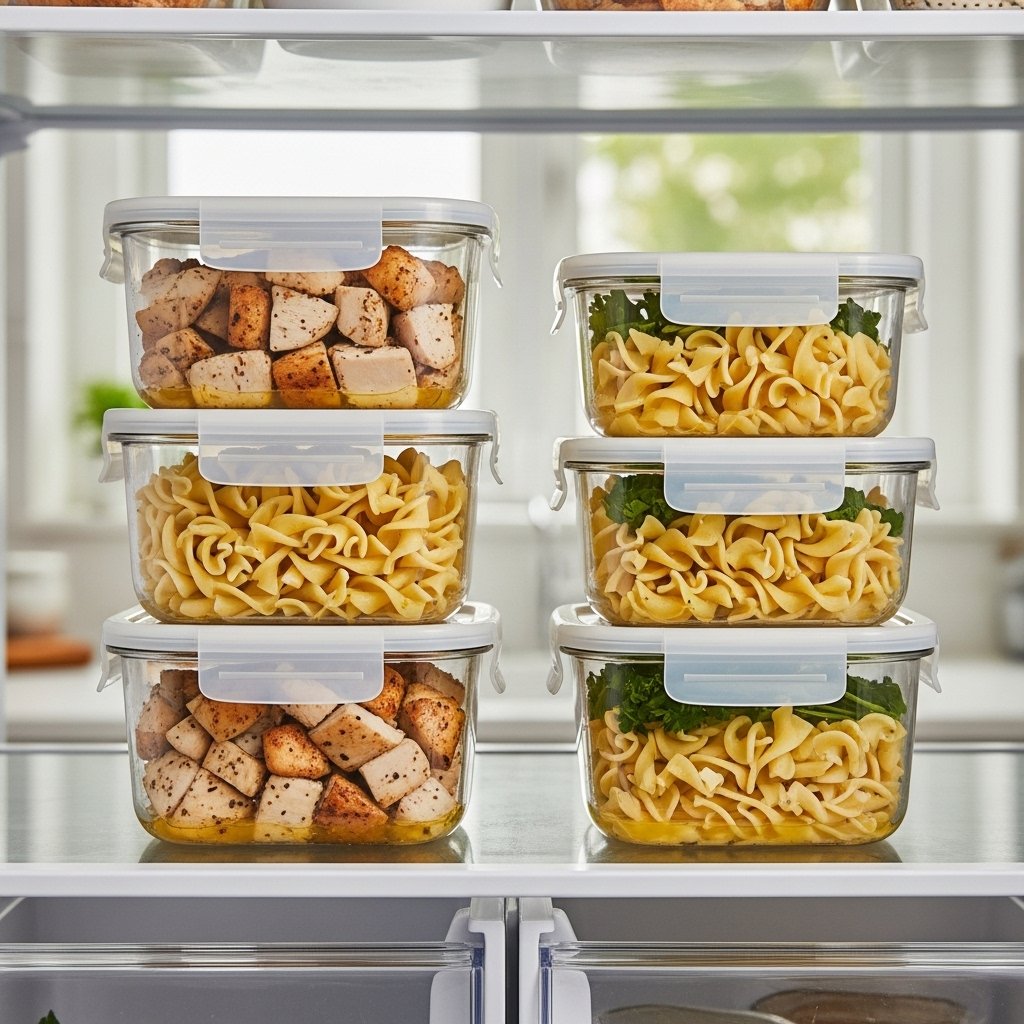
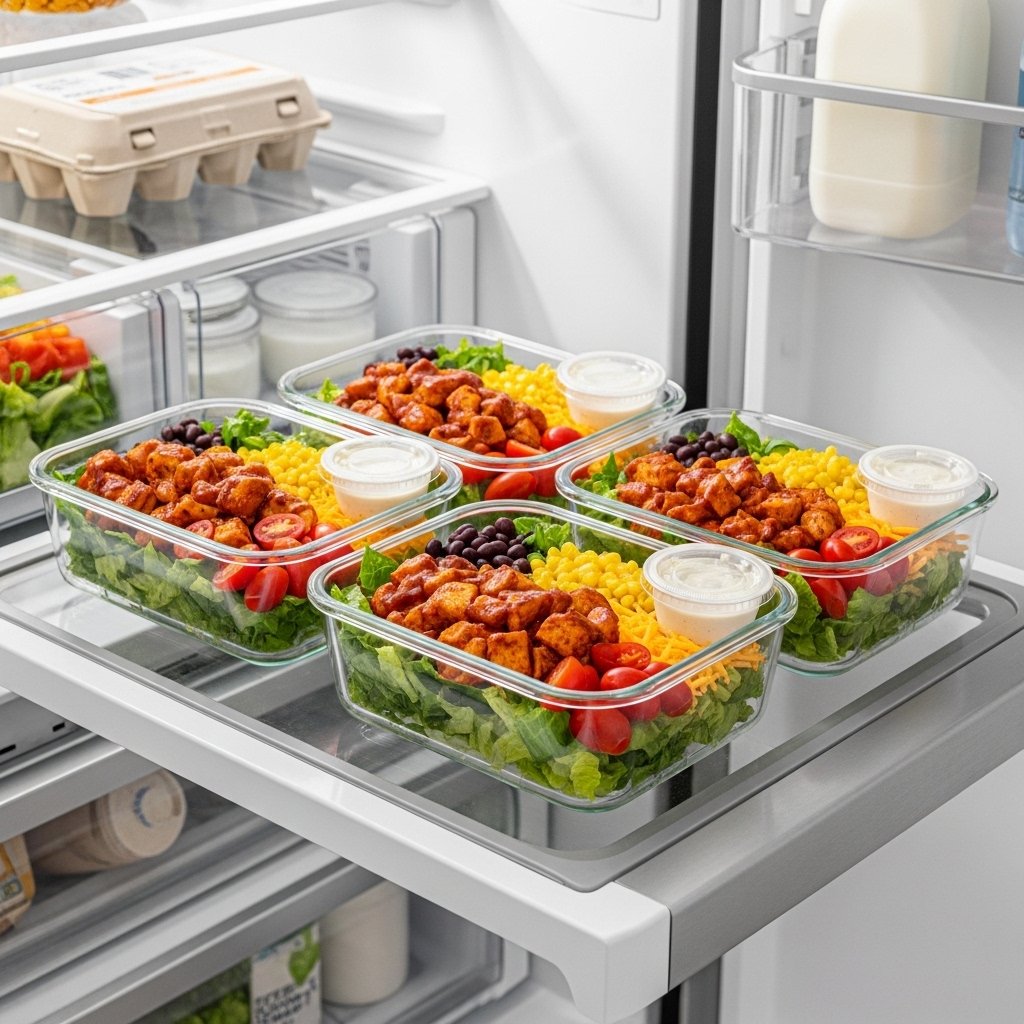
Storage & Reheating Tips
This salad is great for meal prep.
Storage
- Store chicken and vegetables separately for up to 3–4 days
Reheating
- Reheat chicken before assembling salad
- Keep dressing separate until serving
Common Mistakes to Avoid
Avoid these mistakes when making healthy BBQ chicken chopped salad recipe:
- Using too much BBQ sauce
- Cutting vegetables unevenly
- Adding dressing too early
- Overcooking chicken
- Using soggy lettuce
Avoiding these ensures the best texture and flavor.
FAQs
Can I use store-bought rotisserie chicken?
Yes, it works great and saves time.
Is this salad good for weight loss?
Yes, it’s high in protein and fiber with balanced calories.
Can I make it ahead of time?
Yes, but store components separately for freshness.
What dressing works best?
Greek yogurt BBQ dressing is the healthiest option.
Final Thoughts
This healthy BBQ chicken chopped salad recipe is the perfect combination of smoky, fresh, and satisfying. It delivers all the bold BBQ flavor you love in a lighter, healthier format that works for busy weeknights and meal prep.
If you’re looking for a simple, high-protein salad that doesn’t feel boring, this recipe is a must-try.