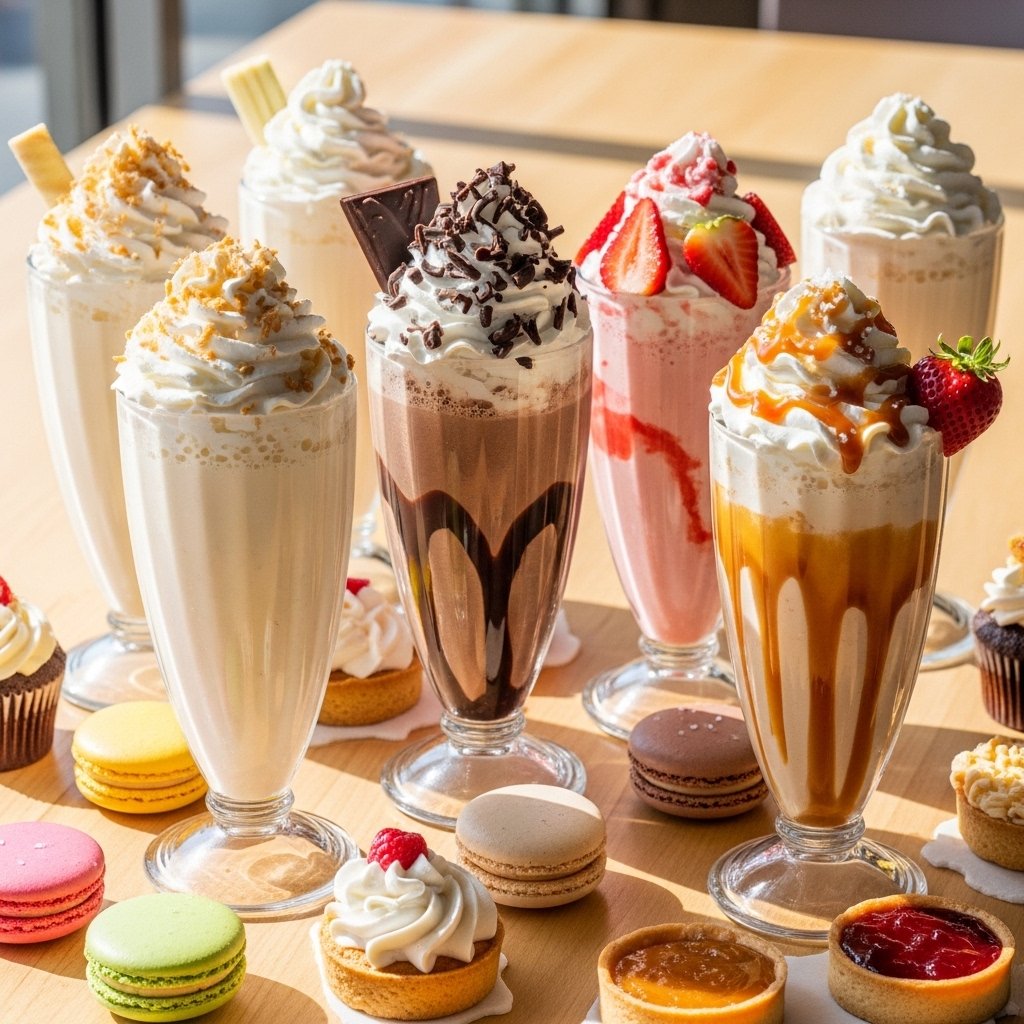
If you’re a chocolate lover, milkshakes fudge brownie are about to become your new obsession. Imagine blending thick, creamy ice cream with chunks of rich, fudgy brownies and a swirl of chocolate sauce—every sip is intensely chocolatey, smooth, and irresistibly indulgent. This is not just a milkshake; it’s a full-on dessert experience in a glass.
Perfect for summer treats, late-night cravings, or impressing guests, this recipe brings together the best of two worlds: classic milkshakes and gooey brownies. The result? A rich, creamy drink that tastes like it came straight from a gourmet dessert shop.
Why You’ll Love This Milkshakes Fudge Brownie Recipe
This milkshakes fudge brownie recipe checks all the boxes for an unforgettable dessert:
- Ultra-rich chocolate flavor in every sip
- Thick, creamy, and perfectly blended texture
- Quick and easy—ready in under 10 minutes
- Customizable with endless toppings and mix-ins
- Perfect for parties, gatherings, or solo indulgence
Whether you’re making it for kids or adults, this milkshake always delivers a wow factor.
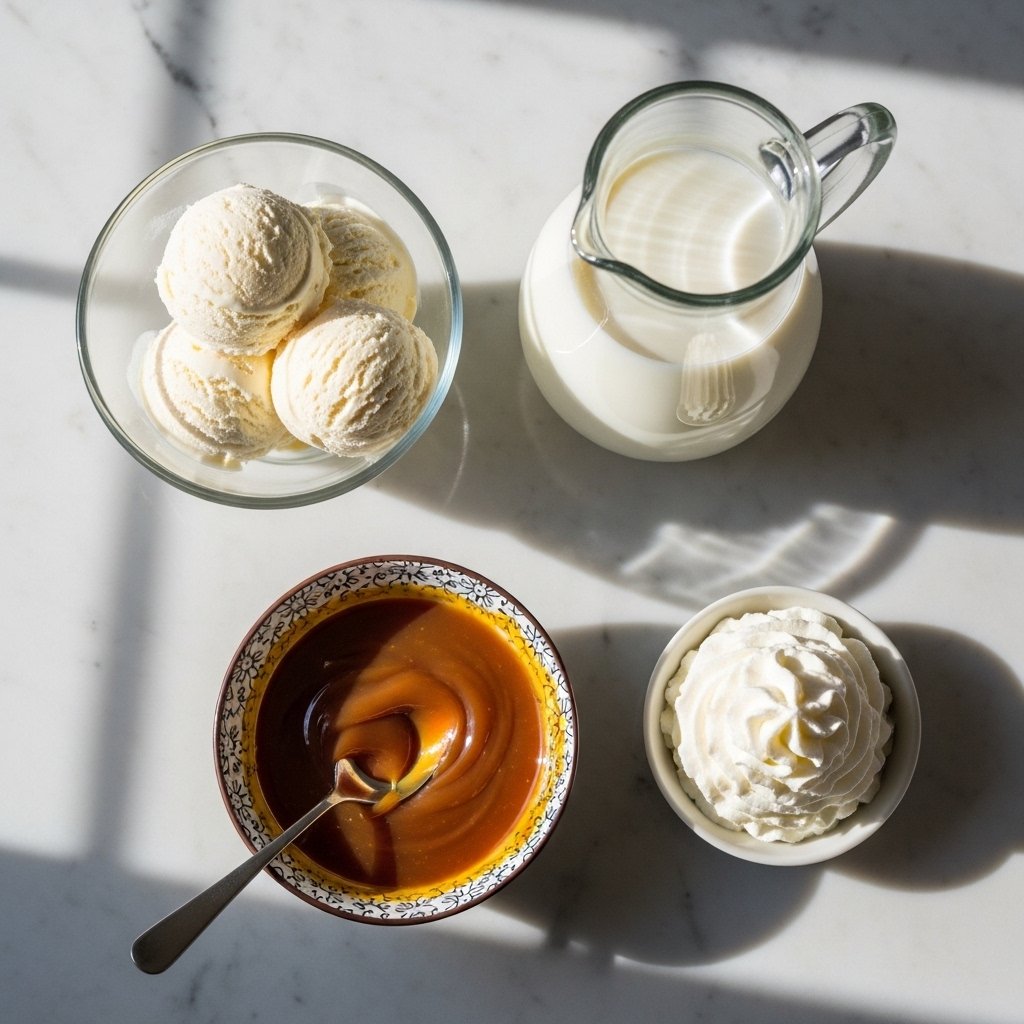
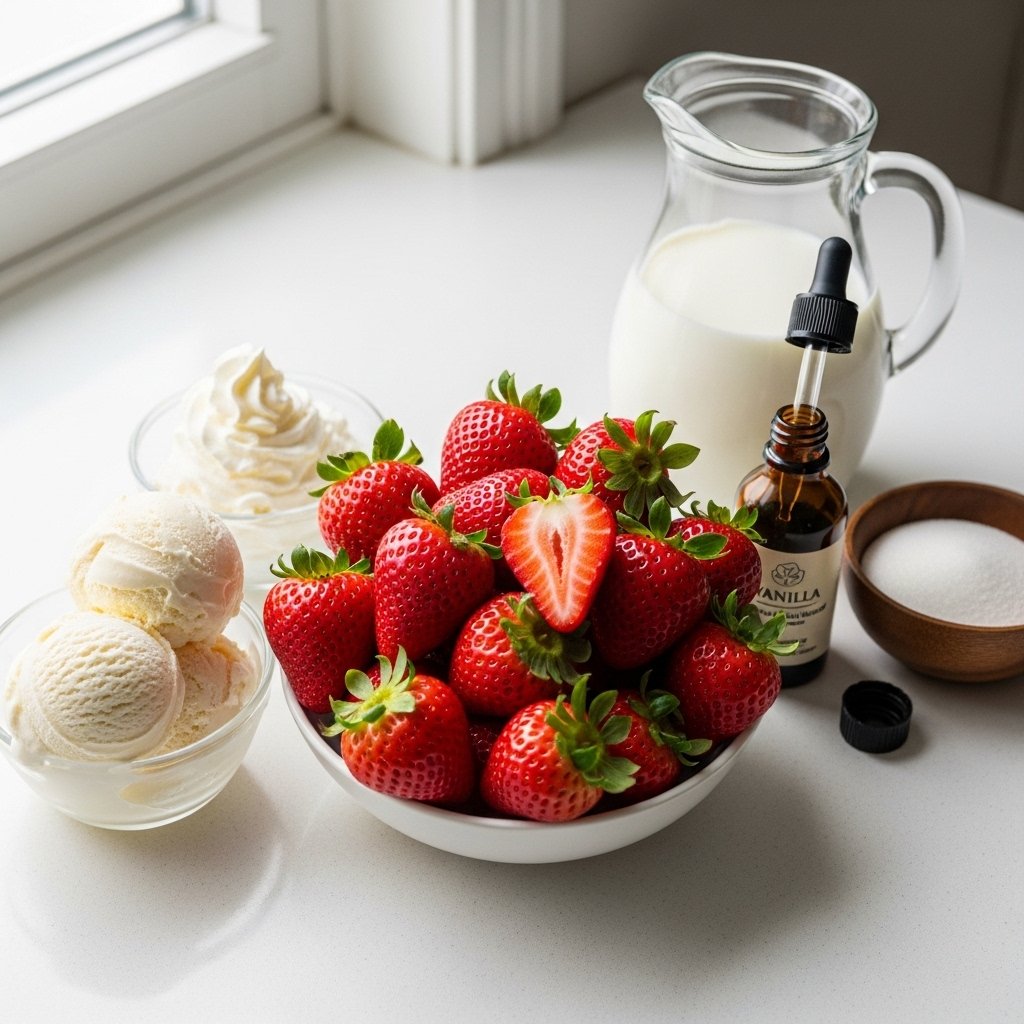
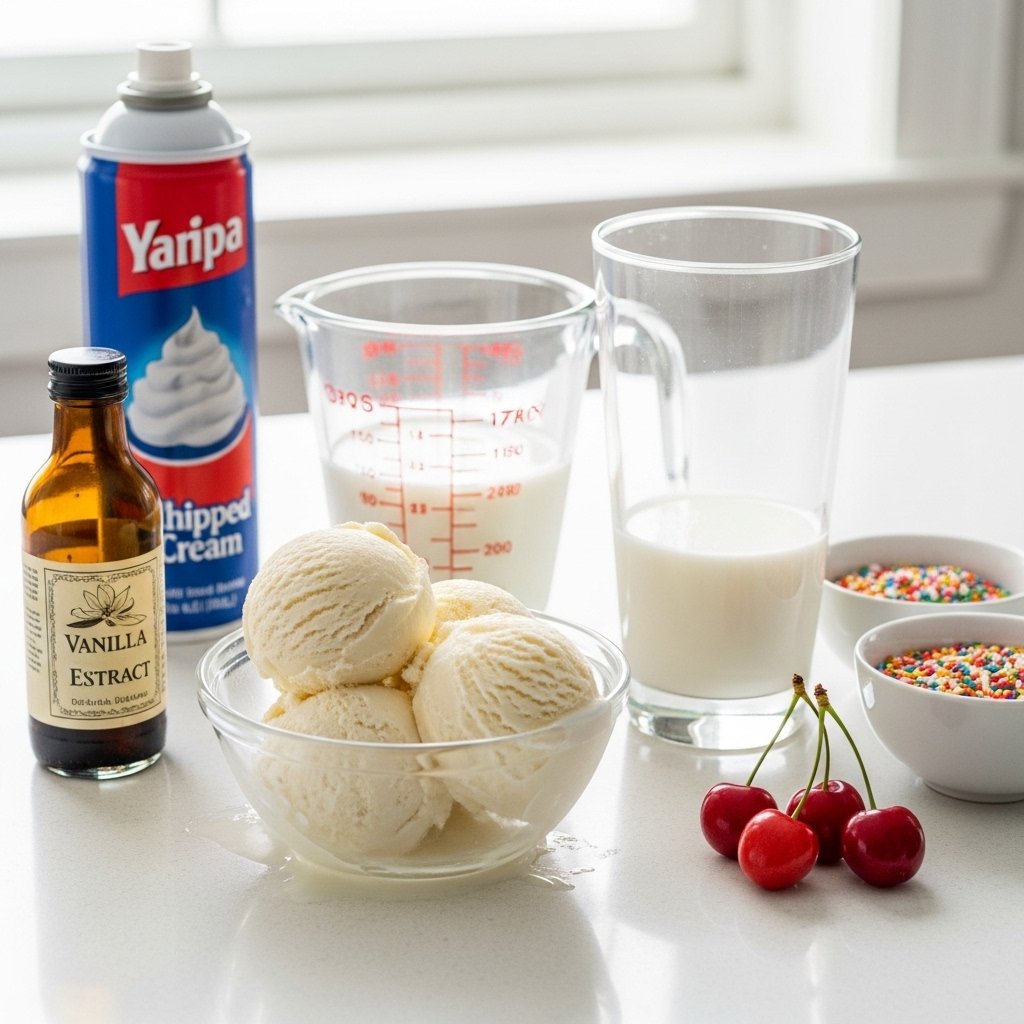
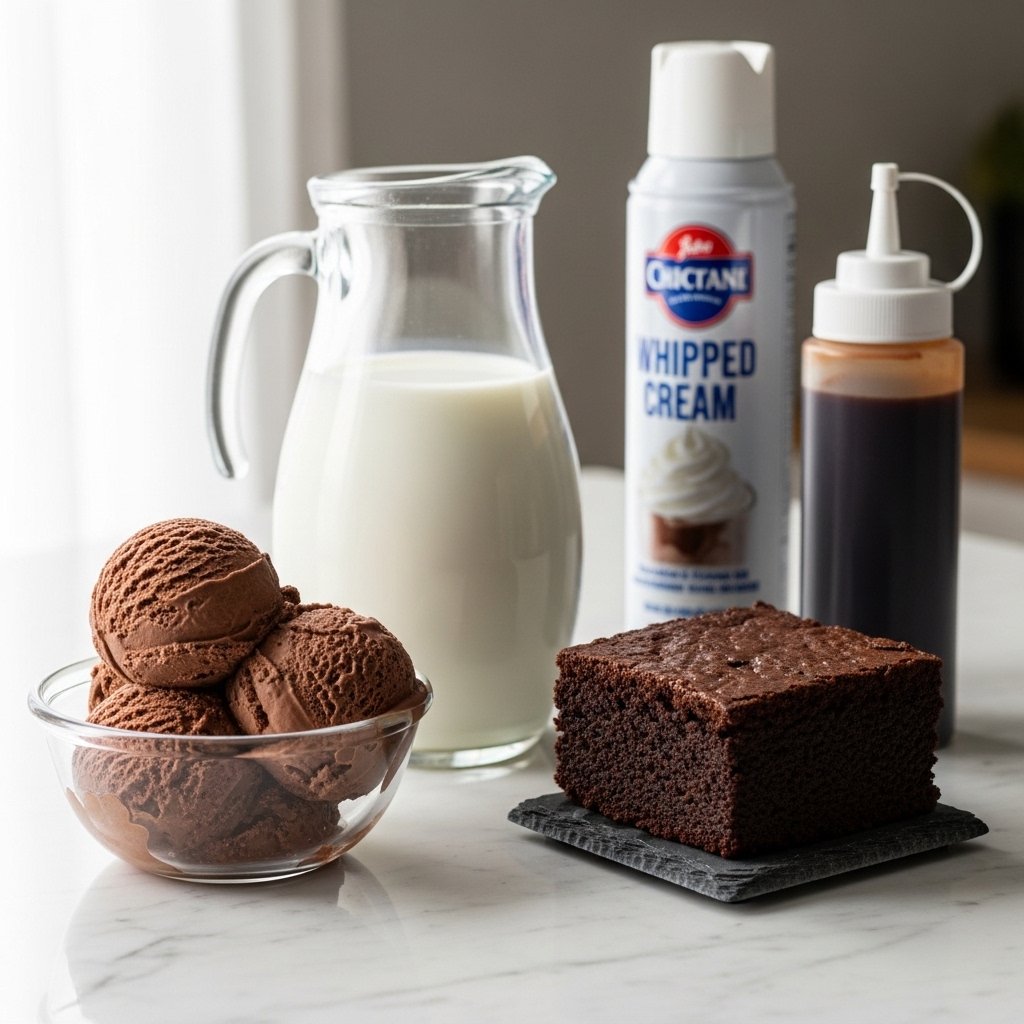
Ingredients
To make the best milkshakes fudge brownie, gather these ingredients:
- 2 cups chocolate ice cream
- 1 cup milk (whole milk recommended)
- 1 large fudge brownie (homemade or store-bought)
- 3 tablespoons chocolate syrup
- ½ teaspoon vanilla extract
- Whipped cream (for topping)
- Extra brownie chunks (for garnish)
Ingredient Notes
The secret to exceptional milkshakes fudge brownie lies in the quality of your ingredients. Use a dense, fudgy brownie rather than a cakey one—it blends better and gives a richer texture. Premium chocolate ice cream enhances the overall flavor, while whole milk ensures a creamy consistency.
For an extra indulgent twist, you can use chocolate milk instead of regular milk. And if you’re feeling adventurous, try adding a scoop of vanilla ice cream alongside the chocolate for a balanced flavor profile.
Step-by-Step Instructions
1. Prepare the Brownie
Break the brownie into small chunks for easier blending.
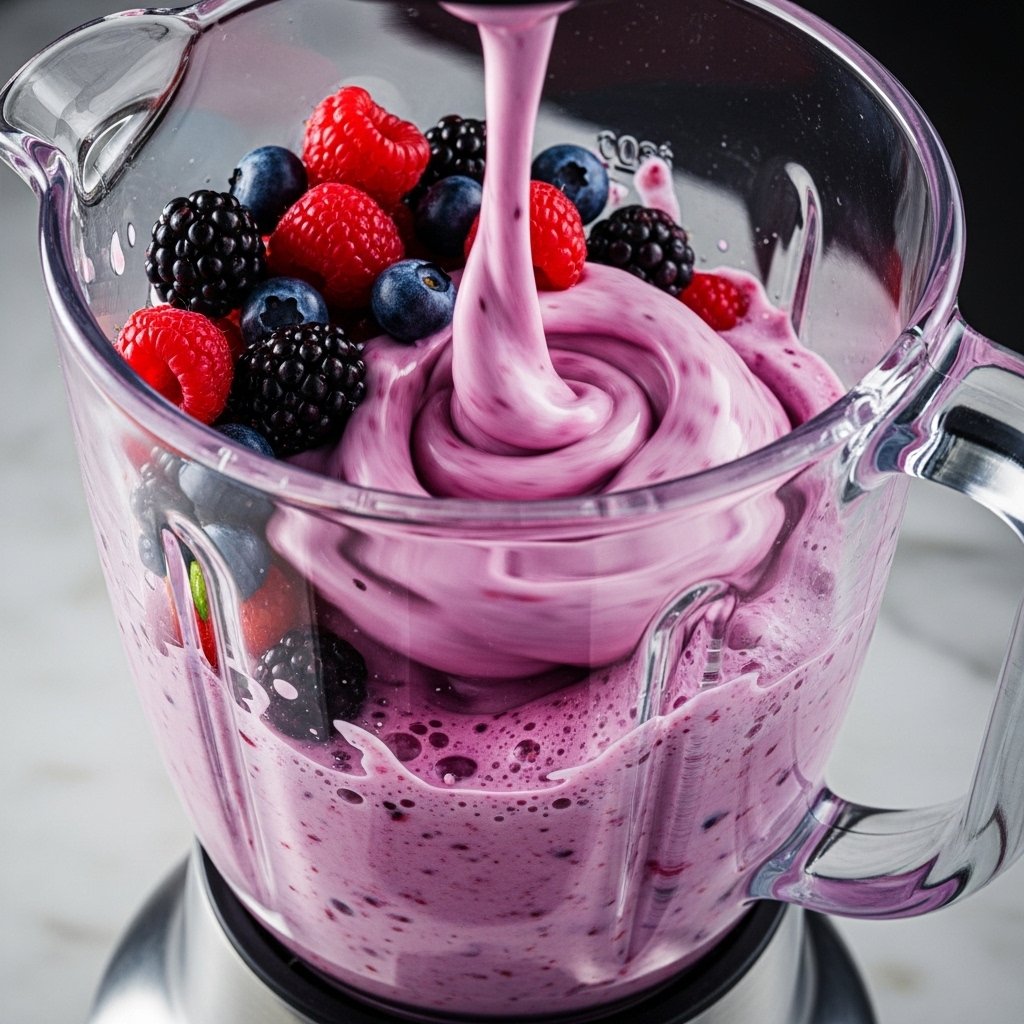
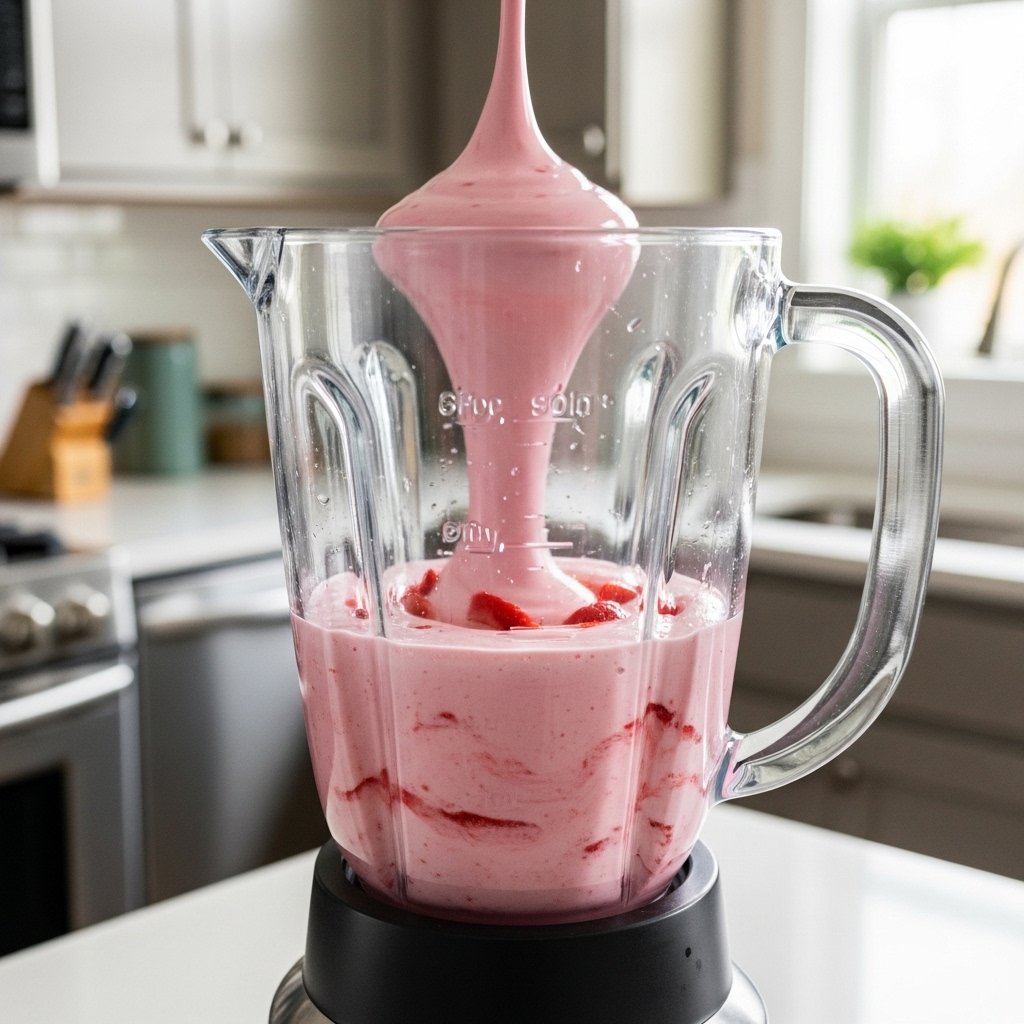
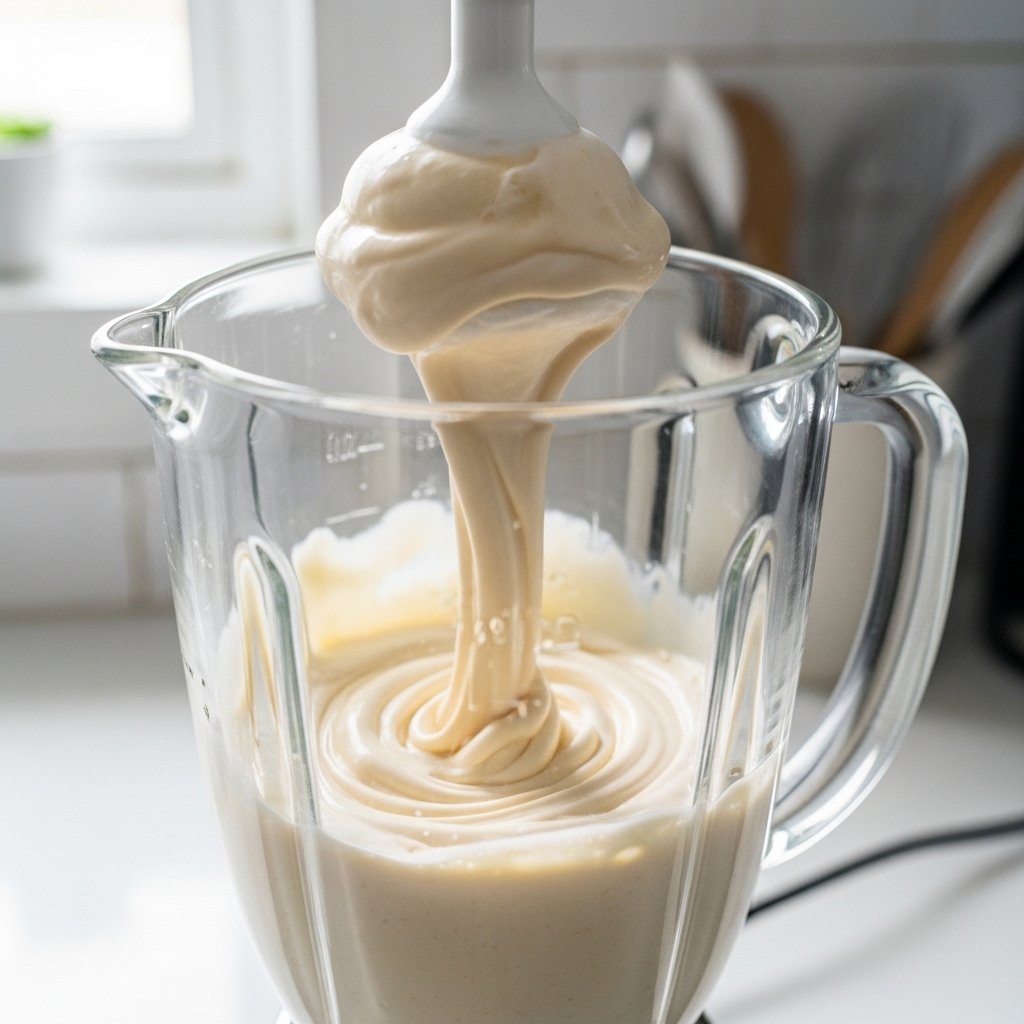
2. Add Ingredients to Blender
Combine chocolate ice cream, milk, brownie pieces, chocolate syrup, and vanilla extract in a blender.
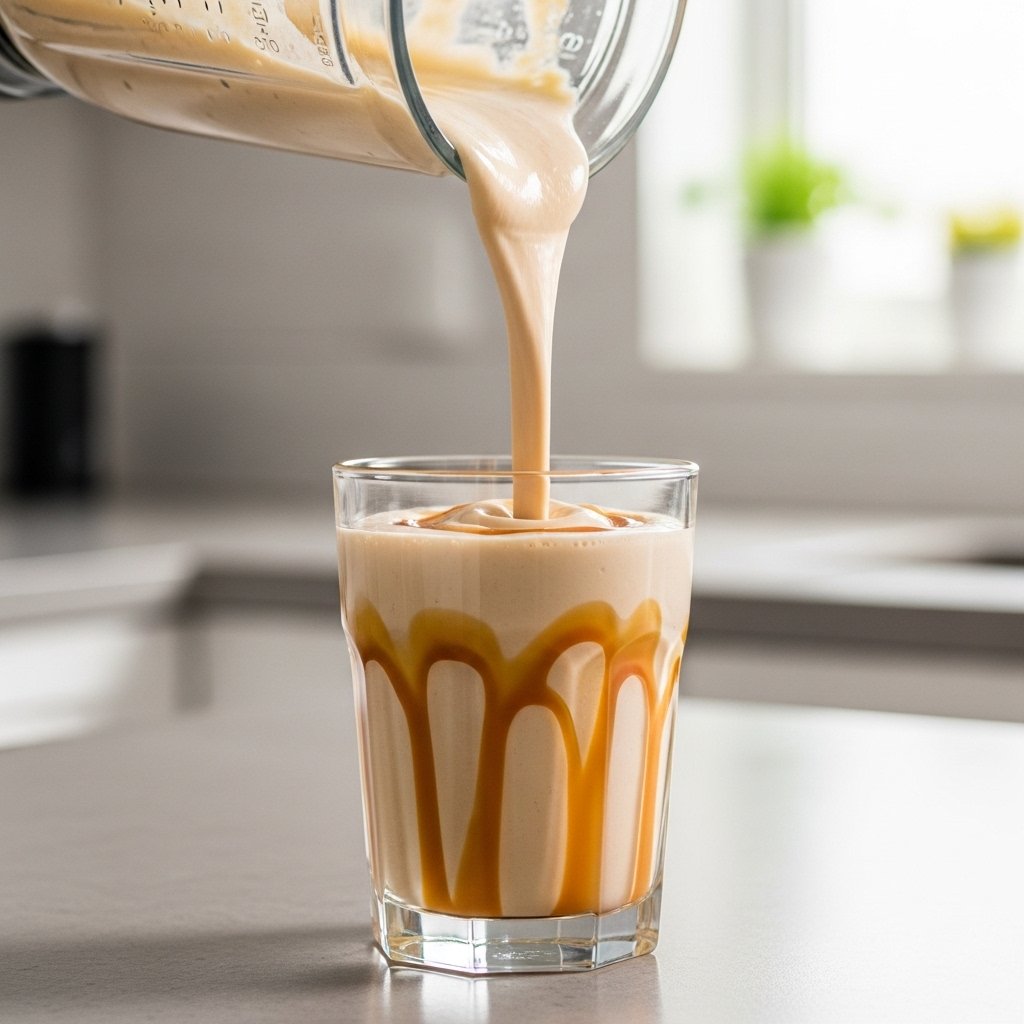
3. Blend Until Smooth
Blend until creamy, leaving a few small brownie bits for texture if desired.
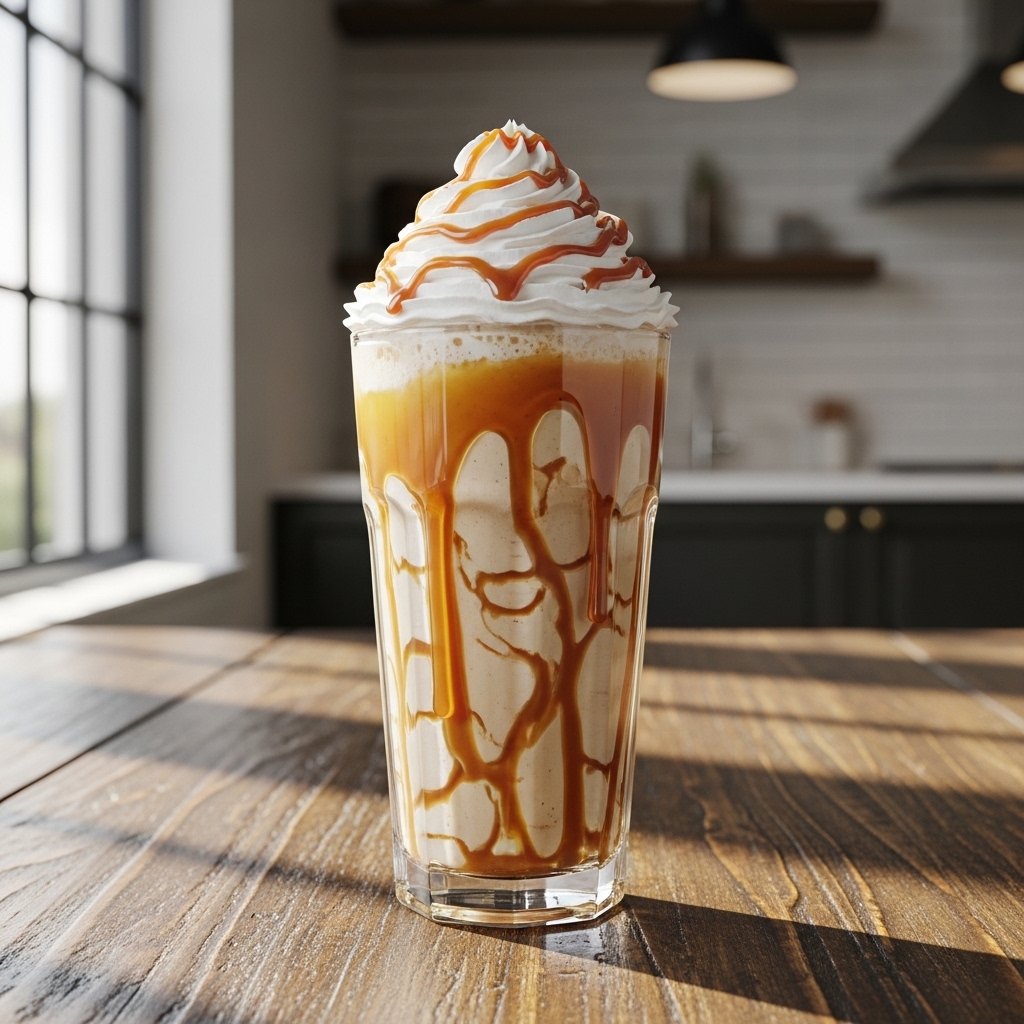
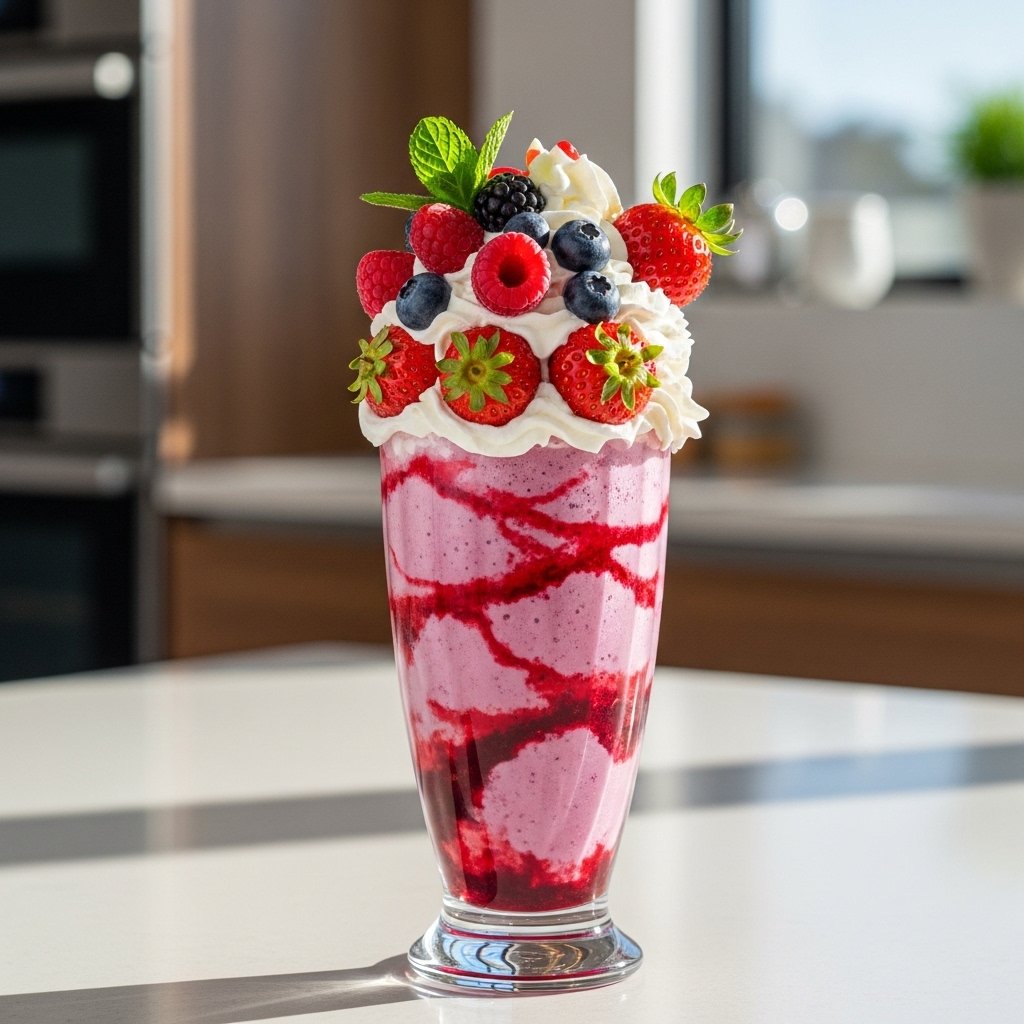
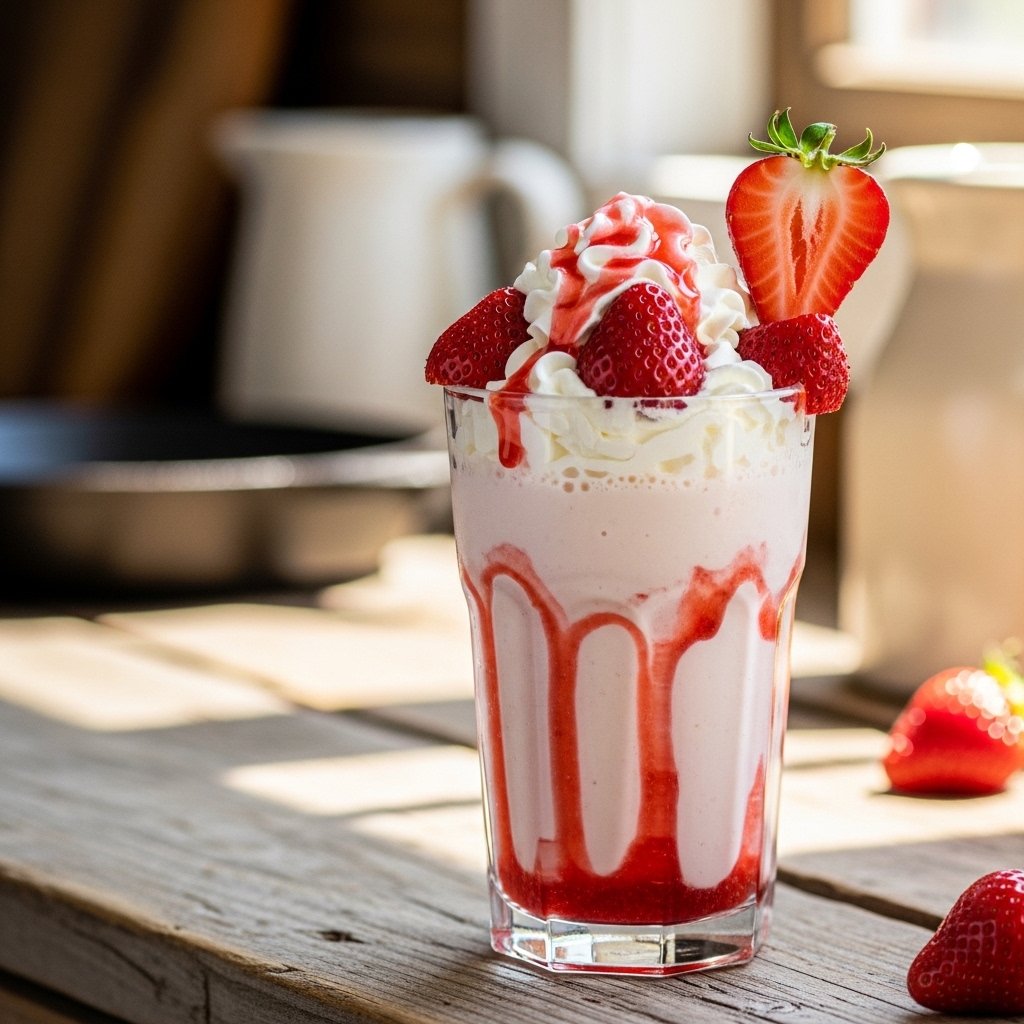
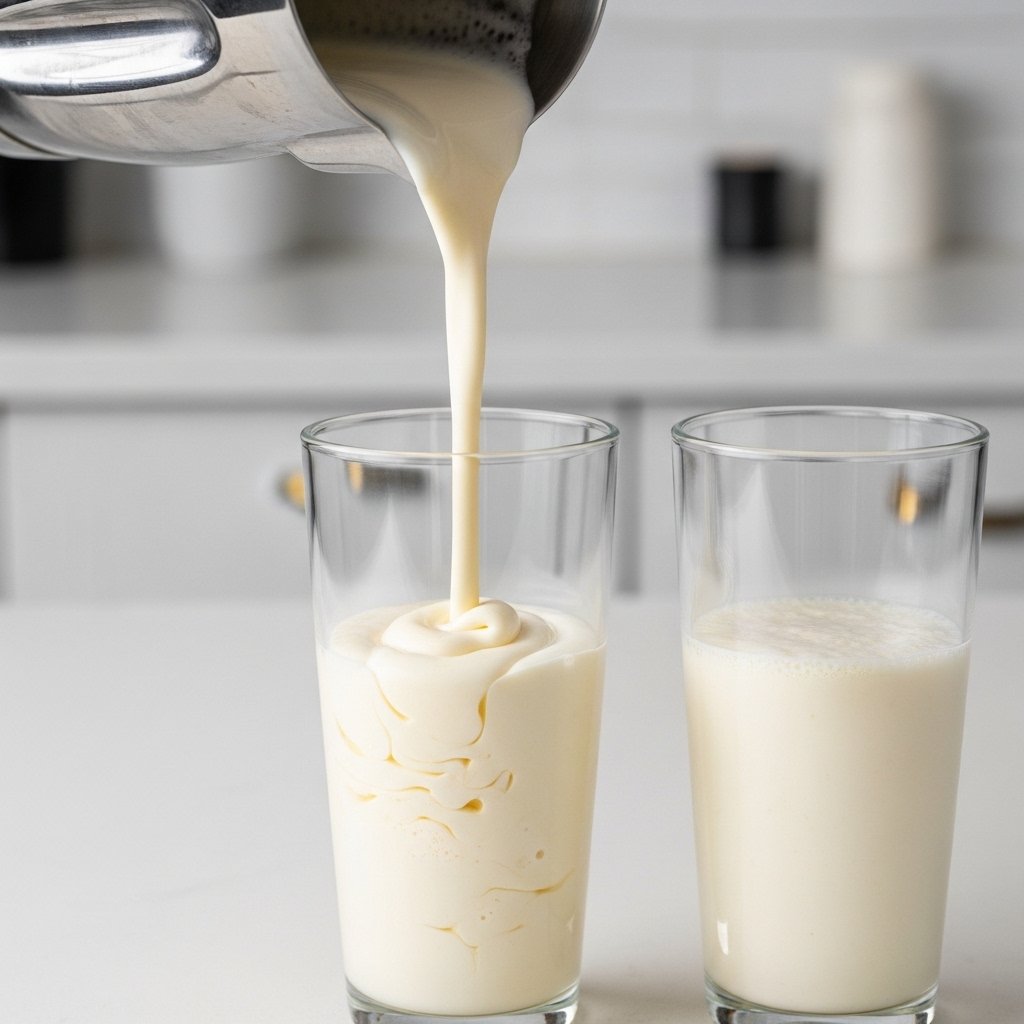
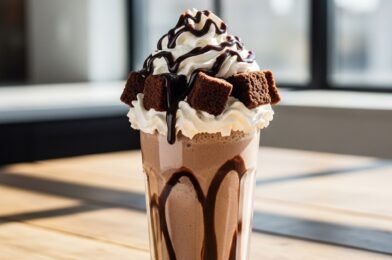
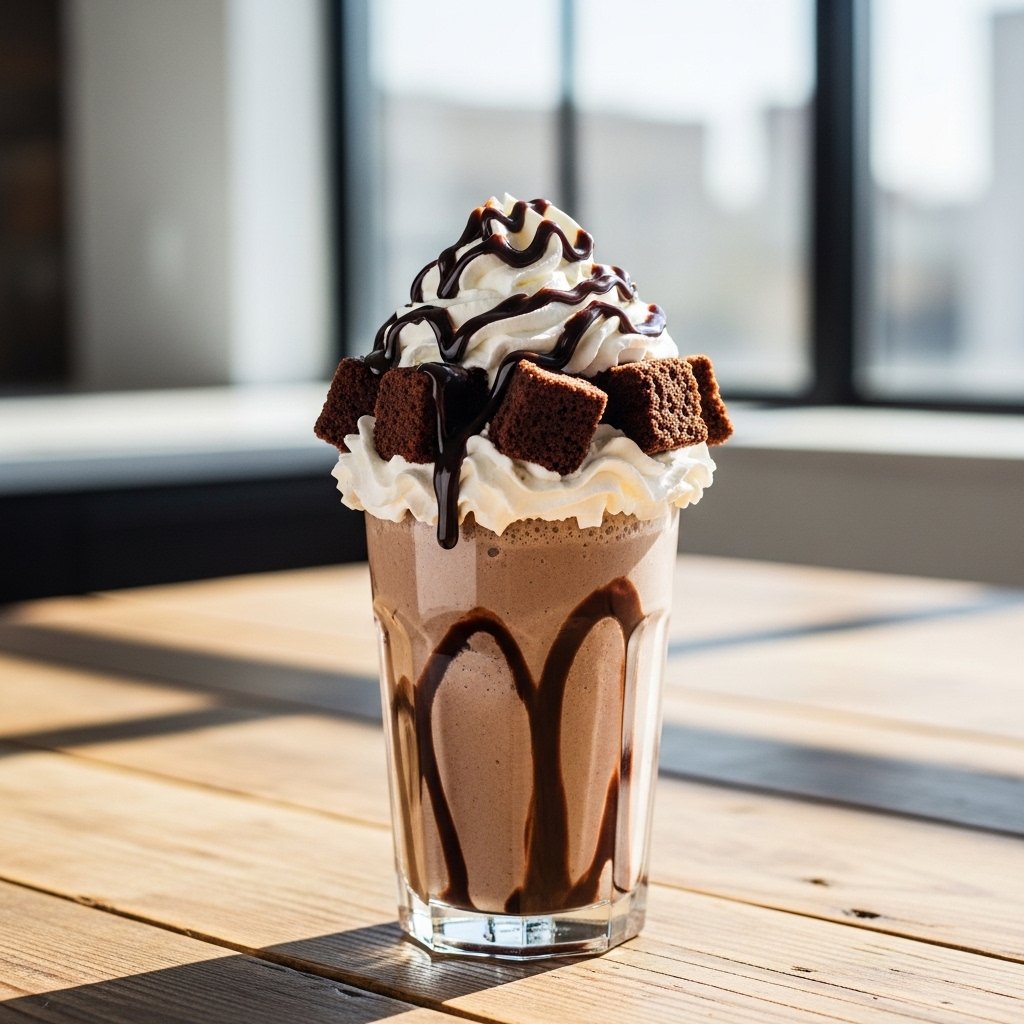
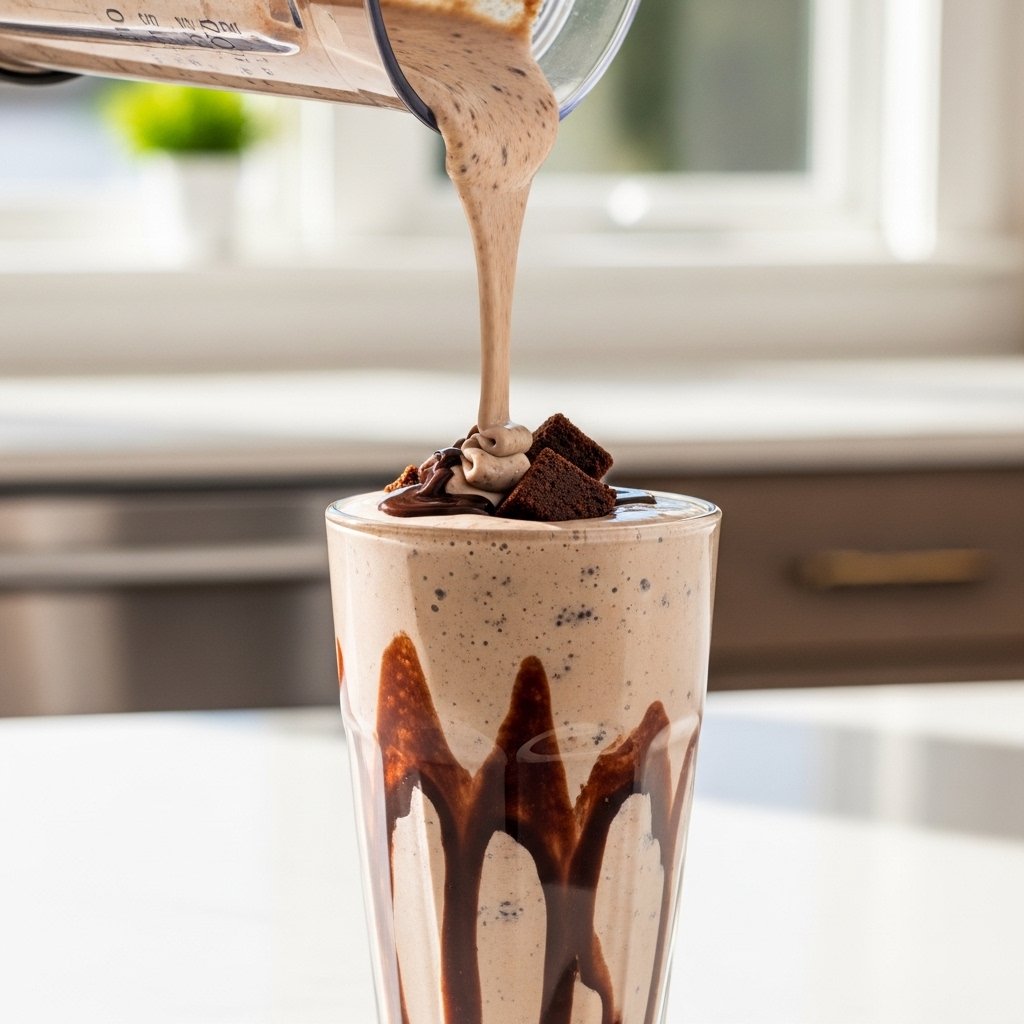
4. Serve and Garnish
Pour into a chilled glass, top with whipped cream, chocolate drizzle, and extra brownie chunks.
Tips for Perfect Milkshakes Fudge Brownie
Making the perfect milkshakes fudge brownie is easy when you follow these tips:
- Use slightly softened ice cream for easier blending
- Don’t over-blend—keep that thick milkshake texture
- Chill your serving glass beforehand
- Add brownie pieces gradually to control texture
- For extra richness, replace part of the milk with heavy cream
These small adjustments can take your milkshake from good to unforgettable.
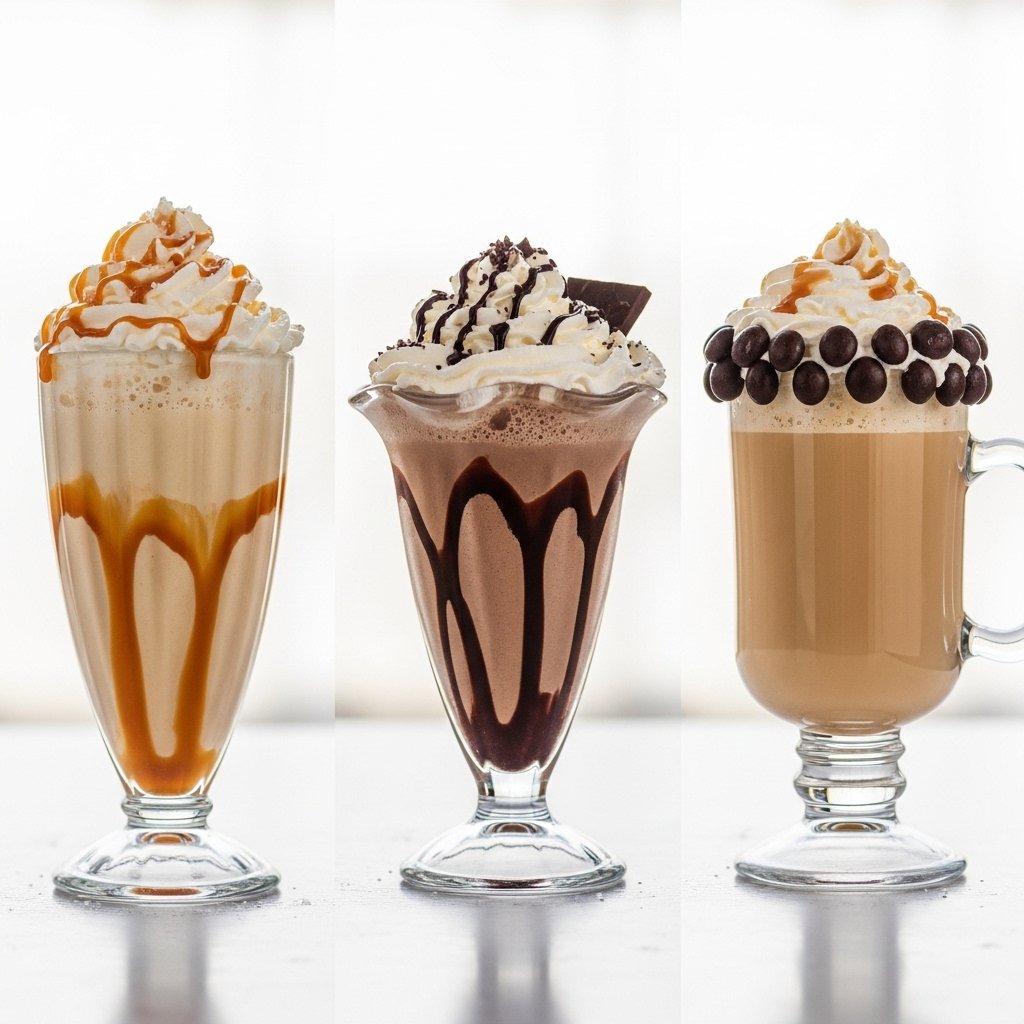
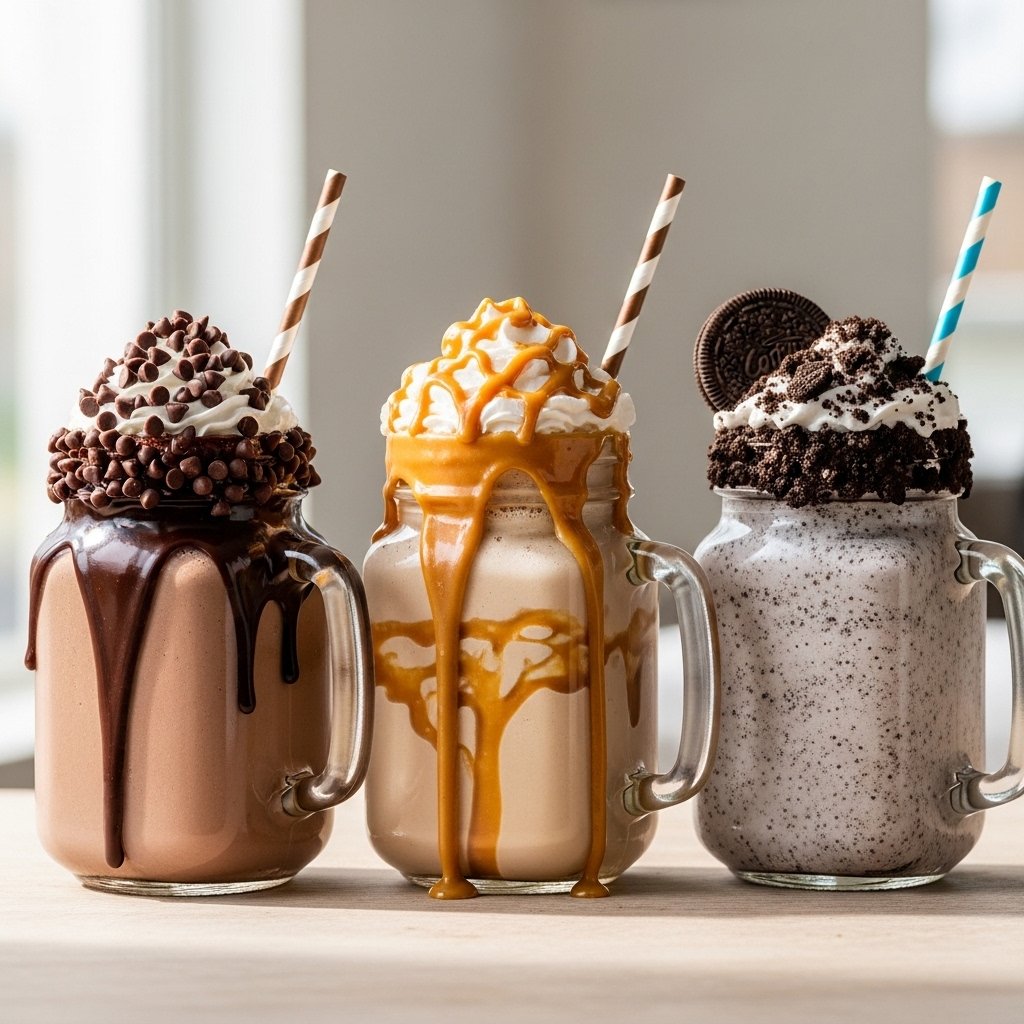
Variations to Try
Triple Chocolate Fudge Brownie Shake
Add chocolate chips or chunks for an even richer chocolate experience.
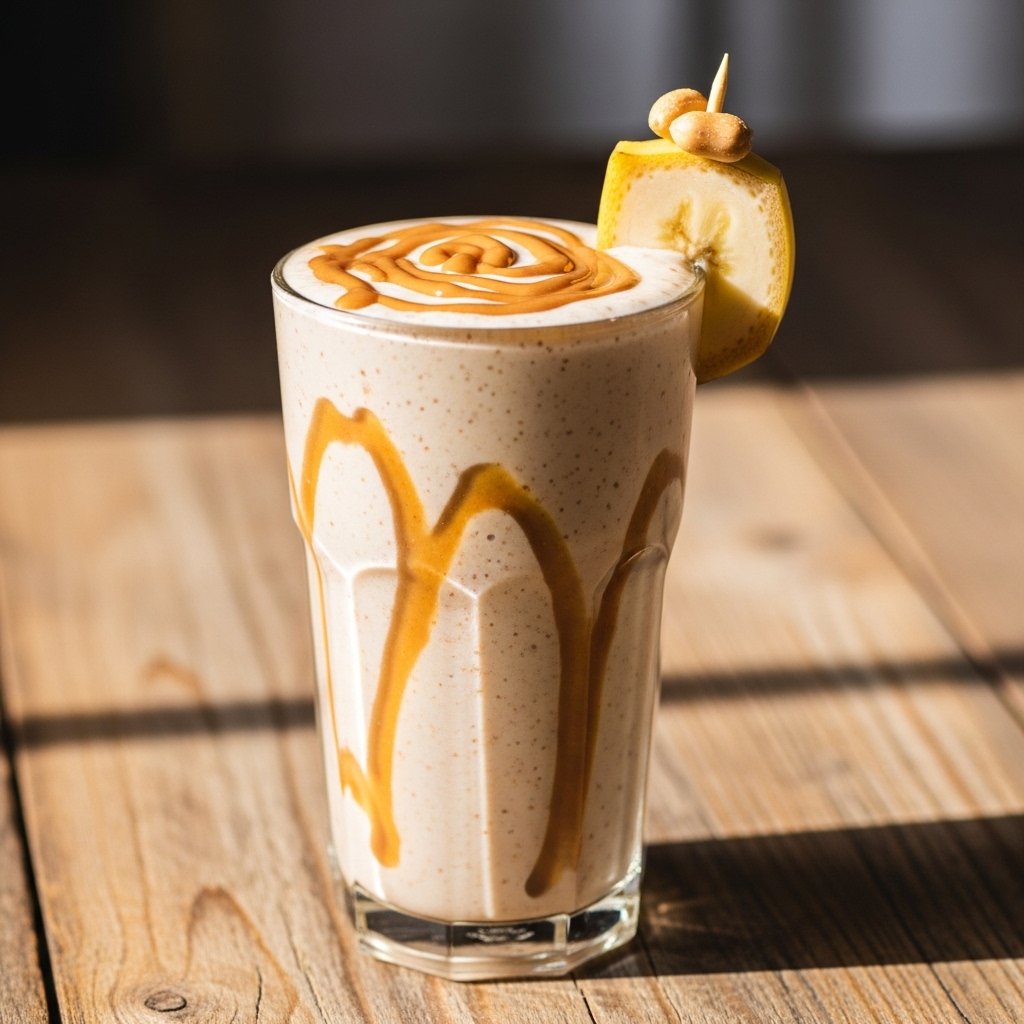
Peanut Butter Fudge Brownie Shake
Blend in a tablespoon of peanut butter for a nutty twist.
Cookies & Brownie Shake
Add crushed chocolate cookies for extra crunch and flavor.
Vegan Version
Use dairy-free ice cream, plant-based milk, and vegan brownies.
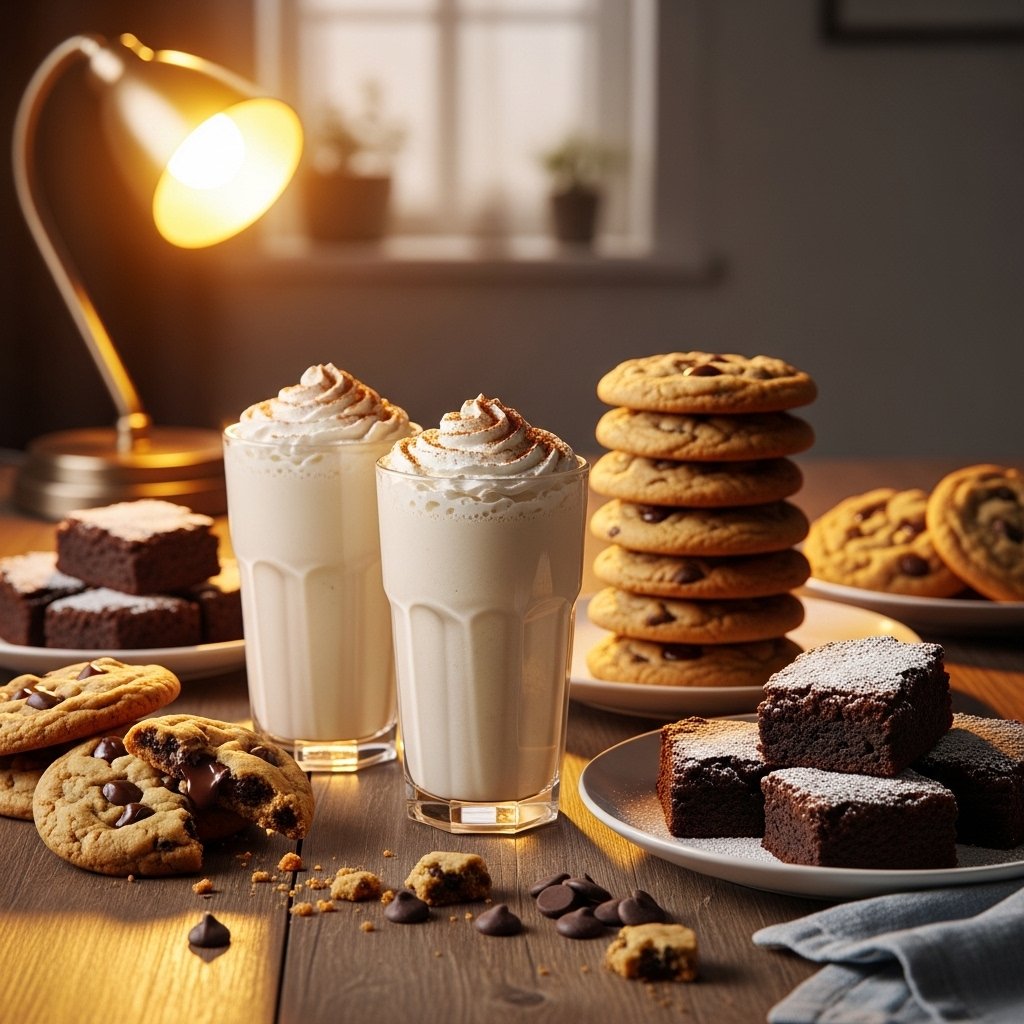
What to Serve With It
Pair your milkshakes fudge brownie with:
- Freshly baked cookies
- Chocolate cake slices
- Ice cream sandwiches
- Salty snacks like pretzels or fries for contrast
This milkshake can easily become the centerpiece of a dessert spread.
Storage & Reheating
Milkshakes are best enjoyed immediately, but if you need to save some:
- Store in the freezer for up to 1 hour
- Re-blend before serving to restore creaminess
- Avoid refrigerating, as it will become too thin
Common Mistakes to Avoid
Keep your milkshakes fudge brownie perfect by avoiding these pitfalls:
- Using dry or cakey brownies instead of fudgy ones
- Adding too much liquid, making the shake runny
- Over-blending, which melts the ice cream too much
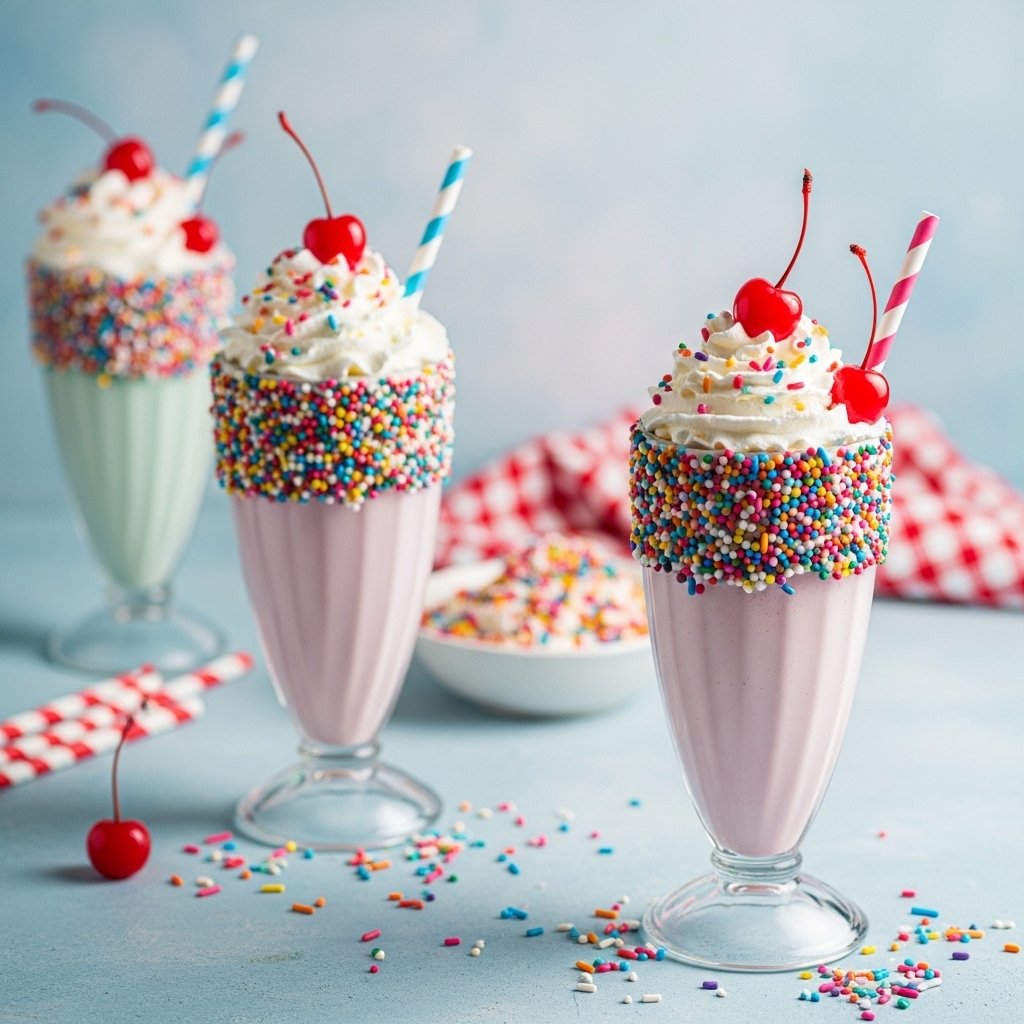
- Skipping toppings—they enhance both flavor and presentation
FAQs About Milkshakes Fudge Brownie
1. Can I use store-bought brownies?
Absolutely! Store-bought brownies work perfectly, especially if they’re rich and fudgy.
2. How do I make my milkshake thicker?
Use more ice cream or reduce the amount of milk for a thicker consistency.
3. Can I make this without chocolate ice cream?
Yes, you can use vanilla ice cream and rely on brownie and chocolate syrup for flavor.
4. Is it possible to make this ahead of time?
It’s best served fresh, but you can freeze briefly and re-blend before serving.
Final Thoughts
There’s no denying that milkshakes fudge brownie are the ultimate indulgence for chocolate lovers. Rich, creamy, and loaded with brownie goodness, this recipe transforms simple ingredients into a luxurious treat that feels both comforting and special.
Whether you enjoy it as a weekend dessert, a party highlight, or a personal treat, this milkshake is guaranteed to satisfy your sweet tooth. Once you try it, don’t be surprised if it becomes a regular favorite in your kitchen!