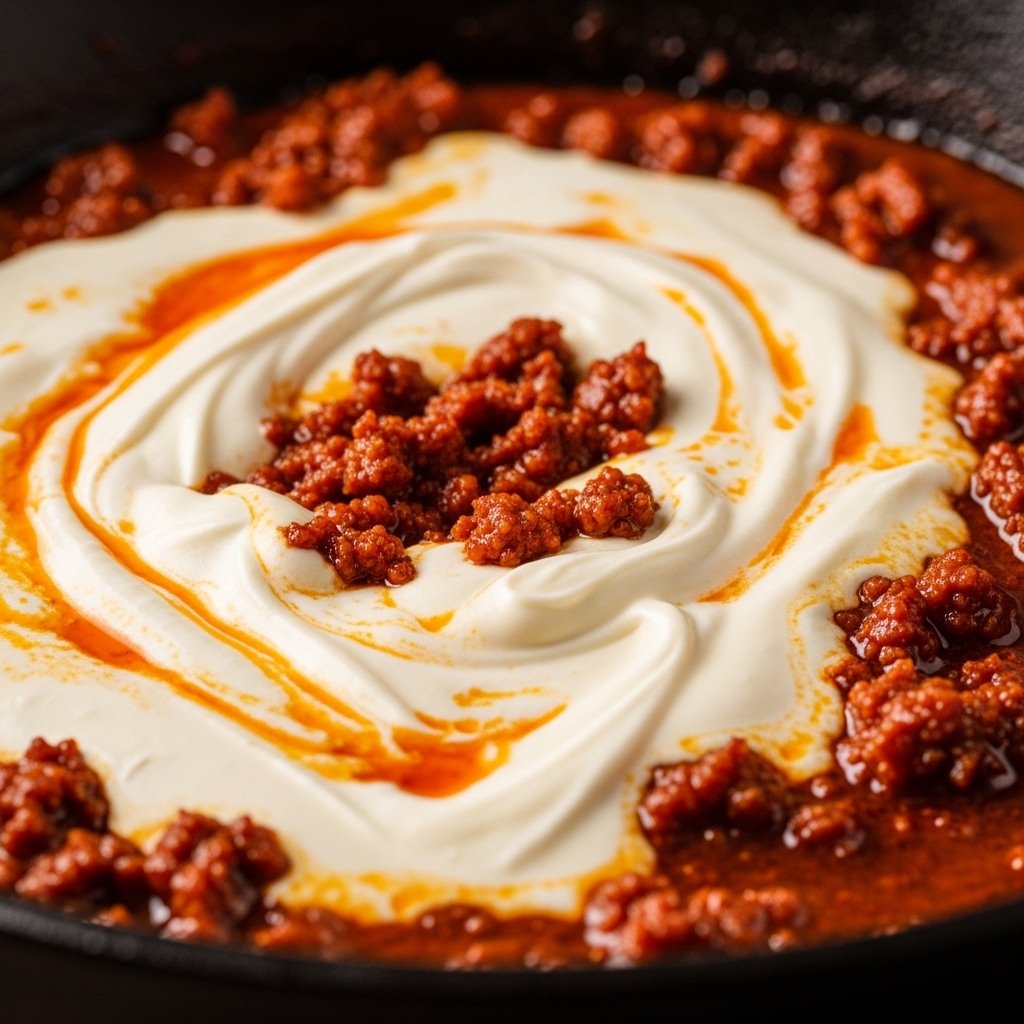
This CREAMY CHORIZO QUESO DIP – SNACK is the kind of bold, cheesy appetizer that disappears within minutes at any gathering. It combines smoky, spicy chorizo with velvety melted cheese to create a dip that’s rich, comforting, and completely irresistible.
Perfect for game day, parties, or casual snacking, this queso dip delivers restaurant-style flavor with minimal effort. Every bite is creamy, slightly spicy, and loaded with savory sausage goodness.

Why You’ll Love This Creamy Chorizo Queso Dip Recipe
This CREAMY CHORIZO QUESO DIP – SNACK is a guaranteed crowd favorite because:
- Ultra creamy and perfectly melted cheese texture
- Bold smoky flavor from chorizo sausage
- Easy 20-minute preparation
- Perfect for parties, game nights, and gatherings
- Pairs well with chips, veggies, and bread
It’s comfort food in dip form—simple, fast, and incredibly satisfying.
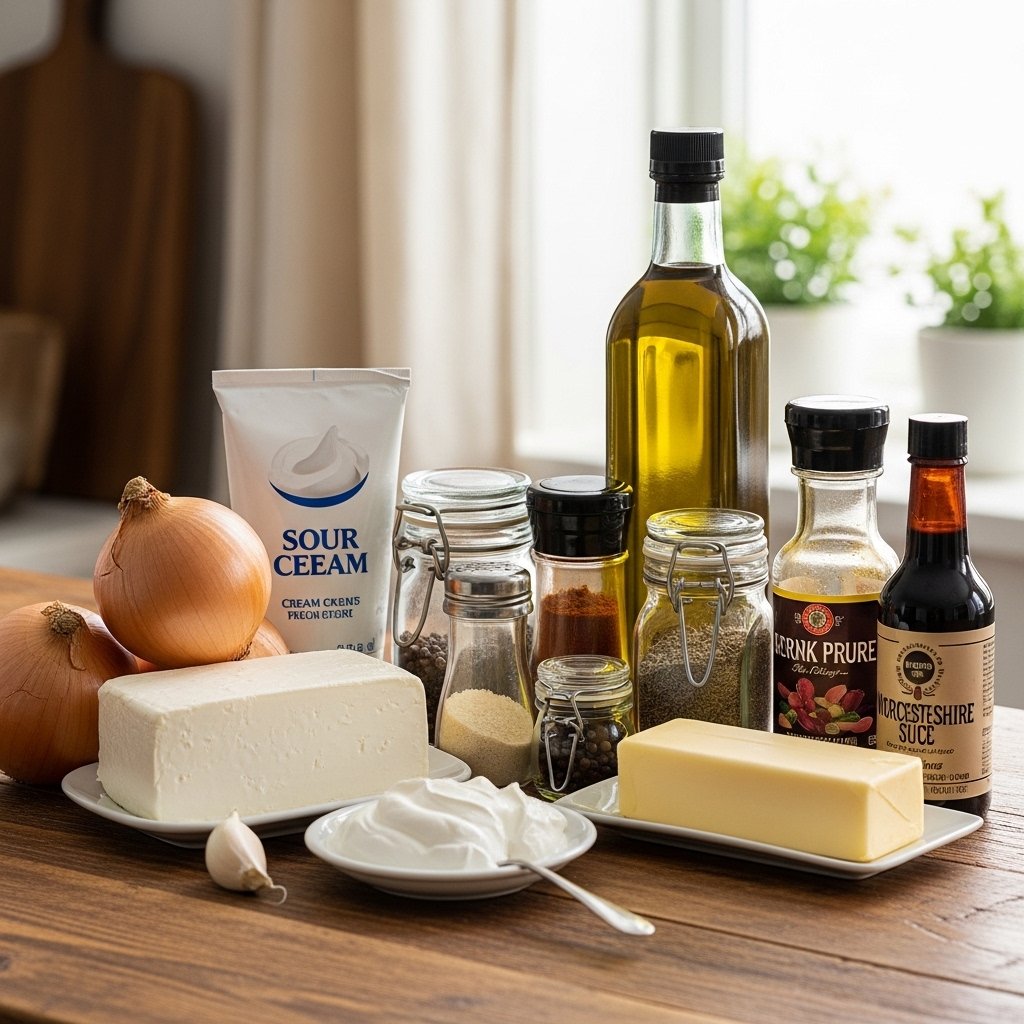
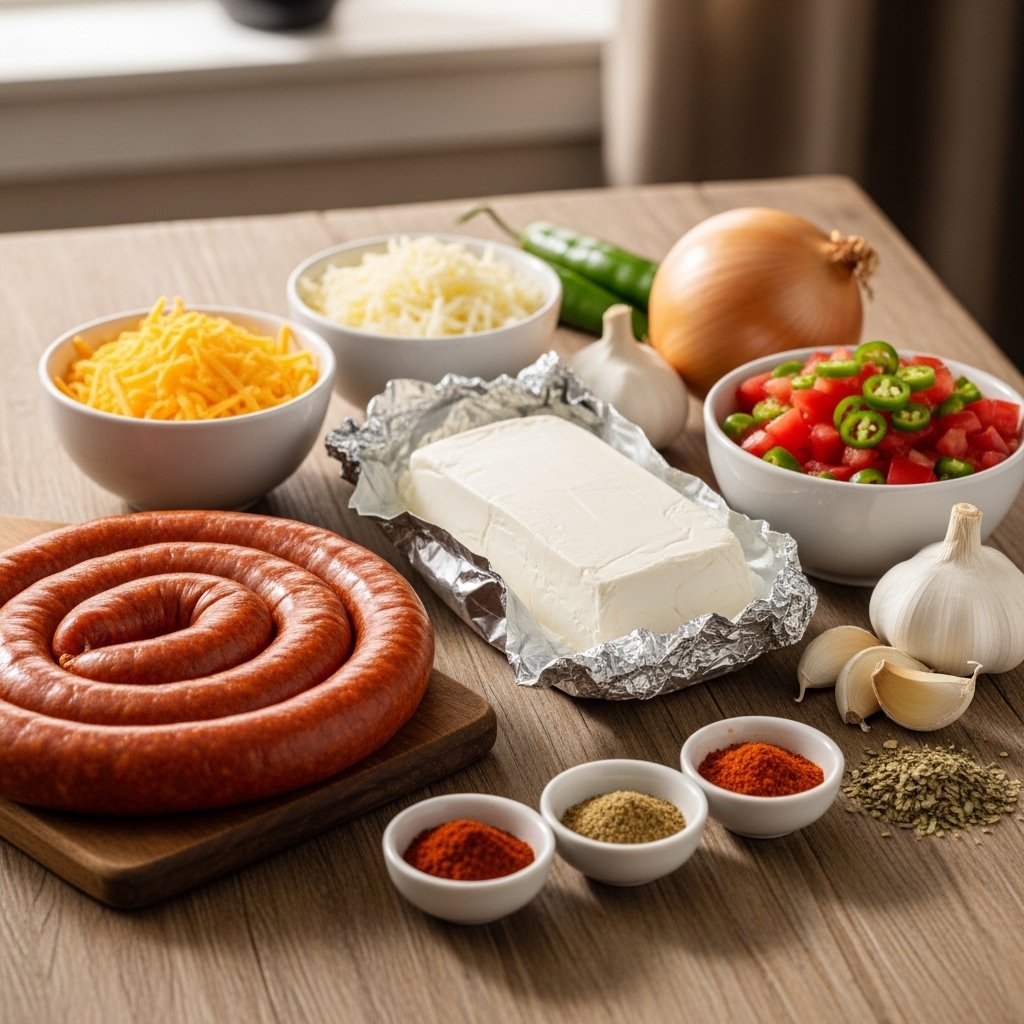
Ingredients
To make the best creamy chorizo queso dip recipe, you’ll need:
- 1/2 lb Mexican chorizo
- 1 tablespoon olive oil (if needed)
- 1 small onion, finely diced
- 2 cloves garlic, minced
- 1 (10 oz) can diced tomatoes with green chilies (Rotel)
- 8 oz cream cheese, softened
- 1 cup heavy cream or milk
- 2 cups shredded cheddar cheese
- 1 cup Monterey Jack cheese
- 1/2 teaspoon cumin
- Salt and pepper to taste
- Fresh cilantro for garnish
Ingredient Notes
Each ingredient in this creamy chorizo queso dip recipe plays an important role:
- Chorizo: Adds smoky, spicy depth
- Cheddar & Monterey Jack: Create smooth, melty texture
- Cream Cheese: Makes the dip rich and creamy
- Rotel Tomatoes: Adds acidity and slight heat
- Garlic & Onion: Build savory base flavor
For best results, use freshly shredded cheese for smoother melting.
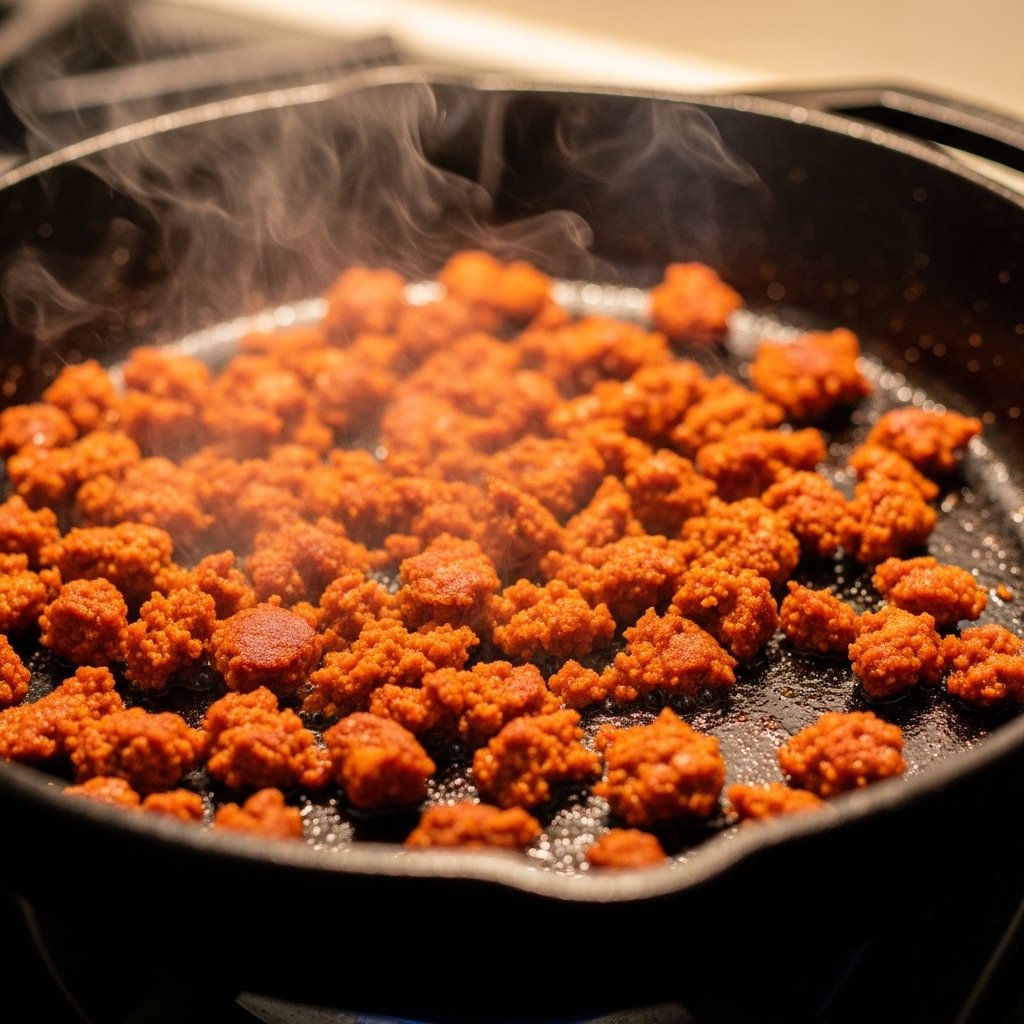
Step-by-Step Instructions
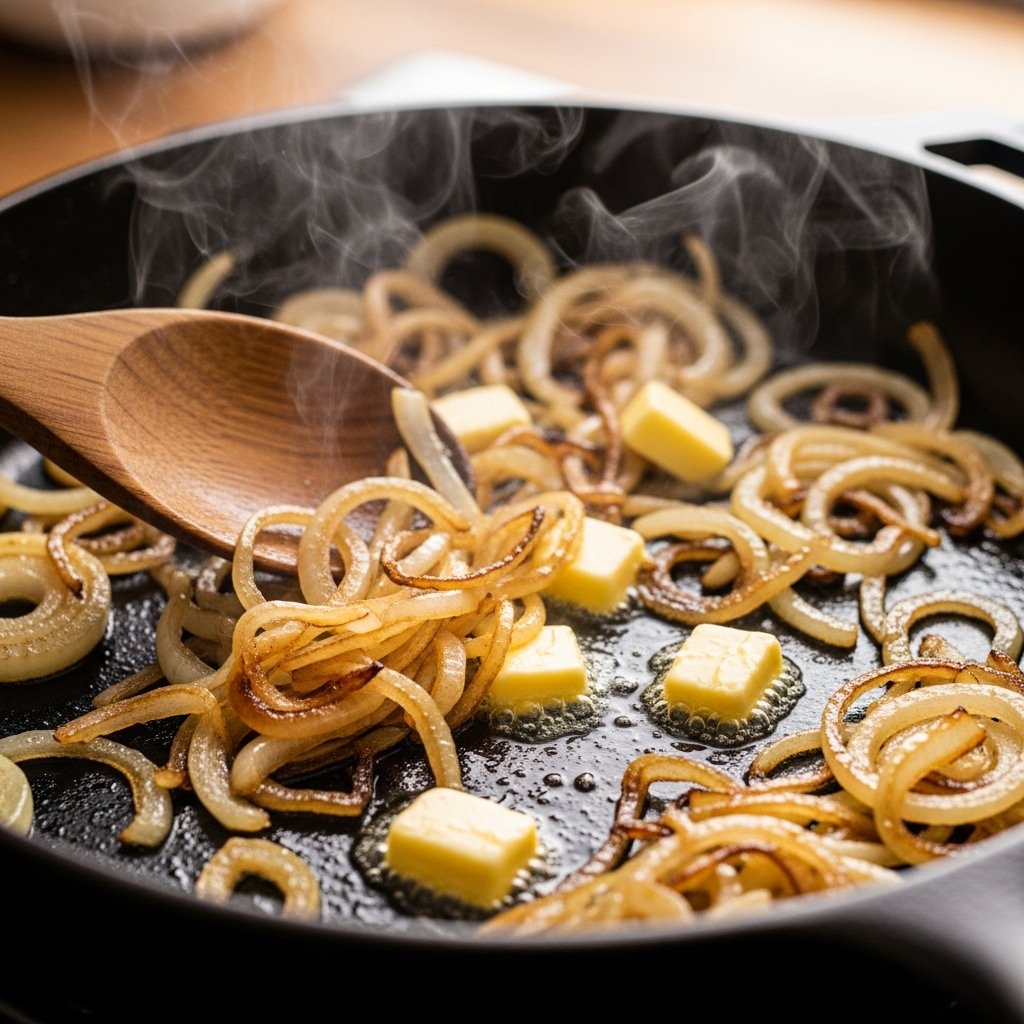
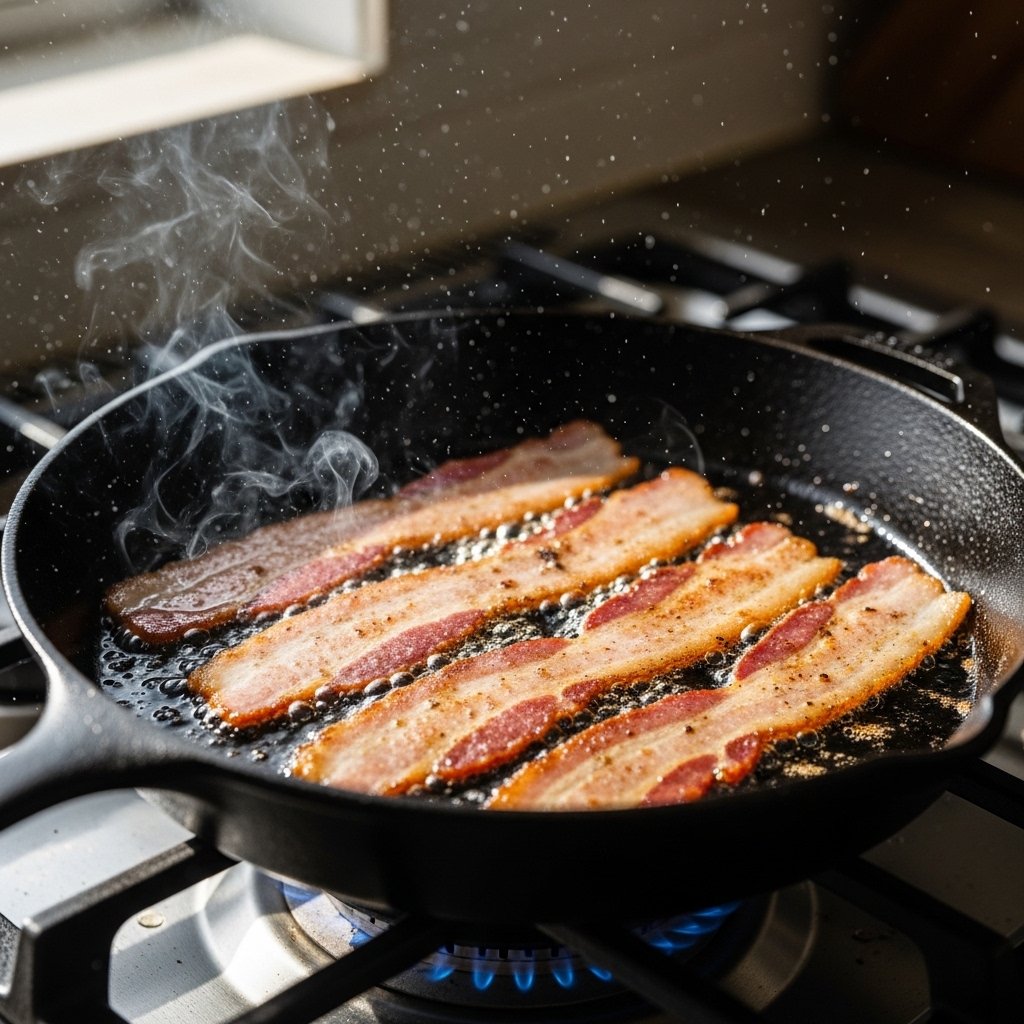
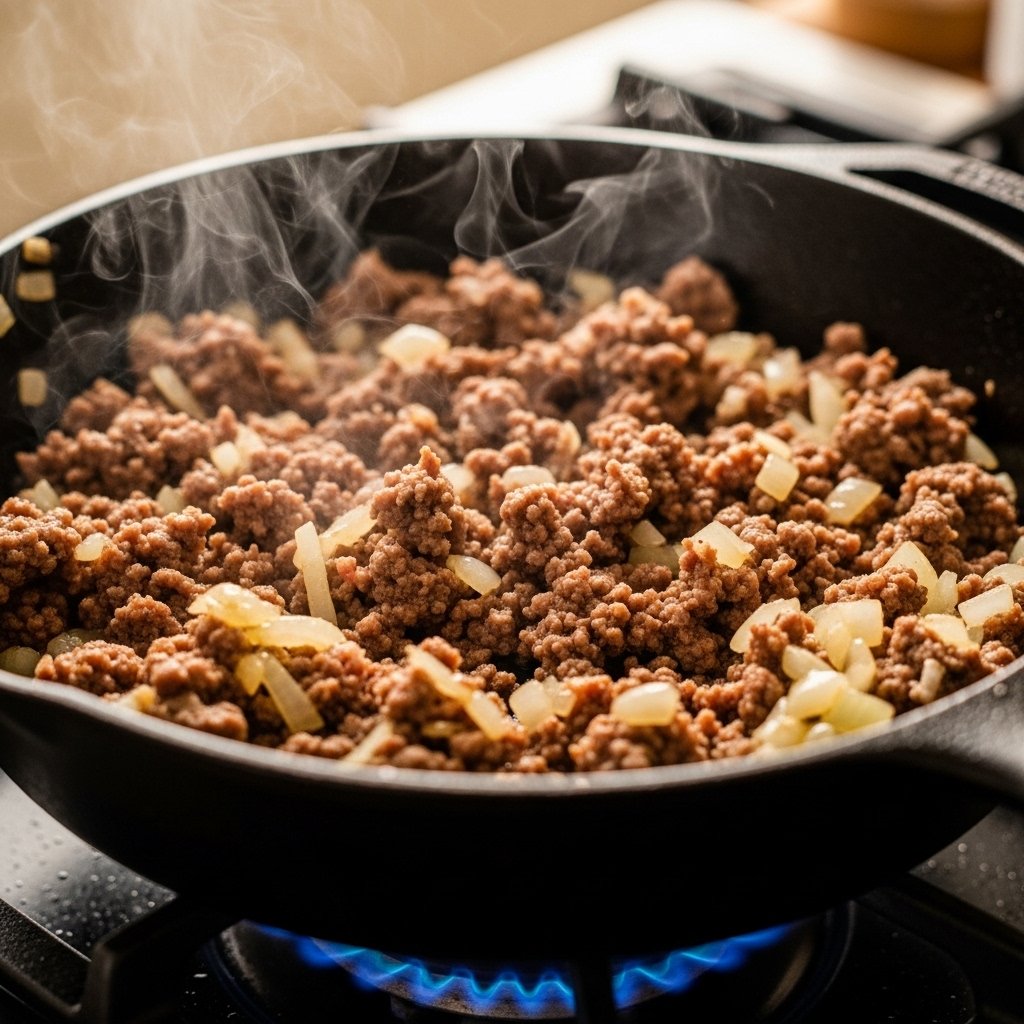
1. Cook the Chorizo
Heat a skillet and cook chorizo until browned and fully cooked. Remove excess grease if needed.
2. Sauté Aromatics
Add onion and garlic to the same pan and cook until softened.
3. Add Tomatoes
Stir in diced tomatoes with green chilies and mix well.

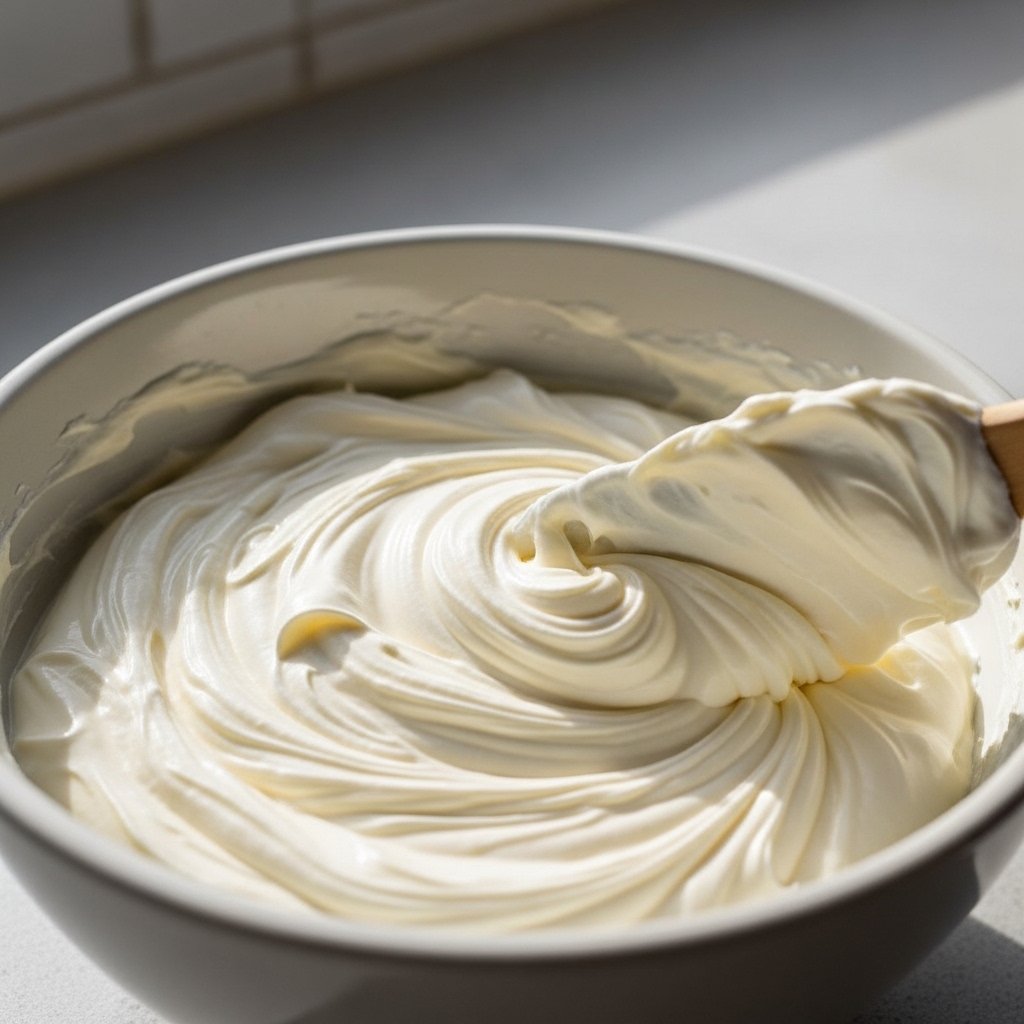
4. Melt the Cheese
Lower heat and add cream cheese, stirring until melted and smooth.
5. Add Remaining Cheese
Slowly mix in cheddar and Monterey Jack until fully melted and creamy.
6. Serve Hot
Garnish with cilantro and serve immediately with chips.

Tips for Perfect Results
- Use freshly shredded cheese for smooth melting
- Drain excess chorizo grease for better texture
- Keep heat low when melting cheese
- Serve immediately for best consistency
These tips ensure your creamy chorizo queso dip recipe stays silky and smooth.
Variations
Try these delicious twists:
- Spicy Version: Add jalapeños or hot sauce
- Smoky Version: Add smoked paprika
- Extra Creamy: Add more cream cheese
- Veggie Version: Add bell peppers or corn

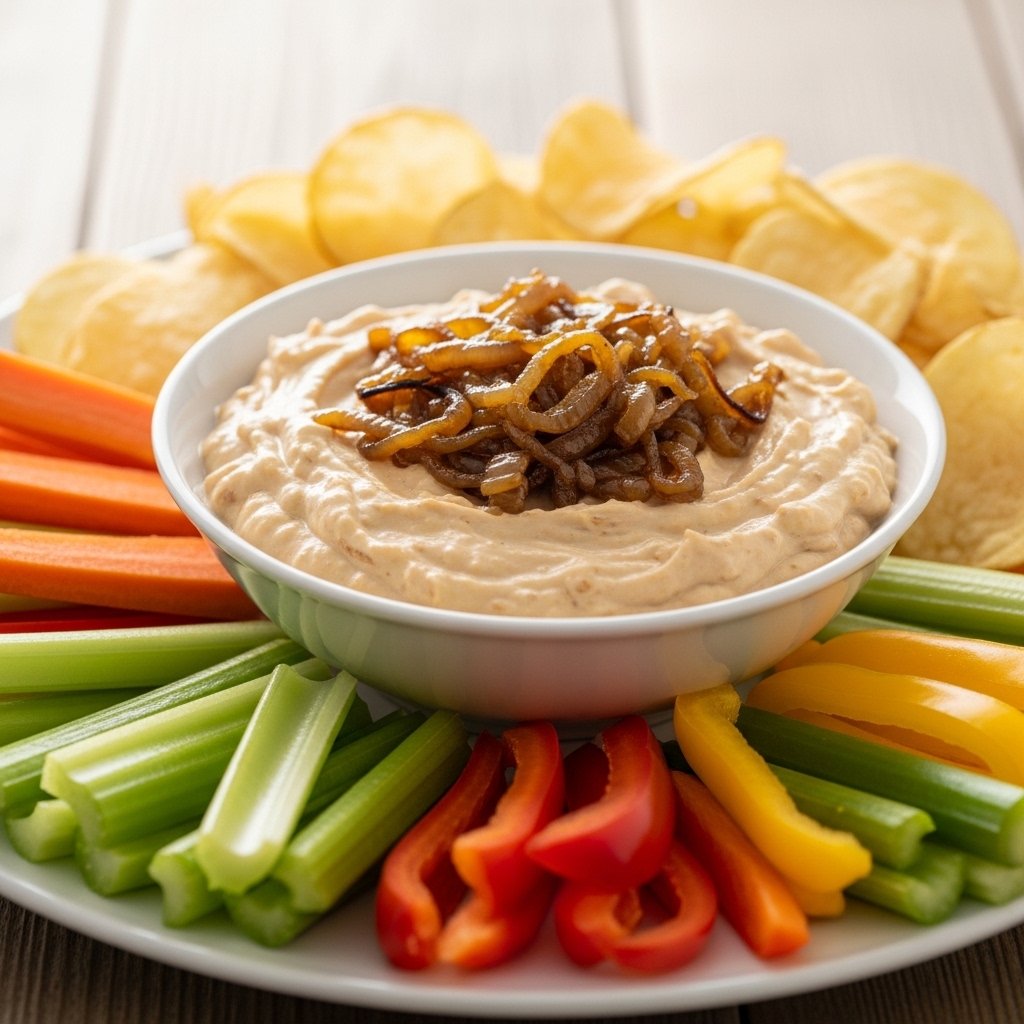
What to Serve With It
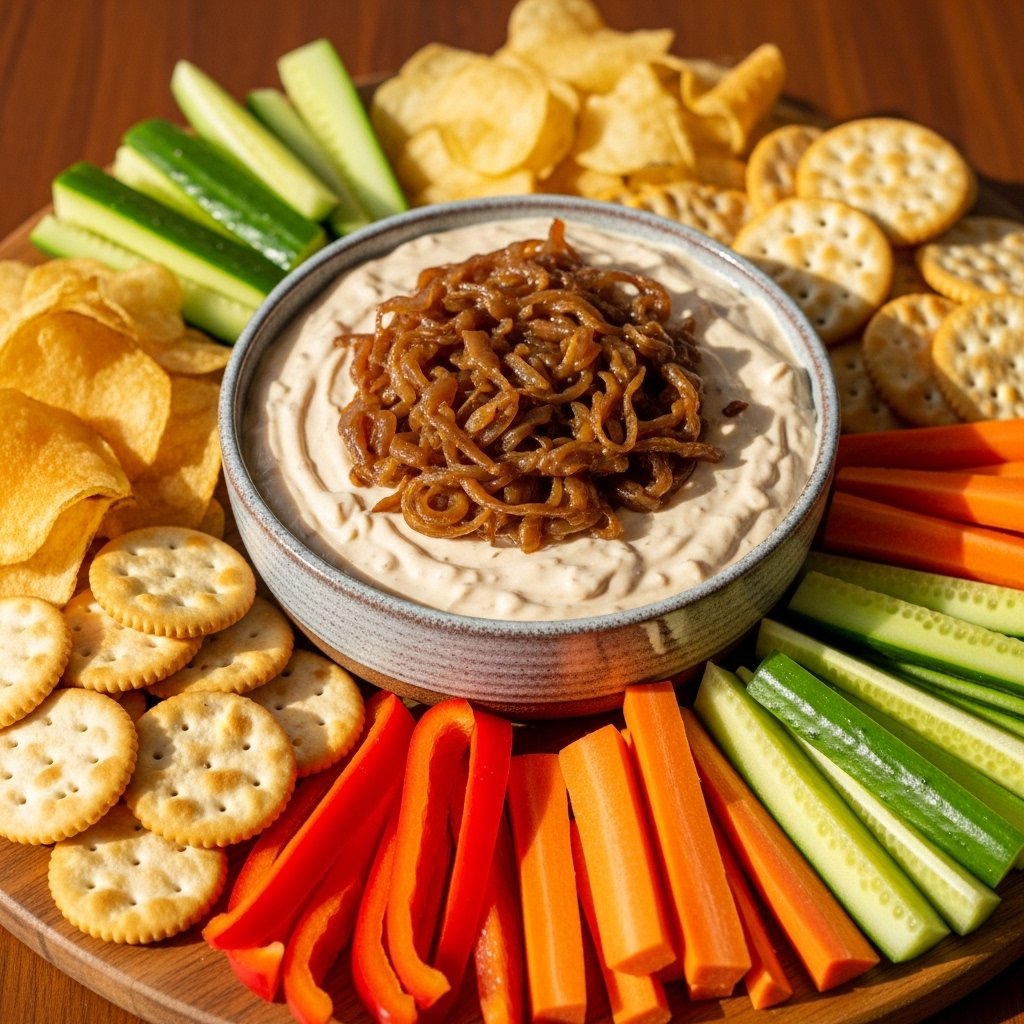
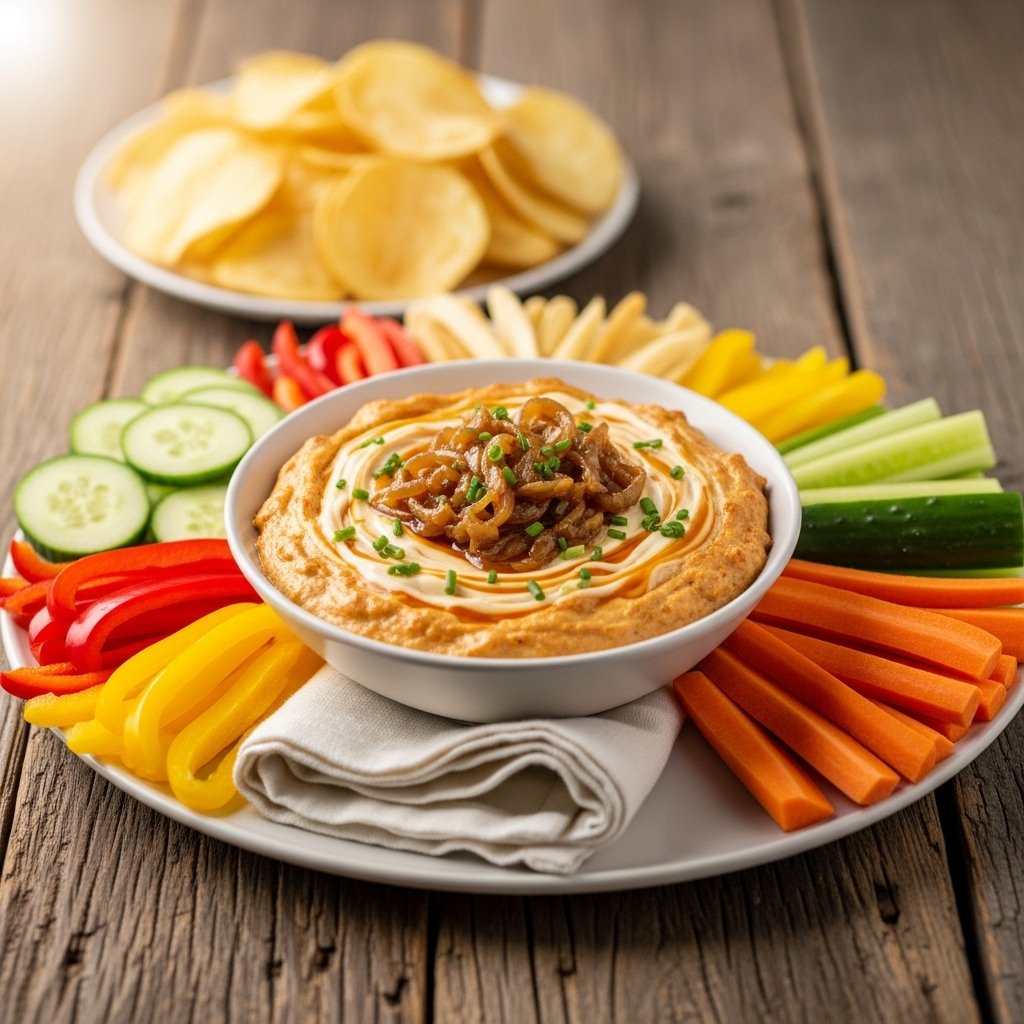
This CREAMY CHORIZO QUESO DIP – SNACK pairs perfectly with:
- Tortilla chips
- Nachos
- Pretzels
- Sliced baguette
- Fresh veggies like carrots and celery
It’s a versatile dip that works for any party spread.
Storage & Reheating
- Store in airtight container in fridge for up to 3 days
- Reheat on stovetop over low heat, stirring often
- Add a splash of milk when reheating to restore creaminess
- Not recommended for freezing
Common Mistakes to Avoid
- Overheating cheese (causes separation)
- Using pre-shredded cheese (doesn’t melt smoothly)
- Skipping grease drainage from chorizo
- Serving too cold instead of warm
FAQs
1. Can I make chorizo queso dip ahead of time?
Yes, but reheat slowly for best texture.
2. Is this dip very spicy?
It has mild heat, but you can adjust spice level.
3. Can I use other meats instead of chorizo?
Yes, ground beef or turkey works too.
4. What cheese works best?
Cheddar and Monterey Jack melt best together.
Final Thoughts
This CREAMY CHORIZO QUESO DIP – SNACK is the ultimate party appetizer—rich, cheesy, and packed with bold flavor. It’s easy to make, highly addictive, and guaranteed to be the first dish gone at any gathering.
Once you try it, it will become a regular favorite for game days and celebrations.