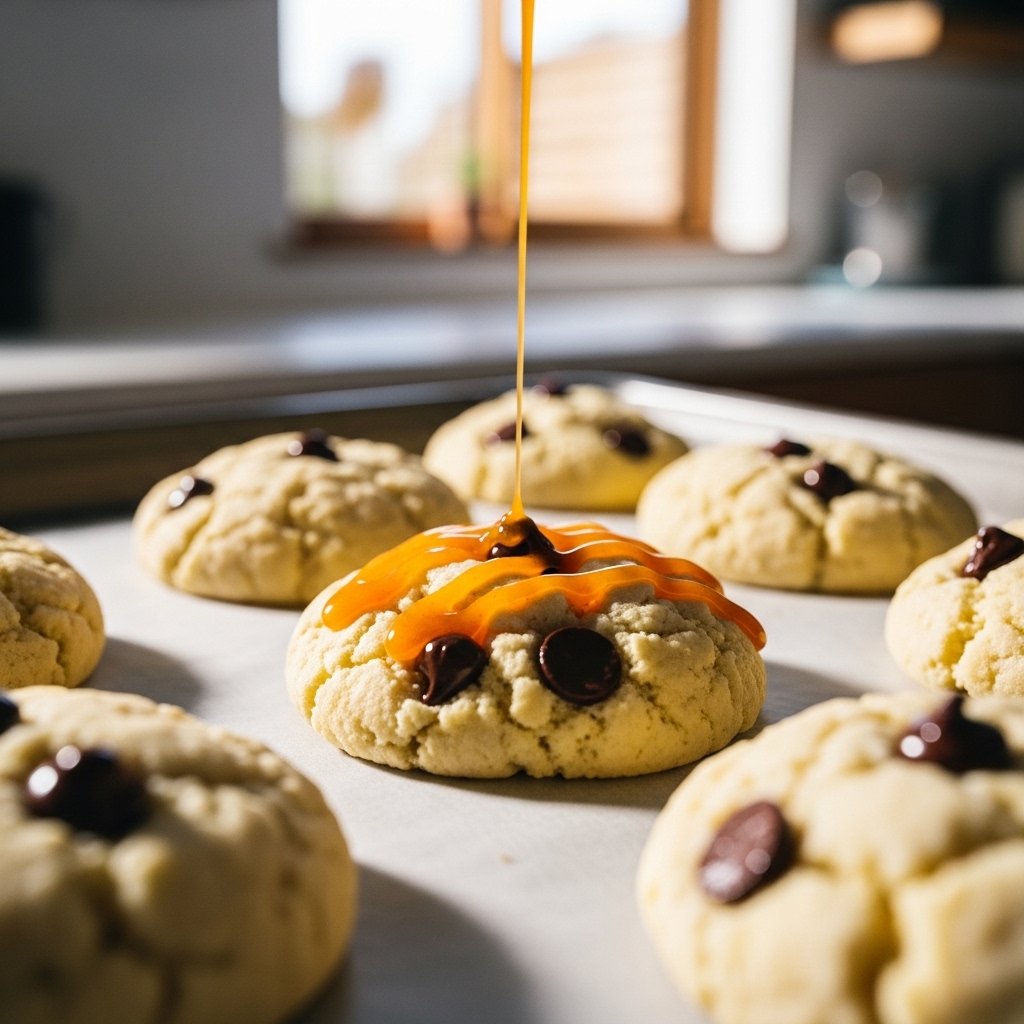
If you’ve never tried orange chocolate chip ricotta cookies (soft & melt-in-your-mouth!), you’re in for a treat that’s both unique and unforgettable. These cookies combine the creamy richness of ricotta cheese with bright citrus notes and sweet chocolate chips, creating a texture that’s incredibly soft, tender, and almost cake-like.

Perfect for holidays, afternoon snacks, or gifting, these cookies offer a refreshing twist on traditional chocolate chip cookies while still delivering that comforting homemade feel.
Why You’ll Love These Orange Chocolate Chip Ricotta Cookies
These orange chocolate chip ricotta cookies (soft & melt-in-your-mouth!) are truly special for so many reasons:
- Ultra-soft, pillowy texture thanks to ricotta cheese
- Bright orange flavor that pairs beautifully with chocolate
- Easy, beginner-friendly recipe
- Perfect balance of sweetness and freshness
- Great for make-ahead baking or gifting
They’re a delightful upgrade from classic cookies, offering something a little more elegant and flavorful.
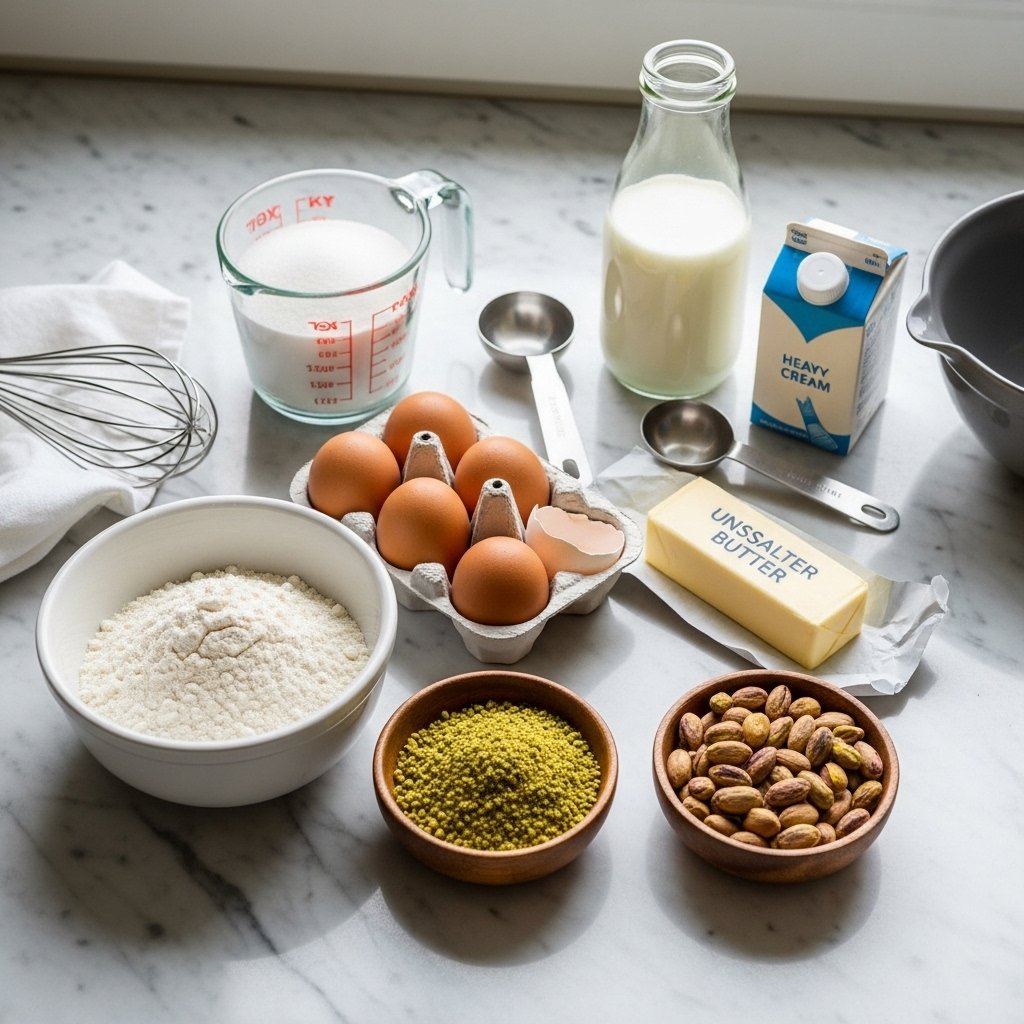
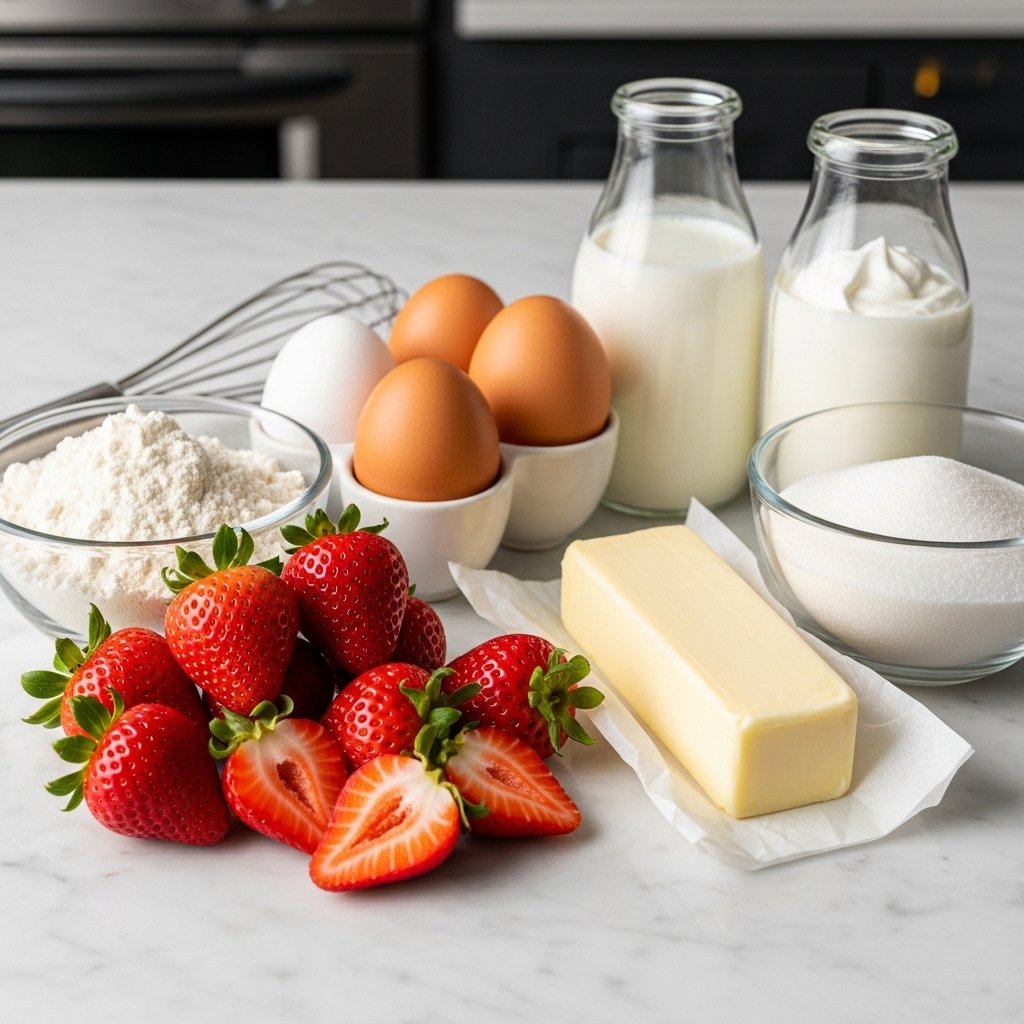
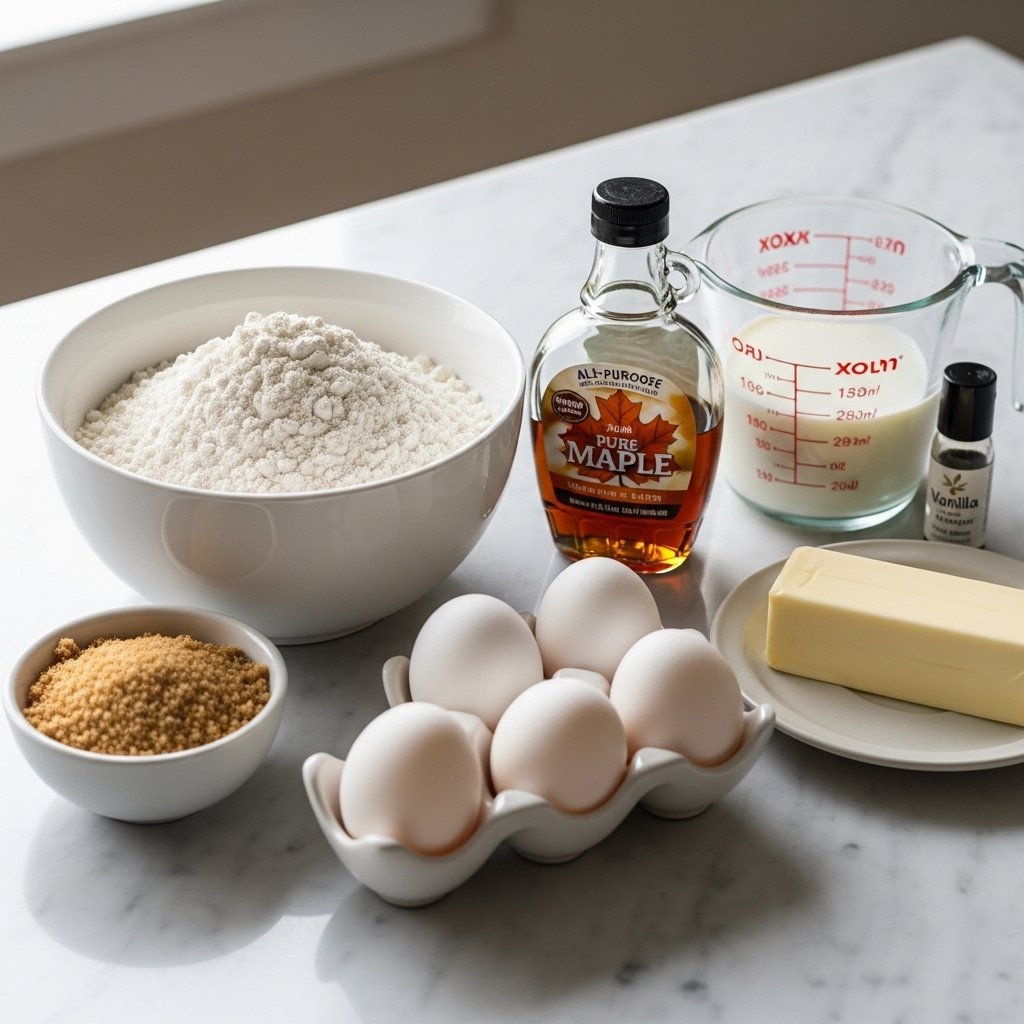
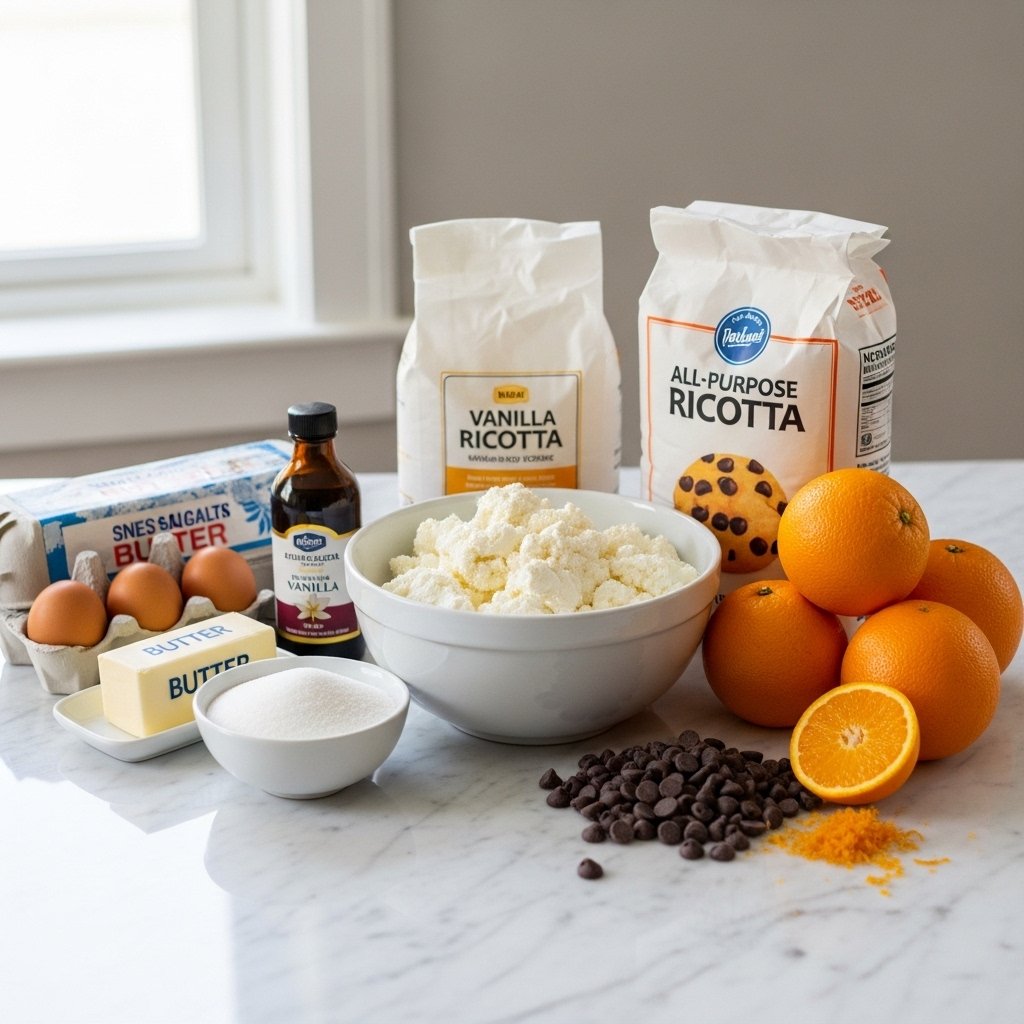
Ingredients
To make these delicious orange chocolate chip ricotta cookies (soft & melt-in-your-mouth!), you’ll need:
For the Cookies:
- 2 cups all-purpose flour
- 1 teaspoon baking powder
- ½ teaspoon baking soda
- ½ teaspoon salt
- ½ cup unsalted butter (softened)
- 1 cup sugar
- 1 large egg
- 1 cup ricotta cheese
- 1 tablespoon orange zest
- 2 tablespoons fresh orange juice
- 1 teaspoon vanilla extract
- 1 cup chocolate chips
Optional Glaze:
- 1 cup powdered sugar
- 2 tablespoons orange juice
- ½ teaspoon orange zest
Ingredient Notes
The secret to the soft texture of orange chocolate chip ricotta cookies (soft & melt-in-your-mouth!) is the ricotta cheese. It adds moisture and richness without making the cookies heavy.
Fresh orange zest is essential for a vibrant citrus flavor—don’t skip it! Use high-quality chocolate chips for the best contrast of flavors, and always opt for full-fat ricotta for optimal texture.
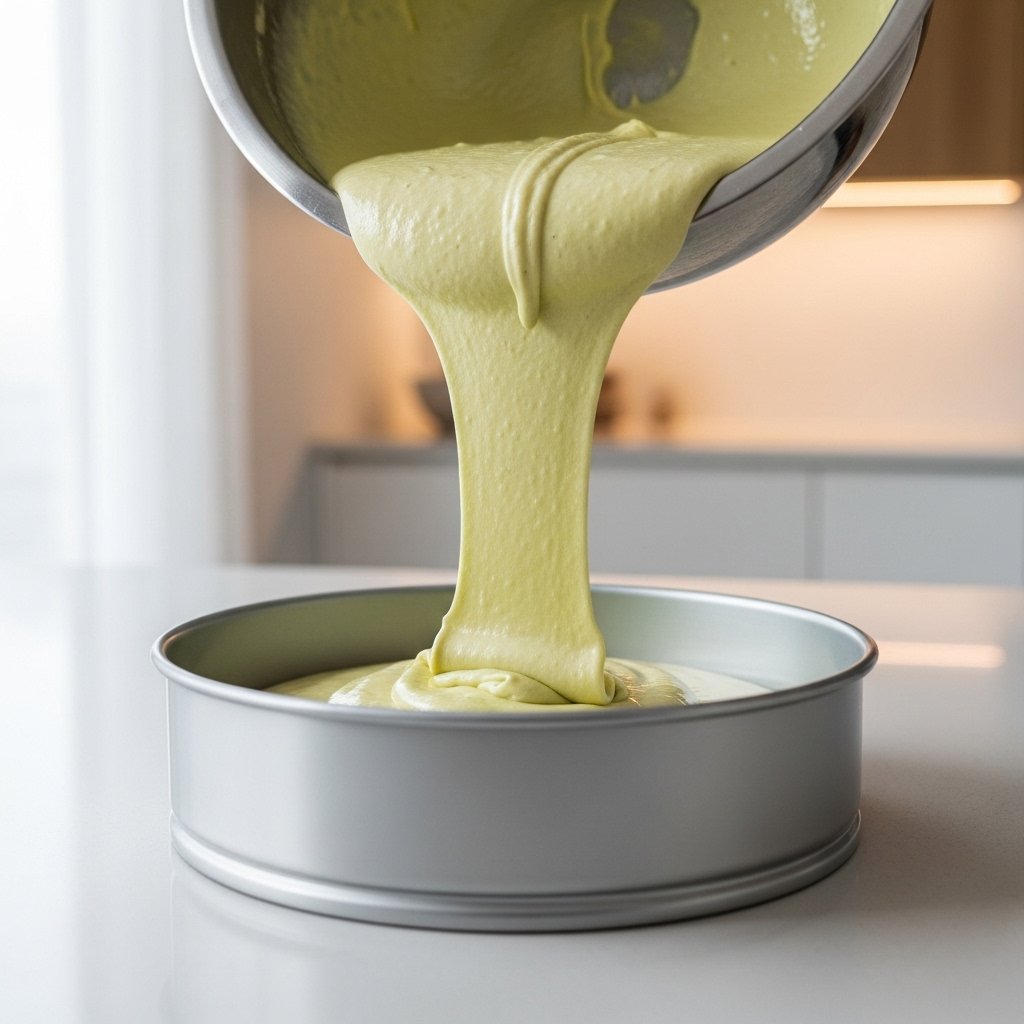
Step-by-Step Instructions
1. Prepare the Dough
Preheat oven to 350°F (175°C). In a bowl, whisk flour, baking powder, baking soda, and salt.
2. Cream Butter and Sugar
Beat butter and sugar until light and fluffy, then add egg.
3. Add Wet Ingredients
Mix in ricotta cheese, orange zest, orange juice, and vanilla extract.
4. Combine and Fold
Gradually add dry ingredients, then fold in chocolate chips.
5. Bake the Cookies
Scoop dough onto a lined baking sheet and bake for 12–14 minutes.
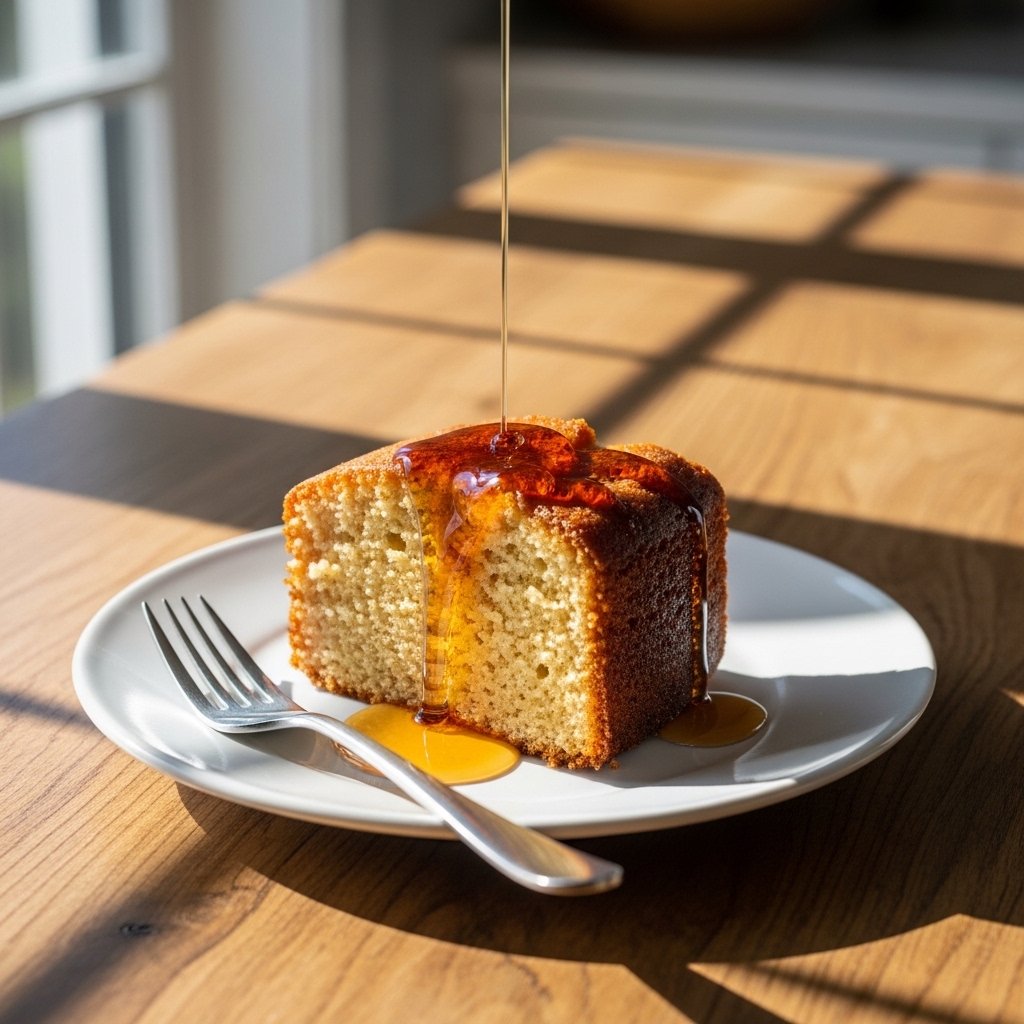
6. Add Glaze (Optional)
Once cooled, drizzle with orange glaze for extra flavor.
Tips for Perfect Results
To make the best orange chocolate chip ricotta cookies (soft & melt-in-your-mouth!), follow these tips:
- Use room-temperature ingredients for smooth mixing
- Don’t overmix the dough to keep cookies soft
- Chill dough slightly if it feels too sticky
- Use parchment paper for even baking
- Let cookies cool before glazing
These small steps make a big difference in texture and flavor.
Variations to Try
Lemon Ricotta Cookies
Swap orange for lemon for a tangy twist.
White Chocolate Version
Use white chocolate chips for a sweeter flavor.
Almond Orange Cookies
Add almond extract for a nutty depth.
Gluten-Free Option
Use a gluten-free flour blend.

What to Serve With It
Pair your orange chocolate chip ricotta cookies (soft & melt-in-your-mouth!) with:
- Hot coffee or cappuccino
- Herbal or citrus tea
- Fresh fruit
- Vanilla ice cream
These pairings enhance the cookies’ bright and creamy flavors.
Storage & Reheating
To keep your orange chocolate chip ricotta cookies (soft & melt-in-your-mouth!) fresh:
- Store in an airtight container in the refrigerator for up to 5 days
- Bring to room temperature before serving
- Freeze for up to 2 months
- Avoid reheating—best enjoyed soft
Common Mistakes to Avoid
Avoid these mistakes when making orange chocolate chip ricotta cookies (soft & melt-in-your-mouth!):
- Using low-fat ricotta (affects texture)
- Skipping the orange zest
- Overbaking, which dries out cookies
- Adding glaze while cookies are warm
FAQs
1. Can I make these cookies ahead of time?
Yes! They store well and taste even better the next day.
2. Can I freeze the dough?
Absolutely. Freeze scooped dough and bake when needed.
3. Why are my cookies too soft?
That’s normal! These cookies are meant to be soft and tender.
4. Can I skip the glaze?
Yes, but the glaze adds extra citrus flavor and sweetness.
Final Thoughts
These orange chocolate chip ricotta cookies (soft & melt-in-your-mouth!) are the perfect combination of creamy, citrusy, and chocolatey goodness. They’re easy to make, incredibly soft, and bursting with flavor in every bite.
Whether you’re baking for a special occasion or just craving something sweet, this recipe is guaranteed to impress. Once you try them, they’ll quickly become a favorite in your baking rotation!