If you’re looking for something quick, creamy, and naturally sweet, these milkshake recipes banana are exactly what you need. Banana milkshakes are one of the easiest homemade drinks you can make, and they’re perfect for breakfast, post-workout energy, or a refreshing dessert.
What makes banana milkshakes so popular is their natural creaminess. When blended, bananas create a smooth, rich texture that pairs beautifully with milk and other ingredients like chocolate, peanut butter, or vanilla. Whether you like it simple or indulgent, banana milkshakes are always satisfying.

Why You’ll Love These Milkshake Recipes Banana
These milkshake recipes banana are loved for many reasons:
- Naturally sweet and healthy
- Quick and easy—ready in 5 minutes
- Perfect for breakfast or snacks
- Kid-friendly and customizable
- Great way to use ripe bananas
They’re simple, nutritious, and endlessly versatile.
Basic Banana Milkshake Recipe
Let’s start with the classic version of milkshake recipes banana.
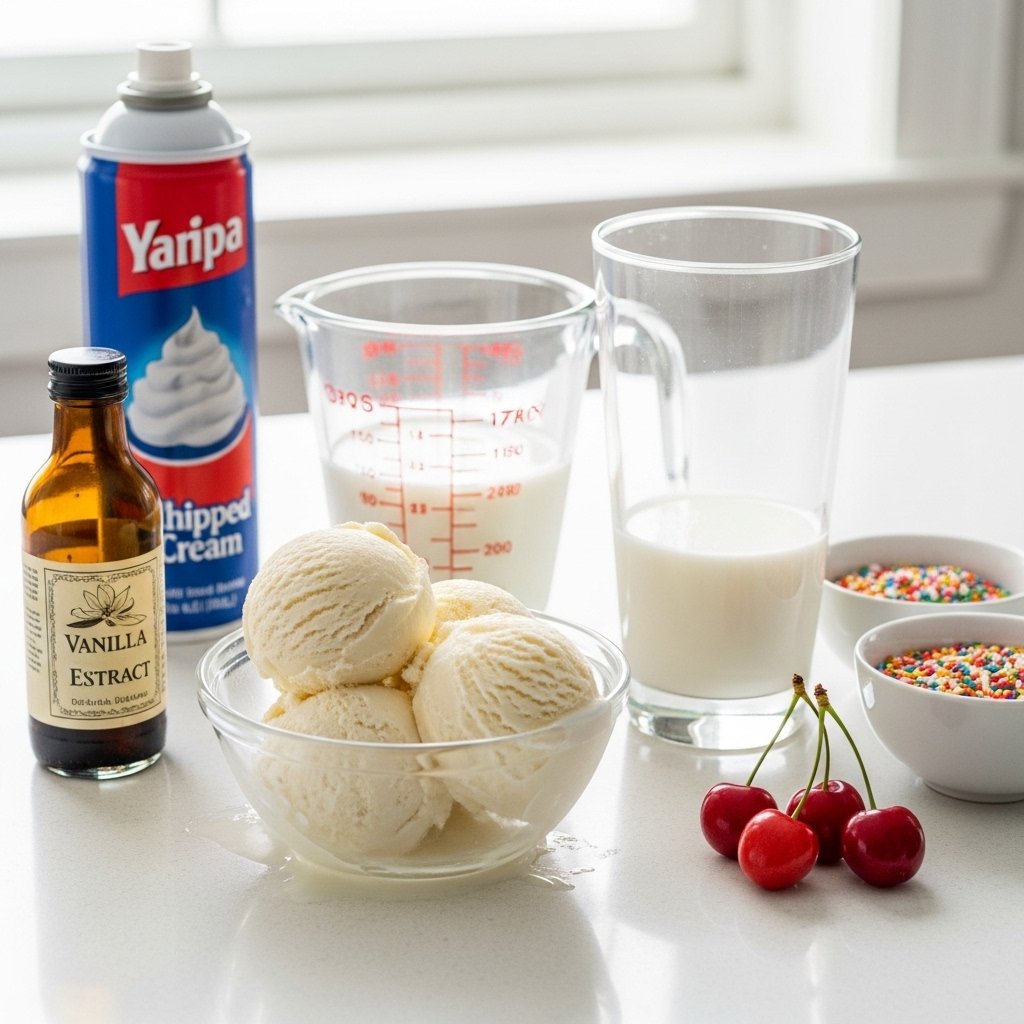
Ingredients:
- 2 ripe bananas
- 2 cups cold milk
- 1 tablespoon honey or sugar (optional)
- 1/2 teaspoon vanilla extract
- Ice cubes (optional for thickness)

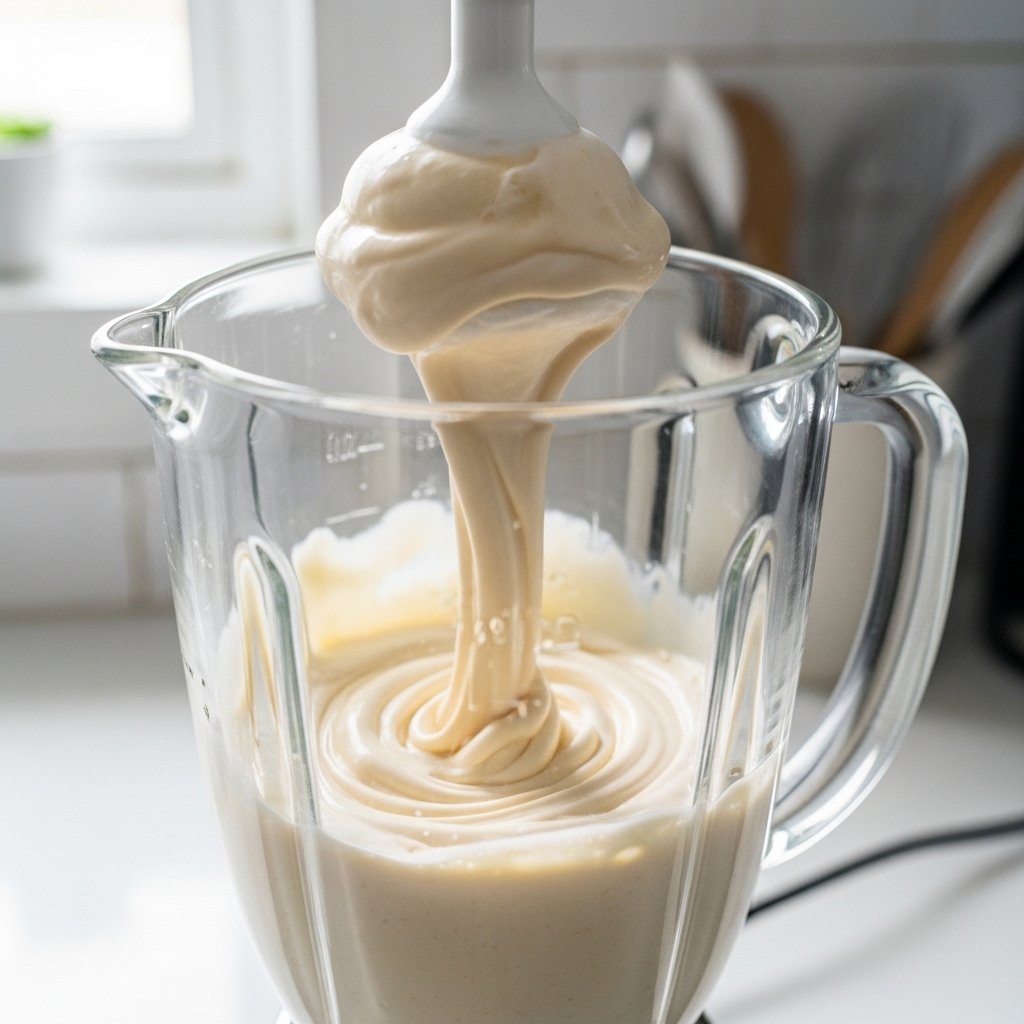
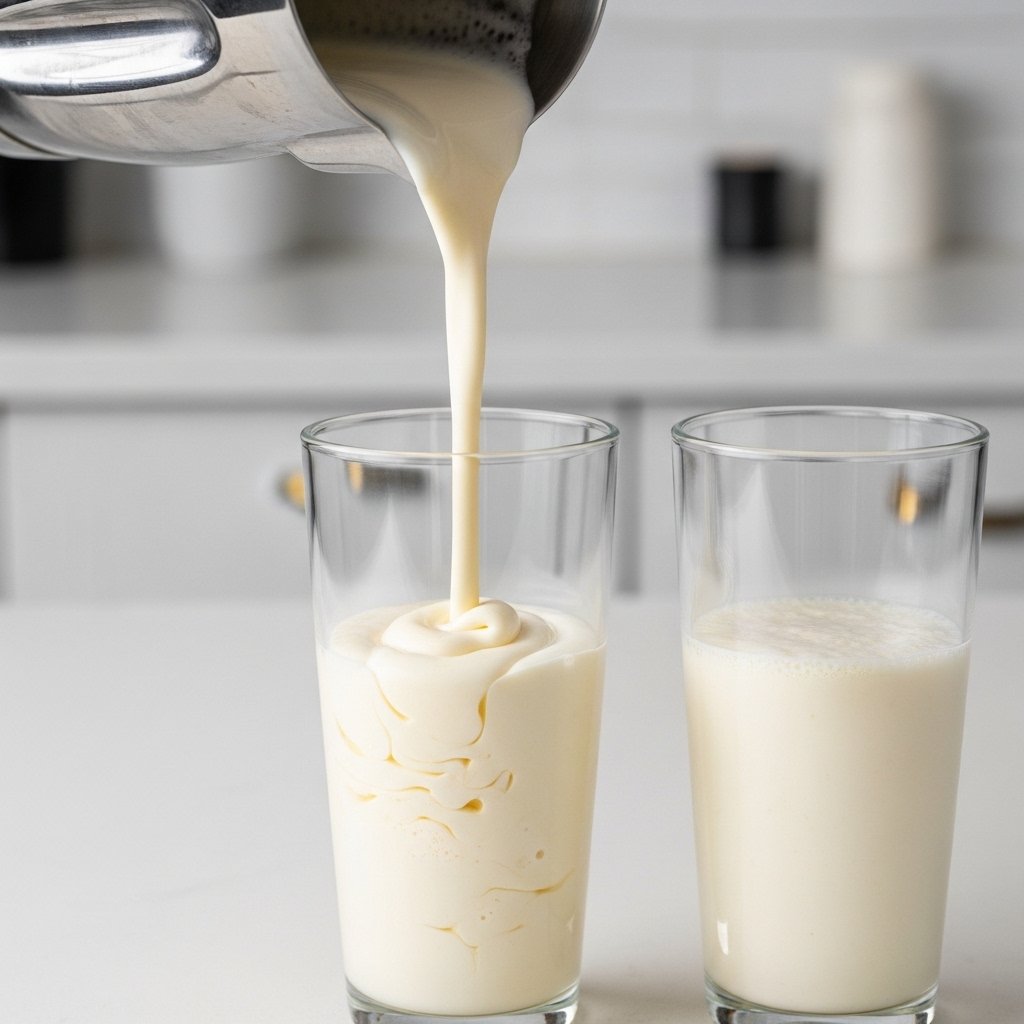
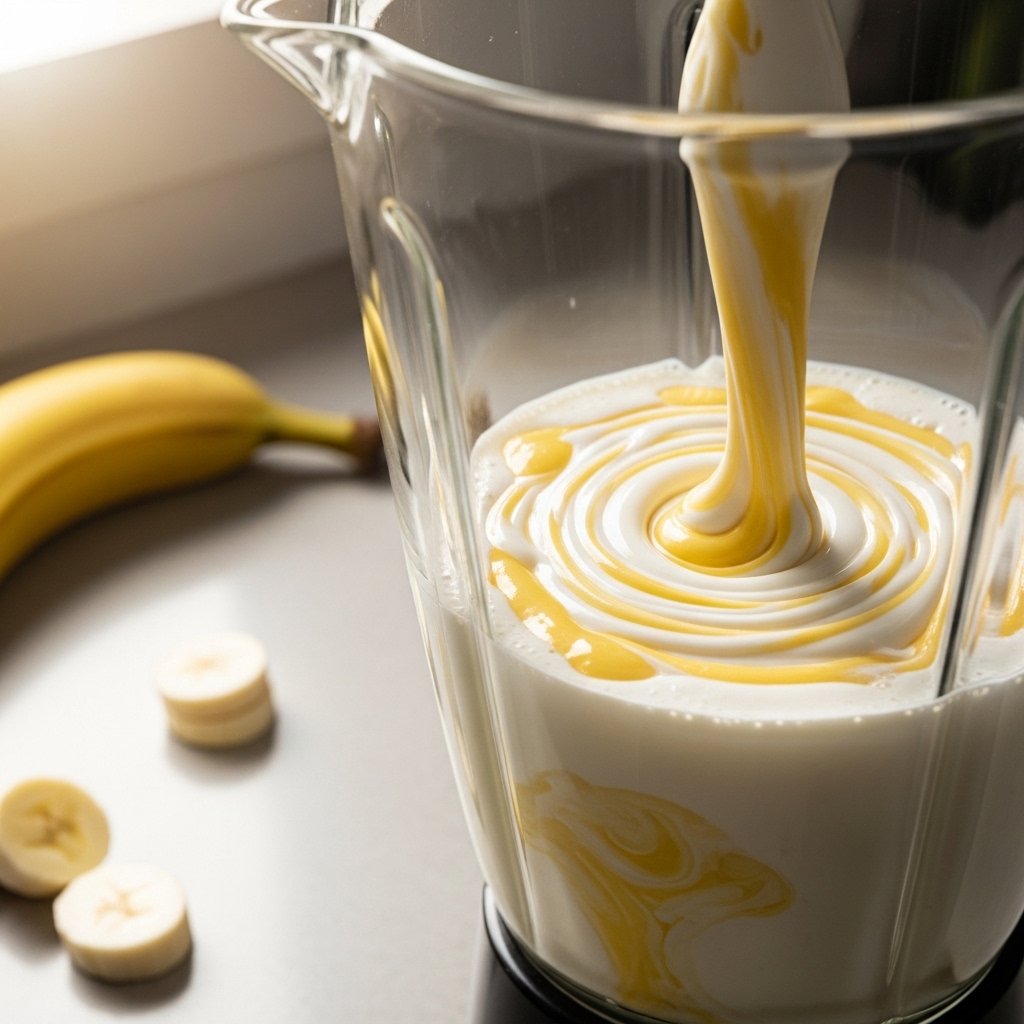
Step-by-Step Instructions
- Peel and slice bananas
- Add bananas, milk, honey, and vanilla into blender
- Blend until smooth and creamy
- Add ice if you want a thicker texture
- Pour into a chilled glass and serve immediately
Ingredient Notes
Each ingredient in milkshake recipes banana plays an important role:
- Bananas: Provide natural sweetness and creamy texture
- Milk: Creates smooth consistency
- Honey: Enhances flavor naturally
- Vanilla: Adds aroma and depth
For best results, use ripe bananas with brown spots—they’re sweeter and blend better.
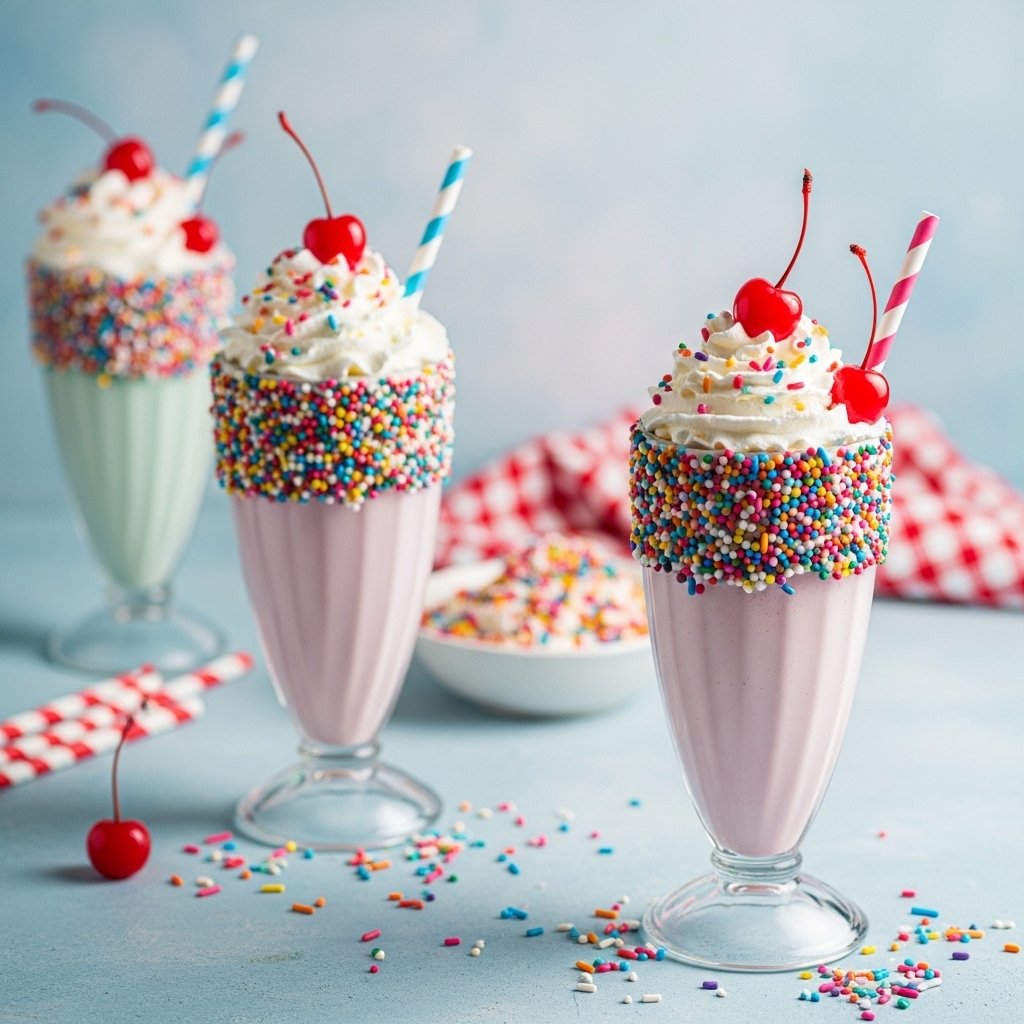
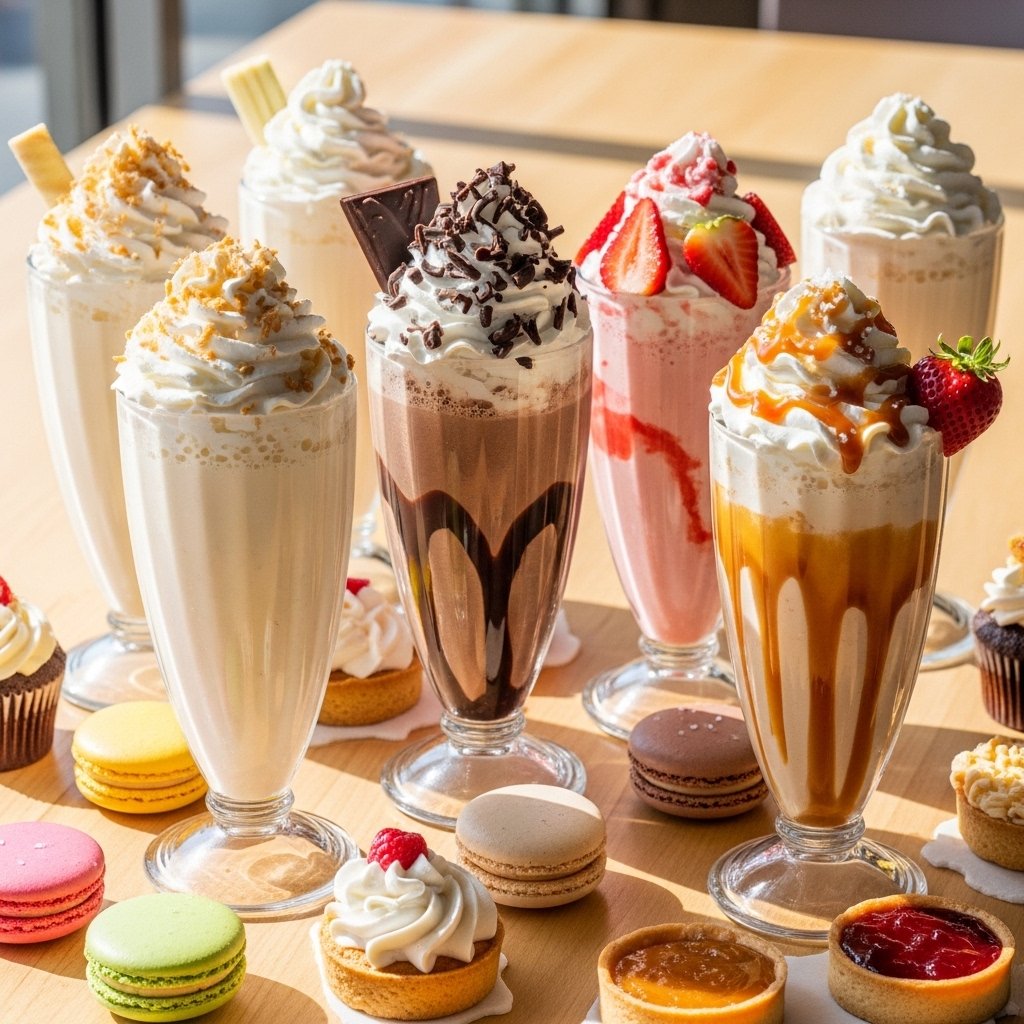
Popular Banana Milkshake Variations
Here are delicious twists on milkshake recipes banana:
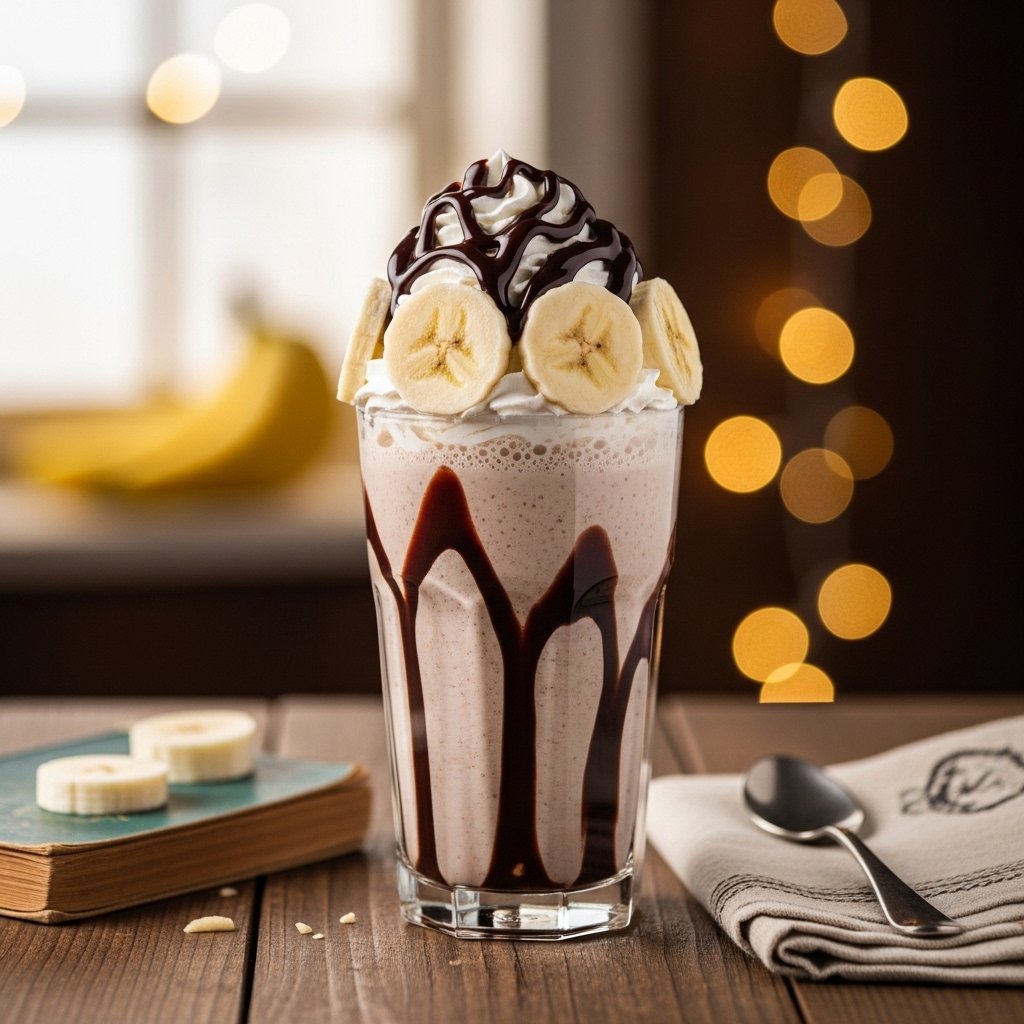
Banana Chocolate Milkshake
Add cocoa powder or chocolate syrup for a rich dessert drink.
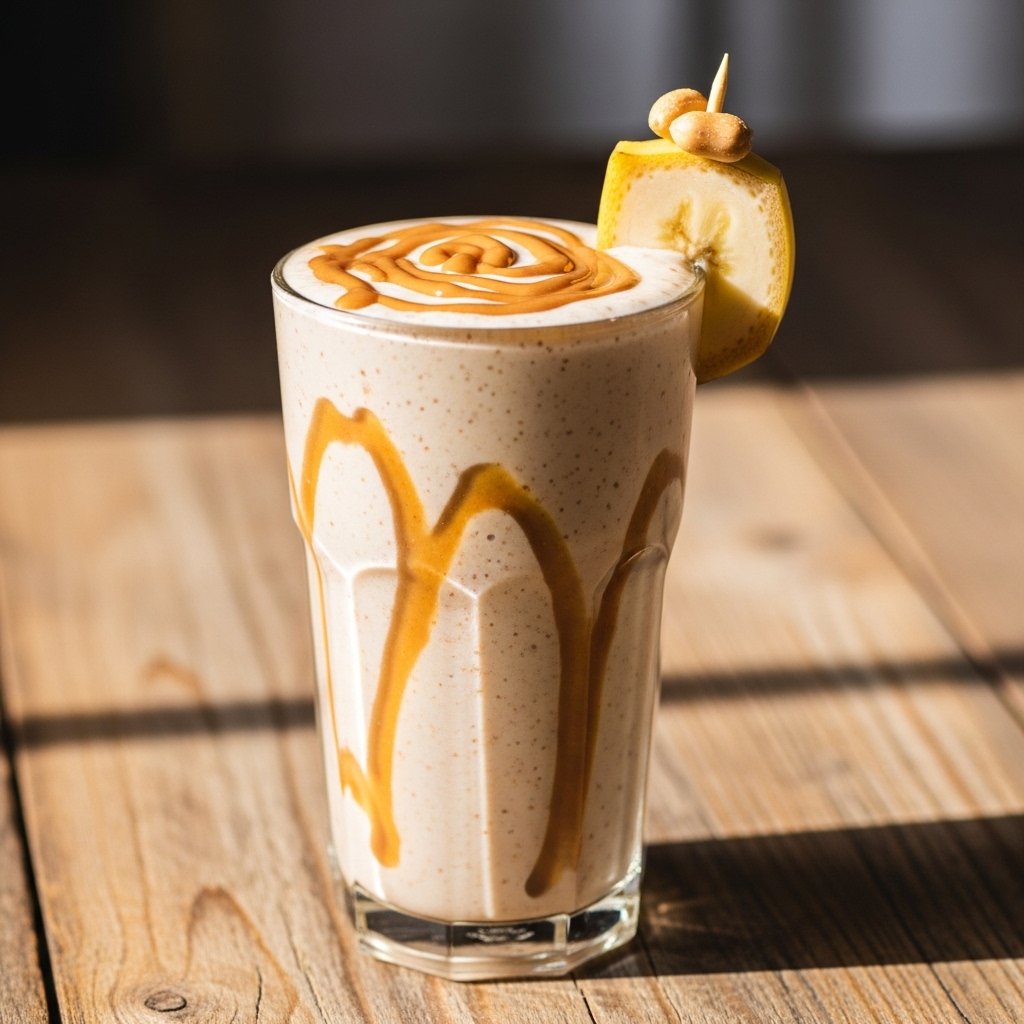
Banana Peanut Butter Milkshake
Add 1–2 tablespoons peanut butter for protein-packed energy.
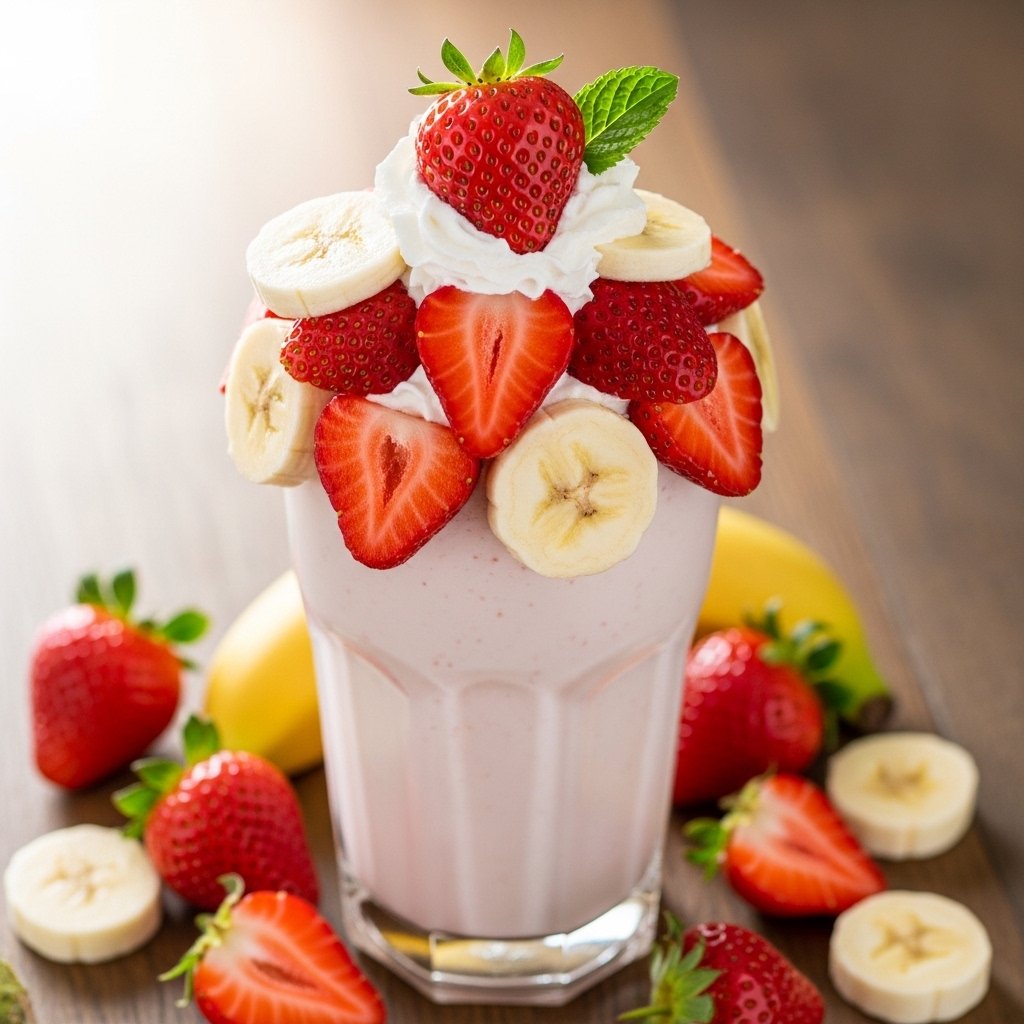
Banana Strawberry Milkshake
Blend bananas with fresh strawberries for fruity flavor.
Banana Oat Breakfast Milkshake
Add oats for a filling breakfast smoothie-style shake.
Tips for Perfect Banana Milkshakes
To make the best milkshake recipes banana, follow these tips:
- Use frozen bananas for thicker texture
- Chill milk before blending
- Blend until completely smooth
- Adjust sweetness based on banana ripeness
- Serve immediately for best taste
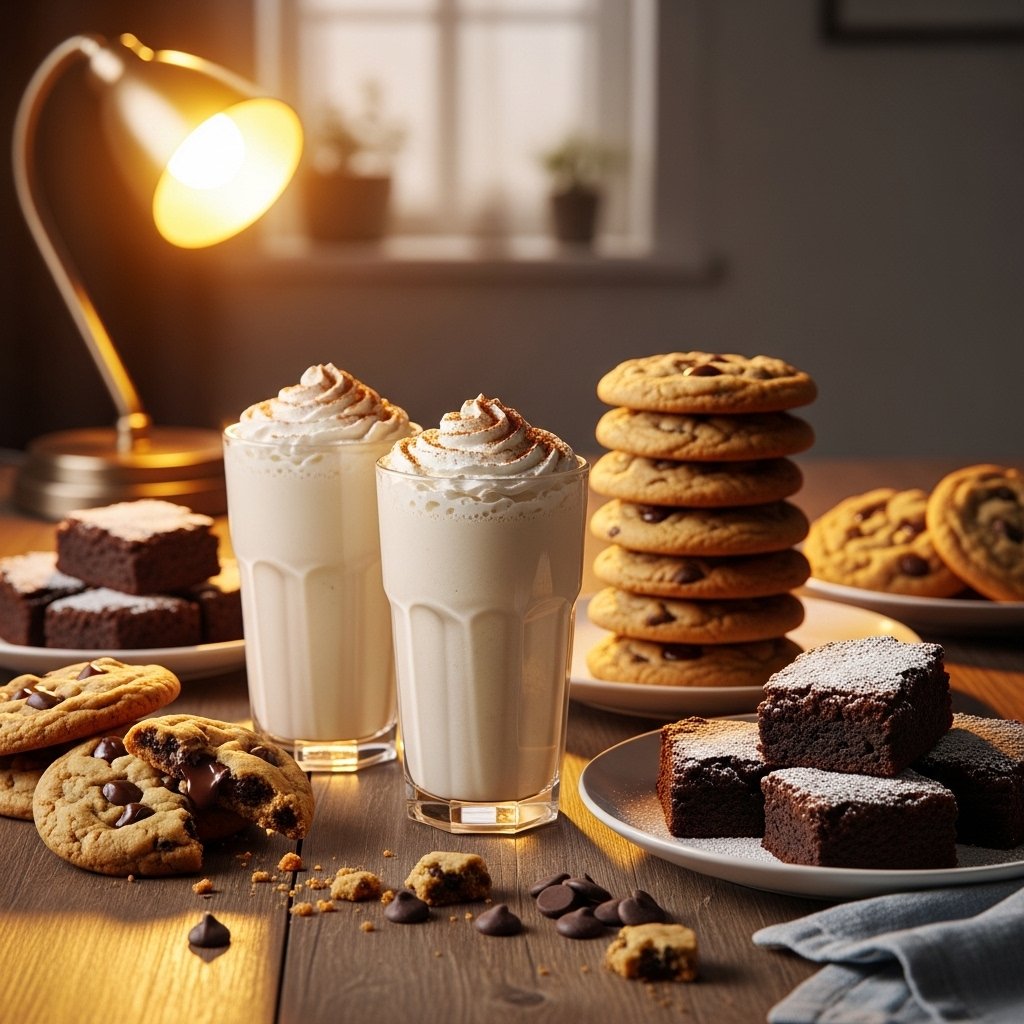
What to Serve With Banana Milkshakes
These milkshake recipes banana pair well with:
- Toast or sandwiches
- Pancakes or waffles
- Cookies or brownies
- Light breakfast meals
- Fruit bowls
Storage Tips
- Best consumed immediately
- Can be refrigerated for up to 24 hours
- Shake or blend again before drinking
- Freezing not recommended (texture changes)
Common Mistakes to Avoid
- Using underripe bananas (less sweet)
- Adding too much liquid (watery shake)
- Over-blending with ice (dilutes flavor)
- Not serving cold
FAQs
1. Can I make banana milkshake without sugar?
Yes, ripe bananas are naturally sweet enough.
2. Can I use plant-based milk?
Yes, almond, oat, or soy milk work perfectly.
3. Is banana milkshake healthy?
Yes, it provides potassium, fiber, and energy.
4. Can I make it vegan?
Yes, just use plant-based milk and skip honey or replace it with maple syrup.
Final Thoughts
These milkshake recipes banana are the perfect mix of creamy, healthy, and delicious. Whether you keep it simple or add fun ingredients like chocolate or peanut butter, banana milkshakes are always satisfying and easy to make.
Once you try these recipes, you’ll have a go-to drink for breakfast, snacks, or dessert anytime.