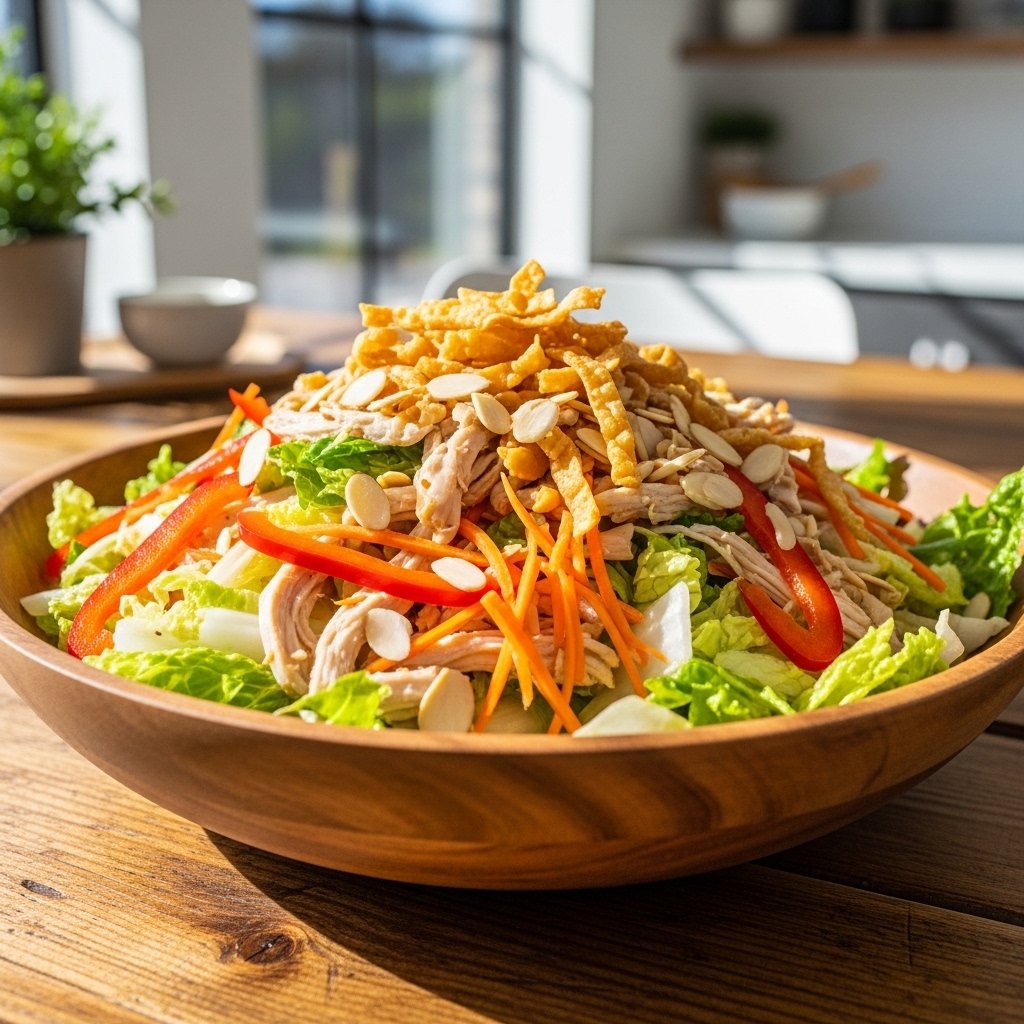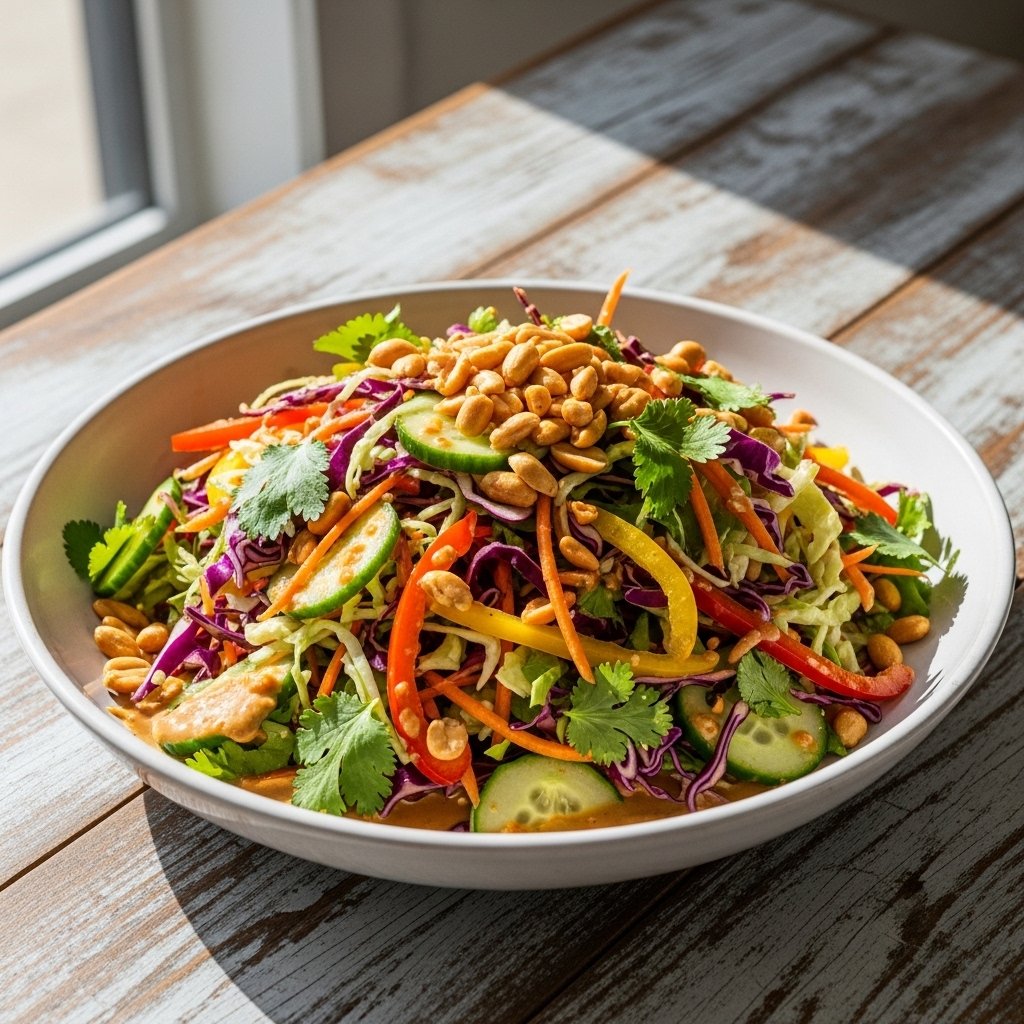
Nothing says warm weather quite like a bowl of summer corn salad with avocado: a fresh and vibrant delight. This dish captures the essence of summer with sweet corn, creamy avocado, and crisp vegetables tossed in a light, zesty dressing. It’s colorful, refreshing, and incredibly satisfying—perfect for everything from backyard barbecues to quick weekday meals.
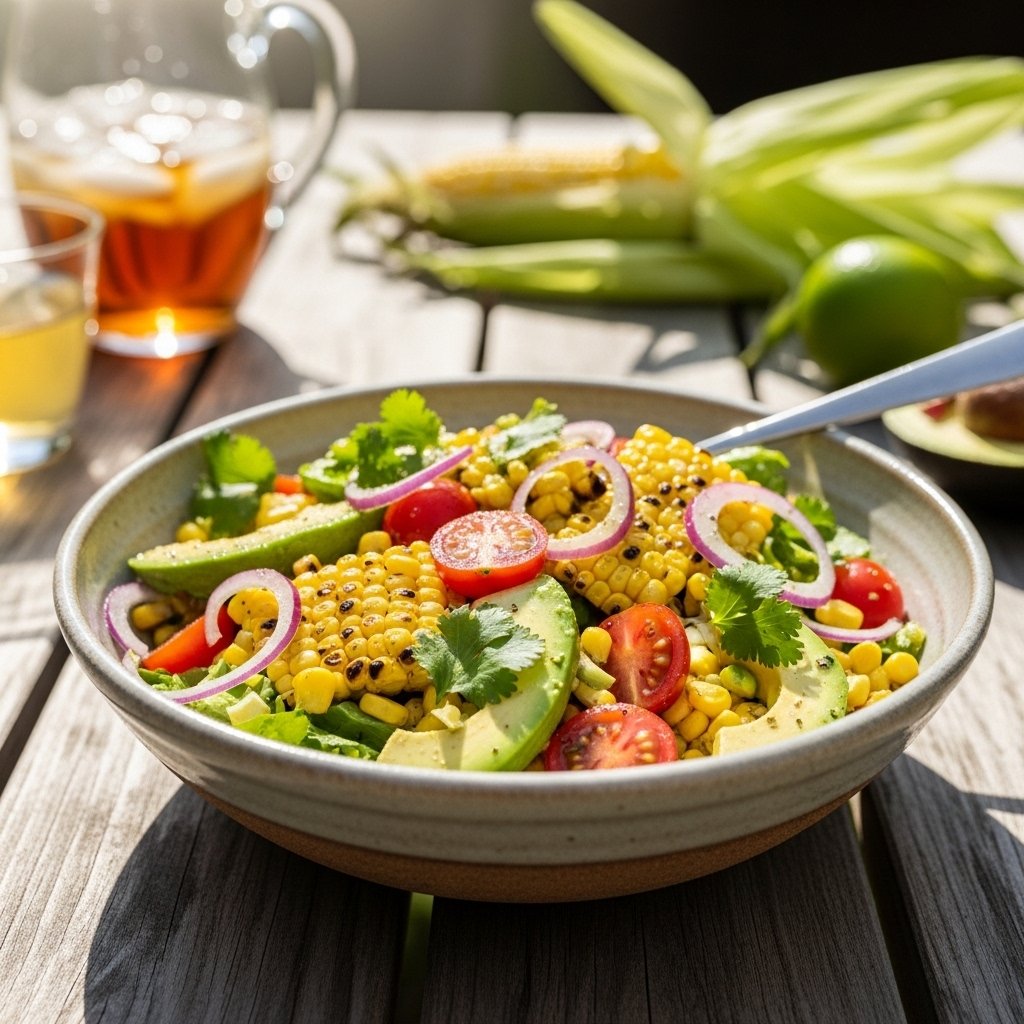
Whether you’re looking for a healthy side dish or a light main, this salad is guaranteed to impress with its bold flavors and beautiful presentation.
Why You’ll Love This Summer Corn Salad with Avocado
There are so many reasons why summer corn salad with avocado: a fresh and vibrant delight belongs on your table:
- Fresh, seasonal ingredients bursting with flavor
- Creamy avocado paired with sweet corn
- Quick and easy to prepare
- Perfect for gatherings, picnics, and BBQs
- Naturally gluten-free and nutritious
It’s the kind of dish that tastes as good as it looks.
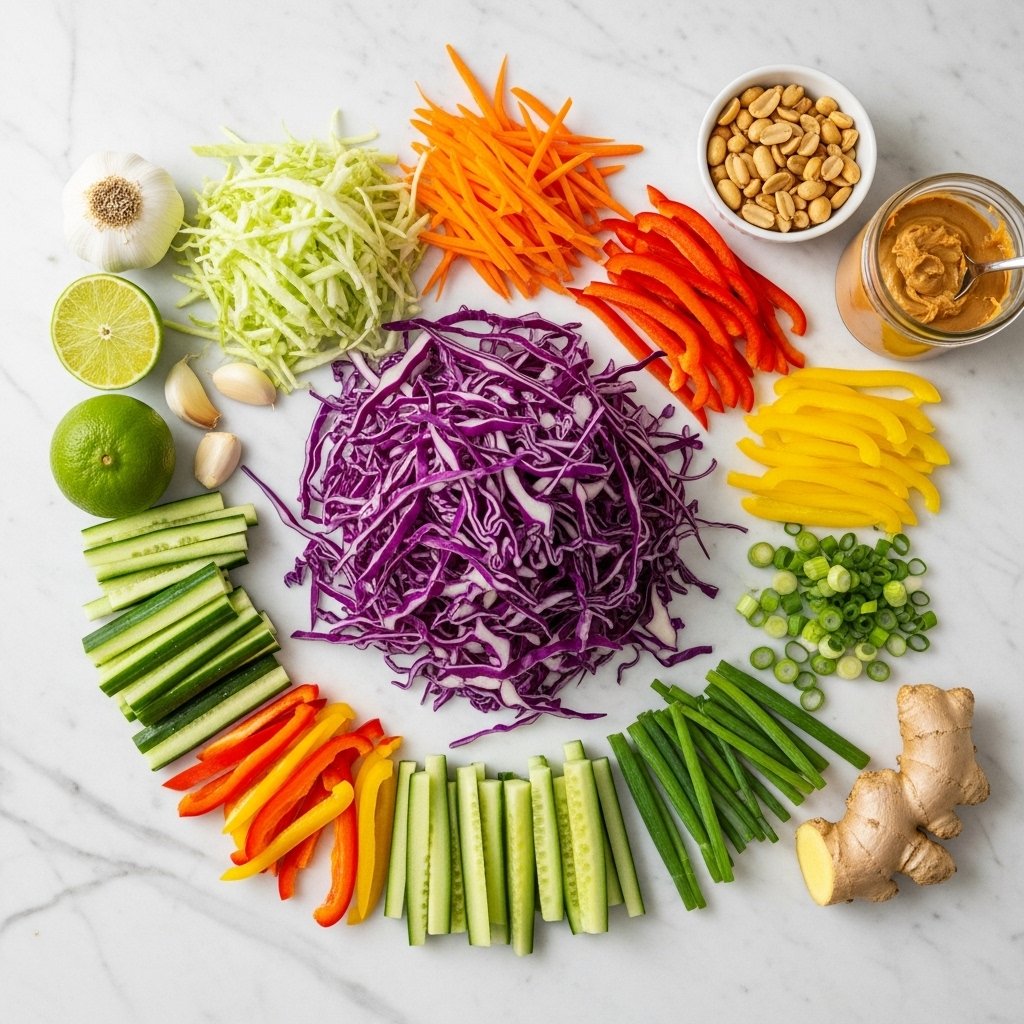
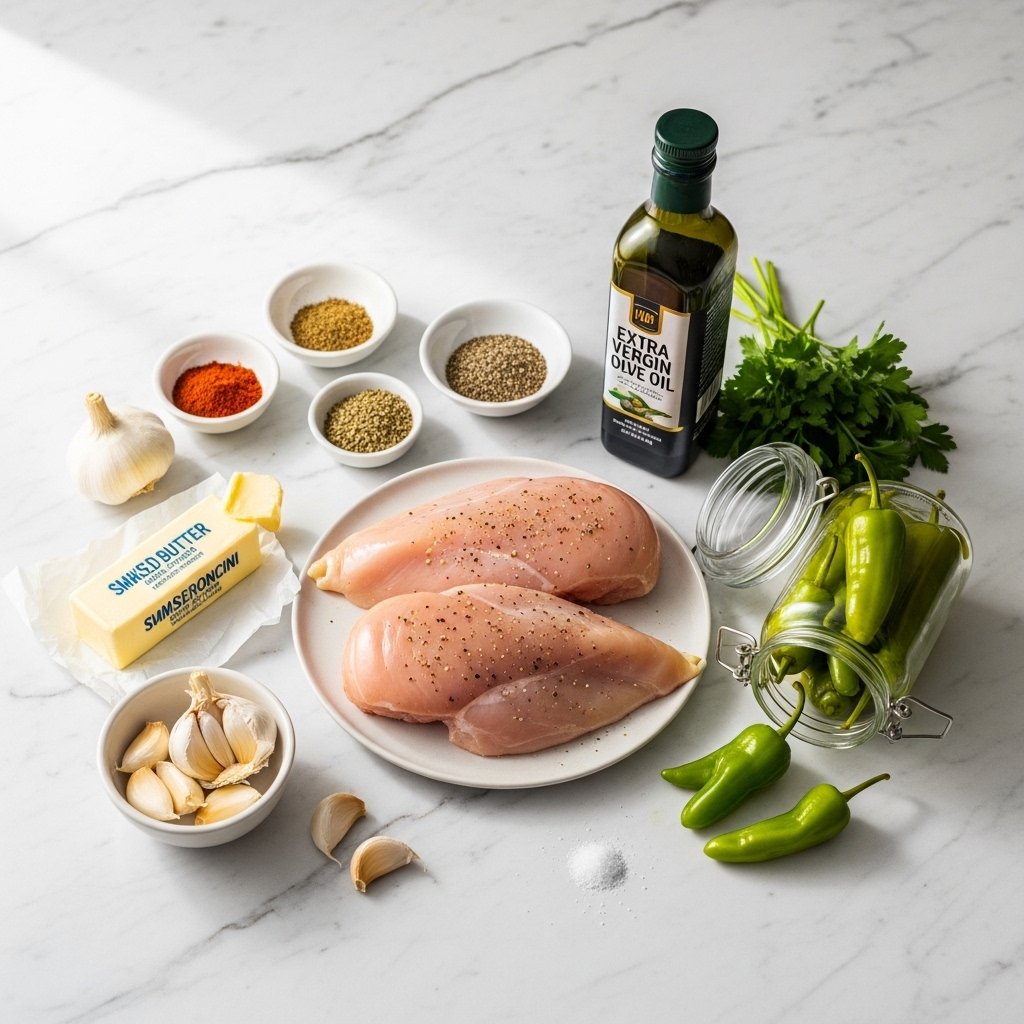
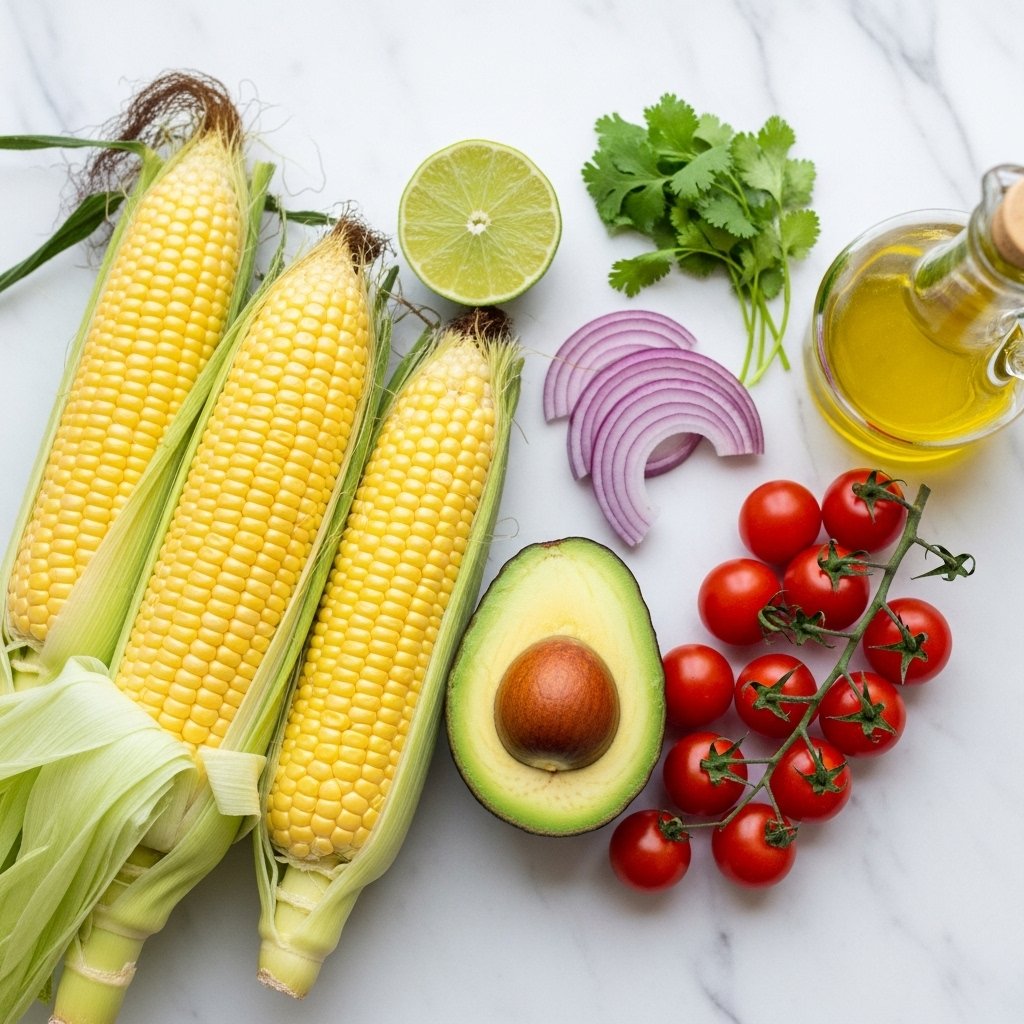
Ingredients
To make this summer corn salad with avocado: a fresh and vibrant delight, you’ll need:
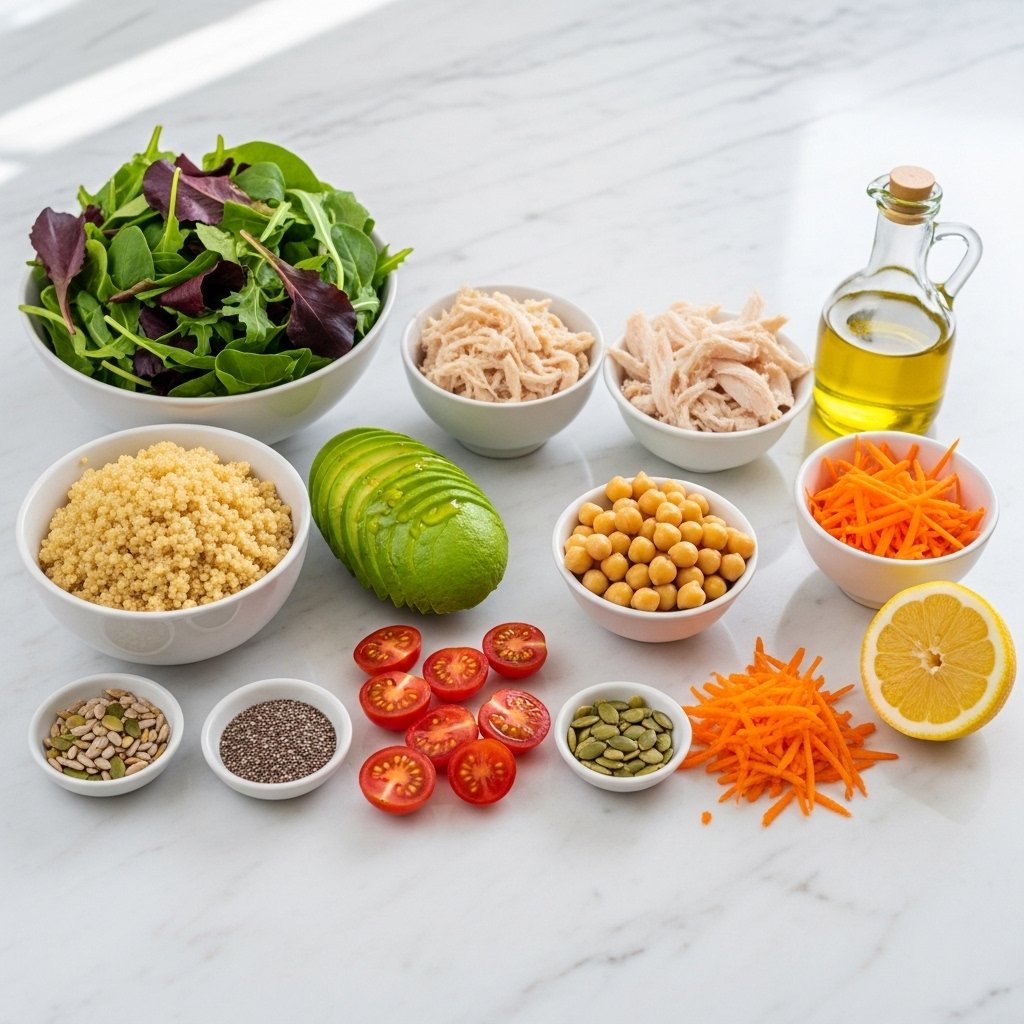
- 3 cups fresh or grilled corn kernels
- 2 ripe avocados (diced)
- 1 cup cherry tomatoes (halved)
- ½ cup red onion (finely chopped)
- ¼ cup fresh cilantro (chopped)
- 1 jalapeño (optional, finely diced)
For the Dressing:
- 3 tablespoons olive oil
- 2 tablespoons lime juice
- Salt and pepper to taste
Ingredient Notes
The secret to a perfect summer corn salad with avocado: a fresh and vibrant delight is using the freshest ingredients possible. Sweet corn—especially when grilled—adds a smoky depth that pairs beautifully with creamy avocado.
Choose ripe but firm avocados to maintain texture, and use fresh lime juice for a bright, citrusy finish that ties everything together.
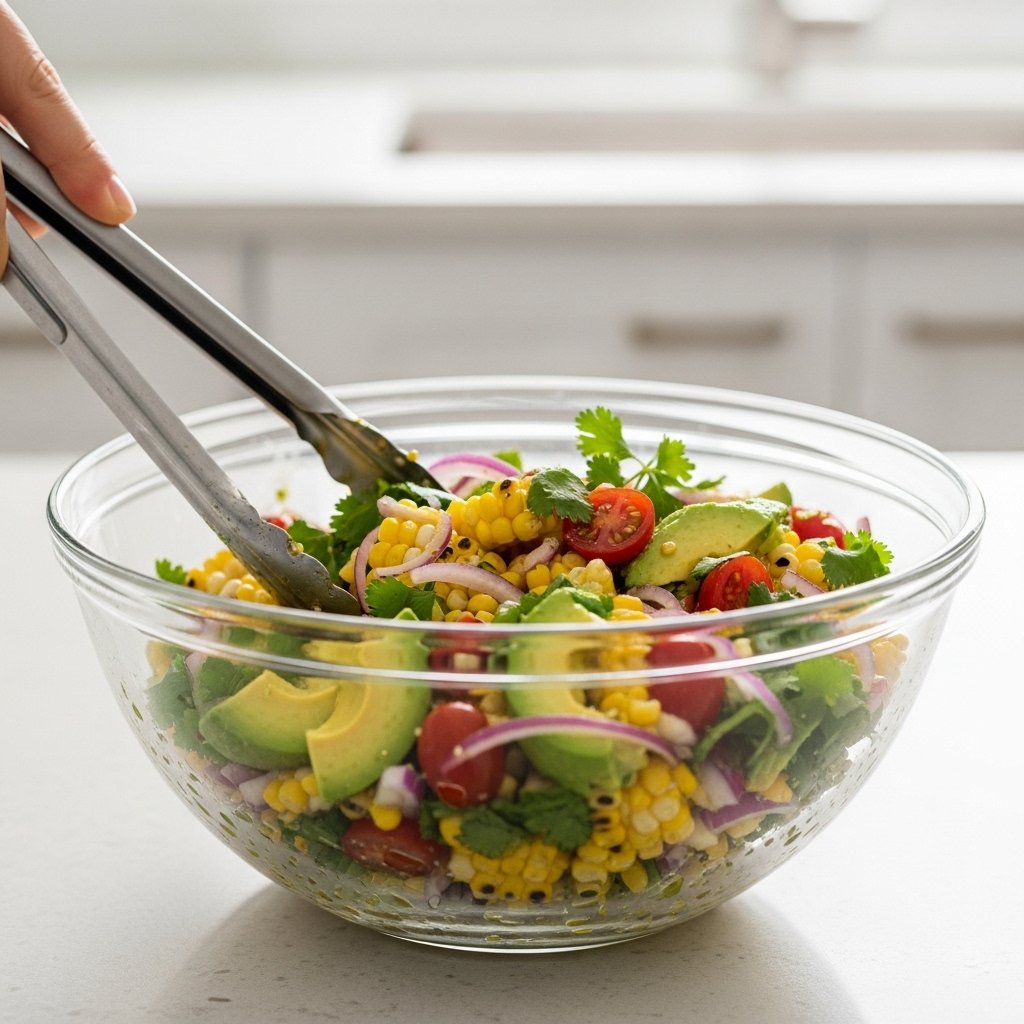
Step-by-Step Instructions
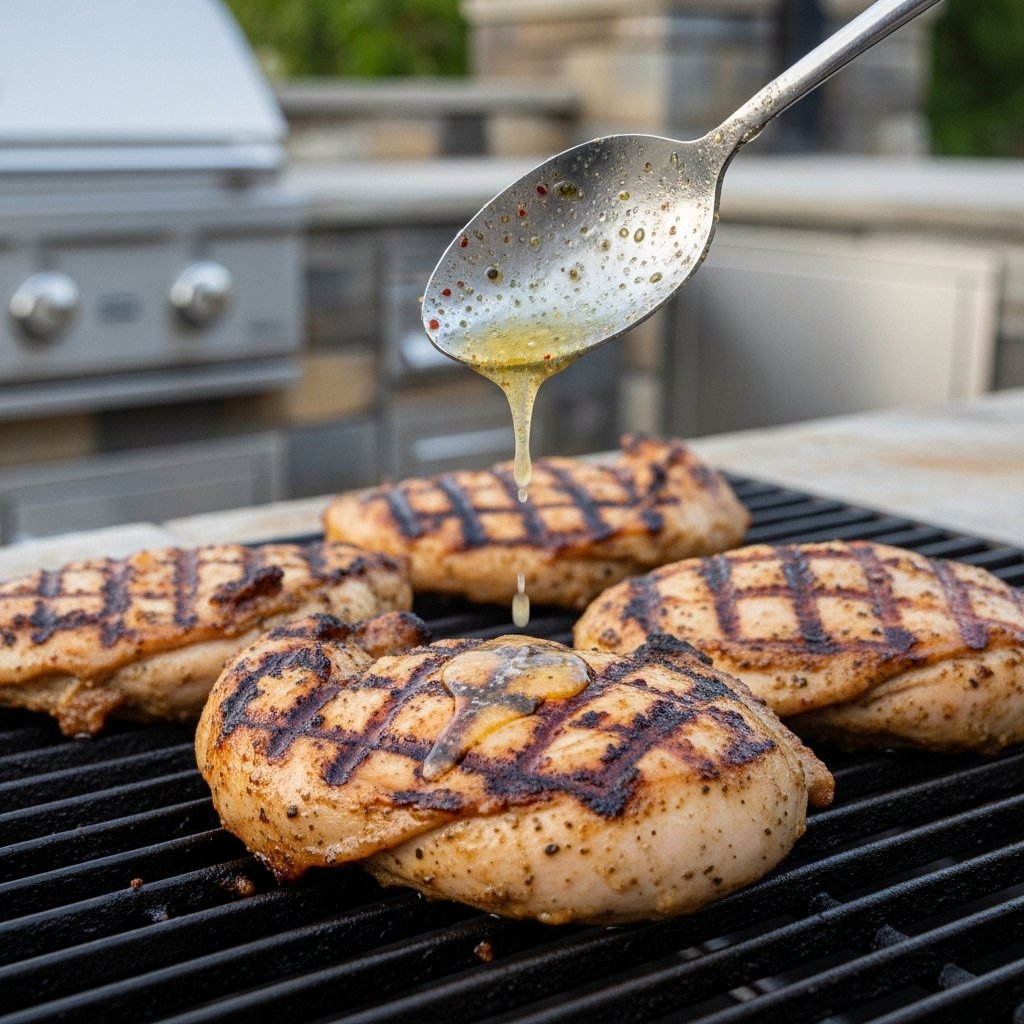
1. Prepare the Corn
If using fresh corn, grill or boil it, then cut kernels off the cob.
2. Chop the Ingredients
Dice avocado, slice tomatoes, and finely chop onion and cilantro.
3. Make the Dressing
Whisk olive oil, lime juice, salt, and pepper.
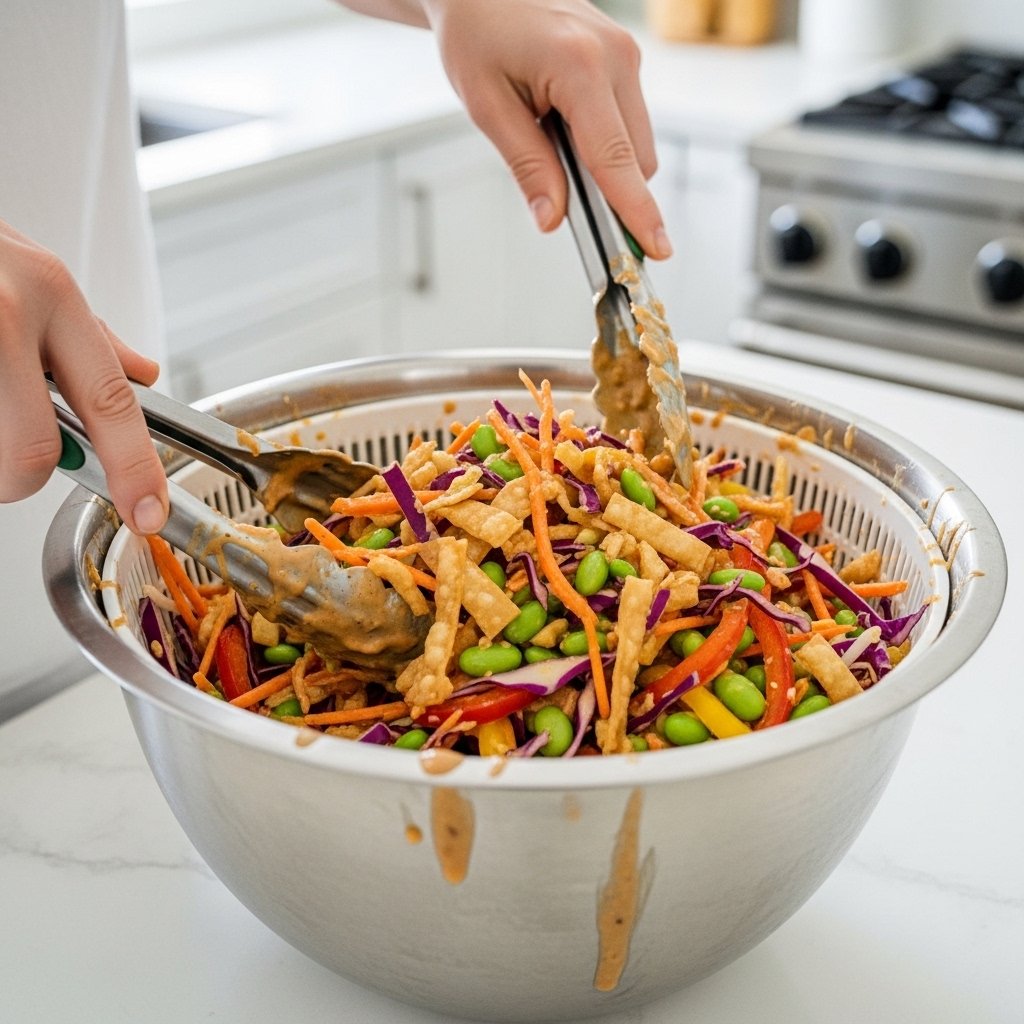
4. Combine Everything
In a large bowl, gently mix all ingredients.
5. Serve Immediately
Toss lightly and serve fresh for best texture.
Tips for Perfect Results
To make the best summer corn salad with avocado: a fresh and vibrant delight, keep these tips in mind:
- Use grilled corn for extra flavor
- Add avocado last to prevent mashing
- Toss gently to keep ingredients intact
- Taste and adjust seasoning before serving
- Serve fresh for optimal texture
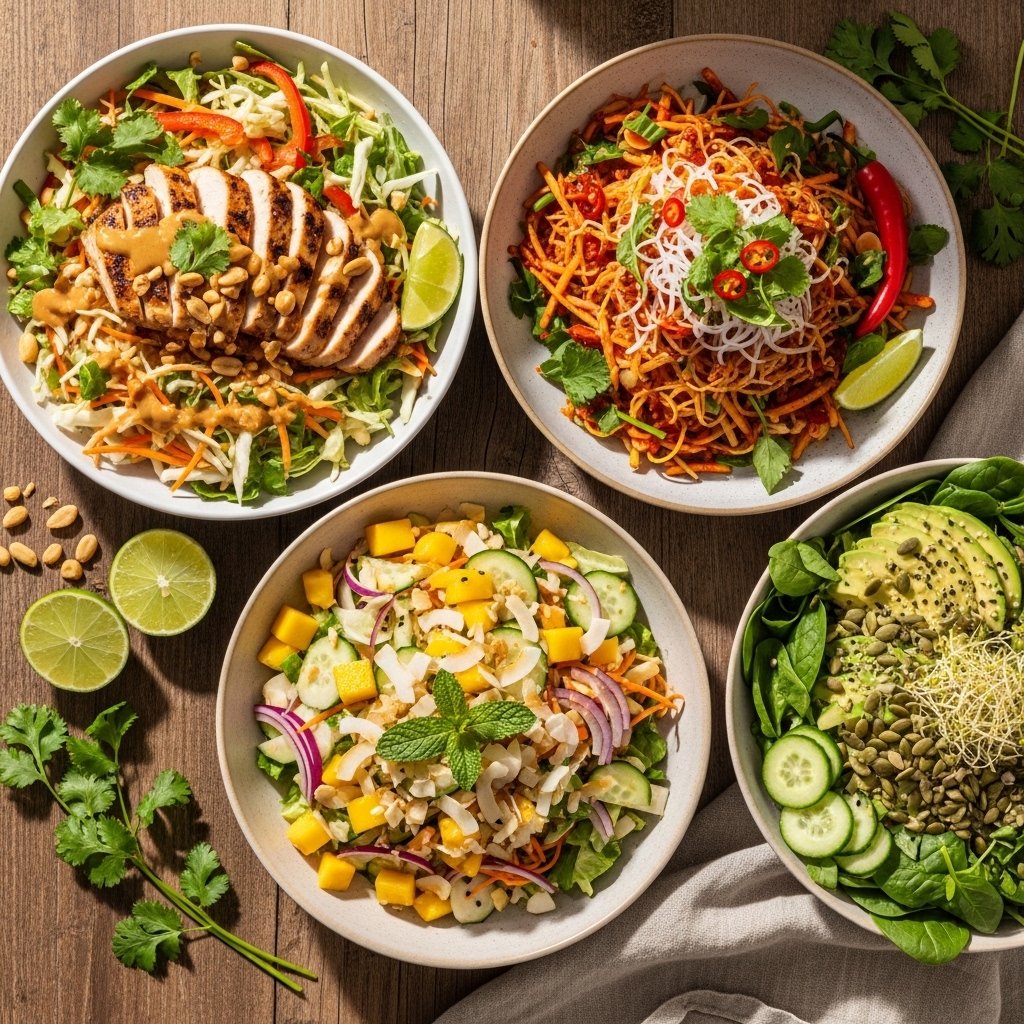
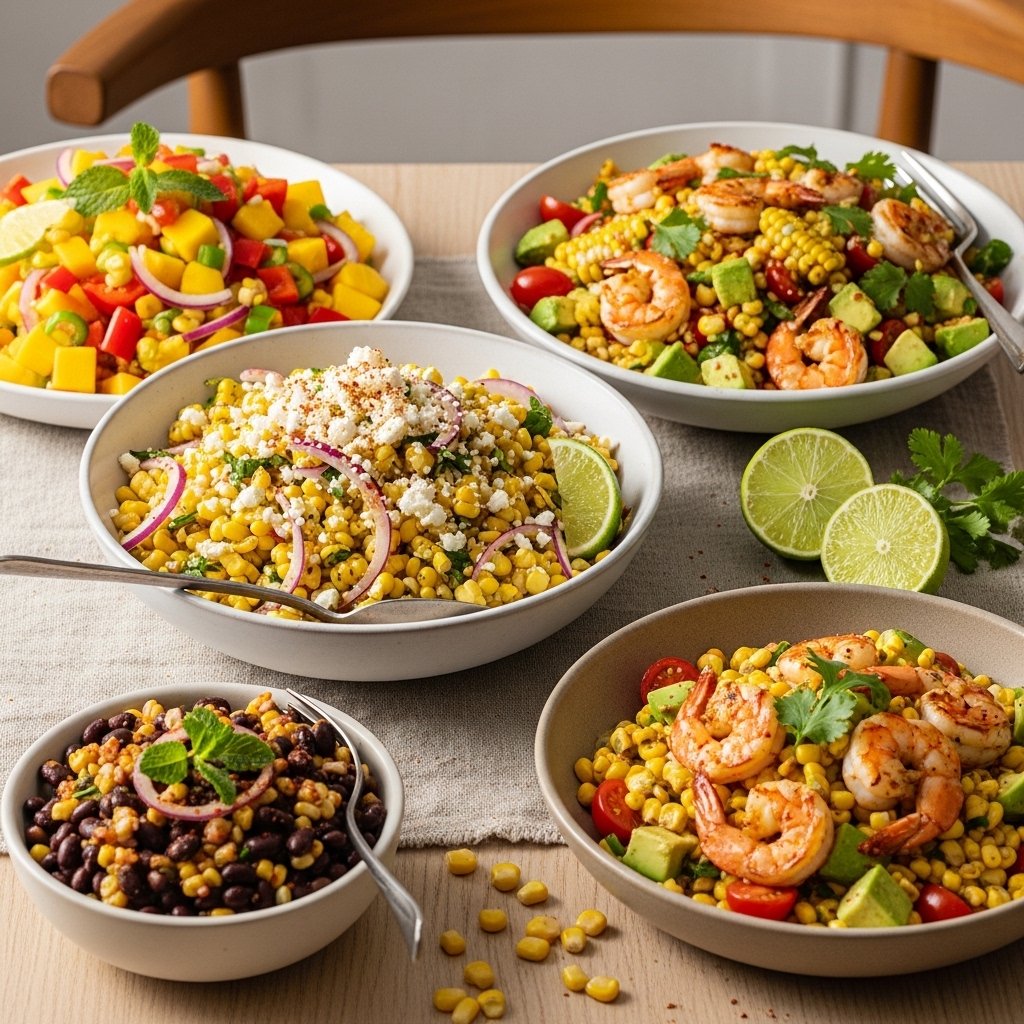
Variations to Try
Mexican-Inspired Version
Add cotija cheese and chili powder.
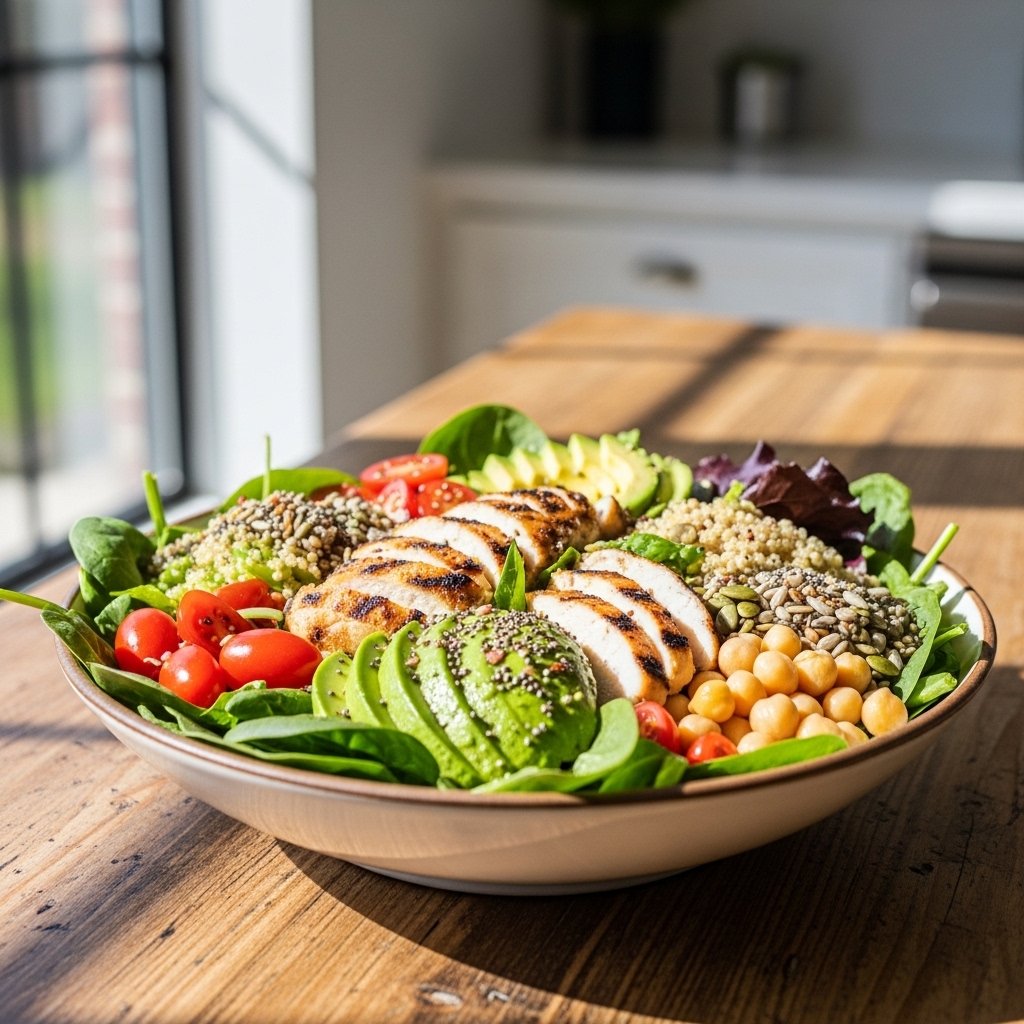
Protein Boost
Include grilled chicken or shrimp.
Tropical Twist
Add mango or pineapple chunks.
Vegan Add-Ons
Include black beans for extra protein.
What to Serve With It
Pair your summer corn salad with avocado: a fresh and vibrant delight with:
- Grilled meats
- Burgers or sandwiches
- BBQ dishes
- Tacos or wraps
It’s a versatile side that complements many meals.
Storage & Reheating
To store your summer corn salad with avocado: a fresh and vibrant delight:
- Store in an airtight container for up to 2 days
- Add avocado just before serving for best freshness
- Stir gently before serving
- Do not freeze
Common Mistakes to Avoid
Avoid these mistakes:
- Using overripe avocado
- Overmixing the salad
- Skipping fresh lime juice
- Not seasoning properly
FAQs
1. Can I use frozen corn?
Yes, just thaw and drain before using.
2. How do I keep avocado from browning?
Add lime juice and serve fresh.
3. Can I make this ahead of time?
Yes, but add avocado just before serving.
4. Is this salad spicy?
Only if you add jalapeño—it’s optional.
Final Thoughts
This summer corn salad with avocado: a fresh and vibrant delight is everything you want in a summer dish—light, colorful, and bursting with flavor. It’s easy to make, endlessly customizable, and perfect for any occasion.
Once you try it, this salad will quickly become a staple in your warm-weather recipe rotation, bringing freshness and joy to every meal.