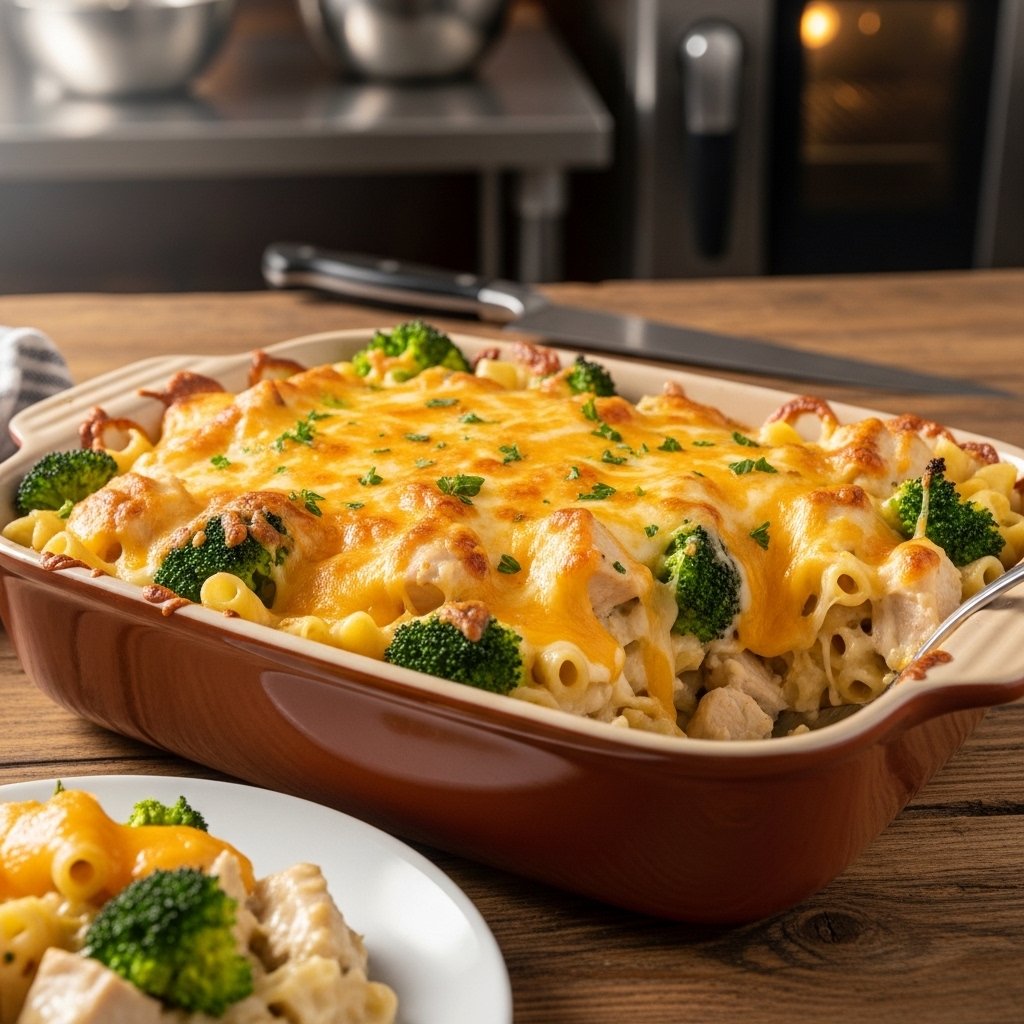
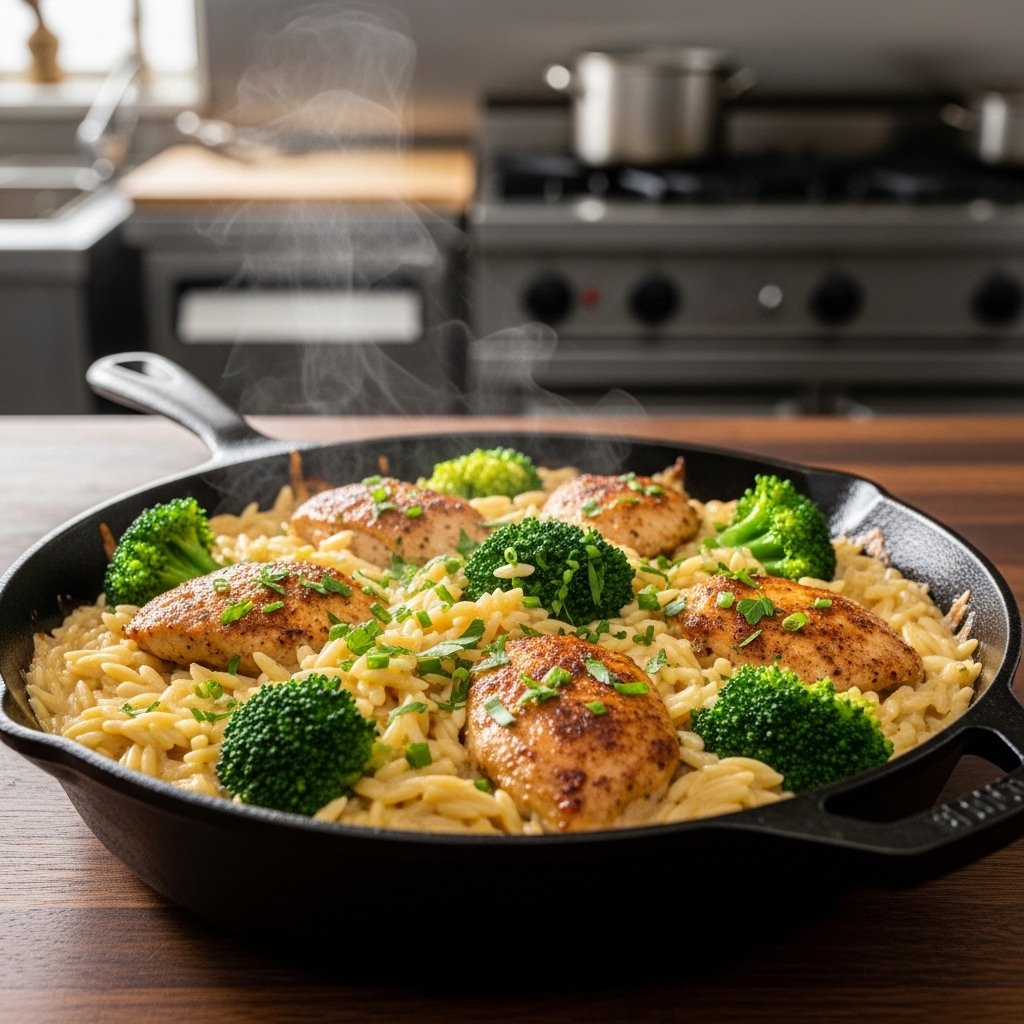
If you’re craving a cozy, satisfying meal that doesn’t require a sink full of dishes, this creamy cheesy chicken broccoli orzo – a simple one pan dinner full of comfort and flavor is exactly what you need. It’s rich, creamy, and loaded with tender chicken, perfectly cooked orzo, and vibrant broccoli—all brought together in one pan for ultimate convenience.
This dish combines the heartiness of pasta with the comfort of a creamy casserole, but without the extra steps. Whether you’re cooking for your family or just want leftovers for the next day, this recipe is a true weeknight hero.
Why You’ll Love This One Pan Dinner
This creamy cheesy chicken broccoli orzo – a simple one pan dinner full of comfort and flavor is designed for ease and taste. Everything cooks together in one pan, allowing the flavors to blend beautifully while saving you time on cleanup.
The orzo absorbs the creamy sauce as it cooks, creating a rich and velvety texture that feels indulgent but is incredibly simple to prepare. It’s the kind of meal that feels like comfort food but fits perfectly into a busy lifestyle.
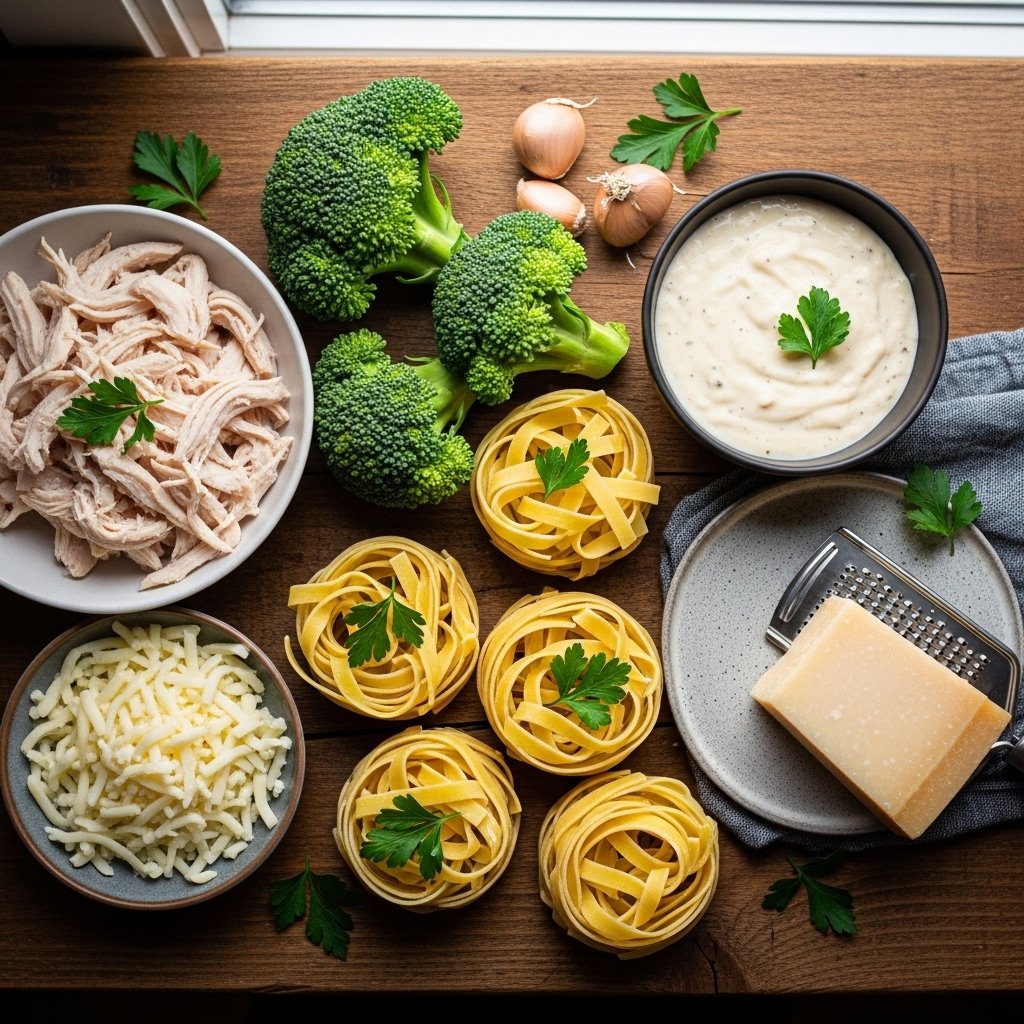
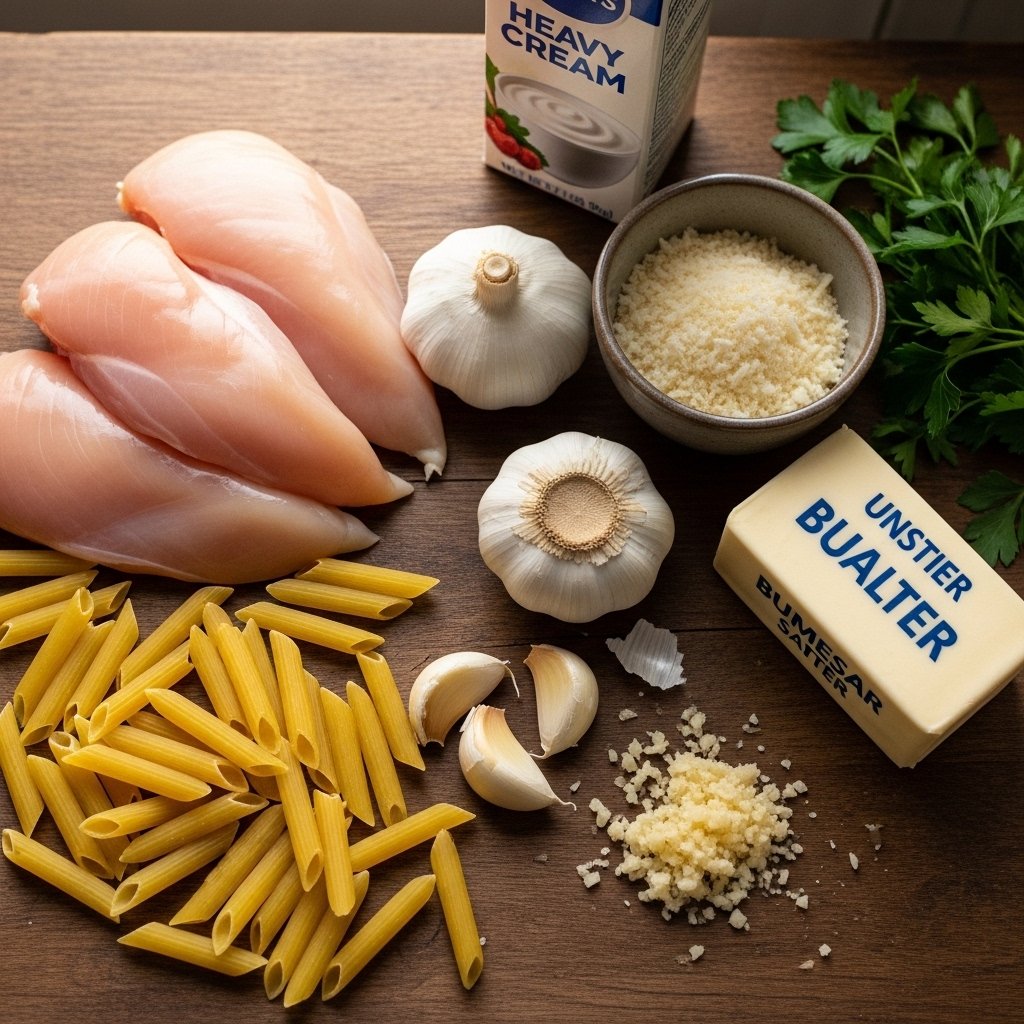
Ingredients You’ll Need
To make this delicious creamy cheesy chicken broccoli orzo – a simple one pan dinner full of comfort and flavor, gather these ingredients:
- 2 cups cooked chicken (diced or shredded)
- 1 cup orzo pasta
- 2 cups broccoli florets
- 2 cups chicken broth
- 1 cup milk or cream
- 1 cup shredded cheddar cheese
- ½ cup grated Parmesan cheese
- 2 cloves garlic, minced
- 1 tablespoon olive oil
- Salt and pepper to taste
These ingredients come together to create a creamy, cheesy, and satisfying dish.
Image Prompt: Ingredients for chicken broccoli orzo including diced chicken, orzo pasta, broccoli, cheese, garlic, and broth arranged neatly on a kitchen counter, natural lighting, shallow depth of field, 4k resolution.
Ingredient Notes and Substitutions
One of the best things about this creamy cheesy chicken broccoli orzo – a simple one pan dinner full of comfort and flavor is its flexibility. You can easily swap ingredients to suit your needs.
For a lighter version, use low-fat milk instead of cream. You can also replace chicken with turkey or even tofu for a vegetarian option. If you prefer different flavors, try using mozzarella or Gruyère instead of cheddar.
Step-by-Step Instructions
Cook the Base
- Heat olive oil in a large skillet over medium heat.
- Add garlic and sauté until fragrant.
- Stir in orzo and toast lightly for 1–2 minutes.
Build the Dish
- Pour in chicken broth and milk, stirring well.
- Add broccoli and cooked chicken.
- Cover and simmer until orzo is tender and liquid is absorbed.
Finish with Cheese
- Stir in cheddar and Parmesan cheese.
- Mix until melted and creamy.
- Season with salt and pepper to taste.
This method ensures your creamy cheesy chicken broccoli orzo – a simple one pan dinner full of comfort and flavor turns out perfectly creamy every time.

Tips for Perfect Results
To get the best results from this creamy cheesy chicken broccoli orzo – a simple one pan dinner full of comfort and flavor, stir occasionally while cooking to prevent the orzo from sticking to the pan.
Another tip is to add cheese at the end over low heat. This keeps the sauce smooth and prevents it from becoming grainy.
Creative Variations to Try
Keep your meals exciting by trying different variations of this creamy cheesy chicken broccoli orzo – a simple one pan dinner full of comfort and flavor:
- Add mushrooms for extra depth
- Include spinach for more greens
- Use spicy seasoning for a kick
- Add crispy bacon for richness
These variations allow you to customize the dish to your taste.

What to Serve With This Dish
This creamy cheesy chicken broccoli orzo – a simple one pan dinner full of comfort and flavor is a complete meal on its own, but you can pair it with:
- A fresh green salad
- Garlic bread or crusty bread
- Roasted vegetables
These sides complement the creamy texture and add balance to your meal.
Storage and Reheating Tips
Leftovers of this creamy cheesy chicken broccoli orzo – a simple one pan dinner full of comfort and flavor store well in the refrigerator for up to 3–4 days.
When reheating, add a splash of milk or broth to bring back the creamy consistency. Warm it gently on the stovetop or in the microwave.
Common Mistakes to Avoid
One common mistake is adding too much liquid, which can make the dish soupy instead of creamy. Stick to the recommended amounts for best results.
Another mistake is overcooking the orzo, which can make it mushy. Keep an eye on the texture while simmering your creamy cheesy chicken broccoli orzo – a simple one pan dinner full of comfort and flavor.
Frequently Asked Questions
1. Can I make this dish ahead of time?
Yes, you can prepare it in advance and reheat before serving.
2. Can I use uncooked chicken?
Yes, cook it in the pan before adding other ingredients.
3. What is orzo?
Orzo is a small pasta shaped like rice.
4. Can I freeze this dish?
It’s best enjoyed fresh, but you can freeze it with slight texture changes.
Final Thoughts
This creamy cheesy chicken broccoli orzo – a simple one pan dinner full of comfort and flavor is everything you want in a weeknight meal—easy, comforting, and incredibly delicious.
With minimal cleanup and maximum flavor, it’s a recipe you’ll turn to again and again. Whether you’re feeding your family or meal prepping for the week, this dish delivers satisfaction in every bite.