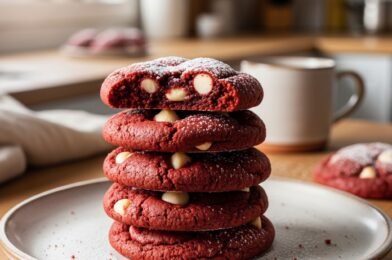
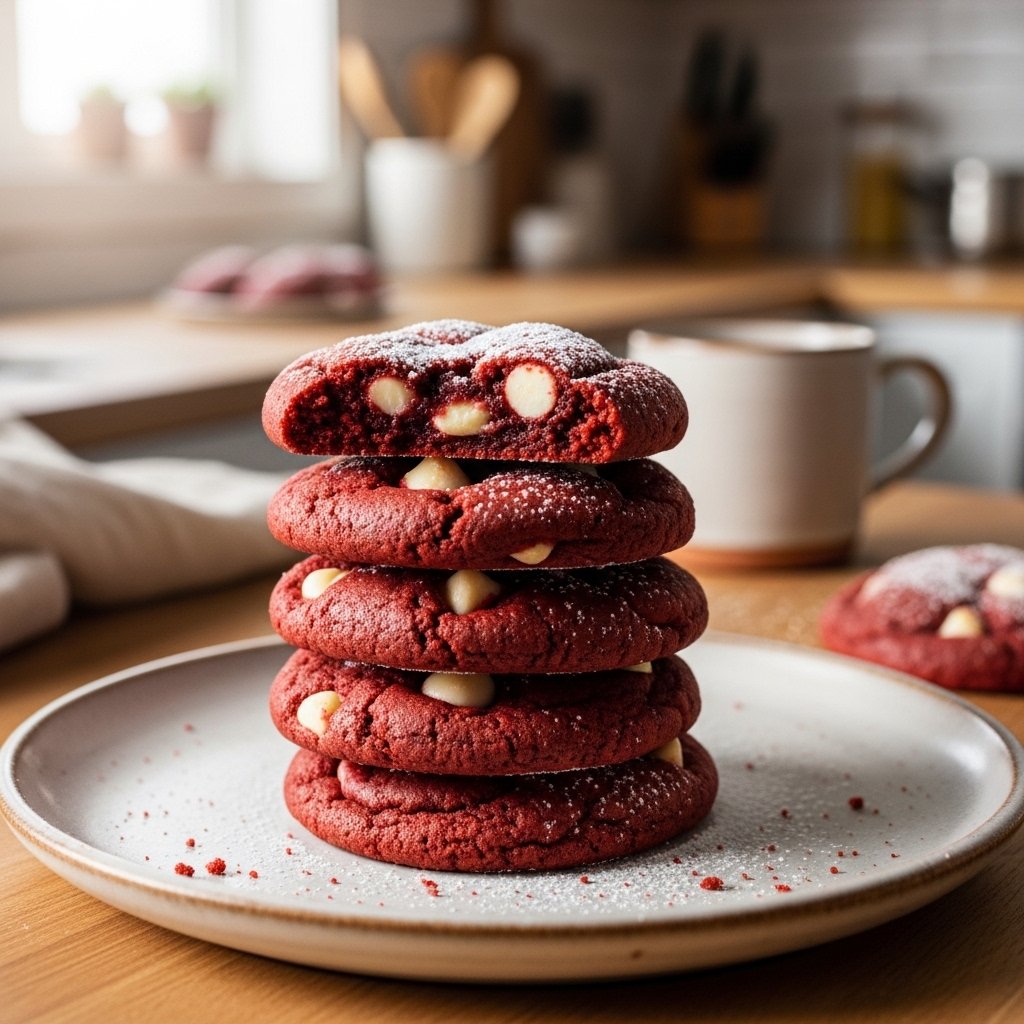
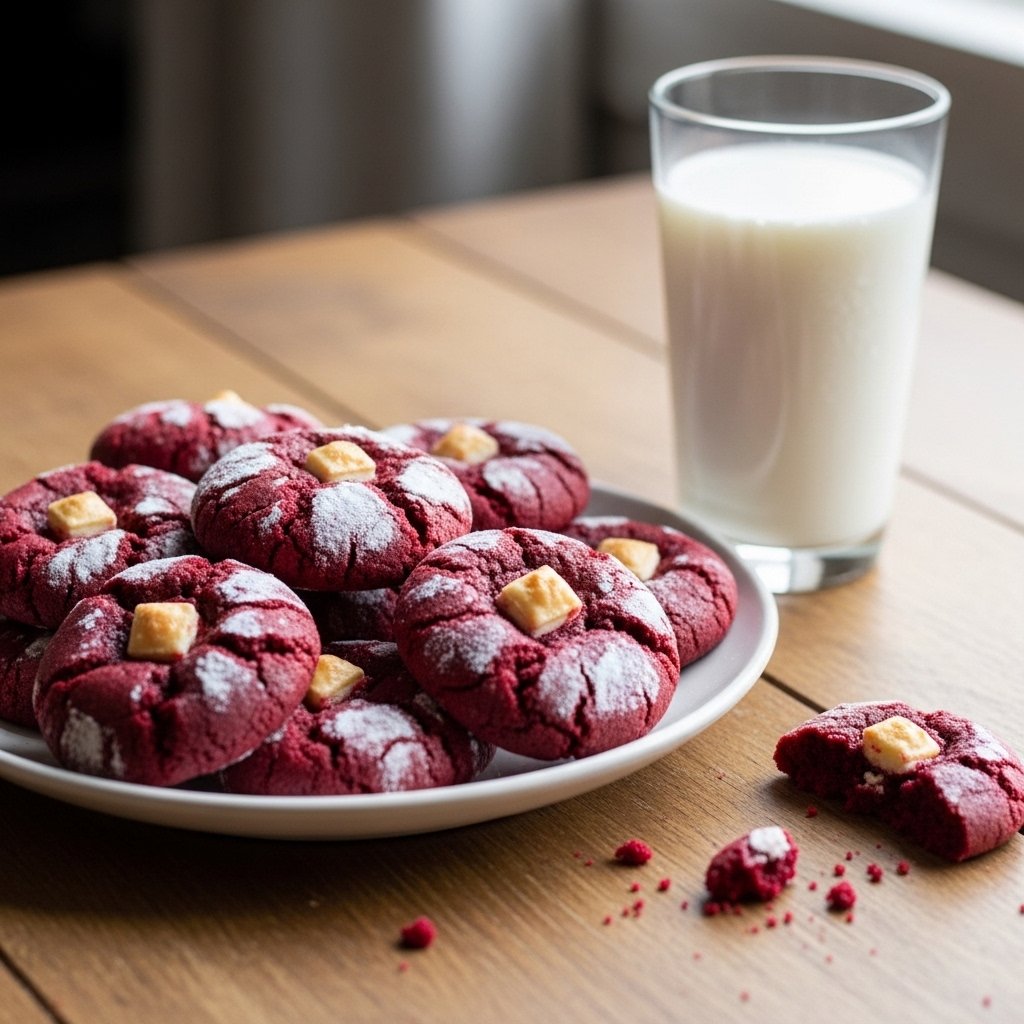
If you’re looking for a fun, colorful, and absolutely delicious dessert, these Chocolate M&M Cookies are exactly what you need. They combine the rich, buttery flavor of classic chocolate chip cookies with the crunch and sweetness of candy-coated M&Ms. The result is a soft, chewy cookie that’s both nostalgic and irresistible.
These Chocolate M&M Cookies are perfect for birthdays, holidays, bake sales, or anytime you want a treat that makes people smile. They’re easy to prepare, use simple ingredients, and deliver bakery-quality results every time.

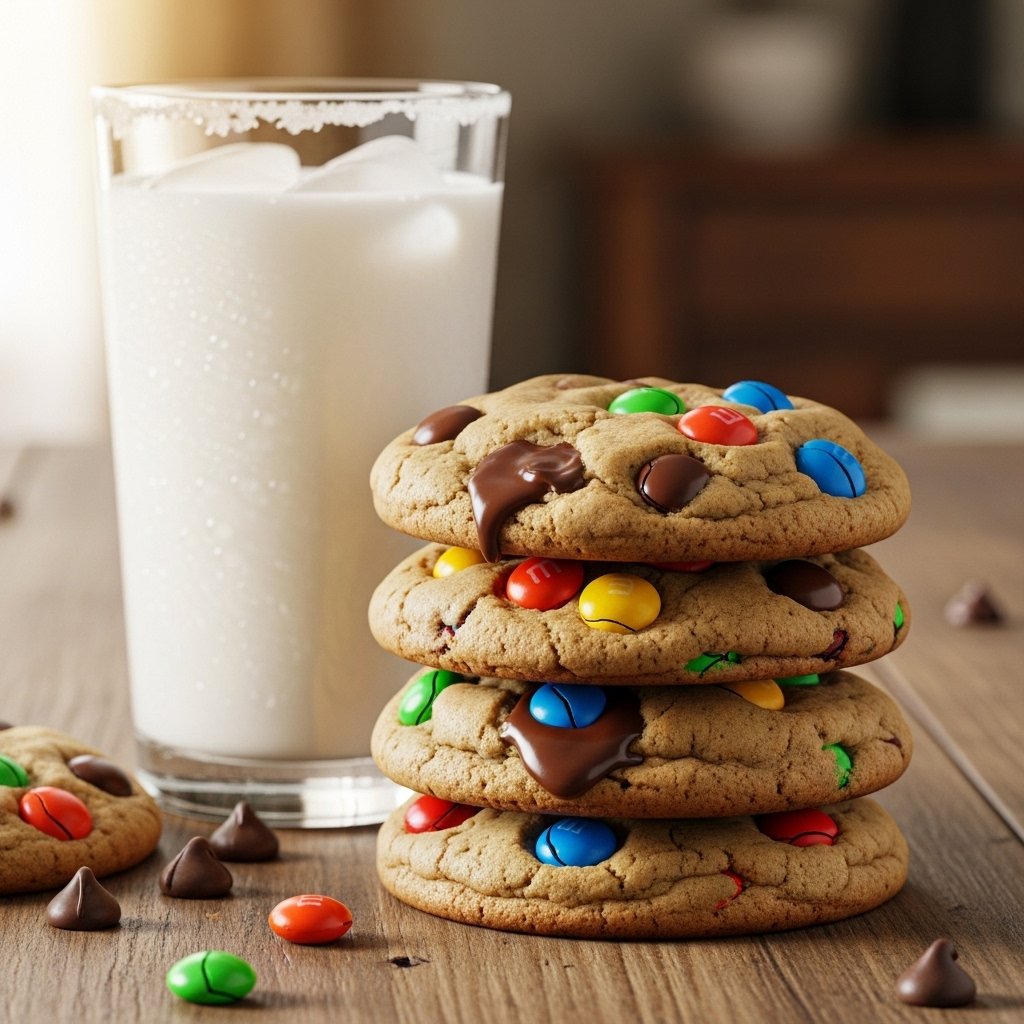
Why You’ll Love This Recipe
These Chocolate M&M Cookies are a guaranteed crowd-pleaser for all ages.
- Soft and chewy center with slightly crisp edges
- Loaded with chocolate chips and colorful M&Ms
- Easy, beginner-friendly cookie recipe
- Perfect for parties, holidays, and gifting
- Fun and visually appealing dessert
They bring together the best of chocolate chip cookies and candy in one bite.
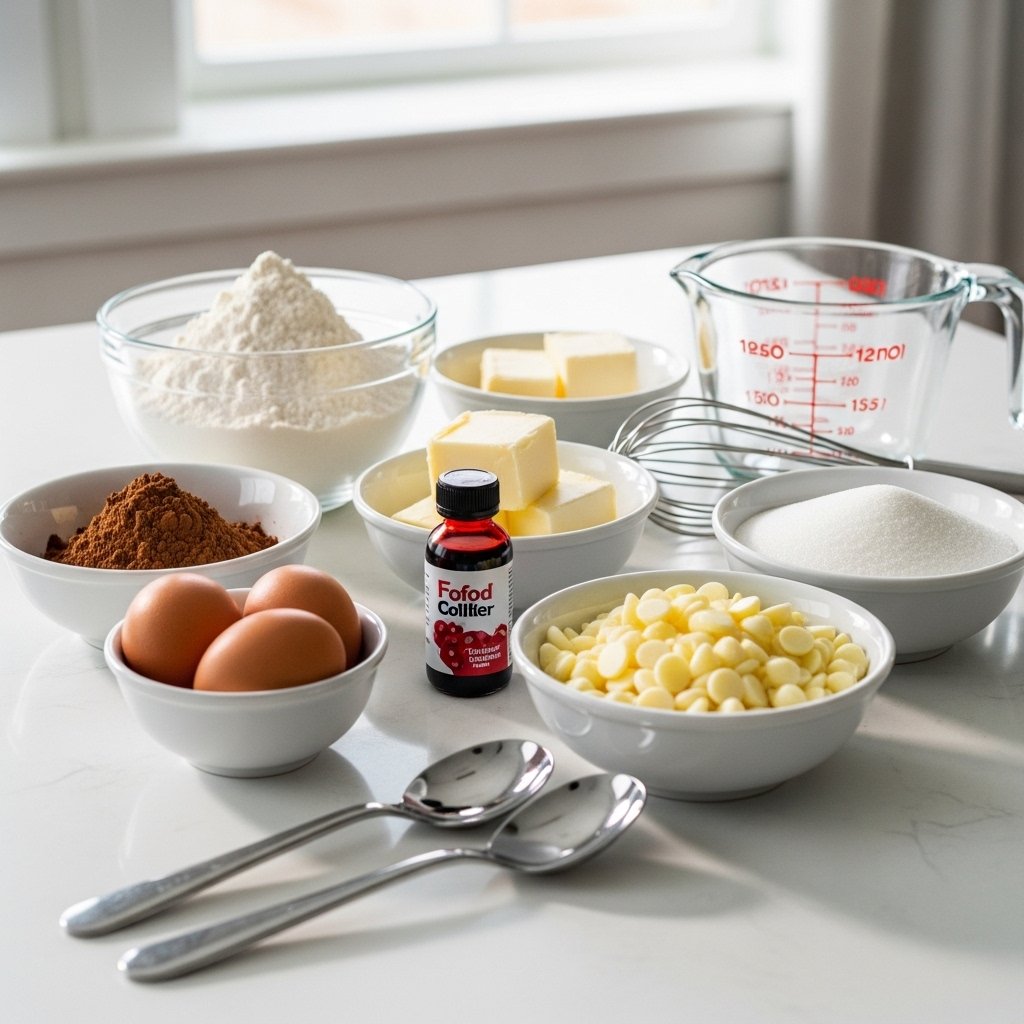
Ingredients
To make the best Chocolate M&M Cookies, you’ll need:
- 2 1/4 cups all-purpose flour
- 1/2 tsp baking soda
- 1/2 tsp salt
- 3/4 cup unsalted butter (softened)
- 1 cup brown sugar
- 1/2 cup white sugar
- 2 large eggs
- 2 tsp vanilla extract
- 1 cup chocolate chips
- 1 1/2 cups M&Ms (plus extra for topping)

Ingredient Notes
The secret to perfect Chocolate M&M Cookies is the balance of sugar and butter. Brown sugar adds moisture and chewiness, while white sugar helps create lightly crisp edges.
Use room-temperature butter for smooth mixing, and slightly underbake the cookies for a soft center. Adding extra M&Ms on top before baking gives that bakery-style look.
Step-by-Step Instructions
Step 1: Mix Dry Ingredients
In a bowl, whisk together flour, baking soda, and salt.
Step 2: Cream Butter and Sugars
Beat butter, brown sugar, and white sugar until light and fluffy.
Step 3: Add Eggs and Vanilla
Mix in eggs one at a time, then add vanilla extract.
Step 4: Combine and Add Mix-Ins
Gradually add dry ingredients. Stir in chocolate chips and M&Ms.
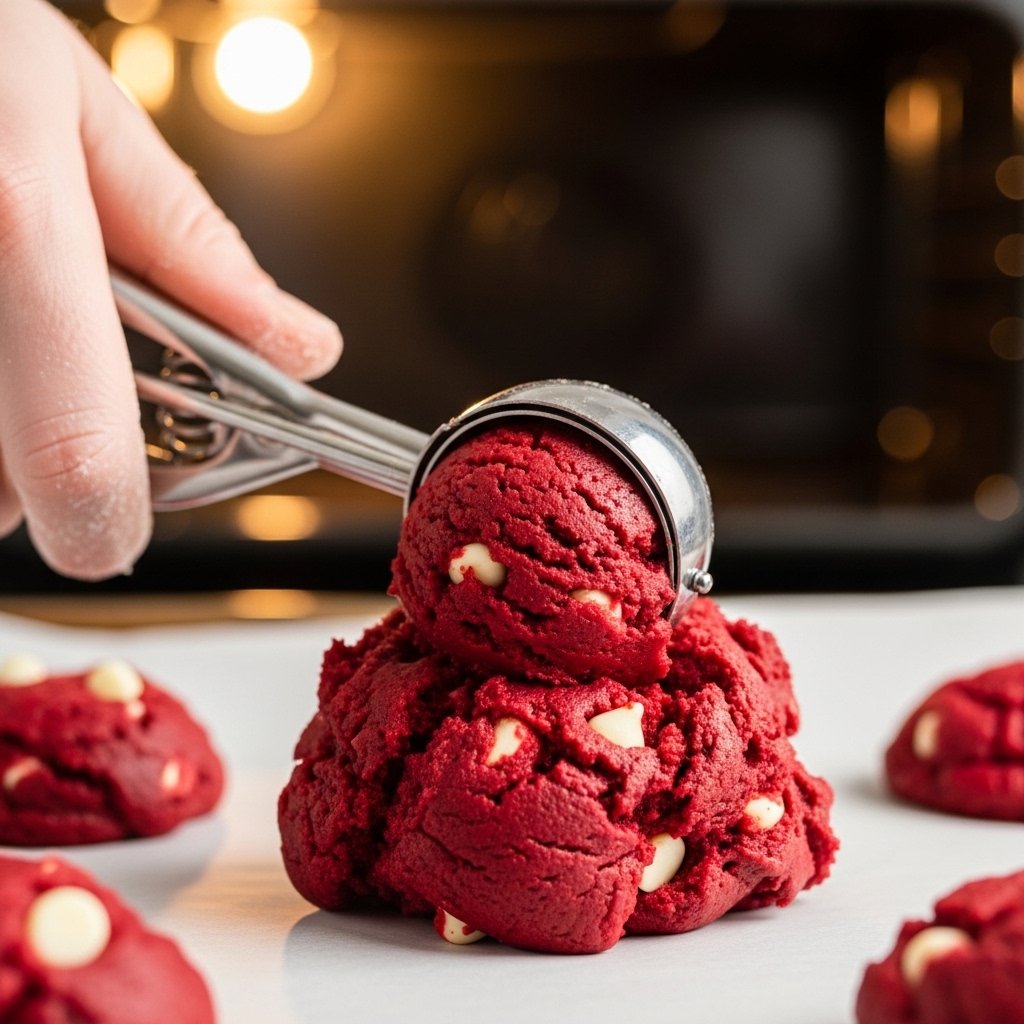
Step 5: Bake the Cookies
Preheat oven to 350°F. Scoop dough onto a baking sheet and bake for 10–12 minutes.
Step 6: Cool and Enjoy
Let cookies cool slightly before transferring to a rack.

Tips for Perfect Results
To make the best Chocolate M&M Cookies, follow these tips:
- Chill dough for thicker cookies
- Do not overmix after adding flour
- Slightly underbake for soft centers
- Press extra M&Ms on top before baking
- Use room-temperature ingredients for best texture
These simple tricks help achieve bakery-style cookies every time.
Variations
You can easily customize your Chocolate M&M Cookies:
- Double Chocolate Version: Add cocoa powder to dough
- Peanut Butter Twist: Mix in peanut butter chips
- Holiday Version: Use seasonal colored M&Ms
- Nutty Crunch: Add chopped walnuts or pecans
Each variation adds a unique flavor while keeping the fun candy texture.
What to Serve With It
These Chocolate M&M Cookies pair perfectly with:
- Cold milk
- Hot chocolate
- Coffee or latte
- Vanilla ice cream
They’re great for parties, school lunches, or casual snacking.
Storage & Reheating
Store Chocolate M&M Cookies in an airtight container at room temperature for up to 5 days. For longer storage, freeze baked cookies for up to 2 months.
To enjoy warm cookies again, microwave for 10–15 seconds to bring back softness.
Common Mistakes
Avoid these common baking mistakes:
- Overbaking cookies (causes dryness)
- Using melted butter instead of softened butter
- Skipping dough chilling
- Overmixing the dough
These errors can affect texture and flavor.
FAQs
Why are my chocolate M&M cookies flat?
Butter may be too warm or dough wasn’t chilled.
Can I freeze cookie dough?
Yes, freeze for up to 3 months.
Can I use mini M&Ms?
Yes, mini M&Ms work great for more even distribution.
How do I keep cookies soft?
Store them in an airtight container with a slice of bread.
Final Thoughts
These Chocolate M&M Cookies are the perfect combination of fun, flavor, and comfort. With soft centers, chocolate richness, and colorful candy crunch, they’re a treat that everyone loves.
Whether you’re baking for kids, holidays, or just yourself, this recipe is simple, reliable, and always delicious. Once you try them, they’ll quickly become a favorite in your cookie rotation.