If you’ve ever stood in your kitchen wondering what to make for dinner—again—you’re not alone. That’s exactly why this Easy Dinner Inspiration Corner: High Protein Easy Meal Prep 2026 Healthy Ideas guide exists. It’s designed to give you fresh, practical, and delicious solutions that fit into real life, not just ideal scenarios.
In 2026, healthy eating is all about balance, simplicity, and sustainability. High-protein meals are leading the way because they help keep you full, support muscle health, and make meal prep easier than ever. Whether you’re cooking for yourself, your family, or planning meals for the week, this guide brings you inspiration that’s both achievable and exciting.
Why You’ll Love This Easy Dinner Inspiration
This Easy Dinner Inspiration Corner: High Protein Easy Meal Prep 2026 Healthy Ideas approach is all about making your life easier without sacrificing flavor.
- Focuses on simple, high-protein ingredients
- Perfect for meal prepping and busy schedules
- Balanced meals that keep you full longer
- Flexible recipes you can customize
- Ideal for healthy lifestyle goals
Instead of complicated recipes, this guide emphasizes smart combinations that deliver maximum flavor with minimal effort.
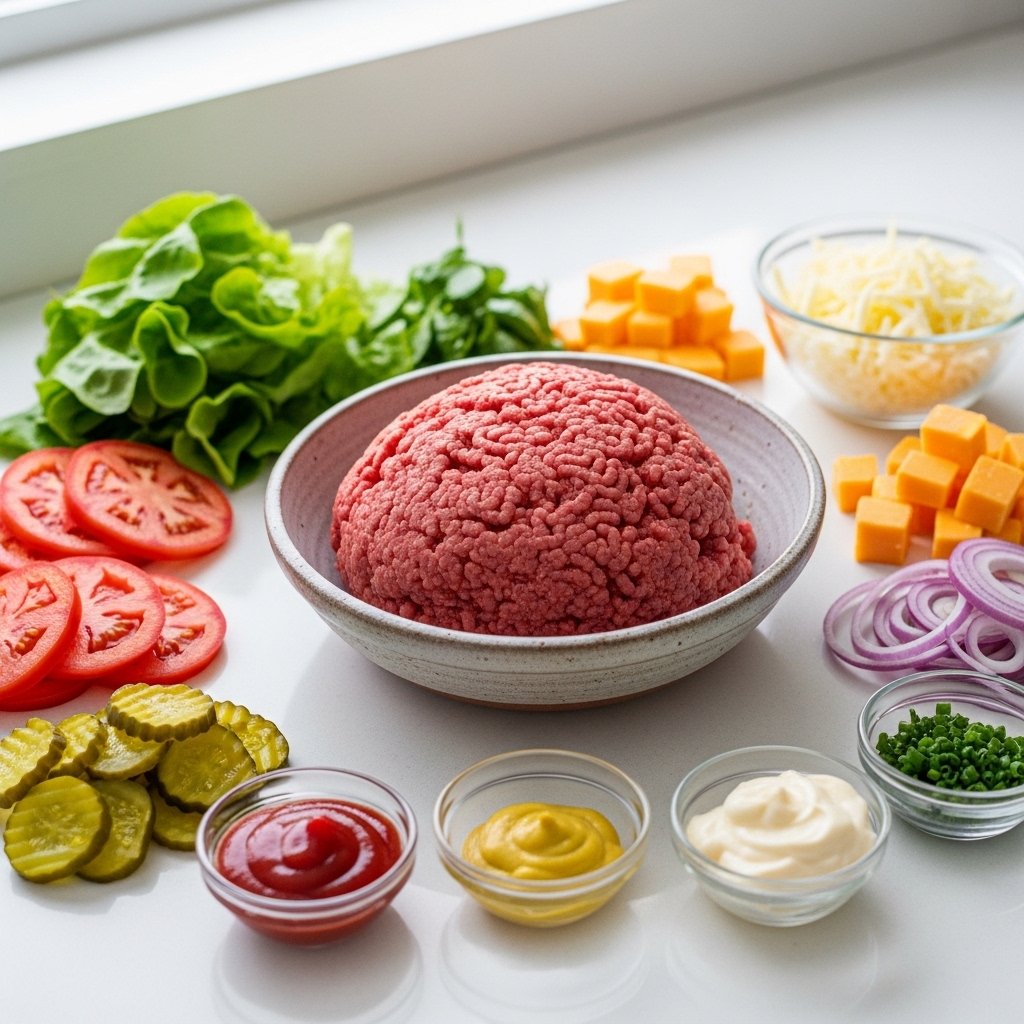
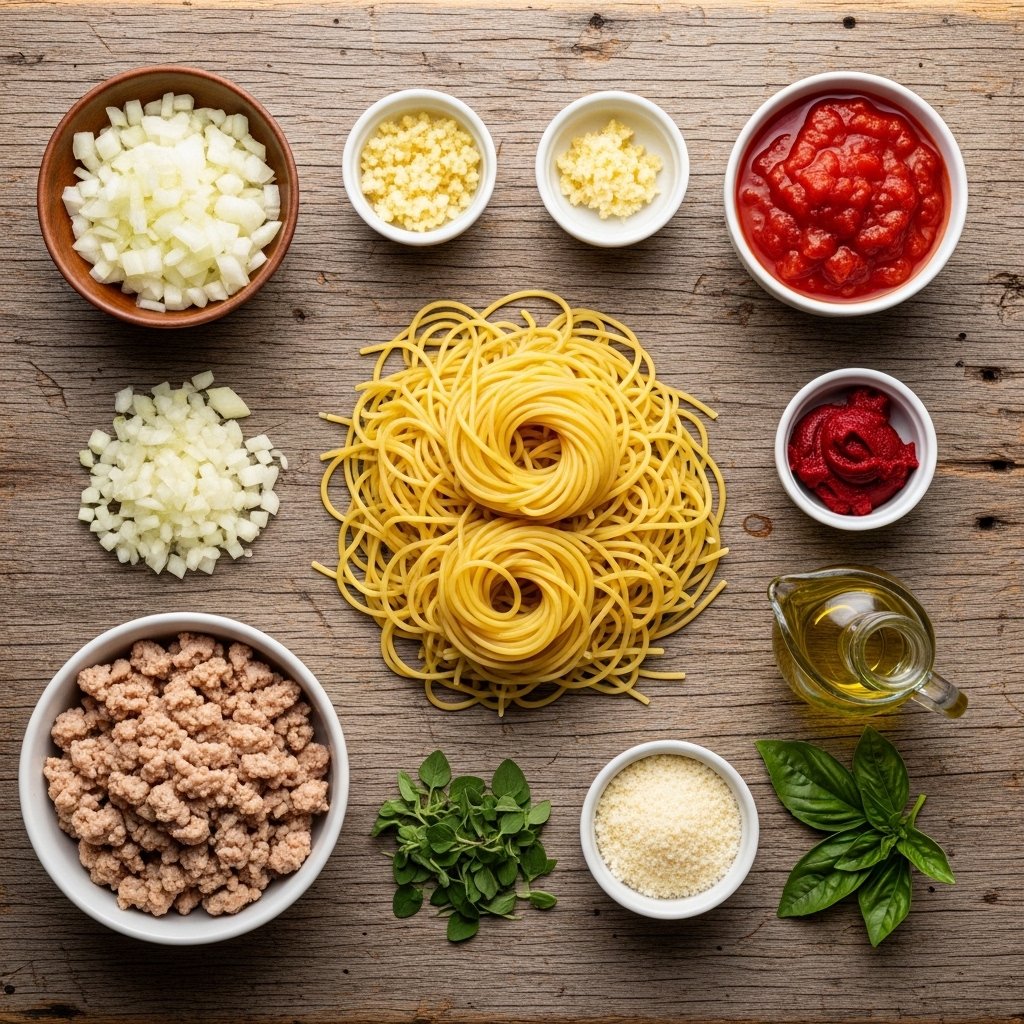
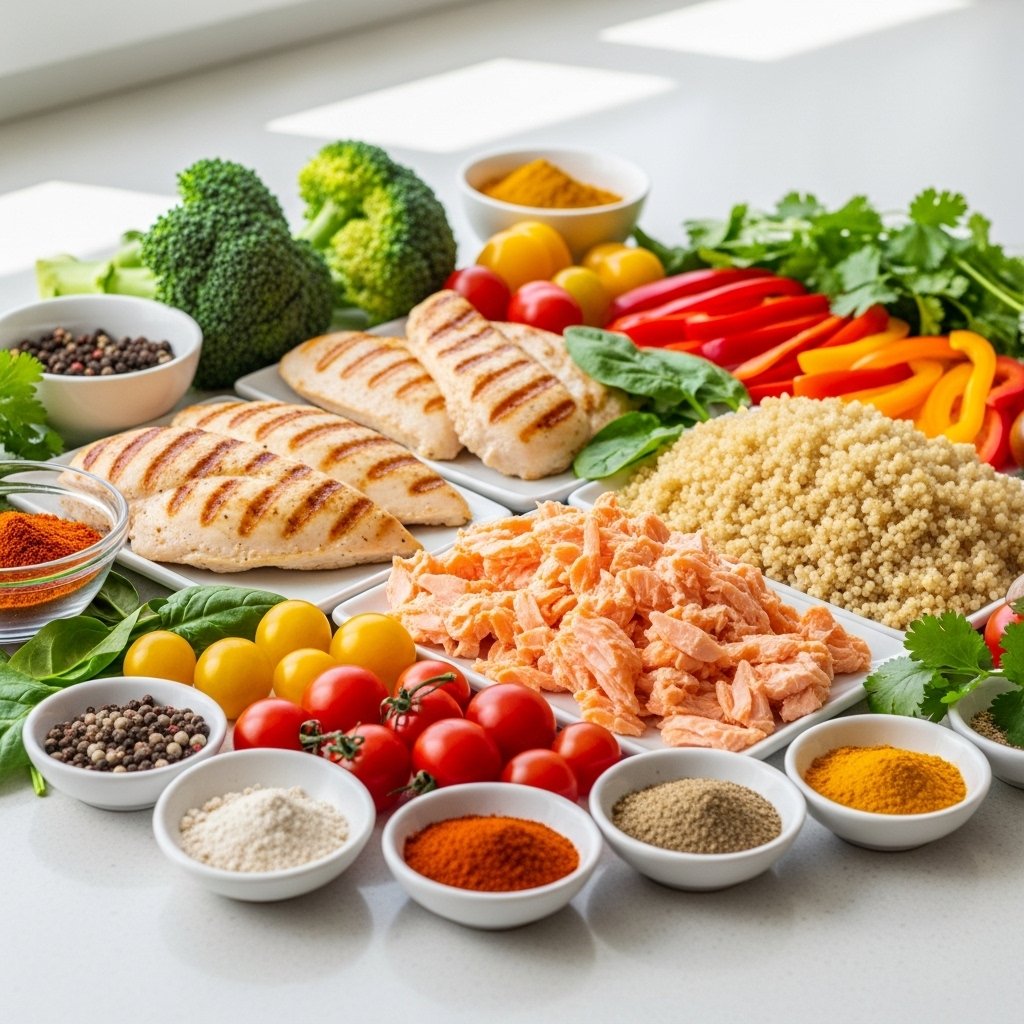
Core Ingredients for High Protein Meal Prep
To build your own easy dinner inspiration system, start with these staple ingredients:
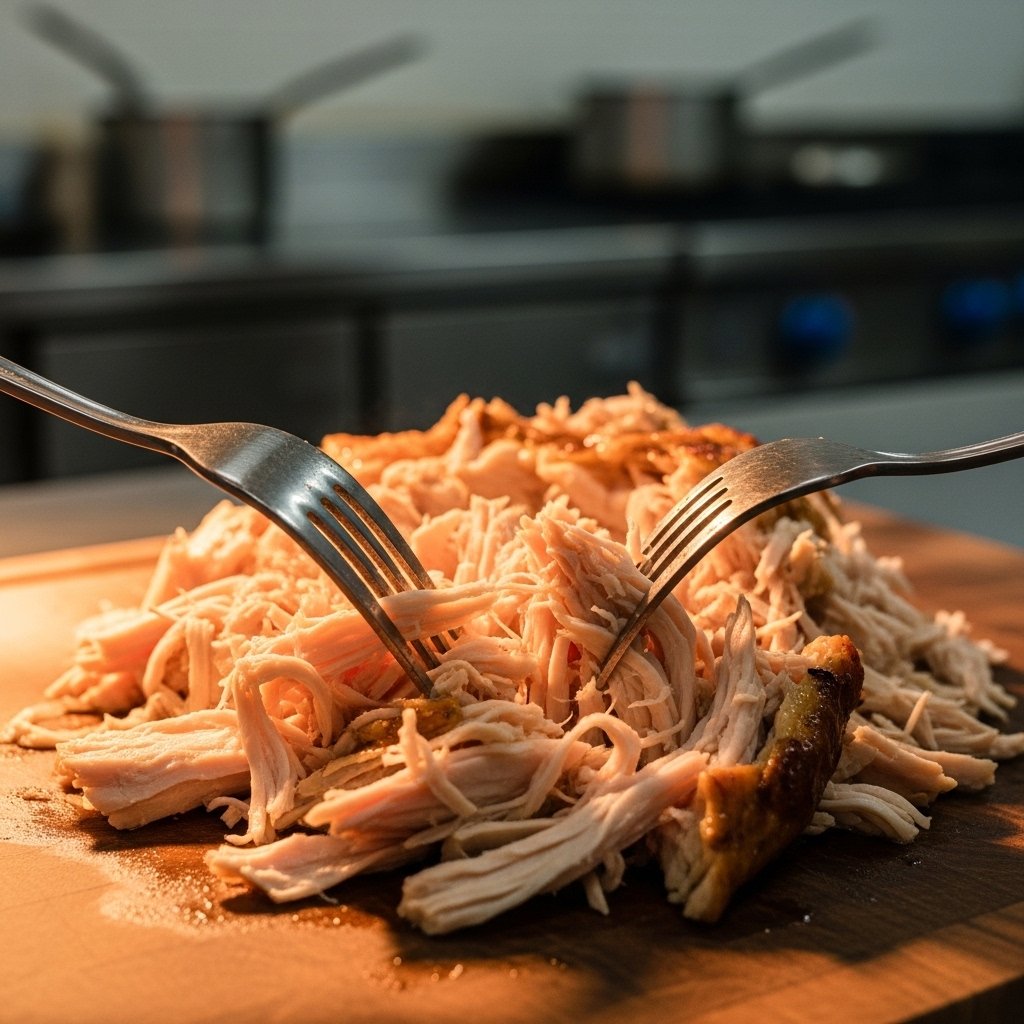
- Lean proteins: chicken breast, turkey, salmon, eggs, tofu
- Whole grains: brown rice, quinoa, farro
- Vegetables: broccoli, spinach, bell peppers, zucchini
- Healthy fats: avocado, olive oil, nuts
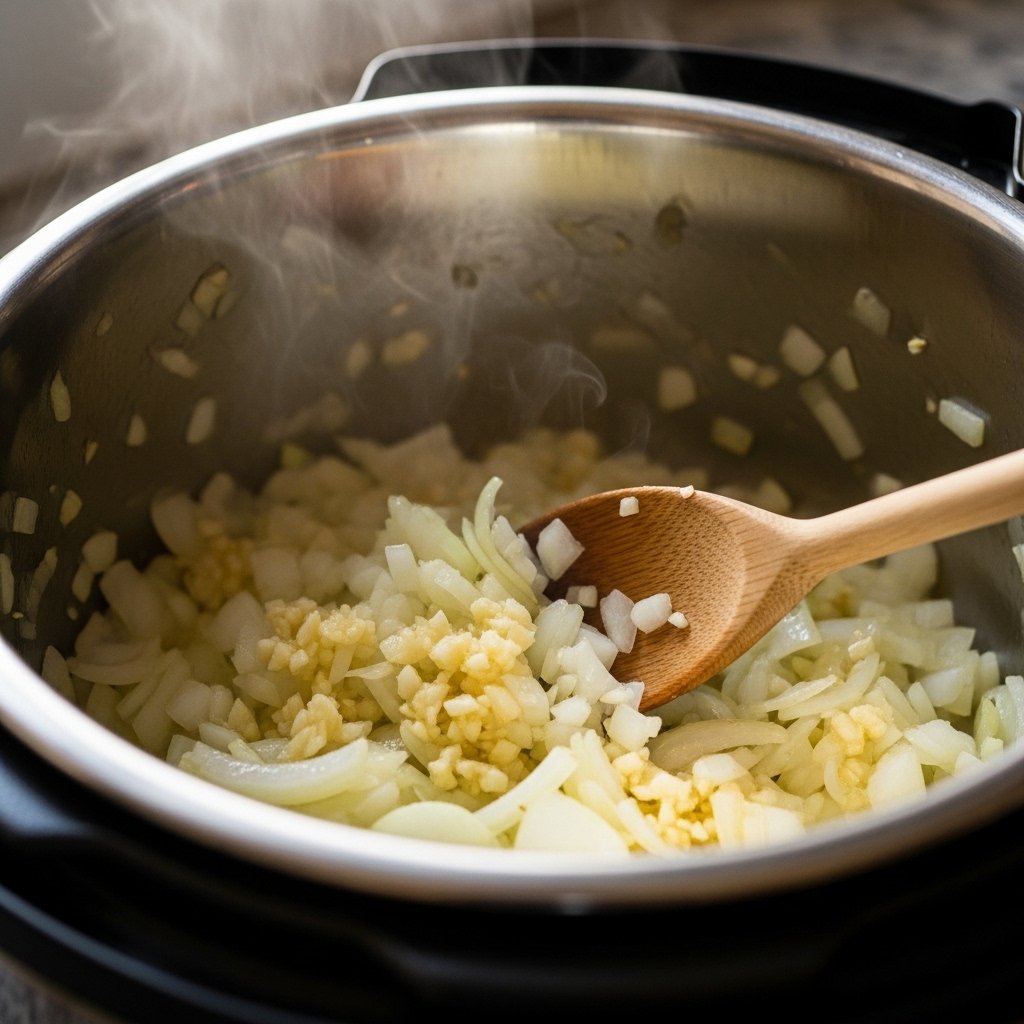
- Flavor boosters: garlic, herbs, spices, sauces
Ingredient Notes
The secret to successful high protein easy meal prep is choosing ingredients that store well and reheat beautifully. Chicken breast is a classic go-to, but don’t overlook options like salmon or plant-based proteins for variety.
Grains like quinoa not only add texture but also boost protein content. Fresh vegetables should be chosen based on how well they hold up after cooking—broccoli and carrots are excellent choices, while delicate greens are best added fresh.
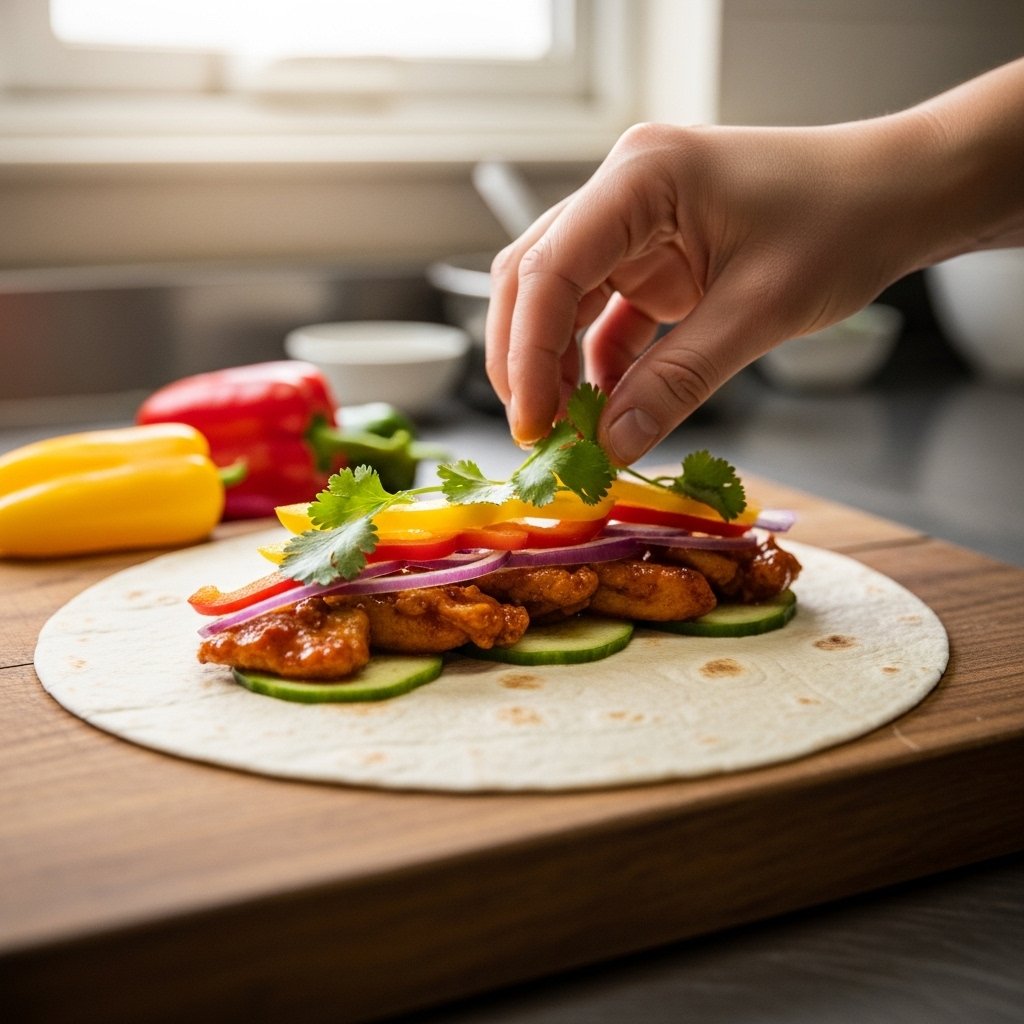
Step-by-Step Meal Prep Framework
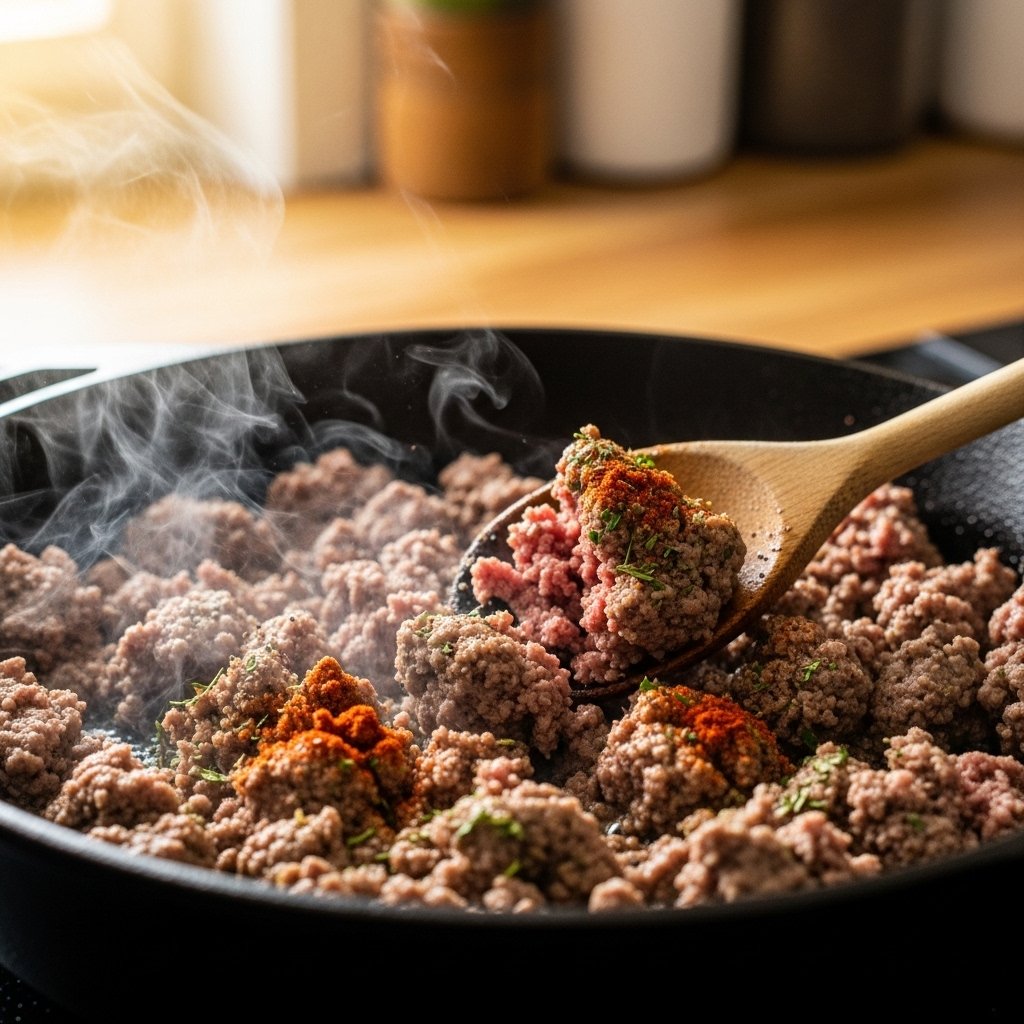
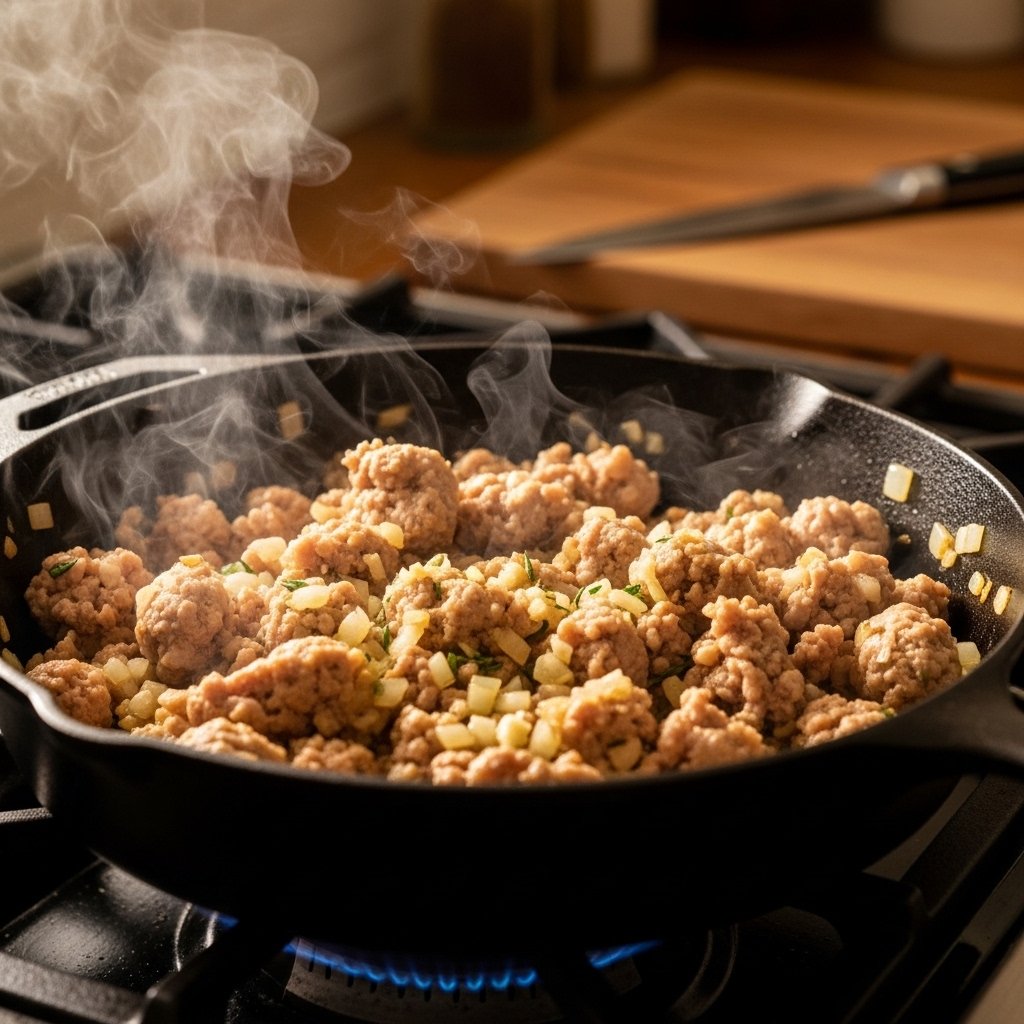
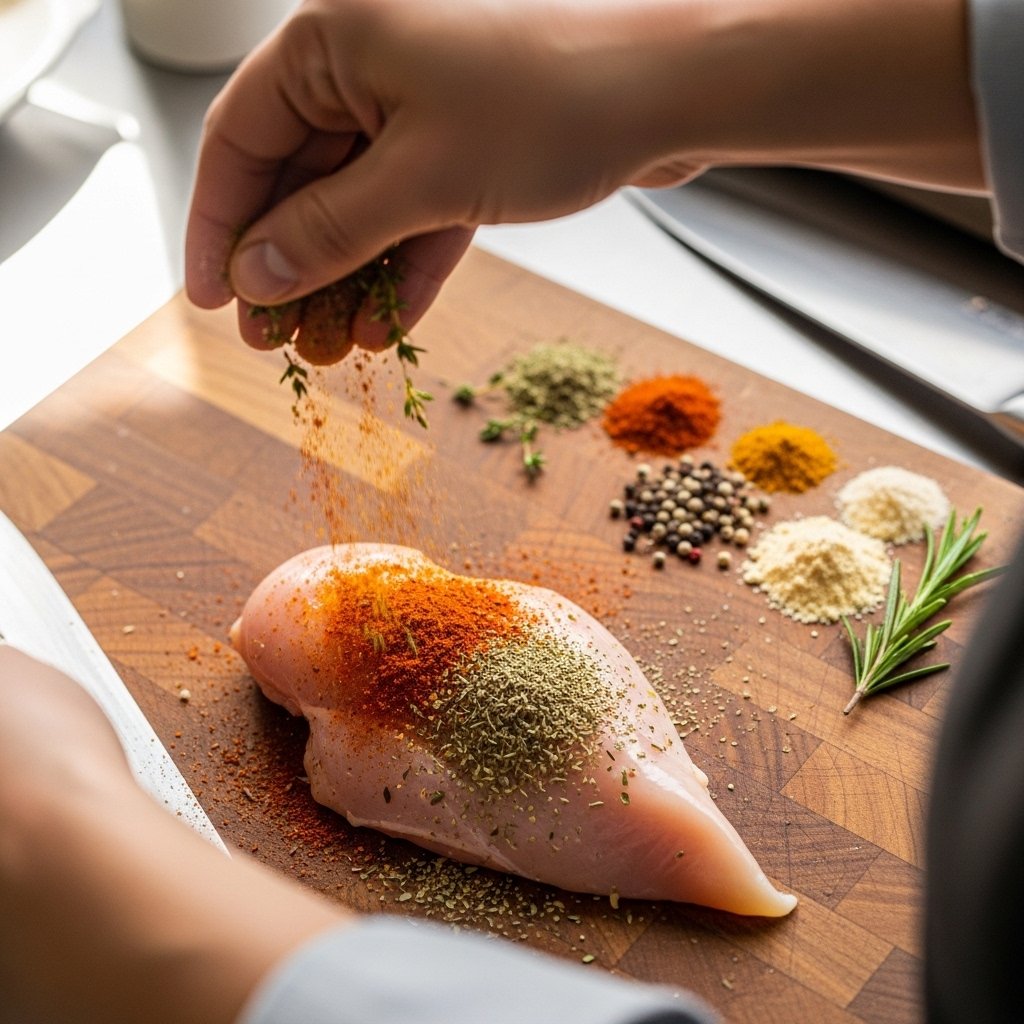
1. Choose Your Protein
Start by selecting 1–2 protein sources. Season simply with salt, pepper, and spices, then bake, grill, or sauté until fully cooked.
2. Cook Your Base
Prepare your grains or base ingredients like rice or quinoa. These act as the foundation of your meals.
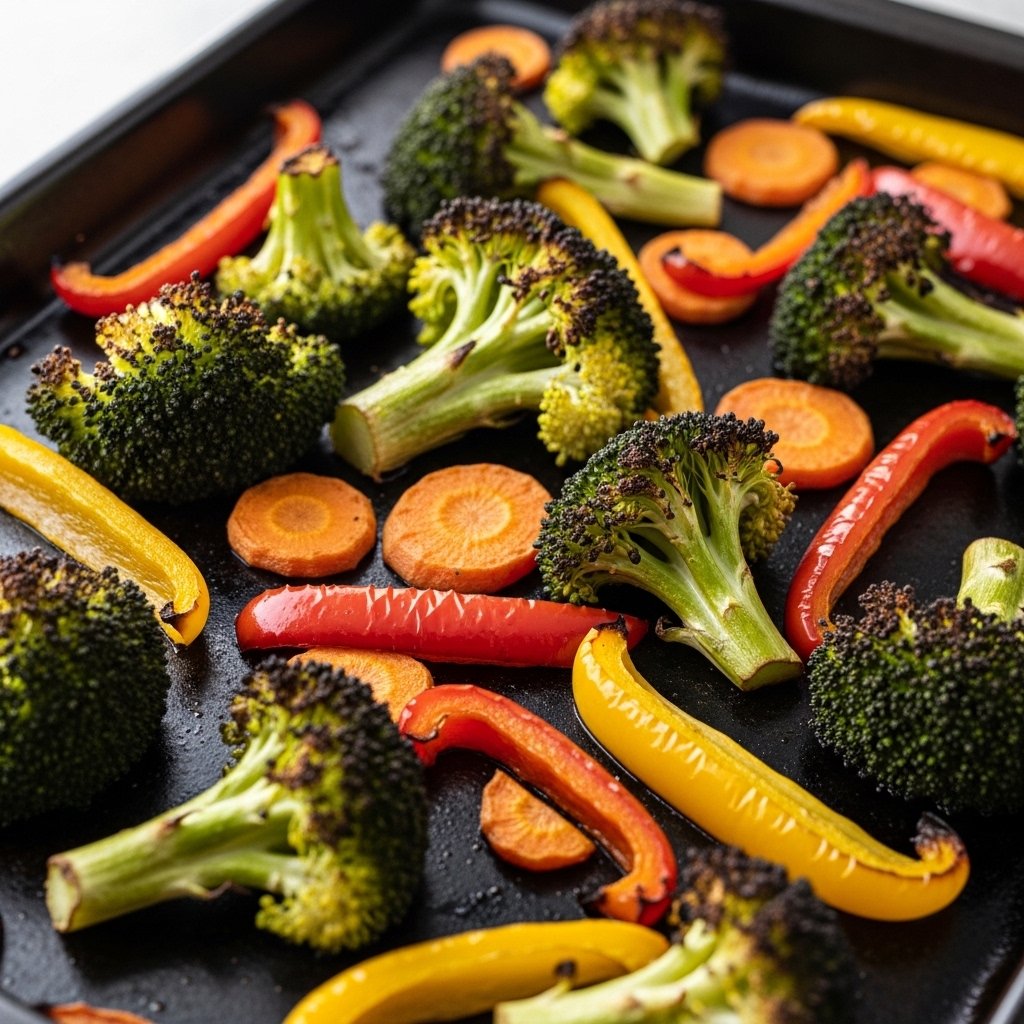
3. Add Vegetables
Roast or sauté your vegetables with olive oil and seasoning for maximum flavor.
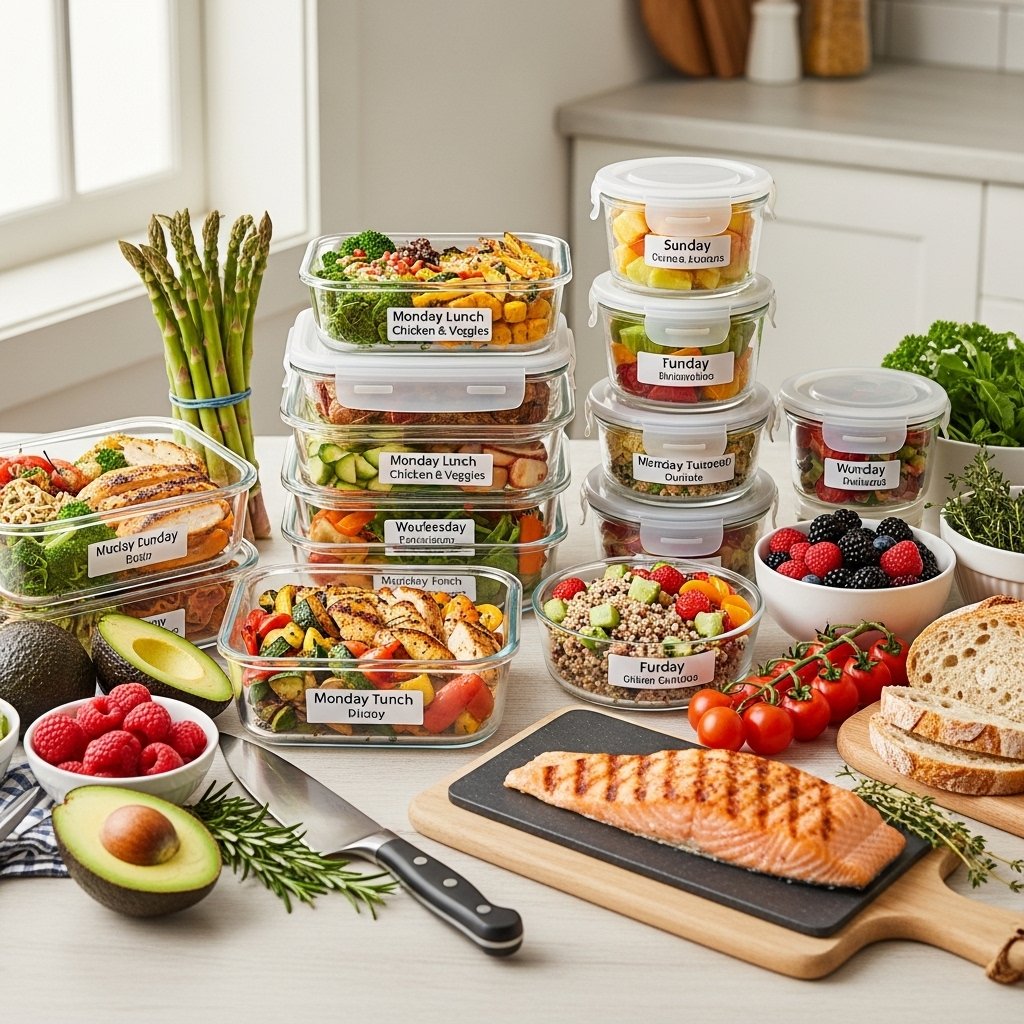
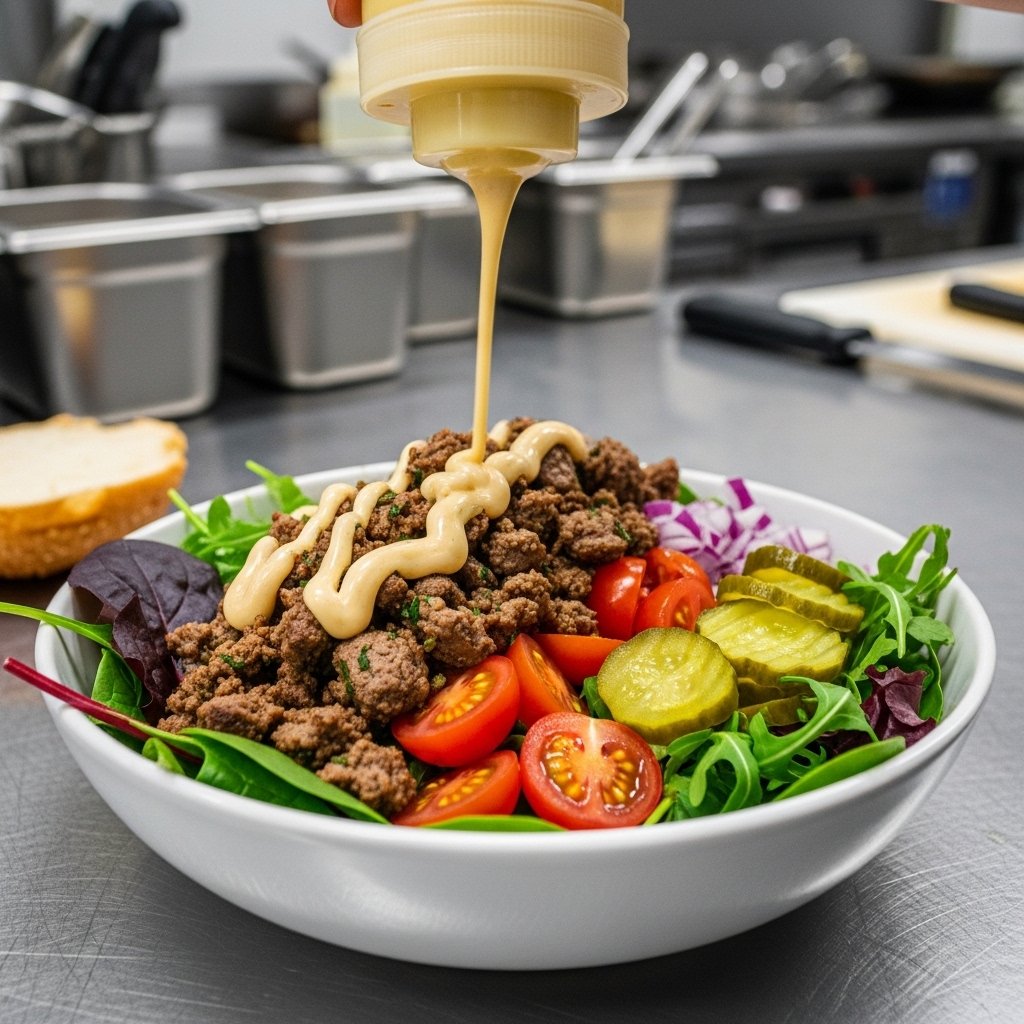
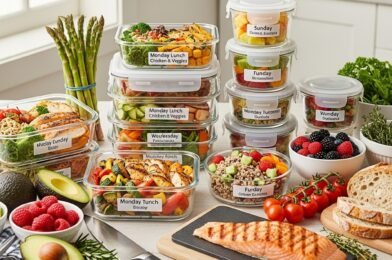
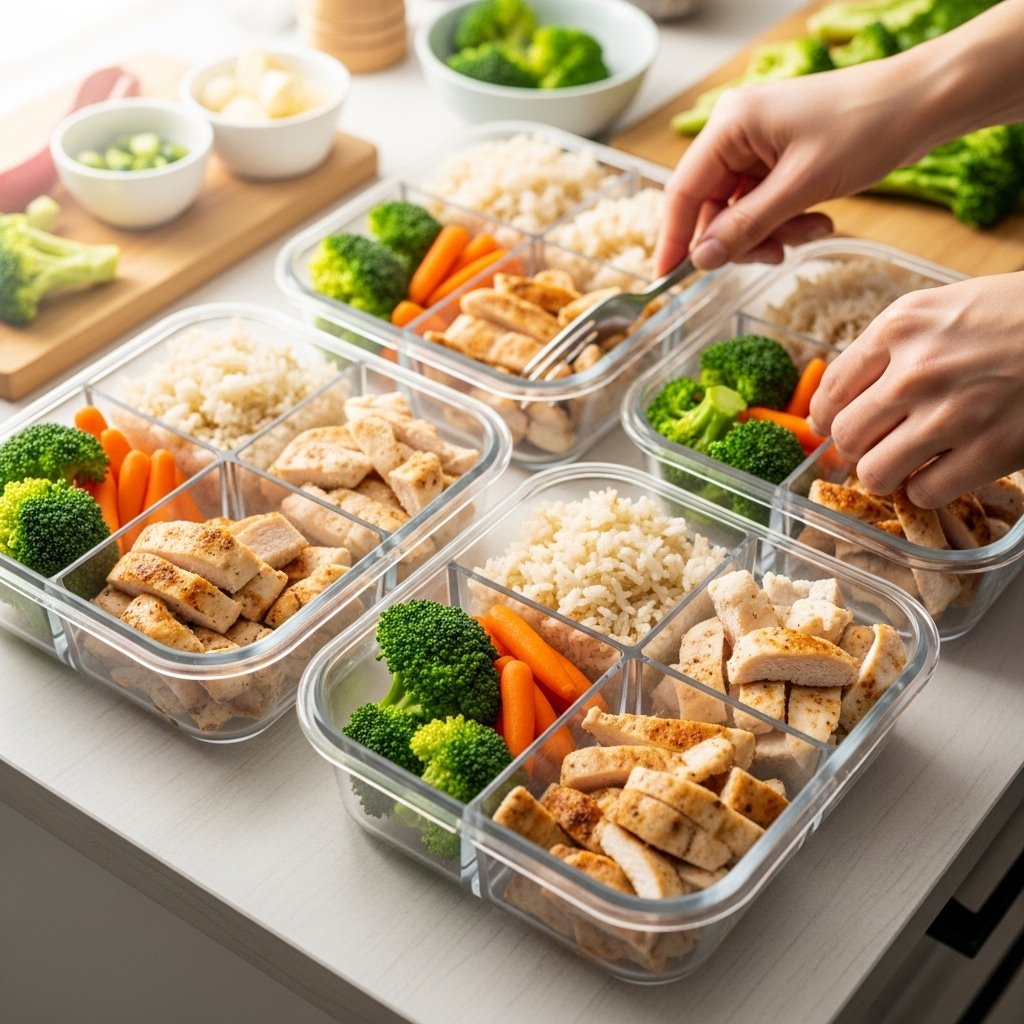
4. Assemble Meal Prep Containers
Divide everything into containers, balancing protein, carbs, and veggies for each meal.
Tips for Perfect Results
To make the most of your easy dinner inspiration, follow these practical tips:
- Batch cook proteins to save time
- Use different sauces to avoid flavor fatigue
- Keep textures in mind—mix crunchy and soft elements
- Label containers for easy organization
Consistency is key when it comes to meal prep success.
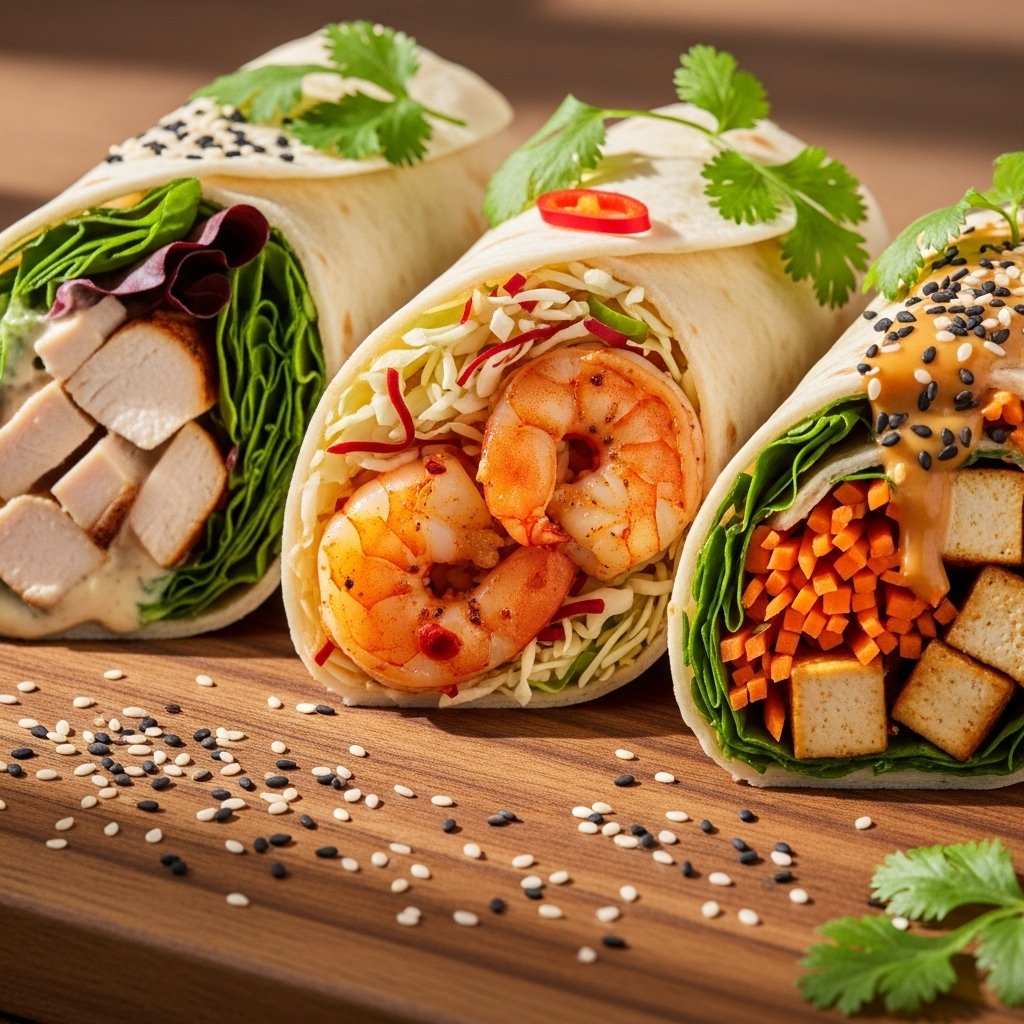
Variations
One of the best parts of this Easy Dinner Inspiration Corner: High Protein Easy Meal Prep 2026 Healthy Ideas is how adaptable it is.
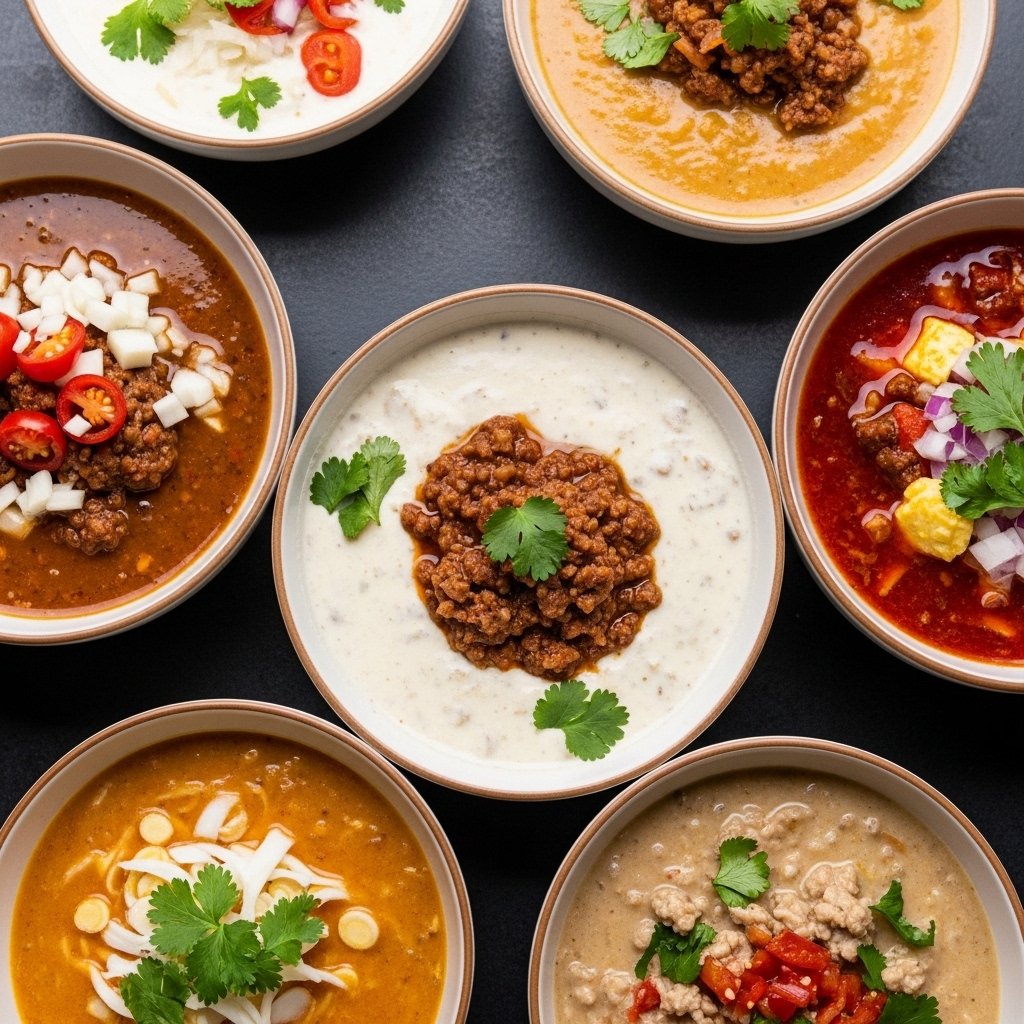
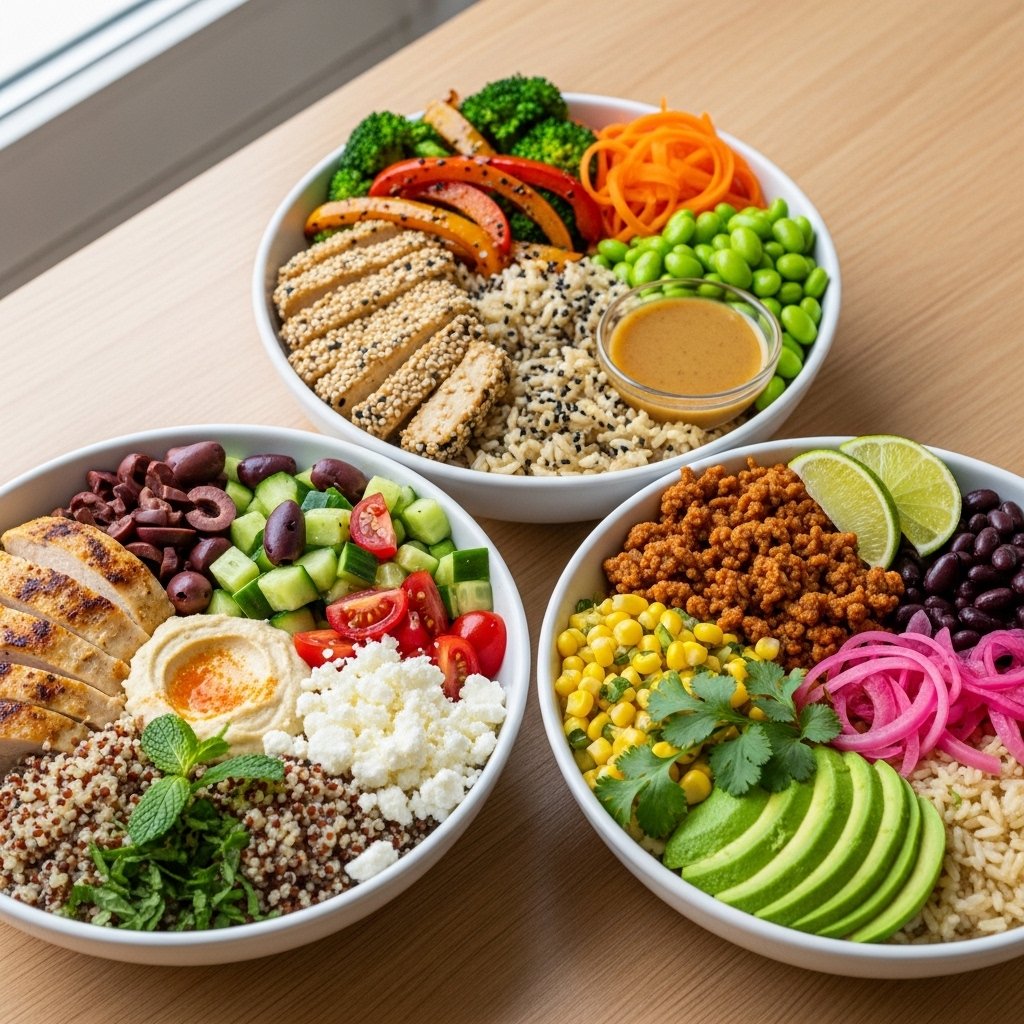
Flavor Profiles
- Mediterranean: chicken, quinoa, cucumber, tzatziki
- Asian-inspired: salmon, rice, broccoli, soy-ginger sauce
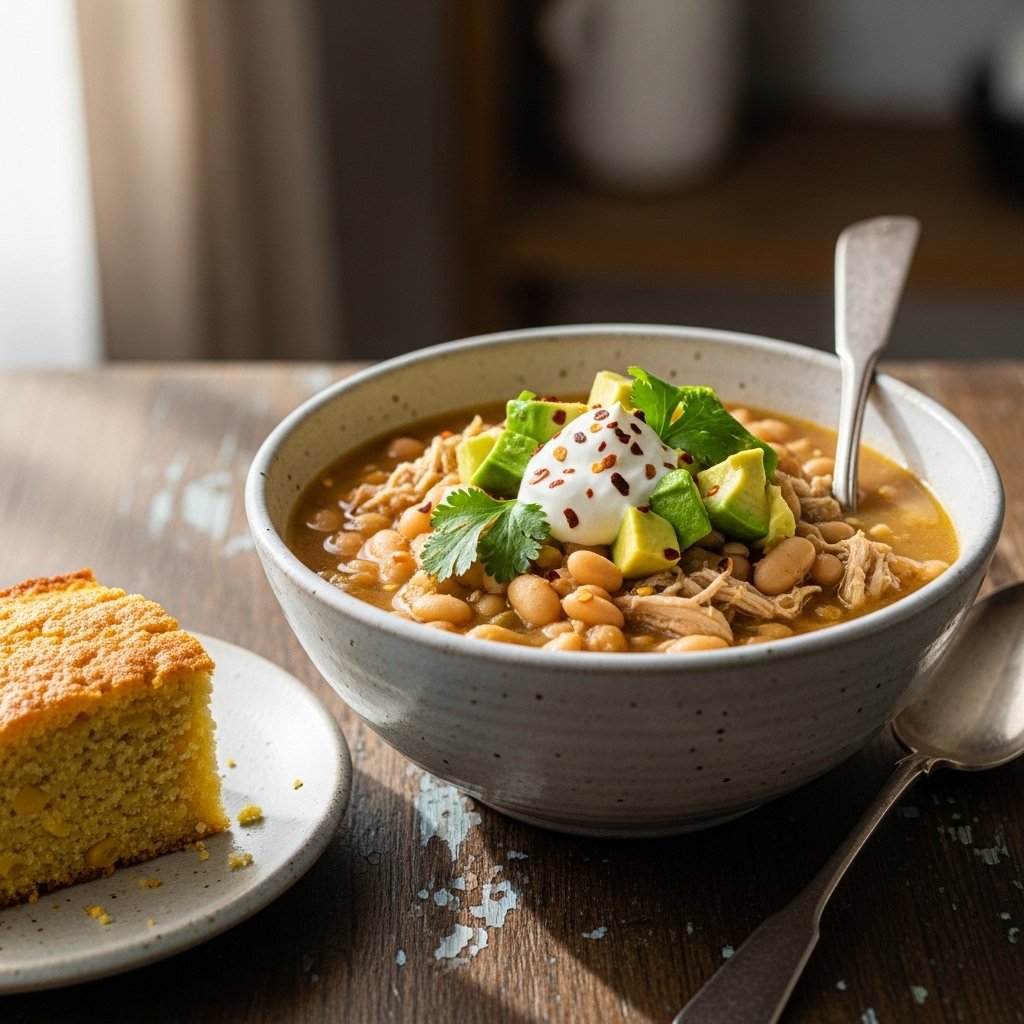
- Mexican: ground turkey, brown rice, beans, salsa
Dietary Options
- Low-carb: swap grains for cauliflower rice
- Vegetarian: use tofu, lentils, or chickpeas
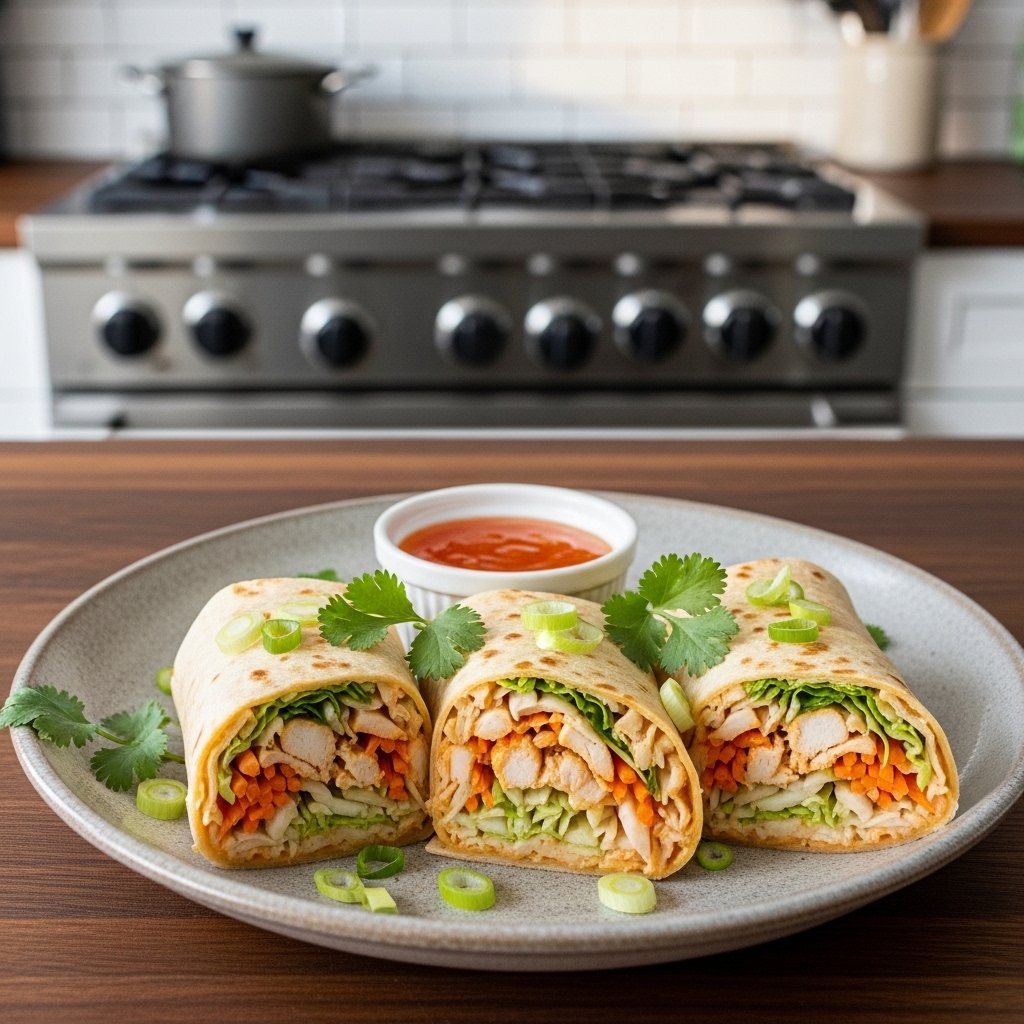
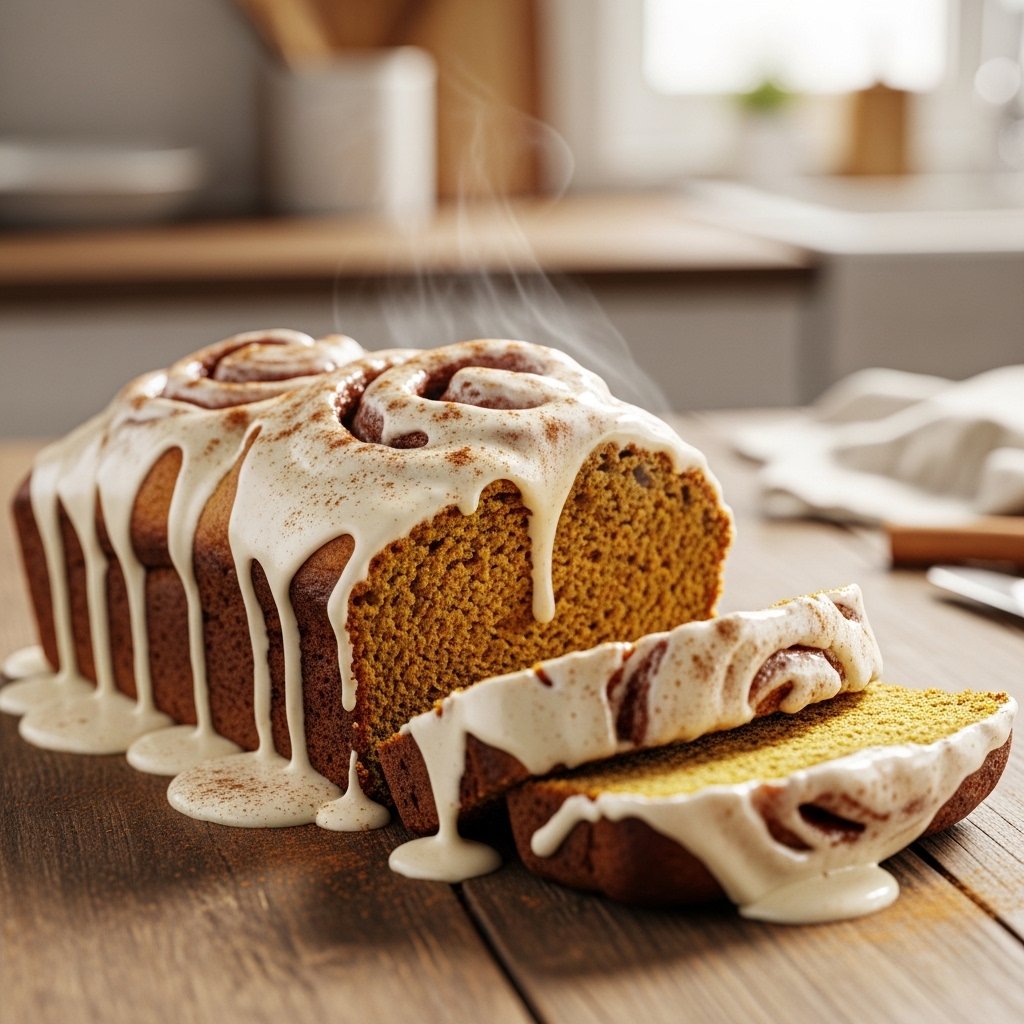
What to Serve With It
While these meals are complete on their own, you can enhance them with:
- Fresh side salads
- Protein smoothies
- Whole grain bread
- Light soups
These additions help keep your meals interesting throughout the week.
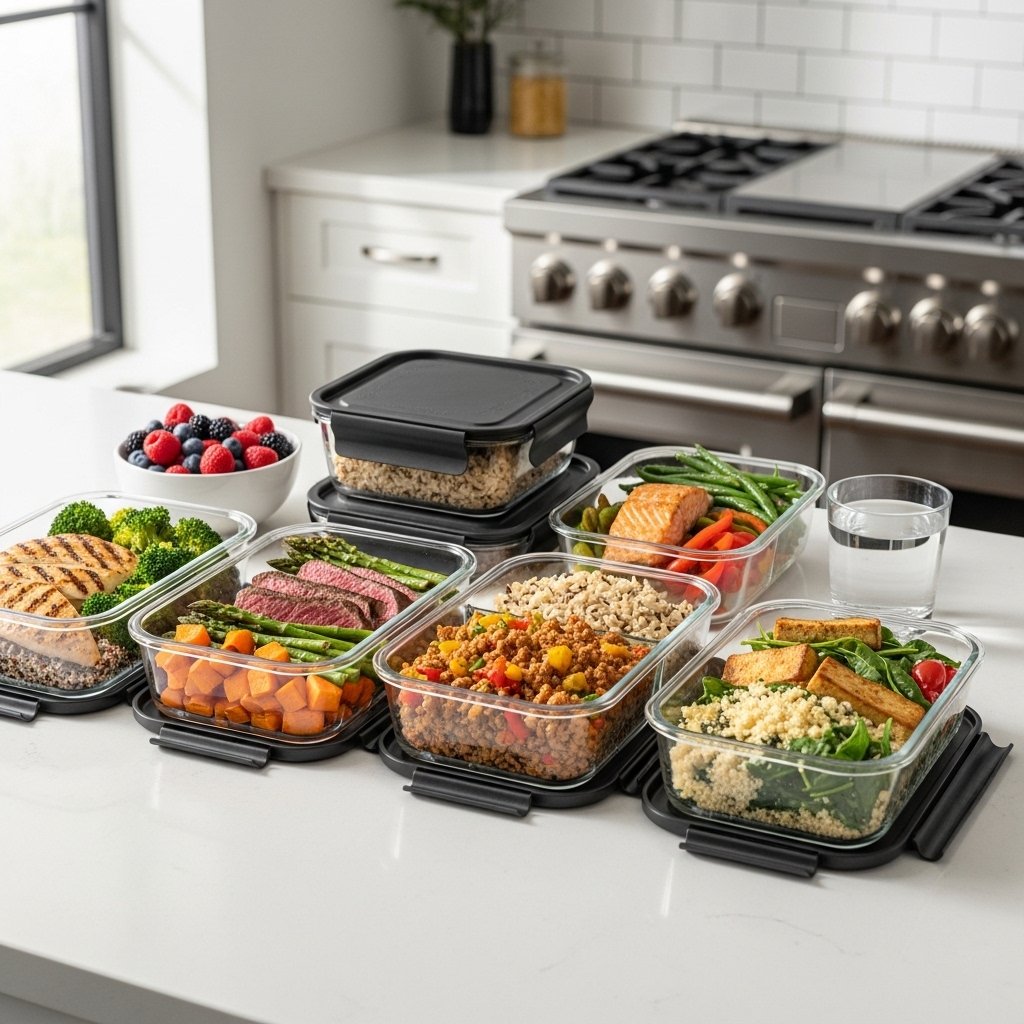
Storage & Reheating
Proper storage is essential for successful high protein meal prep.
- Store meals in airtight containers for up to 4 days
- Keep sauces separate when possible
- Reheat gently in the microwave or stovetop
- Freeze extra portions for future use
Planning ahead ensures you always have a healthy meal ready to go.
Common Mistakes to Avoid
Avoid these pitfalls when following your easy dinner inspiration plan:
- Overcooking proteins, making them dry
- Using too few seasonings
- Not rotating ingredients, leading to boredom
- Improper storage causing food spoilage
Small adjustments can make a big difference in your meal prep experience.
FAQs
What is the best protein for meal prep?
Chicken, turkey, and salmon are popular because they store and reheat well.
How long do meal prep meals last?
Typically 3–4 days in the refrigerator when stored properly.
Can I freeze meal prep meals?
Yes, many high-protein meals freeze well—just avoid freezing delicate vegetables.
How do I keep meals from getting boring?
Switch up sauces, spices, and ingredient combinations each week.
Final Thoughts
This Easy Dinner Inspiration Corner: High Protein Easy Meal Prep 2026 Healthy Ideas guide is all about simplifying your routine while keeping your meals exciting and nutritious. With a little planning and creativity, you can transform everyday ingredients into satisfying, protein-packed meals that support your lifestyle.
Healthy eating doesn’t have to be complicated—it just needs to be consistent, flavorful, and enjoyable. Start with these ideas, make them your own, and you’ll never run out of dinner inspiration again.