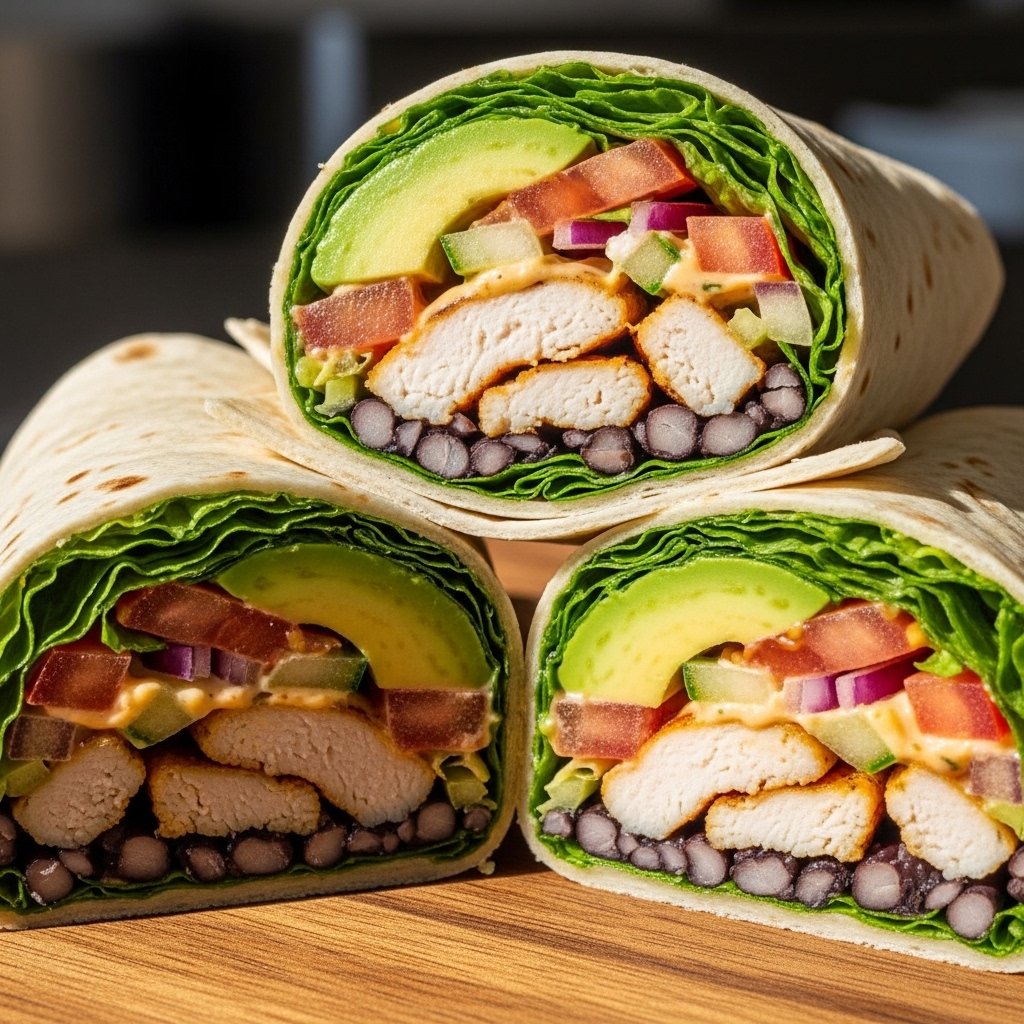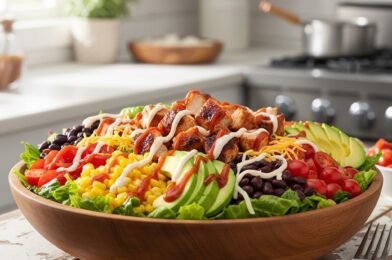
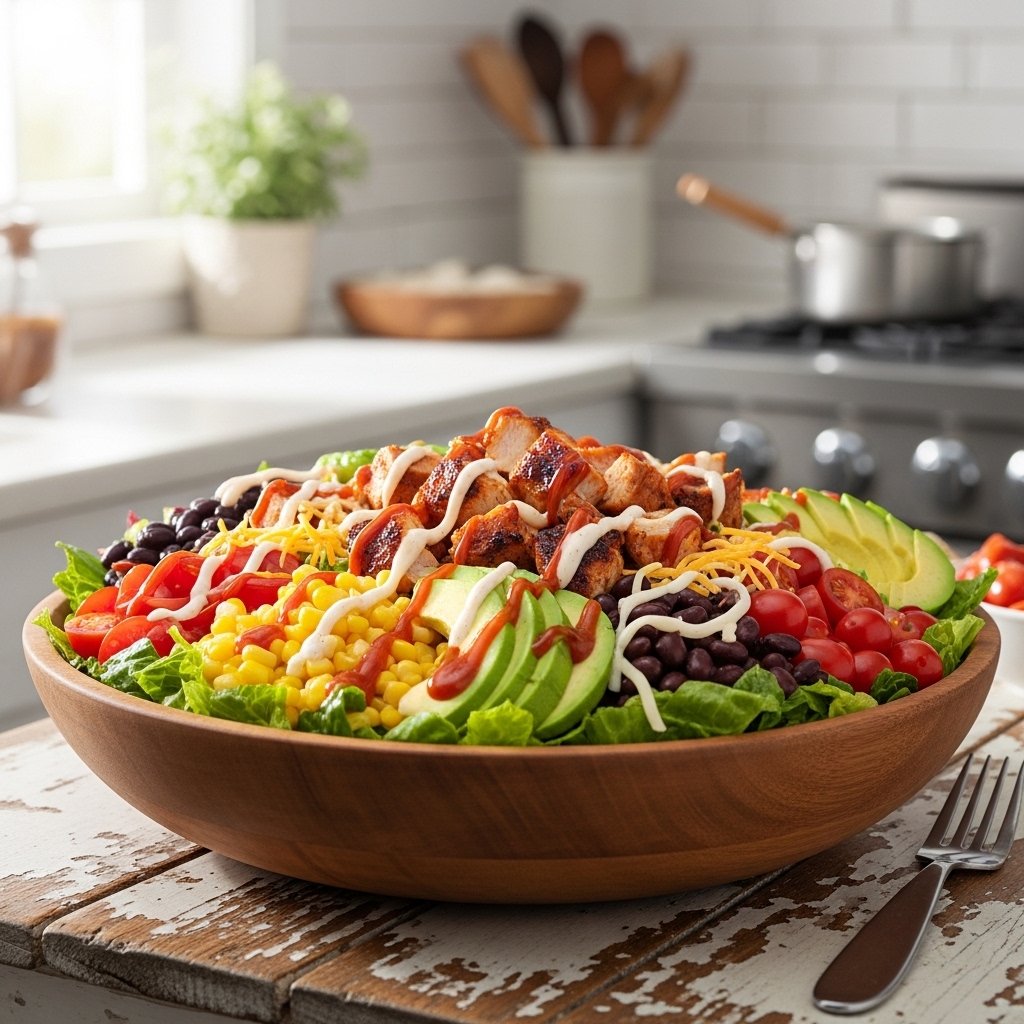
If you’re craving something hearty, fresh, and full of bold flavor, this Healthy BBQ Chicken Chopped Salad Recipe is exactly what you need. It combines smoky BBQ chicken with crisp veggies, creamy elements, and a satisfying crunch—all chopped into bite-sized perfection.
This salad is a complete meal on its own, packed with lean protein, fiber, and healthy fats. It’s perfect for busy weekdays, meal prep, or when you want something filling without feeling heavy. Best of all, it delivers that classic BBQ flavor in a lighter, healthier way.
Why You’ll Love This Recipe
This Healthy BBQ Chicken Chopped Salad Recipe is a game-changer for anyone who loves bold flavors but wants to keep things nutritious.
Here’s why it’s so popular:
- Packed with protein and fiber
- Full of smoky, tangy BBQ flavor
- Perfect for meal prep
- Balanced textures—crunchy, creamy, and juicy
- Easy to customize
It’s the kind of salad that actually feels like a satisfying meal, not just a side.
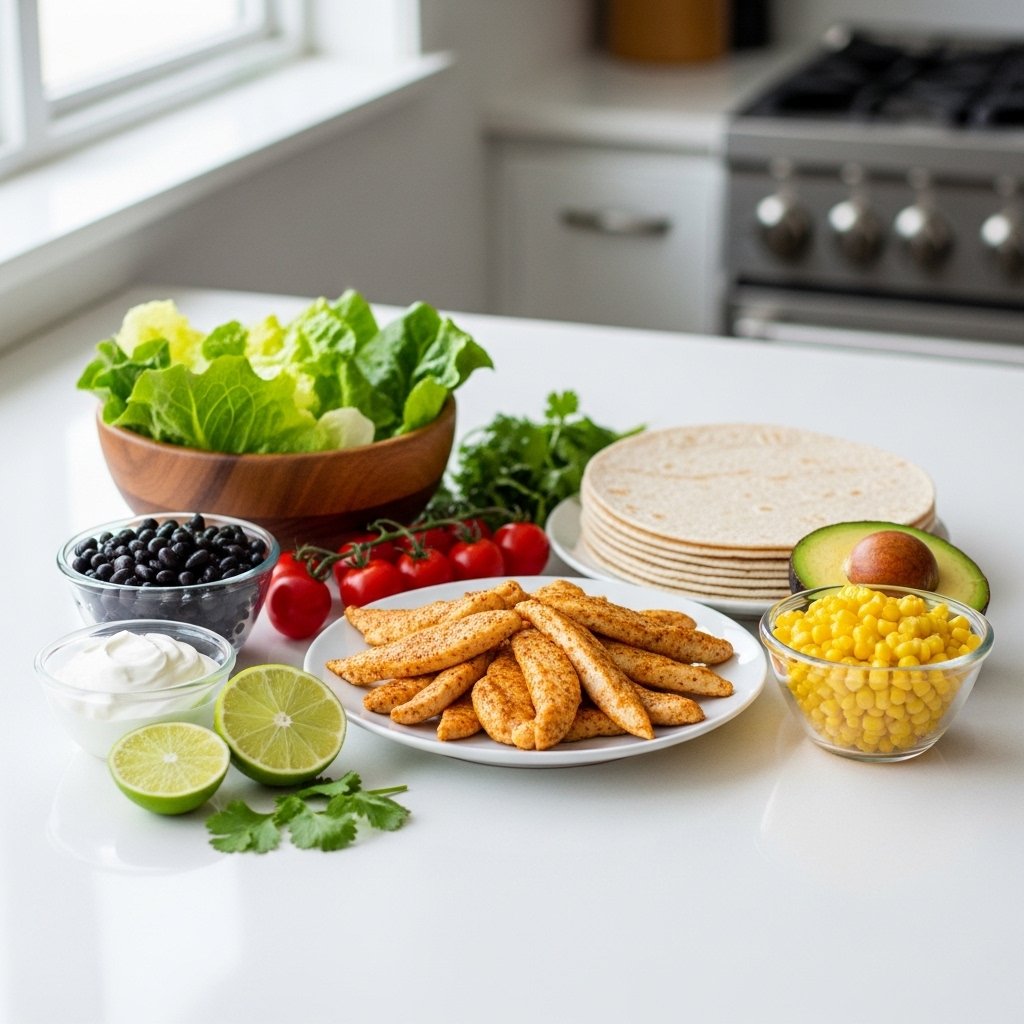
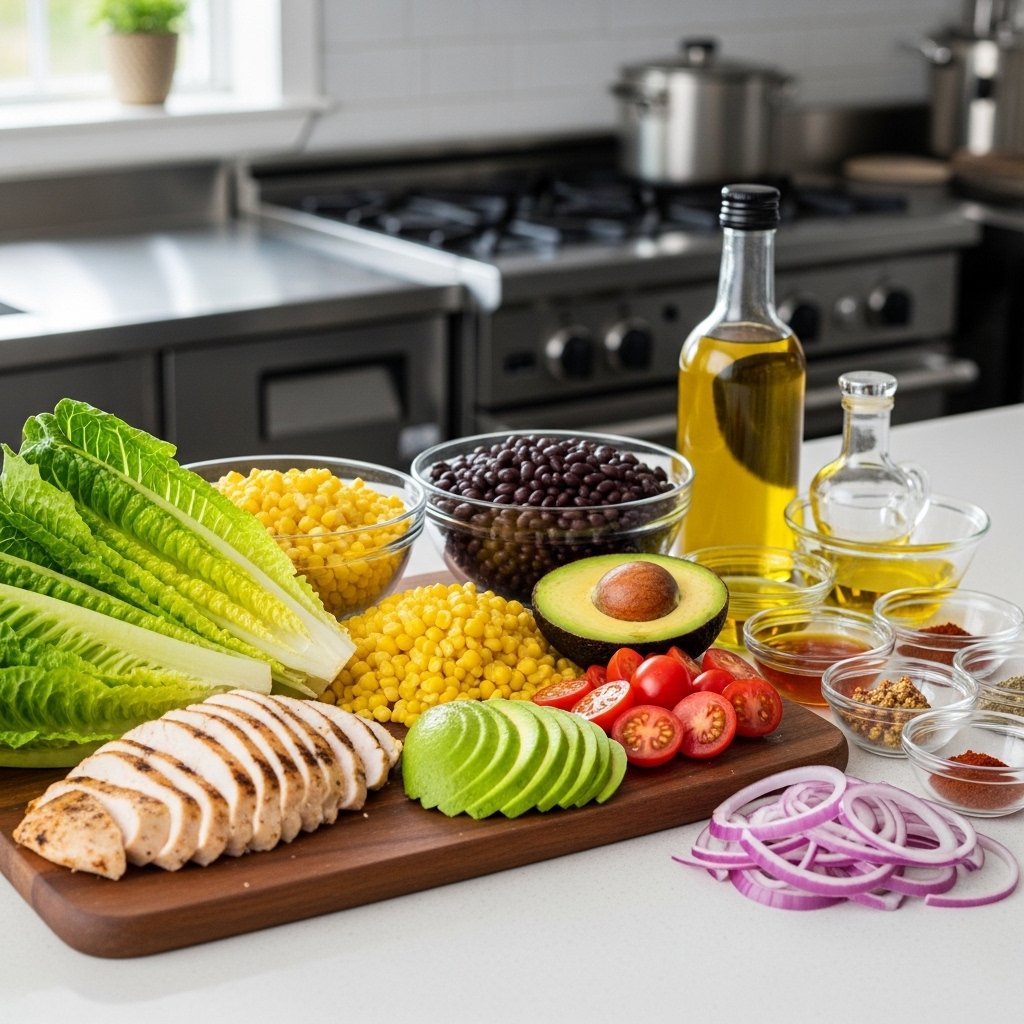
Ingredients
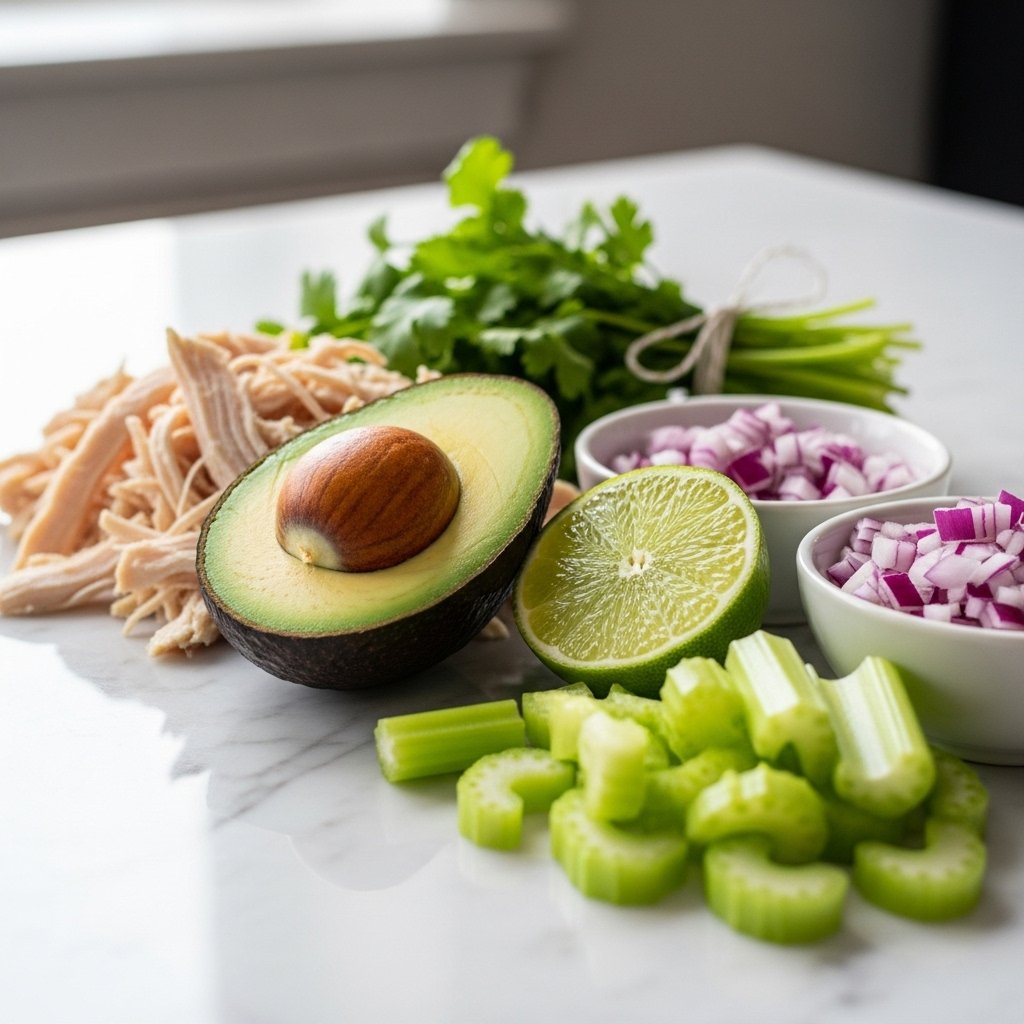
To make this Healthy BBQ Chicken Chopped Salad Recipe, you’ll need:
- 2 cups grilled chicken breast (chopped, tossed in BBQ sauce)
- 6 cups romaine lettuce (chopped)
- 1 cup corn kernels
- 1 cup black beans (rinsed and drained)
- 1 cup cherry tomatoes (halved)
- 1 avocado (diced)
- ½ cup red onion (finely chopped)
- ½ cup shredded cheddar cheese
- ¼ cup cilantro (chopped)
For the dressing:
- ½ cup Greek yogurt
- 2 tablespoons BBQ sauce
- 1 tablespoon lime juice
- Salt and pepper to taste
Ingredient Notes
The beauty of this Healthy BBQ Chicken Chopped Salad Recipe lies in the balance of flavors and textures. The BBQ chicken brings a smoky, slightly sweet flavor, while the fresh vegetables add brightness and crunch.
Using Greek yogurt in the dressing keeps it creamy while reducing calories compared to traditional dressings. Fresh lime juice adds a refreshing tang that balances the richness of the BBQ sauce perfectly.
Step-by-Step Instructions
Making this Healthy BBQ Chicken Chopped Salad Recipe is quick and easy:
1. Prepare the Chicken
Grill or cook chicken, then chop and toss with BBQ sauce.
2. Chop the Vegetables
Chop lettuce, tomatoes, onion, and avocado into bite-sized pieces.
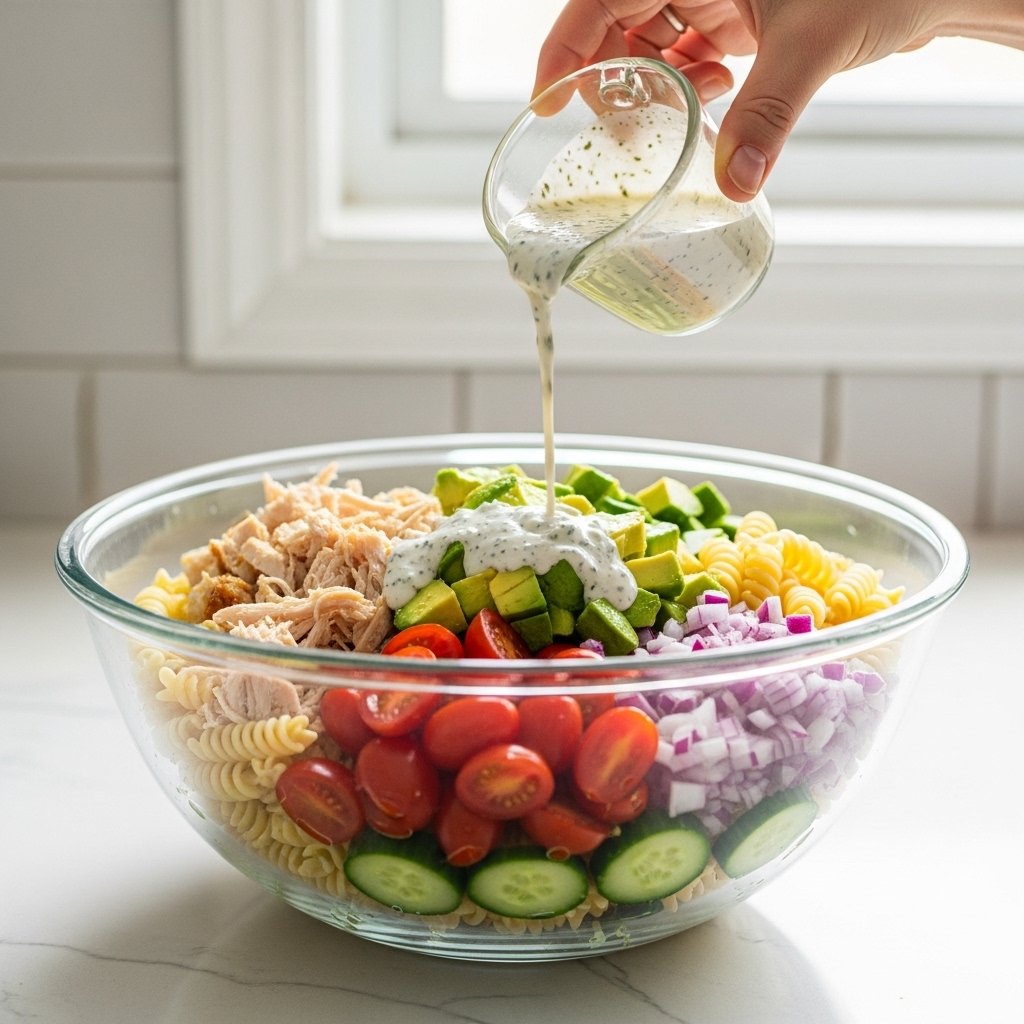
3. Make the Dressing
In a bowl, whisk together Greek yogurt, BBQ sauce, lime juice, salt, and pepper.
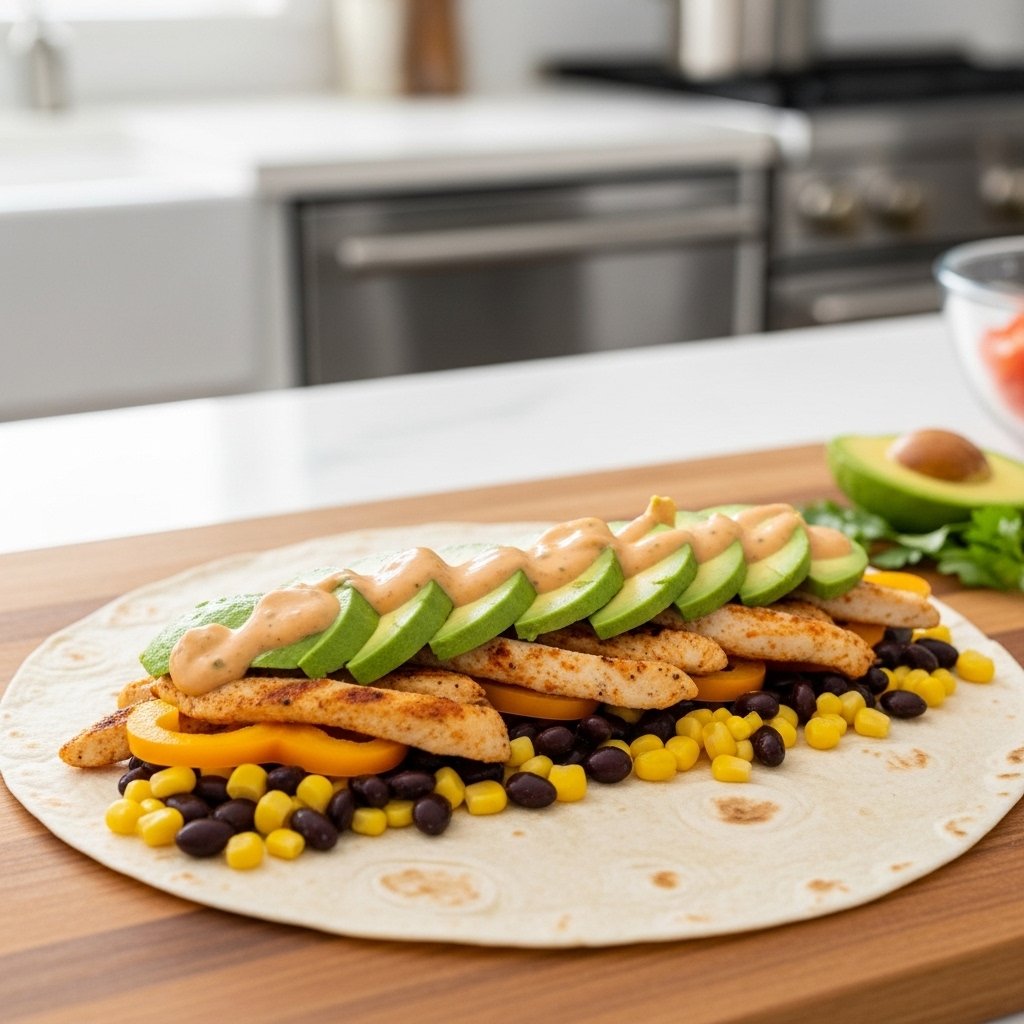
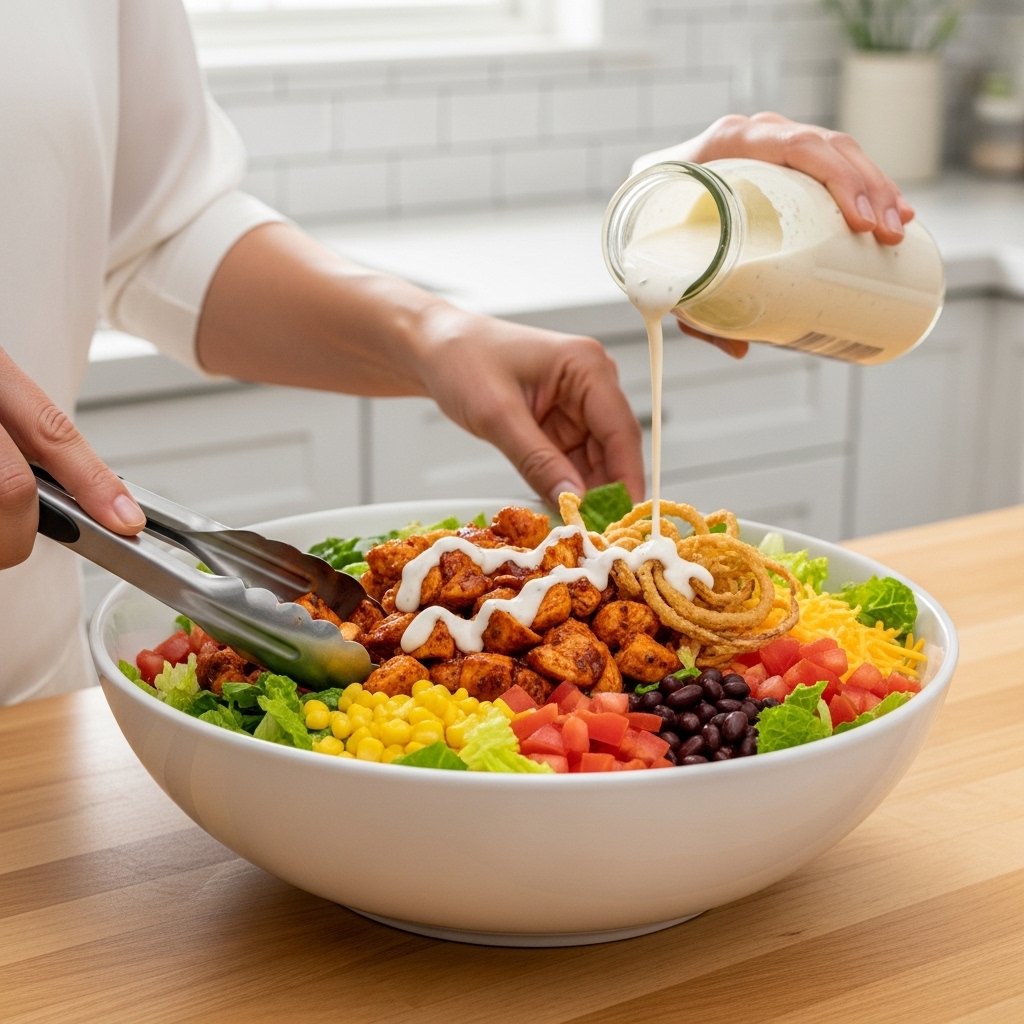
4. Assemble the Salad
In a large bowl, combine lettuce, corn, beans, tomatoes, onion, and cilantro.
5. Add Chicken & Dressing
Top with BBQ chicken, avocado, and cheese, then drizzle with dressing.
6. Toss & Serve
Mix everything together until evenly coated and serve immediately.
Tips for Perfect Results
To make your Healthy BBQ Chicken Chopped Salad Recipe absolutely perfect:
- Use freshly grilled chicken for best flavor
- Chop ingredients evenly for better texture
- Add avocado just before serving
- Taste and adjust dressing as needed
These tips help ensure a balanced and delicious salad every time.
Variations
This Healthy BBQ Chicken Chopped Salad Recipe is incredibly versatile.
Change the Protein
- Grilled shrimp
- Turkey or steak
- Tofu for a vegetarian option
Add Extra Crunch
- Tortilla strips
- Roasted nuts or seeds
Boost Flavor
- Add jalapeños for heat
- Use smoked paprika in the dressing
You can easily adapt this salad to your preferences.
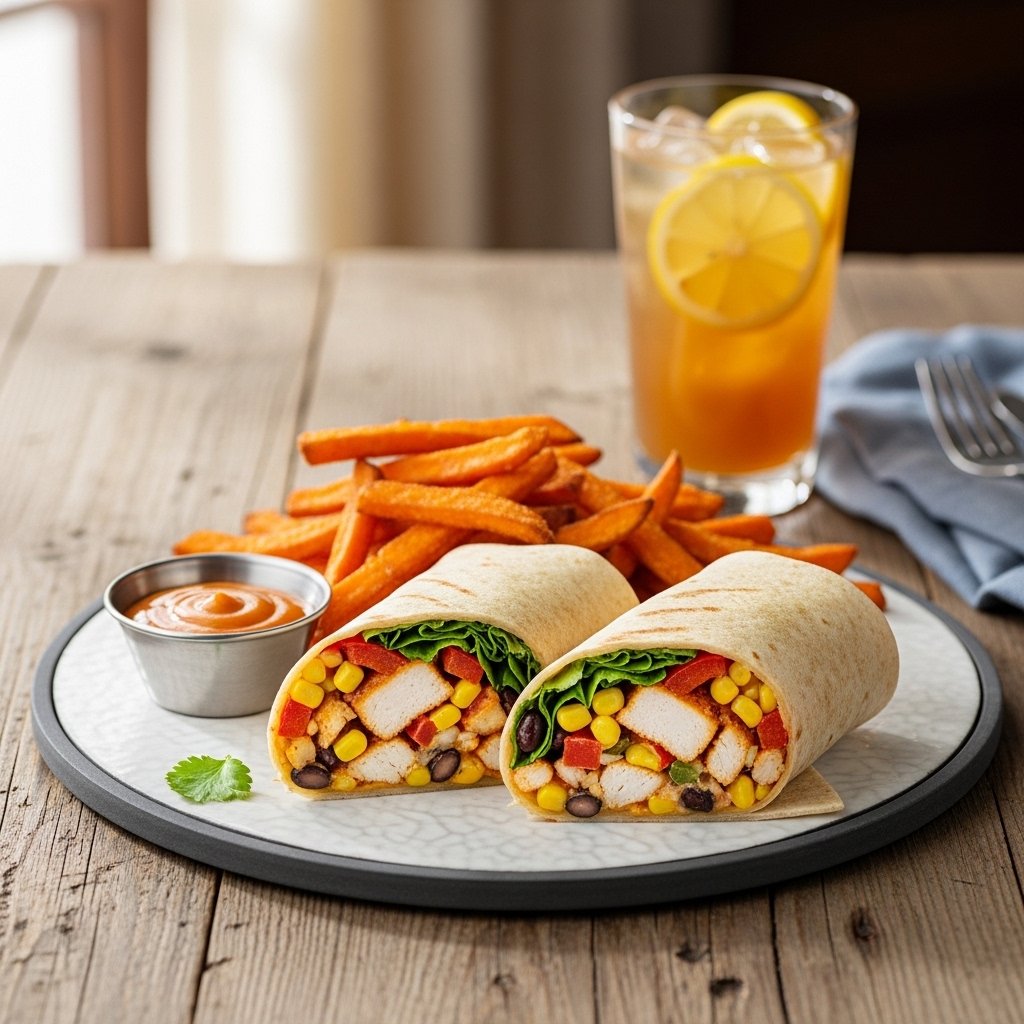
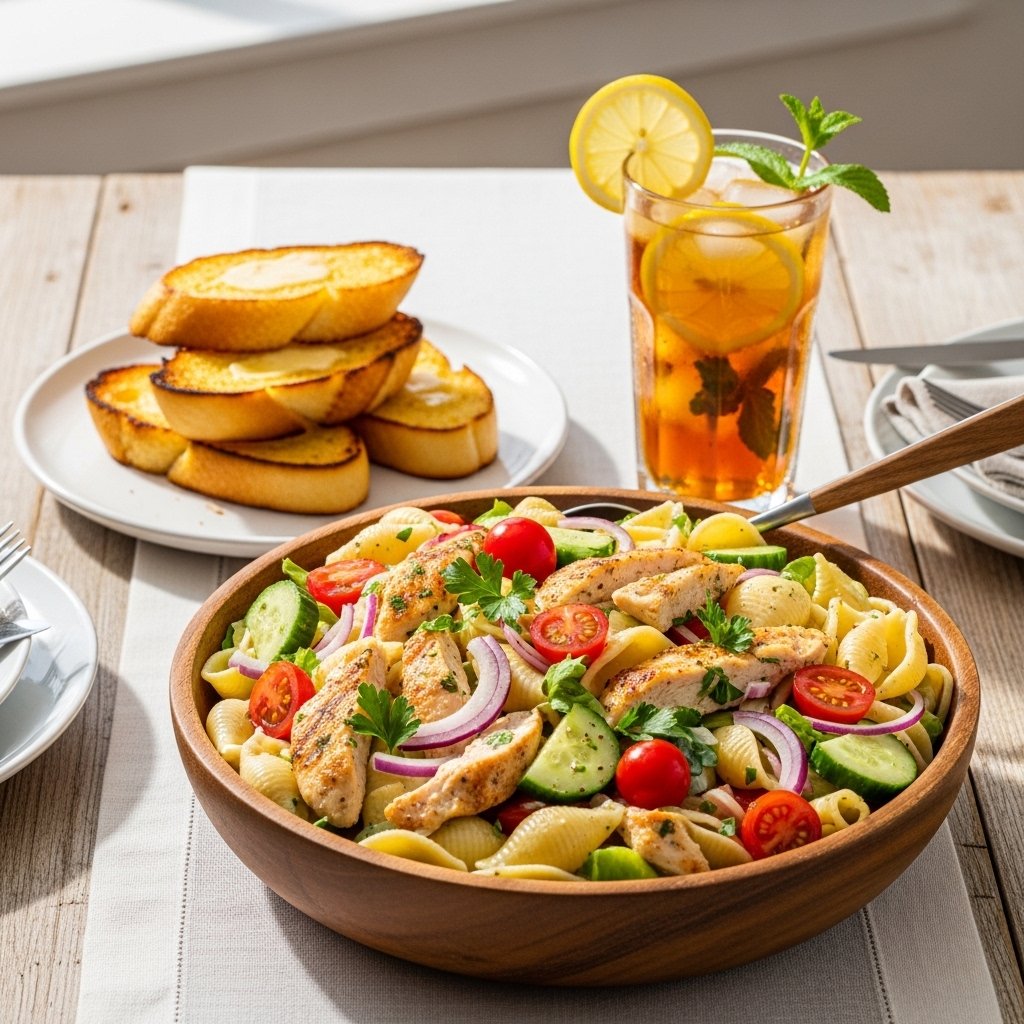
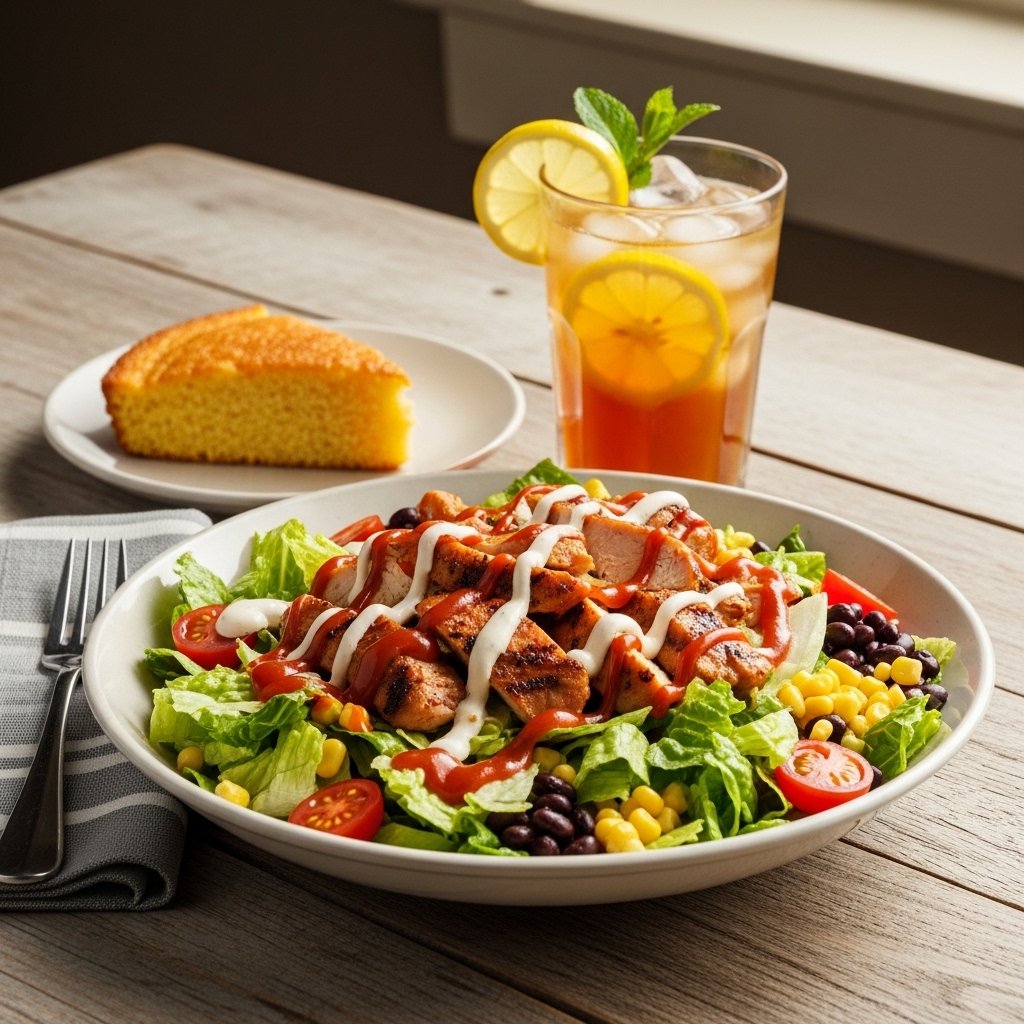
What to Serve With It
This Healthy BBQ Chicken Chopped Salad Recipe is filling on its own but pairs well with:
- Garlic bread or cornbread
- Fresh fruit
- Soup
- Iced tea or lemonade
It’s perfect for lunch, dinner, or casual gatherings.
Storage & Reheating
To store your Healthy BBQ Chicken Chopped Salad Recipe:
- Keep dressing separate for best freshness
- Store in an airtight container in the fridge for up to 3 days
- Add avocado fresh before serving
No reheating is needed—this salad is best served cold.
Common Mistakes to Avoid
Avoid these common mistakes:
- Overdressing the salad
- Using dry or overcooked chicken
- Not seasoning properly
- Adding avocado too early
Keeping these in mind ensures great results.
FAQs
Can I make this salad ahead of time?
Yes! Just store the dressing separately and combine before serving.
Is this salad healthy?
Absolutely—it’s packed with protein, fiber, and healthy fats.
What BBQ sauce should I use?
Use your favorite brand or a low-sugar option for a healthier version.
Can I make it dairy-free?
Yes, skip the cheese and use a dairy-free yogurt alternative.
Final Thoughts
This Healthy BBQ Chicken Chopped Salad Recipe is everything you want in a modern meal—fresh, flavorful, and satisfying. It’s easy to make, packed with nutrients, and bursting with bold BBQ flavor in every bite.
Once you try it, you’ll see why it’s a go-to recipe for meal prep, quick lunches, and healthy dinners.