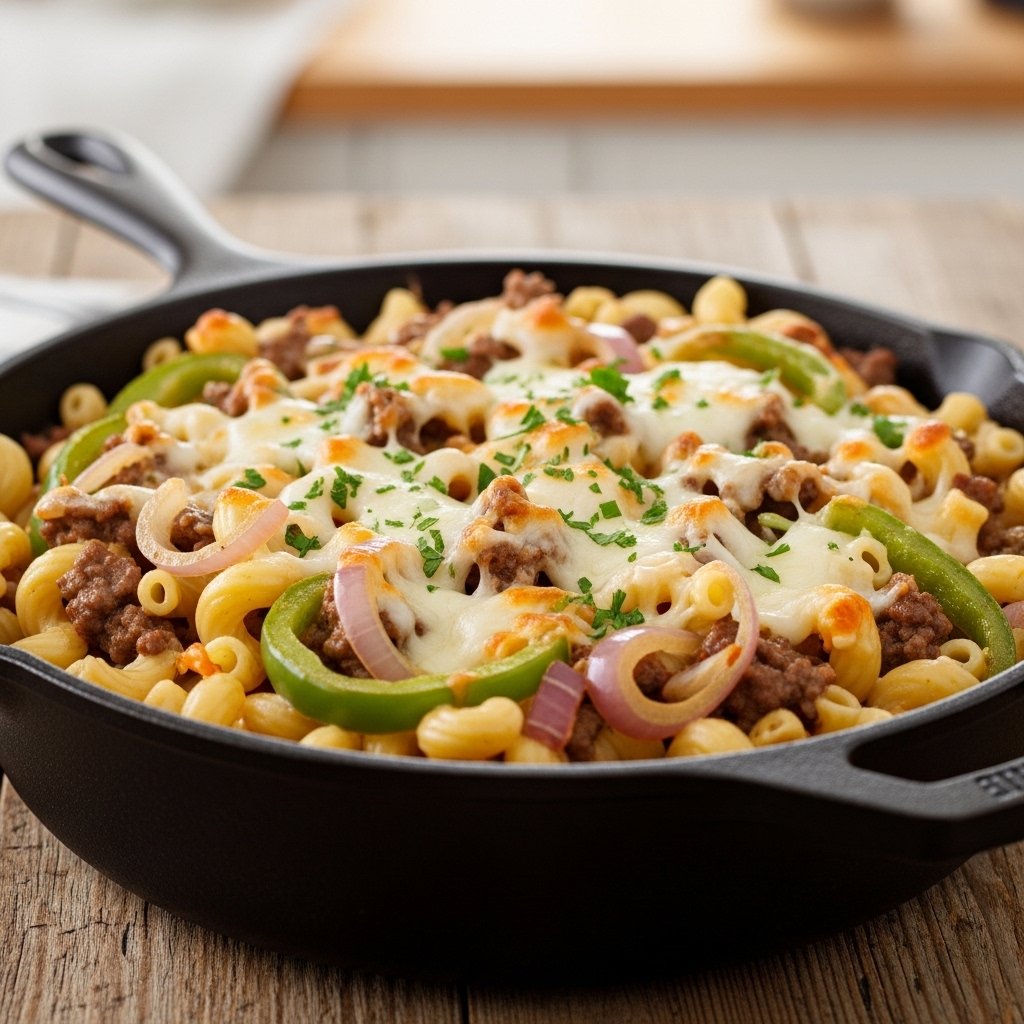
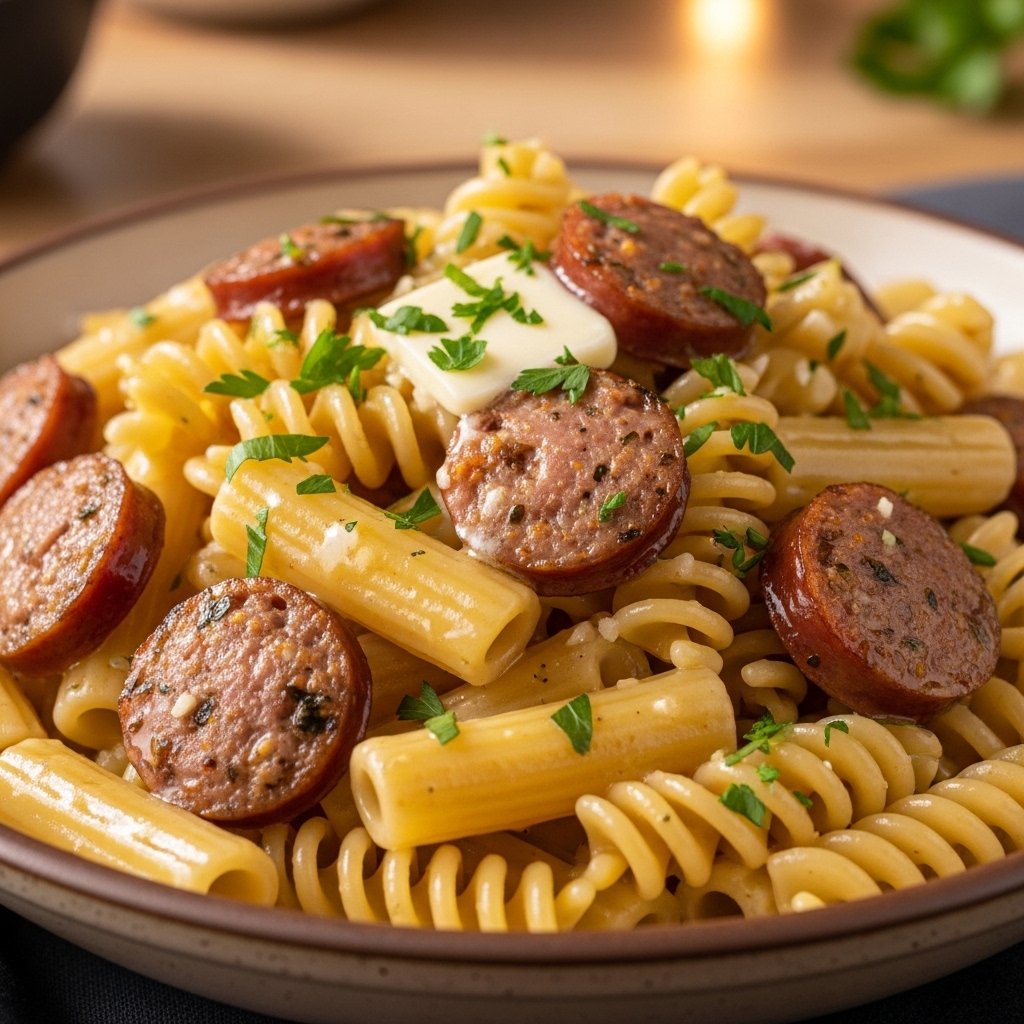
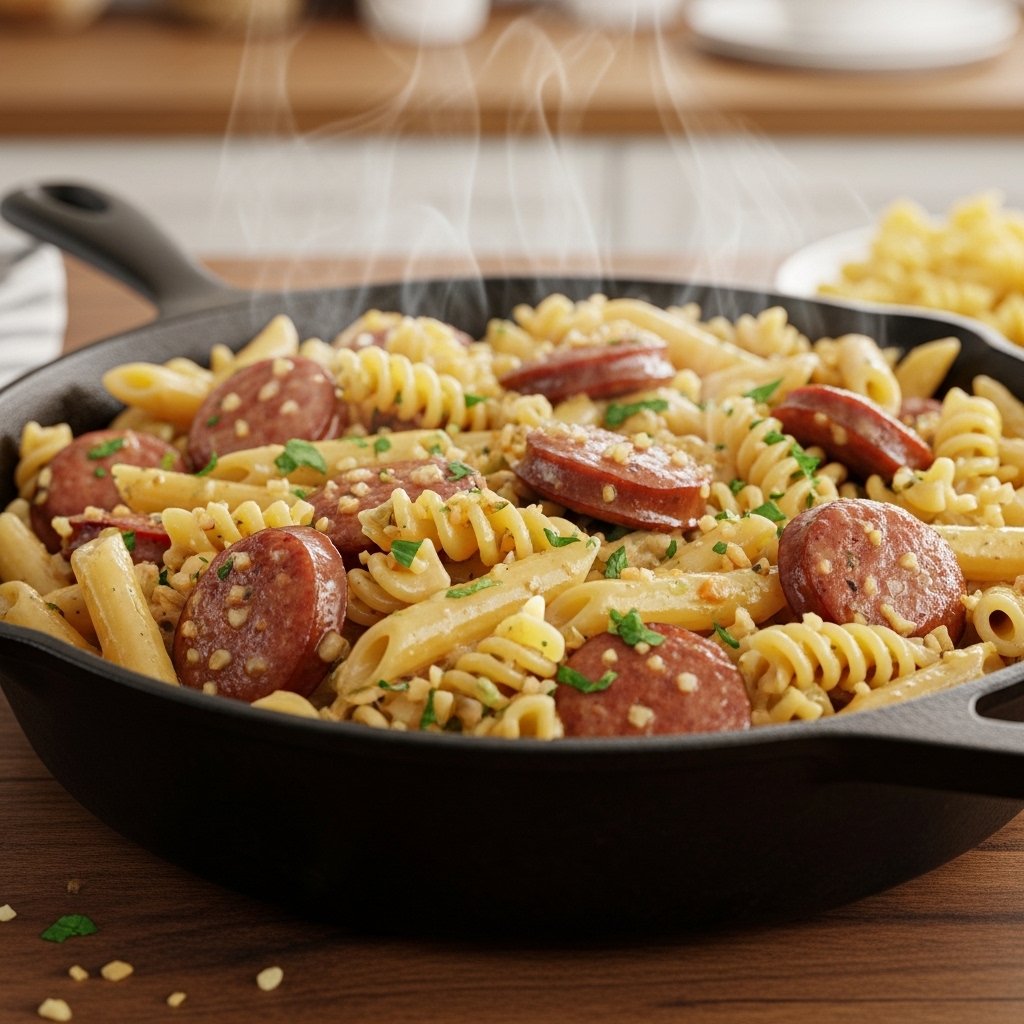
If you’re craving a fast, comforting, and incredibly flavorful dinner, this garlic butter sausage pasta is exactly what you need. It’s rich, buttery, garlicky, and loaded with savory sausage—all tossed with perfectly cooked pasta for a satisfying meal the whole family will love.
What makes this dish so special is its simplicity. With just a handful of ingredients and one pan, you can create a restaurant-quality pasta dinner in under 30 minutes. It’s the kind of recipe that becomes a regular in your weekly rotation because it’s easy, filling, and absolutely delicious.
Why You’ll Love This Garlic Butter Sausage Pasta
This garlic butter sausage pasta is the definition of comfort food made easy.
- One-pan friendly: Minimal cleanup required
- Rich and buttery flavor: Garlic butter makes everything better
- Quick dinner: Ready in about 25–30 minutes
- Family favorite: Kids and adults both love it
- Budget-friendly: Uses simple pantry ingredients
It’s the perfect balance of creamy, savory, and satisfying.
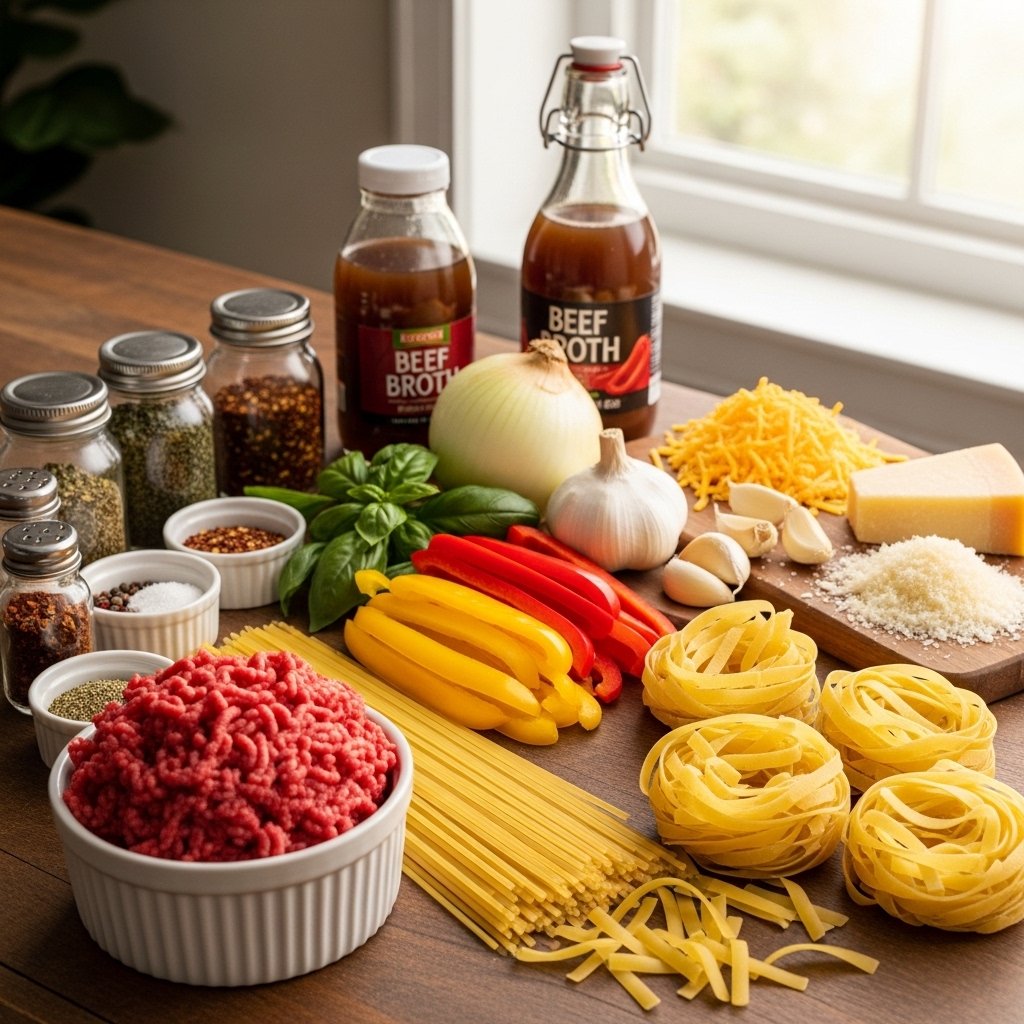
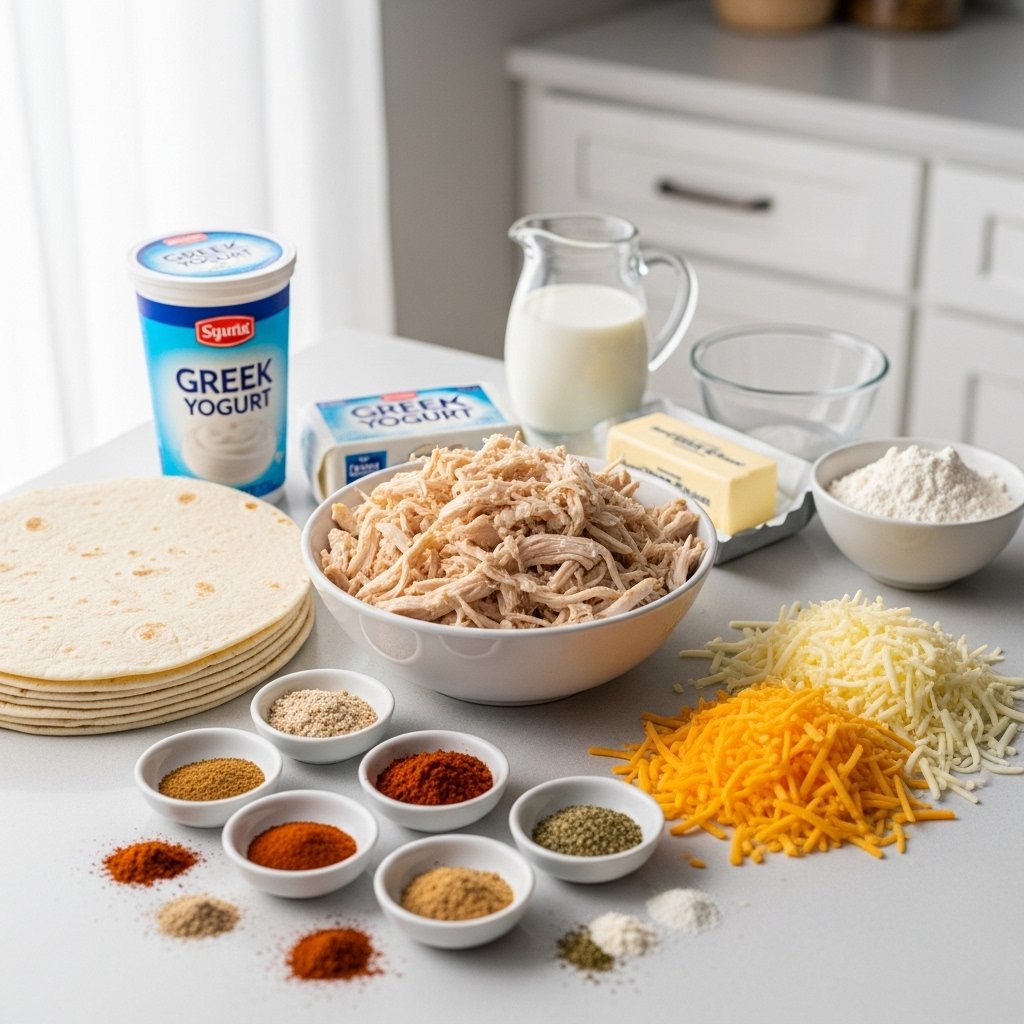
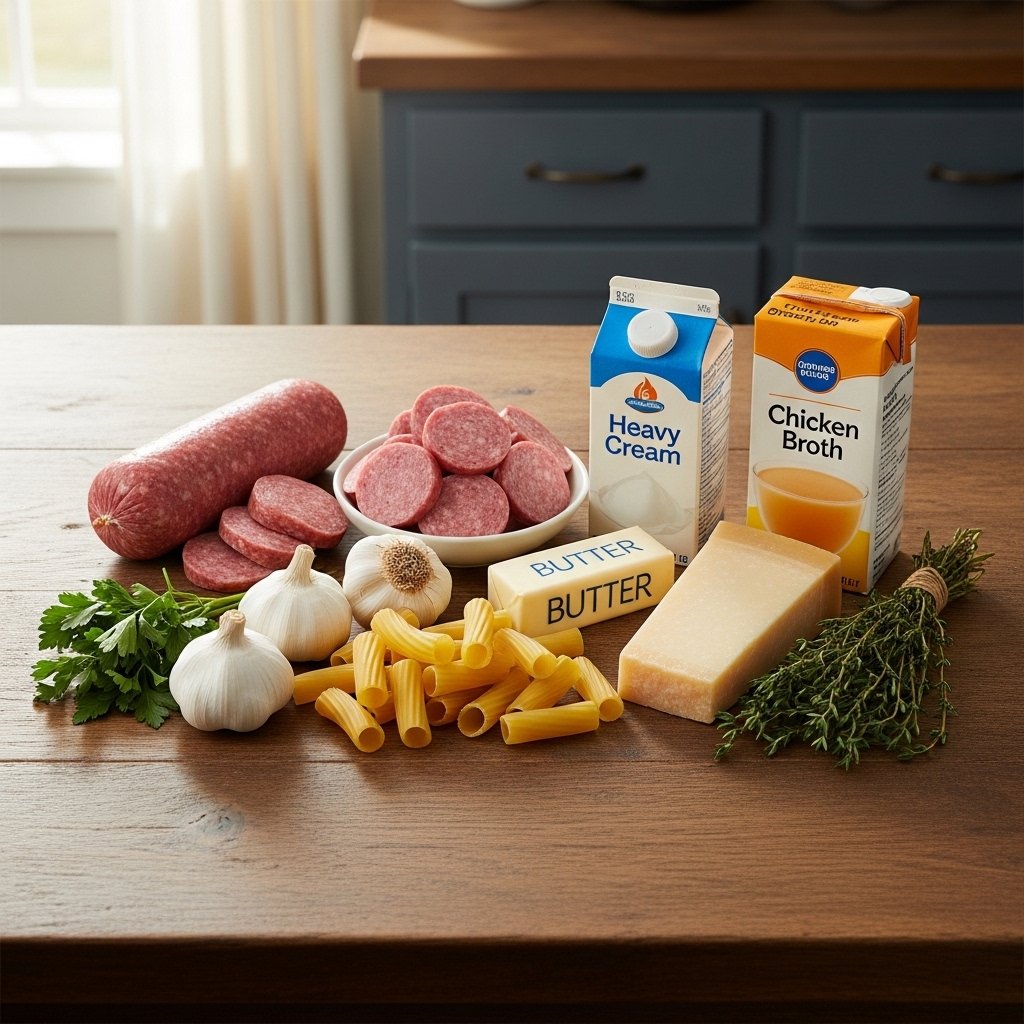
Ingredients for Garlic Butter Sausage Pasta
To make this delicious garlic butter sausage pasta, you’ll need:
- 12 oz pasta (penne, rotini, or fettuccine)
- 1 lb smoked sausage or Italian sausage, sliced
- 4 tablespoons butter
- 5 cloves garlic, minced
- 1 cup heavy cream
- 1/2 cup grated Parmesan cheese
- 1 cup chicken broth
- 1 teaspoon Italian seasoning
- Salt and black pepper to taste
- Fresh parsley for garnish
Ingredient Notes and Substitutions
Understanding your ingredients helps you make the best garlic butter sausage pasta possible.
Sausage Options
Smoked sausage adds deep flavor, while Italian sausage brings a spicier kick.
Butter and Garlic
These are the heart of the dish—don’t skimp on quality or quantity.
Cream vs Milk
Heavy cream creates a richer sauce, but milk can be used for a lighter version.
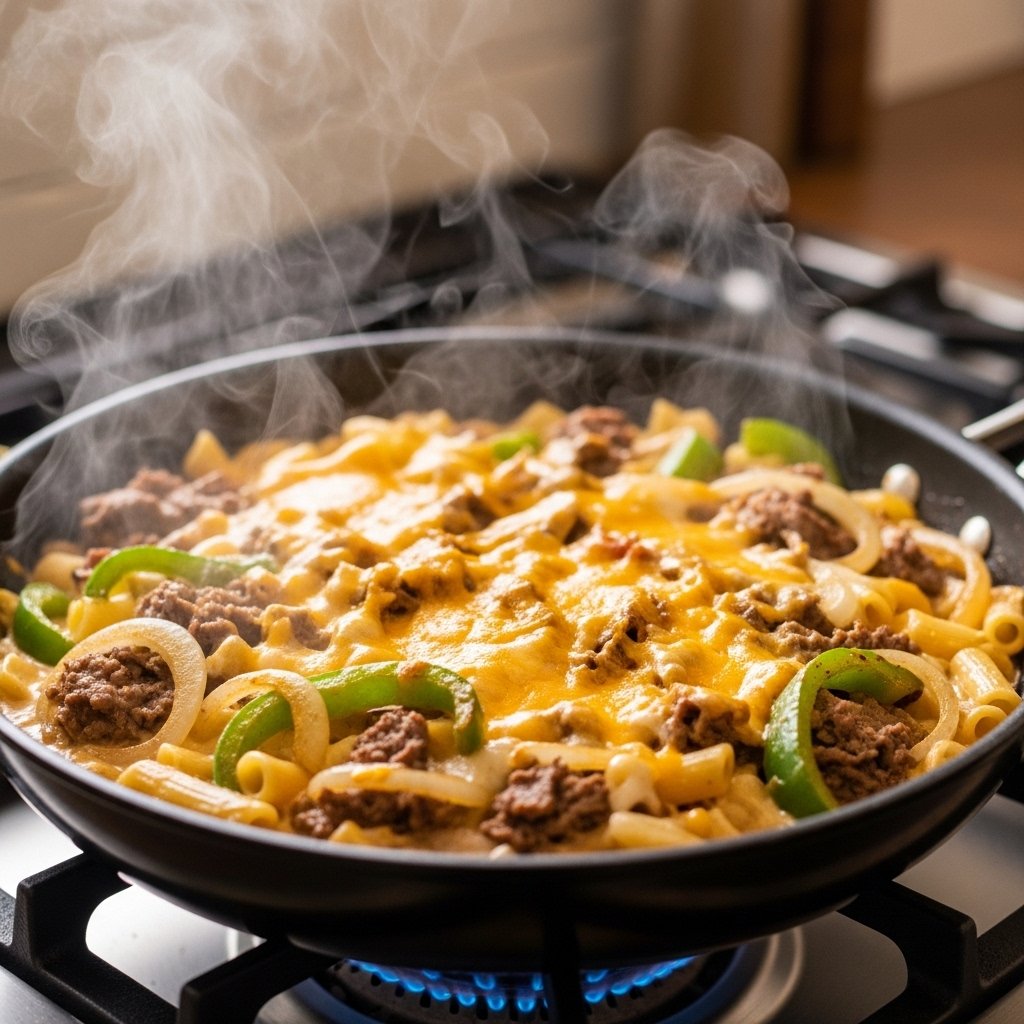
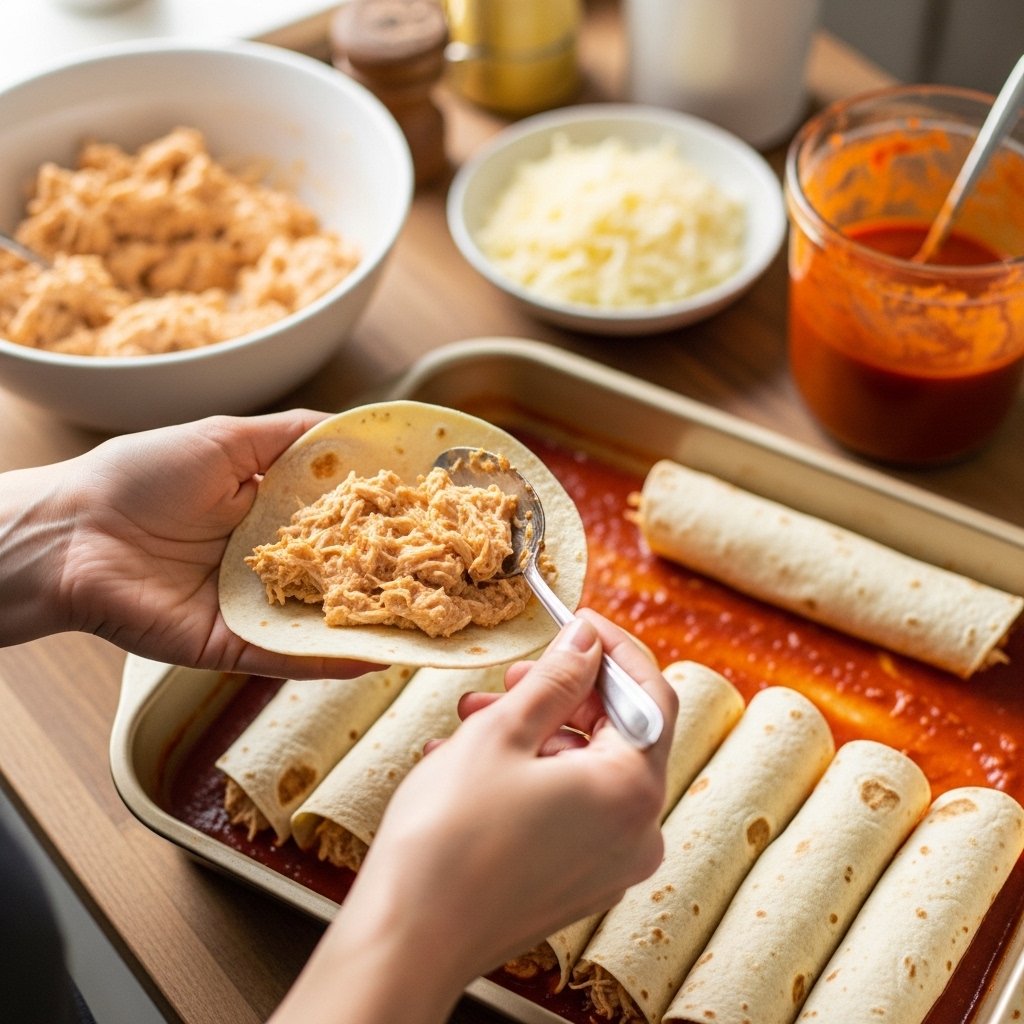
Step-by-Step Instructions
1. Cook the Sausage
In a large skillet, cook sliced sausage until browned and slightly crispy. Remove and set aside.
2. Build the Garlic Butter Base
In the same pan, melt butter and sauté garlic until fragrant.
3. Add Liquids
Pour in chicken broth and heavy cream, stirring to combine.
4. Cook the Pasta
Add uncooked pasta directly to the pan and simmer until tender and sauce thickens.
5. Finish the Dish
Return sausage to the pan, stir in Parmesan cheese, and mix until creamy.
Tips for Perfect Results
To make the best garlic butter sausage pasta, keep these tips in mind:
- Brown sausage well for deeper flavor
- Don’t burn garlic—cook it gently
- Stir pasta frequently while simmering
- Add pasta water if sauce gets too thick
- Finish with Parmesan off heat for creaminess
These small steps make a big difference in flavor and texture.
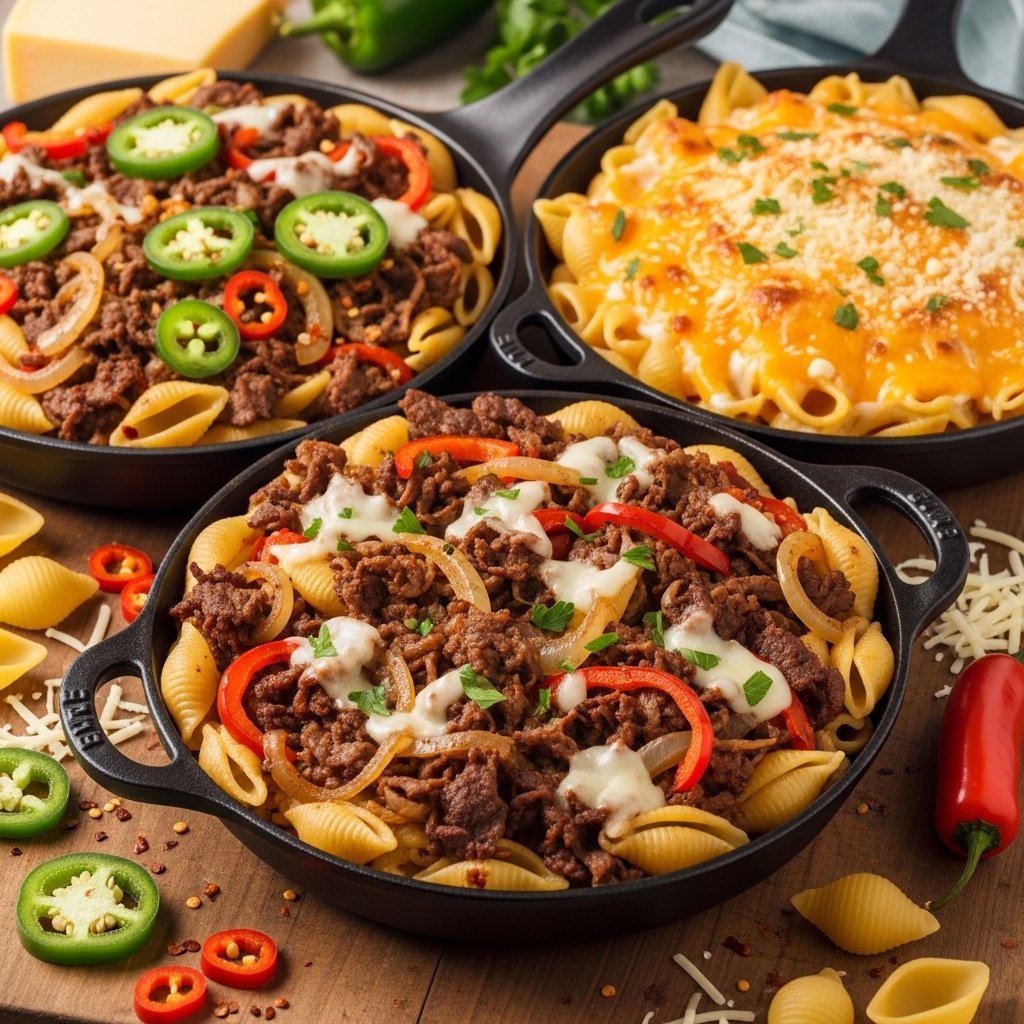
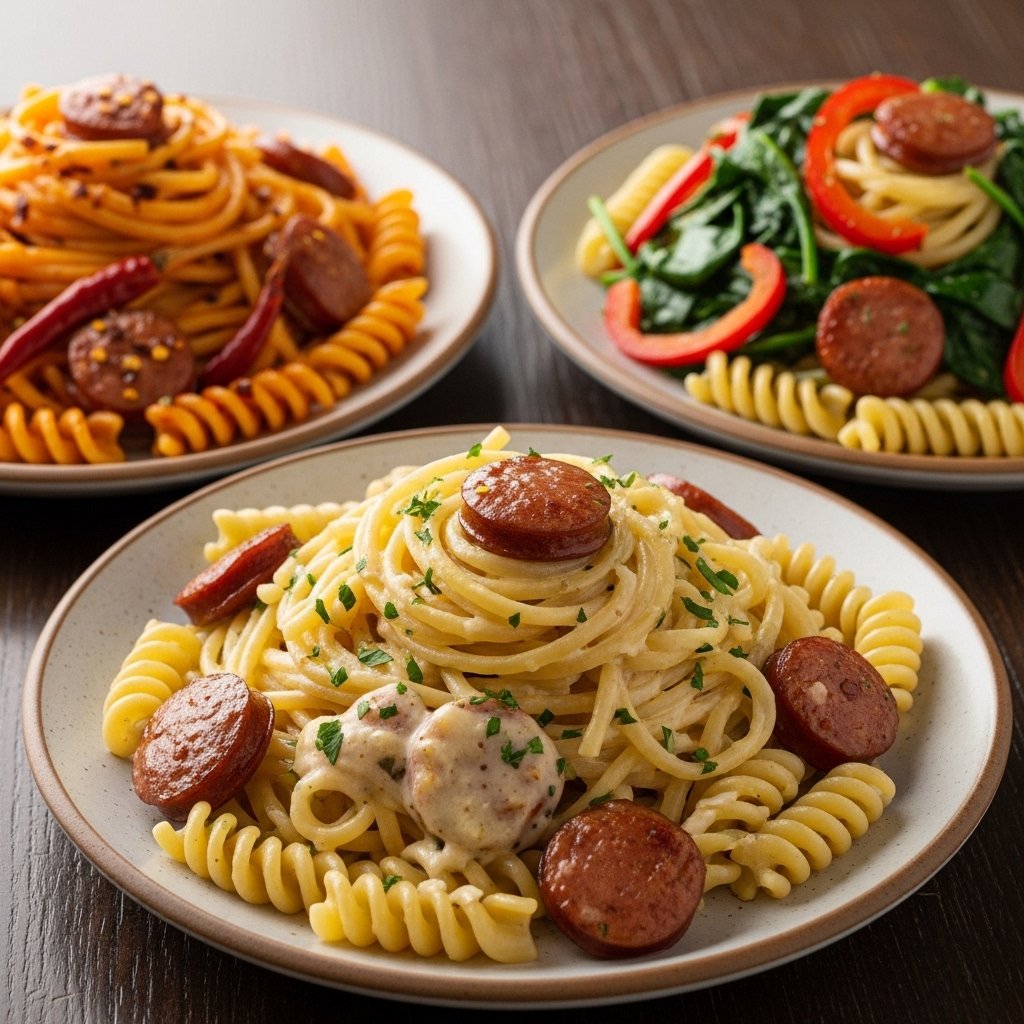
Variations to Try
This recipe is flexible and easy to customize.
Spicy Version
Use hot Italian sausage and add red pepper flakes.
Veggie Boost
Add spinach, mushrooms, or bell peppers.
Extra Cheesy Version
Mix in mozzarella for a richer, gooier texture.
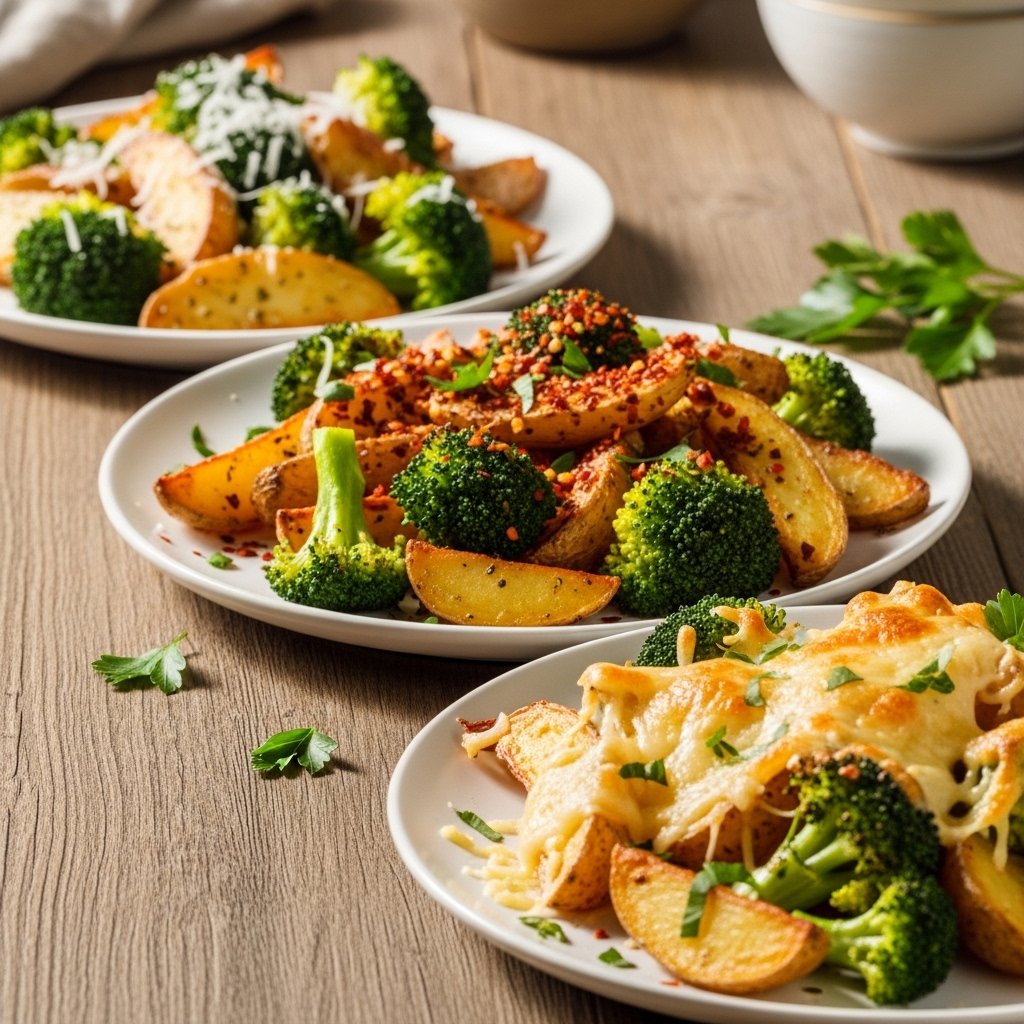
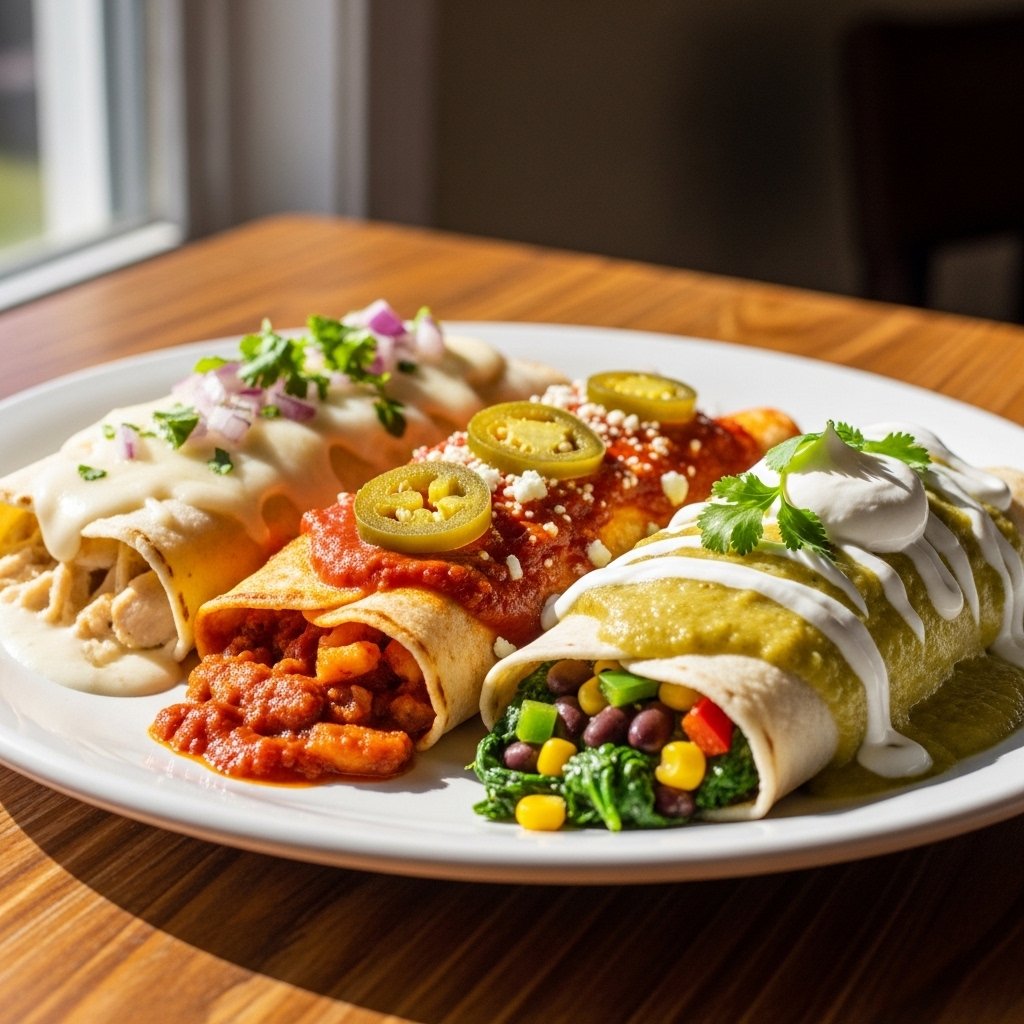
What to Serve With Garlic Butter Sausage Pasta
This garlic butter sausage pasta pairs well with simple sides like:
- Garlic bread or breadsticks
- Fresh green salad
- Roasted vegetables
- Caesar salad
- Steamed broccoli
These sides balance the richness of the pasta.
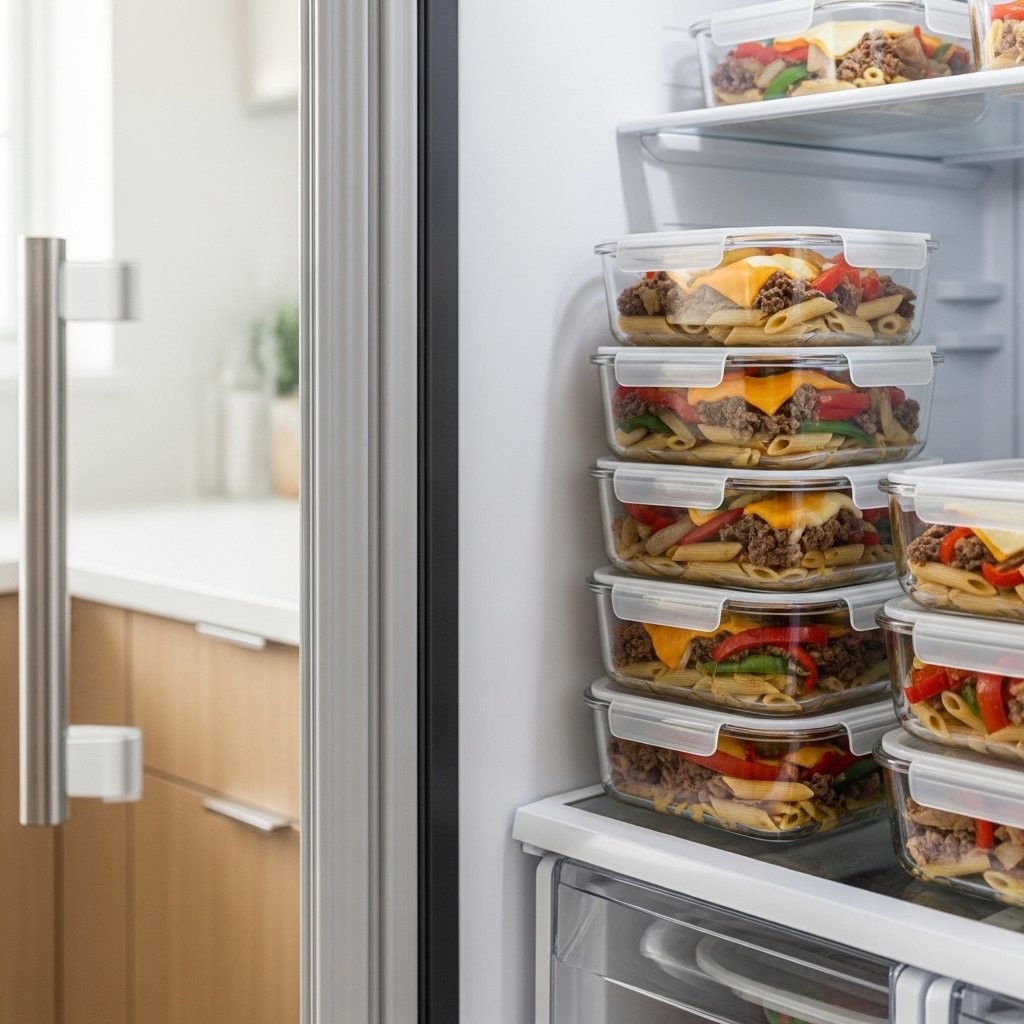
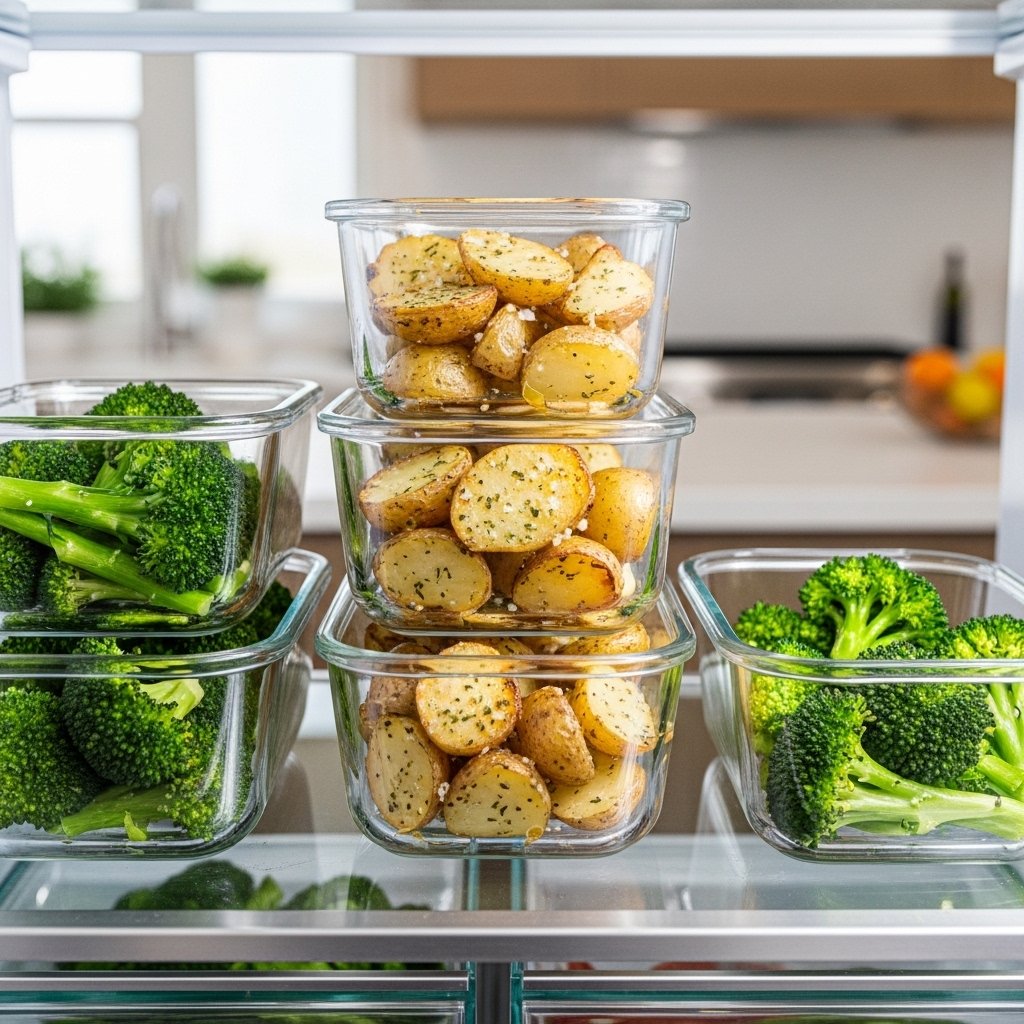
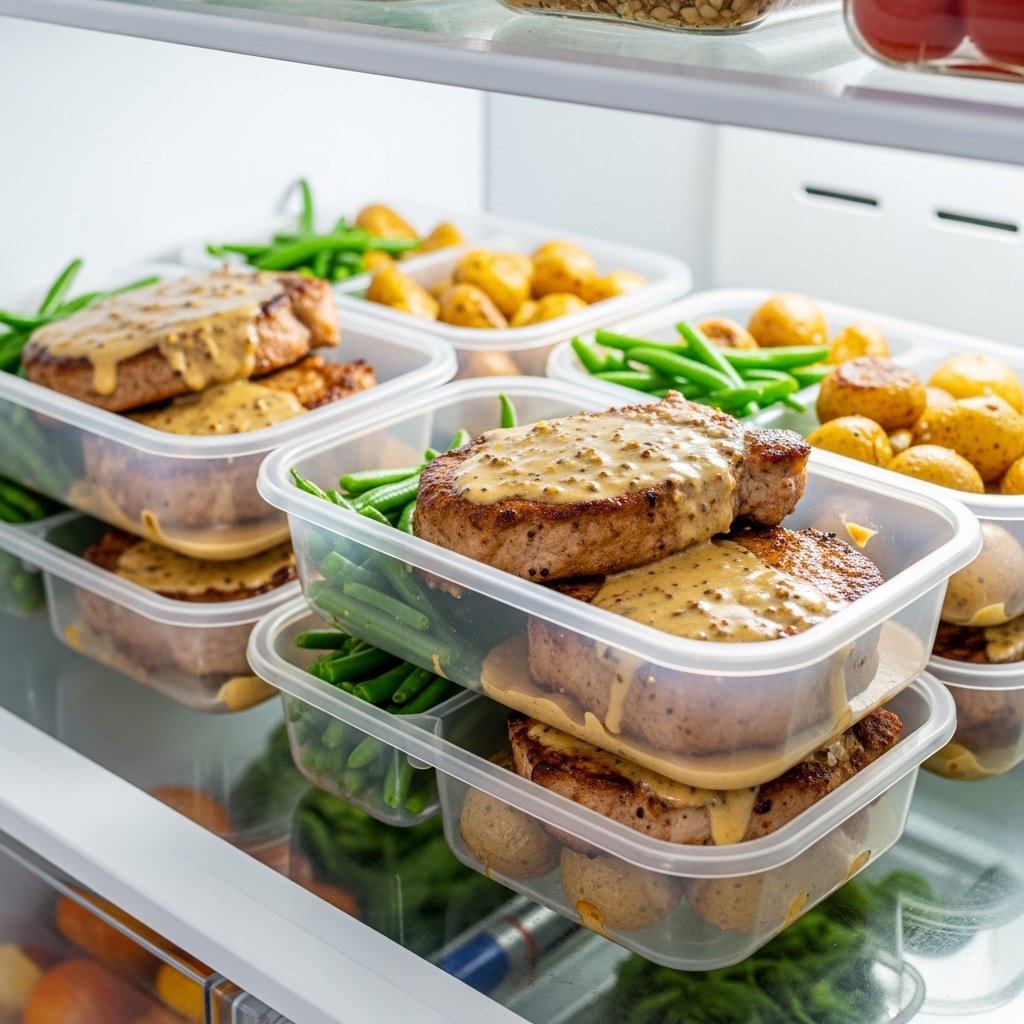
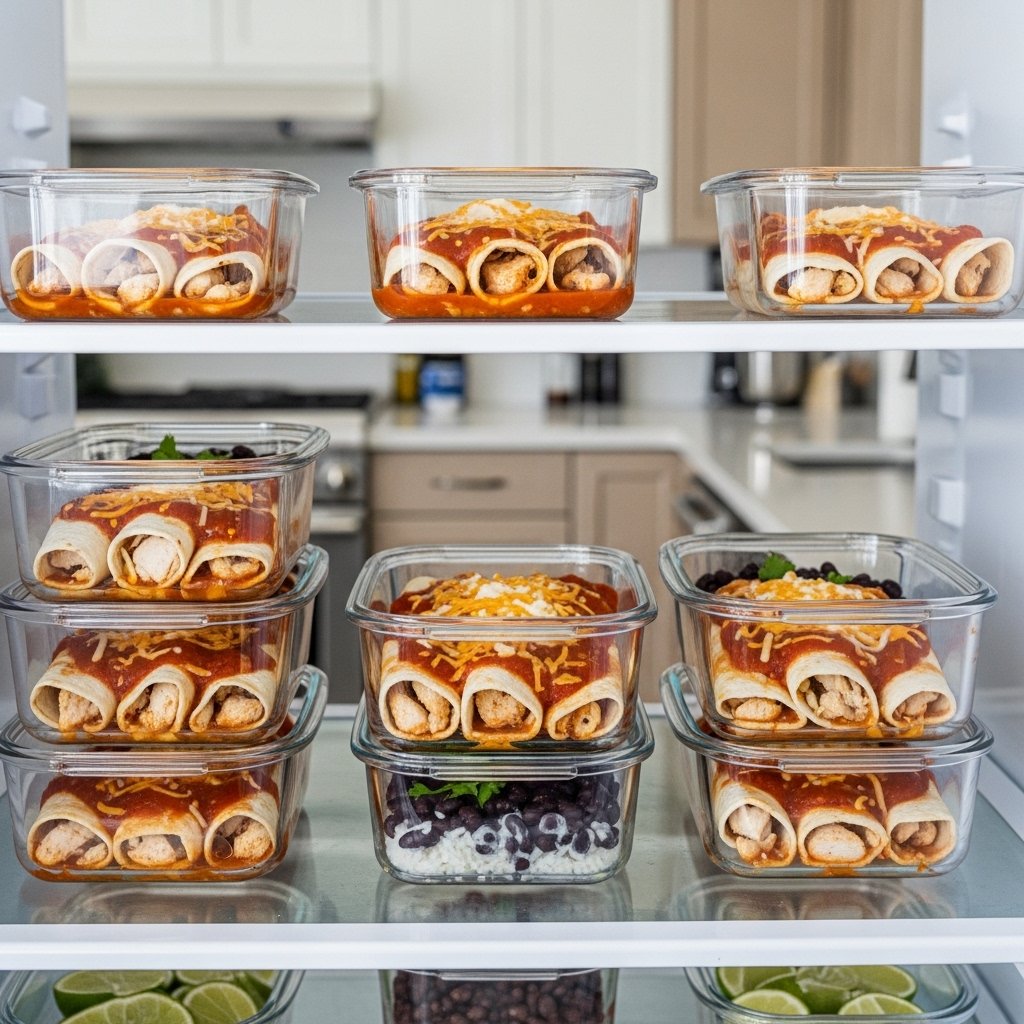
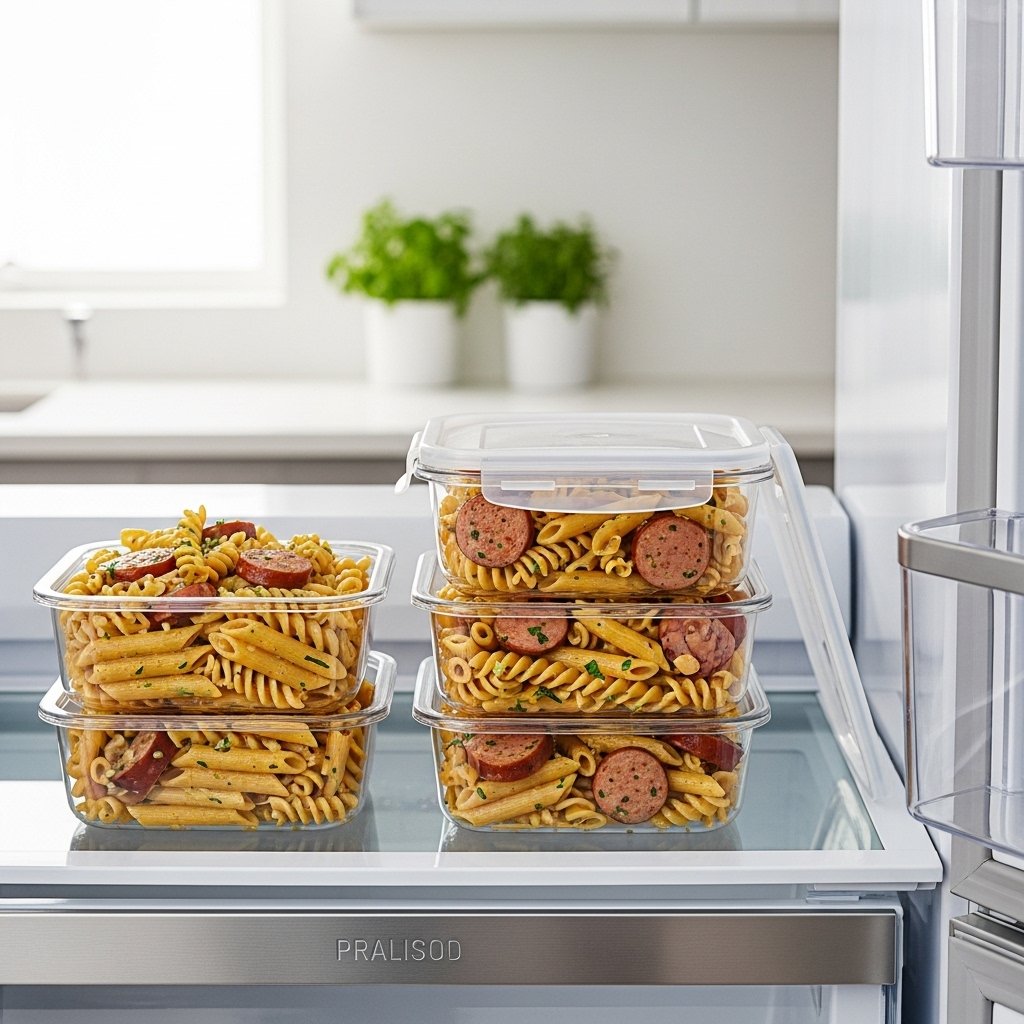
Storage & Reheating Tips
This dish is great for leftovers and meal prep.
Storage
- Store in airtight containers in the fridge for up to 4 days
Reheating
- Add a splash of milk or cream before reheating
- Warm on stovetop or microwave until creamy again
Common Mistakes to Avoid
Avoid these mistakes when making garlic butter sausage pasta:
- Overcooking pasta until mushy
- Burning garlic during sauté
- Not seasoning enough
- Using too little liquid for sauce
Avoiding these ensures a creamy, flavorful dish every time.
FAQs
Can I use different pasta shapes?
Yes, penne, rotini, or fettuccine all work well.
Can I make it without cream?
Yes, substitute with milk and a bit more Parmesan.
Is this recipe spicy?
Not unless you use spicy sausage or add chili flakes.
Can I make it ahead of time?
Yes, it reheats well with a splash of liquid.
Final Thoughts
This garlic butter sausage pasta is everything you want in a quick comfort meal—rich, creamy, and packed with bold flavor. With simple ingredients and one-pan cooking, it’s perfect for busy nights or easy meal prep.
Once you try it, it’s guaranteed to become a go-to recipe in your kitchen rotation.