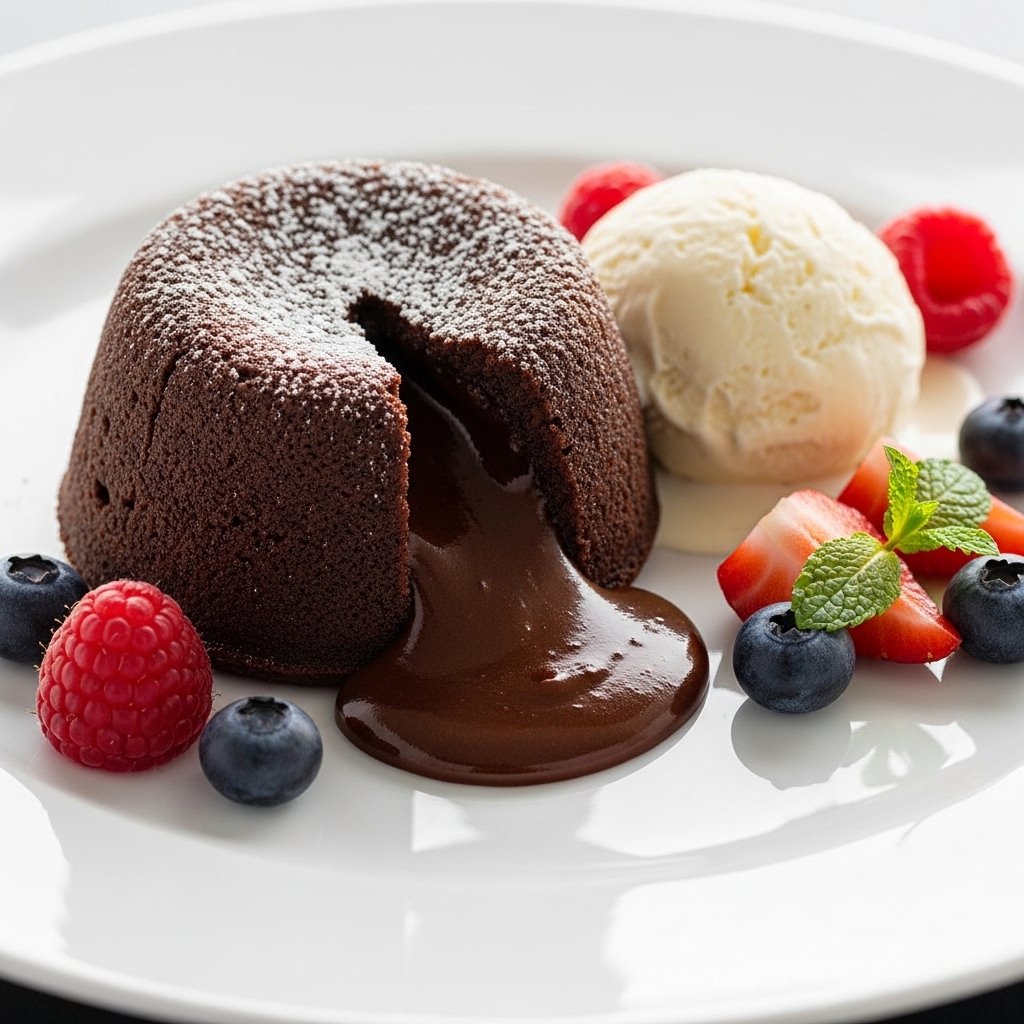
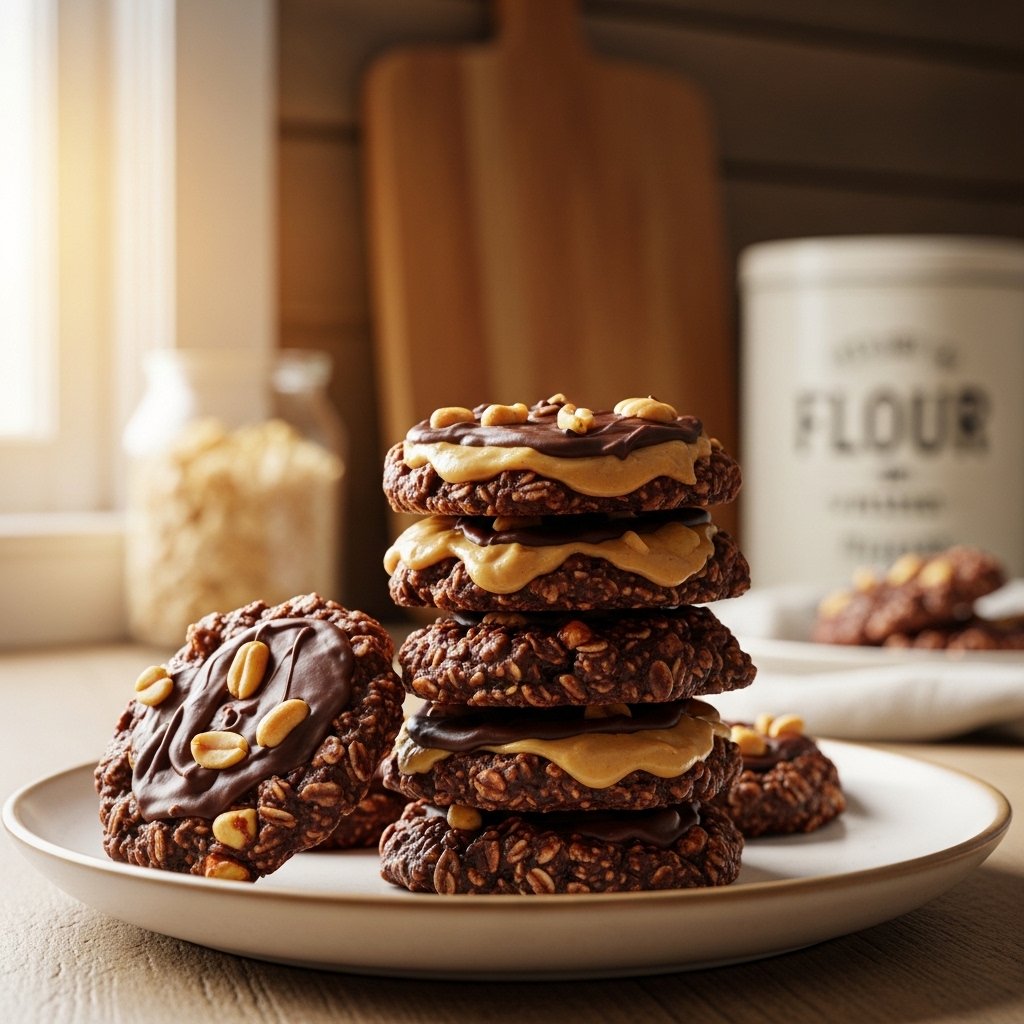
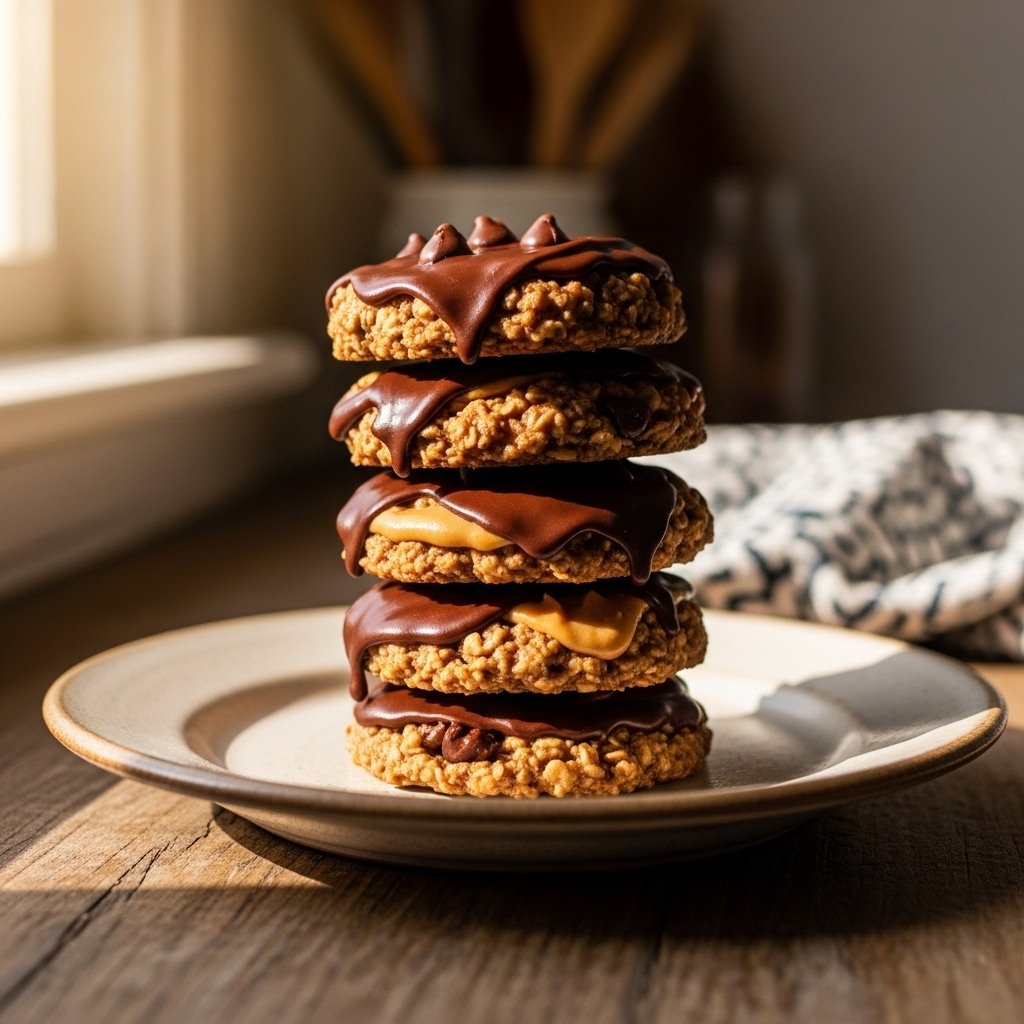
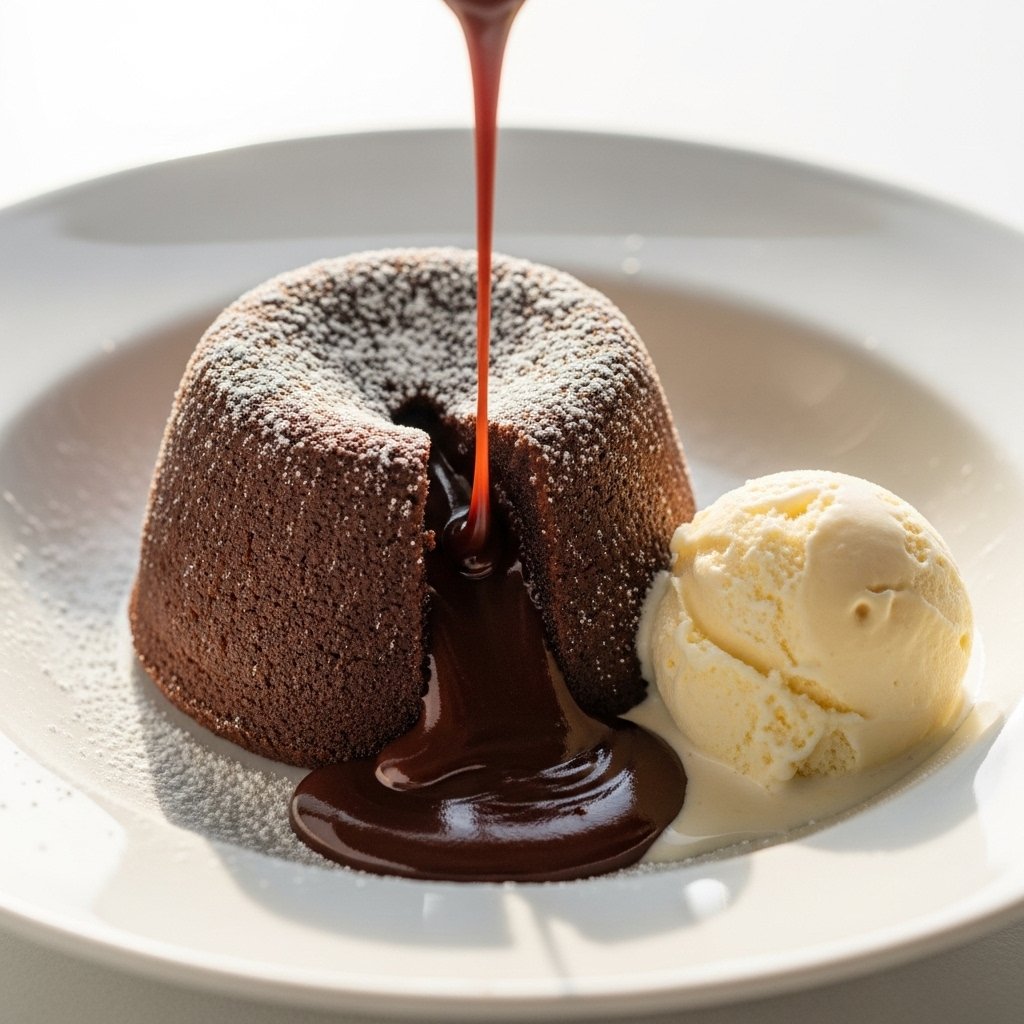
If you’ve ever ordered dessert at a restaurant and fallen in love with that rich, gooey chocolate cake with a molten center, you’re going to be thrilled with this Easy molten chocolate lava cake for a sweet homemade treat. It’s surprisingly simple to make at home and delivers that same indulgent, bakery-quality experience.
This dessert is all about contrast: a soft, delicate cake on the outside with a warm, flowing chocolate center inside. Best of all, it comes together quickly with just a handful of ingredients, making it perfect for date nights, dinner parties, or when you simply need a chocolate fix.
Why You’ll Love This Easy Molten Chocolate Lava Cake
This Easy molten chocolate lava cake for a sweet homemade treat is a dessert you’ll want to make again and again.
- Quick and easy: Ready in under 30 minutes
- Minimal ingredients: Pantry staples only
- Restaurant-quality dessert: Impressive yet simple
- Rich and indulgent: Perfect for chocolate lovers
- Perfect for special occasions: Or everyday cravings
It’s one of those recipes that feels fancy but is actually very approachable.
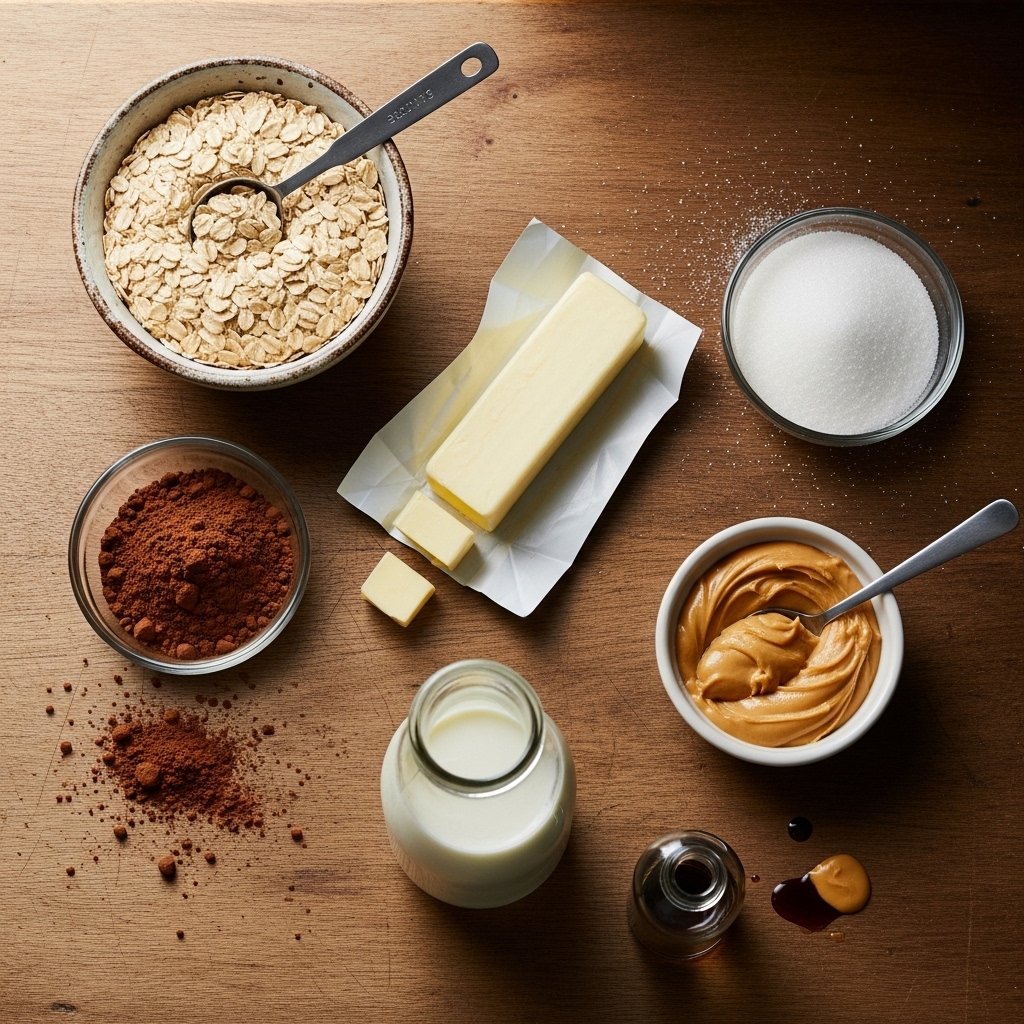
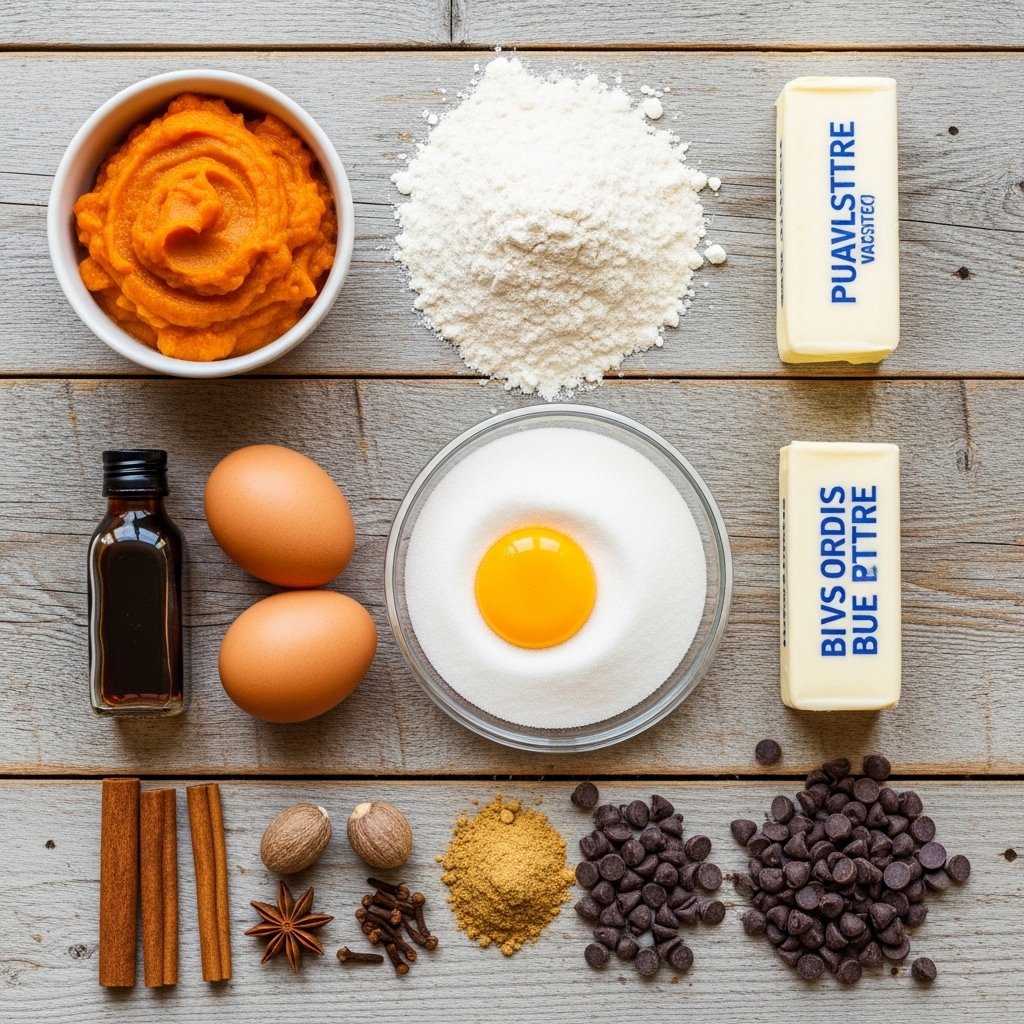
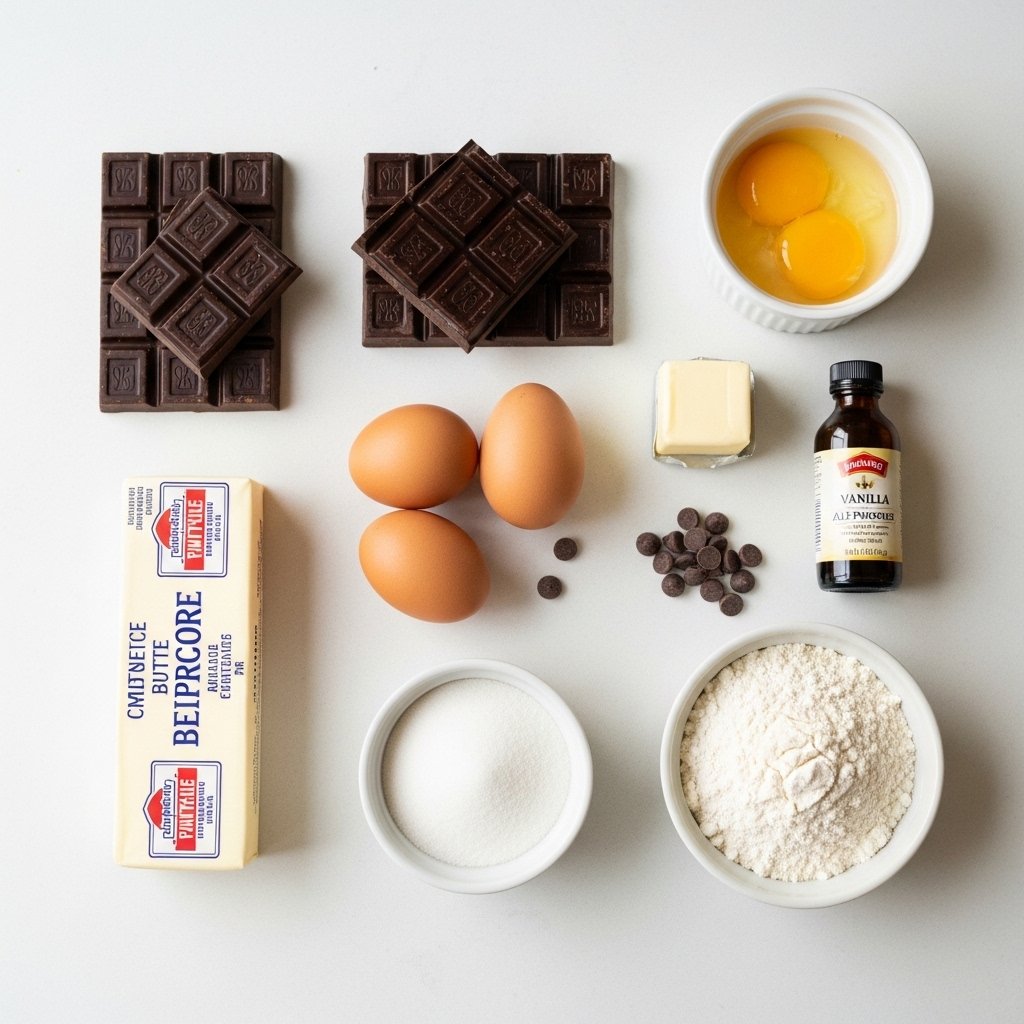
Ingredients
To make the best Easy molten chocolate lava cake for a sweet homemade treat, you’ll need:
Main Ingredients:
- Semi-sweet chocolate
- Unsalted butter
- Eggs
- Egg yolks
- Granulated sugar
- All-purpose flour
- Vanilla extract
- Pinch of salt
Ingredient Notes
The secret to a perfect Easy molten chocolate lava cake for a sweet homemade treat lies in high-quality chocolate. Since chocolate is the star, using a good semi-sweet or dark chocolate makes a huge difference in flavor.
Eggs and egg yolks create that rich, custard-like texture, while a small amount of flour gives just enough structure to hold the cake together. Butter adds richness and helps create that silky smooth center.
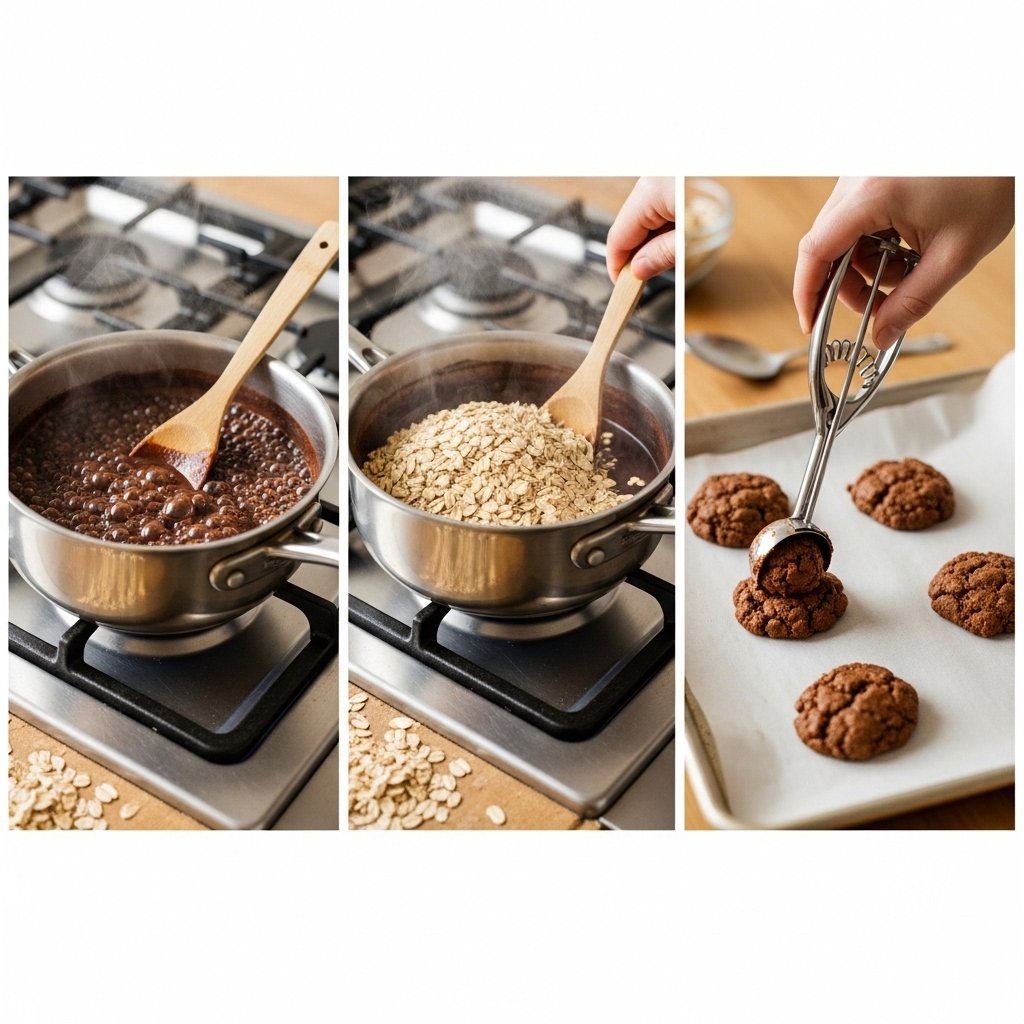
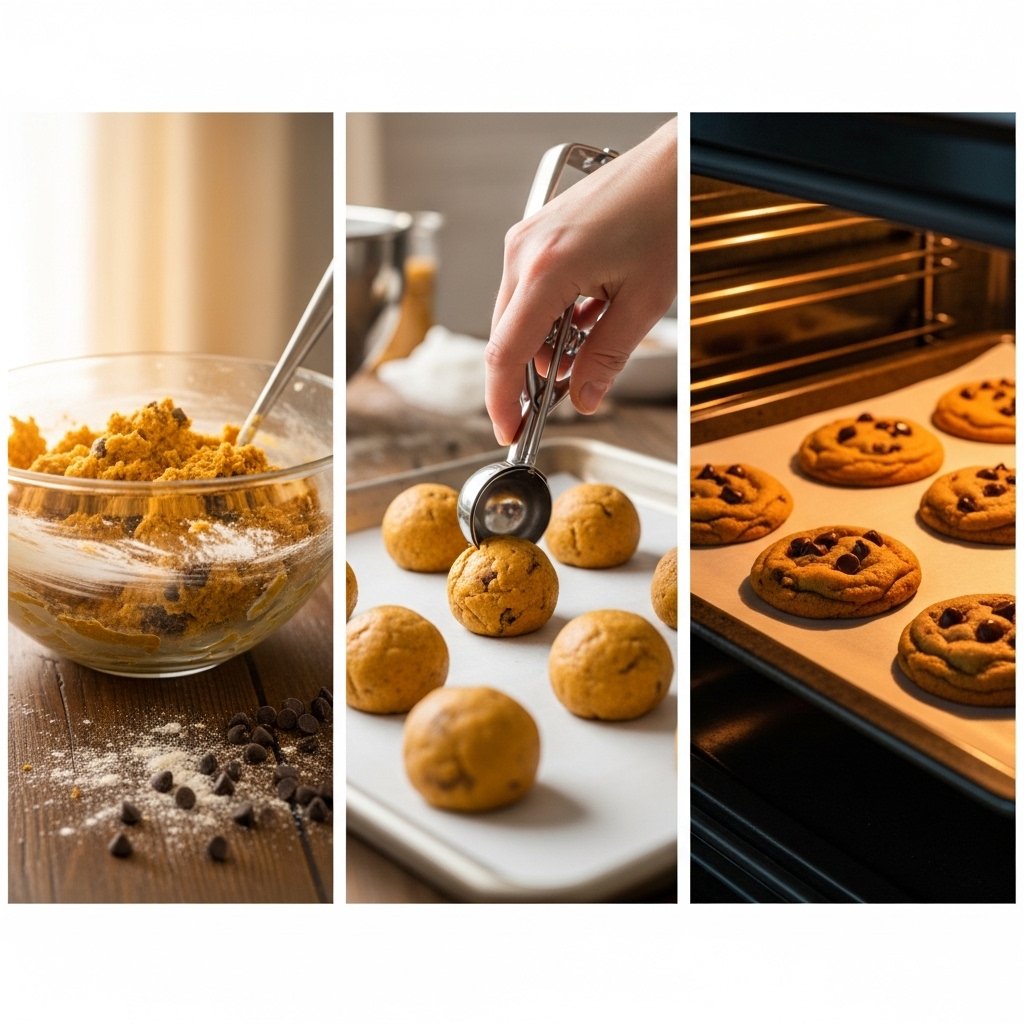
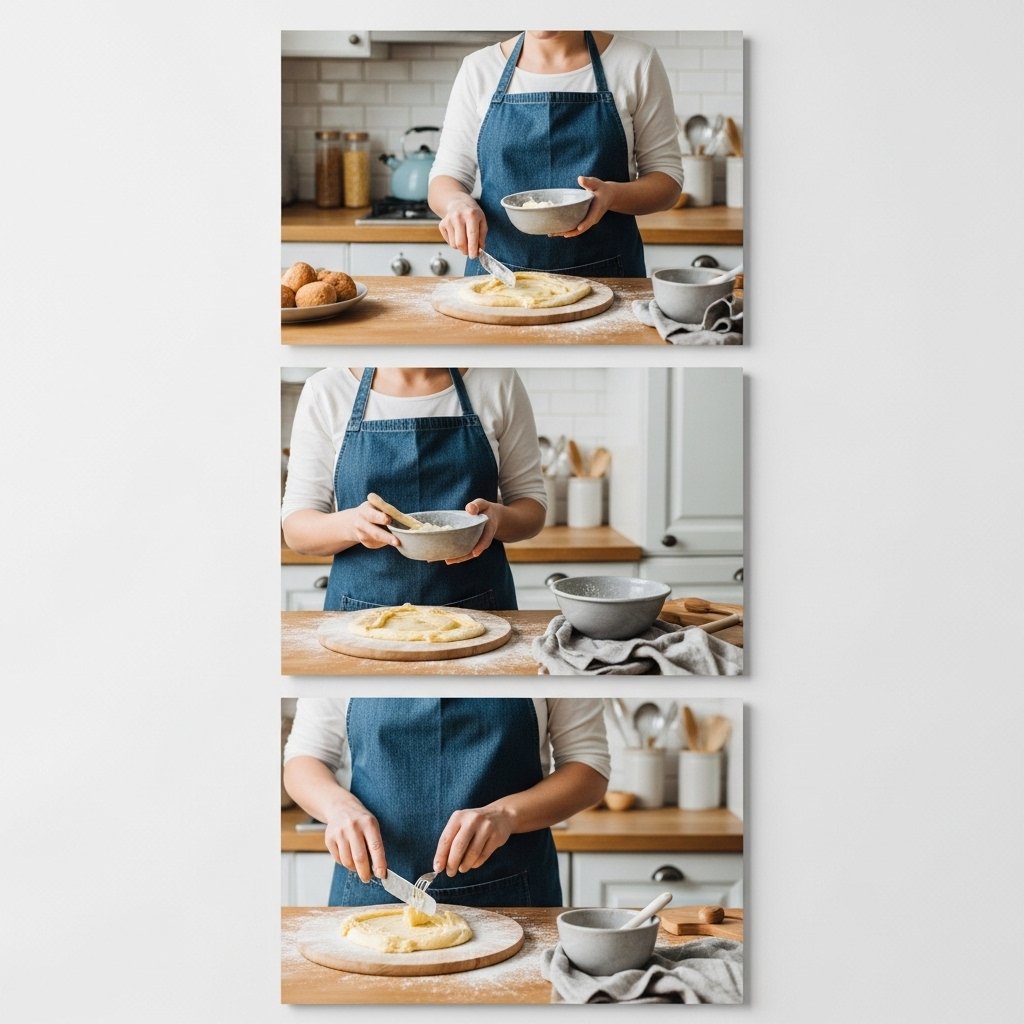
Step-by-Step Instructions
Step 1: Preheat the Oven
Preheat your oven to 425°F (220°C) and grease ramekins with butter.
Step 2: Melt Chocolate and Butter
In a heatproof bowl, melt chocolate and butter together until smooth.
Step 3: Mix Eggs and Sugar
Whisk eggs, egg yolks, and sugar until light and slightly thickened.
Step 4: Combine Mixtures
Gently mix melted chocolate into the egg mixture, then fold in flour and salt.
Step 5: Fill and Bake
Pour batter into ramekins and bake for 10–12 minutes until edges are set but center is soft.
Step 6: Serve Immediately
Let cool slightly, then invert onto a plate and serve warm.
Tips for Perfect Results
To master the Easy molten chocolate lava cake for a sweet homemade treat, keep these tips in mind:
- Do not overbake (this is key to the molten center)
- Use room temperature eggs for better mixing
- Grease ramekins well for easy release
- Serve immediately after baking
- Test bake time with one cake first
These small details ensure that perfect gooey center every time.
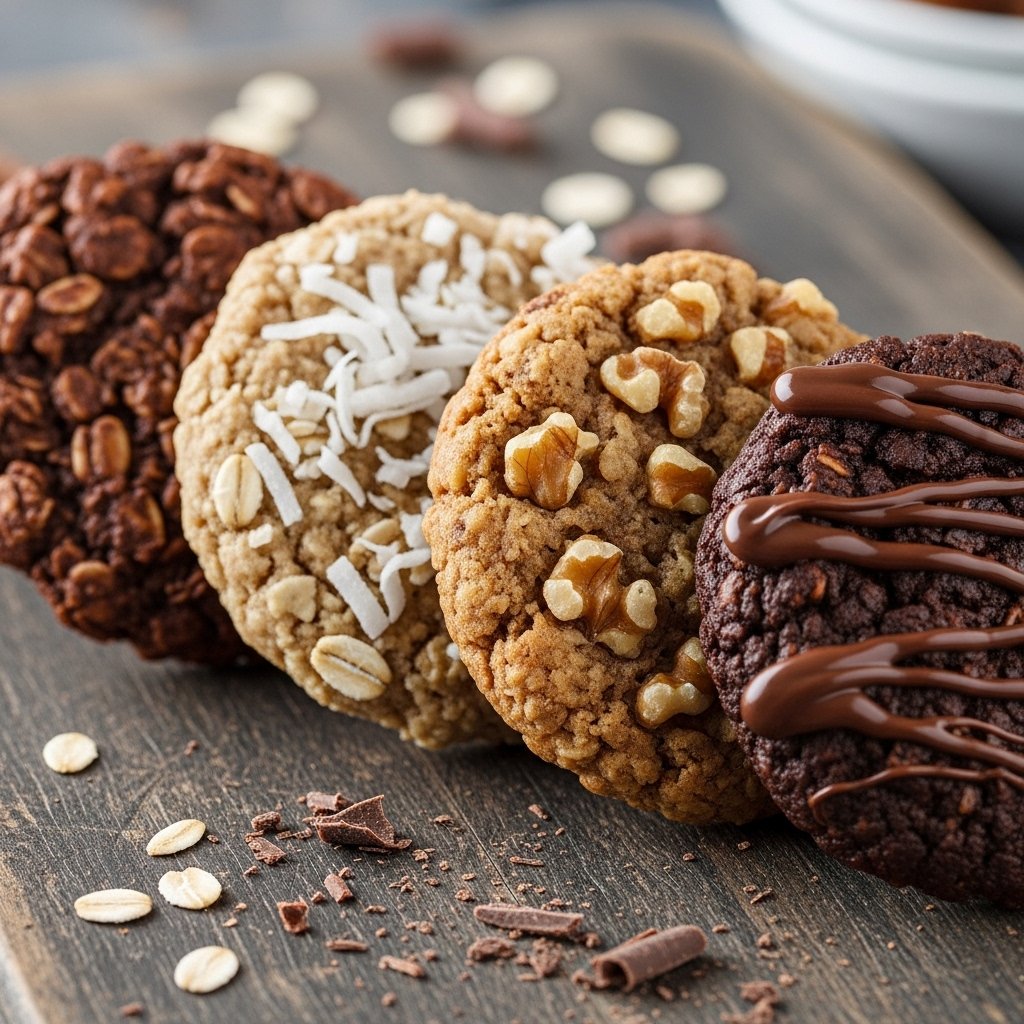
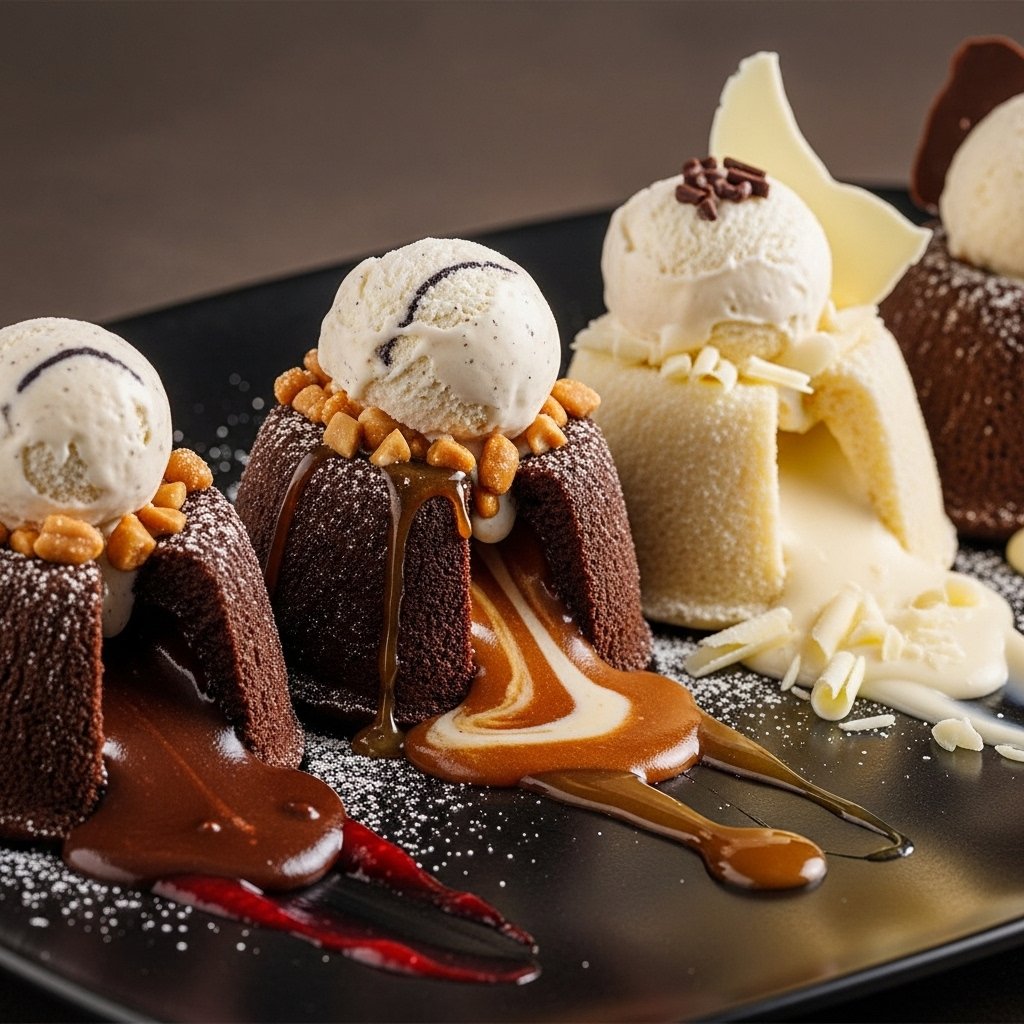
Variations
This Easy molten chocolate lava cake for a sweet homemade treat can be customized in many ways:
Peanut Butter Lava Cake
- Add a spoon of peanut butter in the center
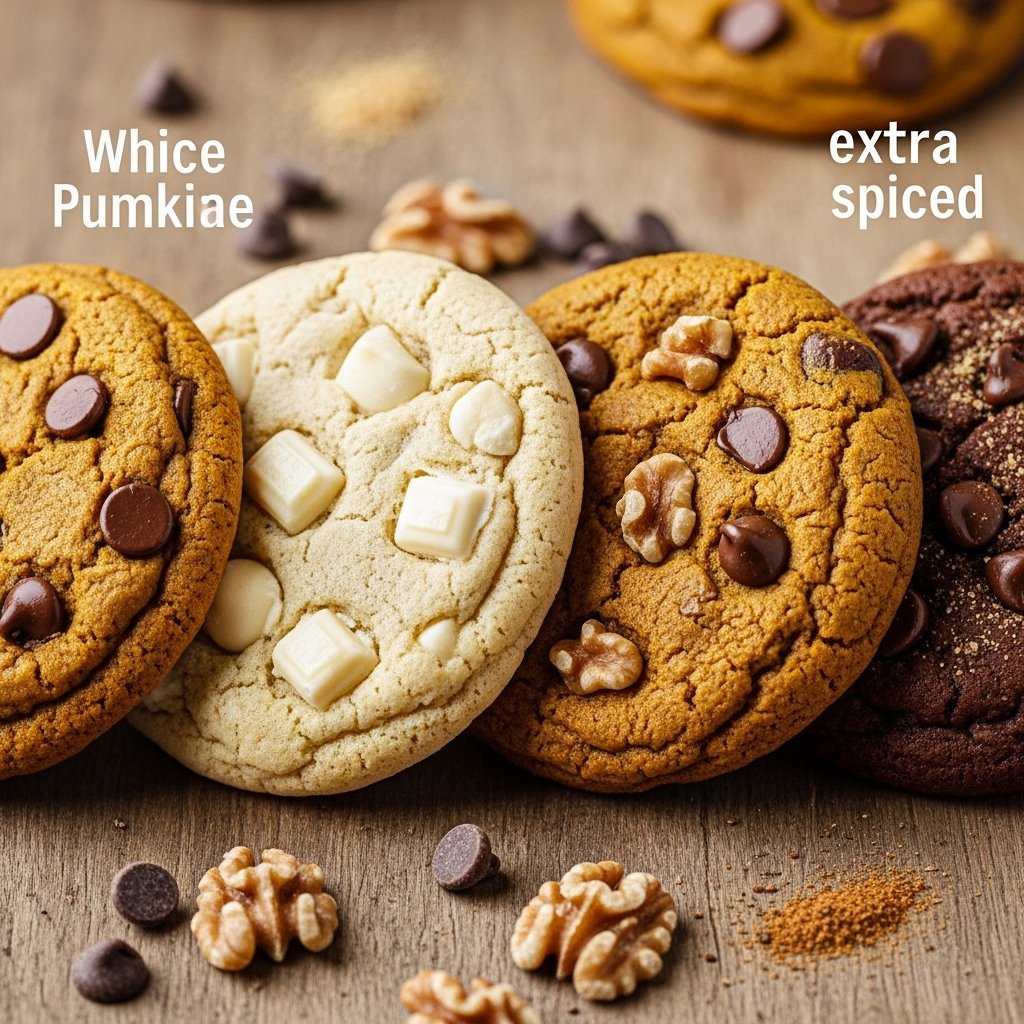
White Chocolate Version
- Swap dark chocolate with white chocolate
Espresso Chocolate Cake
- Add espresso powder for deeper flavor
Caramel Lava Cake
- Insert a caramel center for extra sweetness
What to Serve With It
This dessert pairs beautifully with:
- Vanilla ice cream
- Fresh berries
- Whipped cream
- Caramel or chocolate sauce
- Powdered sugar dusting
These additions elevate the dessert even more.
Storage & Reheating
- Best served fresh: For molten center
- Refrigerate: Store leftovers up to 2 days
- Reheat: Warm in microwave for 20–30 seconds
- Freeze batter: Prepare ahead and bake when needed
While best fresh, it can still be enjoyed later with gentle reheating.
Common Mistakes to Avoid
Avoid these mistakes when making Easy molten chocolate lava cake for a sweet homemade treat:
- Overbaking (loses molten center)
- Not greasing ramekins properly
- Using low-quality chocolate
- Overmixing batter
- Letting cakes sit too long before serving
Avoiding these ensures perfect texture and flavor.
FAQs
1. How do I know when lava cake is done?
Edges should be set, but the center should still jiggle slightly.
2. Can I make lava cakes ahead of time?
Yes, prepare batter and refrigerate, then bake when ready.
3. Can I use muffin tins instead of ramekins?
Yes, just adjust baking time slightly.
4. Why didn’t my cake have a molten center?
It was likely overbaked—reduce baking time next time.
Final Thoughts
This Easy molten chocolate lava cake for a sweet homemade treat is proof that you don’t need complicated techniques to create a stunning dessert. With its rich flavor, gooey center, and elegant presentation, it’s a recipe that impresses every single time.
Whether you’re making it for guests or treating yourself, this dessert delivers pure chocolate indulgence in every bite. Once you try it, you’ll never need to order it at a restaurant again.