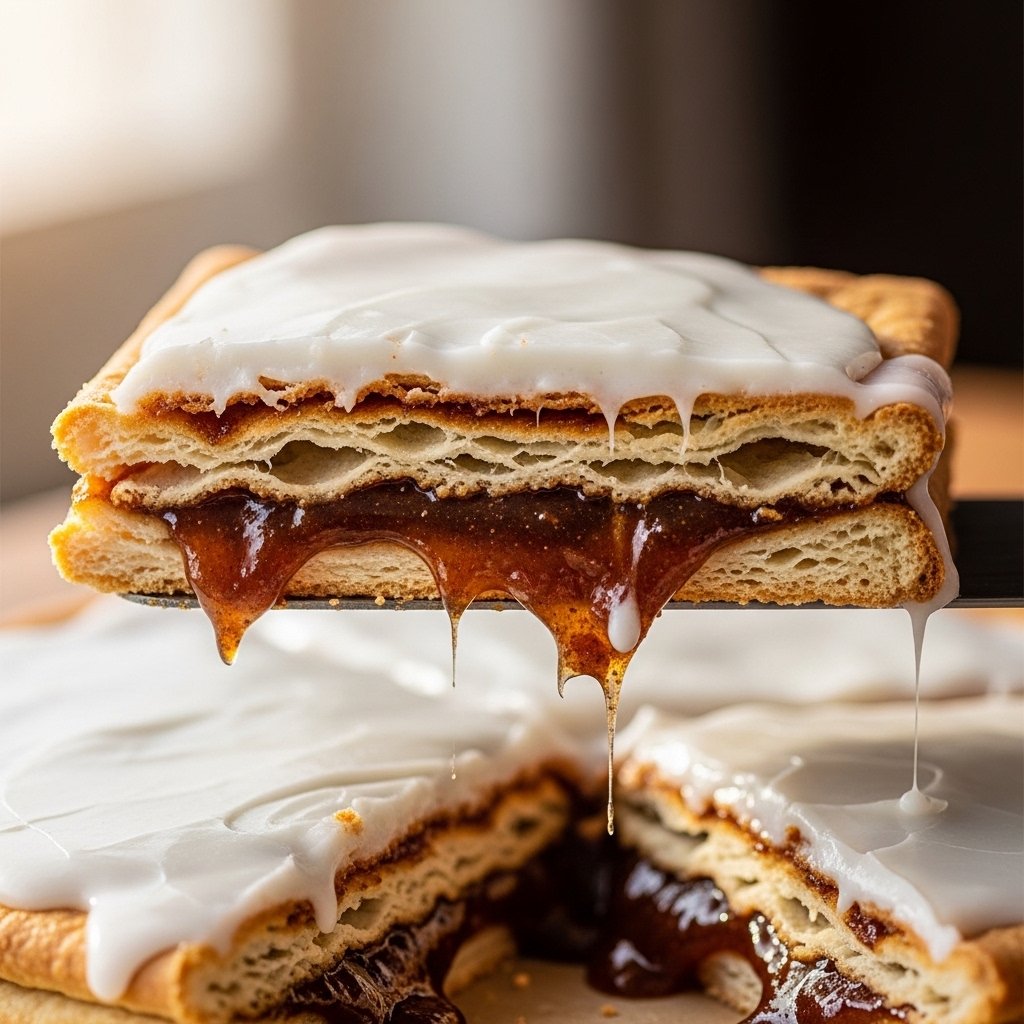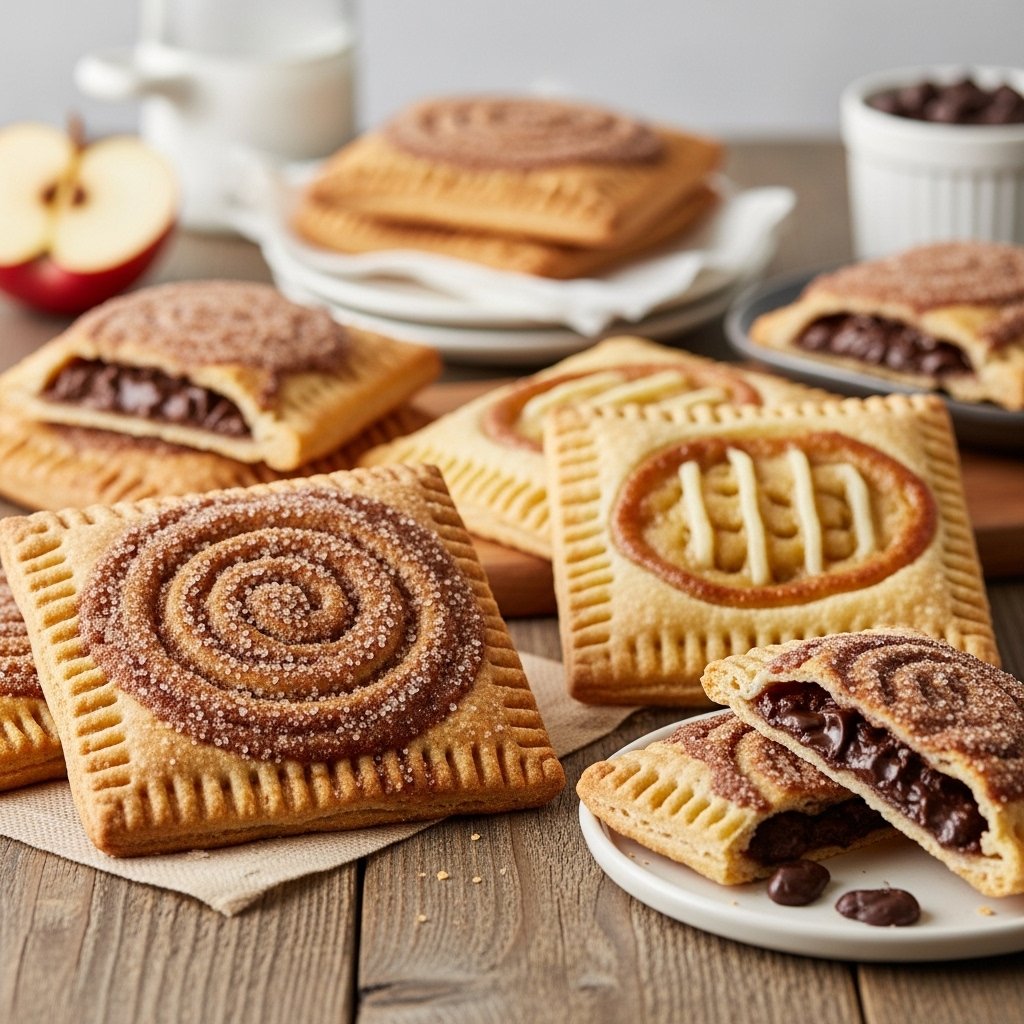
If you’ve ever craved warm, gooey cinnamon rolls but didn’t want a huge batch sitting on your counter, these Small Batch Cinnamon Rolls are exactly what you need. They’re soft, fluffy, and swirled with buttery cinnamon sugar, then finished with a rich cream cheese glaze that melts into every layer.

This recipe is perfect for small households, weekend baking, or anytime you want a homemade treat without leftovers for days. You get all the flavor and comfort of classic cinnamon rolls—just in a perfectly portioned batch.
Why You’ll Love These Small Batch Cinnamon Rolls
These Small Batch Cinnamon Rolls are everything you love about bakery-style rolls, but scaled down perfectly.
- Makes just a few rolls—no waste
- Soft, fluffy dough with gooey cinnamon filling
- Ready in under 90 minutes
- Perfect for breakfast or dessert
- Cream cheese icing melts beautifully on warm rolls

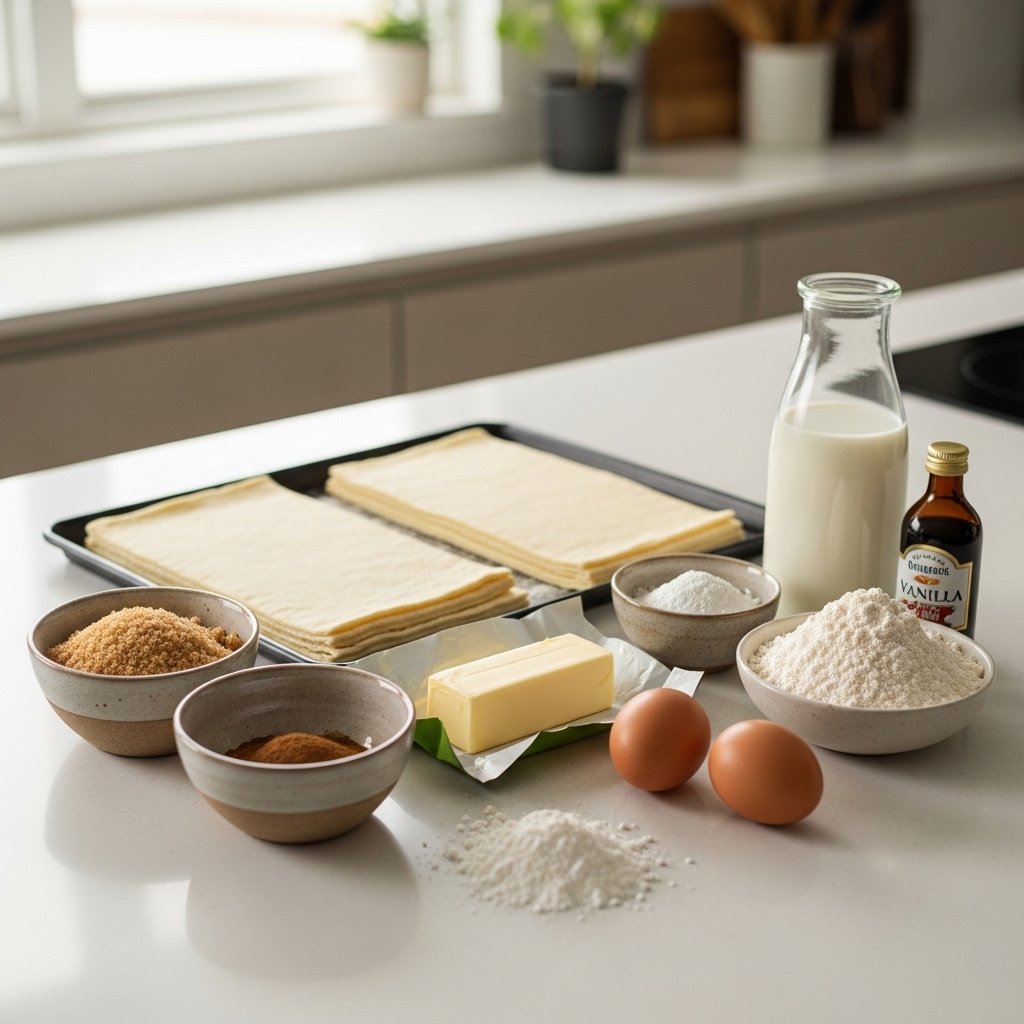
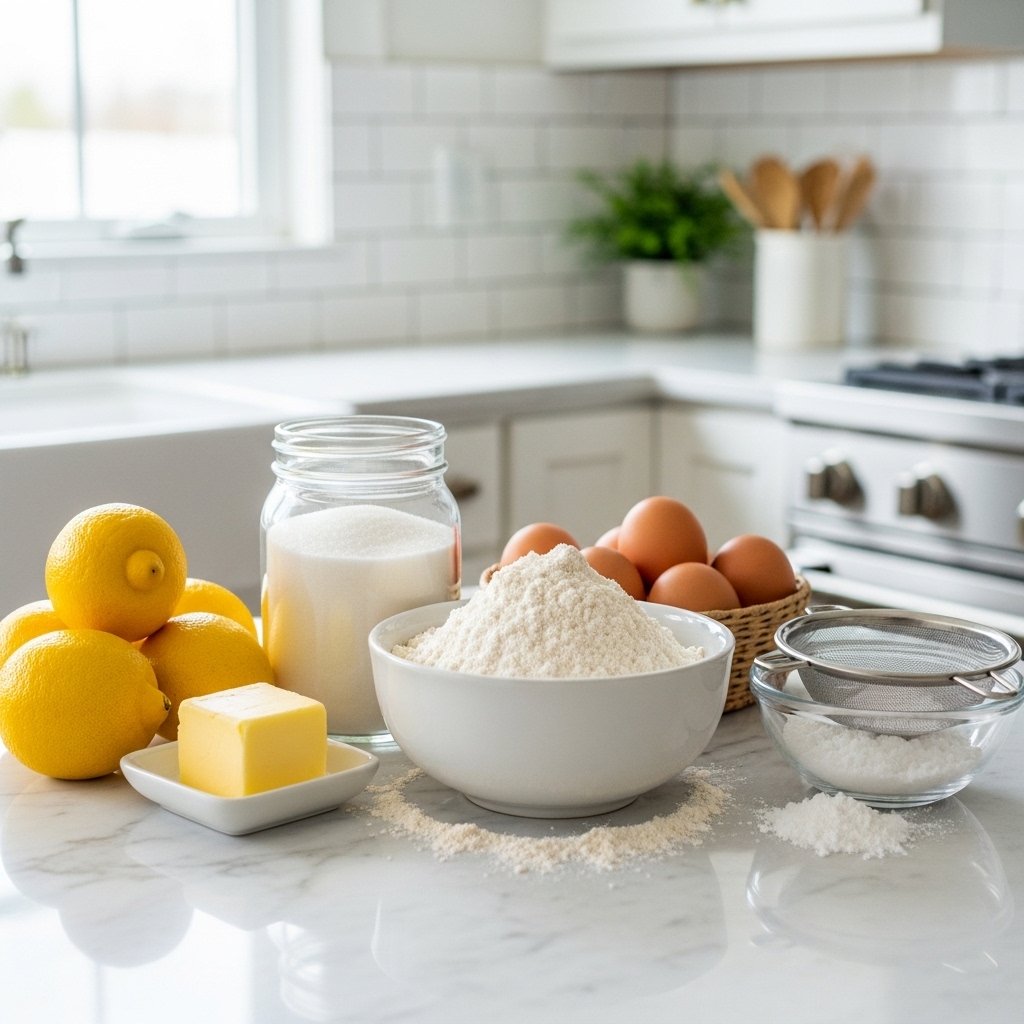
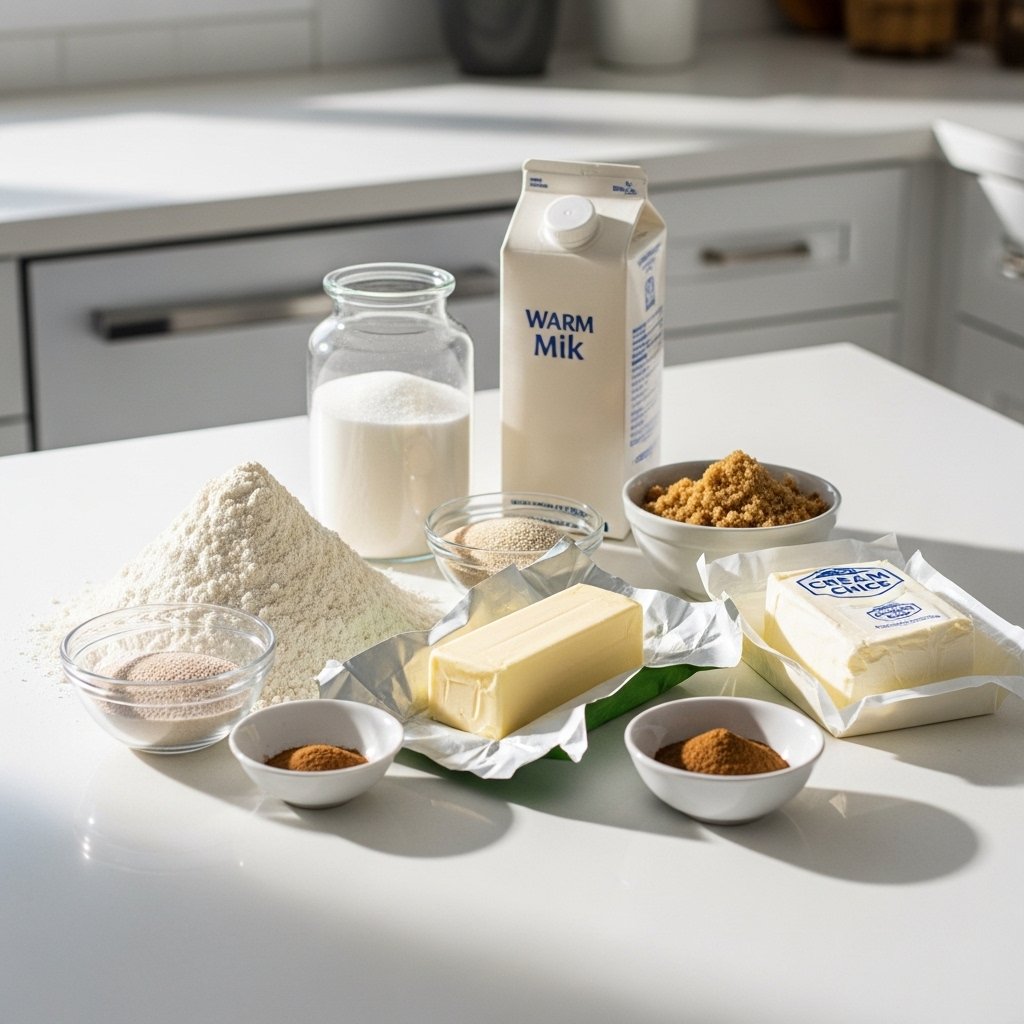
Ingredients
For the Dough:
- 1 cup all-purpose flour
- 2 tablespoons sugar
- 1 teaspoon instant yeast
- ¼ teaspoon salt
- ½ cup warm milk
- 2 tablespoons melted butter
For the Filling:
- 2 tablespoons softened butter
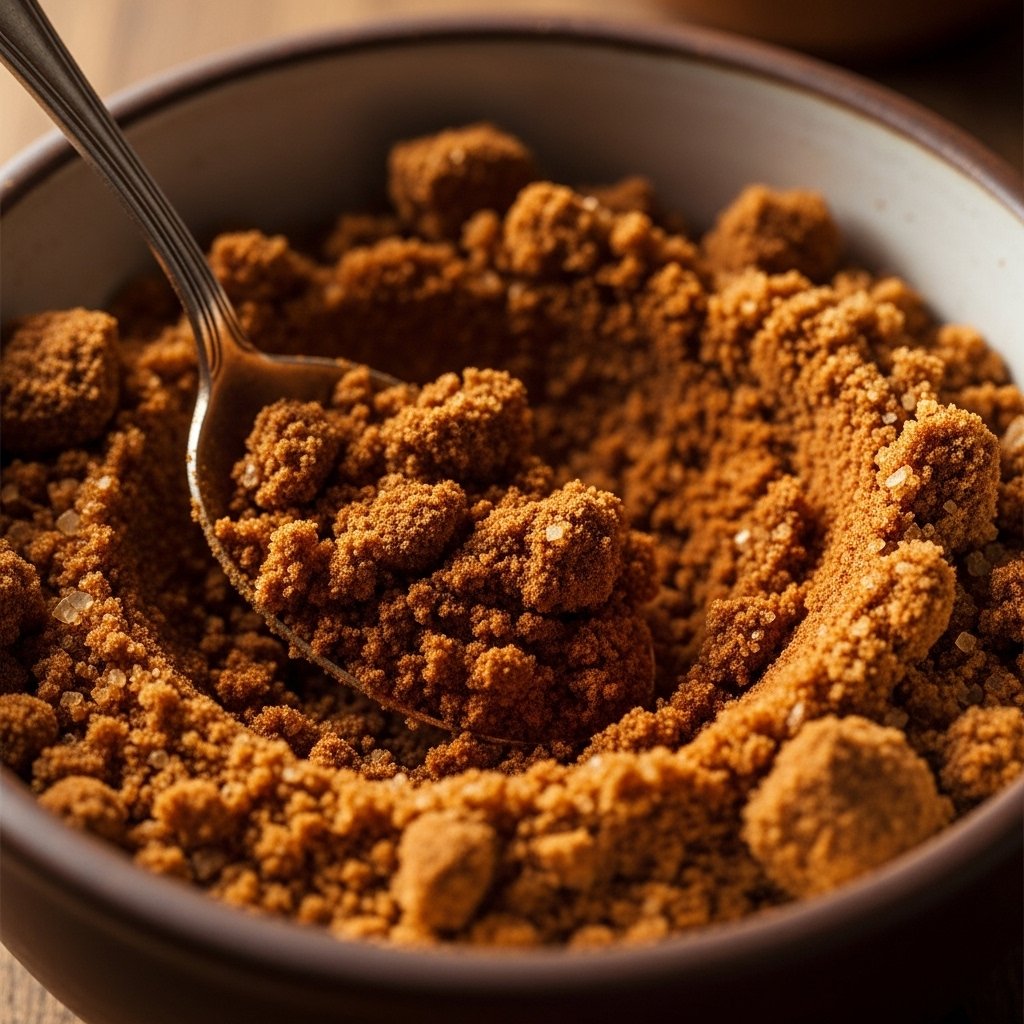
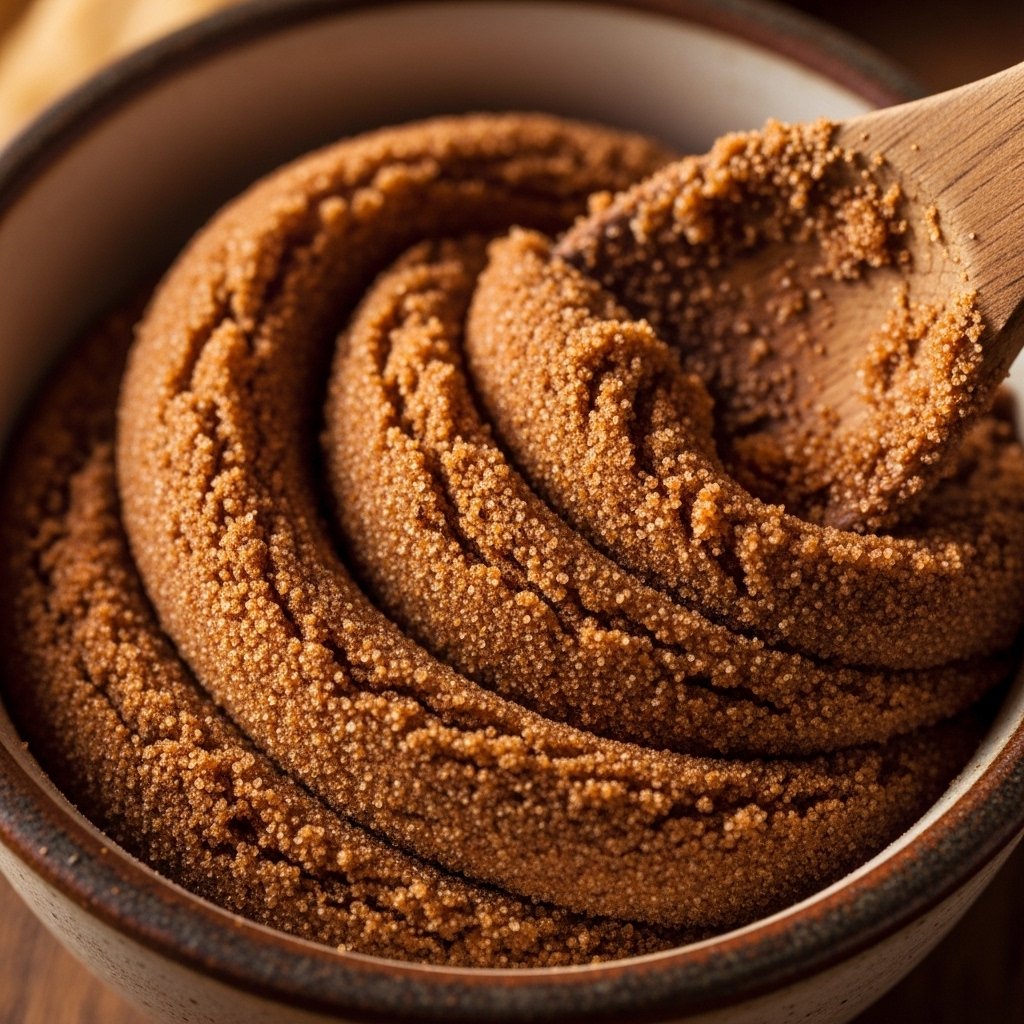
- ¼ cup brown sugar
- 1 teaspoon cinnamon
For the Icing:
- 3 tablespoons cream cheese (softened)
- 2 tablespoons powdered sugar
- 1–2 teaspoons milk
- ½ teaspoon vanilla extract
Ingredient Notes
The magic of Small Batch Cinnamon Rolls is in the dough texture. Warm milk helps activate the yeast for a soft, fluffy rise. Brown sugar in the filling creates a rich caramel-like flavor when baked.
Cream cheese icing adds tanginess that balances the sweetness perfectly.
Step-by-Step Instructions
1. Make the Dough
Mix flour, sugar, yeast, and salt. Add warm milk and melted butter. Knead until smooth and soft.
2. Let It Rise
Cover and let dough rise for about 45–60 minutes until doubled.
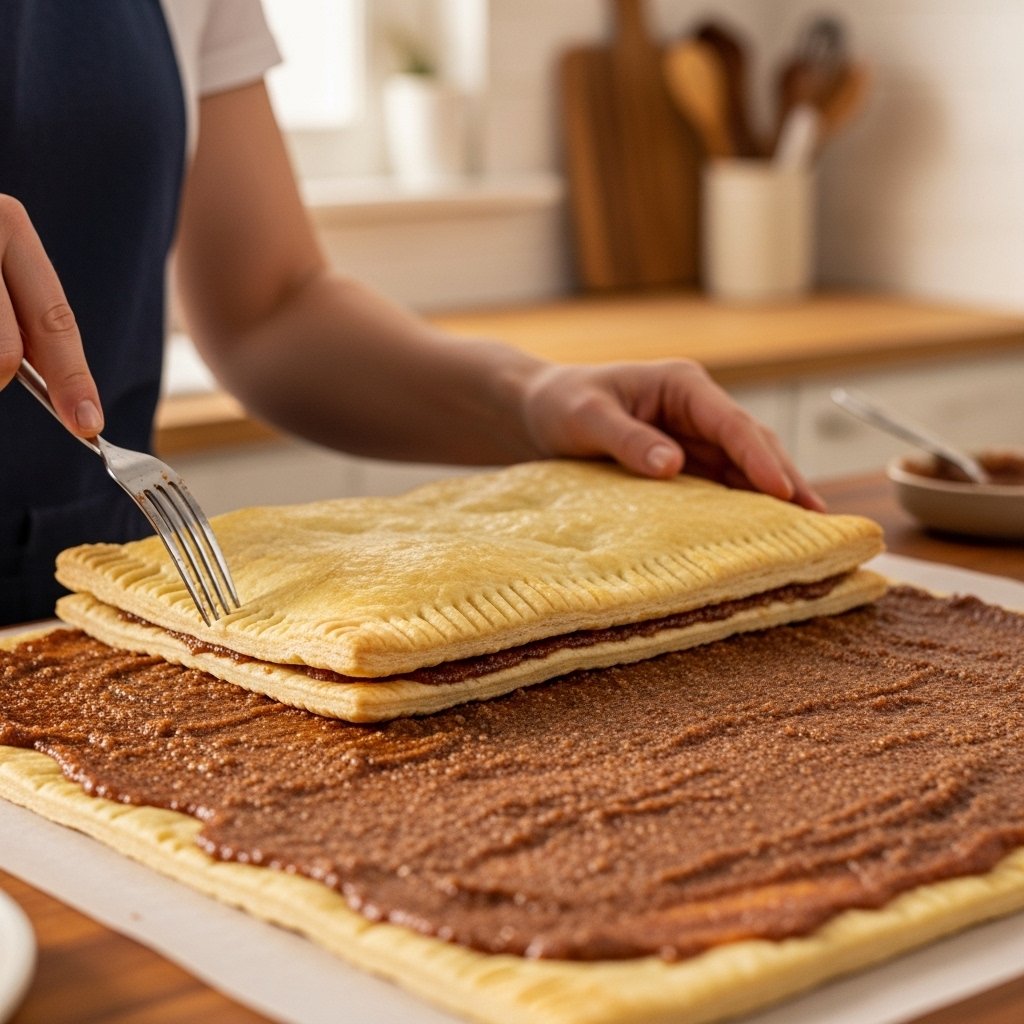
3. Roll and Fill
Roll dough into a rectangle. Spread butter, then sprinkle brown sugar and cinnamon evenly.
4. Roll and Slice
Roll tightly into a log and slice into small rolls.
5. Bake
Place in a small baking dish and bake at 350°F for 18–22 minutes.
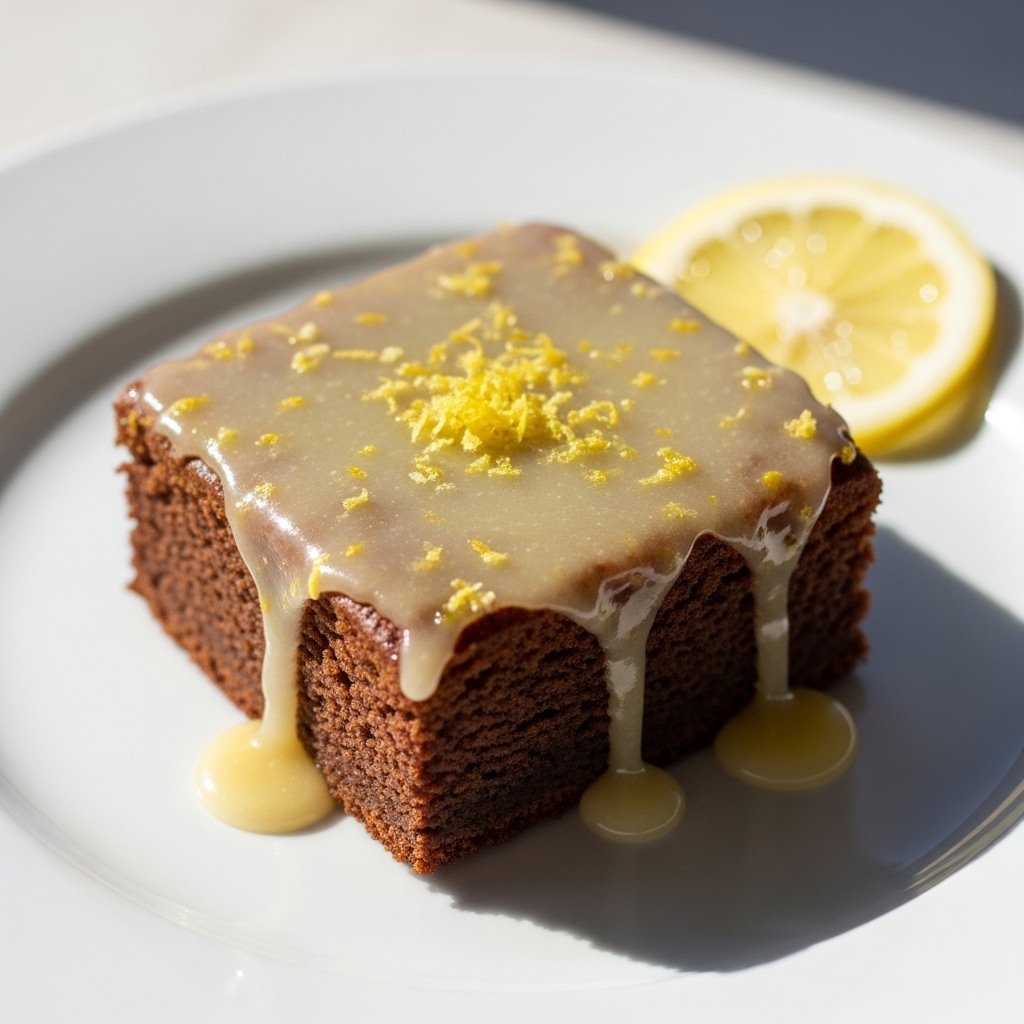
6. Add Icing
Mix cream cheese icing ingredients and drizzle over warm rolls.

Tips for Perfect Results
To make the best Small Batch Cinnamon Rolls, follow these tips:
- Use warm (not hot) milk for yeast activation
- Roll dough tightly for defined swirls
- Don’t overbake—keep them soft and gooey
- Ice while warm for best melt-in effect
These small details make a big difference in texture.
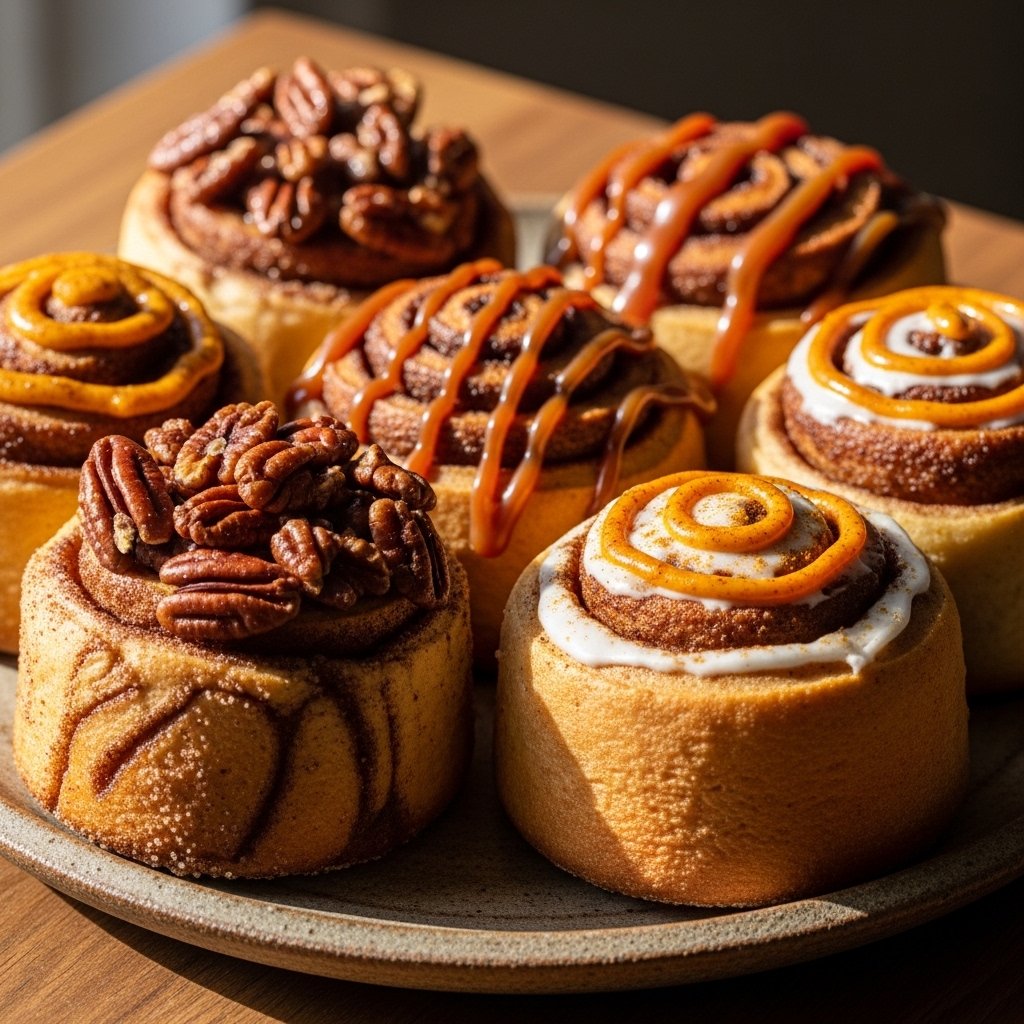
Variations
You can easily customize these Small Batch Cinnamon Rolls:
- Add raisins or chopped pecans
- Swap icing for vanilla glaze instead of cream cheese
- Add pumpkin spice for a fall version
- Drizzle with caramel sauce for extra richness
What to Serve With Them
These cinnamon rolls pair perfectly with:
- Hot coffee or latte
- Fresh fruit on the side
- Scrambled eggs for breakfast balance
- Vanilla ice cream for dessert
They’re perfect for cozy mornings or brunch setups.
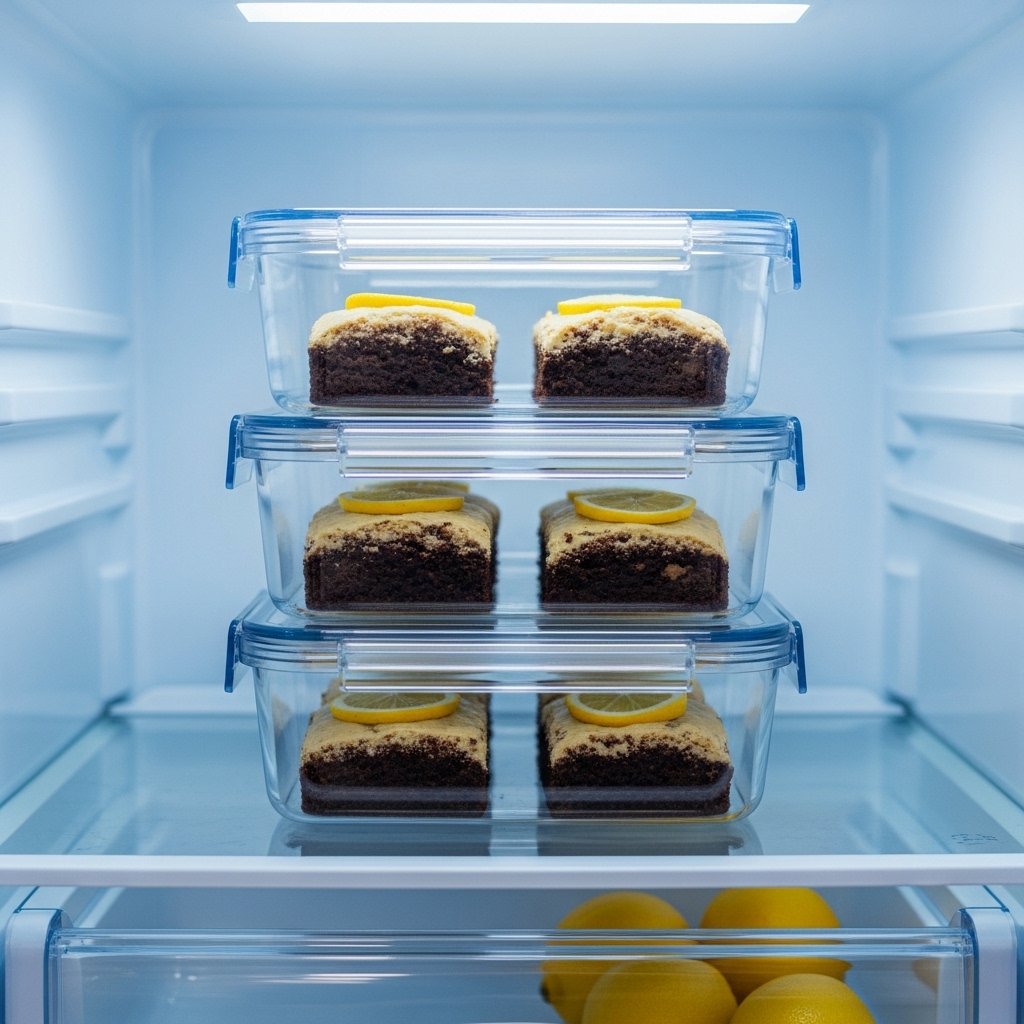
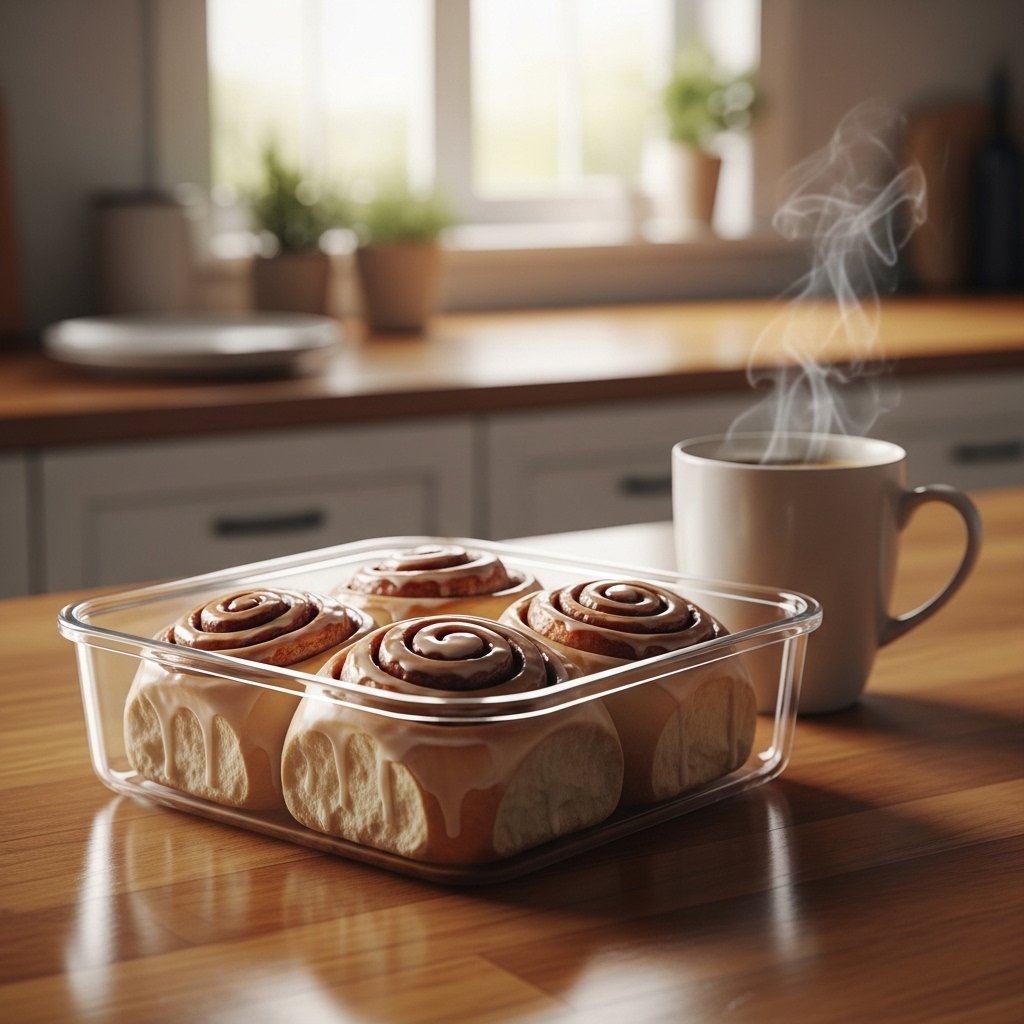
Storage & Reheating
Store leftover Small Batch Cinnamon Rolls properly:
- Room temperature: up to 1 day
- Refrigerator: up to 4 days
- Freezer: up to 2 months
To reheat:
- Microwave for 15–20 seconds
- Oven at 300°F for 5–7 minutes
Common Mistakes to Avoid
- Using water too hot for yeast (kills activation)
- Overbaking rolls (makes them dry)
- Rolling dough too loosely (weak swirls)
- Not letting dough rise enough
Avoiding these ensures soft, fluffy results every time.
FAQs
1. How many rolls does a small batch make?
Typically 4–6 rolls depending on size.
2. Can I make them overnight?
Yes, refrigerate dough after shaping and bake in the morning.
3. Can I use active dry yeast instead of instant?
Yes, just activate it in warm milk first.
4. Why are my cinnamon rolls dry?
They may have been overbaked or not enough butter used.
Final Thoughts
These Small Batch Cinnamon Rolls are the perfect solution for when you want something warm, sweet, and homemade without making a huge batch. They’re soft, gooey, and incredibly satisfying.
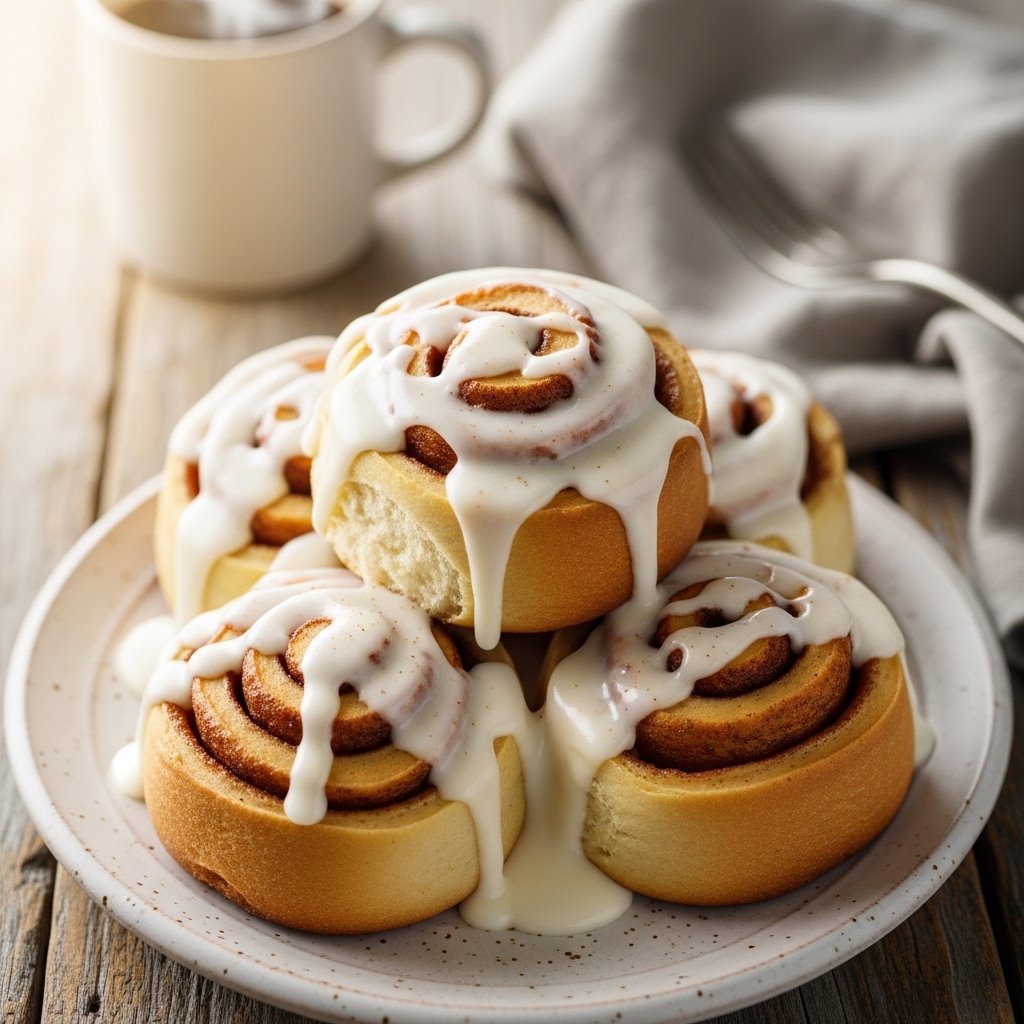
Whether it’s a weekend treat or a cozy morning indulgence, this recipe delivers bakery-quality flavor in just the right portion.