Apple Pie Smoothie – Cozy, Healthy Fall-Inspired Drink

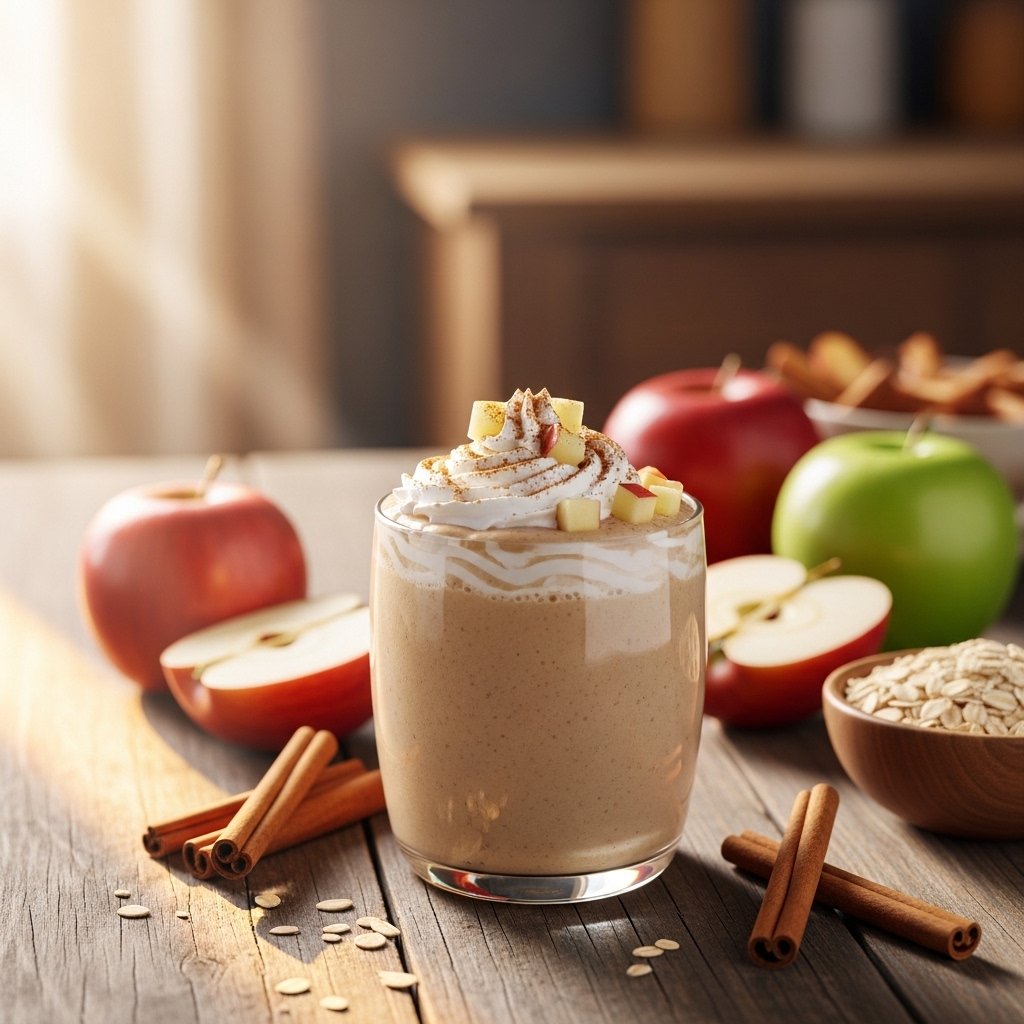
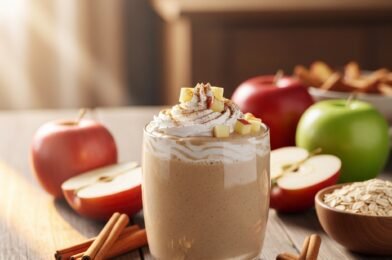
If you love the comforting flavors of homemade apple pie but want something quicker, healthier, and sip-able, this Apple Pie Smoothie is exactly what you need. It captures everything you adore about the classic dessert—sweet apples, warm cinnamon, creamy texture—and transforms it into a nourishing smoothie you can enjoy any time of day.

Perfect for busy mornings, post-workout fuel, or even a guilt-free dessert, this smoothie brings together wholesome ingredients in a way that feels indulgent yet balanced. It’s one of those recipes that instantly makes your kitchen smell like fall, no matter the season.

Apple Pie Smoothie

Why You’ll Love This Apple Pie Smoothie

This Apple Pie Smoothie isn’t just delicious—it’s incredibly practical and versatile. Whether you’re trying to eat healthier or simply craving something comforting, this recipe delivers.

  • Tastes like dessert but made with wholesome ingredients
  • Quick and easy—ready in under 5 minutes
  • Naturally sweetened with fruit
  • Packed with fiber, vitamins, and optional protein
  • Perfect for breakfast, snack, or dessert

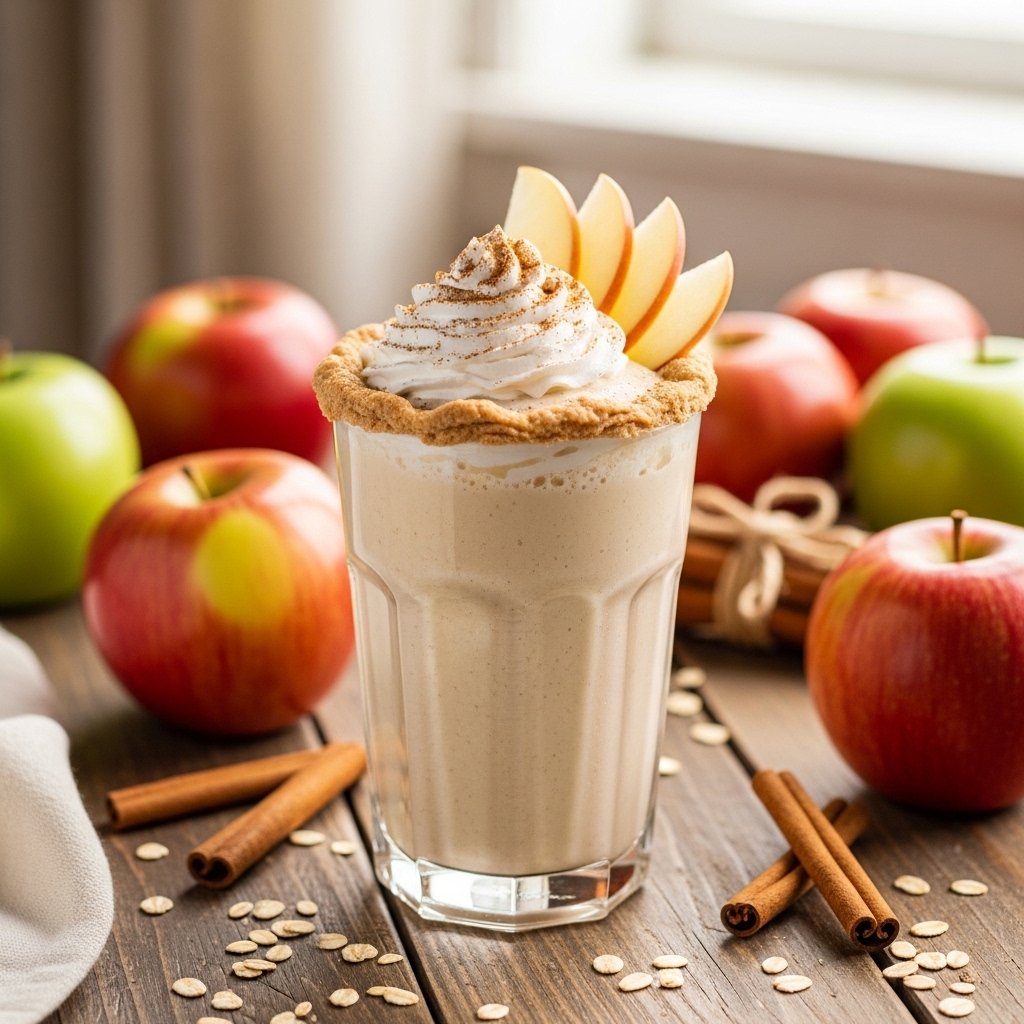
The balance of creamy and spiced flavors makes it feel like a treat, while the nutritional benefits make it something you can enjoy regularly without hesitation.
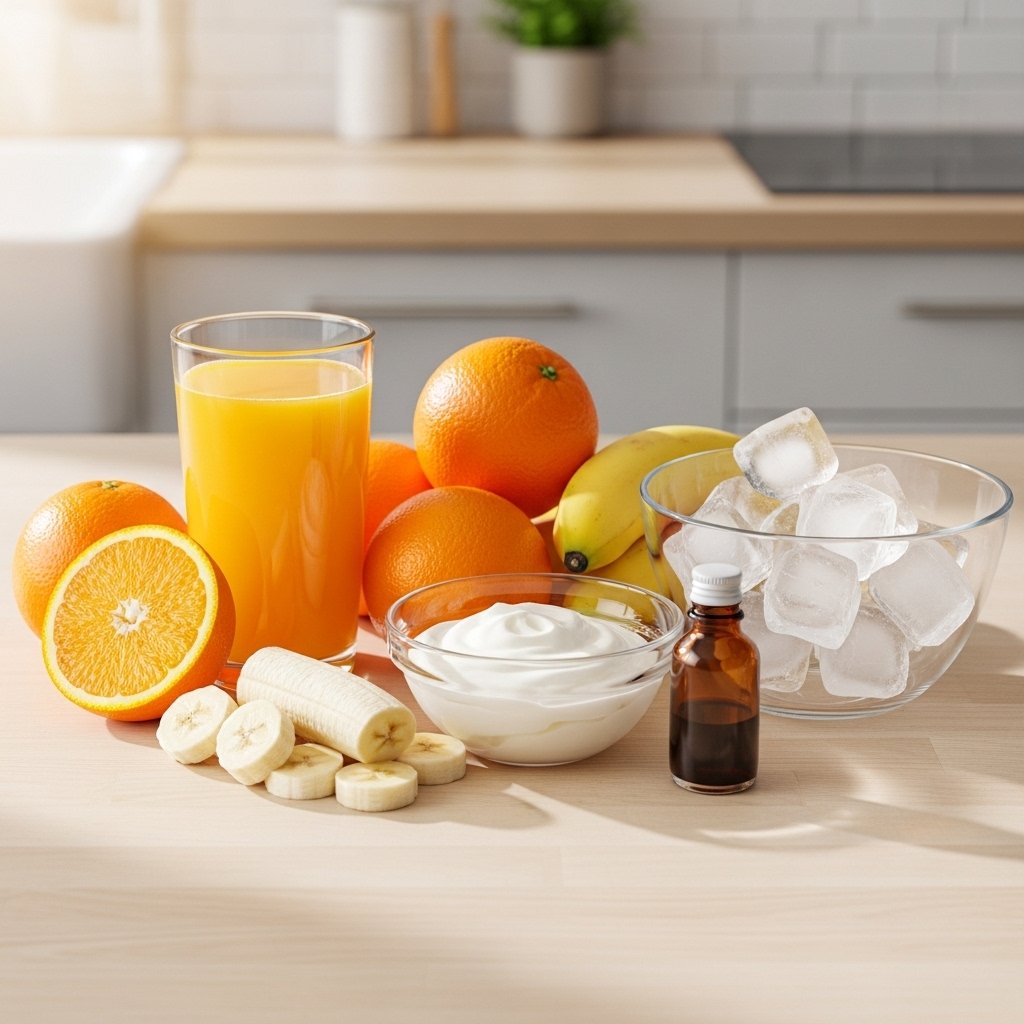
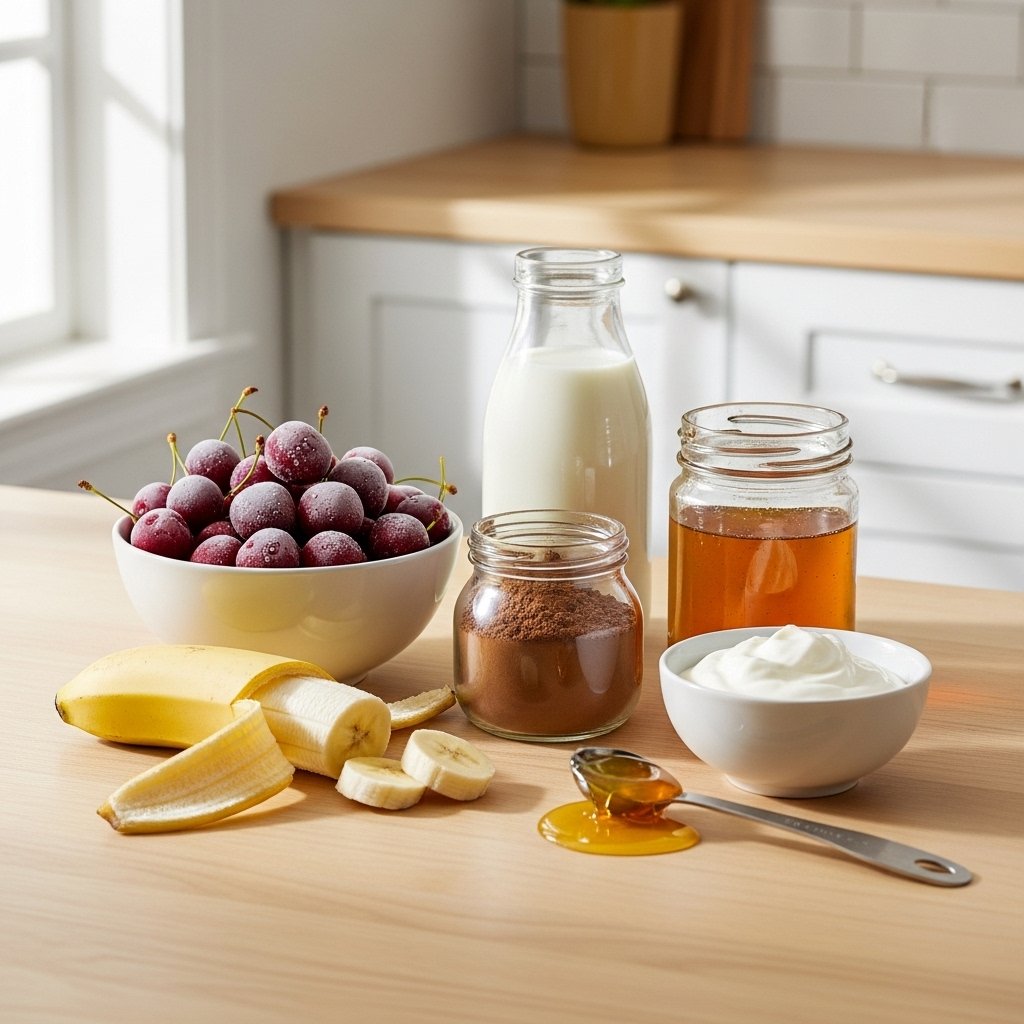
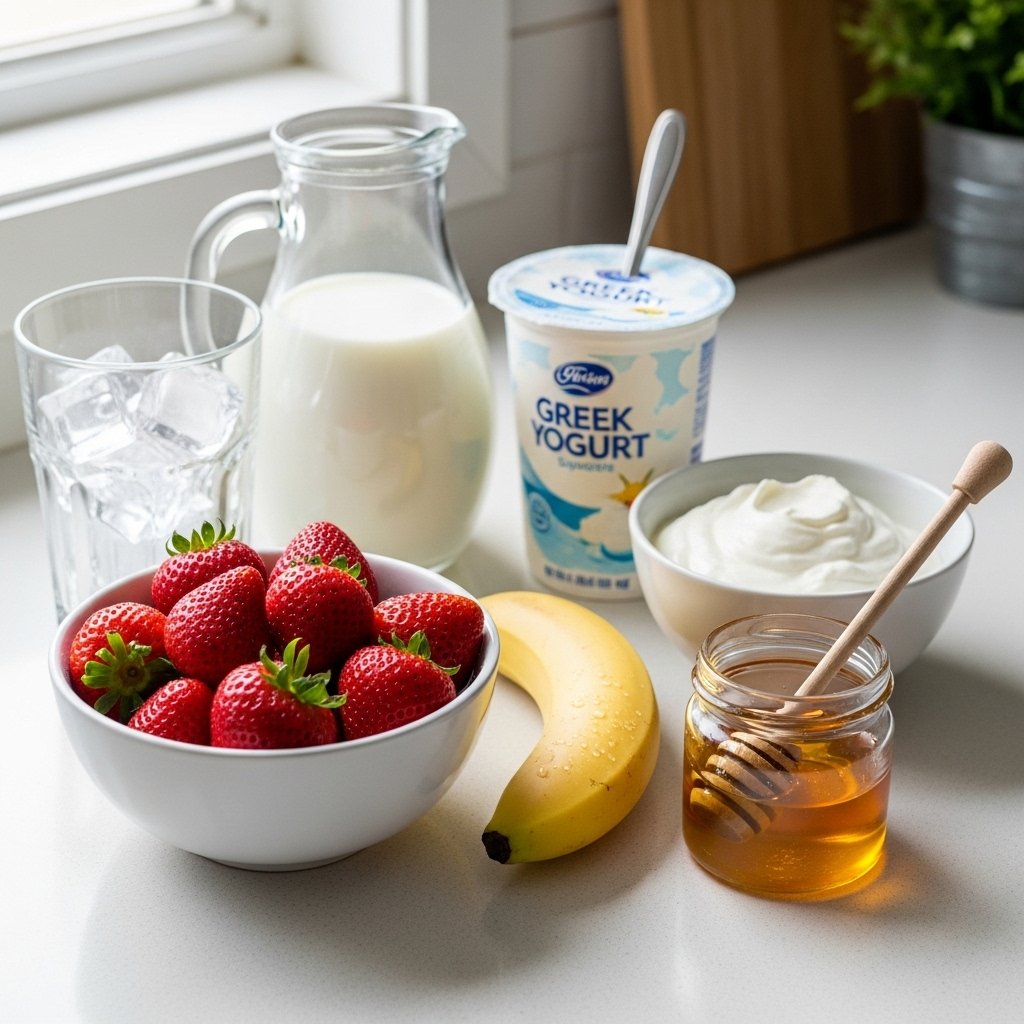
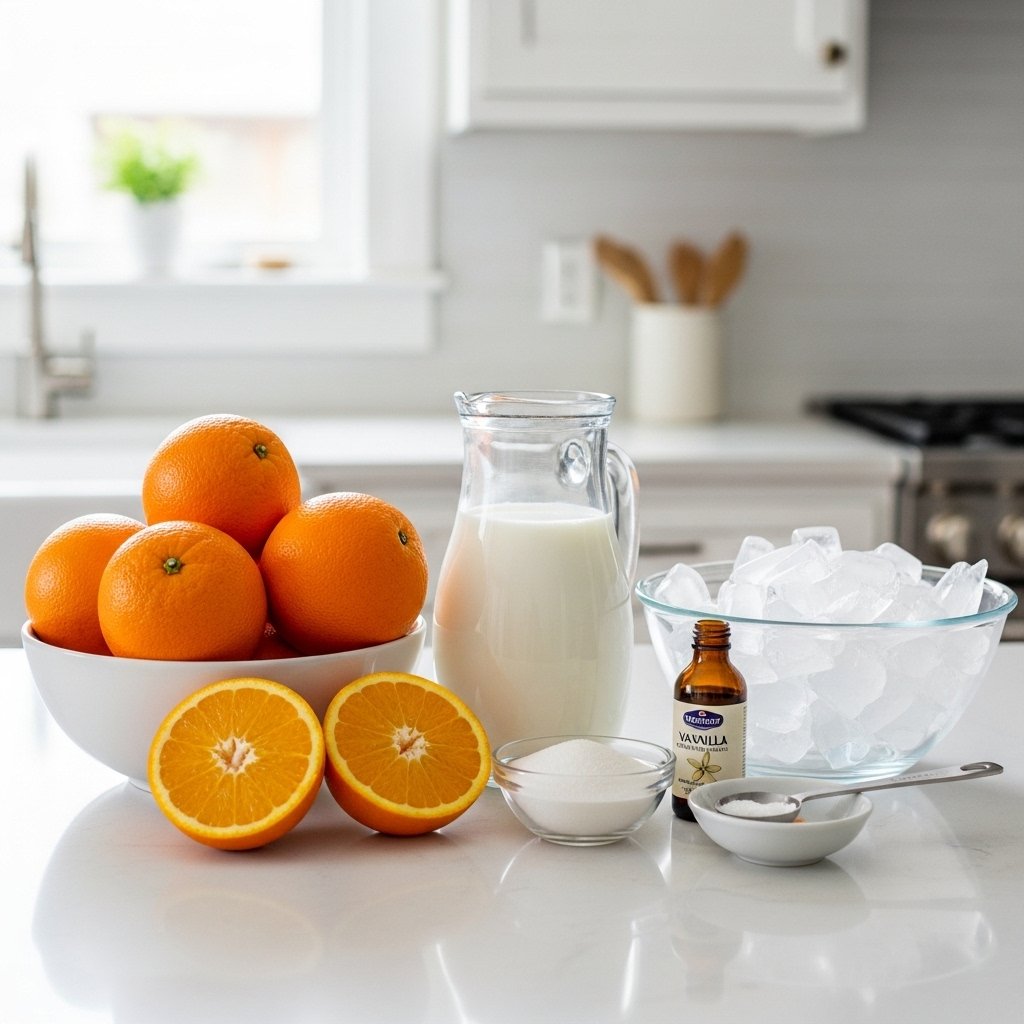
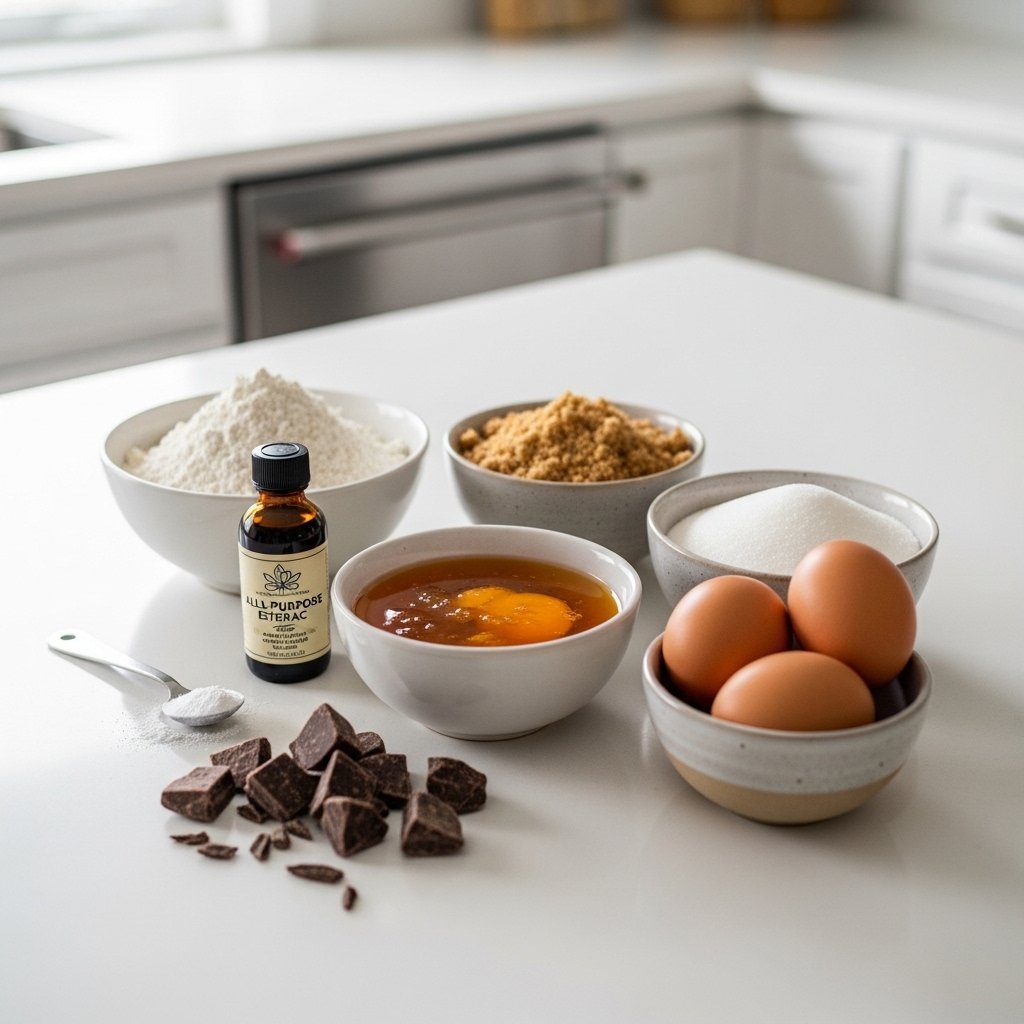
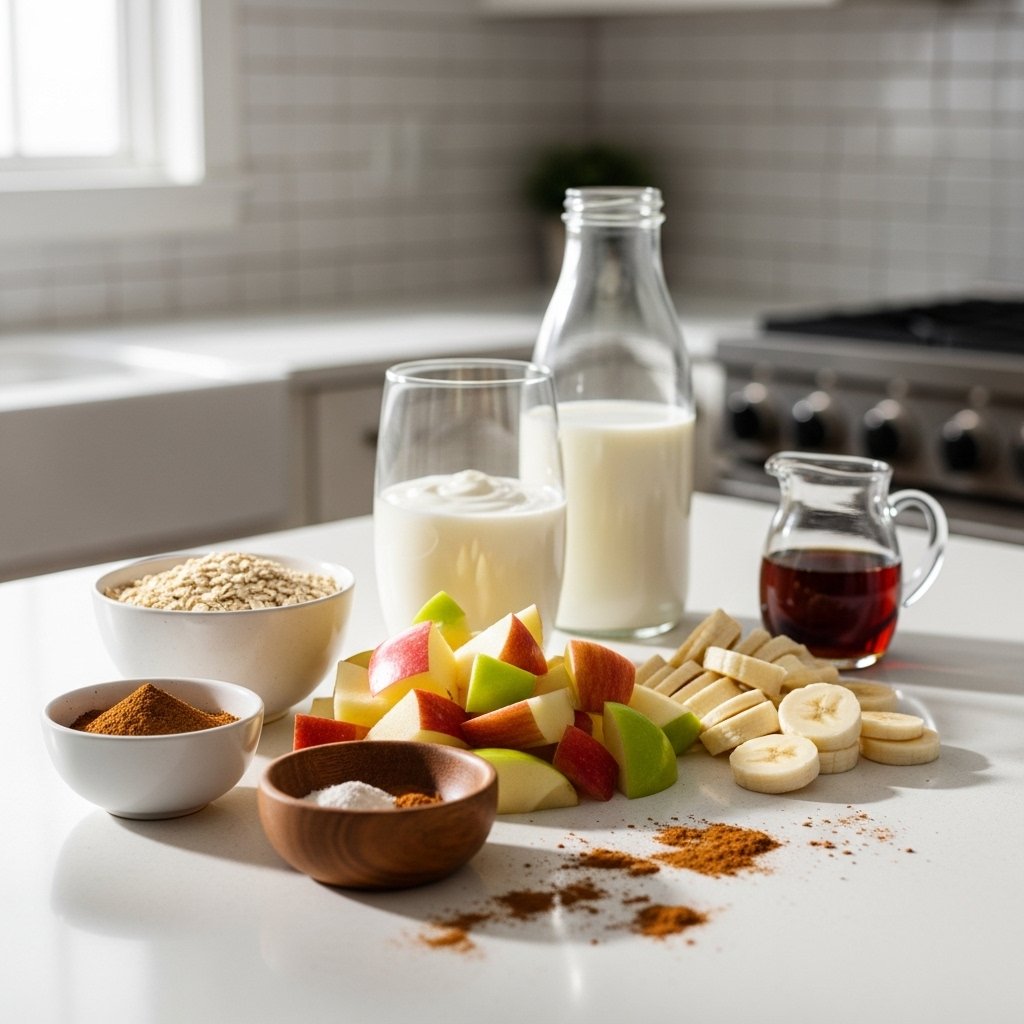
Ingredients

To make this flavorful Apple Pie Smoothie, you’ll need simple pantry staples:

  • 1 medium apple (peeled, chopped, or unpeeled for extra fiber)
  • 1/2 frozen banana
  • 1/2 cup vanilla yogurt (or plain)
  • 1/2 cup milk (dairy or non-dairy)
  • 1/4 cup rolled oats
  • 1/2 teaspoon ground cinnamon
  • 1/8 teaspoon nutmeg
  • 1/2 teaspoon vanilla extract
  • 1–2 teaspoons maple syrup or honey (optional)
  • 1/2 cup ice

Ingredient Notes

Best Apples to Use

For the best Apple Pie Smoothie, choose naturally sweet and crisp apples like Fuji, Honeycrisp, or Gala. These varieties provide the perfect balance of sweetness and tartness.

Oats for Heartiness

Rolled oats add thickness and make the smoothie more filling. They also give that subtle “pie crust” vibe that really brings the apple pie flavor together.

Spice Blend Matters

Cinnamon is essential, but a pinch of nutmeg or even allspice enhances the warm, cozy flavor profile that defines a true apple pie experience.

Step-by-Step Instructions

Making this Apple Pie Smoothie is incredibly simple and beginner-friendly.

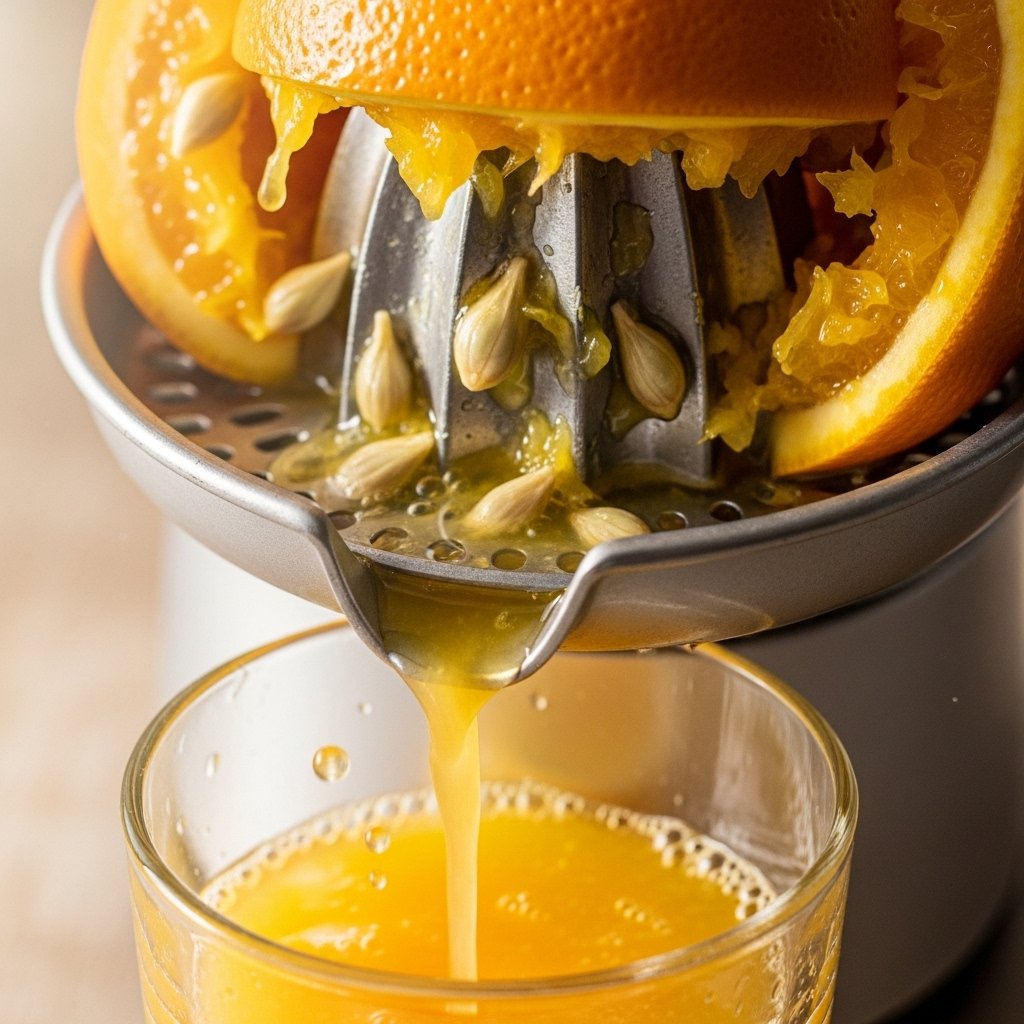
1. Prep Your Ingredients

Wash, core, and chop your apple. If you prefer a smoother texture, peel it first.
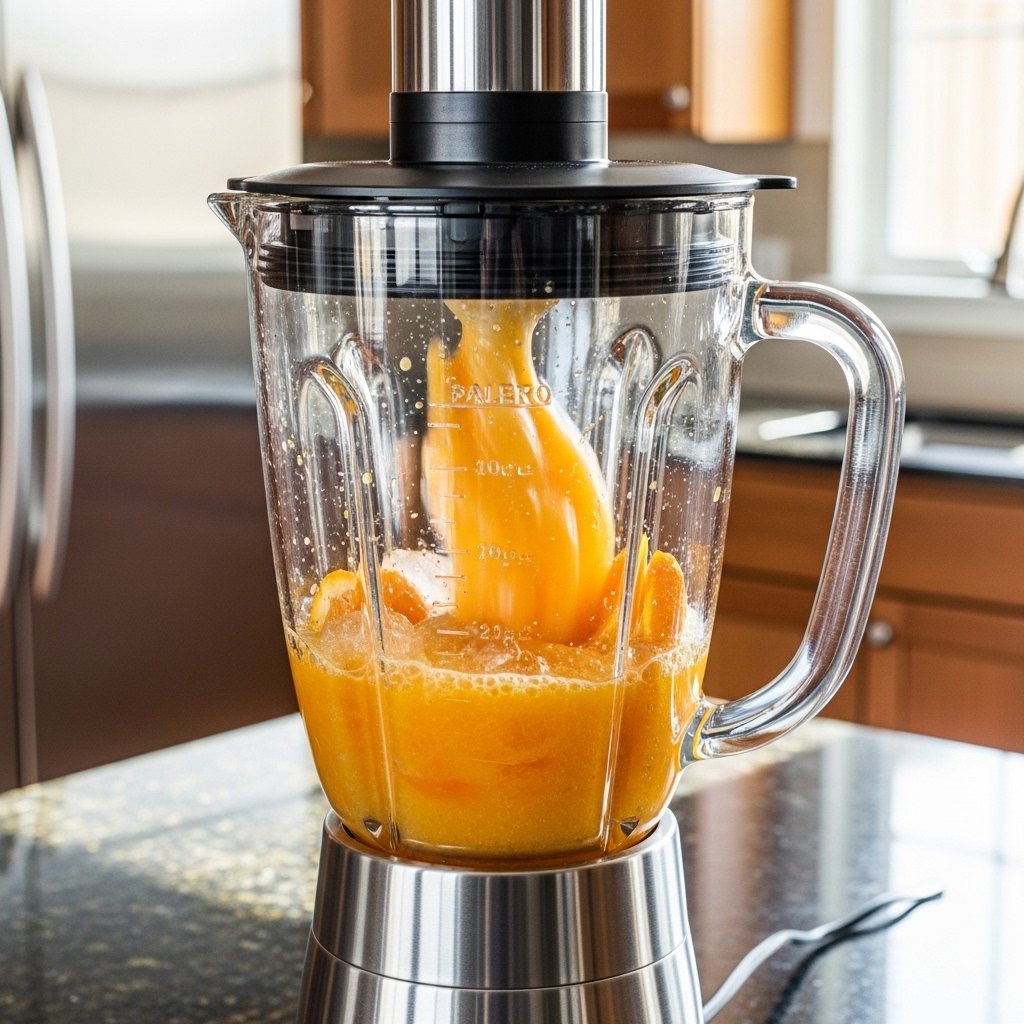
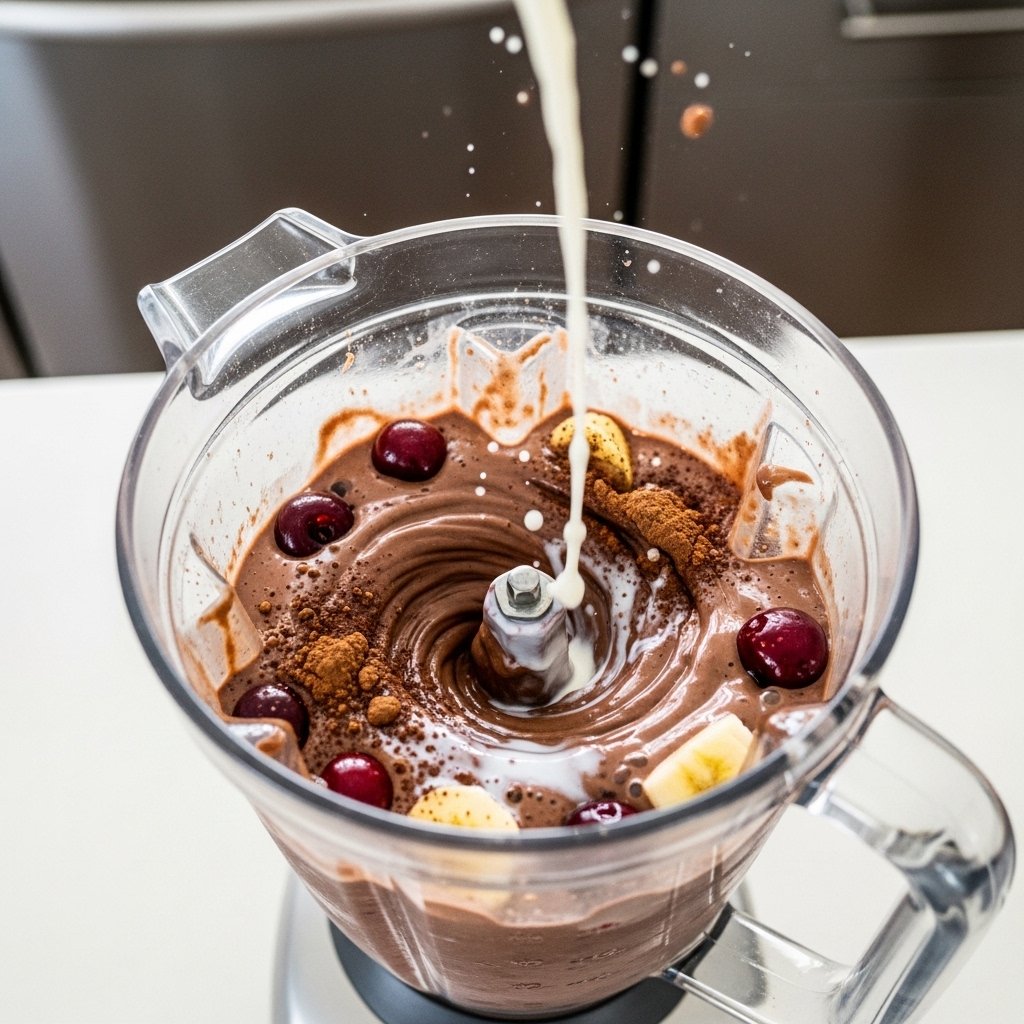
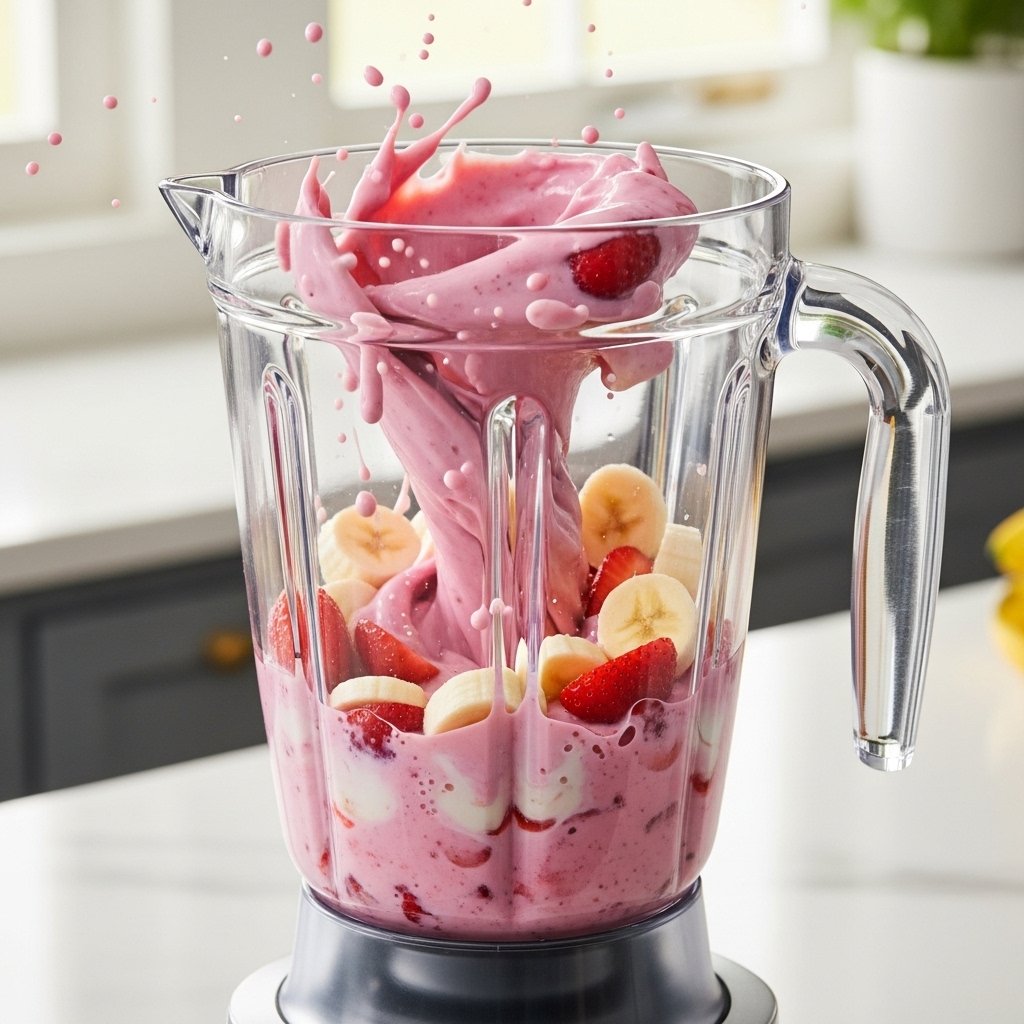
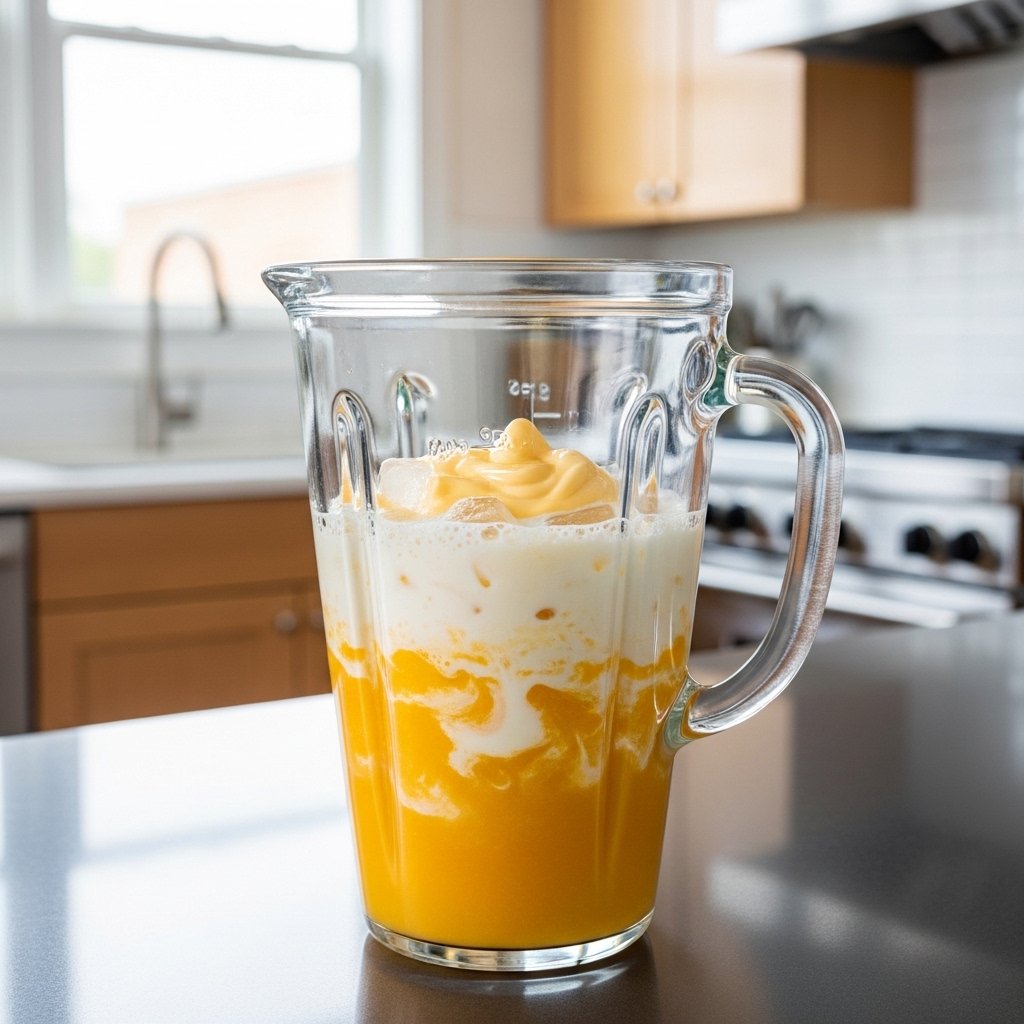
2. Add to Blender

Place the apple, banana, yogurt, milk, oats, spices, vanilla, and sweetener into your blender.

3. Add Ice

Add ice for that refreshing, chilled texture.

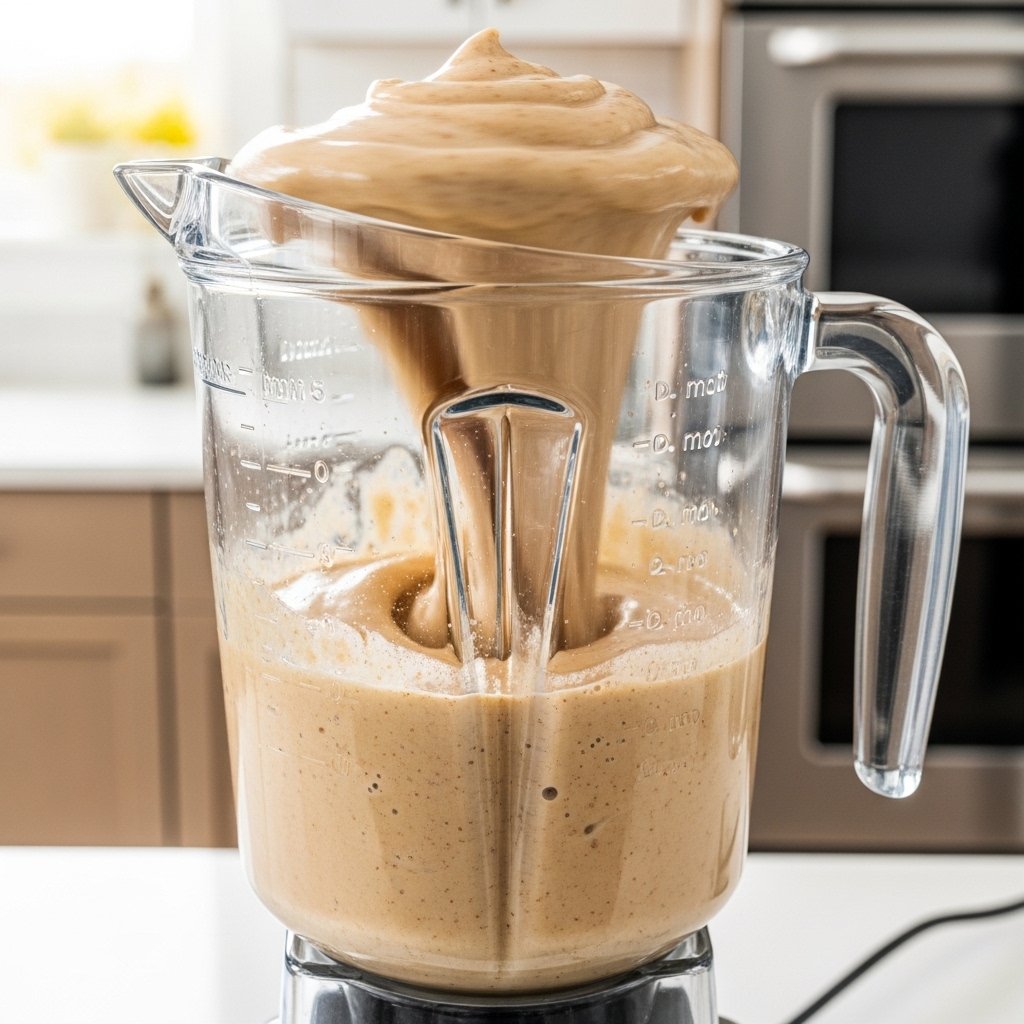
4. Blend Until Smooth

Blend on high until creamy and well combined. Make sure the oats are fully broken down.

5. Taste and Adjust

Adjust sweetness or spices as needed, then blend again briefly.

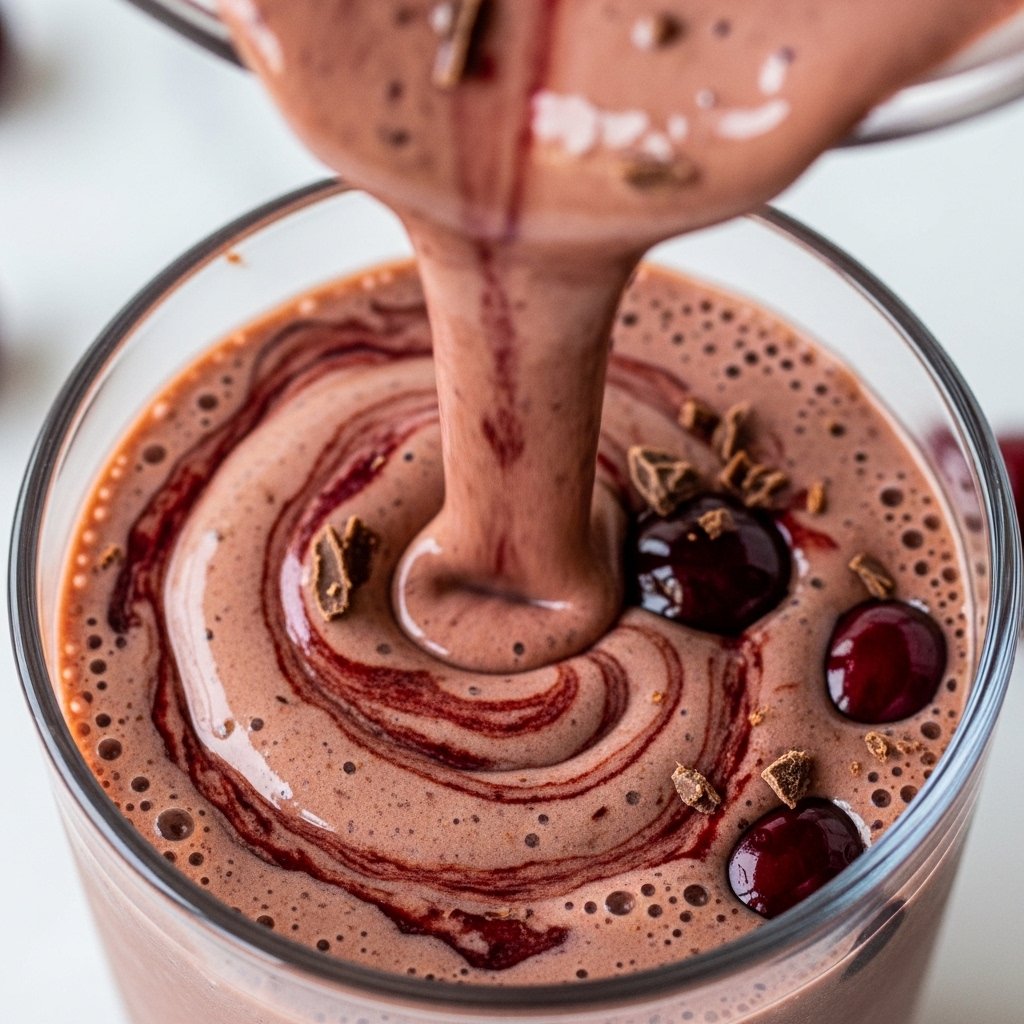
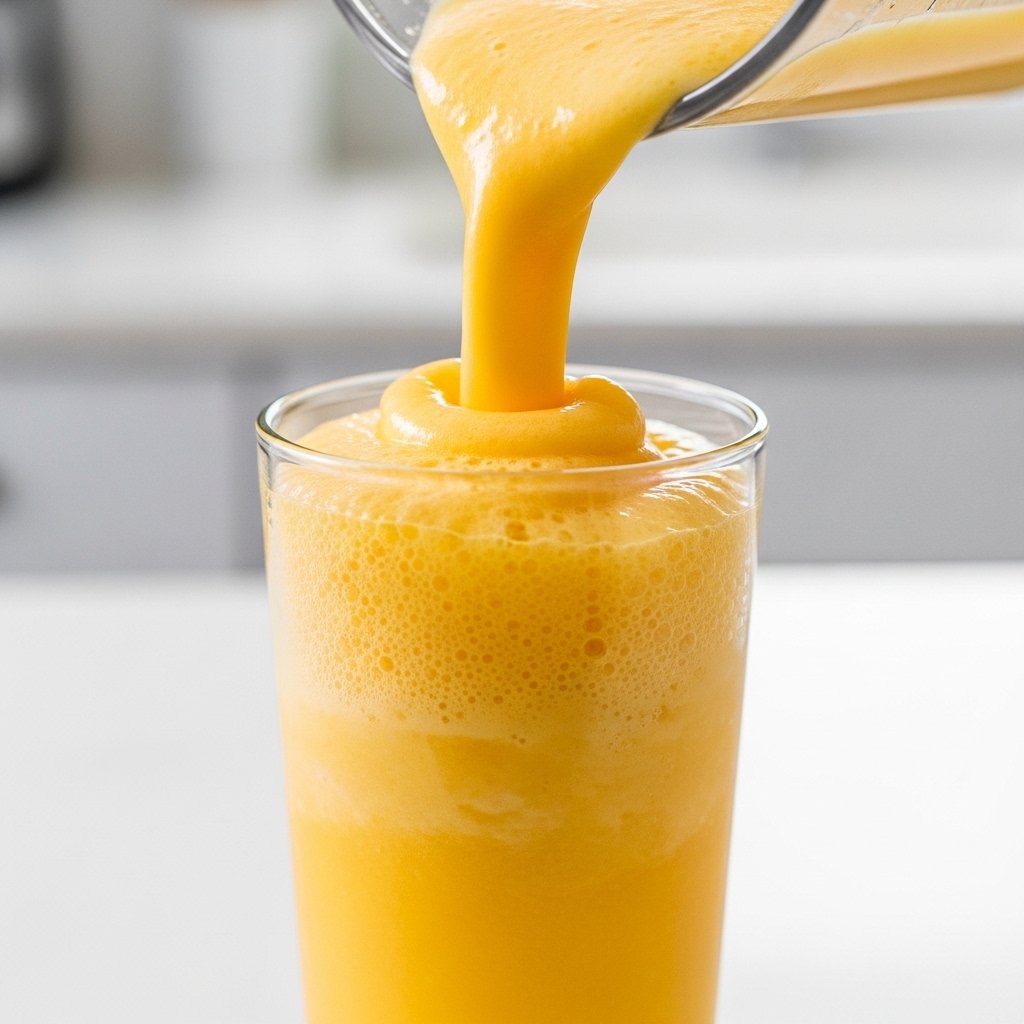
6. Serve Immediately

Pour into a glass and enjoy fresh for the best flavor and texture.

Tips for Perfect Results

To make your Apple Pie Smoothie absolutely perfect every time, keep these tips in mind:

  • Use frozen banana for a creamier consistency
  • Soak oats for 5 minutes if you want an ultra-smooth texture
  • Add more milk gradually to control thickness
  • Blend longer than you think to fully incorporate oats
  • Chill your ingredients beforehand for a colder smoothie

Small details like these can elevate your smoothie from good to café-quality.
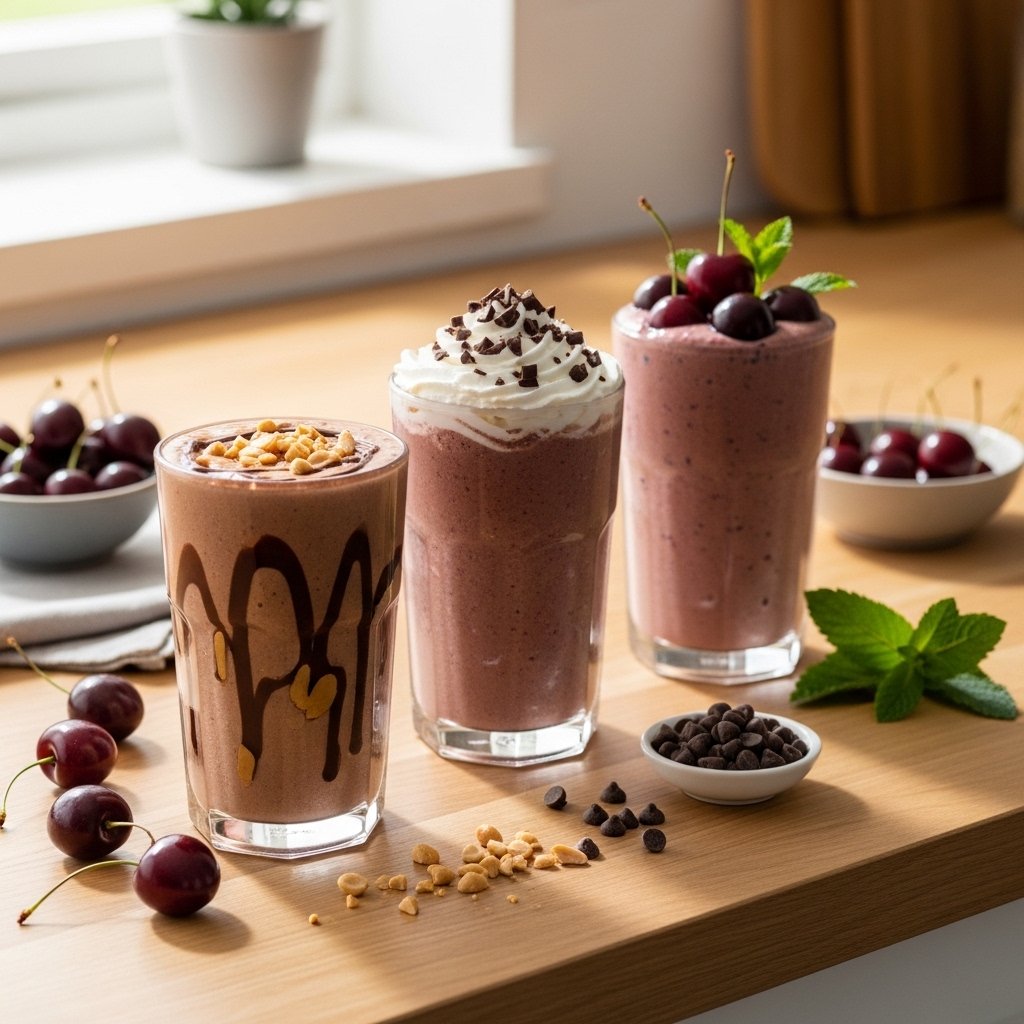
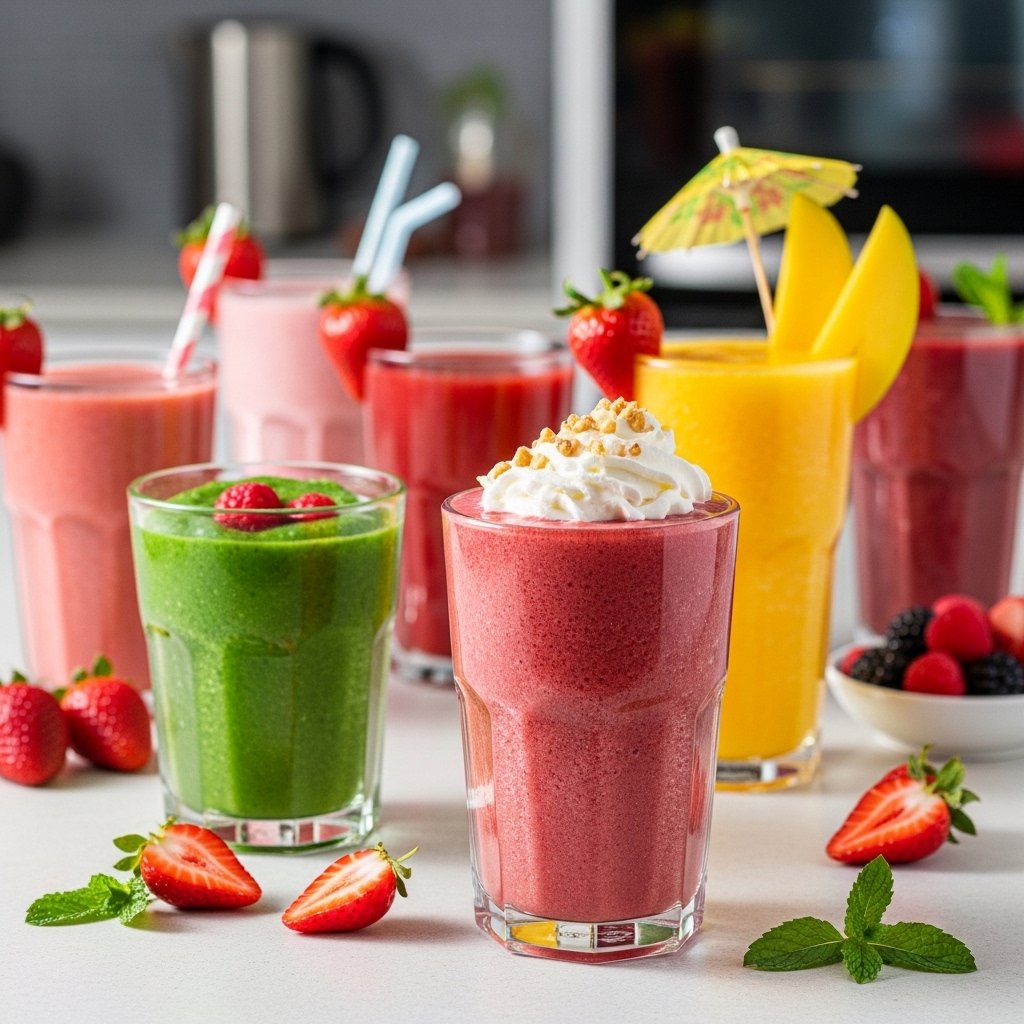
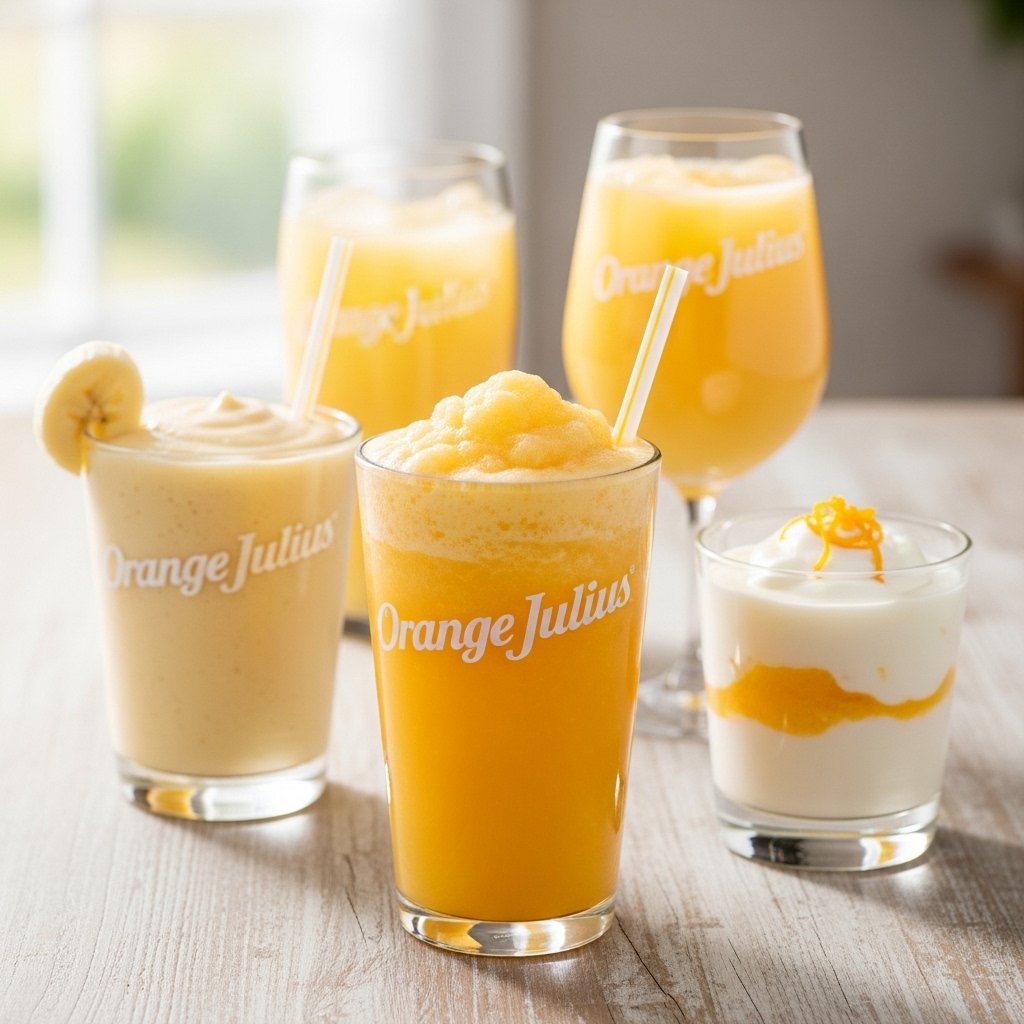
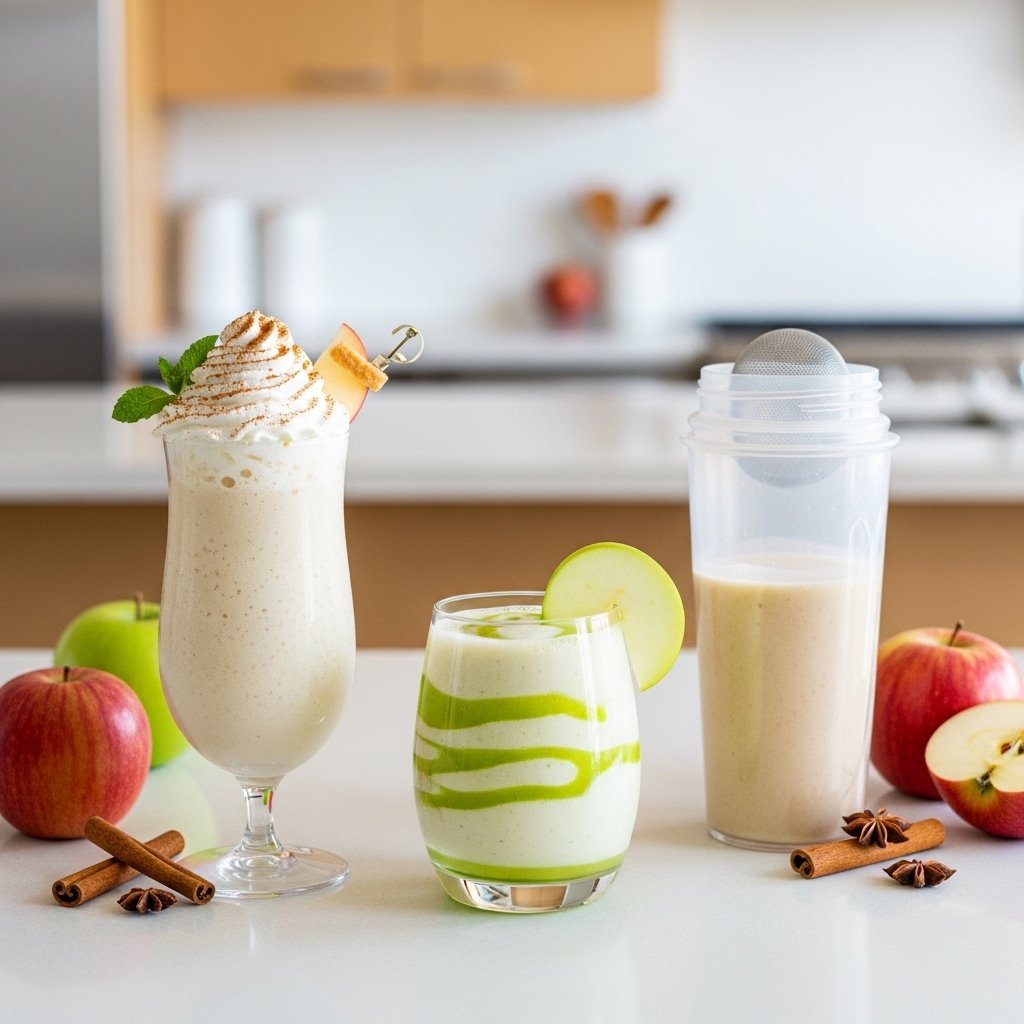
Variations

One of the best parts about this Apple Pie Smoothie is how customizable it is.

Dairy-Free Option

Use almond milk and dairy-free yogurt for a completely plant-based version.

Protein-Packed Version

Add a scoop of vanilla or unflavored protein powder.

Green Apple Twist

Use tart green apples for a more tangy flavor profile.
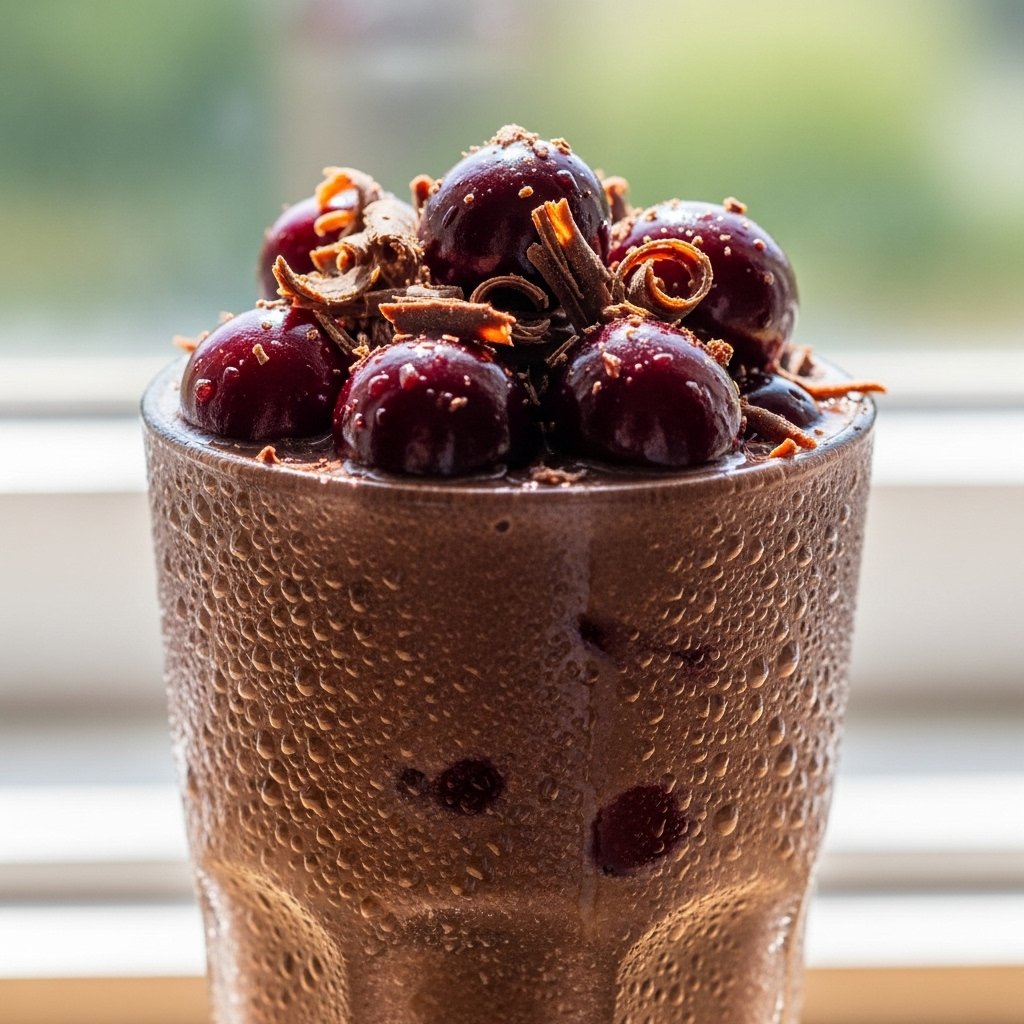
Dessert Smoothie

Add a scoop of vanilla ice cream or whipped cream on top for a treat-like version.

What to Serve With It

This Apple Pie Smoothie pairs beautifully with:

  • Whole grain toast or bagels
  • Scrambled eggs or omelets
  • Granola bars or muffins
  • Fresh fruit platters

It’s also satisfying enough to enjoy on its own as a quick meal replacement.
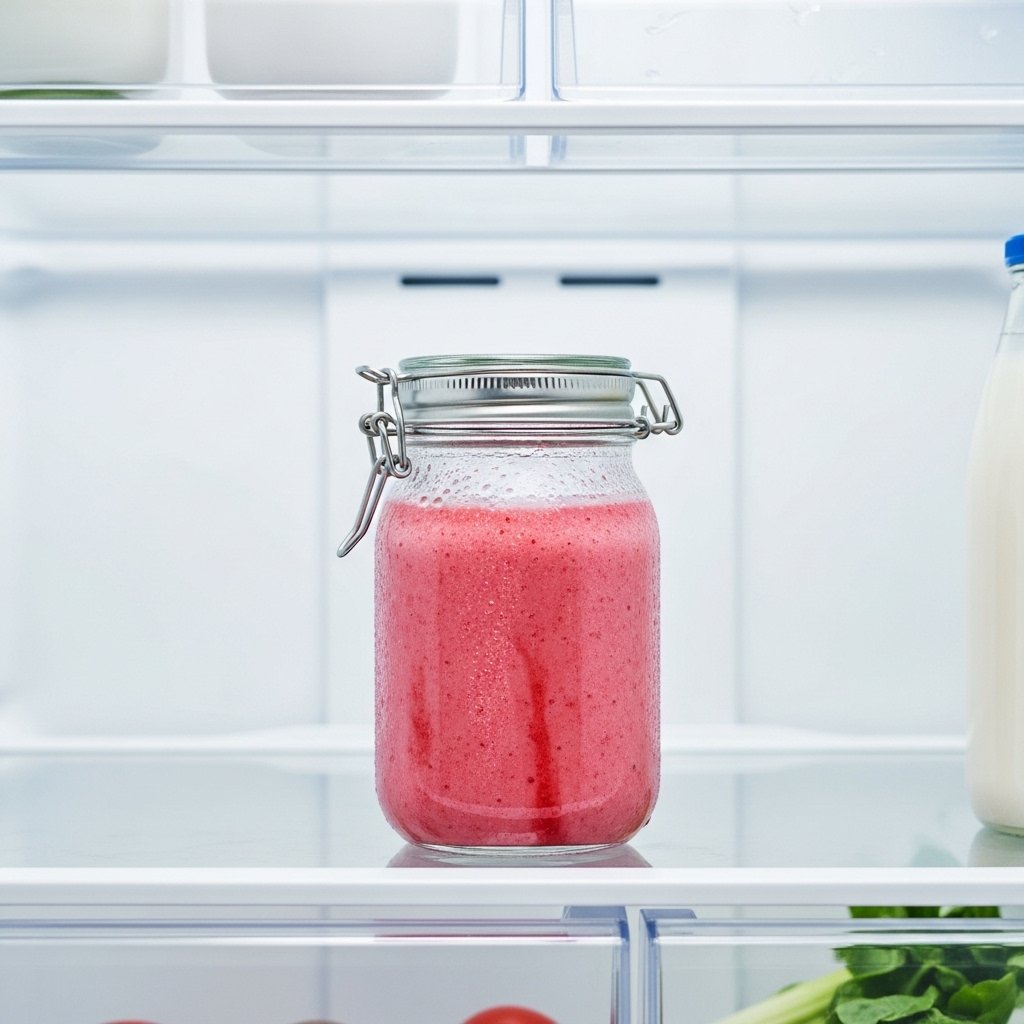
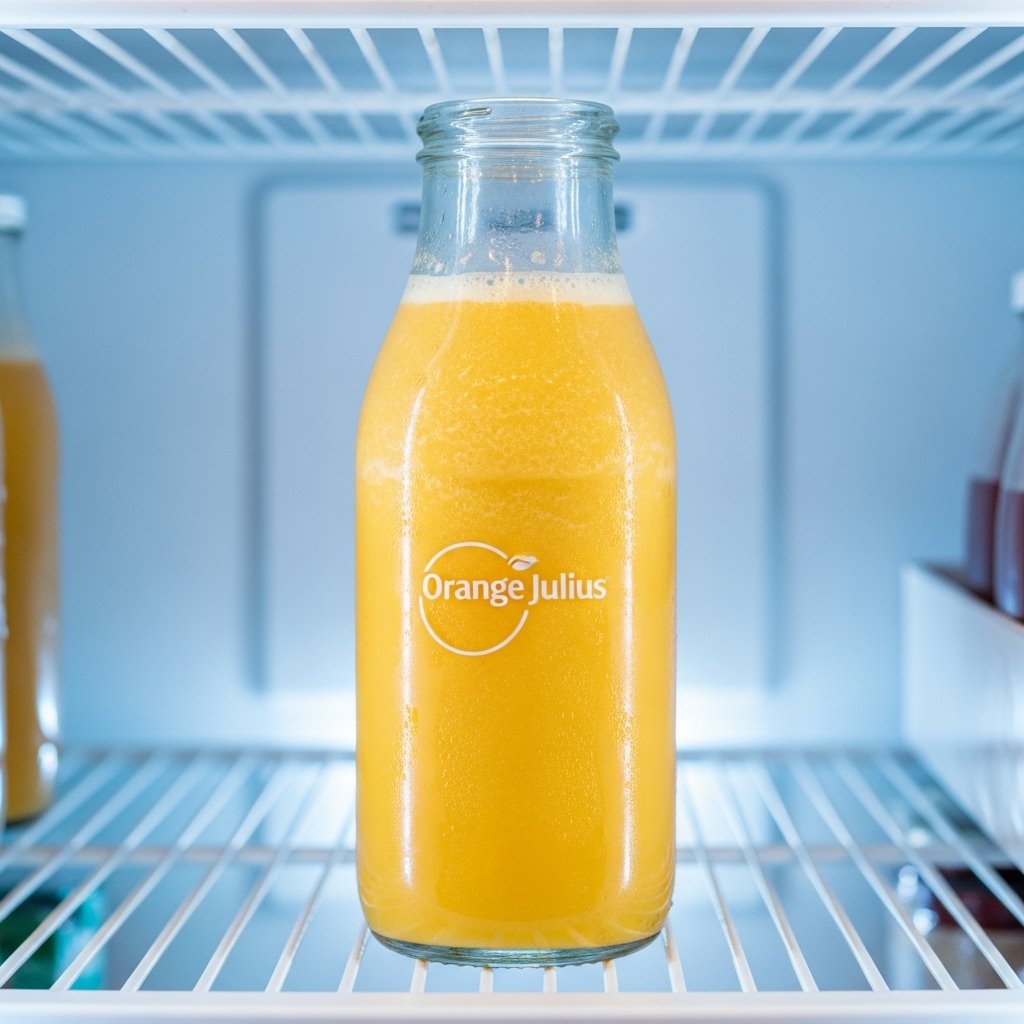
Storage & Reheating

While this smoothie is best fresh, you can store leftovers:

  • Refrigerator: Store in an airtight container for up to 24 hours
  • Freezer: Freeze into cubes and re-blend later

Give it a good shake or stir before drinking, as separation may occur.

Common Mistakes to Avoid

Even a simple Apple Pie Smoothie can go wrong without proper attention:

  • Using too much ice, which dilutes flavor
  • Skipping spices, resulting in a bland smoothie
  • Not blending oats thoroughly
  • Adding too much liquid, making it watery

Avoid these pitfalls for the best results every time.

FAQs

Can I make this smoothie without banana?

Yes, you can substitute banana with yogurt, avocado, or even frozen cauliflower for creaminess.

Is this Apple Pie Smoothie healthy?

Absolutely. It’s packed with fiber, vitamins, and can be adjusted to fit your dietary needs.

Can I prepare it ahead of time?

Yes, but it’s best consumed fresh. If storing, keep it refrigerated and shake well before drinking.

What type of milk works best?

Any milk works! Almond, oat, dairy, or coconut milk all pair well with the apple pie flavors.

Final Thoughts

This Apple Pie Smoothie is the perfect way to enjoy the comforting flavors of a classic dessert in a healthier, more convenient form. It’s creamy, spiced, naturally sweet, and endlessly customizable—making it a staple recipe you’ll want to keep on repeat.

Whether you’re blending it up for breakfast, a snack, or a cozy treat, this smoothie delivers that nostalgic apple pie flavor in every sip. Once you try it, it might just replace your dessert cravings altogether.

Creamsicle Slushy – Smoothie Recipe (Refreshing Orange Vanilla Treat)

If you’ve ever loved the nostalgic flavor of an orange creamsicle popsicle, this Creamsicle slushy smoothie recipe is about to become your new obsession. It’s bright, citrusy, creamy, and incredibly refreshing—perfect for hot summer days or whenever you need a quick, feel-good treat. The combination of sweet orange and smooth vanilla creates a dreamy balance that tastes indulgent but can easily be made healthy.

This recipe isn’t just delicious—it’s also incredibly simple to make with just a handful of ingredients. Whether you’re whipping it up for breakfast, an afternoon pick-me-up, or a light dessert, this smoothie delivers both flavor and satisfaction in every sip.

Creamsicle Slushy

Why You’ll Love This Creamsicle Slushy Smoothie

This Creamsicle slushy smoothie recipe is more than just a drink—it’s an experience. Here’s why it stands out:

  • Refreshing and hydrating thanks to citrus and ice
  • Naturally sweet and creamy without needing heavy cream
  • Quick and easy—ready in under 5 minutes
  • Customizable for different dietary needs
  • Kid-friendly and adult-approved

It’s also a great way to sneak in vitamin C while enjoying something that feels like a treat rather than a health food.

Ingredients

To make this dreamy Creamsicle slushy smoothie recipe, you’ll need:

  • 1 cup fresh orange juice (or freshly squeezed oranges)
  • 1/2 cup vanilla yogurt (Greek or regular)
  • 1 cup ice cubes
  • 1/2 frozen banana (for creaminess)
  • 1/2 teaspoon vanilla extract
  • 1–2 tablespoons honey or maple syrup (optional)
  • 1/4 cup milk (dairy or non-dairy)

Ingredient Notes

Choosing the Best Oranges

Freshly squeezed orange juice will always give your Creamsicle slushy smoothie recipe the brightest and most vibrant flavor. If you’re using store-bought juice, opt for one without added sugars.

Yogurt Matters

Vanilla yogurt adds both sweetness and creaminess. Greek yogurt makes the smoothie thicker and adds protein, while regular yogurt keeps it lighter.

Banana for Texture

The frozen banana is the secret weapon here—it creates that silky, milkshake-like consistency without needing ice cream.

Step-by-Step Instructions

Making this Creamsicle slushy smoothie recipe couldn’t be easier:

1. Add Ingredients to Blender

Place the orange juice, yogurt, frozen banana, vanilla extract, milk, and sweetener (if using) into your blender.

2. Add Ice

Toss in the ice cubes to give it that slushy texture.

3. Blend Until Smooth

Blend on high speed until the mixture is creamy and smooth with no ice chunks remaining.

4. Taste and Adjust

Taste your smoothie and adjust sweetness or vanilla flavor if needed.

5. Serve Immediately

Pour into a chilled glass and enjoy right away for the best texture.

Tips for Perfect Results

To elevate your Creamsicle slushy smoothie recipe, keep these expert tips in mind:

  • Use frozen fruit instead of fresh for a thicker consistency
  • Don’t skip the vanilla extract—it’s key to that creamsicle flavor
  • Blend in stages if your blender struggles with ice
  • Chill your glass beforehand for an extra refreshing experience
  • Adjust liquid gradually to control thickness

These small tweaks can make a noticeable difference in flavor and texture.

Variations

One of the best things about this Creamsicle slushy smoothie recipe is how versatile it is.

Dairy-Free Version

Use coconut yogurt and almond milk for a completely dairy-free option.

Protein Boost

Add a scoop of vanilla protein powder to turn it into a post-workout smoothie.

Tropical Twist

Blend in some pineapple or mango for a tropical creamsicle vibe.

Dessert Style

Add a scoop of vanilla ice cream for a richer, dessert-like version.

What to Serve With It

This Creamsicle slushy smoothie recipe pairs beautifully with:

  • Light breakfast items like toast or muffins
  • Granola or overnight oats
  • Fresh fruit bowls
  • Brunch spreads with eggs and pastries

It also works great as a standalone snack when you need something quick and energizing.

Storage & Reheating

While this smoothie is best enjoyed fresh, you can store it if needed:

  • Refrigerator: Store in an airtight container for up to 24 hours (shake before drinking)
  • Freezer: Freeze in popsicle molds for a fun frozen treat

Avoid reheating—this is meant to be enjoyed cold and refreshing.

Common Mistakes to Avoid

Even a simple Creamsicle slushy smoothie recipe can go wrong if you’re not careful:

  • Too much ice: Can water down the flavor
  • Skipping sweetness balance: Oranges vary in sweetness
  • Not blending long enough: Leaves icy chunks
  • Overloading liquid: Results in a runny smoothie

Pay attention to these details to get perfect results every time.

FAQs

Can I make this smoothie without banana?

Yes! Substitute with frozen mango or a bit of avocado for creaminess.

Is this smoothie healthy?

Absolutely. This Creamsicle slushy smoothie recipe can be very nutritious, especially if you control the sweeteners and use natural ingredients.

Can I use bottled orange juice?

Yes, but fresh juice will give you a brighter, more authentic flavor.

How can I make it thicker?

Use less liquid or add more frozen fruit like banana or ice.

Final Thoughts

This Creamsicle slushy smoothie recipe is the perfect blend of nostalgia and nutrition. It’s refreshing, creamy, and incredibly easy to make, making it a go-to recipe for busy mornings, hot afternoons, or even a light dessert. With endless customization options and simple ingredients, it’s a recipe you’ll come back to again and again.

Once you try it, don’t be surprised if it becomes a staple in your kitchen—because few things are as satisfying as that perfect orange-vanilla swirl in a cold, creamy sip.

Easy Chocolate Cherry Smoothie Recipe (Rich, Creamy & Naturally Sweet)

If you’re craving something chocolatey but still want to keep things on the healthier side, this Easy Chocolate Cherry Smoothie Recipe is about to become your new favorite. It’s rich, creamy, slightly indulgent, and packed with the natural sweetness of cherries—making it feel like dessert in a glass.

This smoothie blends the bold flavor of cocoa with juicy cherries to create a perfectly balanced drink. Whether you’re starting your day or treating yourself after dinner, it’s a delicious option you can feel good about.

Why You’ll Love This Easy Chocolate Cherry Smoothie Recipe

This Easy Chocolate Cherry Smoothie Recipe is simple, satisfying, and versatile.

  • Rich chocolate flavor without being overly heavy
  • Naturally sweet from cherries and fruit
  • Quick and easy—ready in minutes
  • Perfect for breakfast, snacks, or dessert
  • Customizable with healthy add-ins

Ingredients

For the Smoothie:

  • 1 cup frozen cherries
  • 1 banana
  • 1 cup milk (dairy or plant-based)
  • 1 tablespoon unsweetened cocoa powder
  • ½ cup Greek yogurt (optional)
  • 1 teaspoon honey or maple syrup (optional)
  • ½ cup ice cubes (if needed)

Ingredient Notes

The magic of this Easy Chocolate Cherry Smoothie Recipe comes from the combination of tart cherries and rich cocoa powder. Frozen cherries are ideal because they create a thick, frosty texture.

Banana adds natural sweetness and creaminess, while yogurt boosts protein and gives the smoothie a velvety consistency. You can easily adjust sweetness depending on your taste.

Step-by-Step Instructions

1. Add Ingredients to Blender

Combine cherries, banana, milk, cocoa powder, yogurt, and sweetener.

2. Blend Until Smooth

Blend on high until creamy and fully combined.

3. Adjust Consistency

Add more milk for a thinner smoothie or ice for thickness.

4. Serve Immediately

Pour into a glass and enjoy fresh.

Tips for Perfect Results

To make the best Easy Chocolate Cherry Smoothie Recipe, keep these tips in mind:

  • Use frozen cherries for a thicker texture
  • Choose high-quality cocoa powder for better flavor
  • Blend thoroughly for a smooth consistency
  • Taste and adjust sweetness as needed

These tips help you achieve a perfectly balanced smoothie every time.

Variations

Switch things up with these creative ideas:

  • Add protein powder for a post-workout boost
  • Use almond or oat milk for a dairy-free version
  • Add spinach for a hidden nutrient boost
  • Blend in peanut butter for extra richness

What to Serve With It

This Easy Chocolate Cherry Smoothie Recipe pairs well with:

  • Granola or oatmeal
  • Toast with nut butter
  • Breakfast muffins
  • Light brunch dishes

It’s a great addition to any balanced meal.

Storage & Reheating

This smoothie is best enjoyed fresh, but you can store it:

  • Refrigerator: up to 24 hours (shake before drinking)
  • Freezer: freeze into smoothie cubes or popsicles

Common Mistakes to Avoid

  • Adding too much liquid (makes it watery)
  • Not blending long enough
  • Using low-quality cocoa powder
  • Skipping frozen ingredients for thickness

Avoid these for the best results.

FAQs

1. Can I use fresh cherries?

Yes, but add ice to maintain thickness.

2. Is this smoothie healthy?

Yes, especially when made without added sugar.

3. Can I make it vegan?

Absolutely—use plant-based milk and skip yogurt or use a dairy-free version.

4. Can I add protein powder?

Yes, it’s a great addition for extra nutrition.

Final Thoughts

This Easy Chocolate Cherry Smoothie Recipe is rich, creamy, and incredibly satisfying. It’s the perfect blend of indulgence and nutrition in one simple drink.

Chocolate Cherry Smoothie

Once you try it, you’ll love how easy it is to enjoy a chocolatey treat that’s also good for you.

Healthy Strawberry Smoothie Recipe (Creamy, Fresh & Naturally Sweet)

If you’re looking for a refreshing, nutritious drink that’s quick and delicious, this Healthy Strawberry Smoothie Recipe is exactly what you need. It’s naturally sweet, incredibly creamy, and packed with fresh strawberry flavor—perfect for busy mornings, post-workout fuel, or a light afternoon snack.

Strawberry Smoothie

This smoothie is made with wholesome ingredients and comes together in just minutes. Whether you’re new to smoothies or already a fan, this recipe is one you’ll keep coming back to.

Why You’ll Love This Healthy Strawberry Smoothie Recipe

This Healthy Strawberry Smoothie Recipe is simple, delicious, and versatile.

  • Naturally sweet with no refined sugar required
  • Creamy texture without heavy ingredients
  • Quick and easy—ready in under 5 minutes
  • Packed with vitamins and nutrients
  • Perfect for breakfast, snacks, or post-workout

Ingredients

For the Smoothie:

  • 1 cup fresh or frozen strawberries
  • 1 banana (for natural sweetness)
  • ¾ cup milk (dairy or plant-based)
  • ½ cup Greek yogurt (optional for creaminess)
  • 1 teaspoon honey or maple syrup (optional)
  • ½ cup ice cubes (if using fresh strawberries)

Ingredient Notes

The beauty of this Healthy Strawberry Smoothie Recipe is its flexibility. Frozen strawberries create a thicker texture, while fresh strawberries give a lighter, more refreshing consistency.

Banana acts as a natural sweetener and thickener, while Greek yogurt adds protein and creaminess. You can easily swap milk for almond, oat, or coconut milk.

Step-by-Step Instructions

1. Add Ingredients to Blender

Combine strawberries, banana, milk, yogurt, sweetener (if using), and ice.

2. Blend Until Smooth

Blend on high until creamy and fully combined.

3. Taste and Adjust

Add more sweetener or milk if needed.

4. Serve Immediately

Pour into a glass and enjoy fresh.

Tips for Perfect Results

To make the best Healthy Strawberry Smoothie Recipe, keep these tips in mind:

  • Use frozen fruit for a thicker smoothie
  • Blend long enough for a silky texture
  • Adjust liquid to control thickness
  • Use ripe bananas for natural sweetness

These simple tips help you get the perfect smoothie every time.

Variations

This smoothie is easy to customize:

  • Add spinach for a green smoothie boost
  • Use protein powder for extra nutrition
  • Swap banana for mango or pineapple
  • Add chia seeds or flaxseeds for fiber

What to Serve With It

This Healthy Strawberry Smoothie Recipe pairs perfectly with:

  • Granola or oatmeal
  • Toast with peanut butter
  • Muffins or breakfast bars
  • Light brunch dishes

It’s a great addition to any balanced meal.

Storage & Reheating

Smoothies are best enjoyed fresh, but you can store them:

  • Refrigerator: up to 24 hours (shake before drinking)
  • Freezer: pour into ice cube trays or popsicle molds

Common Mistakes to Avoid

  • Adding too much liquid (makes it watery)
  • Not blending long enough
  • Using unripe fruit (less sweetness)
  • Skipping frozen ingredients for thickness

Avoid these for the best results.

FAQs

1. Can I make this smoothie without banana?

Yes, substitute with yogurt or frozen mango.

2. Is this smoothie good for weight loss?

It can be, especially when made without added sugar.

3. Can I use frozen strawberries?

Absolutely—they make the smoothie thicker.

4. How do I make it dairy-free?

Use plant-based milk and skip yogurt or use a dairy-free version.

Final Thoughts

This Healthy Strawberry Smoothie Recipe is fresh, creamy, and packed with natural flavor. It’s quick, nutritious, and perfect for any time of day.

Once you try it, it’s sure to become a staple in your daily routine.

Orange Julius Recipe (Creamy, Frothy & Better Than the Mall!)

If you’ve ever sipped on a cold, frothy citrus drink at the mall and wondered how to recreate it at home, this Orange Julius Recipe is exactly what you need. It’s creamy, refreshing, perfectly sweet, and bursting with bright orange flavor—plus, it comes together in just minutes with simple ingredients.

Orange Julius

This homemade version captures that nostalgic flavor but tastes even better because it’s fresh and customizable. Whether you’re making it for breakfast, an afternoon pick-me-up, or a summer treat, this drink always hits the spot.

Why You’ll Love This Orange Julius Recipe

This Orange Julius Recipe is a must-try for citrus lovers and smoothie fans alike.

  • Creamy and frothy texture just like the original
  • Quick and easy—ready in under 5 minutes
  • Made with simple pantry and fridge ingredients
  • Perfect balance of sweet and tangy flavors
  • Kid-friendly and great for all ages

Ingredients

For the Orange Julius:

  • 1 cup orange juice (fresh or store-bought)
  • 1 cup milk (dairy or non-dairy)
  • ¼ cup granulated sugar
  • 1 teaspoon vanilla extract
  • 1 cup ice cubes

Optional:

  • 1 tablespoon powdered sugar (for extra sweetness)
  • Orange zest for garnish

Ingredient Notes

The key to a perfect Orange Julius Recipe is using high-quality orange juice. Freshly squeezed juice gives the brightest flavor, but a good store-bought version works too.

Milk adds creaminess, while vanilla enhances the overall flavor, giving that signature “creamsicle” taste. Ice is essential for that thick, frothy texture.

Step-by-Step Instructions

1. Add Ingredients to Blender

Combine orange juice, milk, sugar, vanilla, and ice in a blender.

2. Blend Until Smooth

Blend on high until the mixture is creamy and frothy.

3. Taste and Adjust

Add more sugar if needed for sweetness.

4. Serve Immediately

Pour into glasses and enjoy right away for best texture.

Tips for Perfect Results

To make the best Orange Julius Recipe, keep these tips in mind:

  • Use cold ingredients for best texture
  • Blend long enough to create foam
  • Adjust sweetness to your preference
  • Serve immediately before foam settles

These small steps ensure a smooth, creamy drink every time.

Variations

This recipe is easy to customize:

  • Add banana for a smoothie twist
  • Use Greek yogurt for extra creaminess
  • Make it dairy-free with almond or oat milk
  • Add protein powder for a breakfast boost

What to Serve With It

This Orange Julius Recipe pairs perfectly with:

  • Pancakes or waffles
  • Breakfast pastries
  • Toast or muffins
  • Light brunch dishes

It’s a refreshing addition to any breakfast table.

Storage & Reheating

Since this is a fresh drink, it’s best enjoyed immediately. However:

  • Refrigerator: store up to 24 hours (shake before drinking)
  • Freezer: freeze into popsicles for a fun treat

Common Mistakes to Avoid

  • Not blending long enough (less frothy texture)
  • Using warm ingredients (affects consistency)
  • Adding too much sugar (overly sweet)
  • Letting it sit too long before serving

Avoiding these ensures perfect results.

FAQs

1. Can I use bottled orange juice?

Yes, but fresh juice gives better flavor.

2. Is Orange Julius healthy?

It can be! Adjust sugar or use natural sweeteners.

3. Can I make it vegan?

Absolutely—just use plant-based milk.

4. Why is my drink not frothy?

It may need more blending or more ice.

Final Thoughts

This Orange Julius Recipe is creamy, refreshing, and incredibly easy to make at home. It delivers that nostalgic flavor you love with even better freshness and quality.

Once you try it, you’ll never need the mall version again—this homemade drink is simply better in every way.

My Go-To Brown Butter Chocolate Chip Cookies (Thick & Chewy!)

If you’re searching for the ultimate cookie upgrade, these My Go-To Brown Butter Chocolate Chip Cookies (Thick & Chewy!) are about to become your new obsession. By simply browning the butter, you unlock a deep, nutty flavor that transforms classic chocolate chip cookies into something truly bakery-worthy.

Chocolate Chip Cookies

These cookies are rich, chewy, and loaded with chocolate, with slightly crisp edges and soft centers. They’re the kind of cookie that makes people ask for the recipe after just one bite.

Why You’ll Love These Brown Butter Chocolate Chip Cookies

These Brown Butter Chocolate Chip Cookies (Thick & Chewy!) stand out for their incredible flavor and texture.

  • Deep, nutty flavor from browned butter
  • Thick and chewy centers with crisp edges
  • Loaded with gooey chocolate chunks
  • Bakery-style cookies made at home
  • Perfect balance of sweet and rich flavors

Ingredients

For the Cookies:

  • 1 cup unsalted butter (browned and cooled)
  • 1 cup brown sugar
  • ½ cup granulated sugar
  • 2 large eggs
  • 2 teaspoons vanilla extract
  • 2 ½ cups all-purpose flour
  • 1 teaspoon baking soda
  • ½ teaspoon salt
  • 1 ½ cups chocolate chunks

Ingredient Notes

The star of these Brown Butter Chocolate Chip Cookies (Thick & Chewy!) is, of course, the brown butter. When butter is gently cooked, the milk solids toast and create a rich, caramel-like aroma.

Brown sugar adds moisture and chewiness, while chocolate chunks create pockets of melted chocolate throughout the cookies.

Step-by-Step Instructions

1. Brown the Butter

Melt butter in a saucepan over medium heat, stirring until golden brown and fragrant. Let cool.

2. Mix Wet Ingredients

Whisk brown butter, brown sugar, and granulated sugar. Add eggs and vanilla.

3. Combine Dry Ingredients

Whisk flour, baking soda, and salt.

4. Make Dough

Mix dry ingredients into wet mixture, then fold in chocolate chunks.

5. Chill Dough

Chill for at least 1 hour for thicker cookies.

6. Bake

Bake at 350°F for 10–12 minutes until edges are golden.

Tips for Perfect Results

To master Brown Butter Chocolate Chip Cookies (Thick & Chewy!), keep these tips in mind:

  • Cool brown butter before mixing
  • Chill dough for best texture
  • Use high-quality chocolate for richer flavor
  • Do not overbake—centers should stay soft

These tips guarantee thick, chewy cookies every time.

Variations

Customize your cookies with these delicious ideas:

  • Add toasted walnuts or pecans
  • Use dark chocolate for deeper flavor
  • Sprinkle sea salt on top before baking
  • Add caramel bits for extra indulgence

What to Serve With Them

These cookies pair perfectly with:

  • Cold milk
  • Hot coffee or espresso
  • Vanilla ice cream
  • Hot chocolate

They’re perfect for dessert, gifting, or cozy evenings.

Storage & Reheating

Store your Brown Butter Chocolate Chip Cookies (Thick & Chewy!) properly:

  • Room temperature: up to 5 days
  • Refrigerator: up to 7 days
  • Freezer: up to 3 months

To reheat:

  • Microwave for 10–15 seconds for gooey centers

Common Mistakes to Avoid

  • Not cooling brown butter (can cook eggs)
  • Skipping chilling (cookies may spread too much)
  • Overbaking (loses chewiness)
  • Using too much flour

Avoiding these ensures perfect cookies.

FAQs

1. What does brown butter do in cookies?

It adds a rich, nutty flavor and deeper complexity.

2. Can I skip chilling the dough?

You can, but cookies will spread more and be less thick.

3. Can I freeze the dough?

Yes, portion and freeze for later baking.

4. Why are my cookies not chewy?

They may have been overbaked or lacked enough brown sugar.

Final Thoughts

These My Go-To Brown Butter Chocolate Chip Cookies (Thick & Chewy!) are everything you want in a cookie—rich, soft, chewy, and packed with flavor.

Once you try them, they’ll quickly become your go-to recipe for any occasion.

The Best Soft Chocolate Chip Cookies | Sally’s Baking Addiction Style

There’s nothing quite like biting into a perfectly soft, warm cookie loaded with gooey chocolate. These The Best Soft Chocolate Chip Cookies | Sally’s Baking Addiction style are everything a cookie lover dreams of—thick centers, slightly crisp edges, and rich chocolate in every bite.

Chocolate Chip Cookies

This recipe is designed to deliver bakery-quality results right in your own kitchen. Whether you’re baking for a special occasion or just satisfying a sweet craving, these cookies never disappoint.

Why You’ll Love These Soft Chocolate Chip Cookies

These The Best Soft Chocolate Chip Cookies truly stand out from the rest.

  • Ultra-soft centers with chewy texture
  • Perfect balance of sweet and buttery flavor
  • Loaded with melty chocolate chips
  • Easy to make with simple ingredients
  • Perfect for freezing and make-ahead baking

Ingredients

For the Cookies:

  • ¾ cup unsalted butter (softened)
  • ¾ cup brown sugar
  • ¼ cup granulated sugar
  • 1 large egg + 1 egg yolk
  • 2 teaspoons vanilla extract
  • 2 cups all-purpose flour
  • 1 teaspoon baking soda
  • ½ teaspoon salt
  • 1 ½ cups chocolate chips or chunks

Ingredient Notes

The secret to achieving The Best Soft Chocolate Chip Cookies | Sally’s Baking Addiction style is the combination of brown sugar and an extra egg yolk. This creates a moist, chewy texture that stays soft for days.

Using high-quality chocolate chips or chunks ensures rich flavor in every bite, while softened butter helps create a smooth, creamy dough.

Step-by-Step Instructions

1. Cream Butter and Sugars

Beat butter, brown sugar, and granulated sugar until light and fluffy.

2. Add Wet Ingredients

Mix in egg, egg yolk, and vanilla extract until smooth.

3. Combine Dry Ingredients

Whisk flour, baking soda, and salt in a separate bowl.

4. Mix Dough

Gradually combine wet and dry ingredients, then fold in chocolate chips.

5. Chill Dough (Optional but Recommended)

Chill for 30–60 minutes for thicker cookies.

6. Bake

Bake at 350°F for 10–12 minutes until edges are lightly golden.

Tips for Perfect Results

To make the best The Best Soft Chocolate Chip Cookies, follow these expert tips:

  • Use room temperature ingredients for even mixing
  • Don’t overbake—centers should look slightly underdone
  • Chill dough for thicker cookies
  • Measure flour correctly to avoid dense cookies

These tips ensure soft, bakery-style cookies every time.

Variations

Customize your cookies with these ideas:

  • Add chopped walnuts or pecans
  • Use dark chocolate chips for richer flavor
  • Mix in white chocolate or caramel bits
  • Sprinkle sea salt on top for contrast

What to Serve With Them

These cookies pair perfectly with:

  • Cold milk
  • Hot coffee or espresso
  • Vanilla ice cream
  • Hot chocolate

They’re ideal for dessert, snacks, or sharing with friends.

Storage & Reheating

Store your The Best Soft Chocolate Chip Cookies properly:

  • Room temperature: up to 5 days
  • Refrigerator: up to 7 days
  • Freezer: up to 3 months

To reheat:

  • Microwave for 10–15 seconds for gooey centers

Common Mistakes to Avoid

  • Overbaking cookies (causes dryness)
  • Using too much flour
  • Skipping chilling (if thicker cookies desired)
  • Overmixing dough

Avoid these mistakes for perfect cookies every time.

FAQs

1. Why are my cookies not soft?

They may have been overbaked or had too much flour.

2. Can I freeze the dough?

Yes, scoop and freeze for future baking.

3. What makes cookies chewy?

Brown sugar and egg yolk add moisture and chewiness.

4. Can I use salted butter?

Yes, just reduce added salt slightly.

Final Thoughts

These The Best Soft Chocolate Chip Cookies | Sally’s Baking Addiction style are soft, chewy, and packed with rich chocolate flavor. They’re simple to make and deliver bakery-quality results every time.

Whether you’re baking for family, friends, or just yourself, this recipe is one you’ll return to again and again.

6 Giant Chocolate Chip Cookies (No Chilling) | Sally’s Baking Addiction Style

There’s something magical about oversized, bakery-style cookies—especially when they’re warm, gooey, and packed with chocolate. These 6 Giant Chocolate Chip Cookies (No Chilling) | Sally’s Baking Addiction style deliver everything you love without the wait. No chilling, no complicated steps—just mix, bake, and enjoy.

6 Giant Chocolate Chip Cookies

This recipe is perfect for when you want that classic homemade cookie flavor fast. Each cookie is thick, soft in the center, and slightly crisp on the edges—just like your favorite bakery version.

Why You’ll Love These Giant Chocolate Chip Cookies

These 6 Giant Chocolate Chip Cookies (No Chilling) are a dream come true for cookie lovers.

  • No chilling required—ready in under 30 minutes
  • Thick, soft centers with slightly crisp edges
  • Loaded with gooey chocolate chips
  • Perfectly portioned into 6 giant cookies
  • Simple ingredients, big bakery-style results

Ingredients

For the Cookies:

  • ½ cup unsalted butter (melted)
  • ½ cup brown sugar
  • ¼ cup granulated sugar
  • 1 large egg + 1 egg yolk
  • 1 tablespoon vanilla extract
  • 1 ½ cups all-purpose flour
  • ½ teaspoon baking soda
  • ¼ teaspoon salt
  • 1 cup chocolate chips or chunks

Ingredient Notes

The secret to perfect 6 Giant Chocolate Chip Cookies (No Chilling) lies in melted butter and the extra egg yolk. These create a rich, chewy texture without needing to chill the dough.

Brown sugar adds moisture and depth, while chocolate chunks give those irresistible melty pockets throughout the cookies.

Step-by-Step Instructions

1. Mix Wet Ingredients

Whisk melted butter, brown sugar, and granulated sugar until smooth. Add egg, egg yolk, and vanilla.

2. Add Dry Ingredients

Stir in flour, baking soda, and salt until just combined.

3. Fold in Chocolate

Add chocolate chips or chunks and mix gently.

4. Shape Cookies

Divide dough into 6 large portions and place on baking sheet.

5. Bake

Bake at 375°F for 12–15 minutes until edges are golden and centers are soft.

6. Cool Slightly

Let cookies rest before serving for best texture.

Tips for Perfect Results

To make the best 6 Giant Chocolate Chip Cookies (No Chilling):

  • Do not overmix the dough
  • Use room temperature eggs for better blending
  • Bake until edges are set but centers look slightly underdone
  • Use high-quality chocolate for richer flavor

These tips ensure soft, bakery-style cookies every time.

Variations

Switch things up with these ideas:

  • Add chopped walnuts or pecans
  • Use dark chocolate instead of semi-sweet
  • Sprinkle sea salt on top before baking
  • Add white chocolate chips or caramel bits

What to Serve With Them

These cookies pair perfectly with:

  • Cold milk
  • Hot coffee or latte
  • Vanilla ice cream (for cookie sandwiches)
  • Hot chocolate

Perfect for dessert, snacks, or sharing.

Storage & Reheating

Store your 6 Giant Chocolate Chip Cookies (No Chilling) properly:

  • Room temperature: up to 3 days
  • Refrigerator: up to 5 days
  • Freezer: up to 2 months

To reheat:

  • Microwave for 10–15 seconds for gooey centers

Common Mistakes to Avoid

  • Overbaking (leads to dry cookies)
  • Using too much flour (makes cookies dense)
  • Not spacing cookies enough (they spread)
  • Skipping parchment paper (can cause sticking)

Avoiding these ensures perfect cookies every time.

FAQs

1. Can I make smaller cookies with this recipe?

Yes, just reduce baking time accordingly.

2. Why don’t these cookies need chilling?

Melted butter and ingredient balance control spread.

3. Can I freeze the dough?

Yes, portion and freeze for later baking.

4. How do I make them extra gooey?

Slightly underbake and use more chocolate chunks.

Final Thoughts

These 6 Giant Chocolate Chip Cookies (No Chilling) | Sally’s Baking Addiction style are everything you want in a cookie—big, soft, gooey, and incredibly easy to make.

Whether you’re baking for yourself or sharing with friends, this recipe delivers bakery-quality cookies in no time.

Dark Chocolate Chunk Oatmeal Cookies | Sally’s Baking Addiction Style

If you love cookies that are thick, chewy, and loaded with rich chocolate, these Dark Chocolate Chunk Oatmeal Cookies | Sally’s Baking Addiction style are about to become your new go-to treat. They combine hearty oats with big chunks of dark chocolate for the perfect balance of texture and flavor.

Dark Chocolate Chunk Oatmeal Cookies

These cookies are cozy, satisfying, and perfect for everything from lunchbox treats to late-night cravings. The oats give them a hearty bite, while the dark chocolate makes every bite feel indulgent.

Why You’ll Love These Dark Chocolate Chunk Oatmeal Cookies

These Dark Chocolate Chunk Oatmeal Cookies are a bakery-style classic you can make at home.

  • Thick and chewy texture with crispy edges
  • Rich dark chocolate chunks in every bite
  • Hearty oats for extra texture and flavor
  • Simple pantry ingredients
  • Perfect for freezing and make-ahead baking

Ingredients

For the Cookies:

  • 1 cup unsalted butter (softened)
  • 1 cup brown sugar (packed)
  • ½ cup granulated sugar
  • 2 large eggs
  • 2 teaspoons vanilla extract
  • 1 ½ cups all-purpose flour
  • 1 teaspoon baking soda
  • 1 teaspoon cinnamon (optional but recommended)
  • ½ teaspoon salt
  • 3 cups old-fashioned oats
  • 1 ½ cups dark chocolate chunks

Ingredient Notes

The key to perfect Dark Chocolate Chunk Oatmeal Cookies | Sally’s Baking Addiction style is using old-fashioned rolled oats—not quick oats—for that signature chewy texture.

Dark chocolate chunks melt into pools of rich chocolate throughout the cookies, creating pockets of indulgence in every bite.

Step-by-Step Instructions

1. Cream Butter and Sugars

Beat butter, brown sugar, and granulated sugar until fluffy and light.

2. Add Wet Ingredients

Mix in eggs and vanilla extract until smooth.

3. Combine Dry Ingredients

Whisk flour, baking soda, salt, and cinnamon in a separate bowl.

4. Mix Everything Together

Gradually add dry ingredients, then fold in oats and chocolate chunks.

5. Bake

Scoop dough onto baking sheet and bake at 350°F for 10–12 minutes.

6. Cool

Let cookies cool on baking sheet for chewy texture.

Tips for Perfect Results

To make the best Dark Chocolate Chunk Oatmeal Cookies, follow these tips:

  • Chill dough for thicker cookies
  • Don’t overbake for chewy centers
  • Use high-quality dark chocolate for best flavor
  • Let cookies rest after baking for perfect texture

Variations

You can easily customize these cookies:

  • Add walnuts or pecans for crunch
  • Use milk chocolate instead of dark chocolate
  • Add raisins or dried cranberries
  • Sprinkle sea salt on top before baking

What to Serve With Them

These cookies pair perfectly with:

  • Cold milk
  • Hot coffee or espresso
  • Vanilla ice cream
  • Hot chocolate

They’re perfect for cozy evenings or snack time.

Storage & Reheating

Store your Dark Chocolate Chunk Oatmeal Cookies properly:

  • Room temperature: up to 5 days
  • Refrigerator: up to 7 days
  • Freezer: up to 3 months

To reheat:

  • Microwave for 10–15 seconds for melty chocolate

Common Mistakes to Avoid

  • Overmixing dough (makes cookies tough)
  • Overbaking (removes chewiness)
  • Using quick oats (changes texture)
  • Not measuring oats correctly

FAQs

1. Can I use quick oats instead of rolled oats?

You can, but texture will be softer and less chewy.

2. Can I freeze cookie dough?

Yes, scoop dough and freeze before baking.

3. Why are my cookies flat?

Butter may have been too warm or dough not chilled.

4. Can I use chocolate chips instead of chunks?

Yes, but chunks give richer pools of chocolate.

Final Thoughts

These Dark Chocolate Chunk Oatmeal Cookies | Sally’s Baking Addiction style are thick, chewy, and loaded with rich chocolate flavor. They’re simple to make but taste like they came straight from a bakery.

Whether for gifting, snacking, or dessert cravings, this recipe is one you’ll come back to again and again.

Lemon Ginger Cookies (Easy Recipe) | Sally’s Baking Addiction Style

If you love cookies that are bright, cozy, and full of flavor, these Lemon Ginger Cookies (Easy Recipe) | Sally’s Baking Addiction style are going to become a new favorite. They combine the fresh citrusy zing of lemon with the warm, spicy kick of ginger in a soft, chewy cookie that melts in your mouth.

Lemon Ginger Cookies

These cookies are perfect for spring baking, holiday cookie trays, or whenever you want something a little different from classic chocolate chip cookies. They’re simple to make, yet taste bakery-quality.

Why You’ll Love These Lemon Ginger Cookies

These Lemon Ginger Cookies (Easy Recipe) are the perfect balance of sweet, spicy, and citrusy.

  • Soft and chewy texture with slightly crisp edges
  • Bright lemon flavor balanced with warm ginger spice
  • Easy one-bowl cookie dough recipe
  • Perfect for gifting, holidays, or tea time
  • Quick bake time with simple ingredients

Ingredients

For the Cookies:

  • 2 ¼ cups all-purpose flour
  • 1 teaspoon baking soda
  • ½ teaspoon salt
  • 1 tablespoon ground ginger
  • ½ teaspoon cinnamon
  • ¾ cup unsalted butter (softened)
  • 1 cup granulated sugar
  • 1 large egg
  • 2 tablespoons lemon zest
  • 2 tablespoons fresh lemon juice
  • 1 teaspoon vanilla extract

Optional:

  • Extra sugar for rolling
  • Powdered sugar for dusting

Ingredient Notes

The magic of these Lemon Ginger Cookies (Easy Recipe) comes from fresh lemon zest and juice, which give the cookies their bright citrus flavor. Ground ginger adds warmth and depth without overpowering the lemon.

Using softened butter is key to achieving a soft, chewy texture. Don’t skip the zest—it carries most of the lemon aroma.

Step-by-Step Instructions

1. Mix Dry Ingredients

Whisk flour, baking soda, salt, ginger, and cinnamon in a bowl.

2. Cream Butter and Sugar

Beat butter and sugar until light and fluffy.

3. Add Wet Ingredients

Mix in egg, lemon zest, lemon juice, and vanilla.

4. Combine

Gradually add dry ingredients to wet mixture until dough forms.

5. Bake

Scoop dough onto baking sheet and bake at 350°F for 10–12 minutes.

6. Cool

Let cookies cool before serving for best texture.

Tips for Perfect Results

To make the best Lemon Ginger Cookies (Easy Recipe), follow these tips:

  • Do not overmix dough or cookies will be tough
  • Chill dough for thicker cookies if desired
  • Use fresh ginger for extra spice if preferred
  • Watch baking time carefully to avoid dryness

These small adjustments make a big difference.

Variations

You can easily customize these cookies:

  • Add white chocolate chips for sweetness
  • Dip half in lemon glaze or icing
  • Use crystallized ginger for extra texture
  • Make them gluten-free with 1:1 flour blend

What to Serve With Them

These cookies pair perfectly with:

  • Hot tea (especially chamomile or green tea)
  • Coffee or latte
  • Lemonade or iced tea
  • Fresh fruit on the side

They’re great for afternoon snacks or dessert platters.

Storage & Reheating

Store your Lemon Ginger Cookies (Easy Recipe) properly:

  • Room temperature: up to 5 days
  • Freezer: up to 2 months

To enjoy warm cookies again:

  • Microwave for 10–15 seconds
  • Or warm in oven at 300°F for 3–5 minutes

Common Mistakes to Avoid

  • Overbaking (causes dry cookies)
  • Using old baking soda (reduces rise)
  • Skipping lemon zest (loses flavor intensity)
  • Overmixing dough (affects texture)

Avoiding these ensures perfect cookies every time.

FAQs

1. Can I use fresh ginger instead of ground ginger?

Yes, but use finely grated ginger and reduce quantity slightly.

2. Why are my cookies not chewy?

They may have been overbaked or overmixed.

3. Can I freeze cookie dough?

Yes, scoop and freeze before baking.

4. Can I make them more lemony?

Add extra zest or a light lemon glaze on top.

Final Thoughts

These Lemon Ginger Cookies (Easy Recipe) | Sally’s Baking Addiction style are soft, chewy, and bursting with bright citrus and warm spice. They’re simple to make but taste incredibly bakery-quality.

Whether for holidays, gifting, or everyday treats, this recipe delivers the perfect balance of freshness and comfort in every bite.