Packing a sandwich is easy—but what really makes a meal shine is choosing the right lunch box sandwich sides. Whether you’re preparing a school lunch, work meal, or picnic basket, the right sides can turn a simple sandwich into a complete, satisfying experience.
In this guide, you’ll find a variety of lunch box sandwich sides that are easy to prepare, portable, and packed with flavor. From crunchy veggies to creamy dips and sweet treats, these ideas will keep your lunch exciting all week long.
Why You’ll Love These Lunch Box Sandwich Sides
Choosing the right lunch box sandwich sides makes a big difference in both nutrition and enjoyment.
- Adds variety and balance to your meal
- Easy to prepare ahead of time
- Kid-friendly and customizable
- Great for meal prep and busy schedules
- Combines textures and flavors
These sides help transform your lunch into something you actually look forward to.
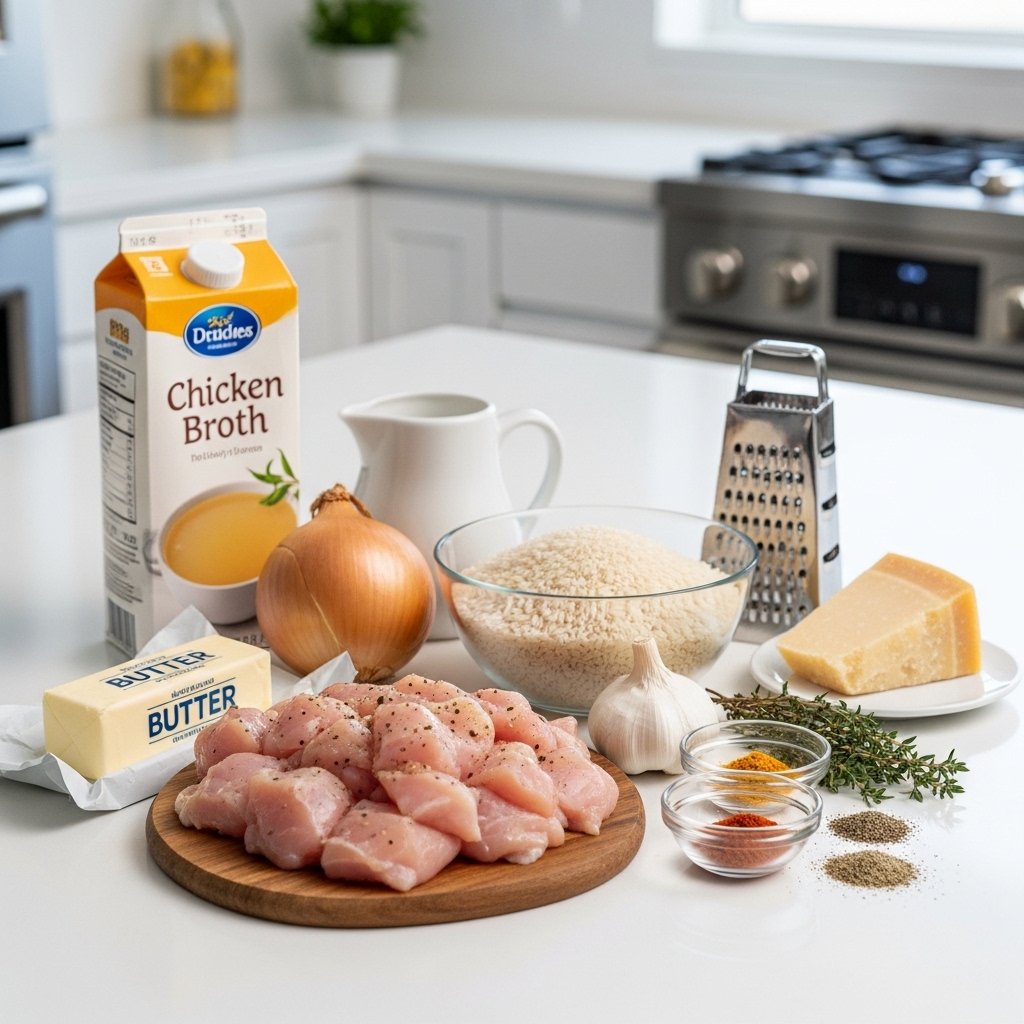
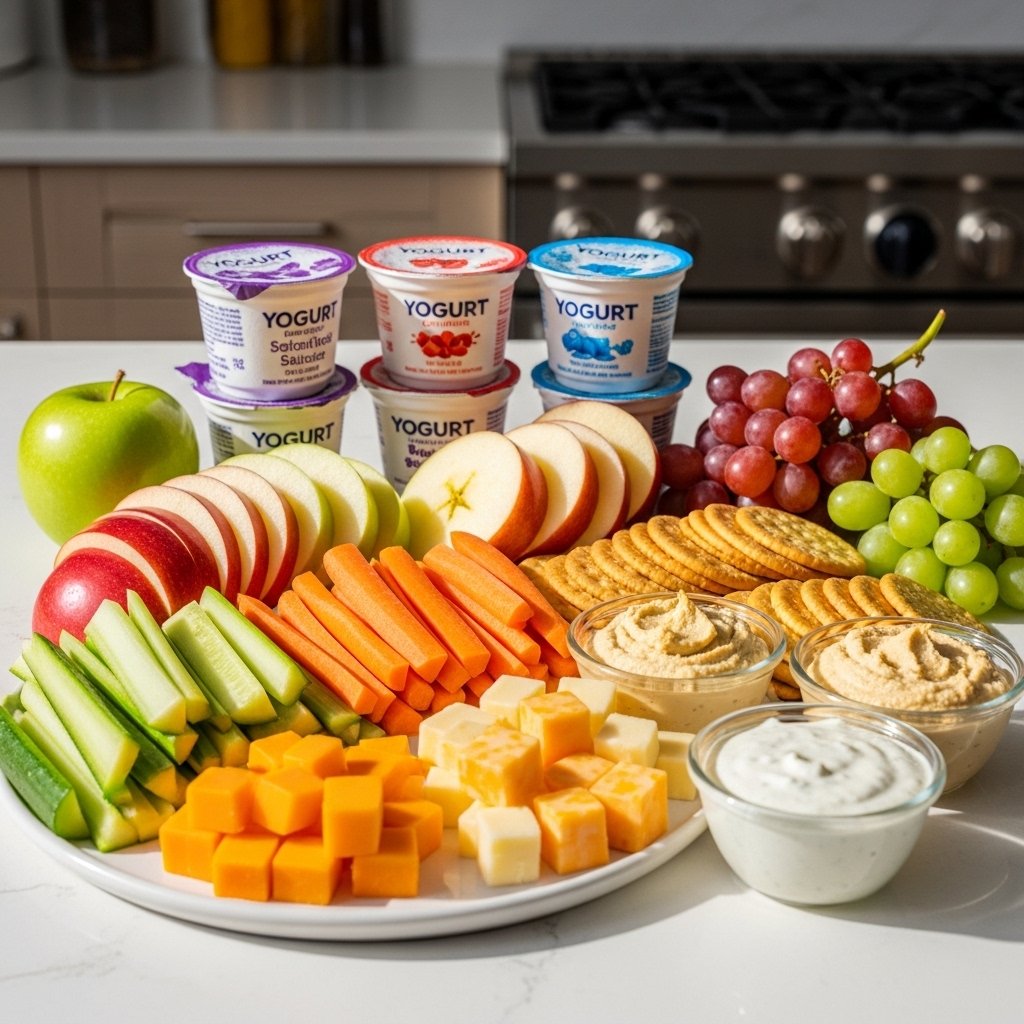
Best Ingredients for Lunch Box Sandwich Sides
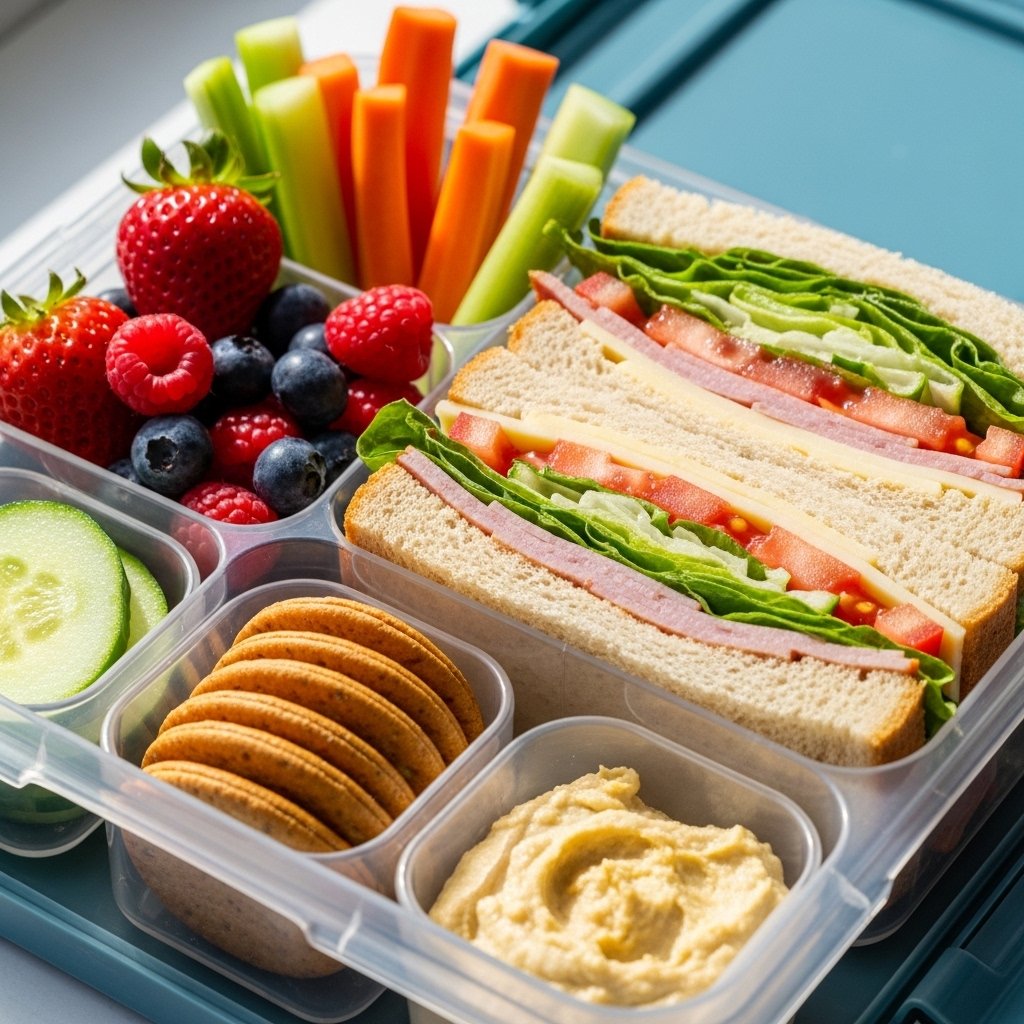
When planning your lunch box sandwich sides, aim for a mix of fresh, crunchy, creamy, and sweet elements:
- Fresh fruits (apples, grapes, berries)
- Vegetables (carrots, cucumbers, celery)
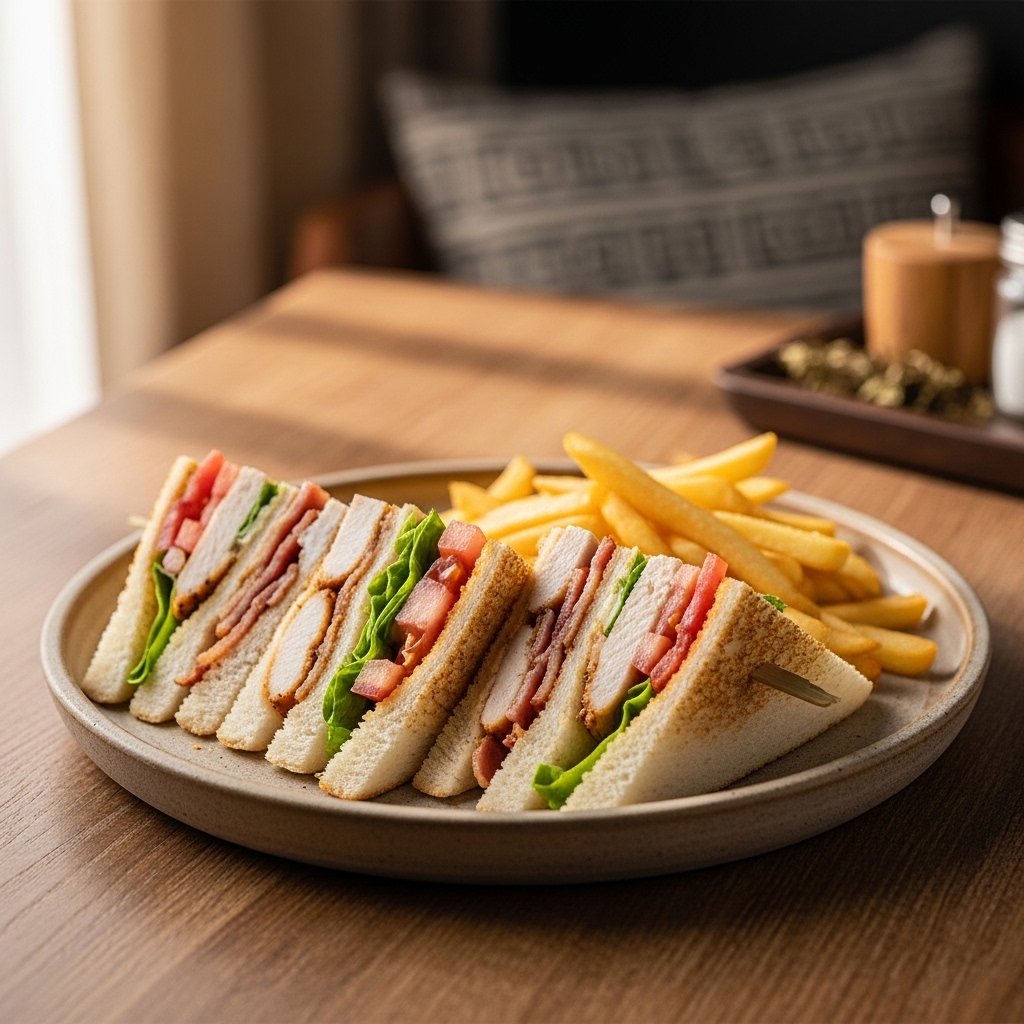
- Crackers or chips
- Cheese cubes or slices
- Yogurt or dips (hummus, ranch)
- Nuts or trail mix
Ingredient Notes
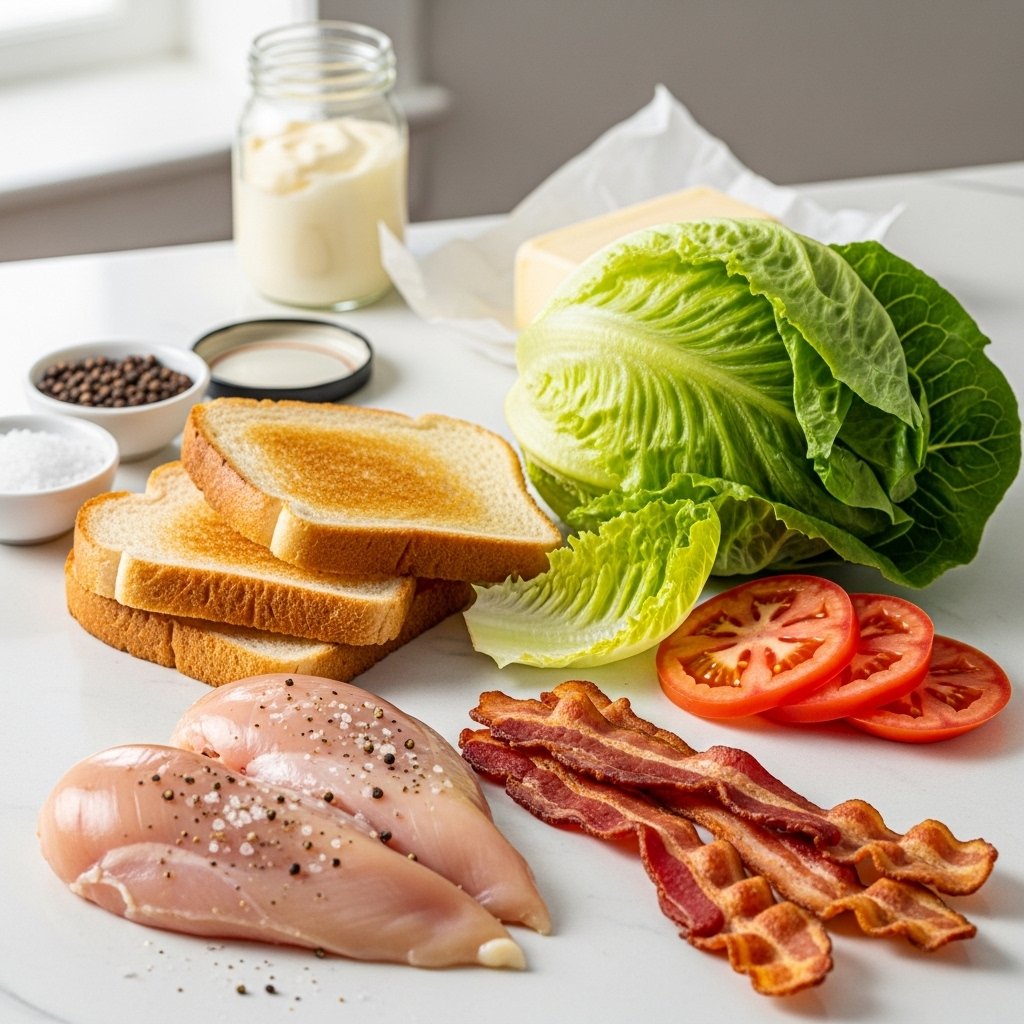
Fresh Produce
Always choose fresh, crisp fruits and vegetables to keep your lunch box sandwich sides refreshing.
Portion Control
Use small containers to keep portions balanced and organized.
Variety Matters
Mix textures—crunchy, creamy, and juicy—for a more enjoyable meal.
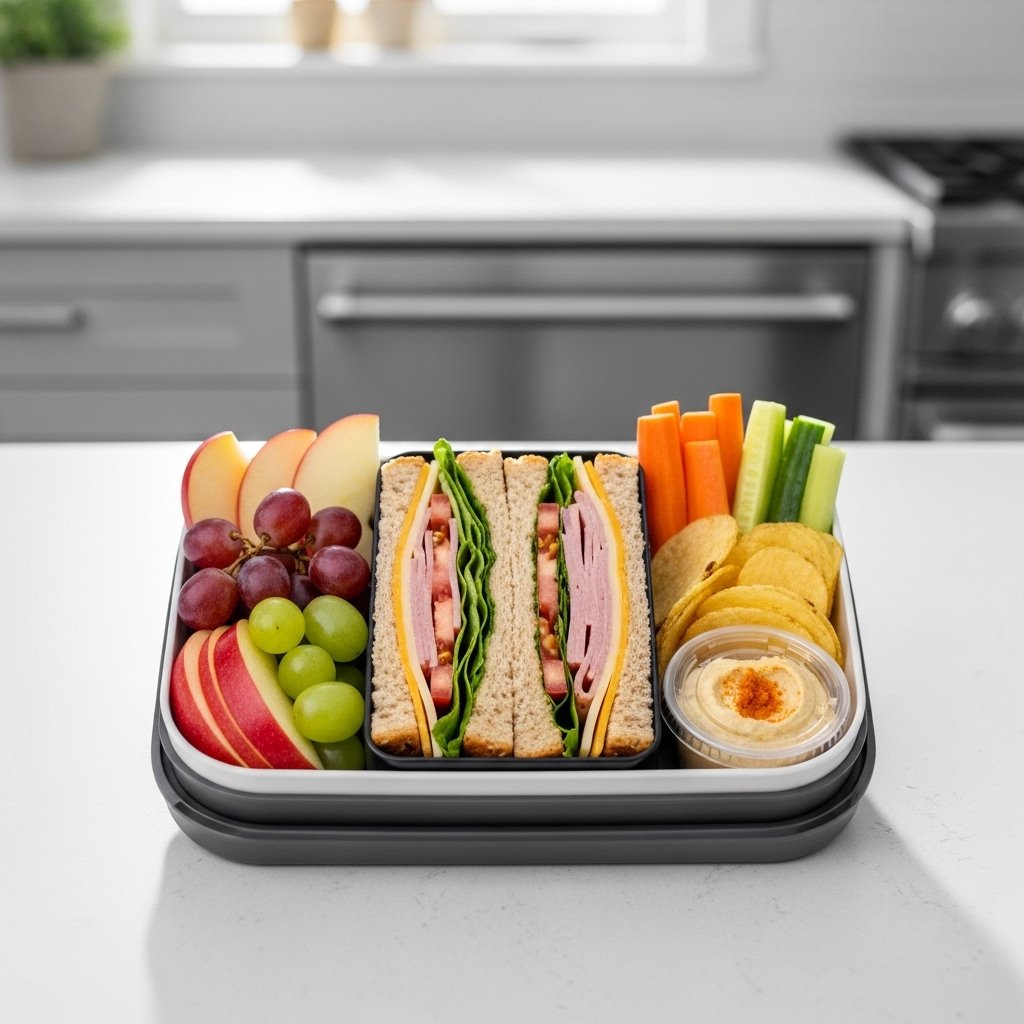
Step-by-Step Instructions to Build the Perfect Lunch Box
1. Start with Your Sandwich
Choose your favorite sandwich as the base.
2. Add Crunchy Sides
Include vegetables or chips for texture.
3. Add Fresh Fruit
Balance the meal with natural sweetness.
4. Include a Protein Snack
Add cheese, yogurt, or nuts.
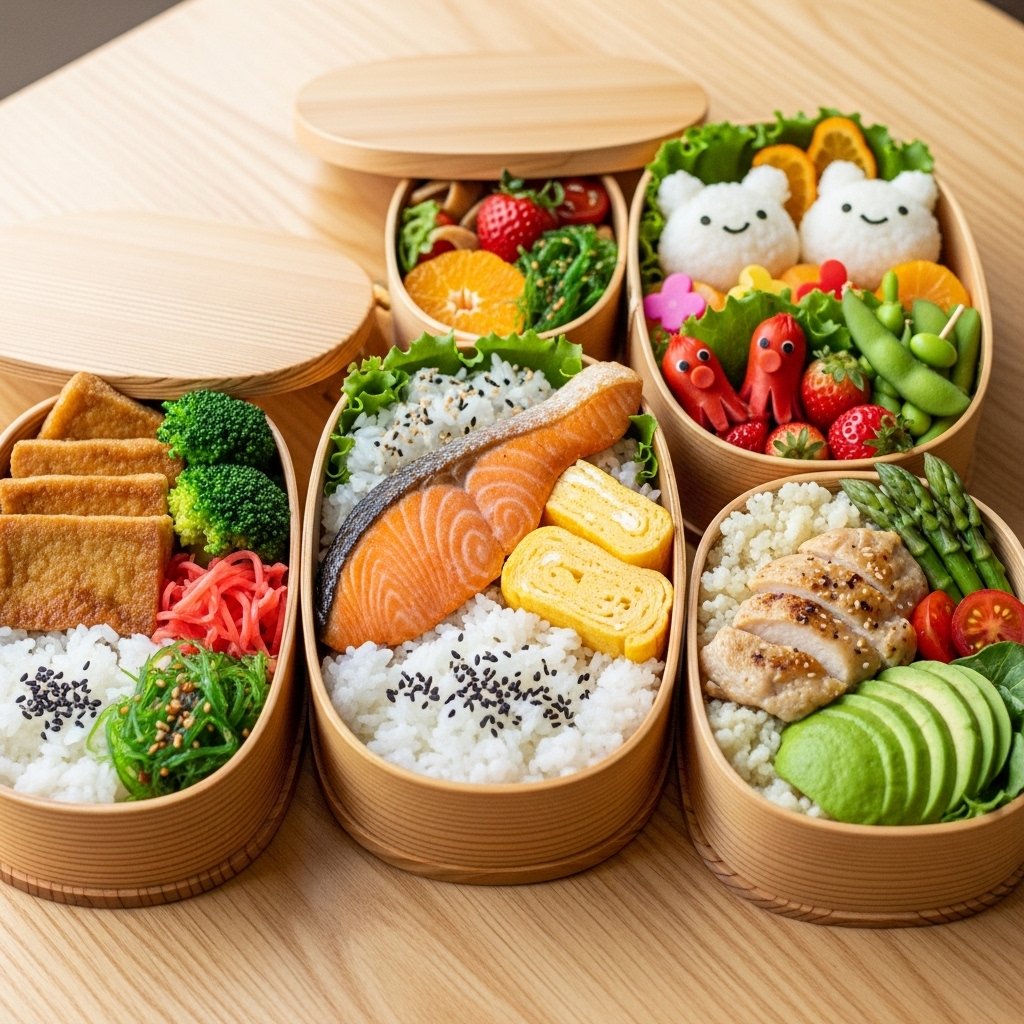
5. Pack Smart
Use compartments to keep items fresh.

Tips for Perfect Lunch Box Sandwich Sides
To make the best lunch box sandwich sides, follow these tips:
- Keep wet and dry foods separate
- Use insulated containers for freshness
- Prep ingredients the night before
- Cut items into bite-sized pieces
- Rotate sides to avoid boredom
These simple tips ensure your lunch stays fresh and appealing.
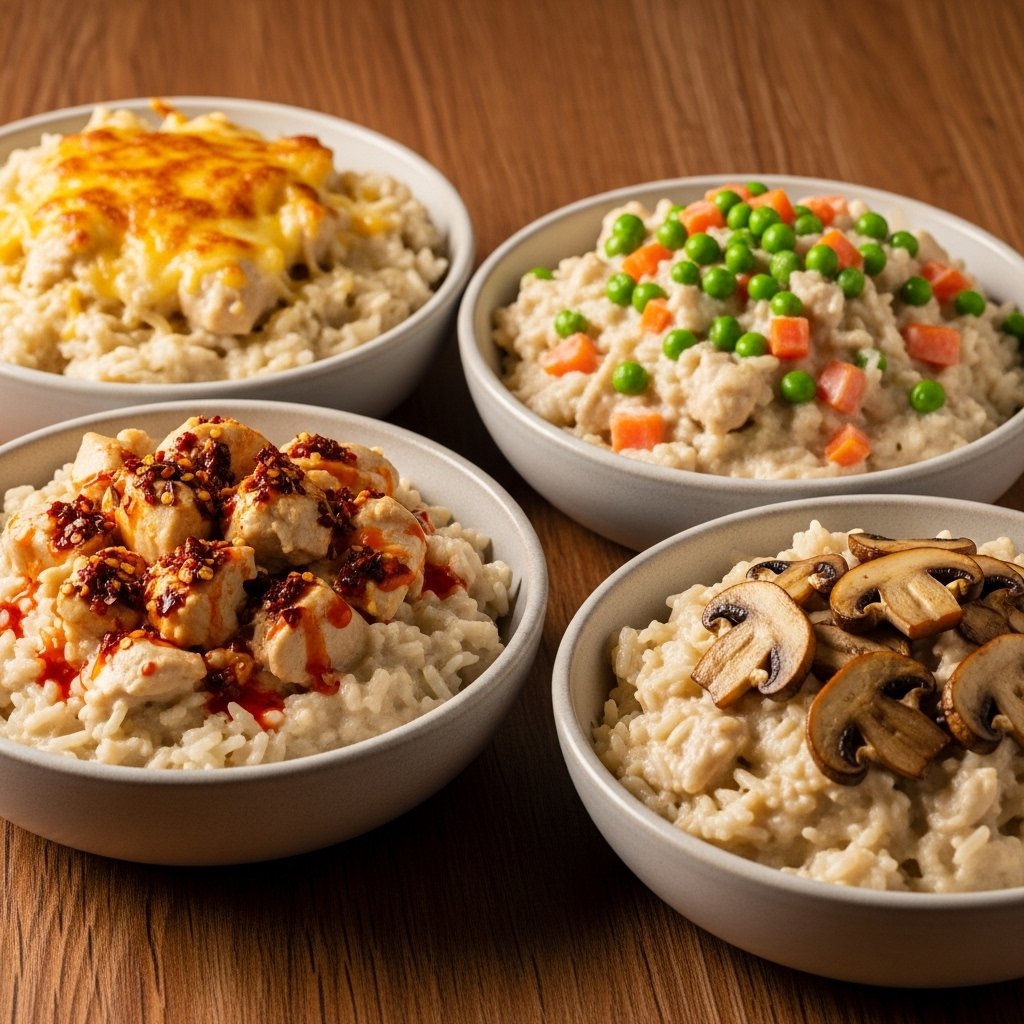
Variations
You can easily customize your lunch box sandwich sides depending on your taste and needs:
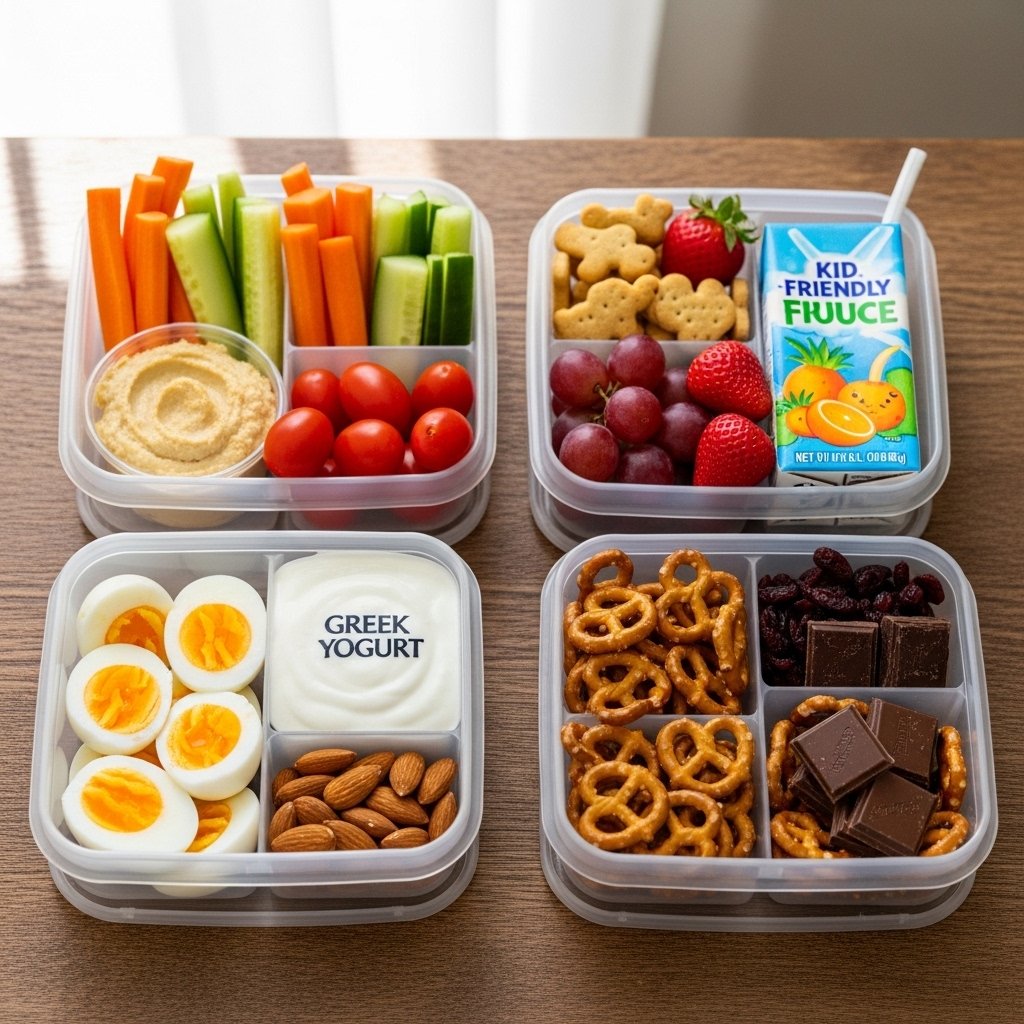
Healthy Option
Fresh veggies, hummus, fruit, and nuts.
Kid-Friendly Option
Crackers, cheese, apple slices, and a small treat.
High-Protein Option
Greek yogurt, boiled eggs, and cheese.
Sweet & Savory Combo
Fruit, pretzels, and chocolate squares.
What to Serve With It
Your lunch box sandwich sides pair perfectly with:
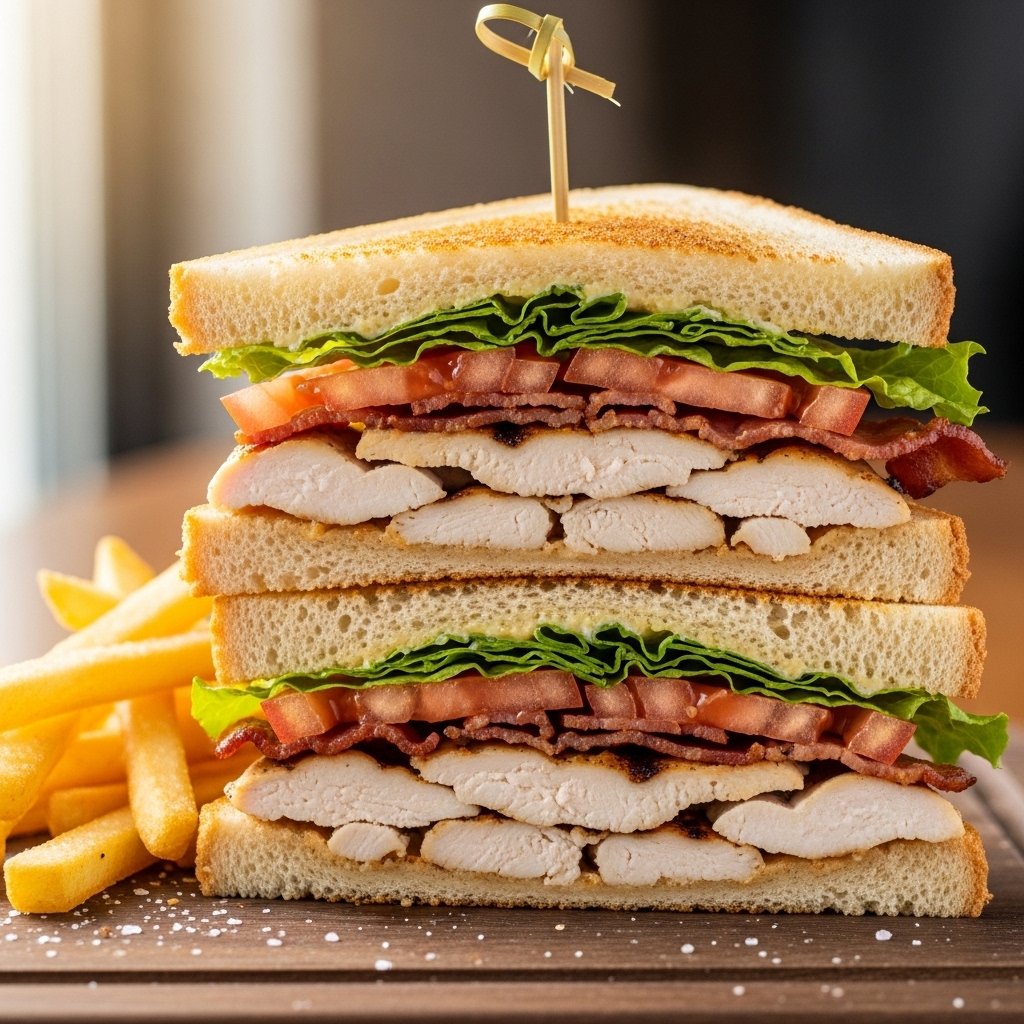
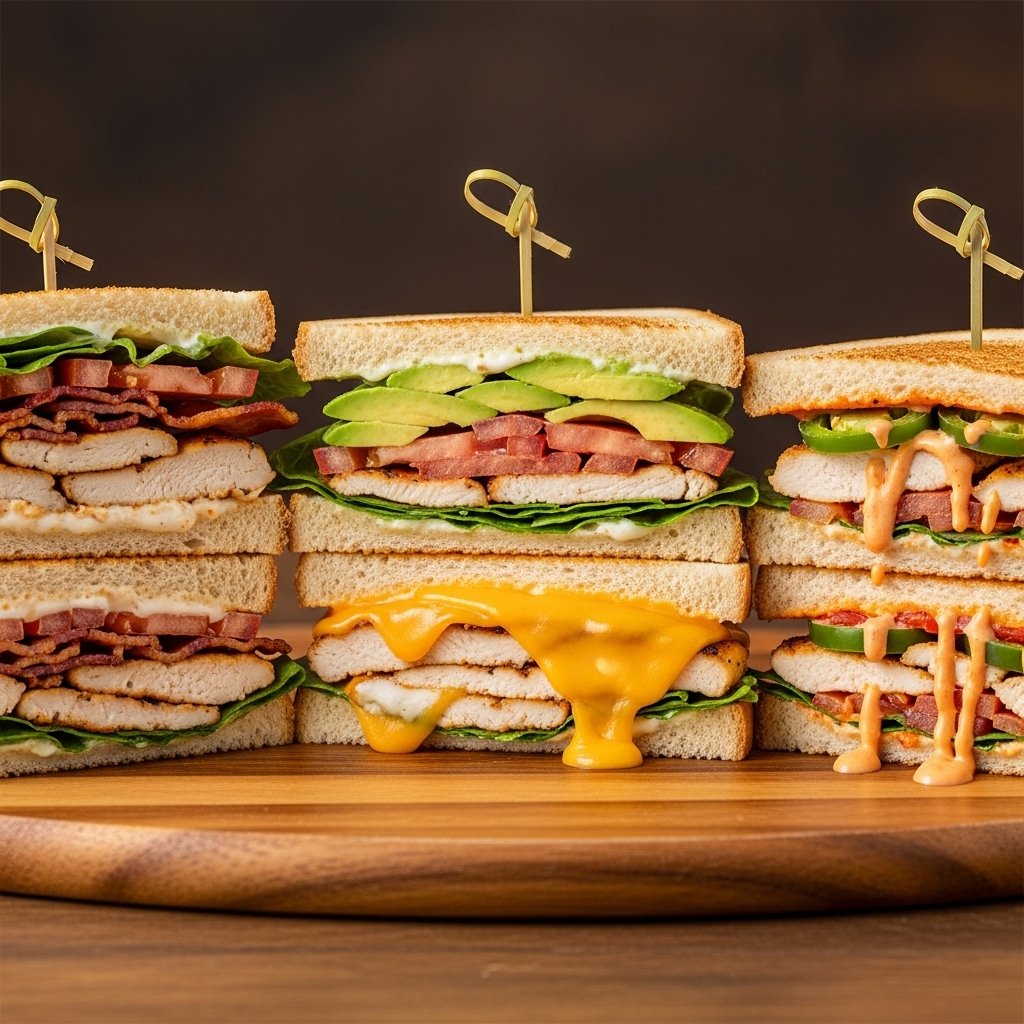
- Classic sandwiches (turkey, chicken, veggie)
- Wraps or paninis
- Mini sliders
- Bagel sandwiches
This flexibility makes it easy to mix and match meals.
Storage & Reheating
- Refrigerator: Store prepped sides up to 3 days
- On-the-go: Use ice packs for freshness
- Reheating: Most sides are served cold
Proper storage keeps your sides fresh and safe.
Common Mistakes to Avoid
When preparing lunch box sandwich sides, avoid:
- Packing soggy foods together
- Overfilling containers
- Skipping variety
- Not prepping ahead
These mistakes can make your lunch less enjoyable.
FAQs
What are the best sides for a sandwich lunch box?
Fresh fruit, veggies, chips, and cheese are great options.
Can I prep lunch box sides in advance?
Yes, most sides can be prepared 2–3 days ahead.
How do I keep sides fresh?
Use airtight containers and ice packs.
Are lunch box sandwich sides healthy?
They can be very healthy if balanced with fruits, veggies, and protein.
Final Thoughts
These lunch box sandwich sides are simple, versatile, and perfect for everyday meals. With just a little planning, you can create lunches that are not only balanced and nutritious but also fun and satisfying.
Mix and match your favorite sides, and you’ll never get bored of your lunch again.