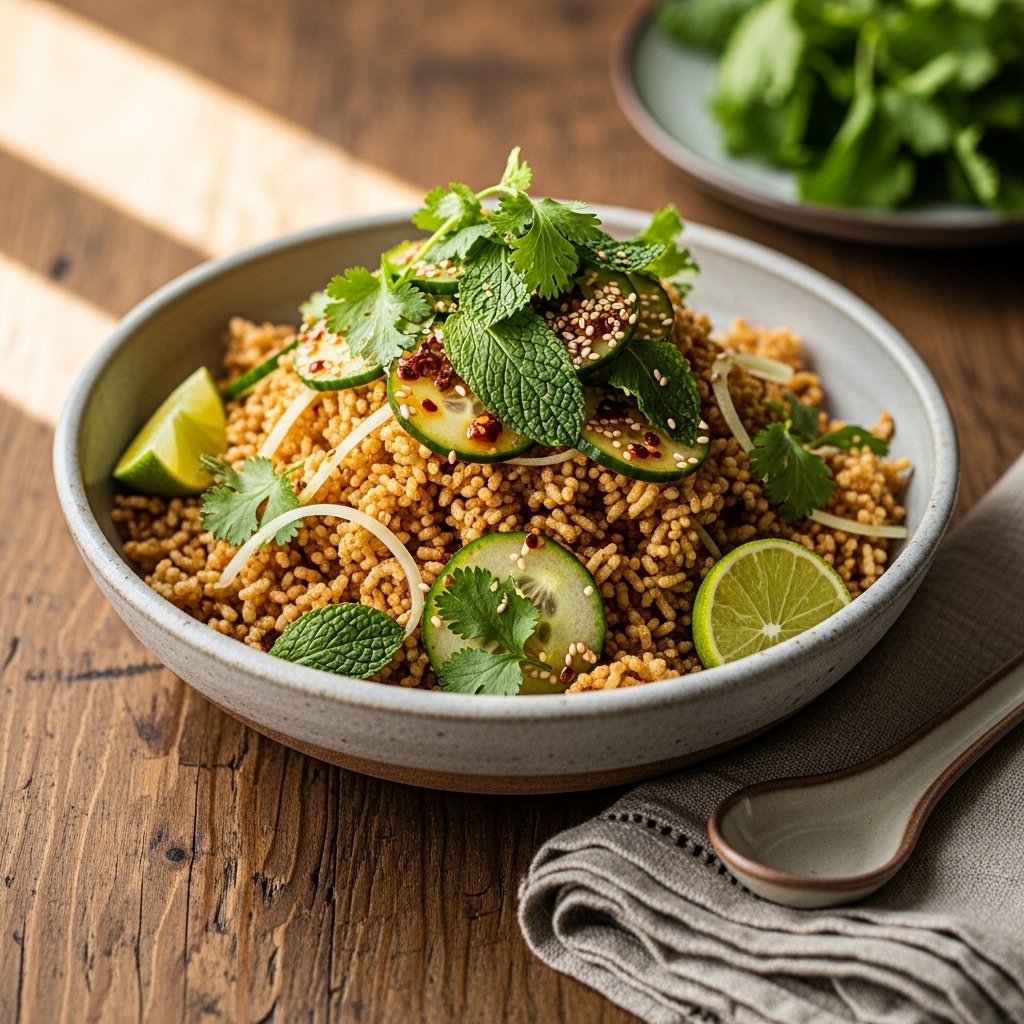
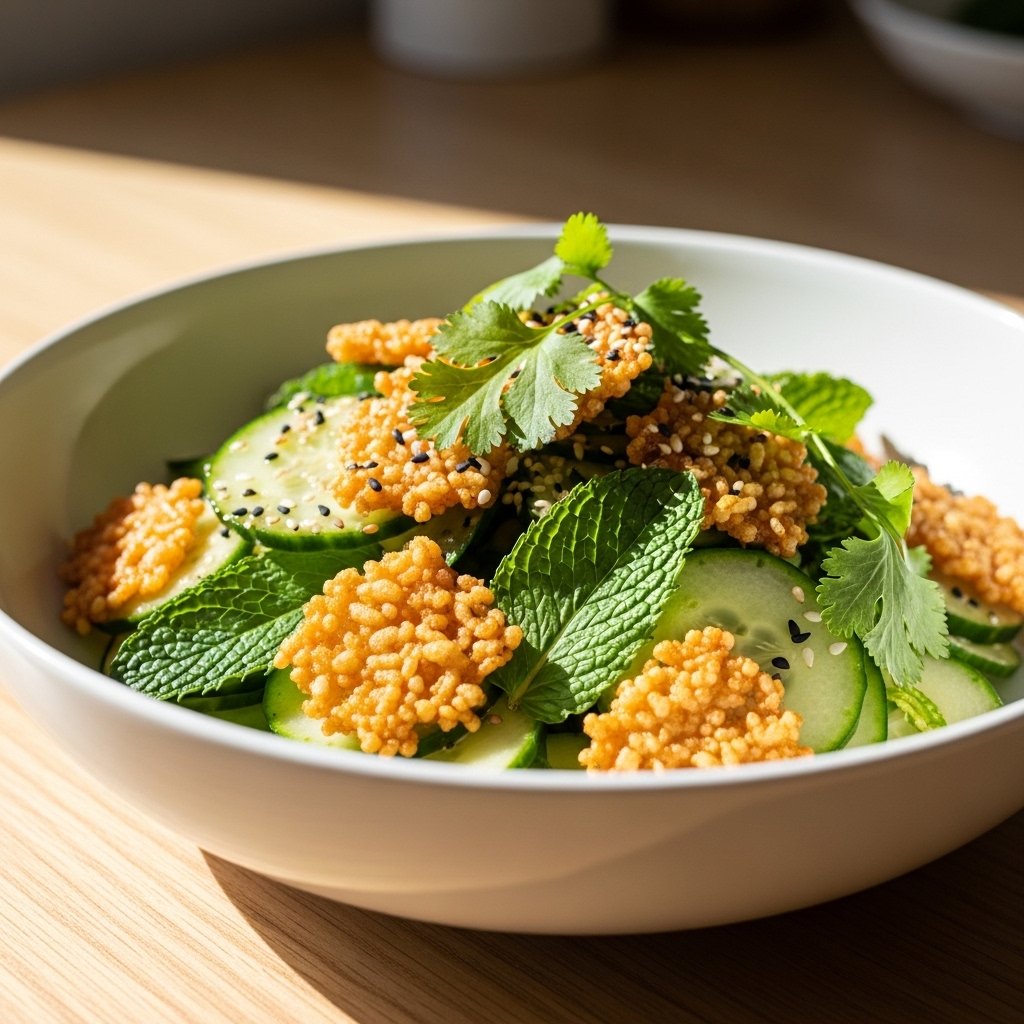
If you’ve never tried a crispy rice salad with cucumbers and herbs, you’re in for something truly special. This dish combines golden, oven-crisped rice with cool cucumbers, fresh herbs, and a tangy dressing that brings everything together in the most refreshing way.
What makes this crispy rice salad recipe stand out is its incredible texture contrast—warm, crunchy rice paired with cool, juicy vegetables and bright herbs. It’s light enough for hot days but satisfying enough to serve as a full meal.
Why You’ll Love This Crispy Rice Salad with Cucumbers and Herbs
This crispy rice salad with cucumbers and herbs is the perfect balance of freshness and texture.
- Crunchy, golden crispy rice adds unique texture
- Fresh cucumbers and herbs keep it light and refreshing
- Quick and easy to prepare
- Great for meal prep or summer lunches
- Naturally gluten-free and vegetarian-friendly
It’s a creative twist on traditional salads that never feels boring.
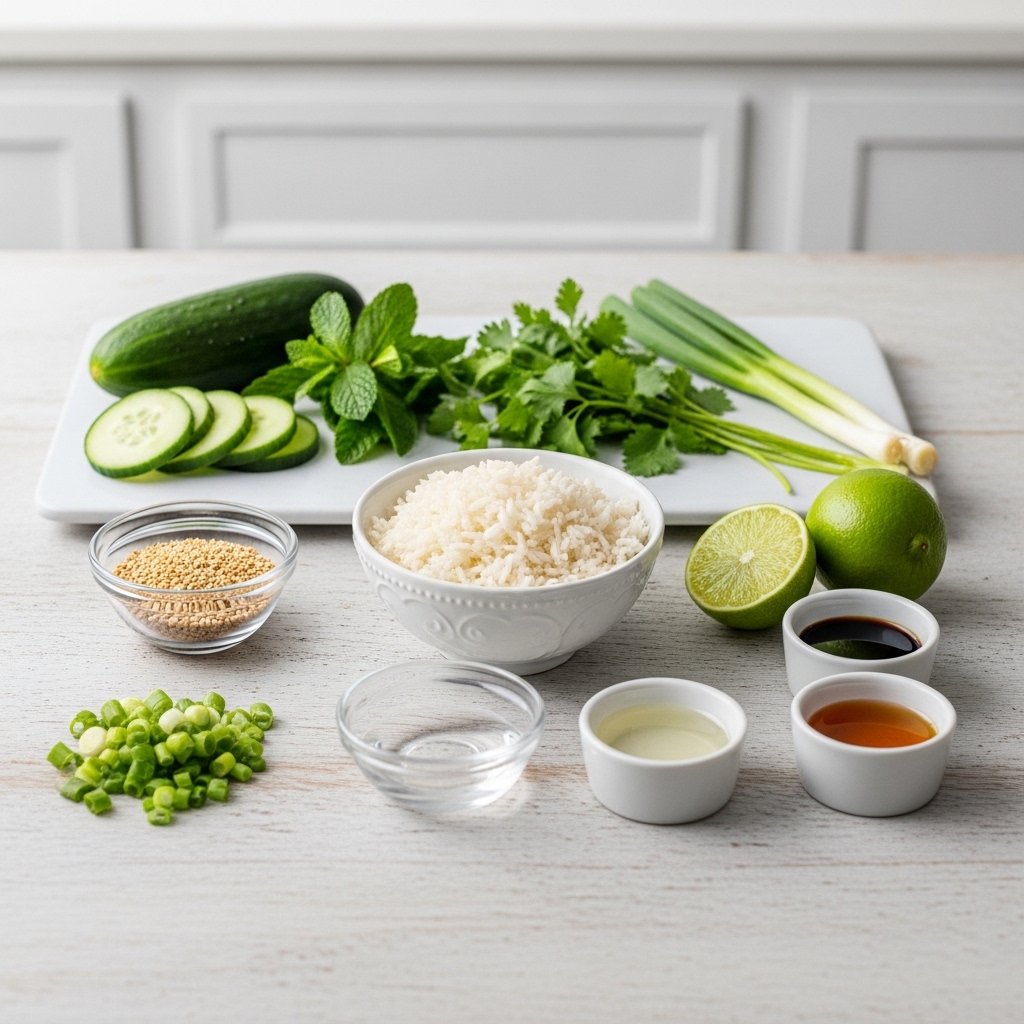
Ingredients
To make this crispy rice salad with cucumbers and herbs, you’ll need:
- 3 cups cooked rice (preferably day-old)
- 2 tablespoons olive oil or sesame oil
- 1 cucumber (thinly sliced)
- 1/2 cup fresh mint leaves
- 1/2 cup fresh cilantro or parsley
- 2 green onions (sliced)
- 1 tablespoon sesame seeds
Dressing:
- 2 tablespoons soy sauce
- 1 tablespoon rice vinegar
- 1 tablespoon lime juice
- 1 teaspoon honey or maple syrup
- 1 teaspoon chili flakes (optional)
Ingredient Notes
Day-Old Rice is Key
For the best crispy rice salad with cucumbers and herbs, use cold, day-old rice. It dries out slightly and crisps up beautifully in the oven or pan.
Fresh Herbs Matter
Mint and cilantro bring freshness and brightness that balance the crispy rice perfectly.
Dressing Balance
The dressing should be tangy, slightly sweet, and savory to complement the crunchy rice.
Step-by-Step Instructions
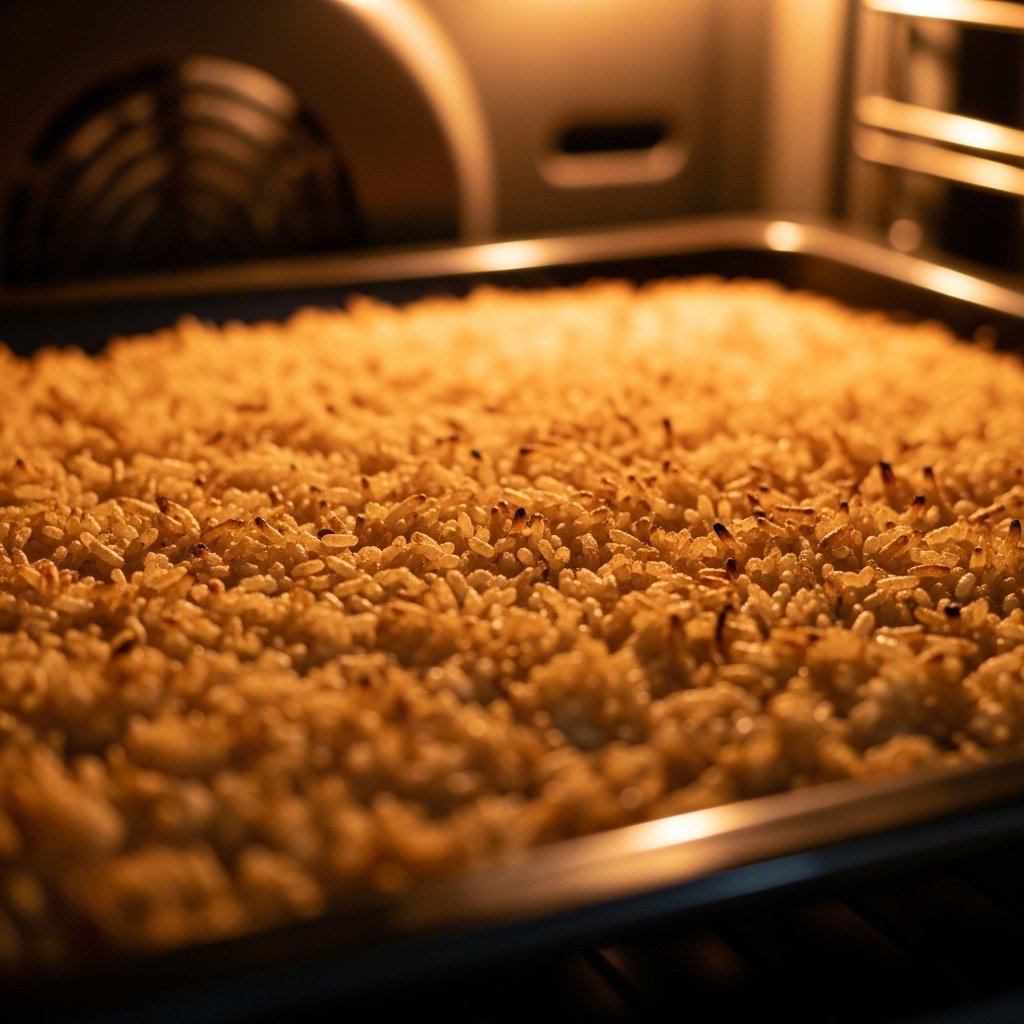
1. Crisp the Rice
Spread cooked rice on a baking sheet, drizzle with oil, and bake until golden and crispy.
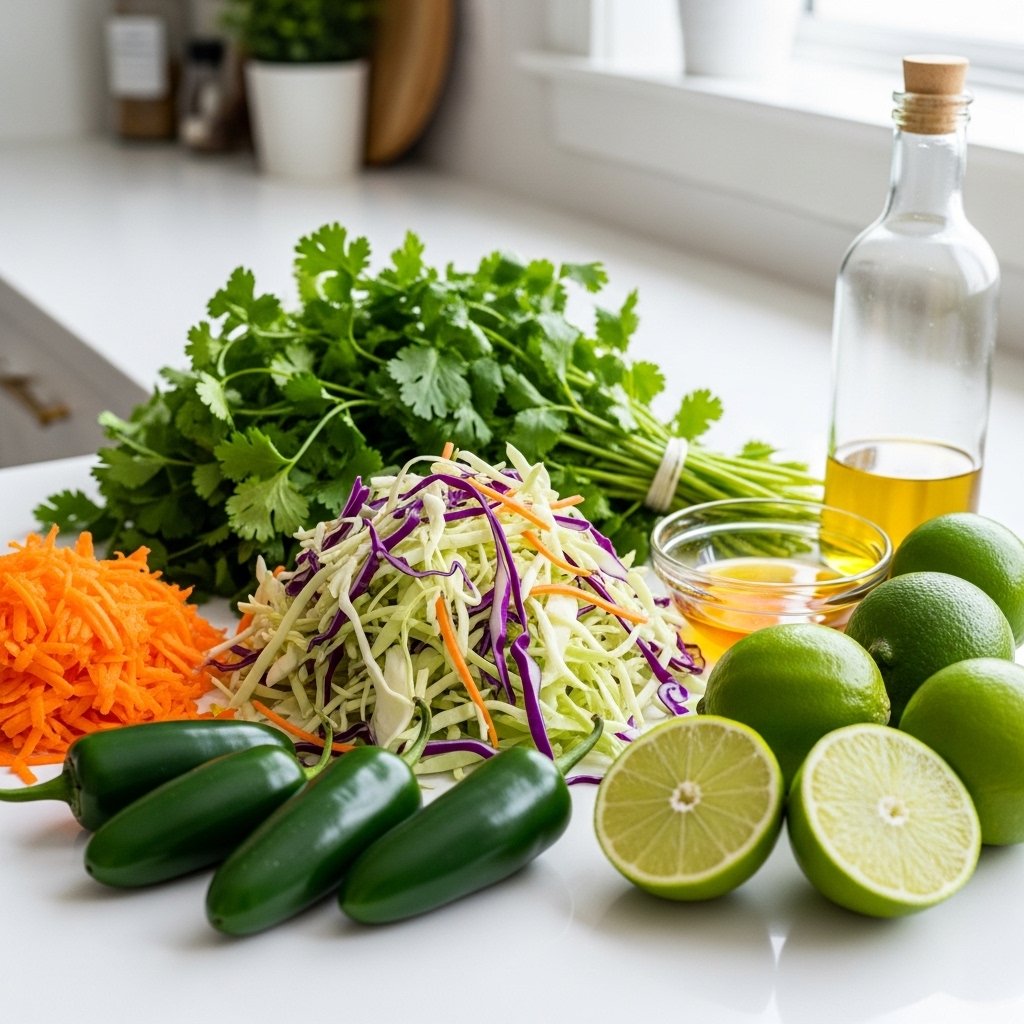
2. Prepare Vegetables
Slice cucumbers, chop herbs, and prepare green onions.
3. Make the Dressing
Whisk soy sauce, vinegar, lime juice, honey, and chili flakes.
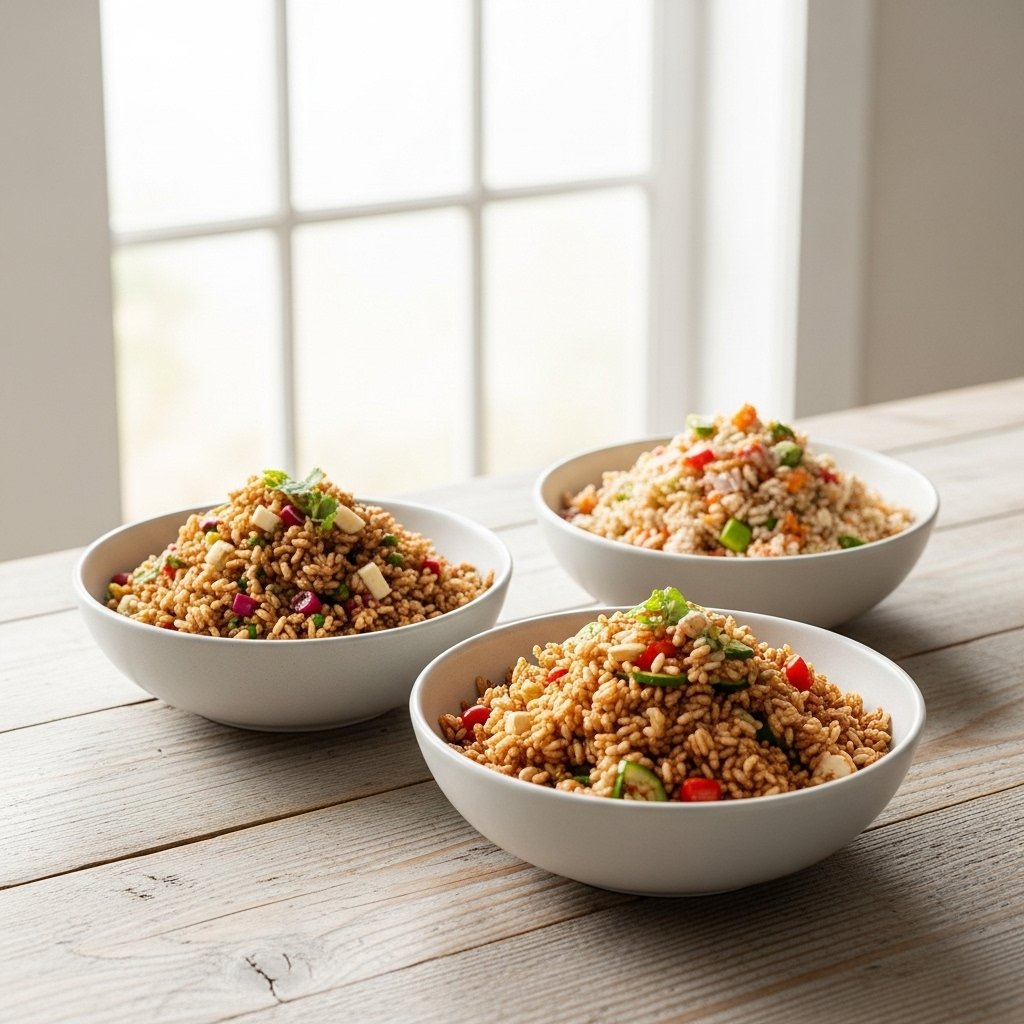
4. Assemble Salad
Combine crispy rice, cucumbers, herbs, and green onions in a large bowl.
5. Add Dressing
Pour dressing over salad and toss gently.
6. Serve Immediately
Top with sesame seeds and enjoy fresh.
Tips for Perfect Results
To make the best crispy rice salad with cucumbers and herbs, follow these tips:
- Always use cold rice for best crispiness
- Don’t overcrowd the baking sheet
- Toss rice halfway for even crisping
- Add dressing right before serving
- Use fresh herbs for maximum flavor
These steps ensure perfect crunch and freshness.
Variations
This crispy rice salad recipe is easy to customize:
Spicy Version
Add sriracha or extra chili flakes.
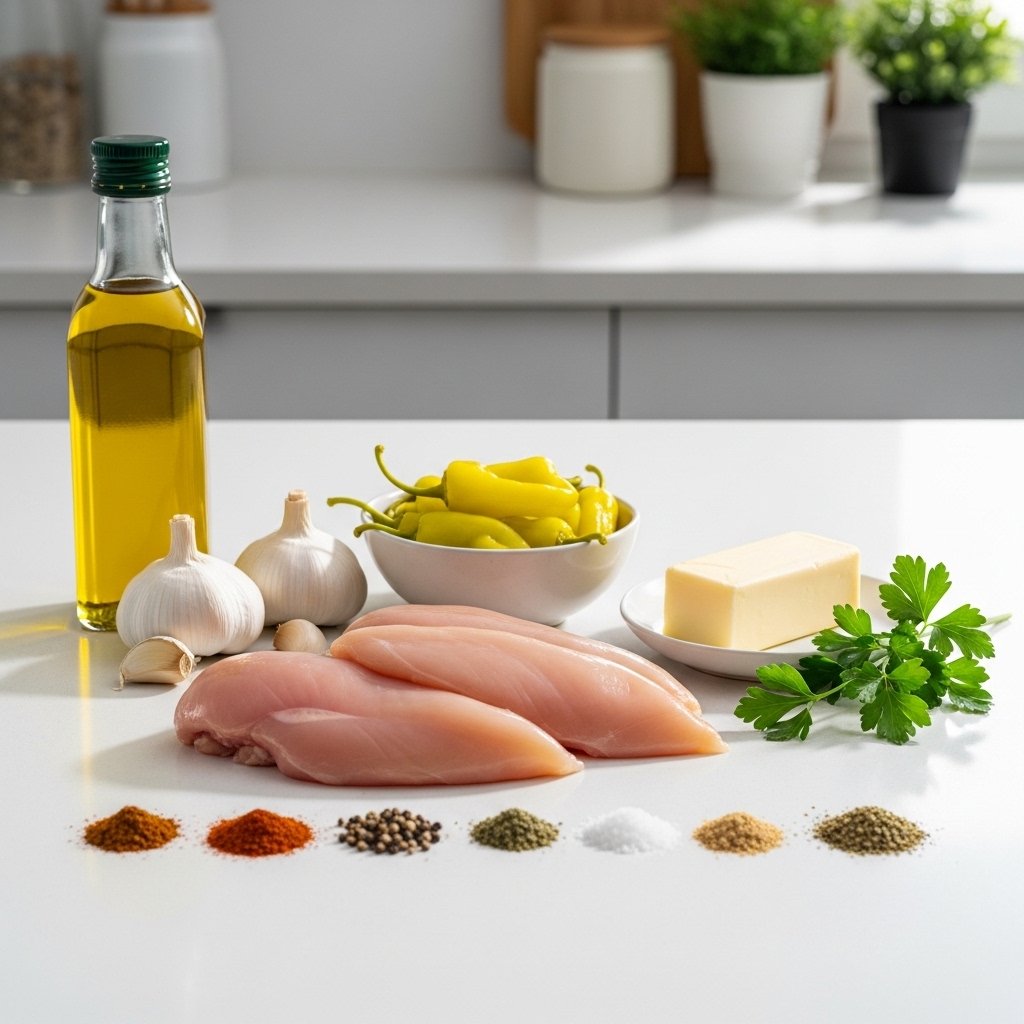
Protein Version
Add grilled chicken, shrimp, or tofu.
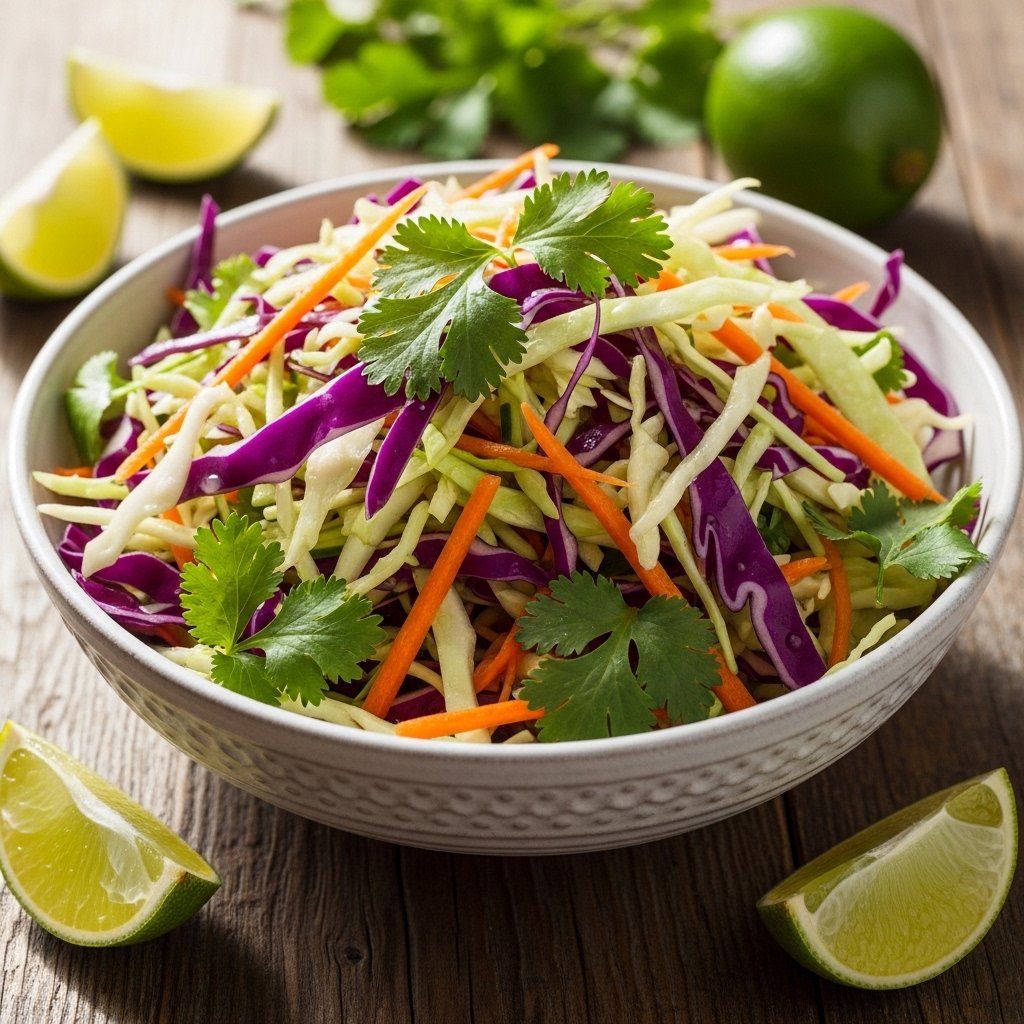
Asian-Inspired Version
Use sesame oil and add pickled vegetables.
Avocado Version
Add sliced avocado for creaminess.
What to Serve With It
This crispy rice salad with cucumbers and herbs pairs well with:
- Grilled chicken or salmon
- Asian-style stir fry dishes
- Tofu or veggie skewers
- Light soups like miso soup
It also works as a standalone light meal.
Storage & Make-Ahead Tips
- Best eaten fresh for maximum crunch
- Store rice separately if prepping ahead
- Refrigerate leftovers up to 2 days
- Re-crisp rice in oven before serving again
Avoid storing fully dressed salad for long periods.
Common Mistakes to Avoid
When making crispy rice salad with cucumbers and herbs, avoid:
- Using fresh hot rice (won’t crisp properly)
- Overdressing the salad
- Skipping the crisping step
- Using too much oil
These mistakes can ruin texture and flavor balance.
FAQs
Can I use freshly cooked rice?
No, day-old rice works best for crisping.
Can I pan-fry the rice instead of baking?
Yes, pan-frying works great for smaller batches.
Is this salad served hot or cold?
It’s best served warm rice with cool fresh ingredients.
Can I make it ahead of time?
Yes, but keep rice and dressing separate until serving.
Final Thoughts
This crispy rice salad with cucumbers and herbs is a fresh, crunchy, and exciting twist on traditional salads. It’s simple to make, full of texture, and packed with bright, refreshing flavors.
Whether you serve it as a light lunch, side dish, or meal prep option, it delivers satisfying crunch and freshness every time. Once you try it, it’s sure to become a regular favorite.