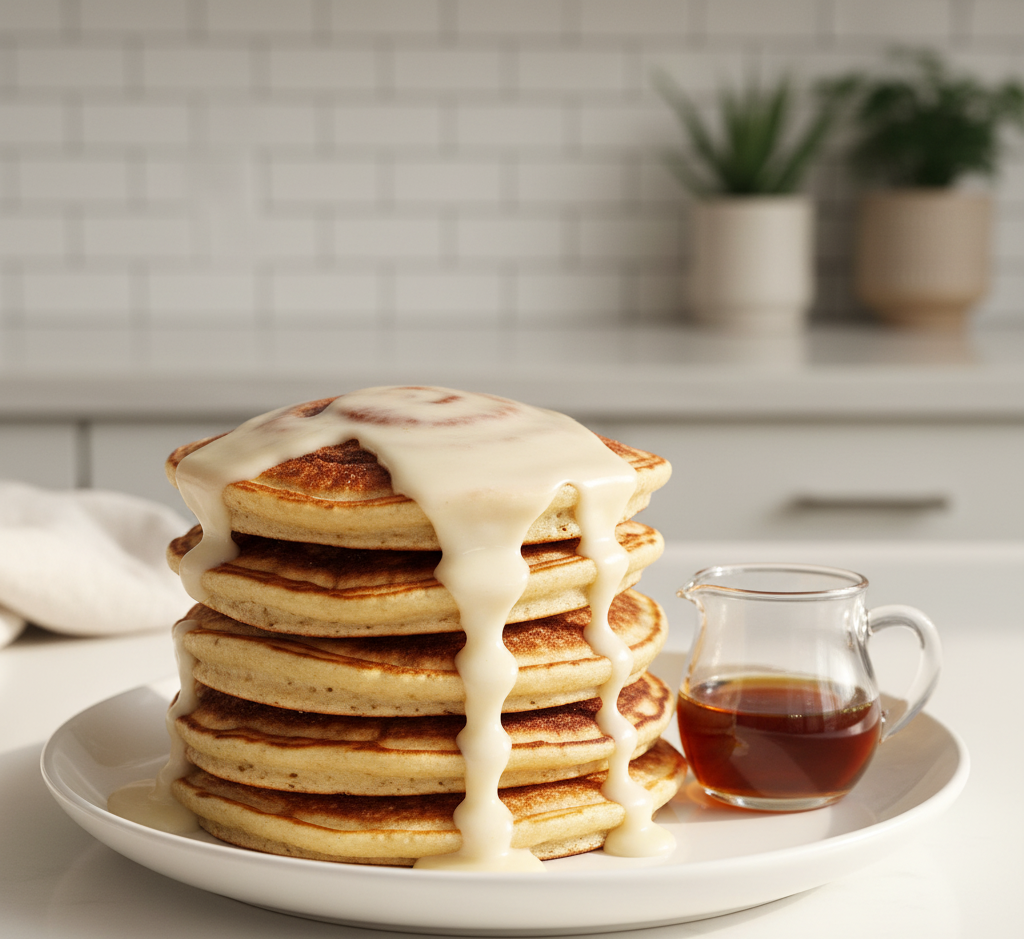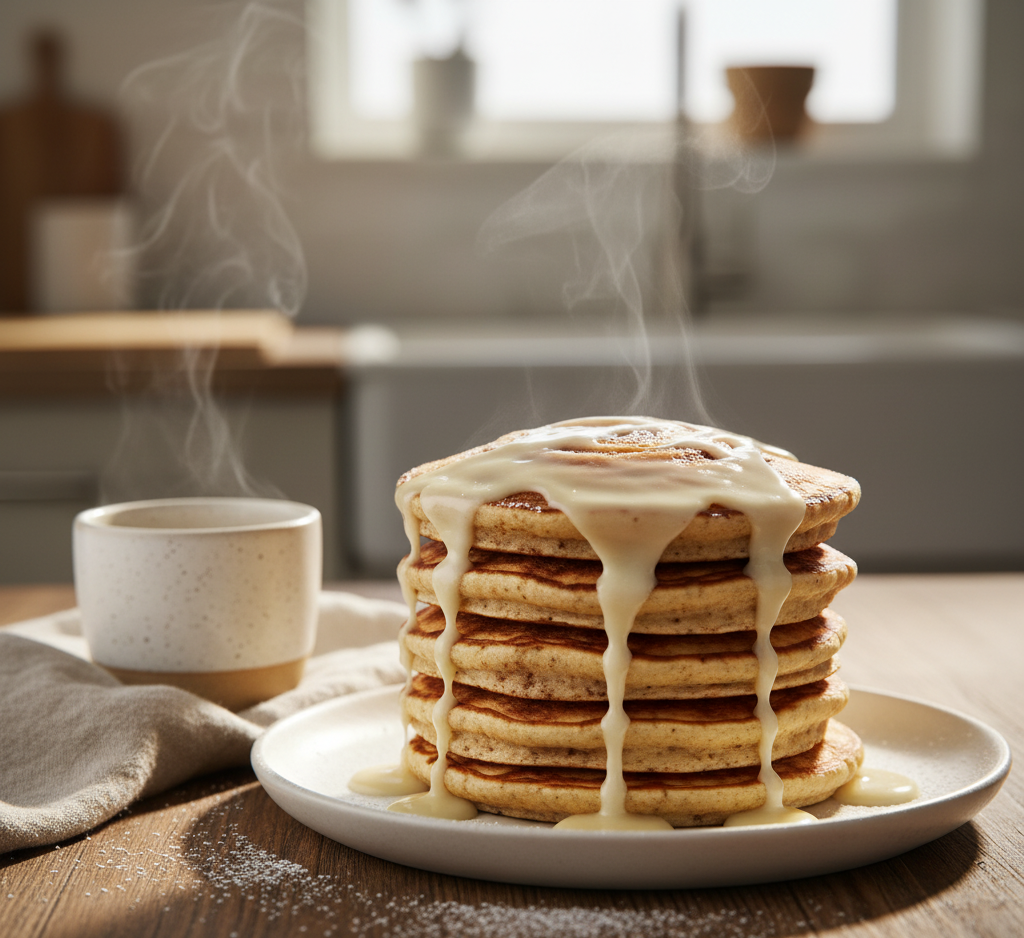
If you’re looking for the ultimate cozy breakfast treat, these Soft & Gooey Apple Cider Cinnamon Rolls are about to become your new favorite recipe. Imagine classic homemade cinnamon rolls—but with a rich apple cider flavor baked right into the dough and filling. The result? A warm, fluffy roll with deep fall flavor, perfectly swirled cinnamon sugar, and a soft melt-in-your-mouth texture.
These rolls are everything you love about traditional cinnamon rolls but with a seasonal twist. The apple cider adds natural sweetness, subtle fruitiness, and an irresistible aroma that fills the kitchen while they bake. Whether you’re preparing them for a weekend brunch, holiday breakfast, or cozy fall morning, this recipe delivers bakery-style results right at home.

Why You’ll Love This Recipe
These Soft & Gooey Apple Cider Cinnamon Rolls stand out from ordinary cinnamon rolls for several delicious reasons.
First, the apple cider flavor infuses both the dough and filling, creating a warm seasonal taste that perfectly complements the cinnamon. Second, the dough bakes up incredibly soft and fluffy thanks to a carefully balanced ratio of butter, milk, and yeast.
Here are a few reasons this recipe works so well:
-
Rich apple cider flavor baked into the dough
-
Ultra soft, fluffy bakery-style texture
-
Perfect balance of cinnamon spice and sweetness
-
Great for fall breakfasts, brunch, or holidays
-
Make-ahead friendly for easy mornings
If you love homemade cinnamon rolls but want something a little more special, this recipe delivers a comforting upgrade that feels both nostalgic and unique.

Ingredients for Apple Cider Cinnamon Rolls
Making Soft & Gooey Apple Cider Cinnamon Rolls requires simple pantry ingredients plus fresh apple cider to create that signature flavor.
Dough
-
3 ½ cups all-purpose flour
-
1 cup warm apple cider
-
2 ¼ teaspoons active dry yeast (1 packet)
-
¼ cup granulated sugar
-
¼ cup unsalted butter, melted
-
1 large egg
-
½ teaspoon salt
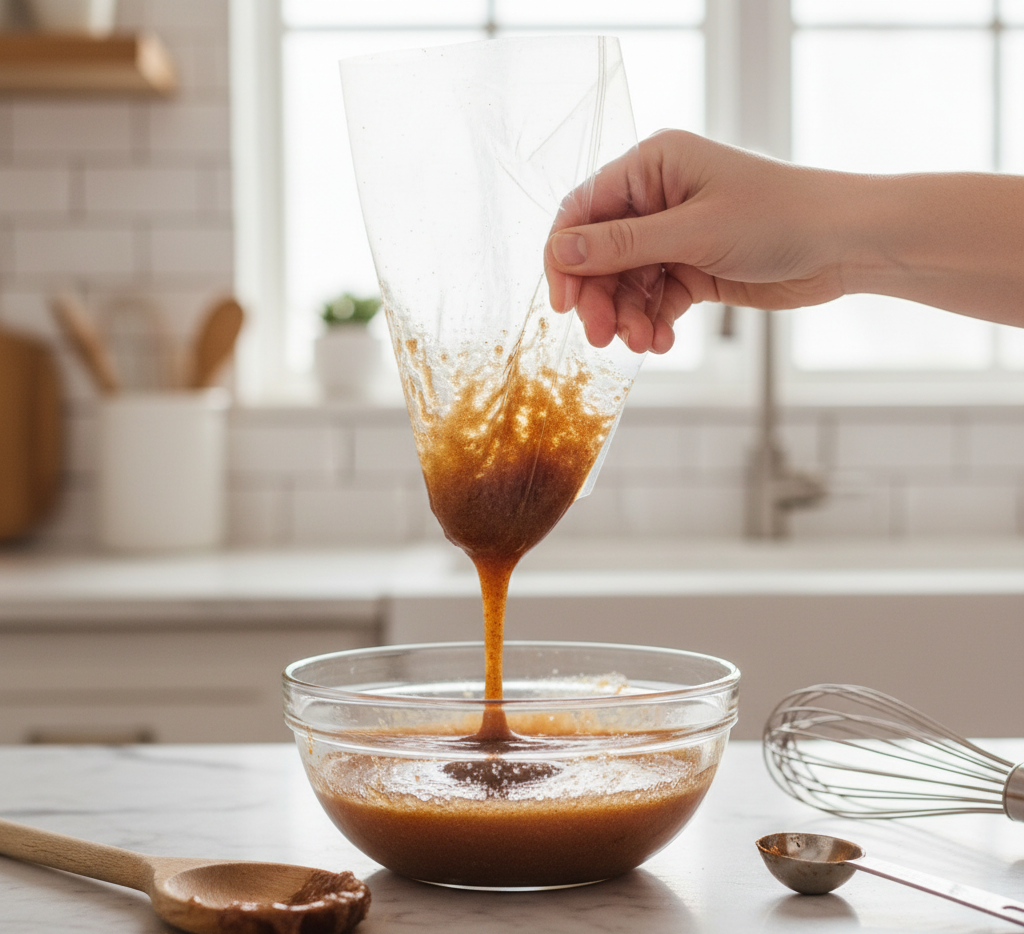
Cinnamon Filling
-
½ cup brown sugar
-
2 tablespoons ground cinnamon
-
4 tablespoons softened butter
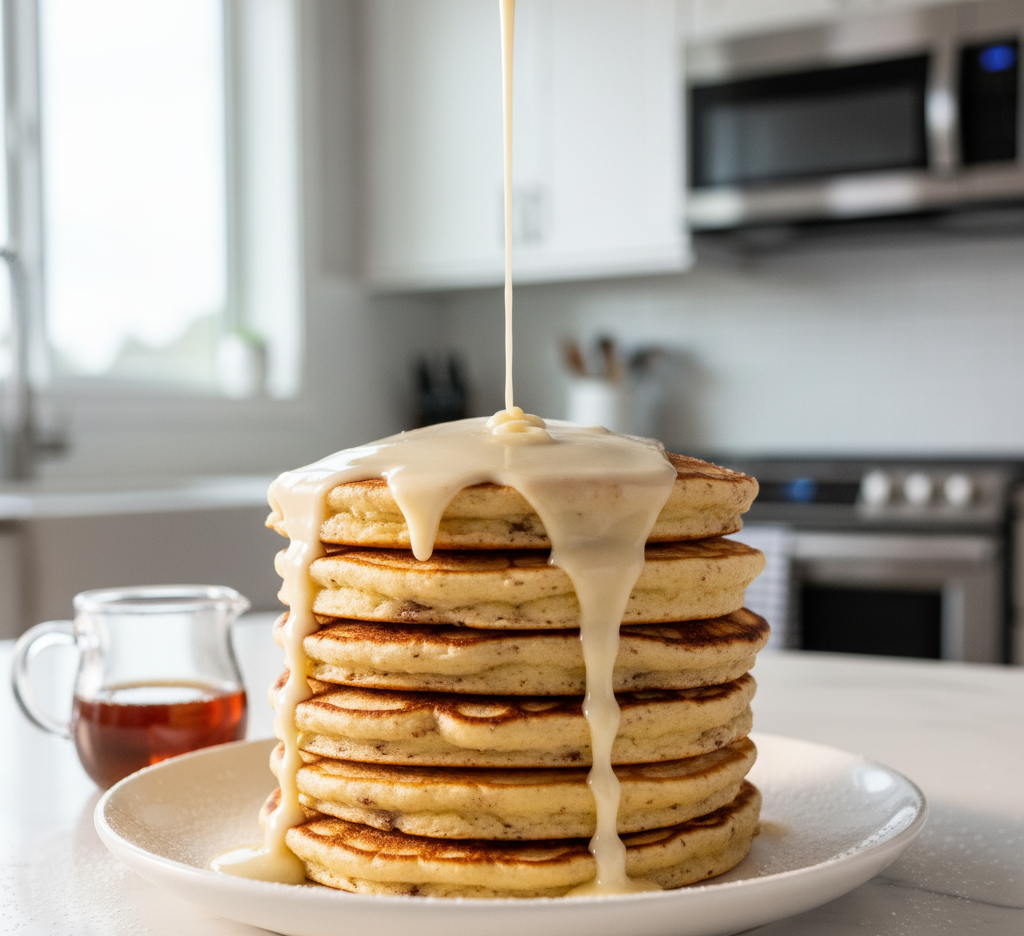
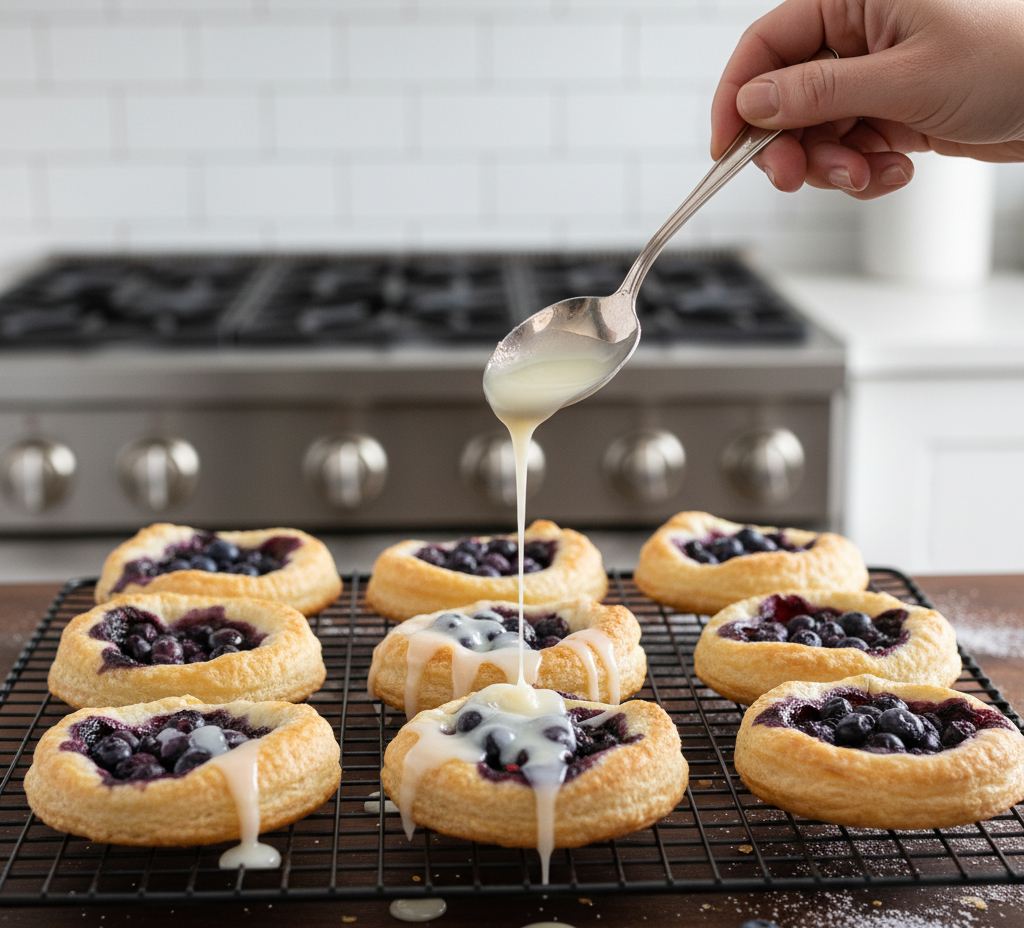
Cream Cheese Glaze
-
4 oz cream cheese, softened
-
1 cup powdered sugar
-
2 tablespoons milk
-
½ teaspoon vanilla extract

Ingredient Notes
The key ingredient in these Soft & Gooey Apple Cider Cinnamon Rolls is, of course, the apple cider. Use fresh, unfiltered apple cider for the best flavor—it adds a subtle tangy sweetness that enhances the cinnamon filling.
A few additional tips:
-
Room temperature ingredients help the dough mix evenly
-
Brown sugar gives the filling a deeper caramel flavor
-
Real butter creates rich, soft layers in the rolls
-
Cream cheese glaze balances the sweetness with a slight tang
Small ingredient choices can make a big difference in the final flavor and texture.
Step-by-Step Instructions
1. Activate the Yeast
Warm the apple cider slightly (about 105–110°F). Stir in the yeast and sugar and let it sit for about 5 minutes until foamy.
2. Make the Dough
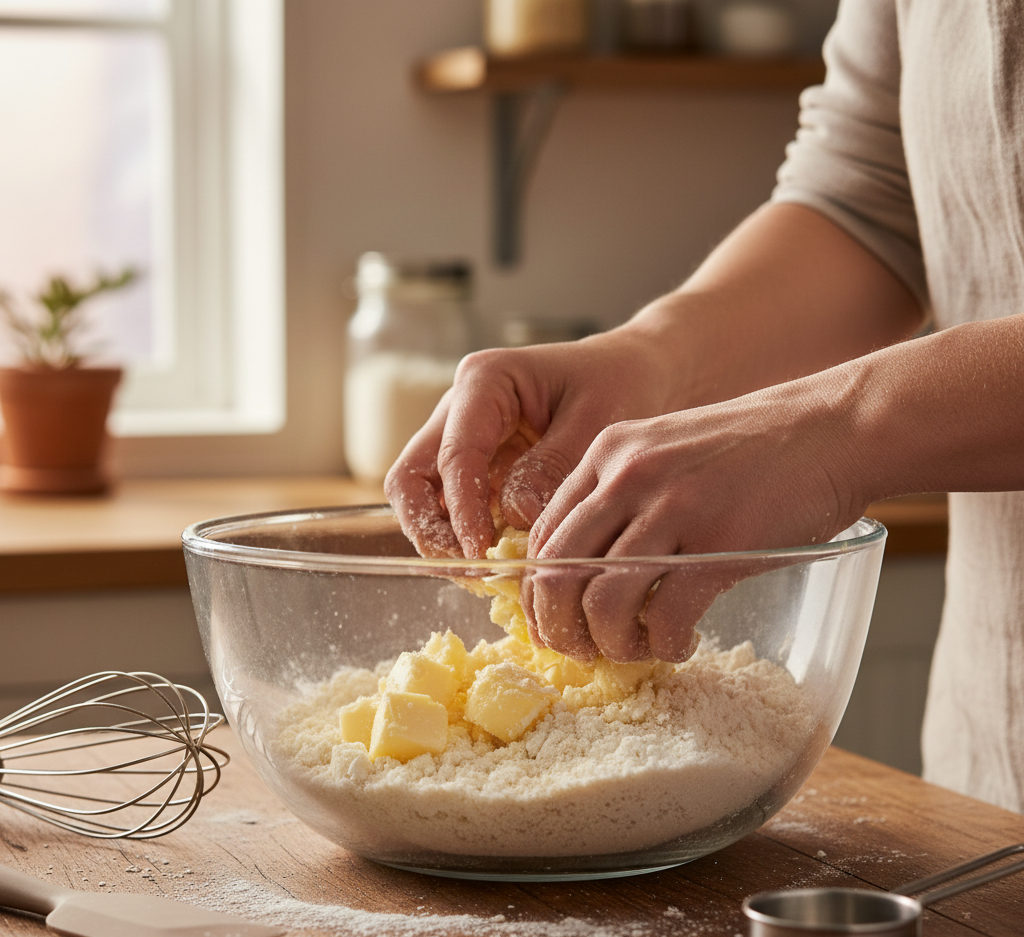
In a large mixing bowl, combine the yeast mixture, melted butter, egg, and salt. Gradually add flour and mix until a soft dough forms.
Knead the dough for about 8–10 minutes until smooth and elastic.
Image Prompt: Hands kneading soft cinnamon roll dough on a lightly floured wooden countertop, flour dust scattered, warm natural kitchen lighting, cozy home baking environment, realistic food photography, shallow depth of field, 4k resolution.
3. Let the Dough Rise
Place the dough in a greased bowl, cover with a clean towel, and allow it to rise for about 1 hour, or until doubled in size.
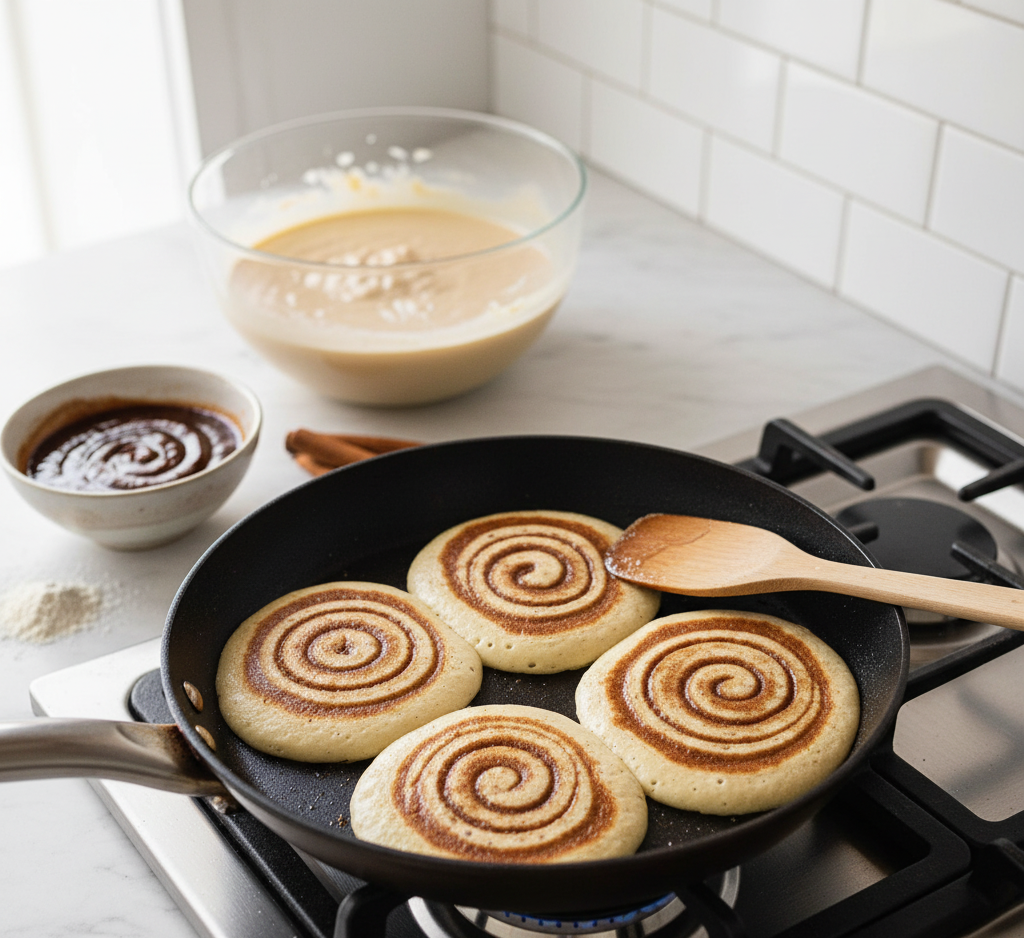
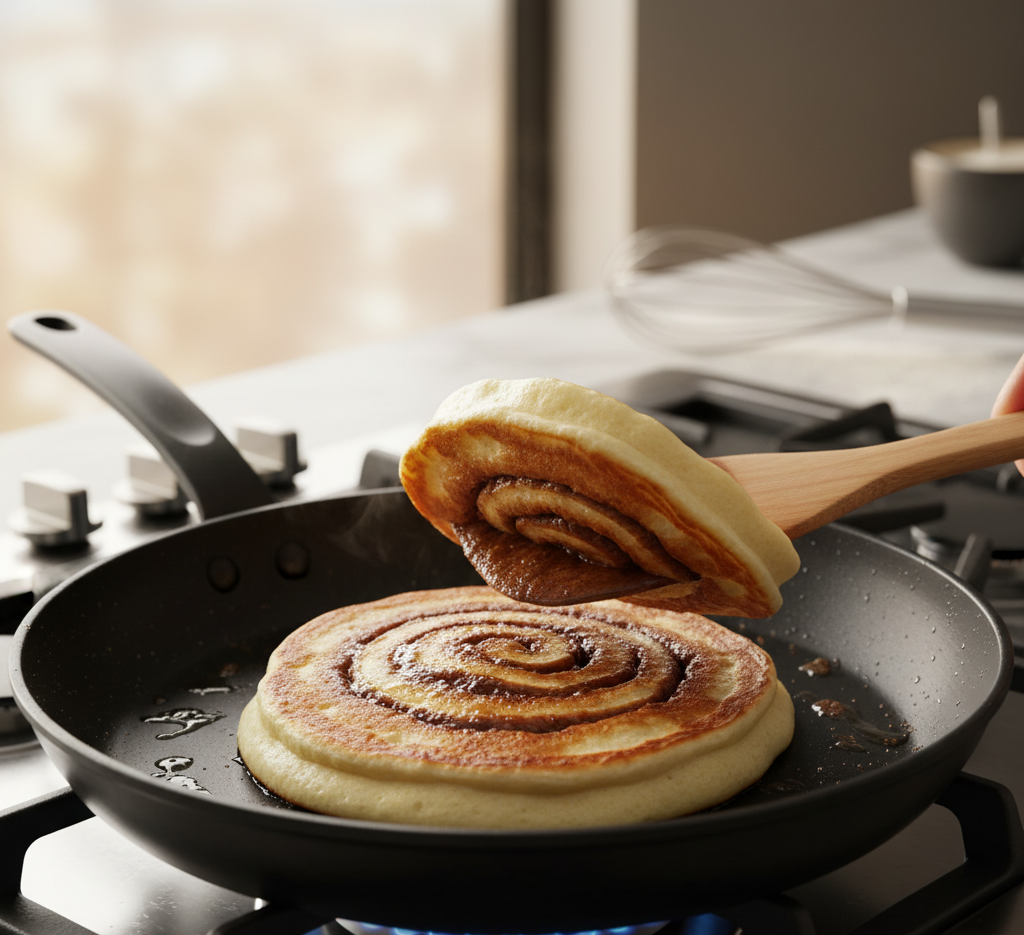
4. Roll and Fill
Roll the dough into a large rectangle about ¼-inch thick. Spread softened butter over the surface, then sprinkle evenly with brown sugar and cinnamon.
5. Shape the Rolls
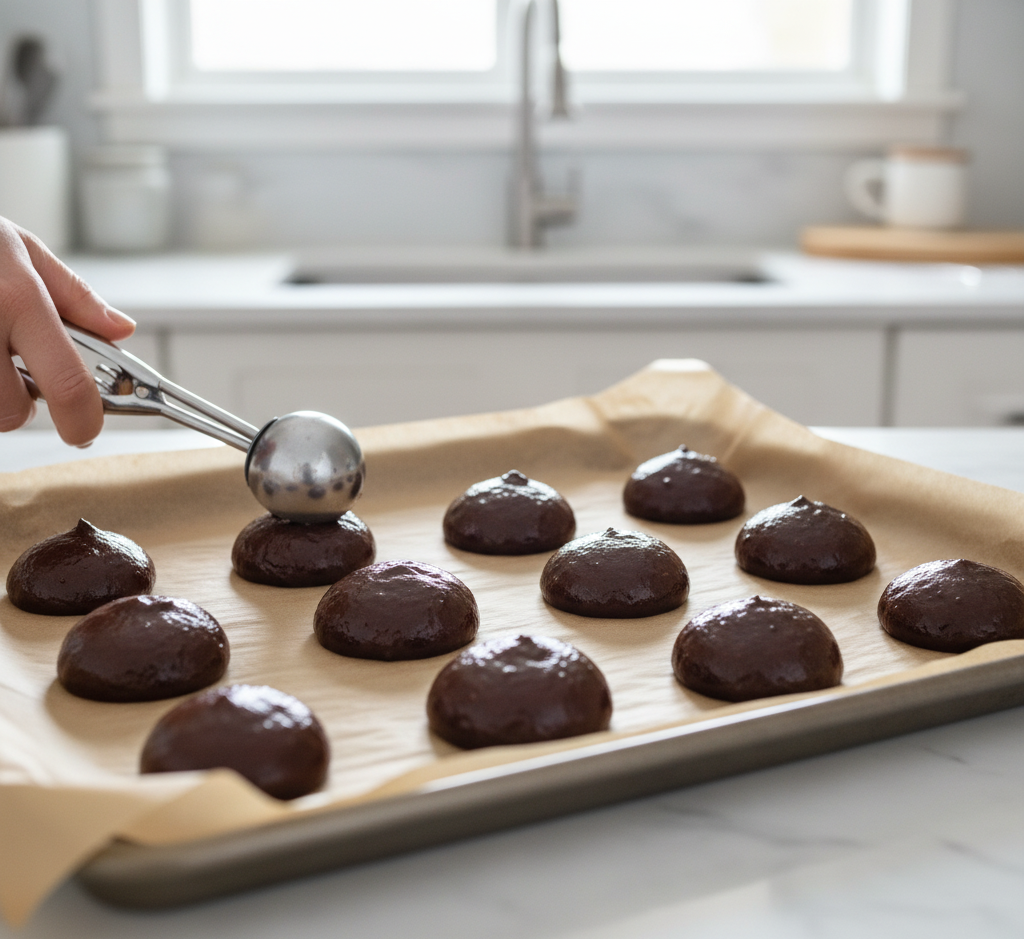
Roll the dough tightly into a log and cut into 12 equal rolls. Place them in a greased baking dish.

6. Bake
Bake at 350°F (175°C) for 22–25 minutes until golden brown and fluffy.
Tips for Perfect Apple Cider Cinnamon Rolls
To get bakery-quality Soft & Gooey Apple Cider Cinnamon Rolls, keep these tips in mind:
-
Don’t overheat the cider or it may kill the yeast
-
Knead the dough until smooth for the softest texture
-
Allow the rolls to rise fully for maximum fluffiness
-
Bake until lightly golden—not dark brown
-
Spread glaze while rolls are still slightly warm
These simple tricks ensure your cinnamon rolls turn out perfectly every time.
Variations
One of the best things about Soft & Gooey Apple Cider Cinnamon Rolls is how customizable they are.
Try these delicious variations:
Caramel Apple Rolls
Add small diced apples and drizzle caramel sauce before serving.
Maple Glazed Rolls
Replace the glaze milk with maple syrup for a fall flavor twist.
Apple Spice Rolls
Add nutmeg and cloves to the cinnamon filling.
Each variation adds a new layer of flavor while keeping the soft, gooey texture intact.
What to Serve With Apple Cider Cinnamon Rolls
These cinnamon rolls are rich and comforting, so they pair beautifully with lighter breakfast sides.
Great serving ideas include:
-
Fresh fruit salad
-
Scrambled eggs
-
Greek yogurt parfait
-
Hot coffee or chai latte
Together, they create a balanced and satisfying brunch spread.

Storage & Reheating Tips
If you somehow have leftovers of these Soft & Gooey Apple Cider Cinnamon Rolls, they store surprisingly well.
Storage
-
Keep at room temperature in an airtight container for 2 days
-
Refrigerate for up to 5 days
Freezing
Wrap tightly and freeze for up to 2 months.
Reheating
Warm in the microwave for 20–30 seconds to restore softness.
Adding a fresh drizzle of glaze after reheating makes them taste freshly baked again.
Common Mistakes to Avoid
Even experienced bakers can make a few mistakes when baking cinnamon rolls.
Avoid these common issues:
-
Using cider that is too hot
-
Adding too much flour, which makes rolls dense
-
Not letting the dough rise long enough
-
Overbaking the rolls
When done correctly, the rolls should be light, fluffy, and wonderfully gooey in the center.
FAQs About Apple Cider Cinnamon Rolls
Can I make apple cider cinnamon rolls overnight?
Yes! After shaping the rolls, cover and refrigerate overnight. Let them sit at room temperature for 30 minutes before baking.
Can I use apple juice instead of apple cider?
You can, but apple cider provides a richer, deeper flavor that makes these cinnamon rolls extra special.
Why are my cinnamon rolls not fluffy?
This usually happens if the dough didn’t rise long enough or if too much flour was added.
Can I freeze unbaked cinnamon rolls?
Absolutely. Freeze them after shaping, then thaw overnight and allow them to rise before baking.
Final Thoughts
These Soft & Gooey Apple Cider Cinnamon Rolls are the perfect homemade treat for cozy mornings, holiday brunches, or whenever you want something warm and comforting from the oven. The apple cider adds a unique fall flavor that pairs beautifully with classic cinnamon sugar filling and creamy glaze.
Once you try this recipe, it may quickly become your go-to fall cinnamon roll recipe. Soft, fluffy, sweet, and slightly gooey—every bite tastes like autumn comfort.