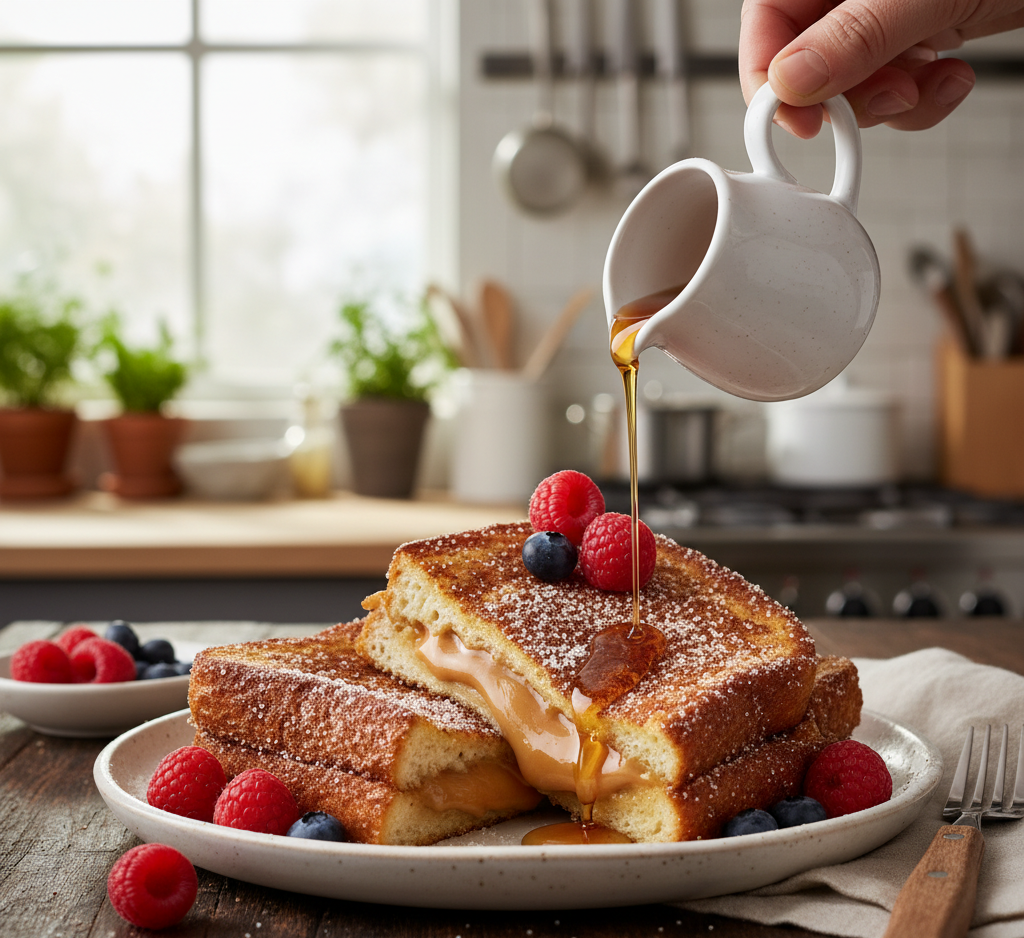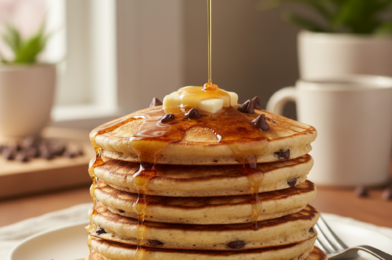
There’s nothing quite like waking up to a stack of warm, easy chocolate chip pancakes fresh off the griddle. Soft, fluffy, and loaded with gooey chocolate chips, these pancakes strike the perfect balance between indulgent and comforting. Whether you’re making a weekend brunch for family or treating yourself to a cozy breakfast, this recipe delivers bakery-quality results right at home.
What makes this easy chocolate chip pancakes recipe truly special is how simple and foolproof it is. With basic pantry ingredients and just a few minutes of prep, you can create pancakes that are light, airy, and bursting with chocolate in every bite.
Why You’ll Love This Recipe
These easy chocolate chip pancakes are designed to be both delicious and practical. You don’t need fancy ingredients or complicated steps to achieve that perfect fluffy texture.
Here’s why this recipe stands out:
- Quick and easy—ready in under 30 minutes
- Perfectly soft and fluffy texture
- Loaded with rich, melty chocolate chips
- Kid-friendly and crowd-pleasing
- Easily customizable with different flavors
Once you try these pancakes, they’ll quickly become a regular in your breakfast rotation.
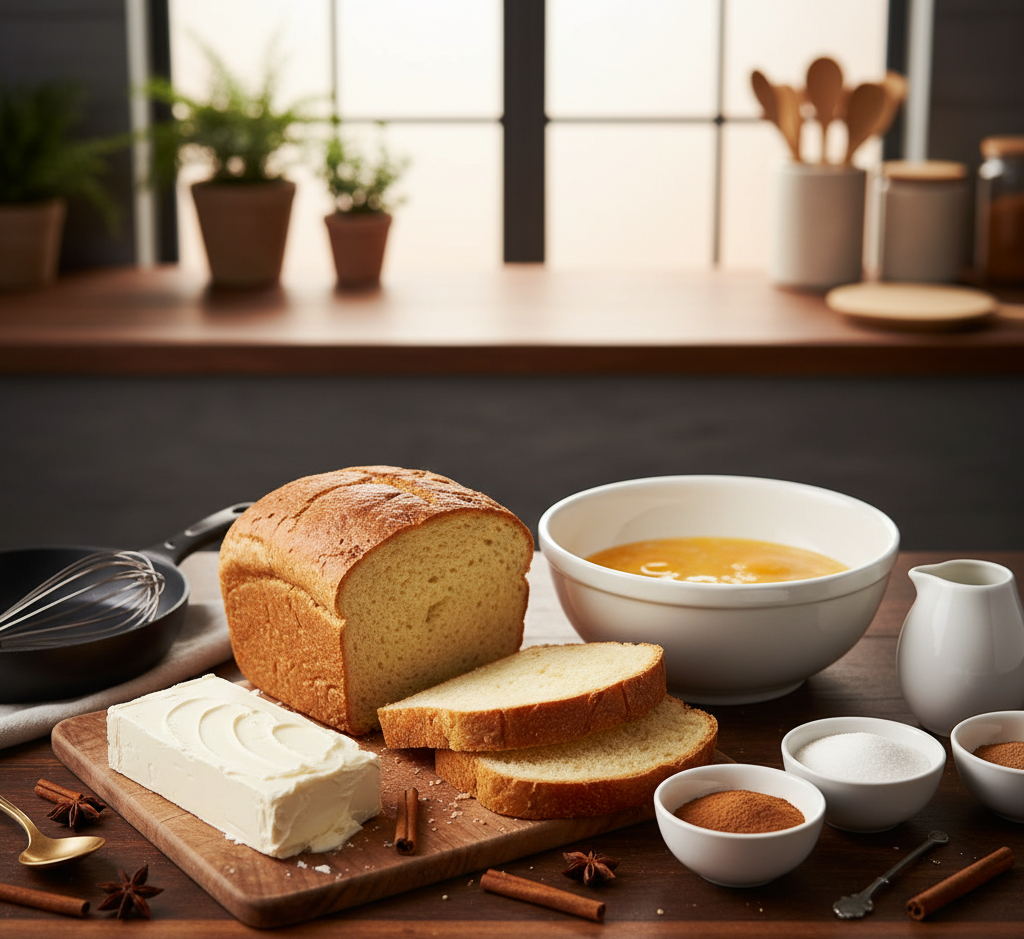
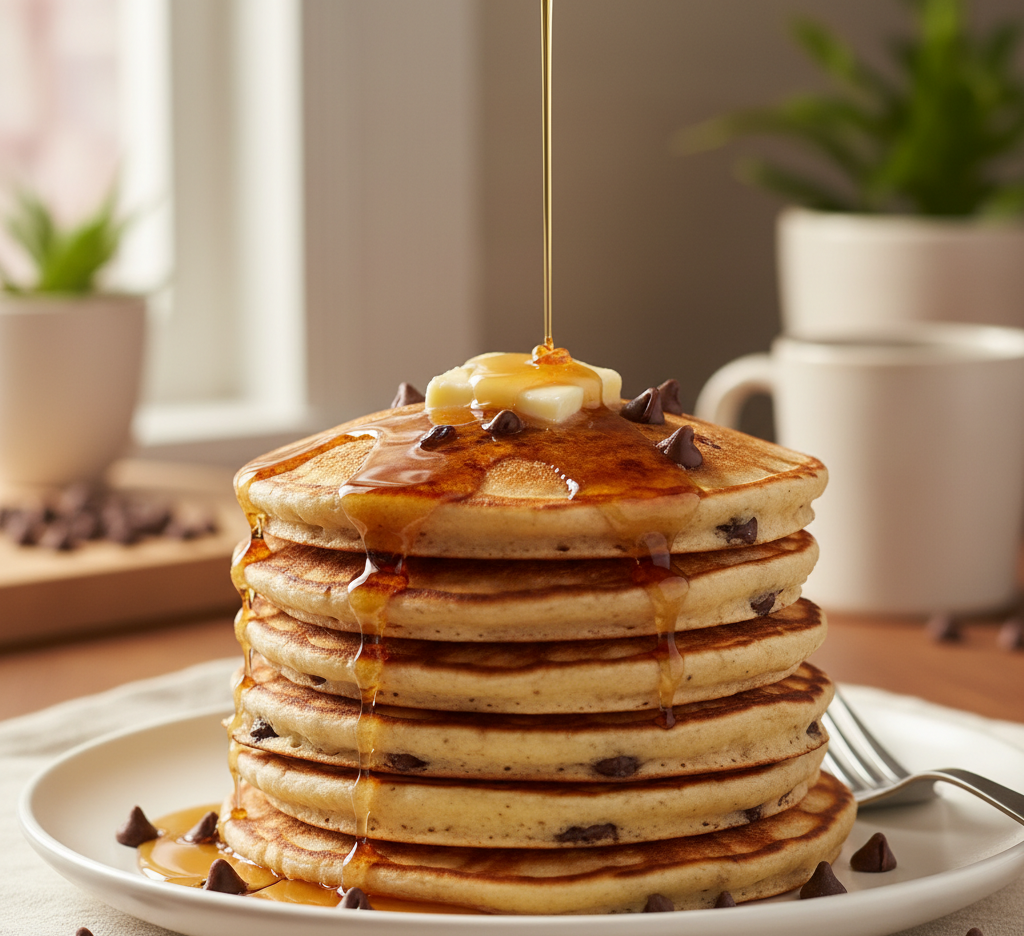
Ingredients
To make the best easy chocolate chip pancakes, gather these simple ingredients:
- 1 ½ cups all-purpose flour
- 2 tablespoons sugar
- 1 tablespoon baking powder
- ½ teaspoon salt
- 1 ¼ cups milk
- 1 large egg
- 3 tablespoons melted butter
- 1 teaspoon vanilla extract
- ¾ cup chocolate chips
Why You’ll Love This Recipe
These easy chocolate chip pancakes are designed to be both delicious and practical. You don’t need fancy ingredients or complicated steps to achieve that perfect fluffy texture.
Here’s why this recipe stands out:
- Quick and easy—ready in under 30 minutes
- Perfectly soft and fluffy texture
- Loaded with rich, melty chocolate chips
- Kid-friendly and crowd-pleasing
- Easily customizable with different flavors
Once you try these pancakes, they’ll quickly become a regular in your breakfast rotation.
Ingredients
To make the best easy chocolate chip pancakes, gather these simple ingredients:
- 1 ½ cups all-purpose flour
- 2 tablespoons sugar
- 1 tablespoon baking powder
- ½ teaspoon salt
- 1 ¼ cups milk
- 1 large egg
- 3 tablespoons melted butter
- 1 teaspoon vanilla extract
- ¾ cup chocolate chips
Image Prompt: Pancake ingredients arranged neatly on a wooden countertop including flour, milk, eggs, chocolate chips, butter, and vanilla extract in small bowls, bright natural lighting, professional kitchen setup, 4k resolution.
Ingredient Notes & Substitutions
Using quality ingredients makes a noticeable difference in your easy chocolate chip pancakes. For example, whole milk creates a richer batter, while semi-sweet chocolate chips provide the perfect balance of sweetness.
Here are a few helpful swaps:
- Use almond or oat milk for a dairy-free version
- Substitute whole wheat flour for added fiber
- Try dark chocolate chips for a richer flavor
- Add a pinch of cinnamon for warmth
These variations allow you to tailor the pancakes to your preferences without sacrificing texture.
Step-by-Step Instructions
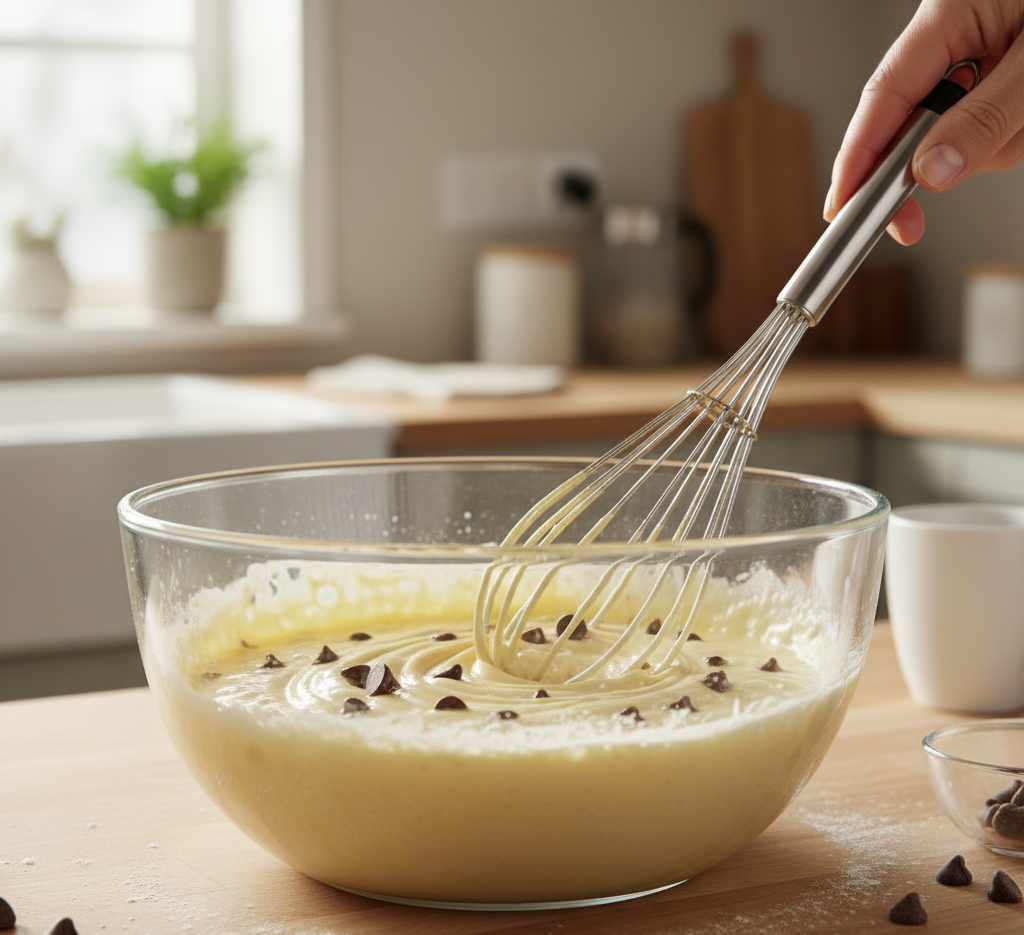
Step 1: Mix Dry Ingredients
In a large bowl, whisk together flour, sugar, baking powder, and salt.
Step 2: Combine Wet Ingredients
In another bowl, whisk milk, egg, melted butter, and vanilla extract until smooth.
Step 3: Make the Batter
Pour the wet ingredients into the dry ingredients and gently mix until just combined. Fold in the chocolate chips.
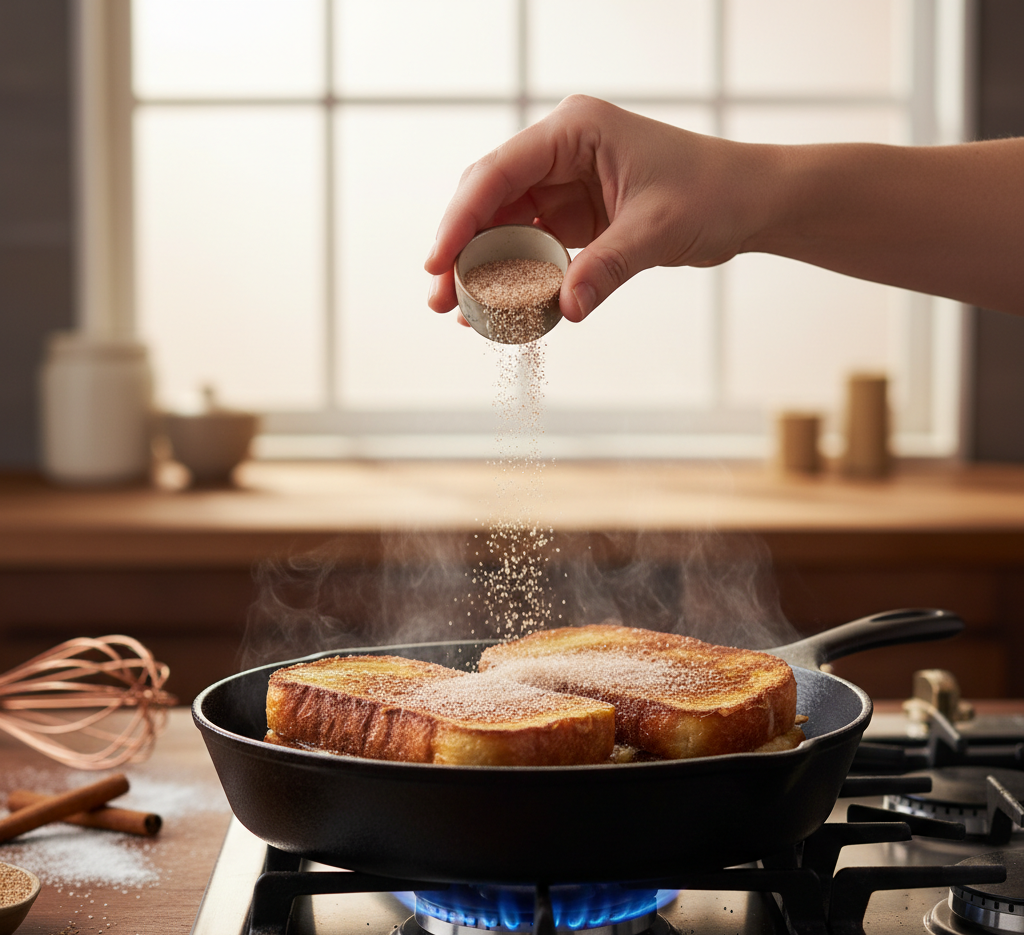
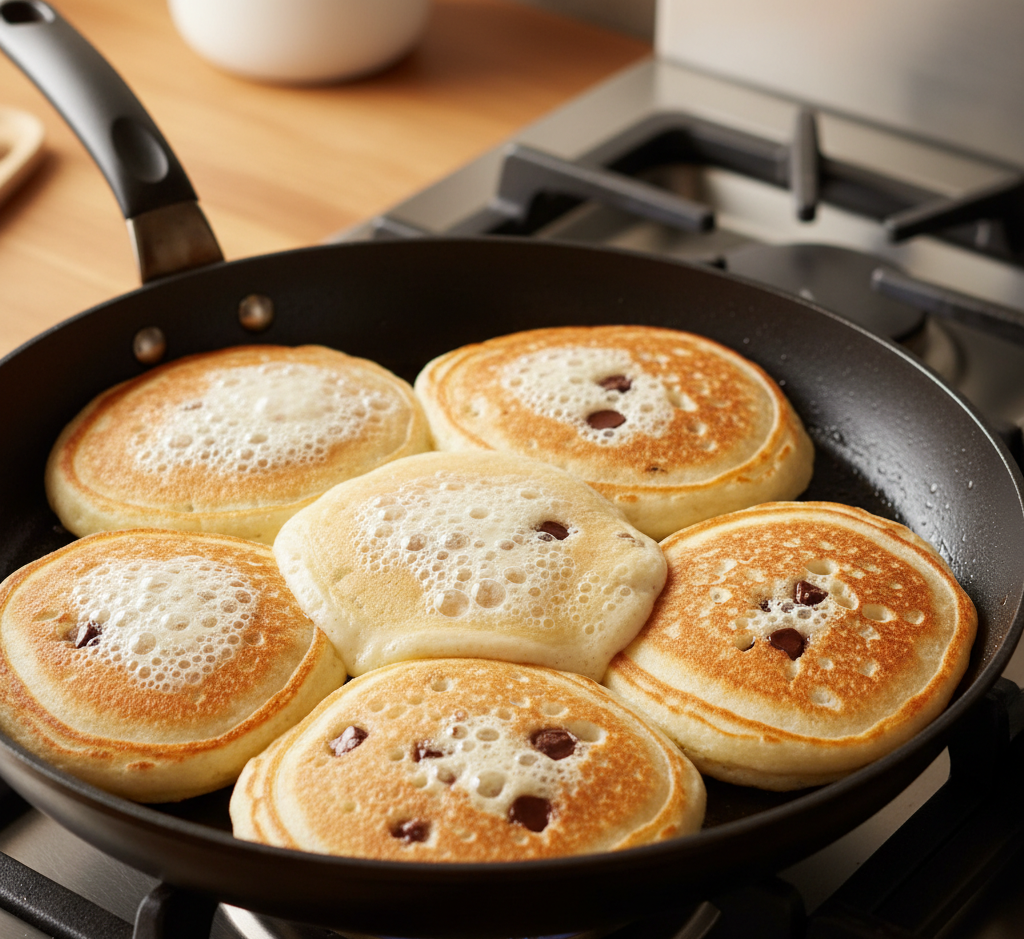
Step 4: Cook the Pancakes
Heat a non-stick skillet over medium heat. Pour ¼ cup of batter for each pancake. Cook until bubbles form, then flip and cook until golden brown.
Step 5: Serve Warm
Stack pancakes and serve immediately with your favorite toppings.
Tips for Perfect Results
To achieve the fluffiest easy chocolate chip pancakes every time, keep these tips in mind:
- Don’t overmix the batter—lumps are okay
- Let the batter rest for 5 minutes before cooking
- Use medium heat to avoid burning the chocolate
- Flip only once for the best texture
These small techniques make a big difference in the final result.
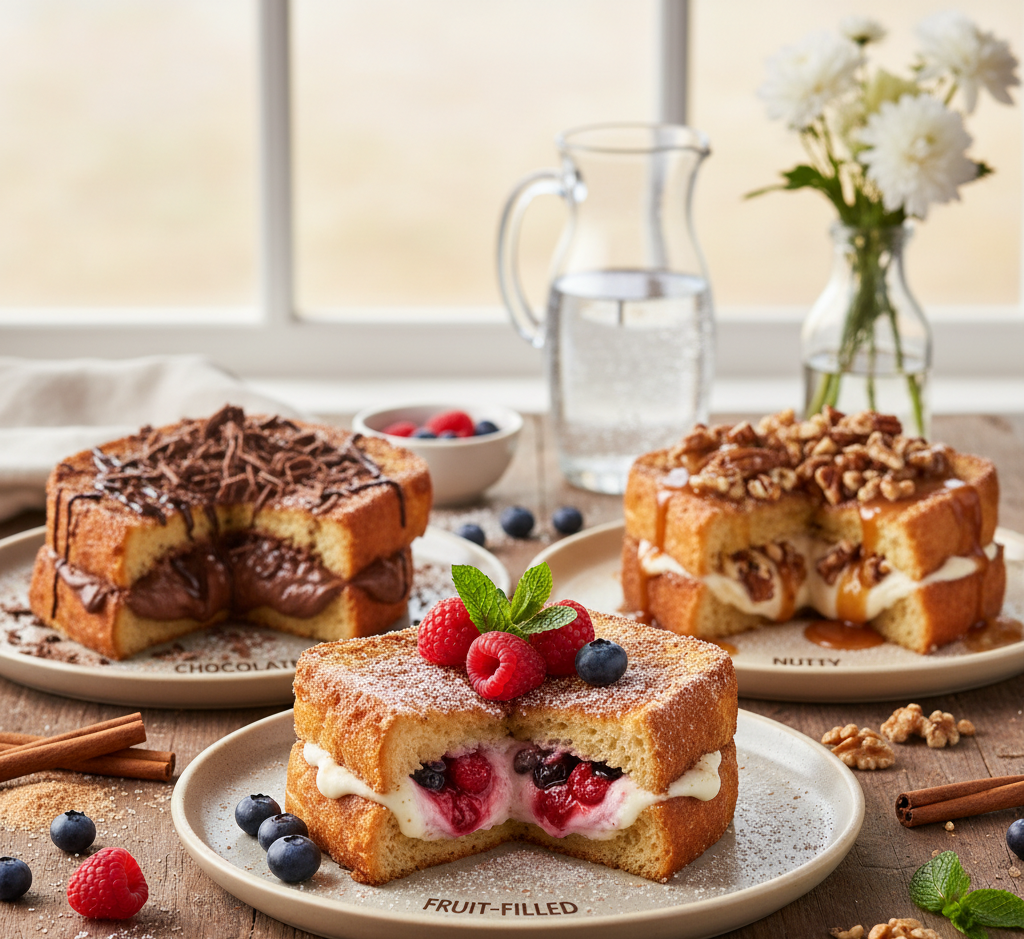
Variations to Try
One of the best things about easy chocolate chip pancakes is how versatile they are.
Flavor Variations:
- Banana chocolate chip pancakes
- Peanut butter chocolate chip pancakes
- Double chocolate pancakes with cocoa powder
Topping Ideas:
- Fresh berries
- Whipped cream
- Nutella or peanut butter drizzle
Feel free to get creative and make this recipe your own.
What to Serve With Chocolate Chip Pancakes
These easy chocolate chip pancakes pair beautifully with both sweet and savory sides.
Try serving them with:
- Crispy bacon or sausage
- Scrambled eggs
- Fresh fruit salad
- Maple syrup or honey
This combination creates a balanced and satisfying breakfast.
Storage & Reheating
If you have leftovers, these easy chocolate chip pancakes store well.
- Refrigerate: Store in an airtight container for up to 3 days
- Freeze: Freeze for up to 2 months with parchment between layers
- Reheat: Warm in a toaster or microwave
This makes them perfect for meal prep or quick weekday breakfasts.
Common Mistakes to Avoid
Even simple recipes can go wrong without proper technique.
Avoid these common mistakes:
- Overmixing the batter (leads to dense pancakes)
- Cooking on high heat (burns the outside)
- Using cold ingredients (affects texture)
- Skipping resting time
Keeping these in mind ensures perfect pancakes every time.
FAQs
Can I make easy chocolate chip pancakes ahead of time?
Yes! You can cook them in advance and reheat when ready to serve.
Why are my pancakes not fluffy?
Overmixing the batter or using old baking powder can affect fluffiness.
Can I use mini chocolate chips?
Absolutely! Mini chips distribute more evenly throughout the pancakes.
Can I make this recipe gluten-free?
Yes, simply use a gluten-free flour blend designed for baking.
Final Thoughts
These easy chocolate chip pancakes are everything you want in a breakfast—soft, fluffy, and packed with rich chocolate flavor. They’re quick to make, incredibly satisfying, and perfect for any occasion, from lazy weekends to special brunches.
Once you try this recipe, you’ll see just how easy it is to create restaurant-quality pancakes right at home. So grab your skillet and get ready to enjoy a stack of warm, chocolate-filled goodness!