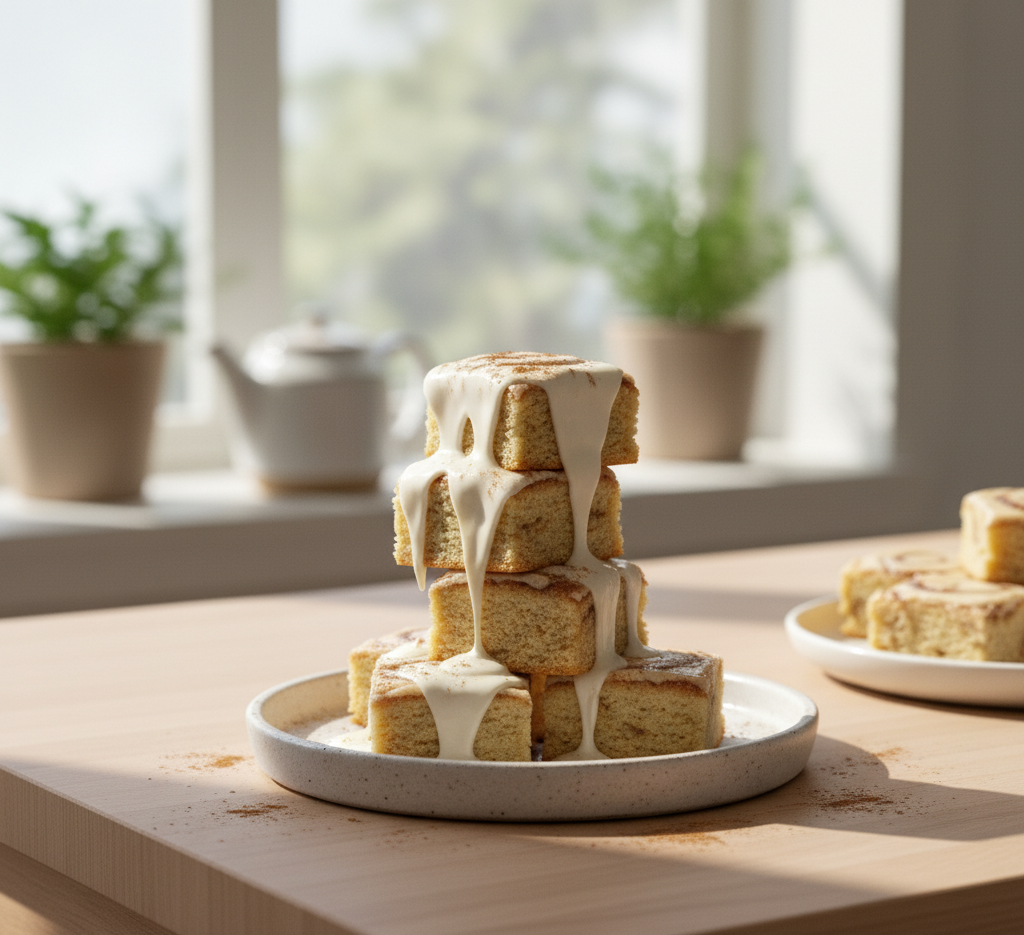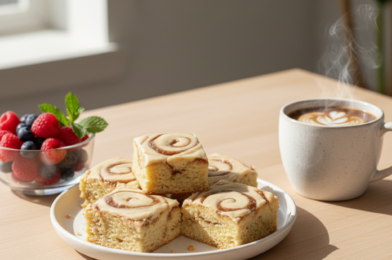
If you love the warm, gooey goodness of classic cinnamon rolls but don’t have the time (or patience) to work with yeast dough, these cinnamon roll bliss bars are about to change your baking game. They deliver all the sweet, buttery, cinnamon-swirled flavor you crave—without the hassle.
This cinnamon roll bliss bars recipe transforms a traditional breakfast favorite into an easy, sliceable dessert bar that’s perfect for sharing. With a soft, tender base, a rich cinnamon sugar swirl, and a creamy icing drizzle, every bite feels like pure comfort. Whether you’re baking for a weekend brunch, holiday gathering, or just a cozy night at home, these bars are guaranteed to impress.
Why You’ll Love This Recipe
There are so many reasons to fall in love with this cinnamon roll bliss bars recipe:
- No Yeast Required: Skip the long rise times of traditional cinnamon rolls
- Quick & Easy: Ready in under an hour from start to finish
- Perfect Texture: Soft, buttery base with gooey cinnamon layers
- Great for Sharing: Easy-to-cut bars make serving simple
- Versatile: Works for breakfast, dessert, or a sweet snack
These bars capture the magic of cinnamon rolls in a much simpler, more approachable format.
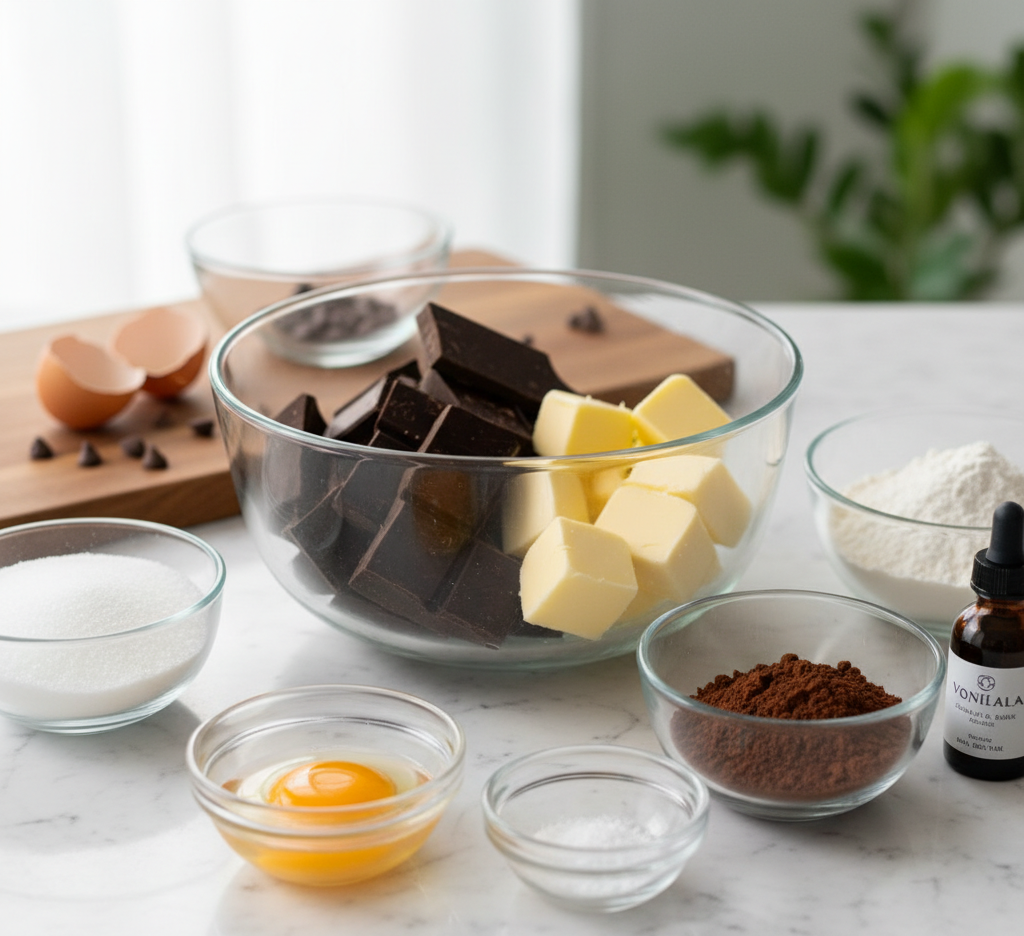
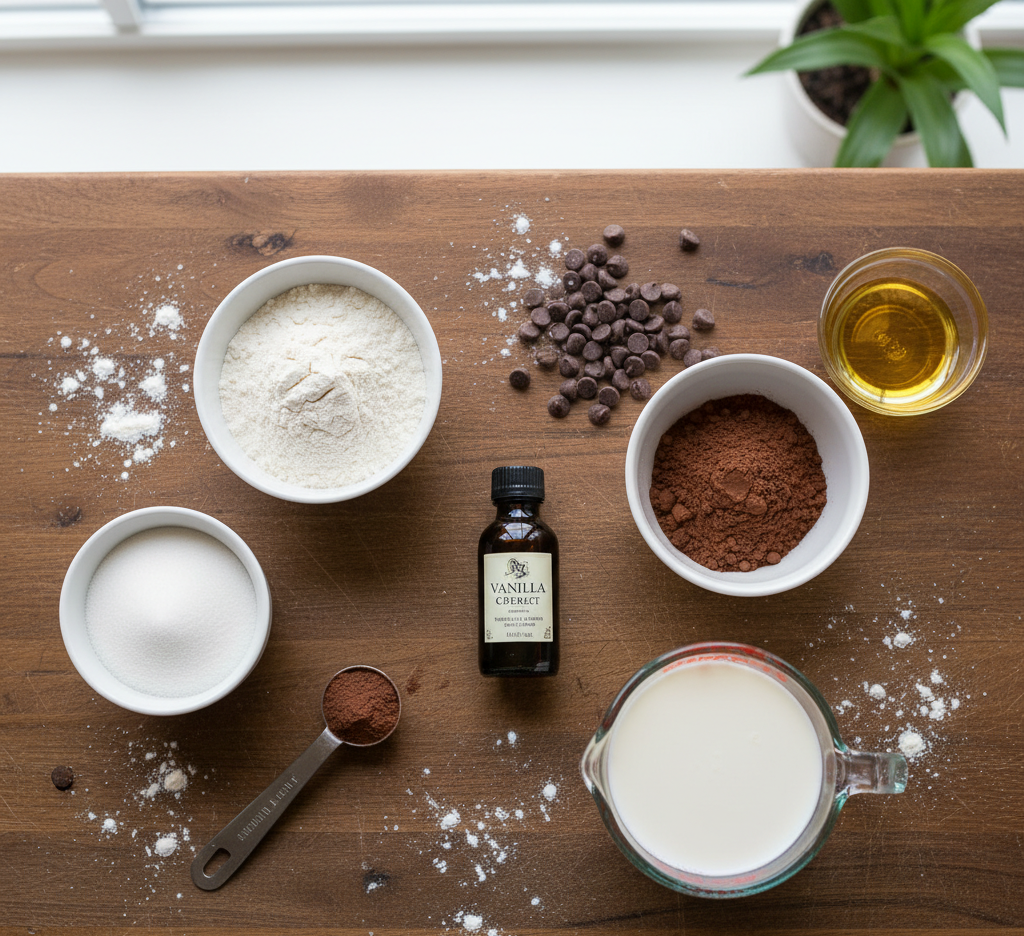
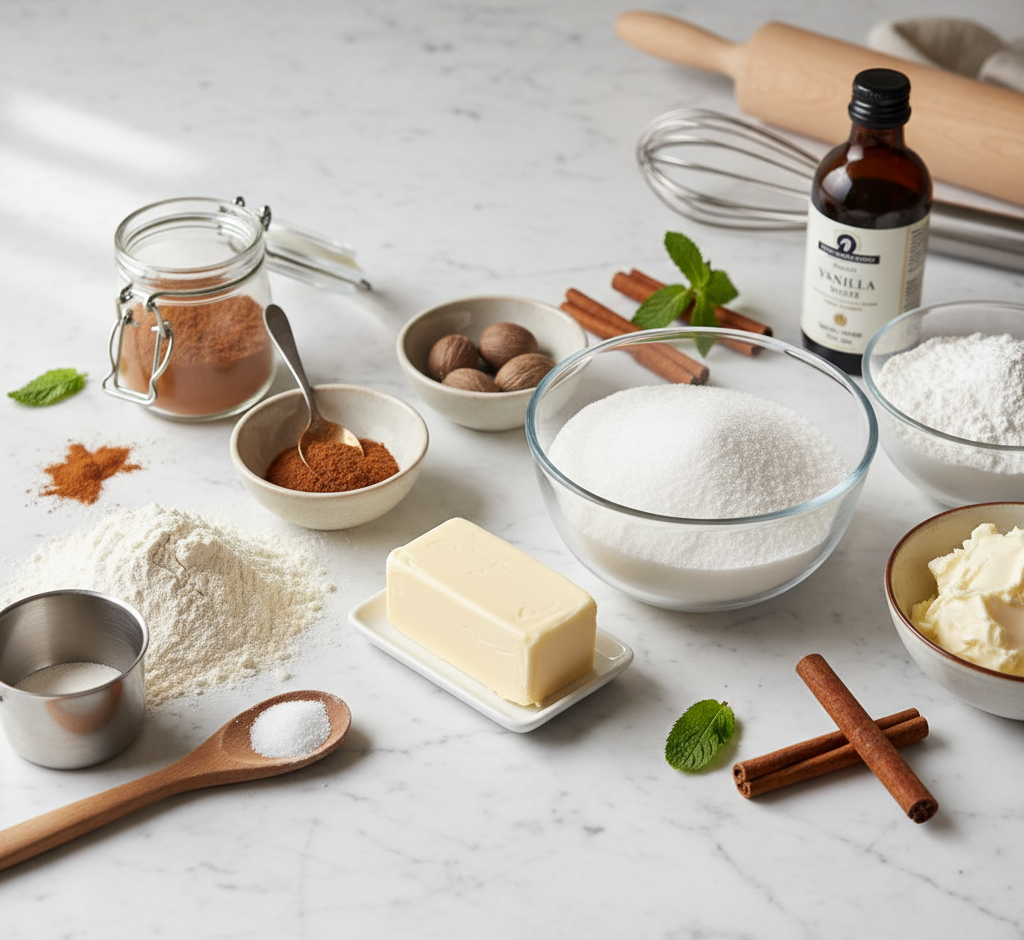
Ingredients
To make these irresistible cinnamon roll bliss bars, you’ll need:
For the base:
- 1 cup unsalted butter, melted
- 1 cup granulated sugar
- ½ cup brown sugar
- 2 large eggs
- 2 teaspoons vanilla extract
- 2 cups all-purpose flour
- ½ teaspoon salt
For the cinnamon swirl:
- ½ cup unsalted butter, softened
- ¾ cup brown sugar
- 1 tablespoon ground cinnamon
For the icing:
- 1 cup powdered sugar
- 2–3 tablespoons milk
- ½ teaspoon vanilla extract
Ingredient Notes
- Butter: Using real butter gives these bars their rich, indulgent flavor
- Brown Sugar: Adds moisture and a caramel-like sweetness
- Cinnamon: Use fresh ground cinnamon for the best aroma and flavor
- Powdered Sugar: Essential for a smooth, drizzle-worthy icing
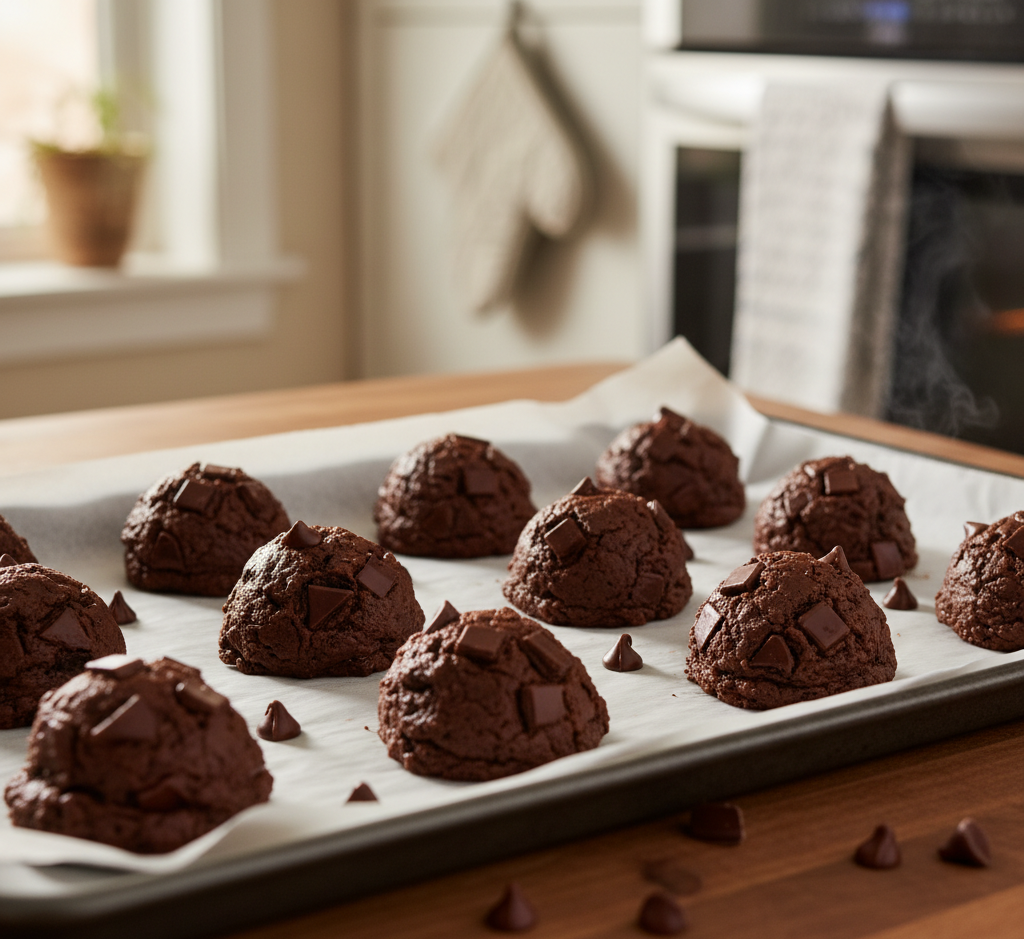
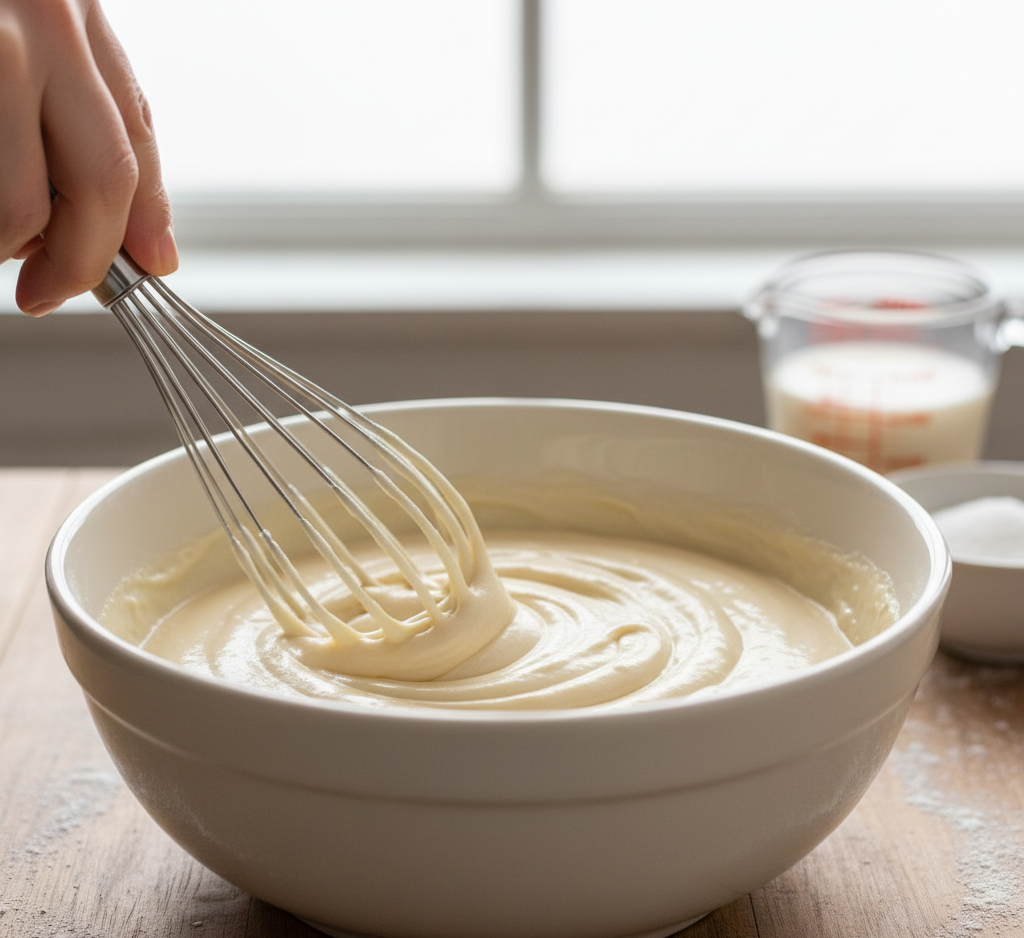
Step-by-Step Instructions
- Preheat the Oven: Set your oven to 350°F (175°C) and line a 9×13-inch baking pan with parchment paper.
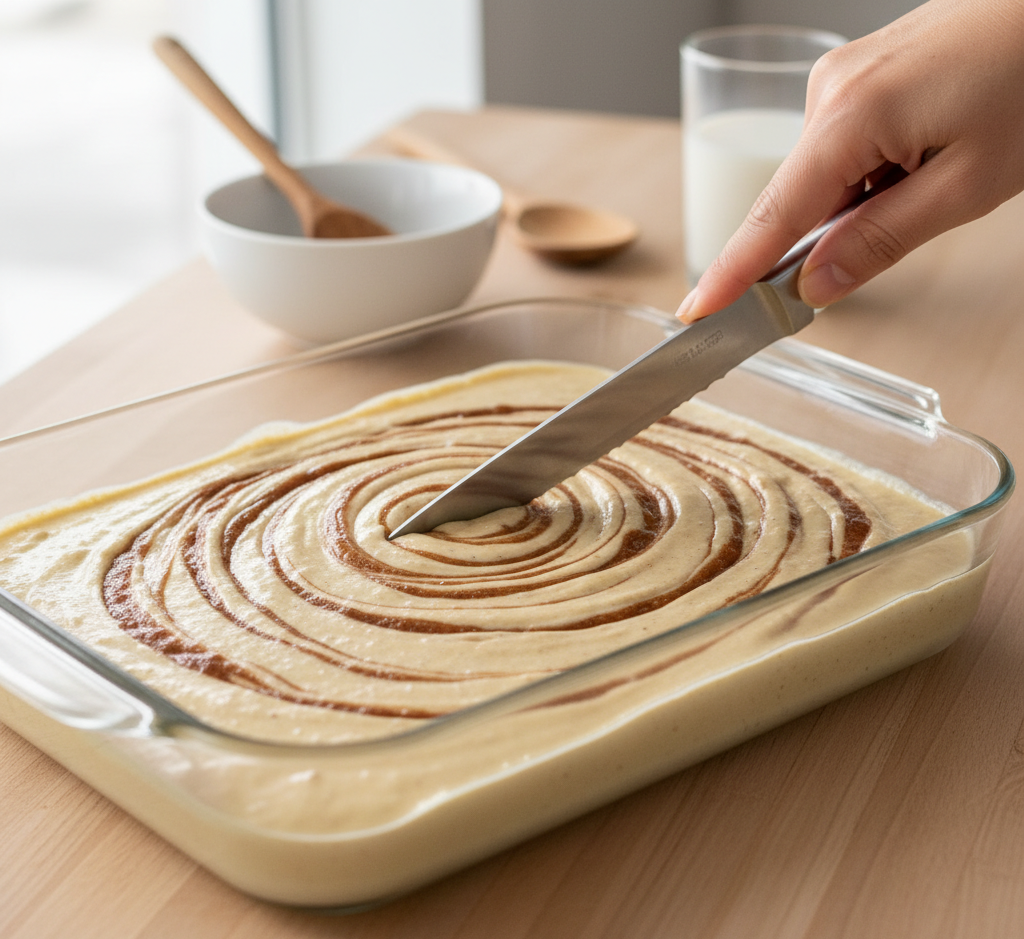
- Make the Base: In a large bowl, whisk melted butter, granulated sugar, and brown sugar. Add eggs and vanilla, mixing until smooth. Stir in flour and salt until combined.
- Prepare Cinnamon Swirl: In a separate bowl, mix softened butter, brown sugar, and cinnamon into a spreadable paste.
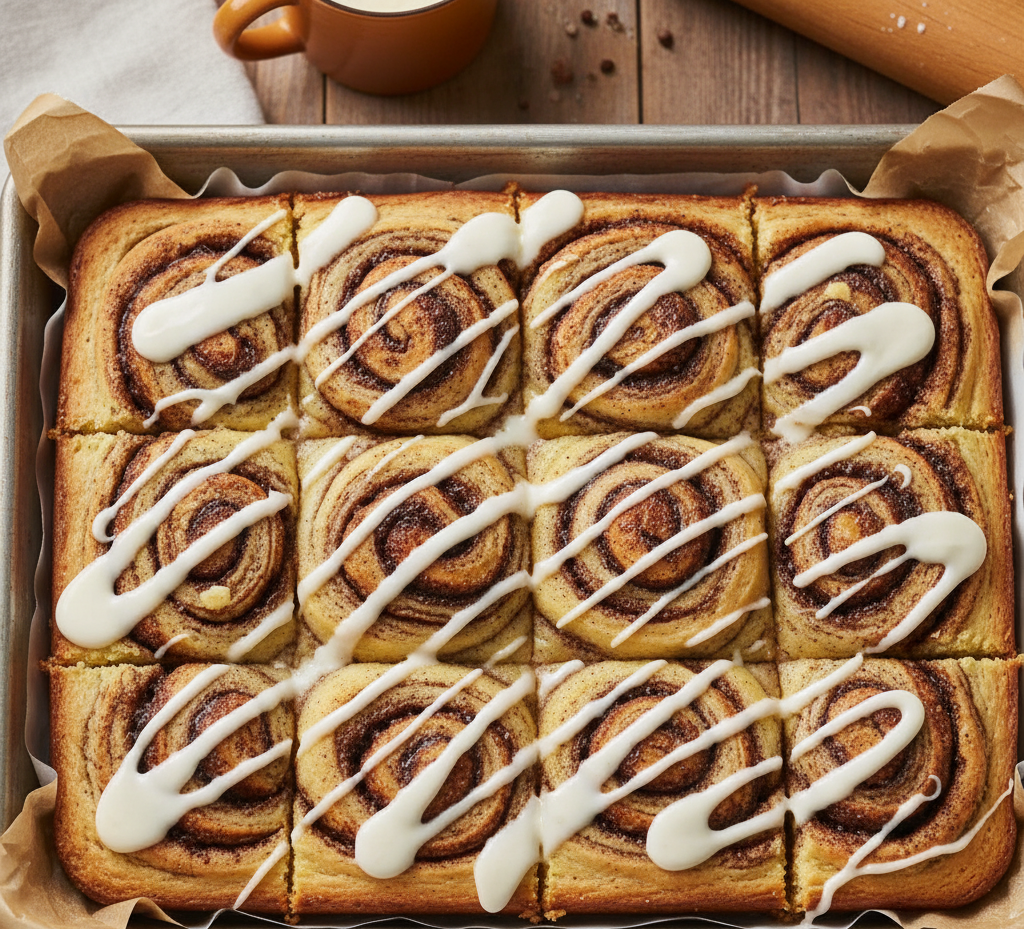
- Assemble the Bars: Spread half of the batter into the pan. Dollop the cinnamon mixture on top, then add the remaining batter and gently swirl with a knife.
- Bake: Bake for 25–30 minutes or until the edges are golden and the center is set.
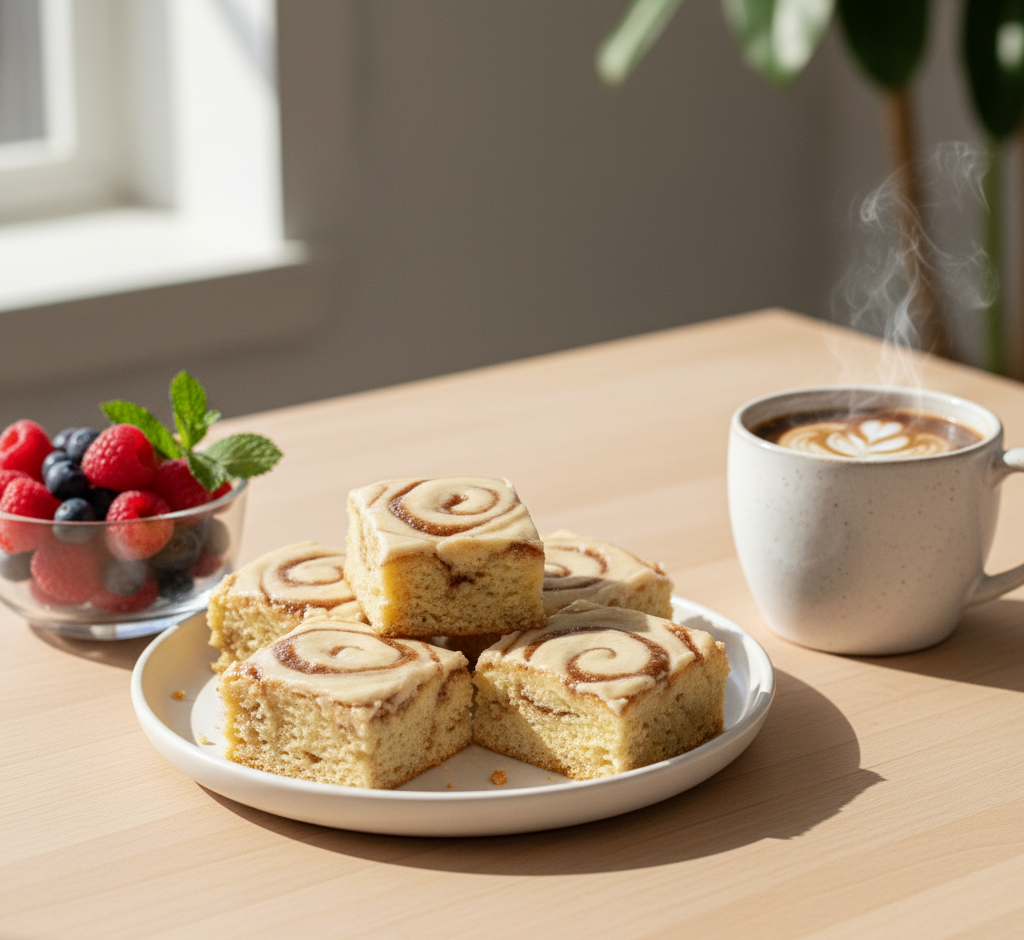
- Make the Icing: Whisk powdered sugar, milk, and vanilla until smooth. Drizzle over cooled bars.
- Slice & Serve: Cut into squares and enjoy!
Tips for Perfect Results
- Don’t Overbake: Keep the center slightly soft for that gooey texture
- Use Parchment Paper: Makes removing and slicing the bars much easier
- Swirl Gently: Avoid overmixing the cinnamon layer for distinct swirls
- Cool Before Icing: Prevents the icing from melting completely
Variations
Fun Twists on Cinnamon Roll Bliss Bars
This cinnamon roll bliss bars recipe is easy to customize:
- Cream Cheese Frosting: Swap icing for a tangy cream cheese glaze
- Nutty Crunch: Add chopped pecans or walnuts to the cinnamon layer
- Apple Cinnamon: Fold diced apples into the batter for a fall-inspired version
- Chocolate Drizzle: Add a drizzle of melted chocolate for extra indulgence
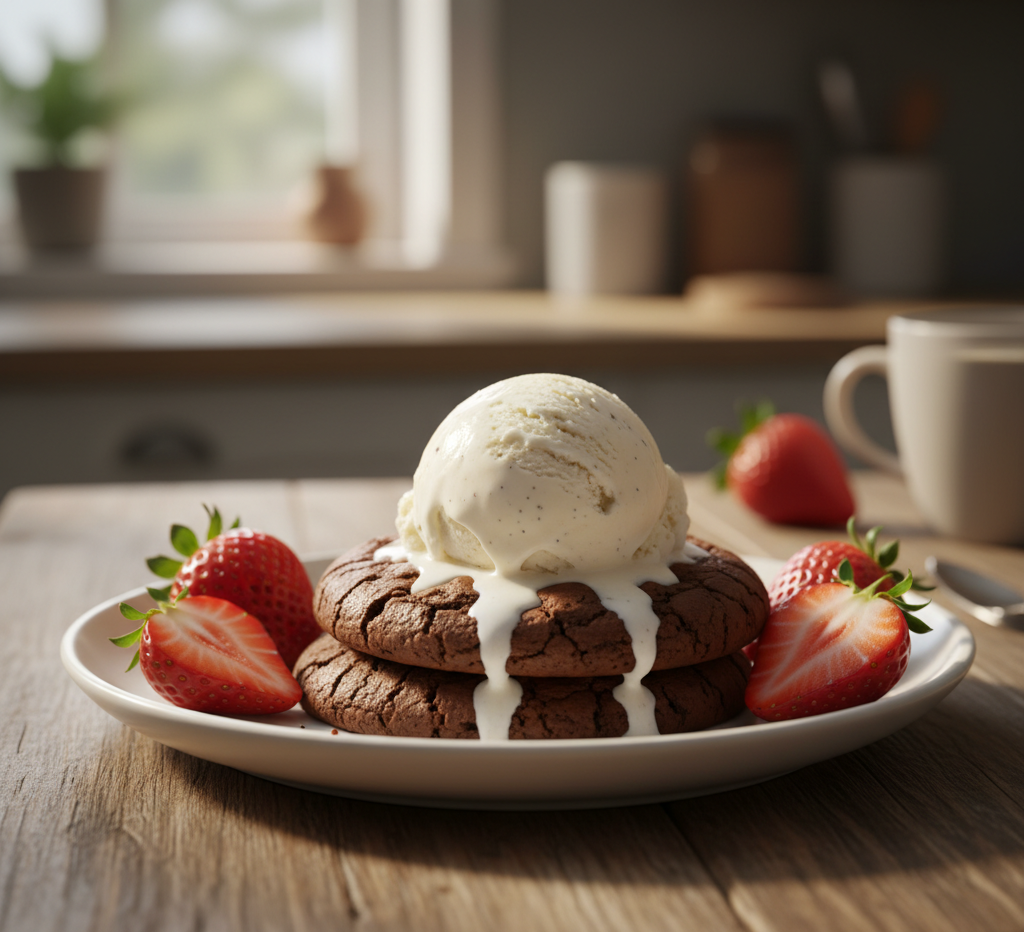
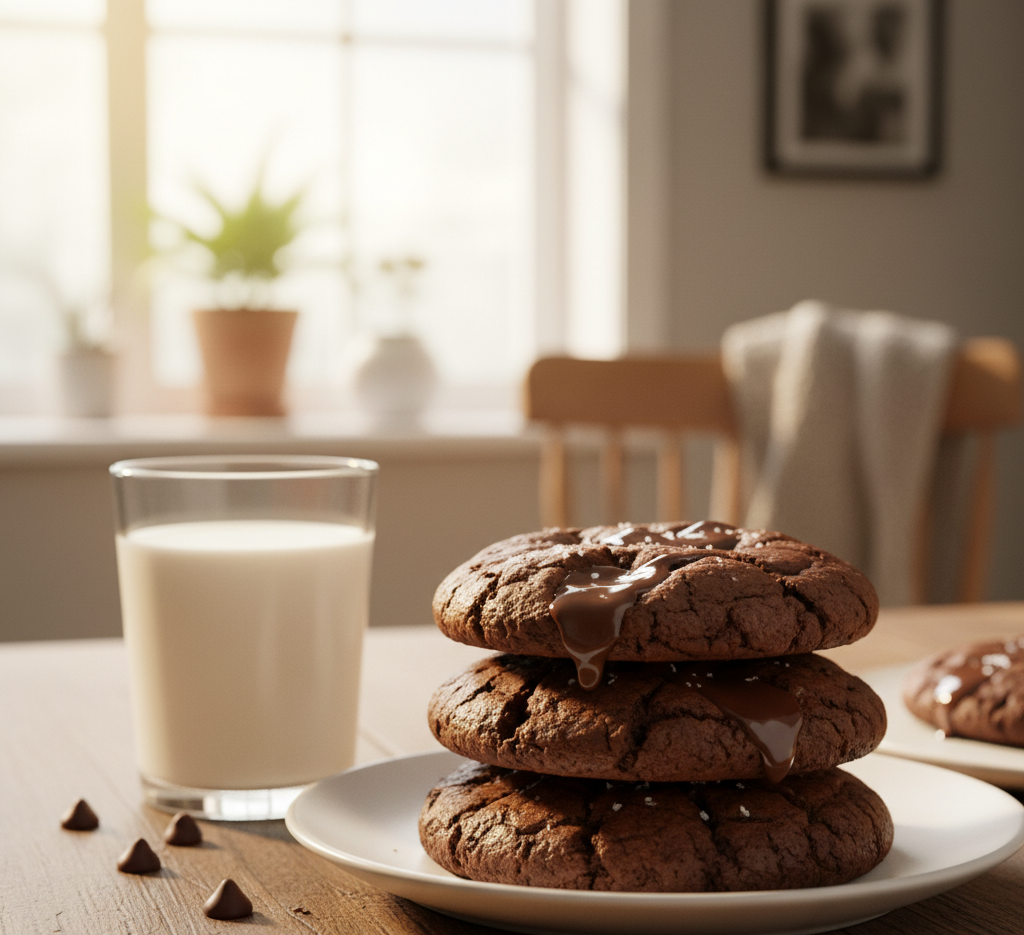
What to Serve With It
These bars pair beautifully with:
- Fresh coffee or latte
- Hot tea or chai
- A glass of cold milk
- Fresh fruit for a balanced treat
Storage & Reheating
- Room Temperature: Store in an airtight container for up to 3 days
- Refrigeration: Keeps for up to 5 days; bring to room temp before serving
- Freezing: Freeze bars (without icing) for up to 2 months
- Reheating: Warm in the microwave for 10–15 seconds for a fresh-baked feel
Common Mistakes
- Overmixing Batter: Can make bars dense instead of soft
- Too Much Swirling: Blends layers instead of creating defined swirls
- Skipping Lining the Pan: Makes removal difficult
- Adding Icing Too Early: Causes it to melt and disappear
FAQs
1. Can I make cinnamon roll bliss bars ahead of time?
Yes! They store well and taste even better the next day as flavors develop.
2. Can I use store-bought cinnamon filling?
You can, but homemade gives better flavor and texture.
3. How do I know when the bars are done?
The edges should be golden and a toothpick inserted in the center should come out mostly clean.
4. Can I double this recipe?
Absolutely! Use a larger baking pan or bake in batches.
Final Thoughts
This cinnamon roll bliss bars recipe is the perfect combination of ease and indulgence. You get all the flavors of a classic cinnamon roll—sweet, buttery, and warmly spiced—without the extra time and effort.
Whether you’re baking for a special occasion or simply treating yourself, these bars deliver comfort and flavor in every bite. Once you try them, they’re sure to become a staple in your dessert rotation.