If you’re tired of boring breakfasts and want something warm, cheesy, and satisfying, this creamy breakfast quesadilla with eggs and cheese easy recipe for a perfect morning meal is exactly what you need. It’s quick to make, packed with protein, and delivers that comforting, melty texture that makes mornings feel a little better.
This breakfast quesadilla combines fluffy scrambled eggs with gooey melted cheese, all folded inside a crispy tortilla. It’s simple enough for busy weekdays but delicious enough to feel like a weekend treat. Whether you’re feeding yourself or the whole family, this recipe is a guaranteed morning win.

Why You’ll Love This Creamy Breakfast Quesadilla Recipe
This creamy breakfast quesadilla with eggs and cheese is a game-changer for busy mornings.
- Quick and easy: Ready in under 15 minutes
- High-protein breakfast: Keeps you full longer
- Cheesy and creamy texture: Pure comfort food
- Kid-friendly: A breakfast the whole family will eat
- Customizable: Endless add-ins and variations
Once you try this recipe, it will become a staple in your breakfast rotation.
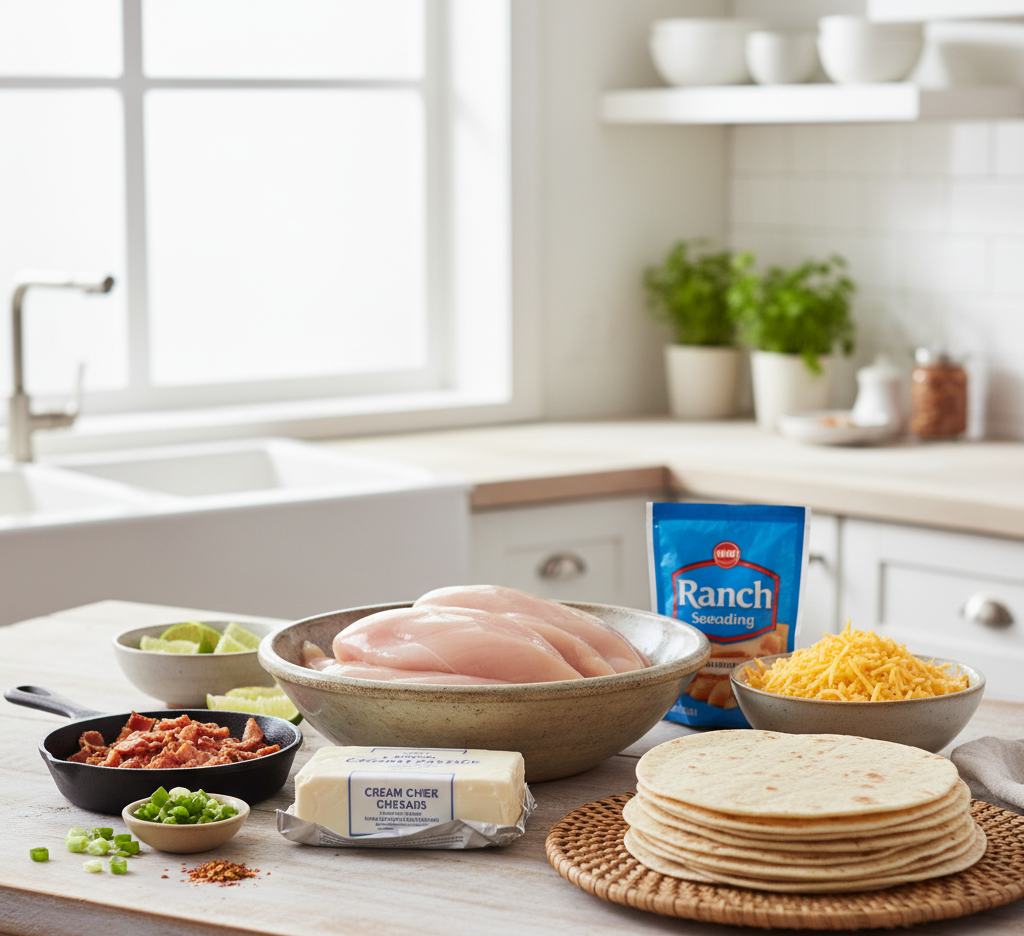
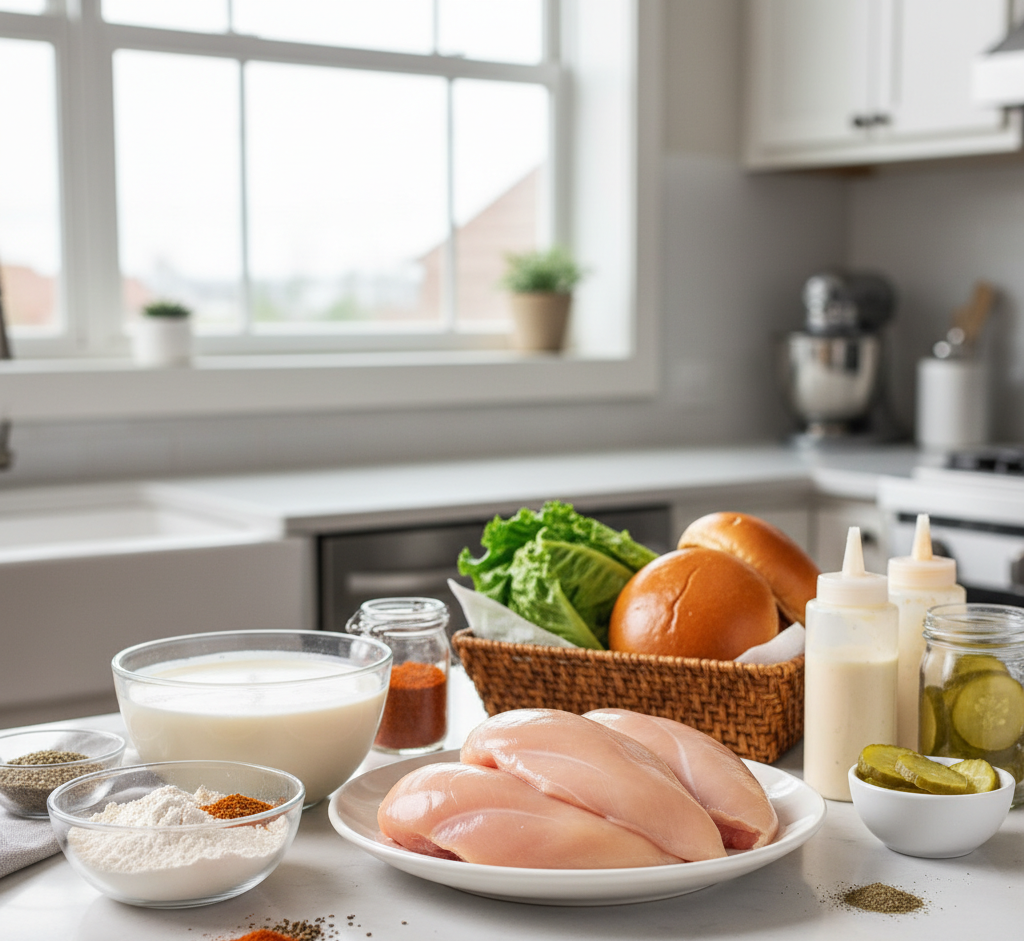
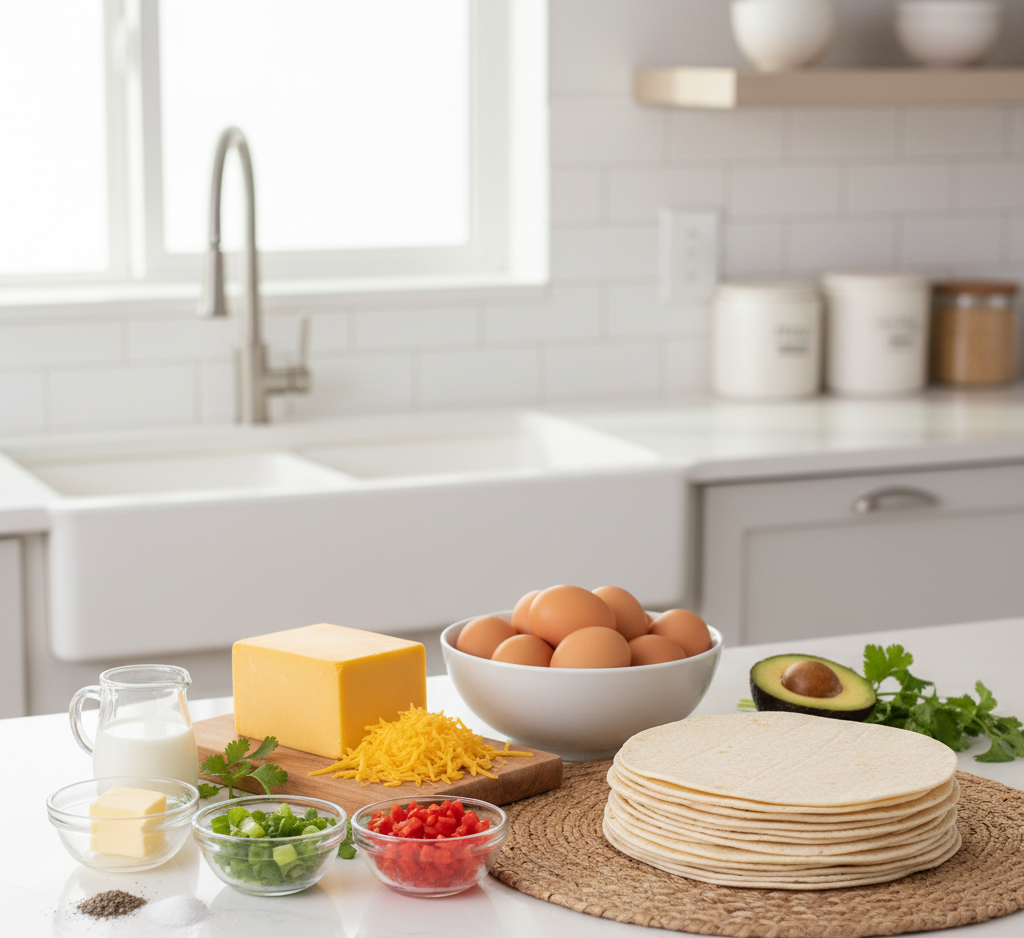
Ingredients for Breakfast Quesadilla with Eggs and Cheese
Here’s what you’ll need to make this easy morning meal:
- Large flour tortillas
- Eggs
- Milk or cream (for creaminess)
- Shredded cheddar cheese
- Mozzarella or Monterey Jack cheese
- Butter or oil
- Salt and pepper
Optional Add-Ins:
- Cooked bacon or sausage
- Spinach
- Bell peppers
- Green onions
- Salsa or hot sauce
Ingredient Notes and Substitutions
The key to a truly creamy breakfast quesadilla with eggs and cheese is using a splash of milk or cream in the eggs. This creates soft, fluffy scrambled eggs that melt beautifully with the cheese.
You can use any type of cheese you like, but a combination of cheddar for flavor and mozzarella for meltiness works best. If you prefer a lighter option, whole wheat tortillas or low-carb wraps are great substitutes.
Feel free to add vegetables or proteins to make it more filling and nutritious.
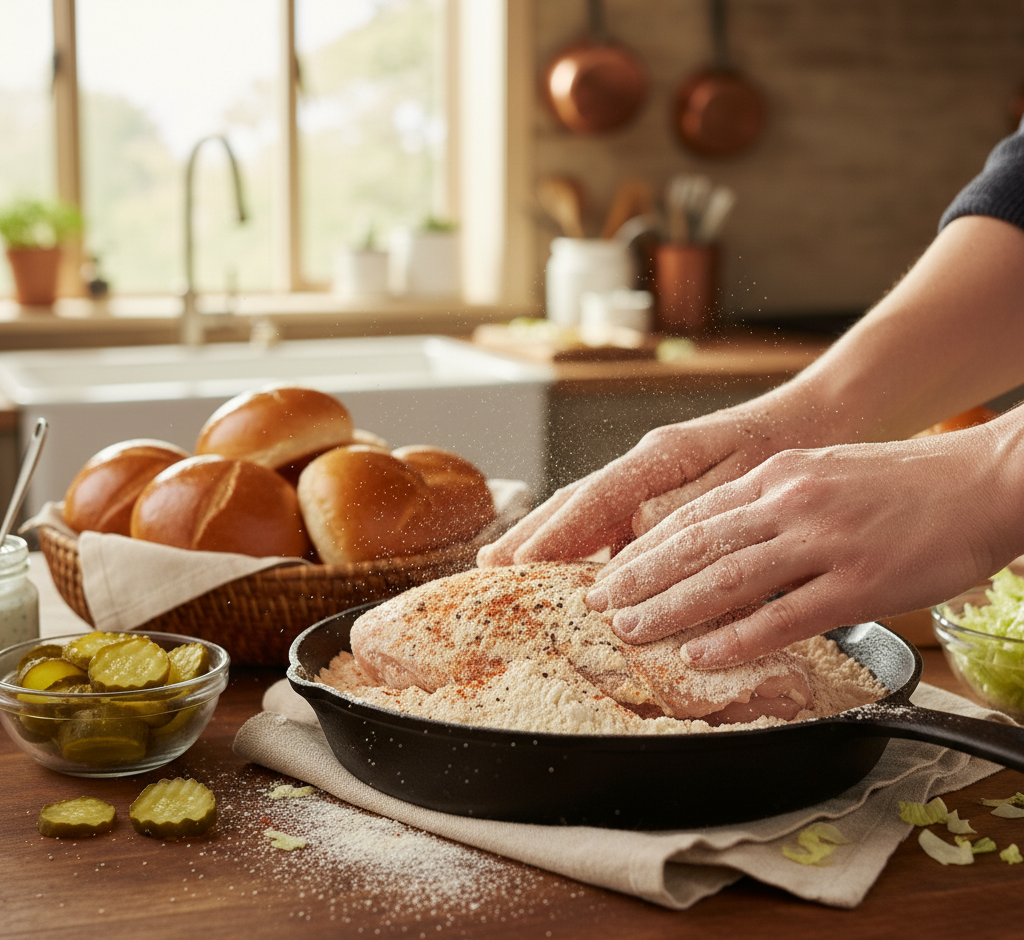
Step-by-Step Instructions
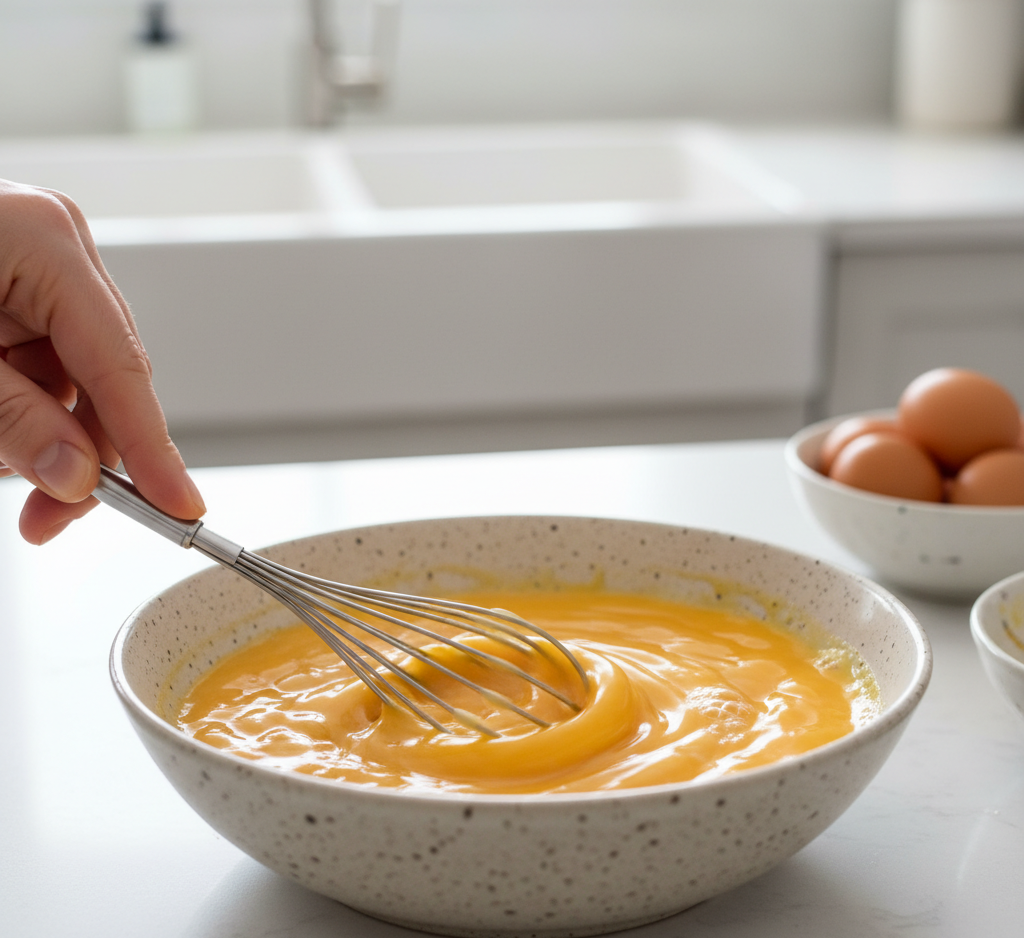
1. Whisk the Eggs
In a bowl, whisk eggs with milk, salt, and pepper until smooth and slightly frothy.
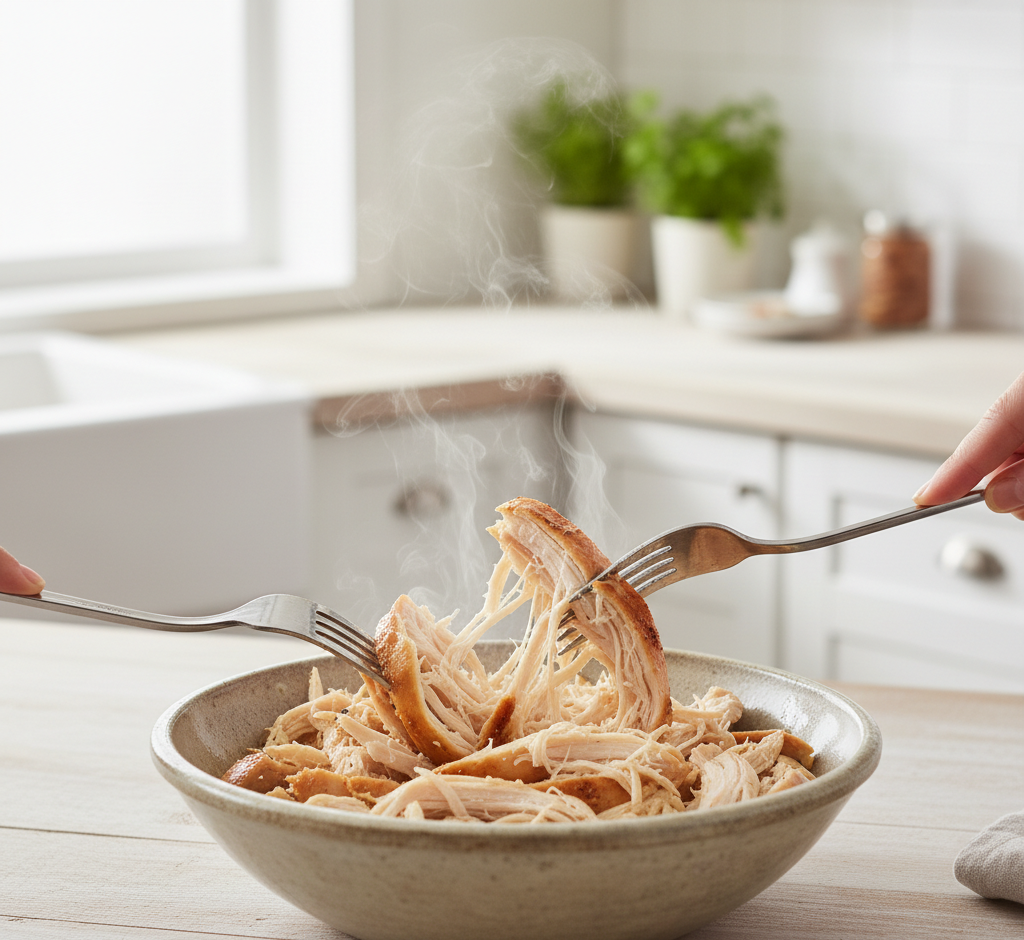
2. Cook the Eggs
Heat a skillet with butter over medium heat. Pour in the eggs and gently scramble until soft and creamy.
3. Prepare the Tortilla
Place a tortilla in a clean skillet and warm it slightly to make it flexible.
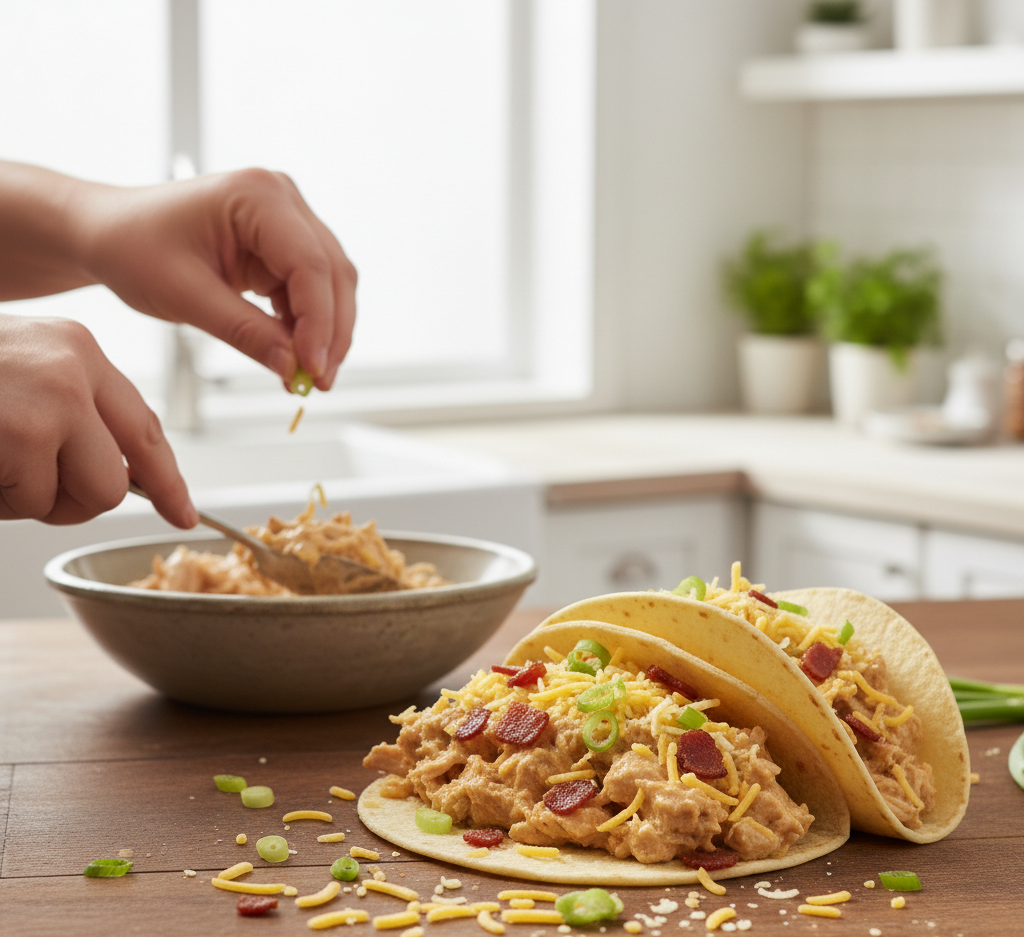
4. Assemble the Quesadilla
Add scrambled eggs and shredded cheese on one half of the tortilla, then fold it over.

5. Cook Until Golden
Cook the quesadilla on both sides until golden brown and crispy and the cheese is fully melted.
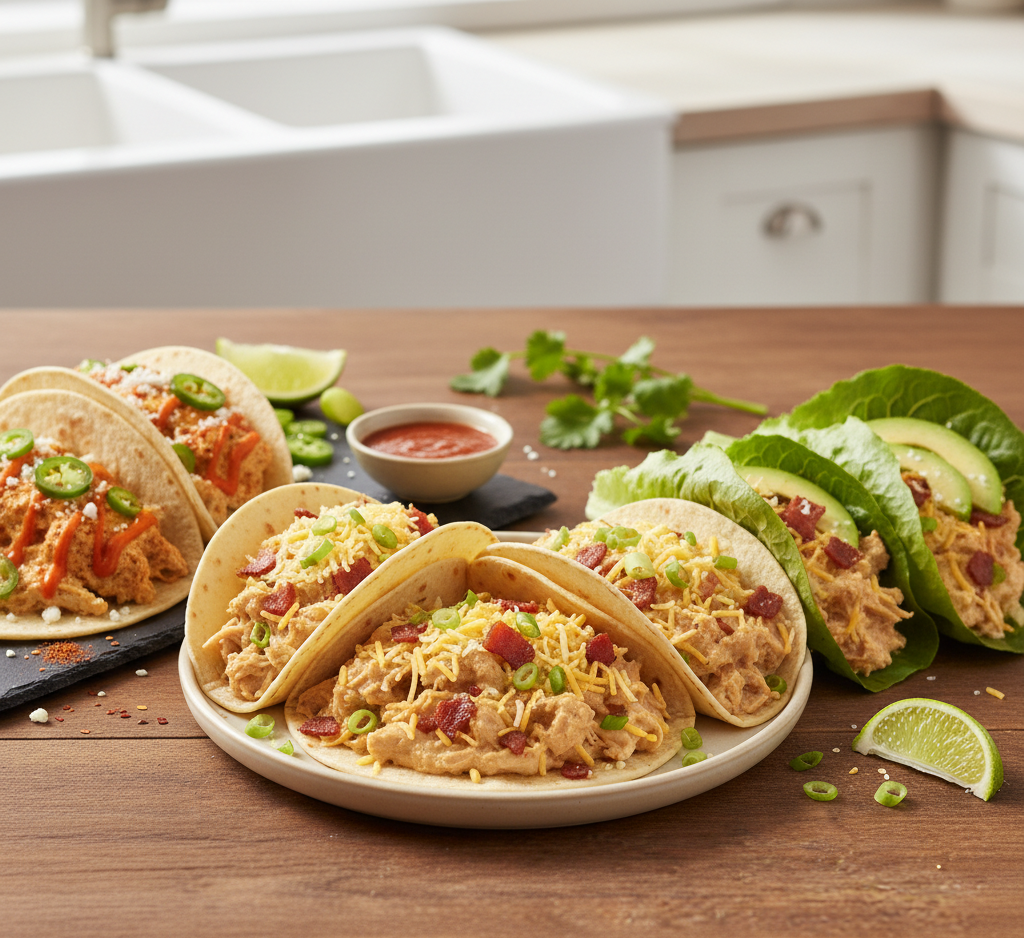
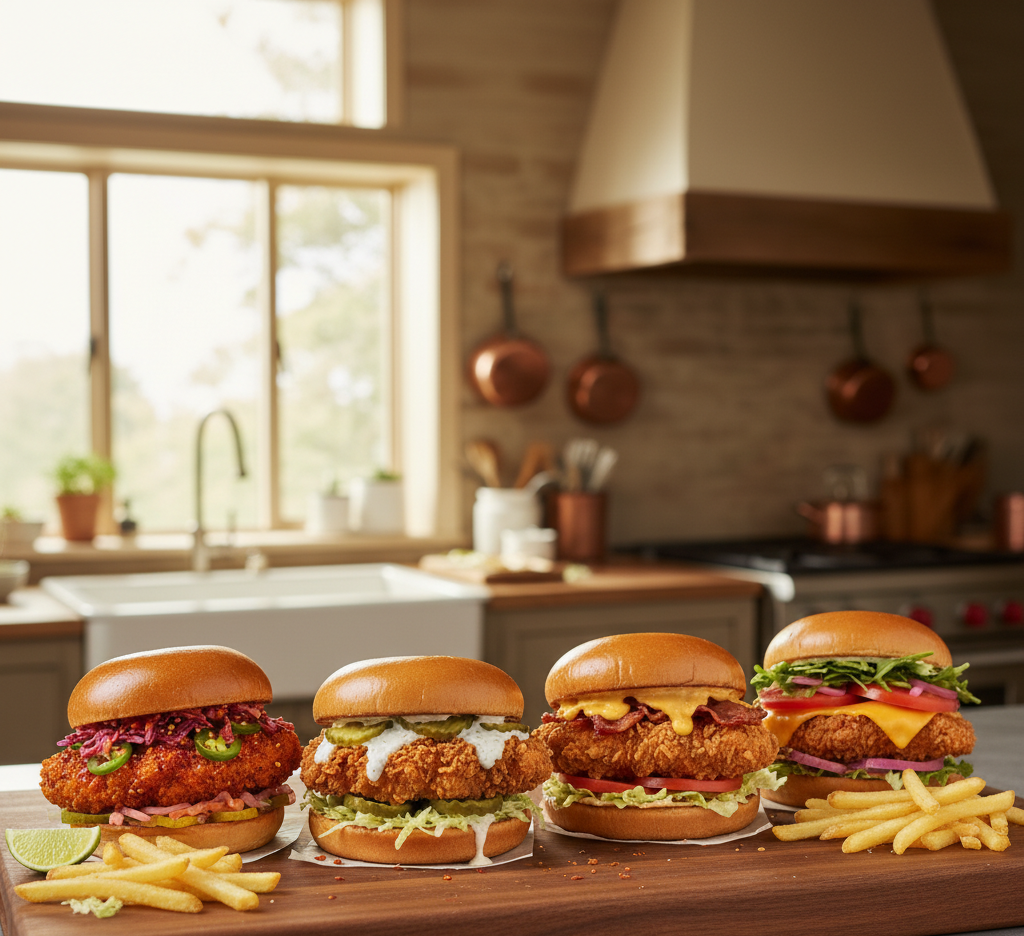
6. Slice and Serve
Cut into wedges and serve warm with salsa or hot sauce.

Tips for Perfect Results
To make the best breakfast quesadilla with eggs and cheese, follow these simple tips:
- Cook eggs low and slow: Keeps them creamy
- Don’t overfill: Prevents spilling when flipping
- Use fresh tortillas: They fold better and crisp evenly
- Add cheese on both sides: Helps “glue” everything together
- Let it rest before cutting: Keeps filling intact
These small details make a big difference in texture and flavor.
Delicious Variations
This creamy breakfast quesadilla recipe is incredibly flexible.
Protein-Packed Version
Add bacon, sausage, or ham for extra protein.
Veggie Breakfast Quesadilla
Add spinach, mushrooms, and peppers.
Spicy Morning Kick
Add jalapeños and spicy salsa.
Low-Carb Option
Use low-carb tortillas or egg wraps.

What to Serve With Breakfast Quesadilla
This breakfast quesadilla with eggs and cheese pairs perfectly with:
- Fresh fruit
- Hash browns or breakfast potatoes
- Salsa or guacamole
- Greek yogurt
- Coffee or fresh juice
These sides round out a balanced and satisfying breakfast.
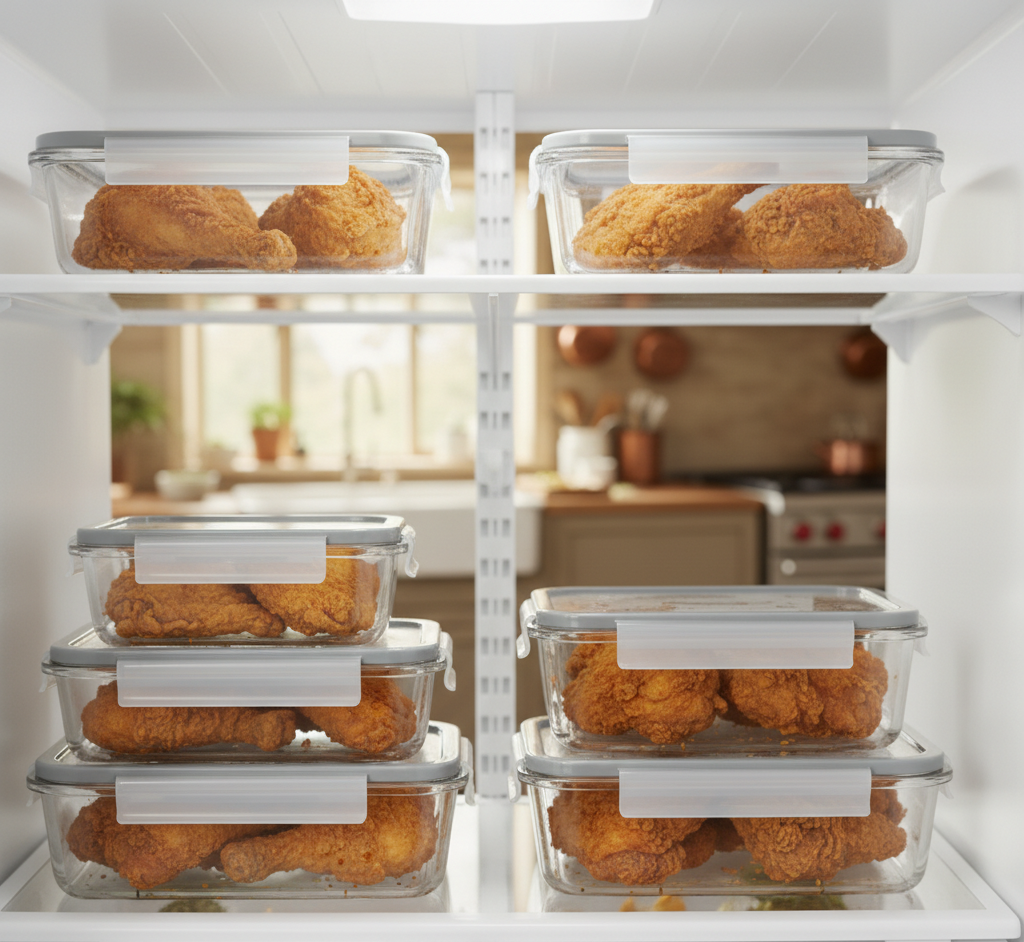
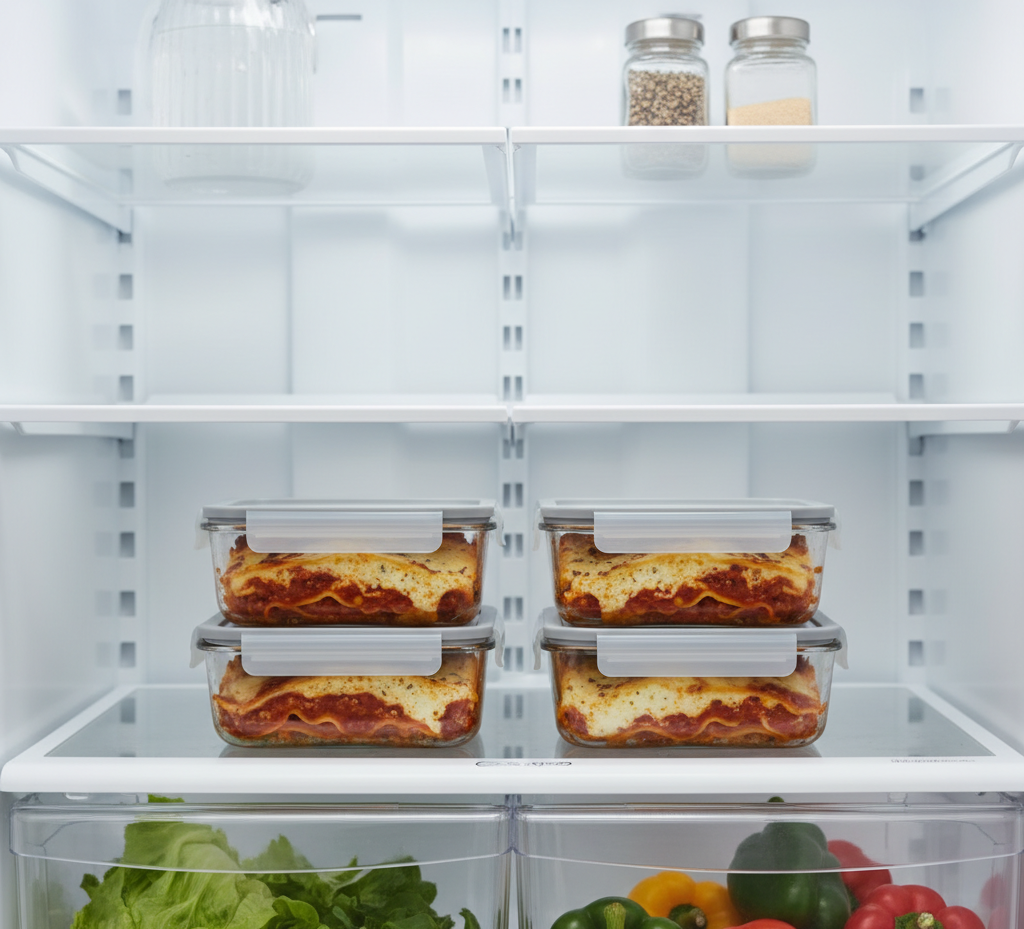
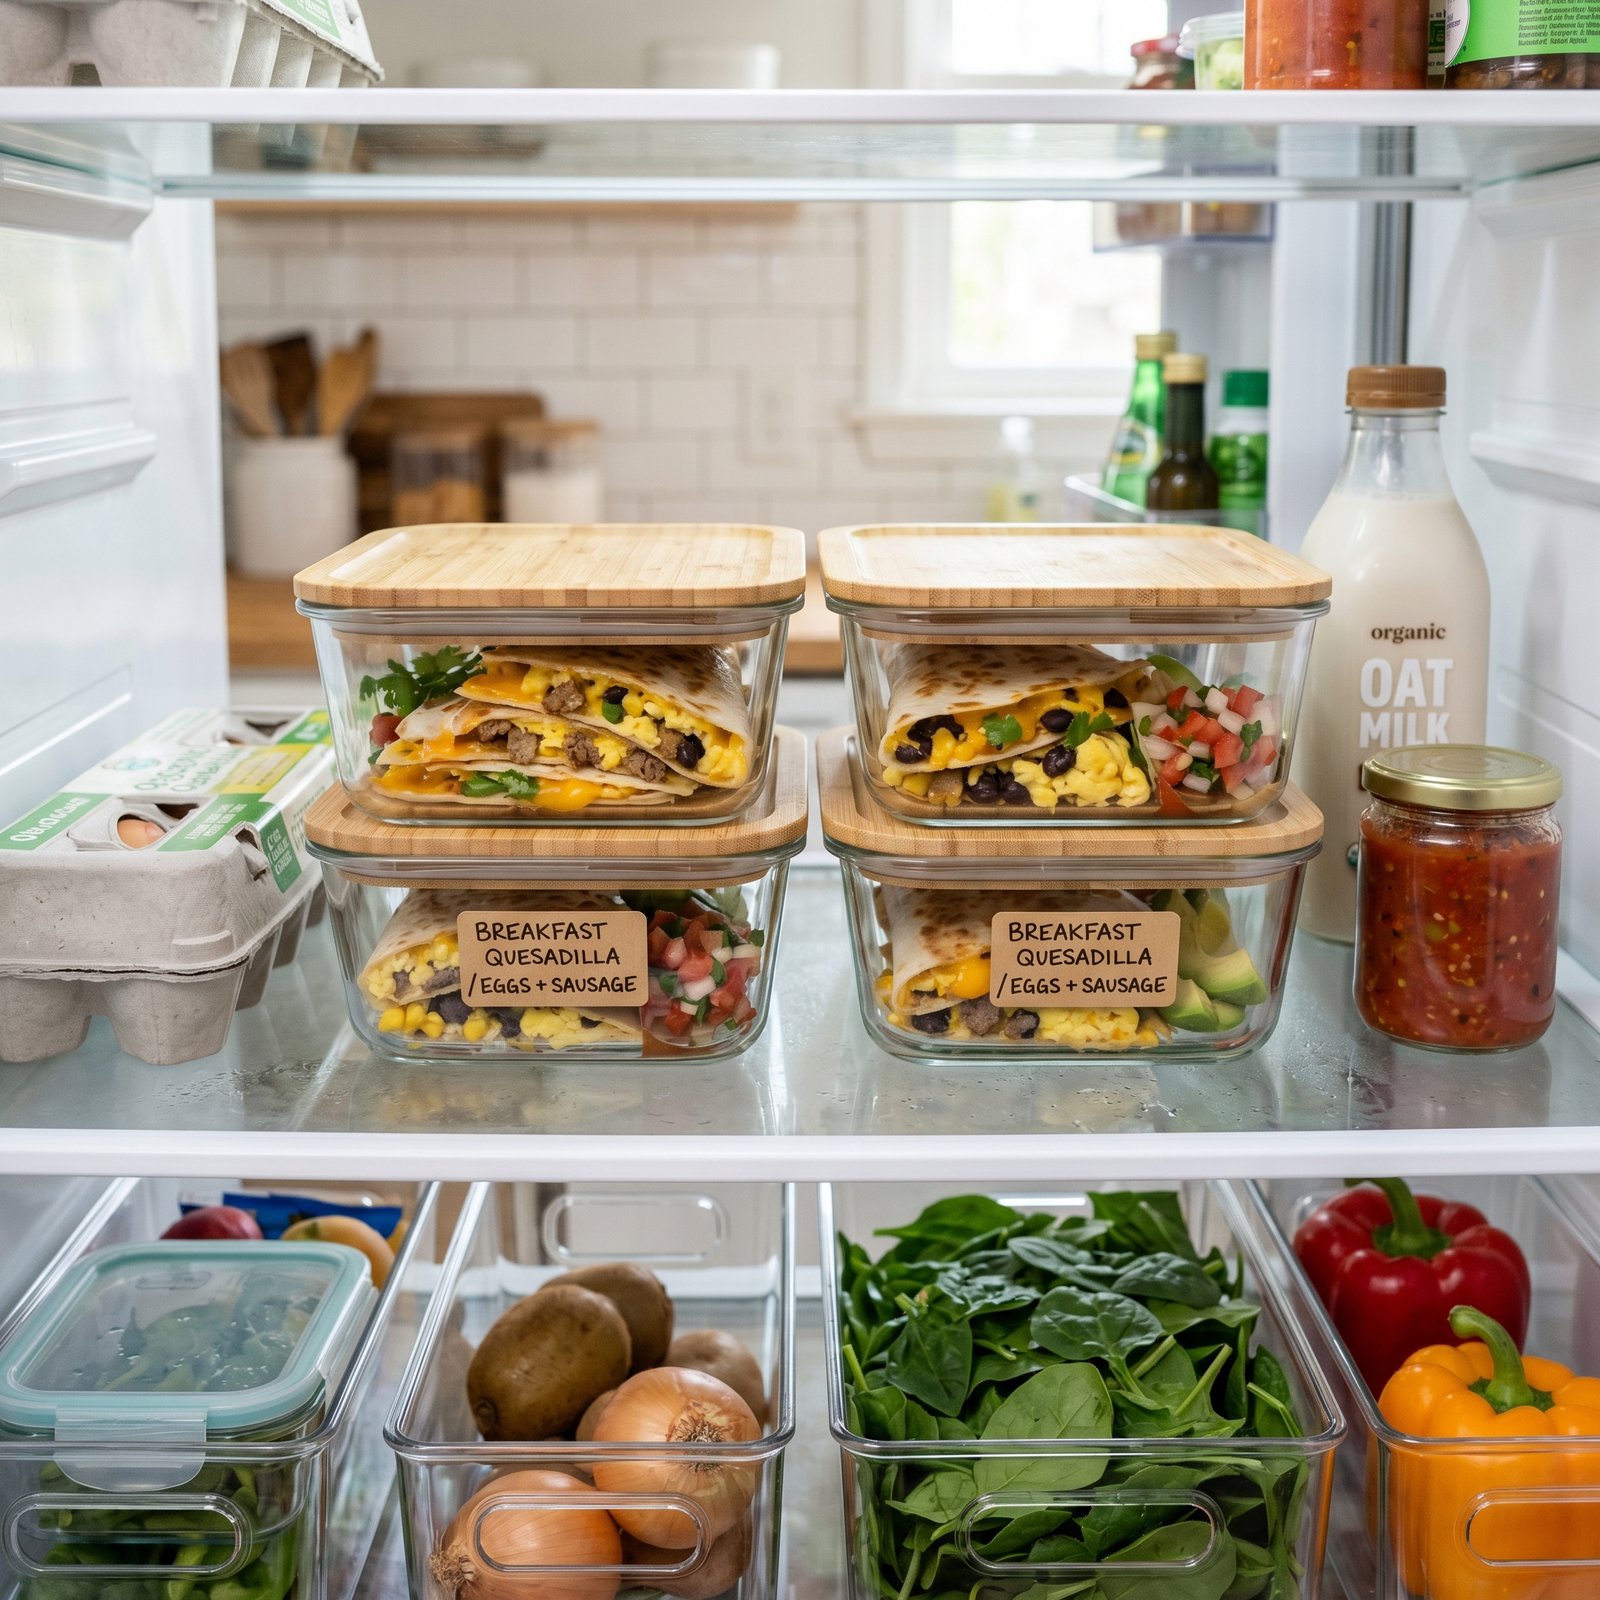
Storage & Reheating Tips
This recipe stores well, making it great for meal prep.
- Refrigerate: Store in an airtight container for up to 3 days
- Freeze: Wrap and freeze for up to 1 month
- Reheat: Warm in a skillet or air fryer for best crispiness
Common Mistakes to Avoid
Avoid these mistakes when making a creamy breakfast quesadilla:
- Overcooking the eggs (they become dry)
- Using too much filling
- Not preheating the pan
- Skipping butter or oil (causes sticking)
- Cutting too soon after cooking
Avoiding these ensures perfect results every time.
Frequently Asked Questions
Can I make breakfast quesadillas ahead of time?
Yes! You can prepare them in advance and reheat when needed.
What cheese works best?
Cheddar and mozzarella together create the best flavor and melt.
Can I use corn tortillas?
You can, but flour tortillas are easier to fold and crisp better.
How do I keep my quesadilla crispy?
Cook it in a lightly buttered skillet and avoid overfilling.
Final Thoughts
This Creamy Breakfast Quesadilla with Eggs and Cheese Easy Recipe for a Perfect Morning Meal is the ultimate quick breakfast solution. It’s warm, cheesy, satisfying, and incredibly easy to customize.
Whether you’re rushing out the door or enjoying a slow morning, this breakfast quesadilla brings comfort and flavor to your table in just minutes. Once you try it, it’s sure to become one of your favorite go-to breakfast recipes.