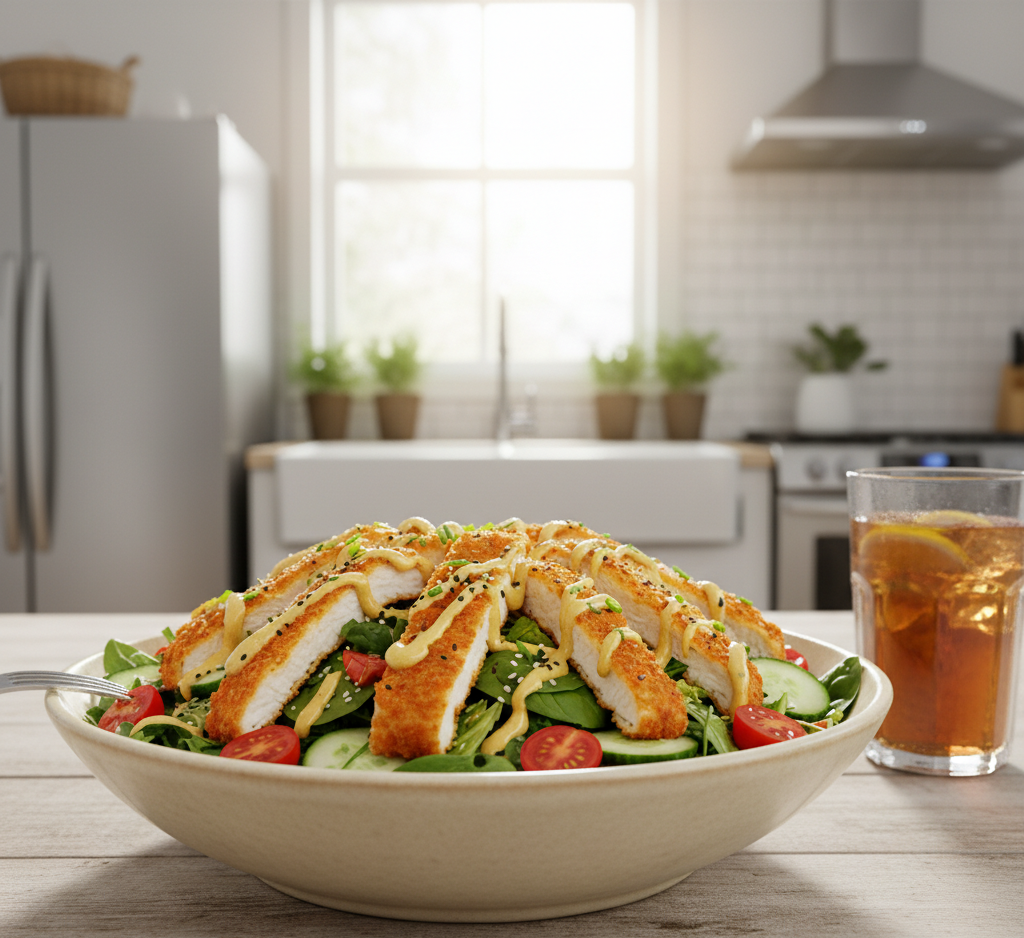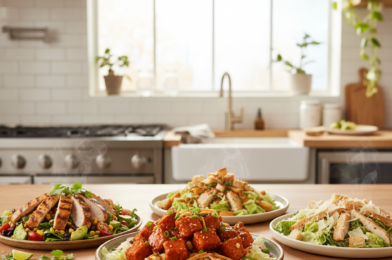
If your weeknight dinners are starting to feel repetitive, it’s time to shake things up with this crispy chicken salad that will change your weeknight dinners. This isn’t your average salad—it’s loaded with crunchy, golden chicken, fresh vegetables, and a bold, flavorful dressing that brings everything together beautifully.
What makes this dish so special is the perfect balance of textures and flavors. You get the satisfying crunch of crispy chicken, the freshness of crisp greens, and the richness of a well-seasoned dressing—all in one bowl. It’s hearty enough to be a full meal, yet light enough to leave you feeling energized instead of weighed down.
Why You’ll Love This Crispy Chicken Salad
This crispy chicken salad that will change your weeknight dinners is more than just a meal—it’s a total upgrade to your dinner routine.
Here’s why it’s a must-try:
- Packed with protein and fresh vegetables
- Crispy, golden chicken adds satisfying crunch
- Perfect balance of flavors and textures
- Quick enough for busy weeknights
- Easily customizable with your favorite toppings
Ingredients
To make this delicious crispy chicken salad, you’ll need:
For the Chicken:
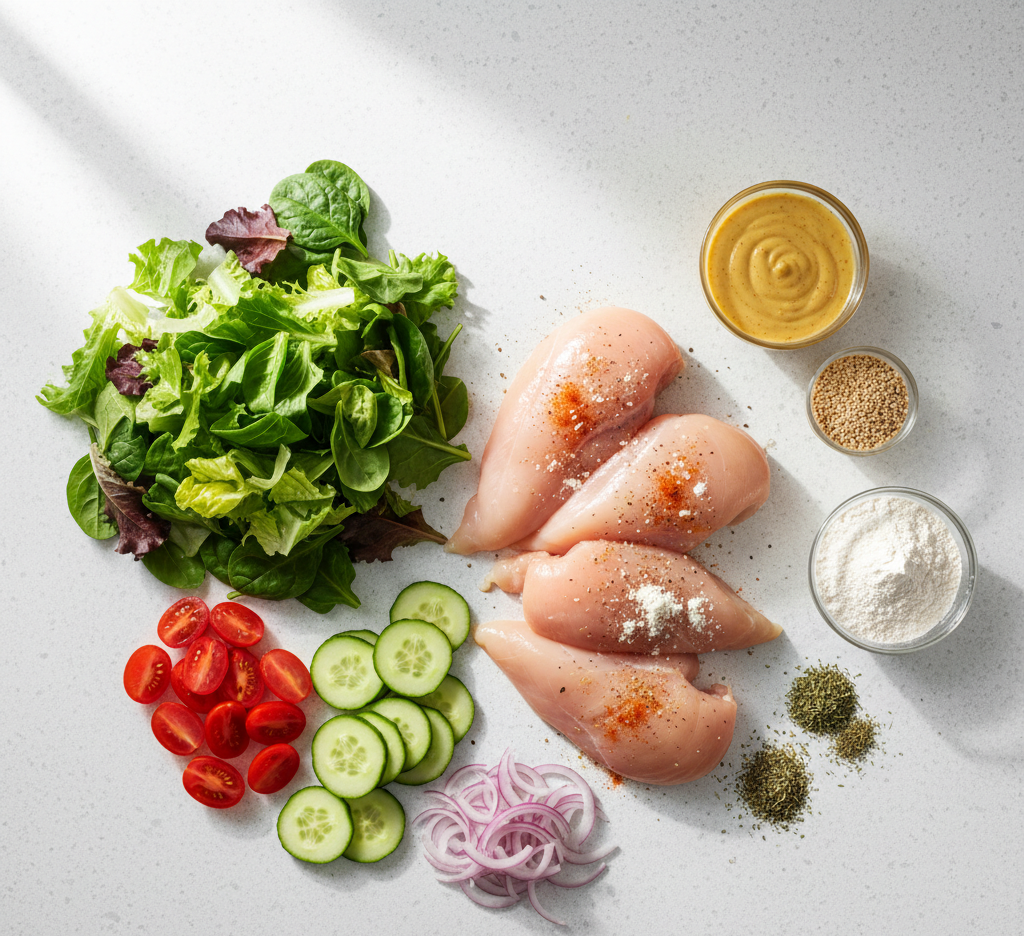
- 2 boneless, skinless chicken breasts
- 1 cup buttermilk
- 1 cup flour
- 1/2 cup breadcrumbs
- 1 teaspoon paprika
- 1/2 teaspoon garlic powder
- Salt and pepper to taste
- Oil for frying
For the Salad:
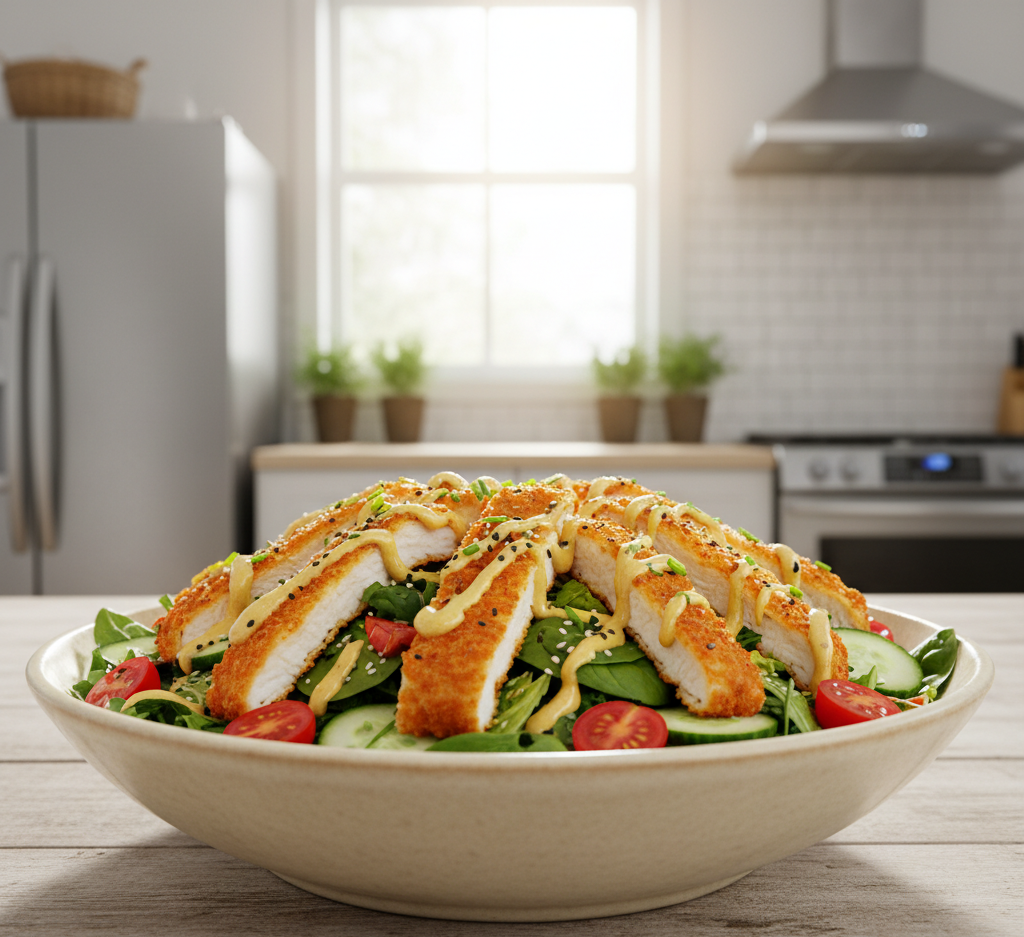
- 4 cups mixed greens
- 1 cup cherry tomatoes, halved
- 1 cucumber, sliced
- 1/4 red onion, thinly sliced
- 1/2 cup shredded carrots
For the Dressing:
- 1/3 cup ranch or honey mustard dressing
Ingredient Notes
The secret to this crispy chicken salad that will change your weeknight dinners is in the quality and preparation of the ingredients. Marinating the chicken in buttermilk helps tenderize it and ensures a juicy interior. The combination of flour and breadcrumbs creates that irresistible crispy coating.
For the salad base, use fresh, crisp greens like romaine, arugula, or a spring mix. The vegetables add color, crunch, and freshness that balance the richness of the fried chicken.
Step-by-Step Instructions
1. Marinate the Chicken
Place the chicken breasts in buttermilk and let them soak for at least 30 minutes (or up to overnight for best results).

2. Prepare the Coating
In a bowl, mix flour, breadcrumbs, paprika, garlic powder, salt, and pepper.
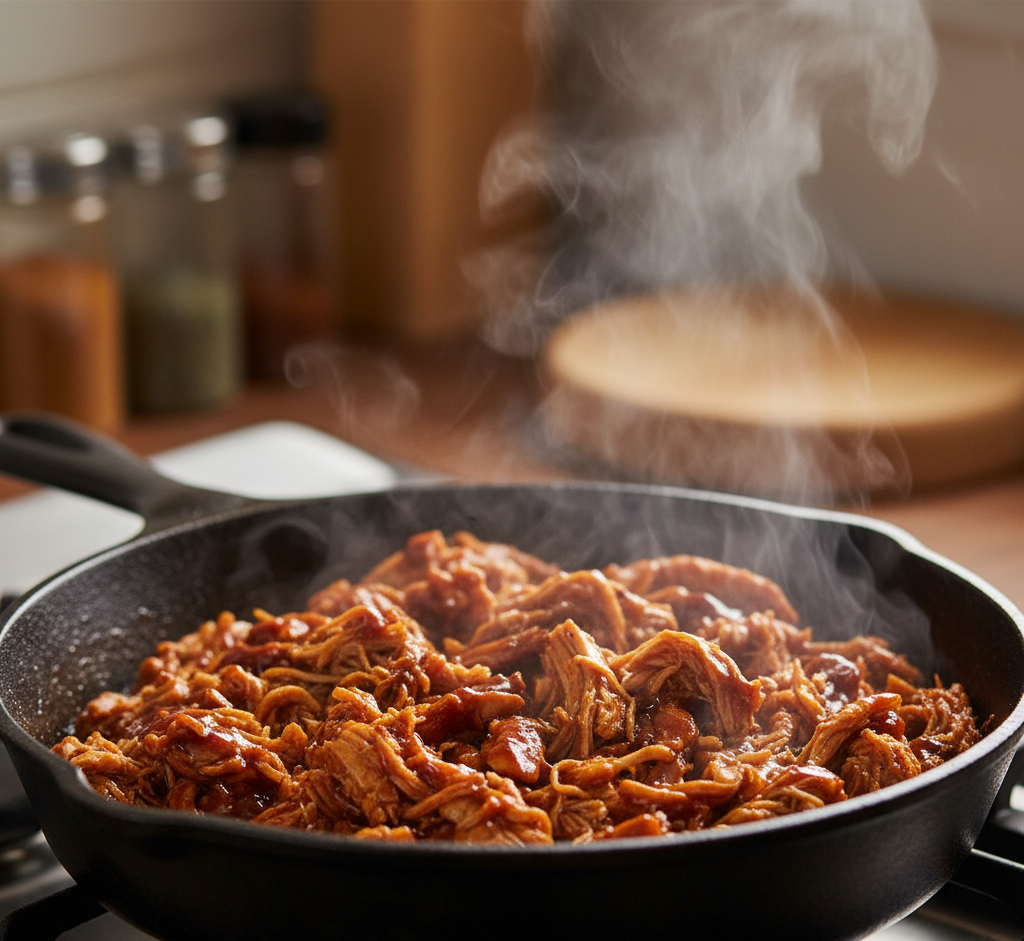
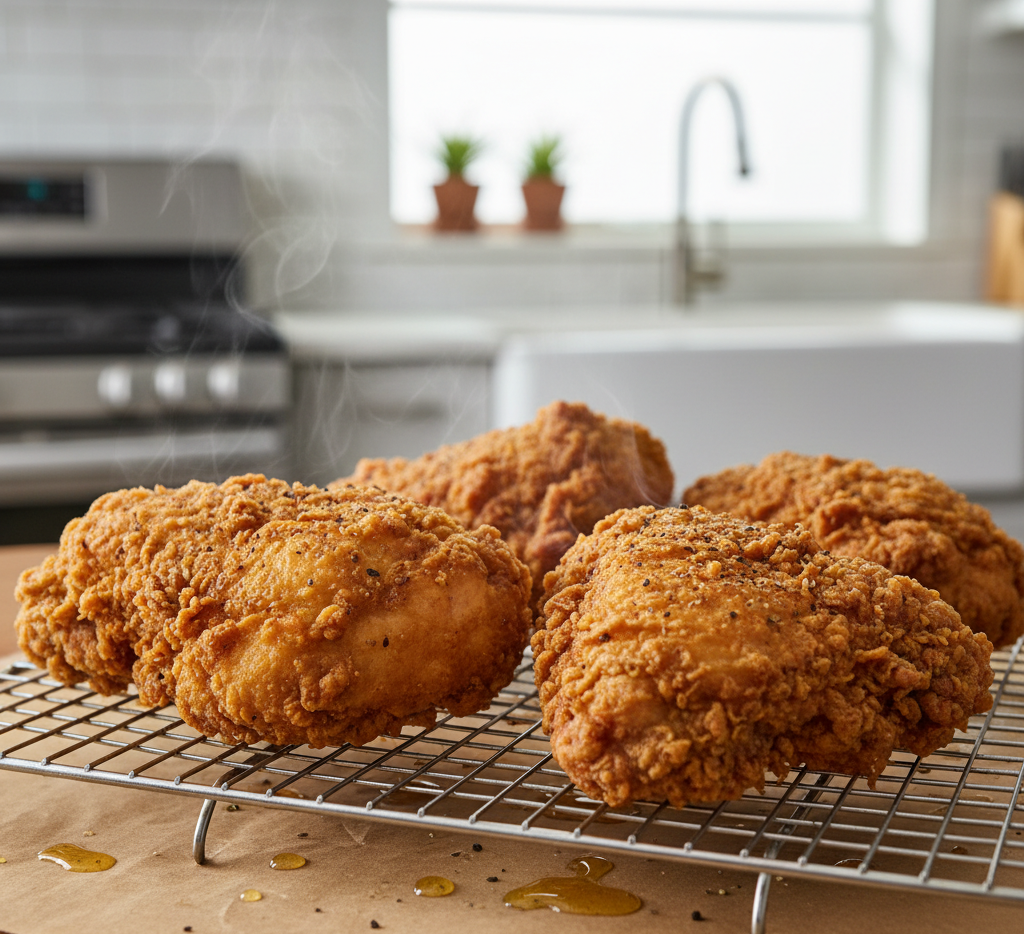
3. Coat and Fry
Remove the chicken from the buttermilk, dredge in the flour mixture, and fry in hot oil until golden brown and fully cooked. Let rest, then slice into strips.
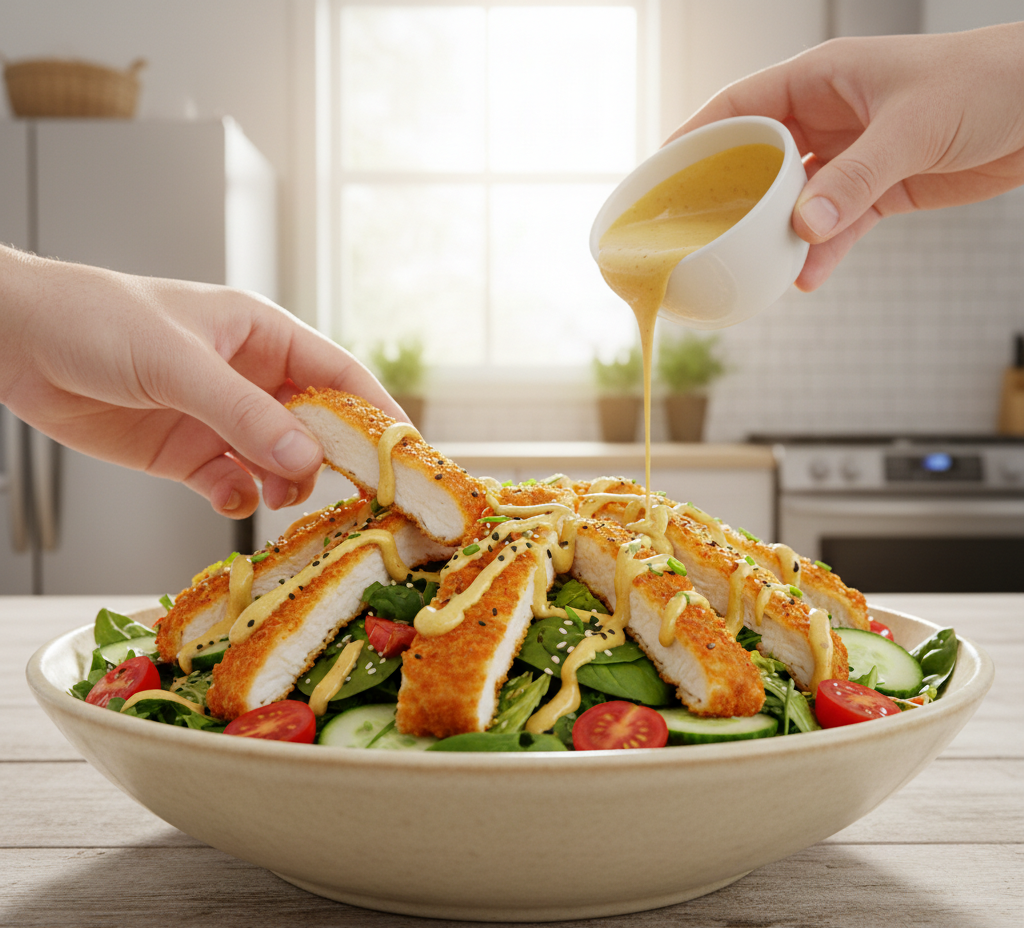
4. Assemble the Salad
In a large bowl, combine greens, tomatoes, cucumber, onion, and carrots.
5. Add Chicken and Dressing
Top the salad with sliced crispy chicken and drizzle with dressing. Toss lightly before serving.
Tips for Perfect Results
To make the best crispy chicken salad that will change your weeknight dinners, follow these tips:
- Don’t skip the buttermilk marinade—it’s key for tenderness
- Fry chicken at the right temperature (around 350°F)
- Let chicken rest before slicing to keep it juicy
- Toss salad just before serving to keep it fresh
These tips ensure every bite is perfectly balanced and delicious.
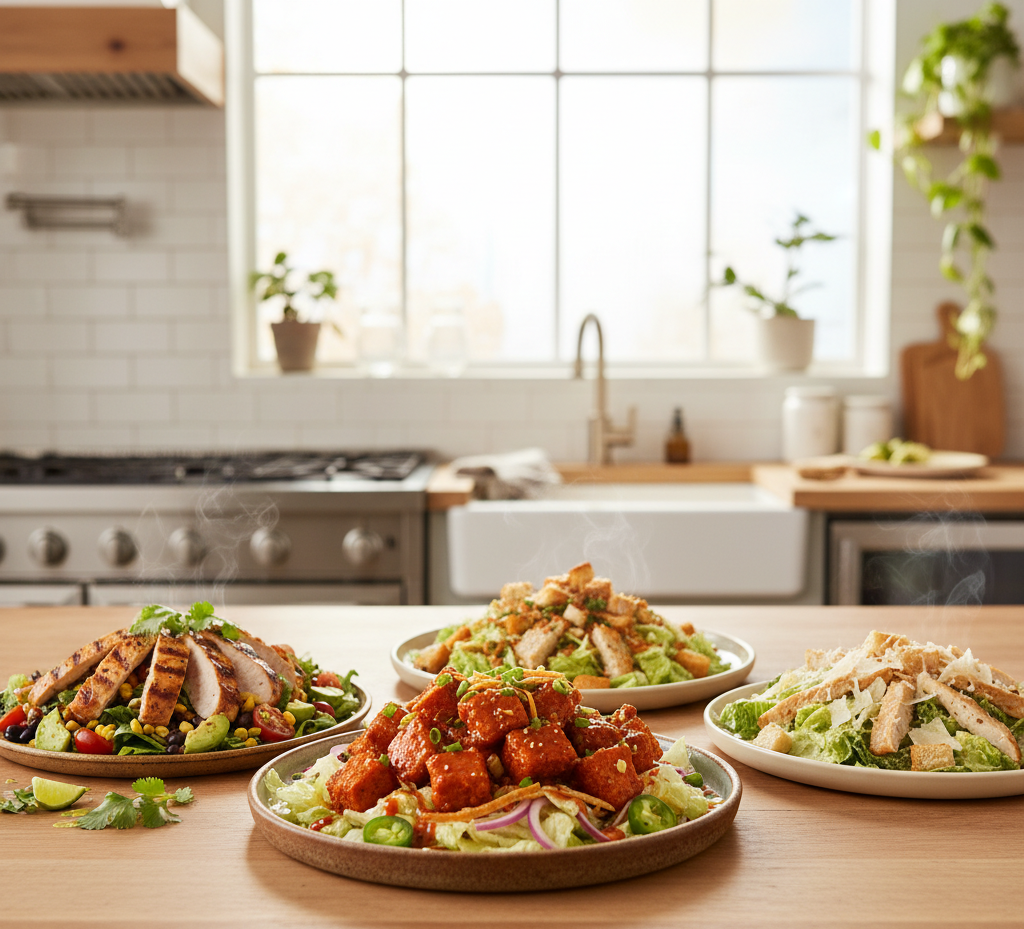
Variations
This crispy chicken salad is incredibly versatile:
- Grilled Version: Swap fried chicken for grilled for a lighter option
- Spicy Kick: Add cayenne pepper or hot sauce
- Caesar Style: Use Caesar dressing and Parmesan cheese
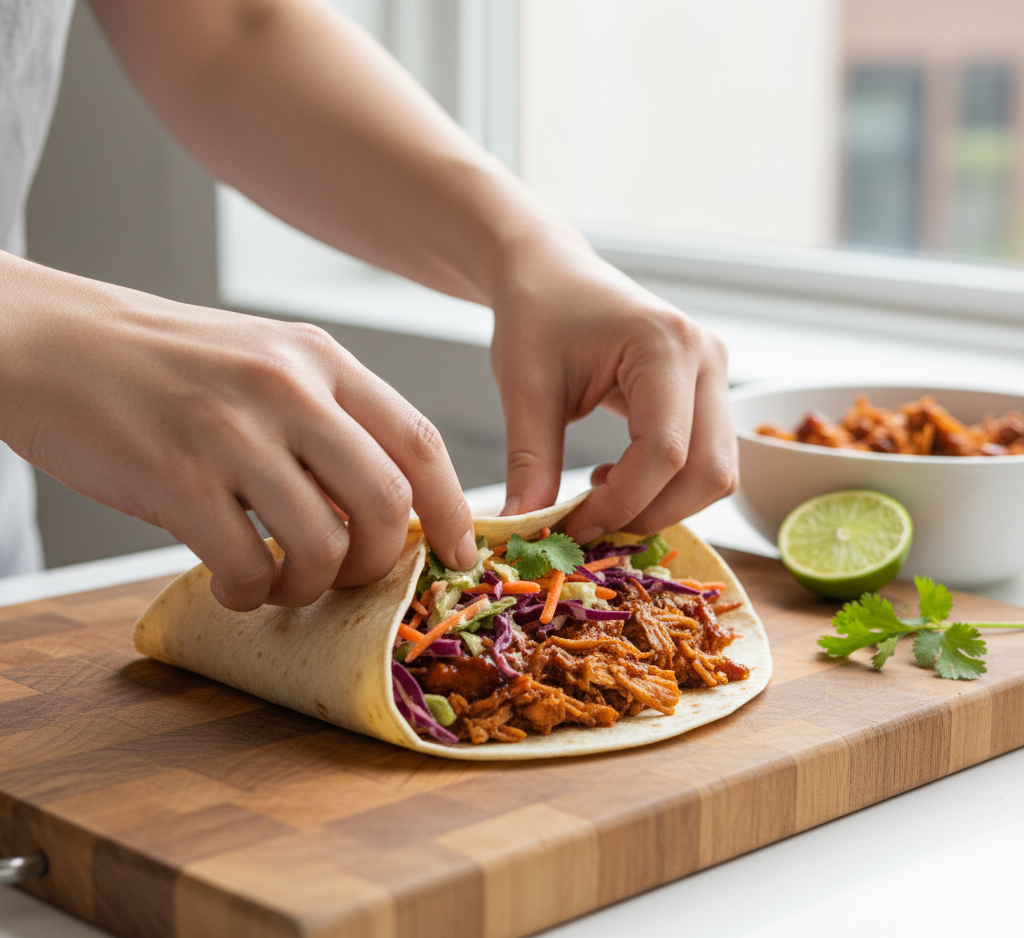
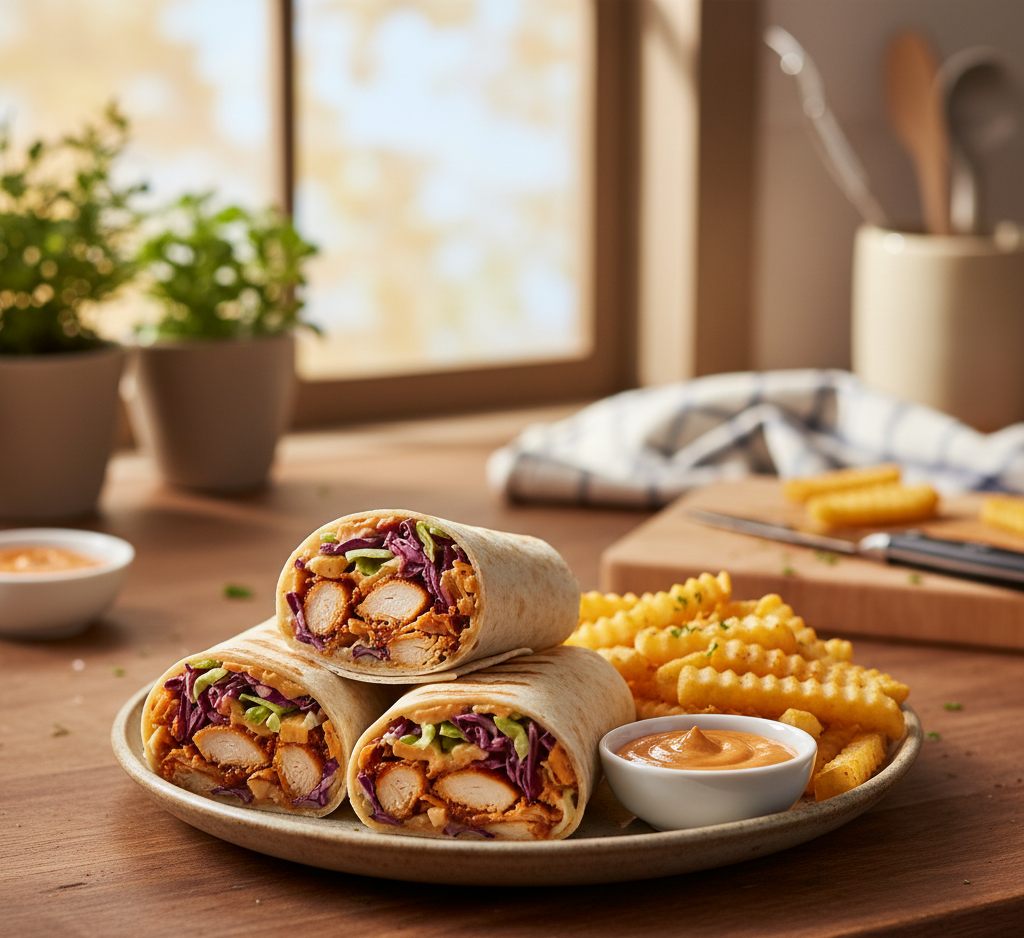
- Wrap It Up: Turn it into a wrap for an on-the-go meal
What to Serve With It
While this salad is a complete meal, you can pair it with:
- Garlic bread or breadsticks
- Soup like tomato or chicken noodle
- Fresh fruit
- Lemonade or iced tea
These sides complement the flavors without overwhelming the dish.
Storage & Reheating
For leftovers of this crispy chicken salad that will change your weeknight dinners:
- Refrigerate: Store components separately for up to 3 days
- Reheat chicken: Use an oven or air fryer to maintain crispiness
- Avoid assembling ahead: Keeps salad fresh and not soggy
Proper storage helps maintain both texture and flavor.
Common Mistakes to Avoid
Avoid these common mistakes:
- Overcrowding the pan while frying
- Using wet greens (causes soggy salad)
- Overdressing the salad
- Not seasoning the chicken properly
Attention to detail makes all the difference.
FAQs
Can I make this crispy chicken salad ahead of time?
Yes, but store components separately and assemble just before serving.
Can I bake the chicken instead of frying?
Absolutely! Bake at 400°F until crispy and fully cooked.
What dressing works best?
Ranch, honey mustard, or Caesar all pair beautifully.
How do I keep the chicken crispy?
Reheat in an oven or air fryer instead of a microwave.
Final Thoughts
This crispy chicken salad that will change your weeknight dinners is exactly what your routine needs—fresh, flavorful, and satisfying without being complicated. It proves that salads don’t have to be boring; they can be bold, hearty, and incredibly delicious.
Once you try this recipe, you’ll find yourself coming back to it again and again. It’s the perfect combination of comfort and freshness, making it a standout option for any night of the week.