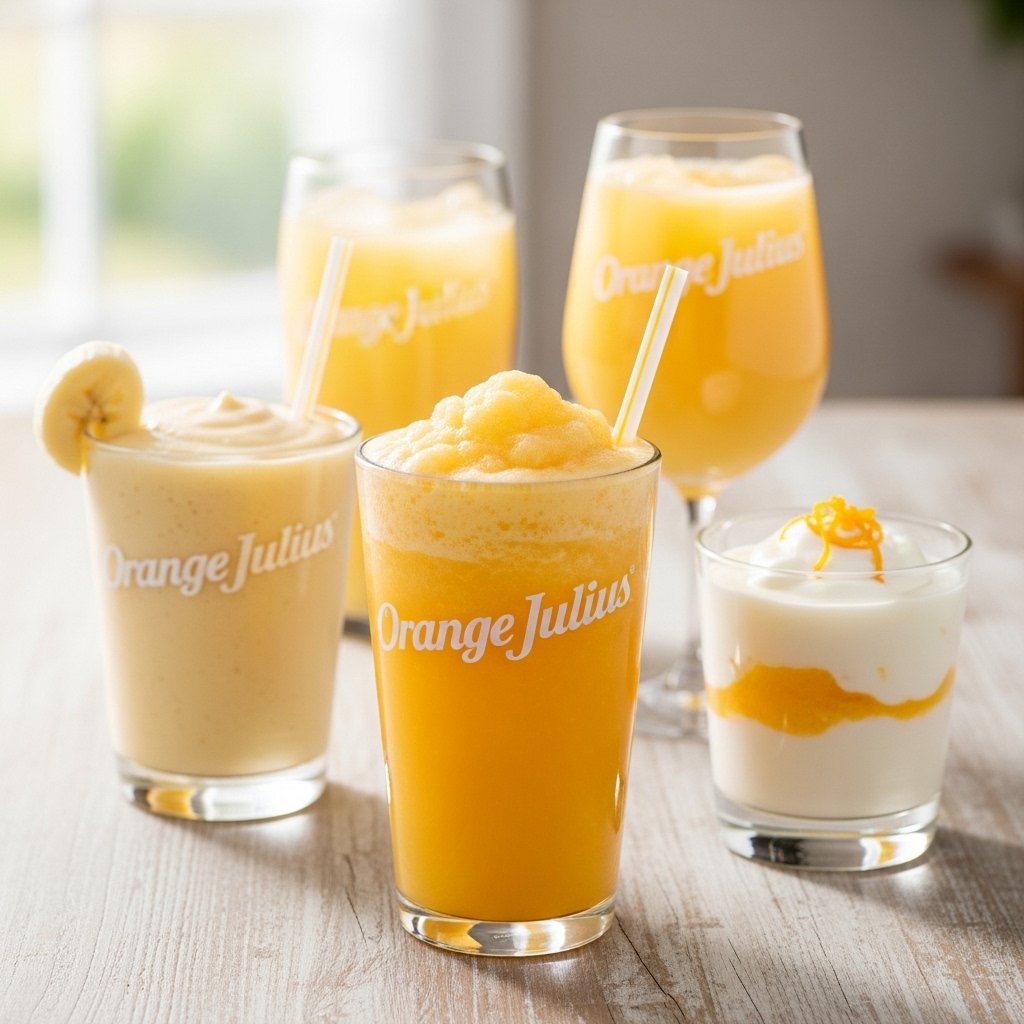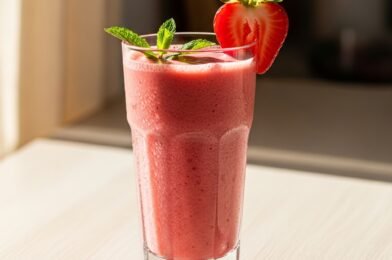
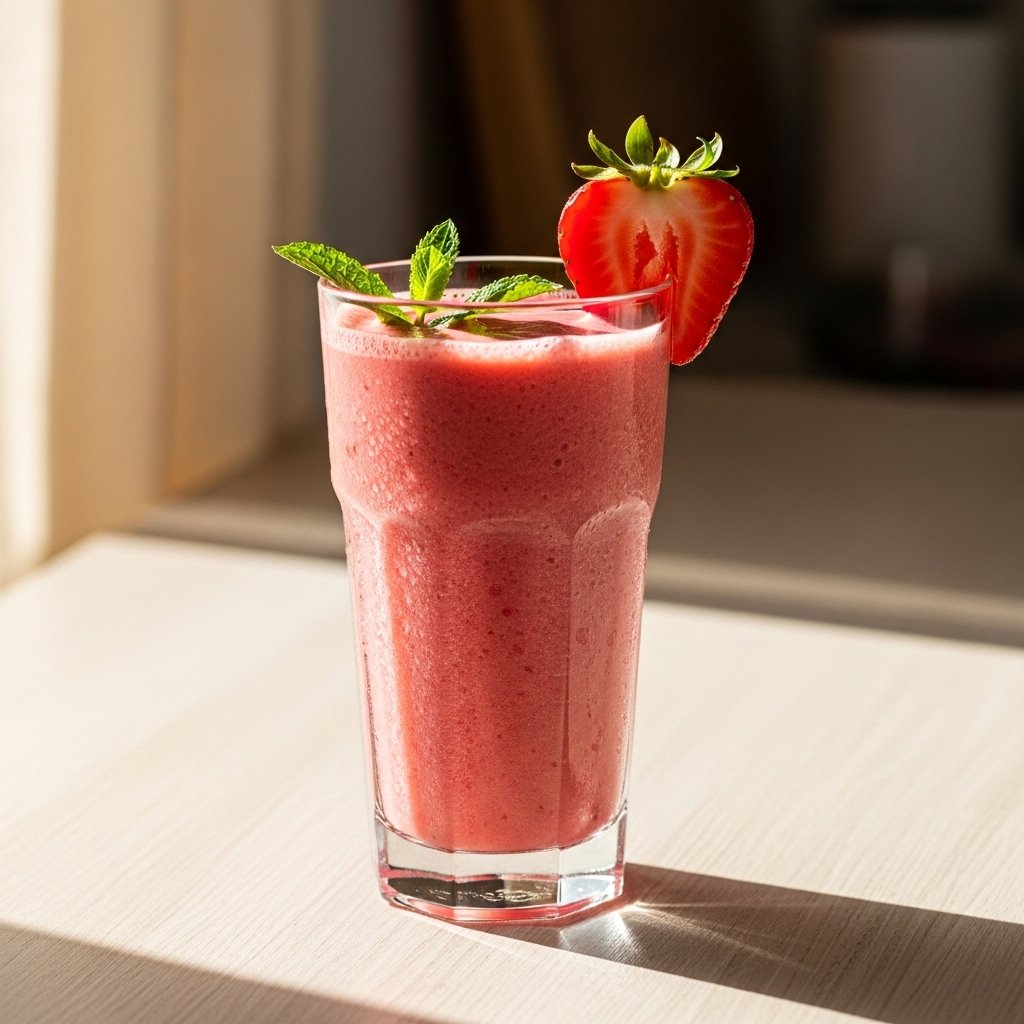
If you’re looking for a refreshing, nutritious drink that’s quick and delicious, this Healthy Strawberry Smoothie Recipe is exactly what you need. It’s naturally sweet, incredibly creamy, and packed with fresh strawberry flavor—perfect for busy mornings, post-workout fuel, or a light afternoon snack.
This smoothie is made with wholesome ingredients and comes together in just minutes. Whether you’re new to smoothies or already a fan, this recipe is one you’ll keep coming back to.
Why You’ll Love This Healthy Strawberry Smoothie Recipe
This Healthy Strawberry Smoothie Recipe is simple, delicious, and versatile.
- Naturally sweet with no refined sugar required
- Creamy texture without heavy ingredients
- Quick and easy—ready in under 5 minutes
- Packed with vitamins and nutrients
- Perfect for breakfast, snacks, or post-workout
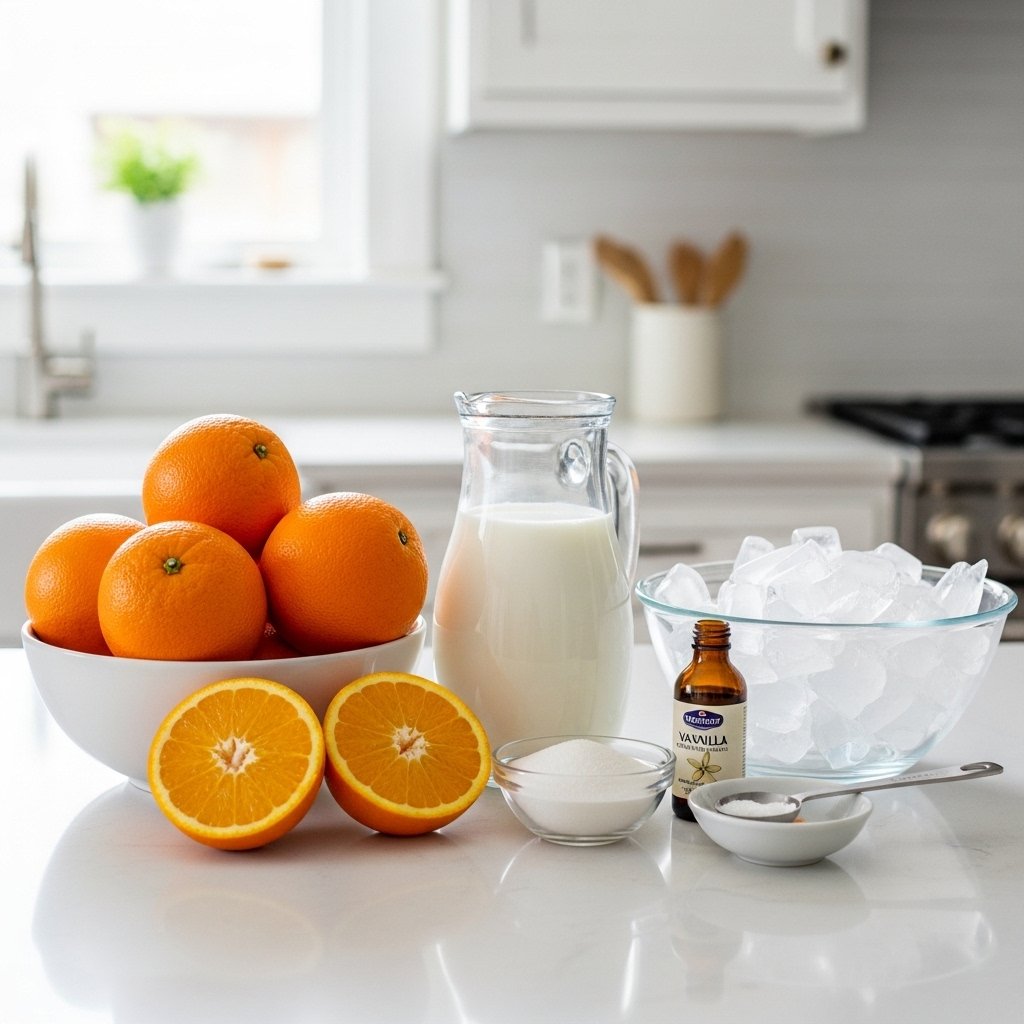
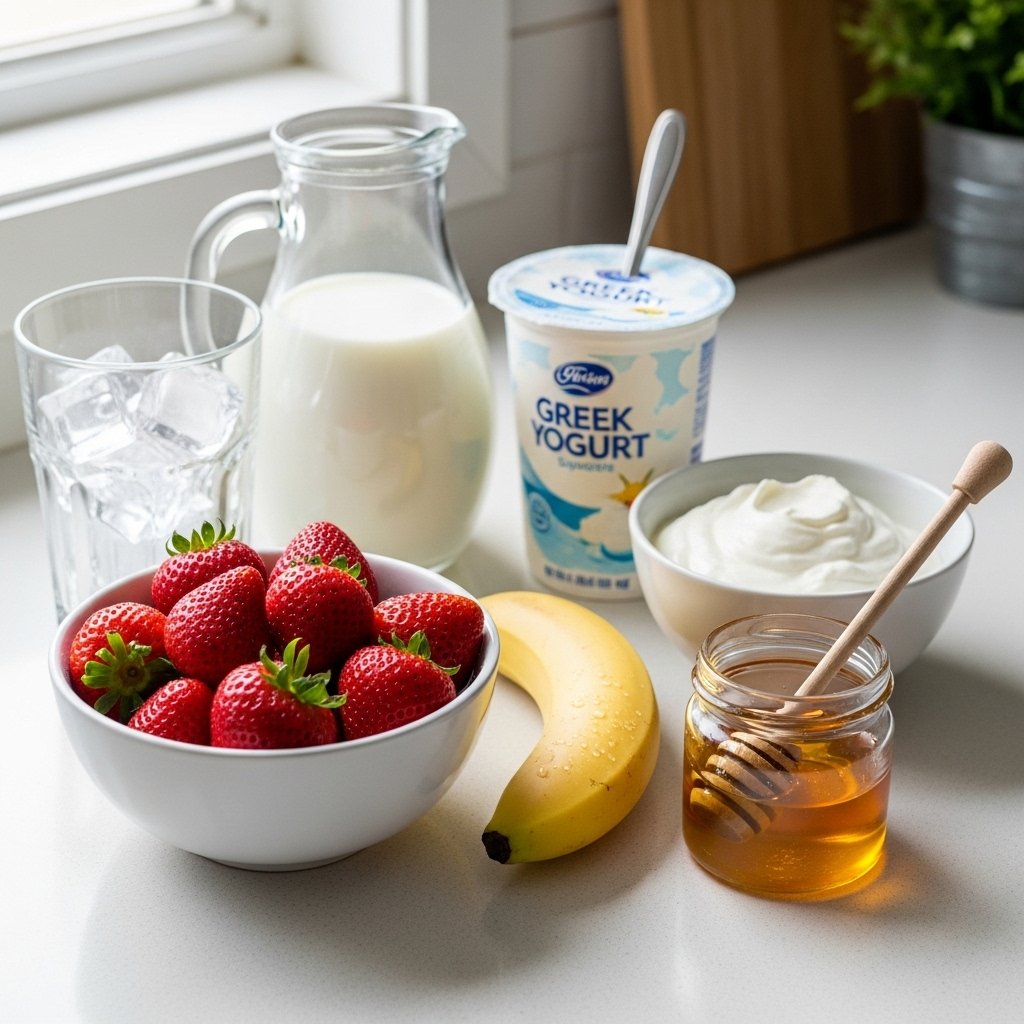
Ingredients
For the Smoothie:
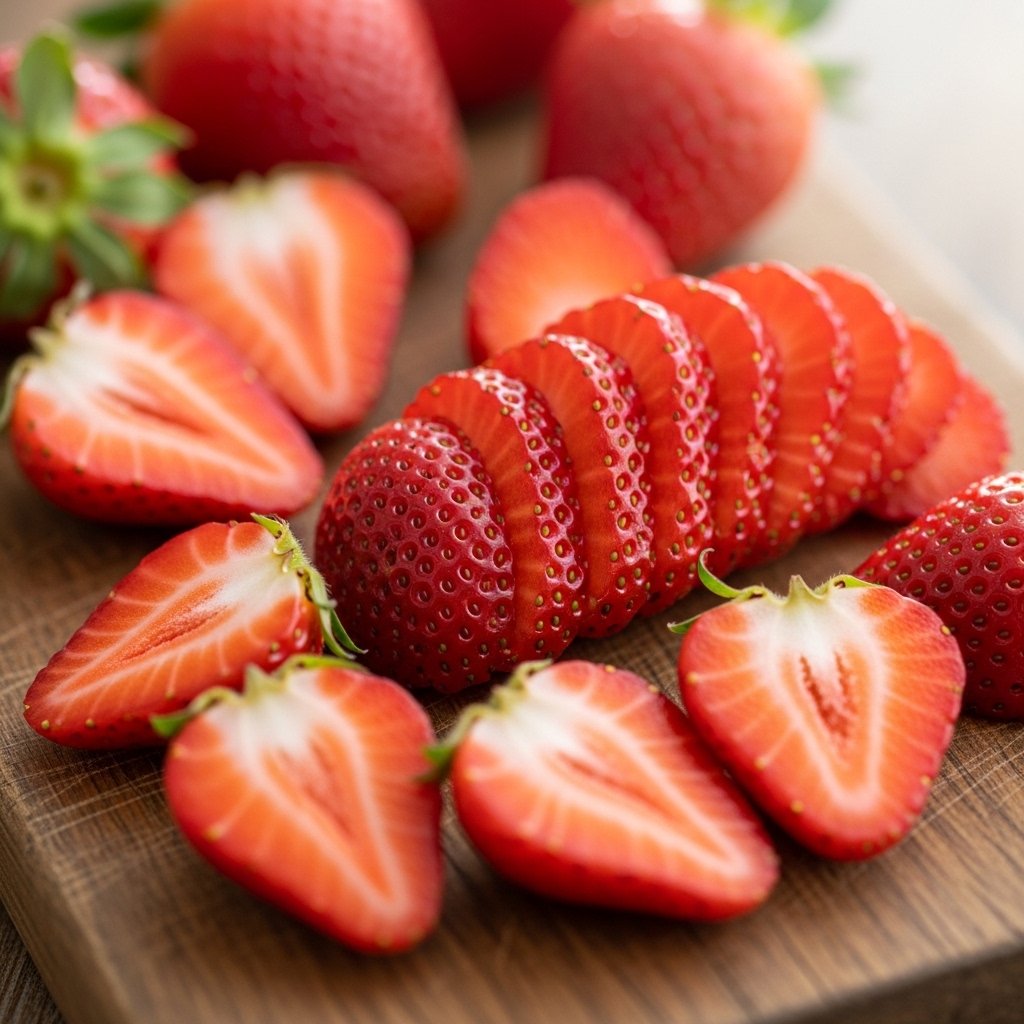
- 1 cup fresh or frozen strawberries
- 1 banana (for natural sweetness)
- ¾ cup milk (dairy or plant-based)
- ½ cup Greek yogurt (optional for creaminess)
- 1 teaspoon honey or maple syrup (optional)
- ½ cup ice cubes (if using fresh strawberries)
Ingredient Notes
The beauty of this Healthy Strawberry Smoothie Recipe is its flexibility. Frozen strawberries create a thicker texture, while fresh strawberries give a lighter, more refreshing consistency.
Banana acts as a natural sweetener and thickener, while Greek yogurt adds protein and creaminess. You can easily swap milk for almond, oat, or coconut milk.
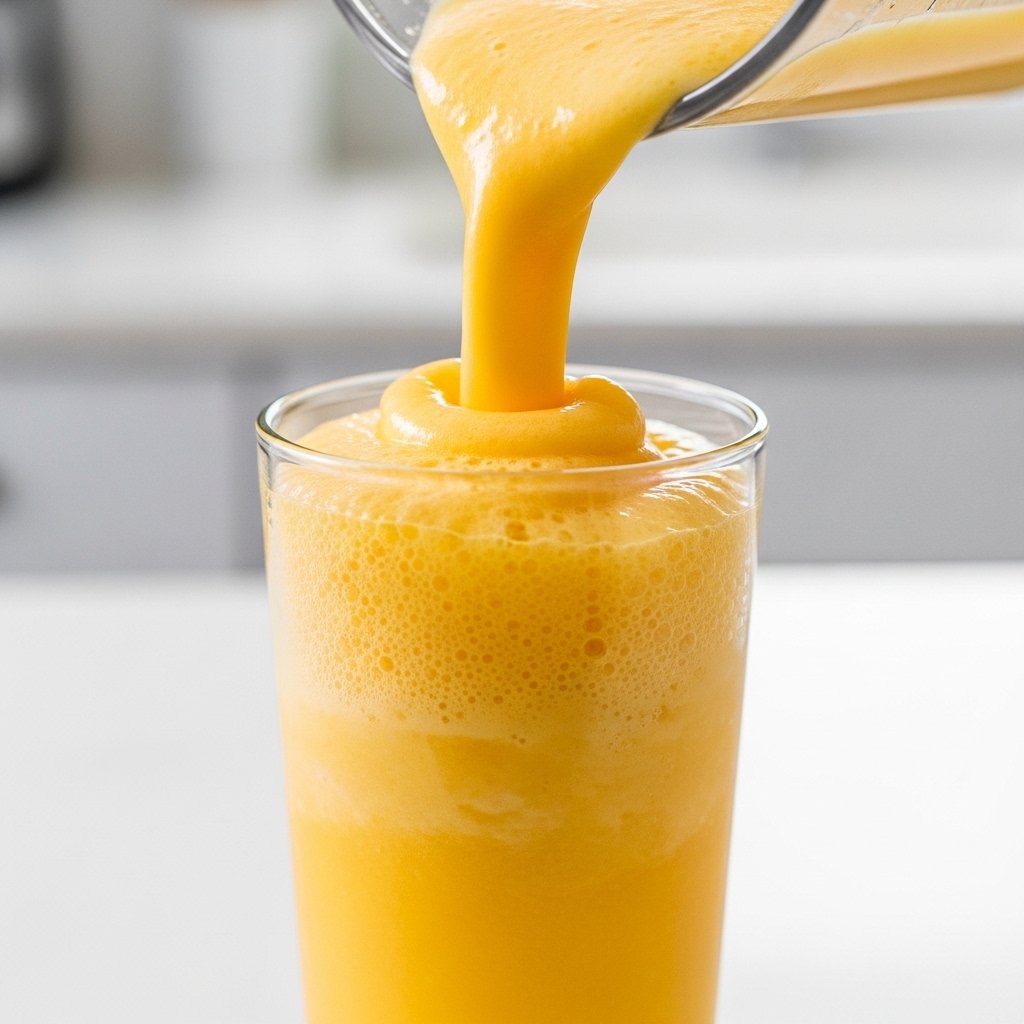
Step-by-Step Instructions
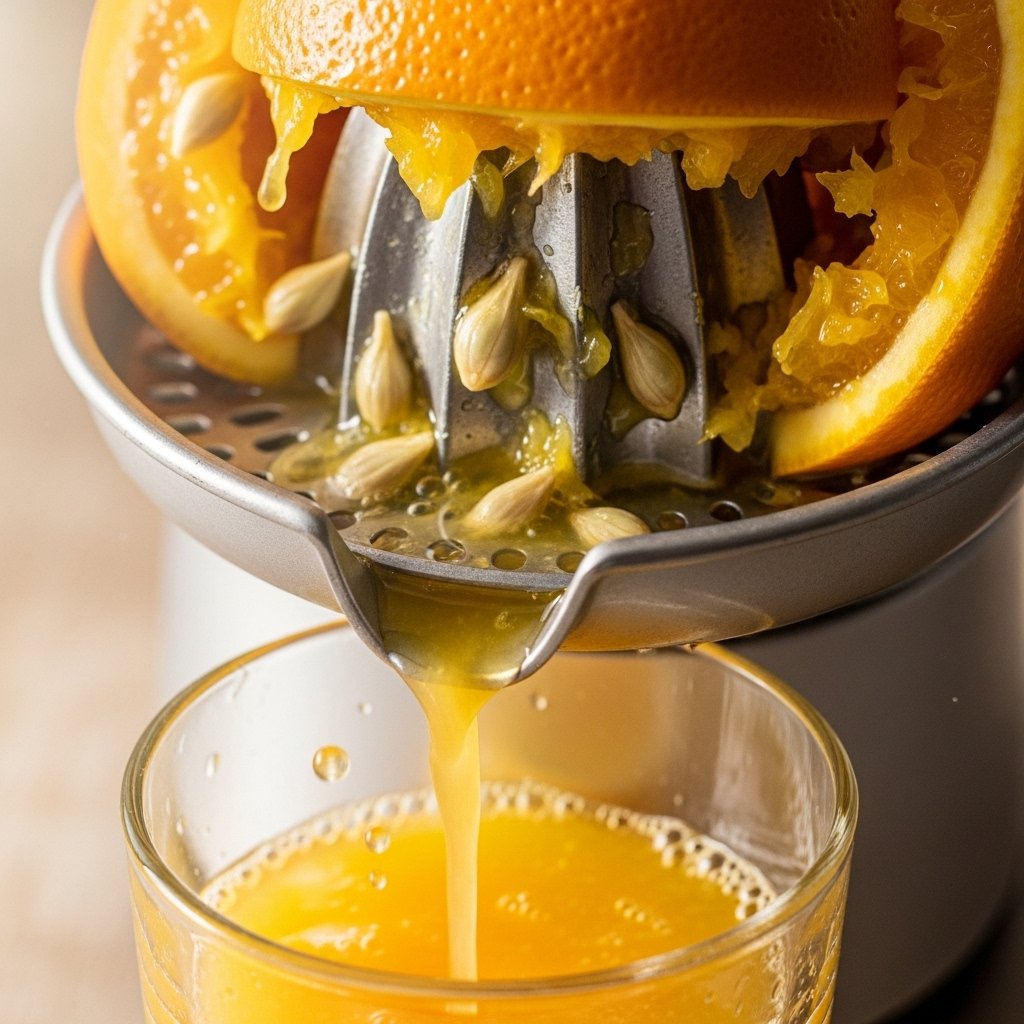
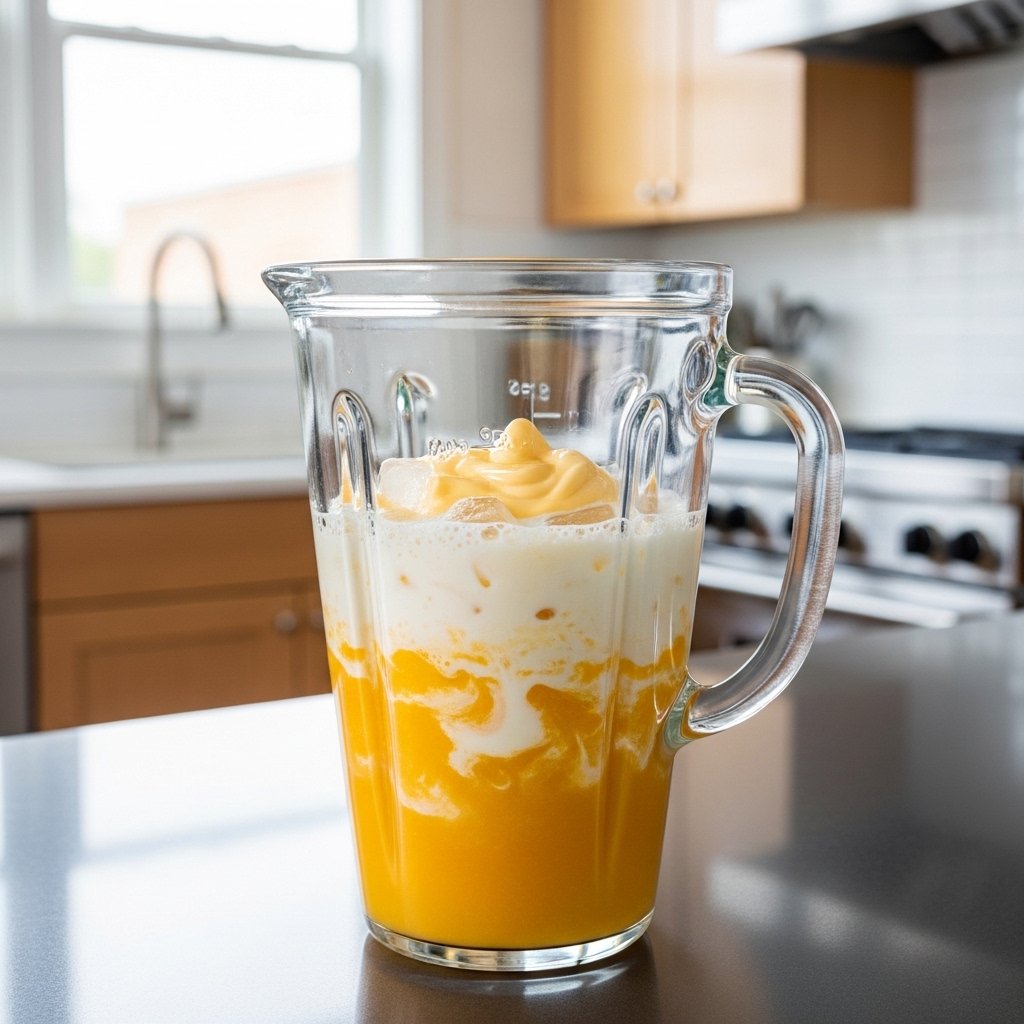
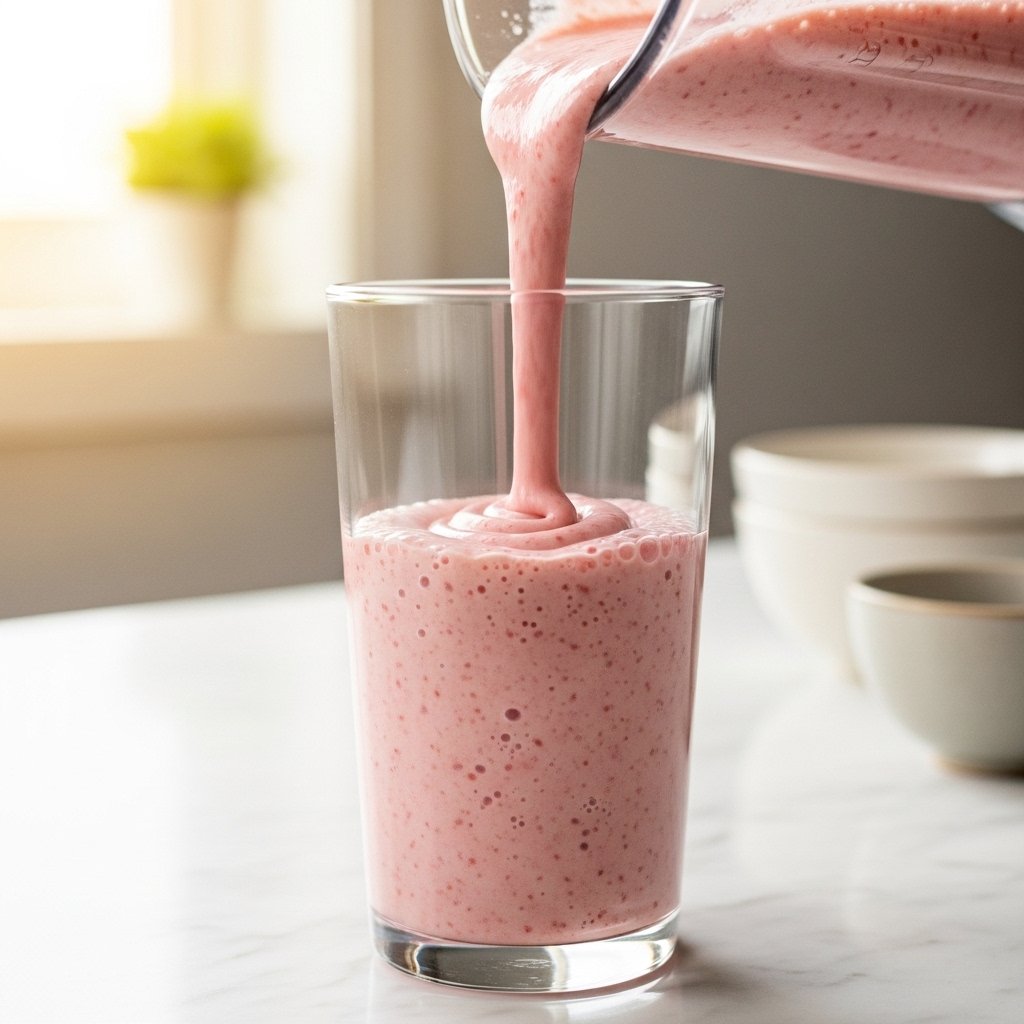
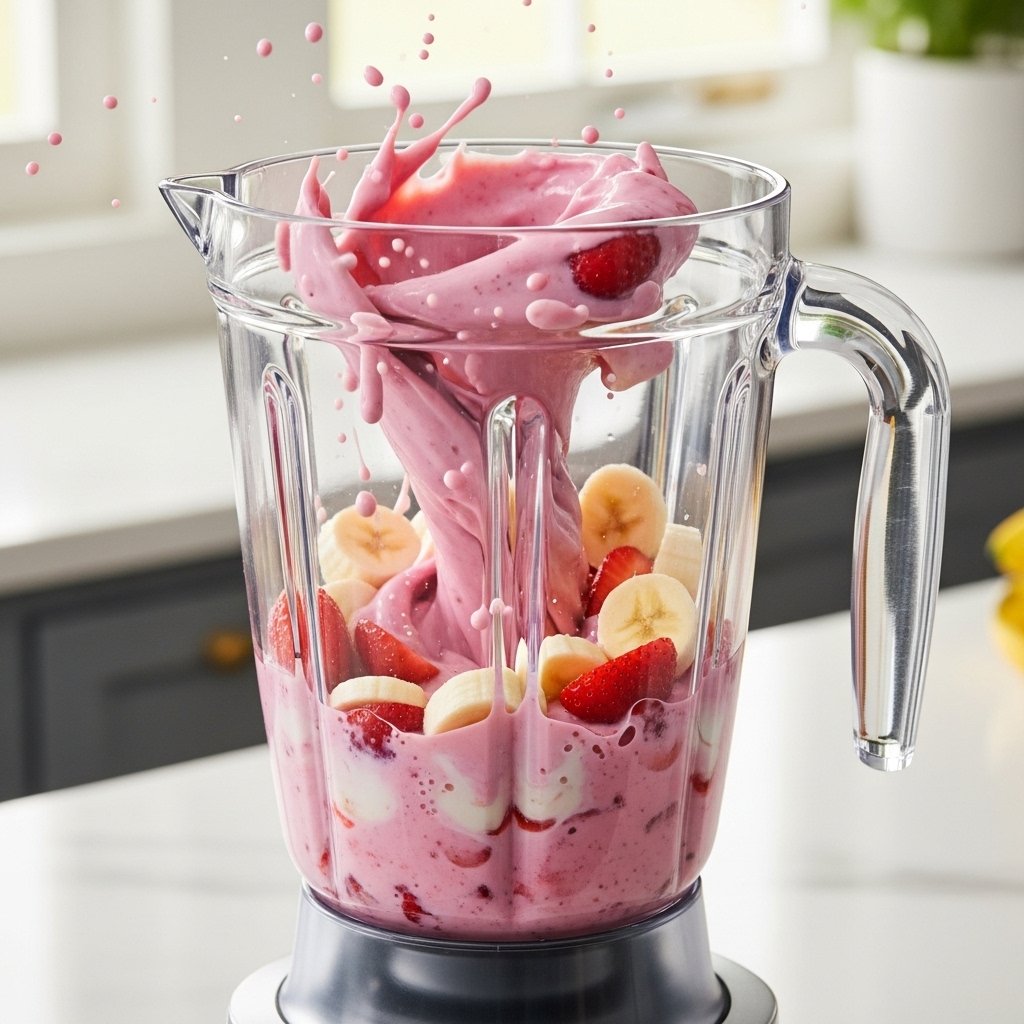
1. Add Ingredients to Blender
Combine strawberries, banana, milk, yogurt, sweetener (if using), and ice.
2. Blend Until Smooth
Blend on high until creamy and fully combined.
3. Taste and Adjust
Add more sweetener or milk if needed.
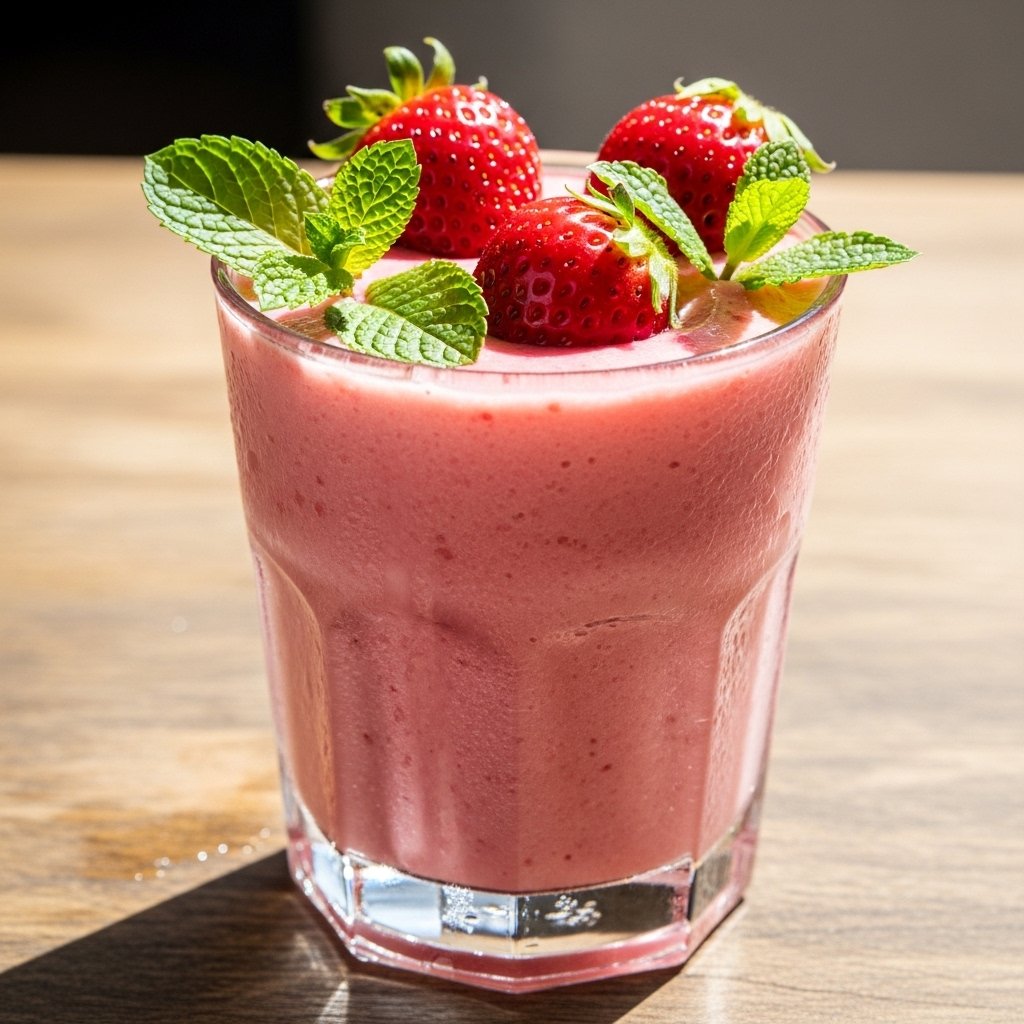
4. Serve Immediately
Pour into a glass and enjoy fresh.
Tips for Perfect Results
To make the best Healthy Strawberry Smoothie Recipe, keep these tips in mind:
- Use frozen fruit for a thicker smoothie
- Blend long enough for a silky texture
- Adjust liquid to control thickness
- Use ripe bananas for natural sweetness
These simple tips help you get the perfect smoothie every time.
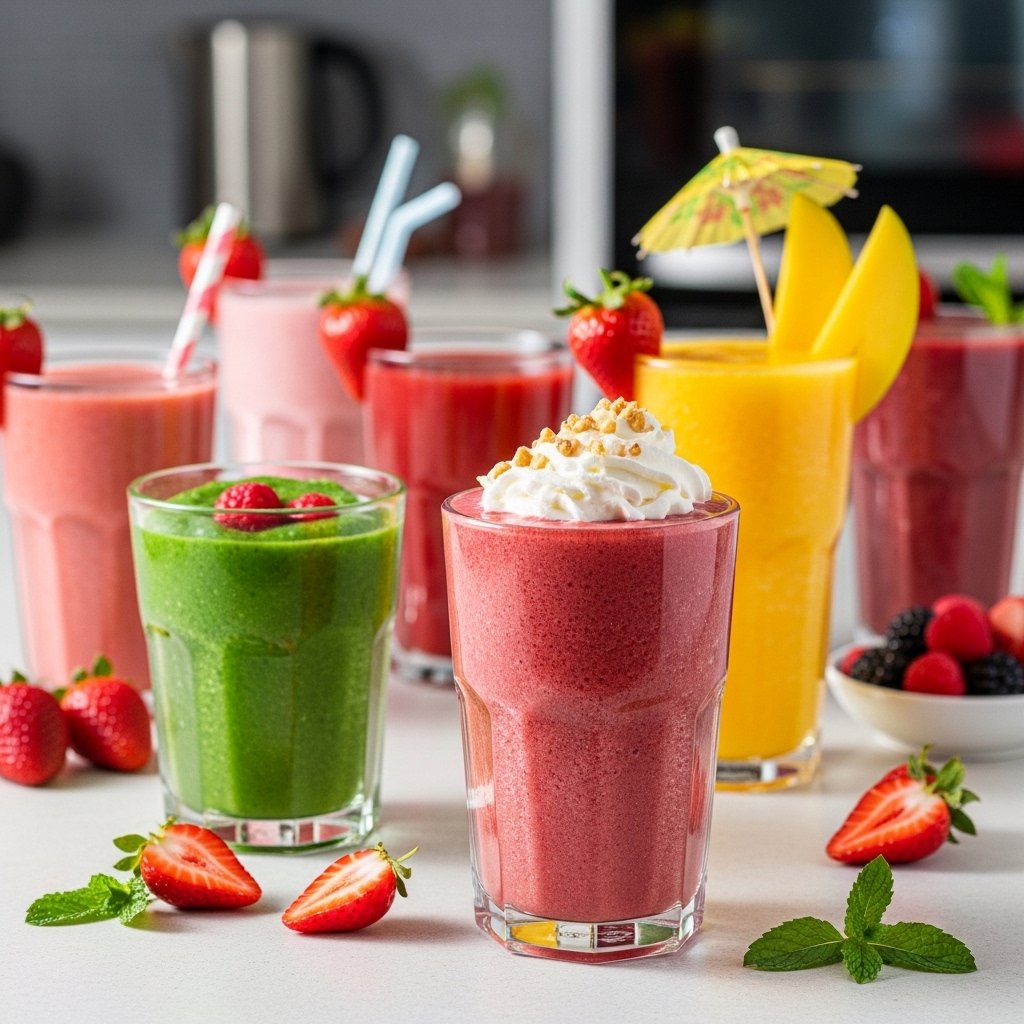
Variations
This smoothie is easy to customize:
- Add spinach for a green smoothie boost
- Use protein powder for extra nutrition
- Swap banana for mango or pineapple
- Add chia seeds or flaxseeds for fiber
What to Serve With It
This Healthy Strawberry Smoothie Recipe pairs perfectly with:
- Granola or oatmeal
- Toast with peanut butter
- Muffins or breakfast bars
- Light brunch dishes
It’s a great addition to any balanced meal.
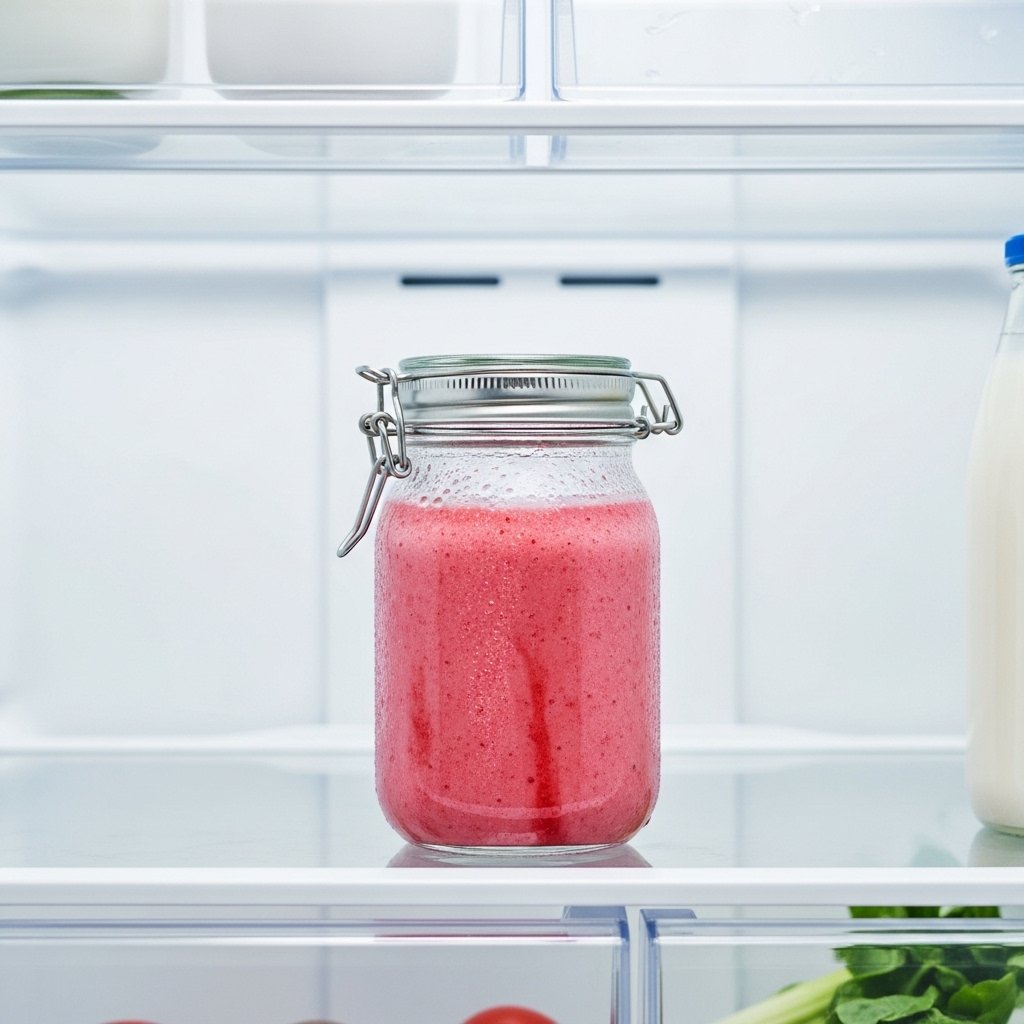
Storage & Reheating
Smoothies are best enjoyed fresh, but you can store them:
- Refrigerator: up to 24 hours (shake before drinking)
- Freezer: pour into ice cube trays or popsicle molds
Common Mistakes to Avoid
- Adding too much liquid (makes it watery)
- Not blending long enough
- Using unripe fruit (less sweetness)
- Skipping frozen ingredients for thickness
Avoid these for the best results.
FAQs
1. Can I make this smoothie without banana?
Yes, substitute with yogurt or frozen mango.
2. Is this smoothie good for weight loss?
It can be, especially when made without added sugar.
3. Can I use frozen strawberries?
Absolutely—they make the smoothie thicker.
4. How do I make it dairy-free?
Use plant-based milk and skip yogurt or use a dairy-free version.
Final Thoughts
This Healthy Strawberry Smoothie Recipe is fresh, creamy, and packed with natural flavor. It’s quick, nutritious, and perfect for any time of day.
Once you try it, it’s sure to become a staple in your daily routine.