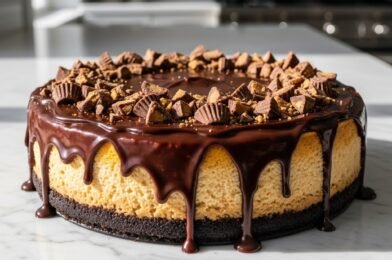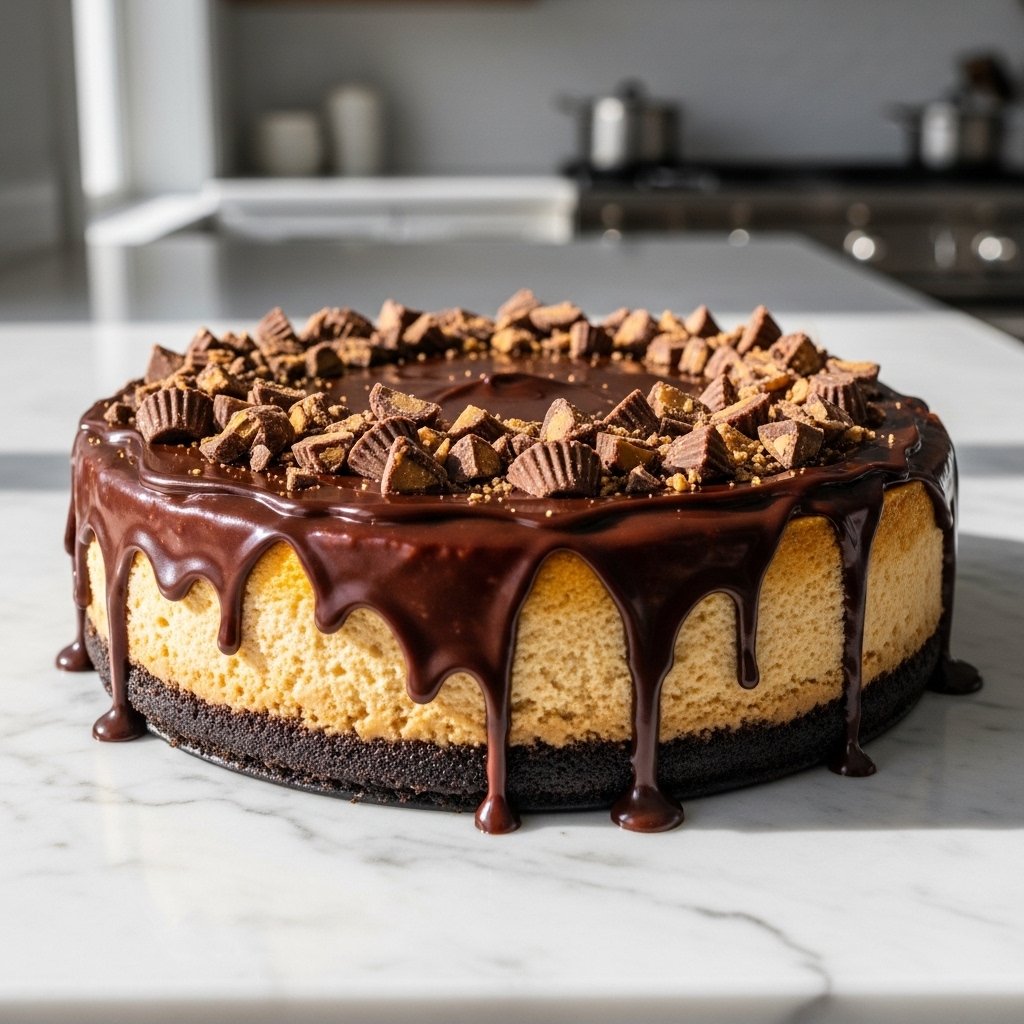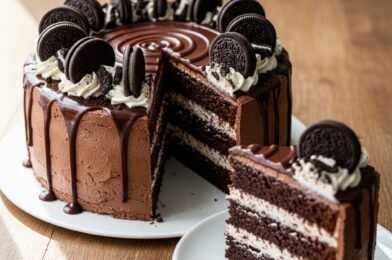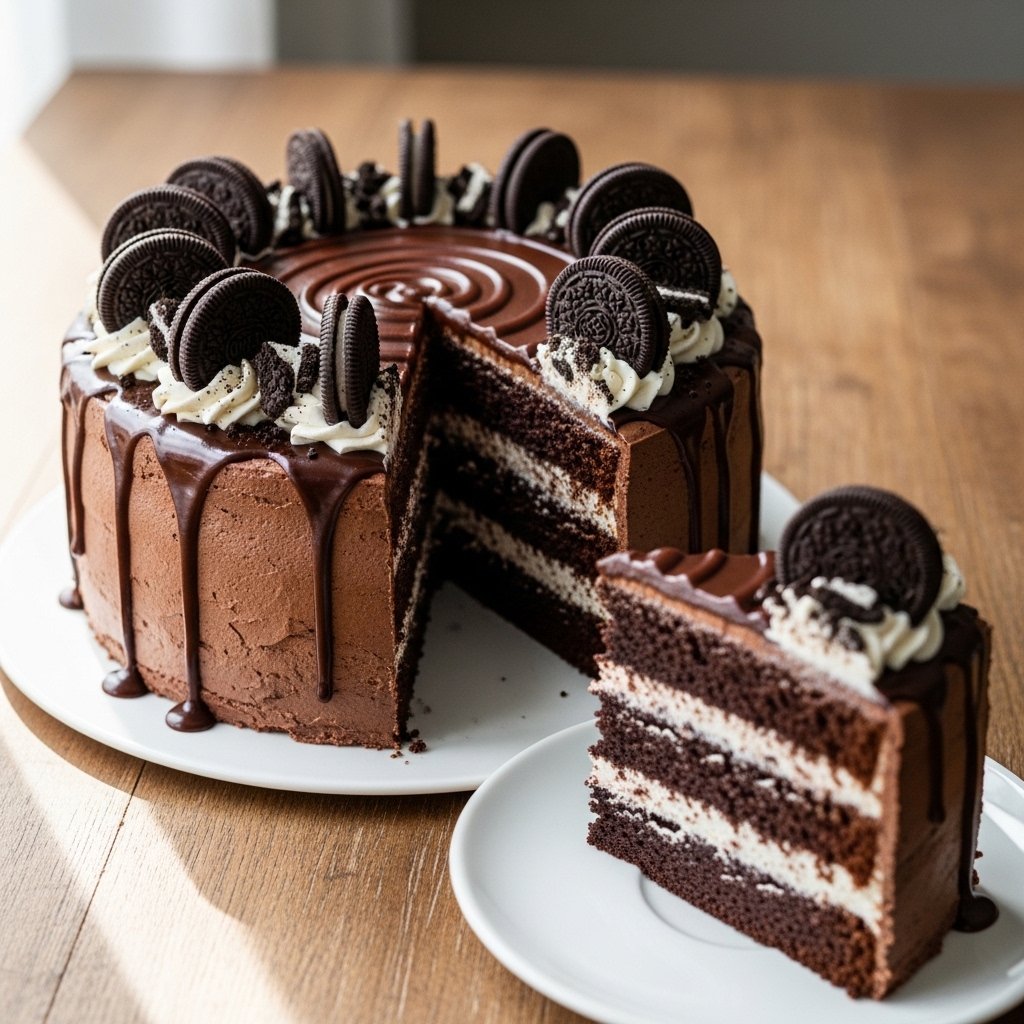
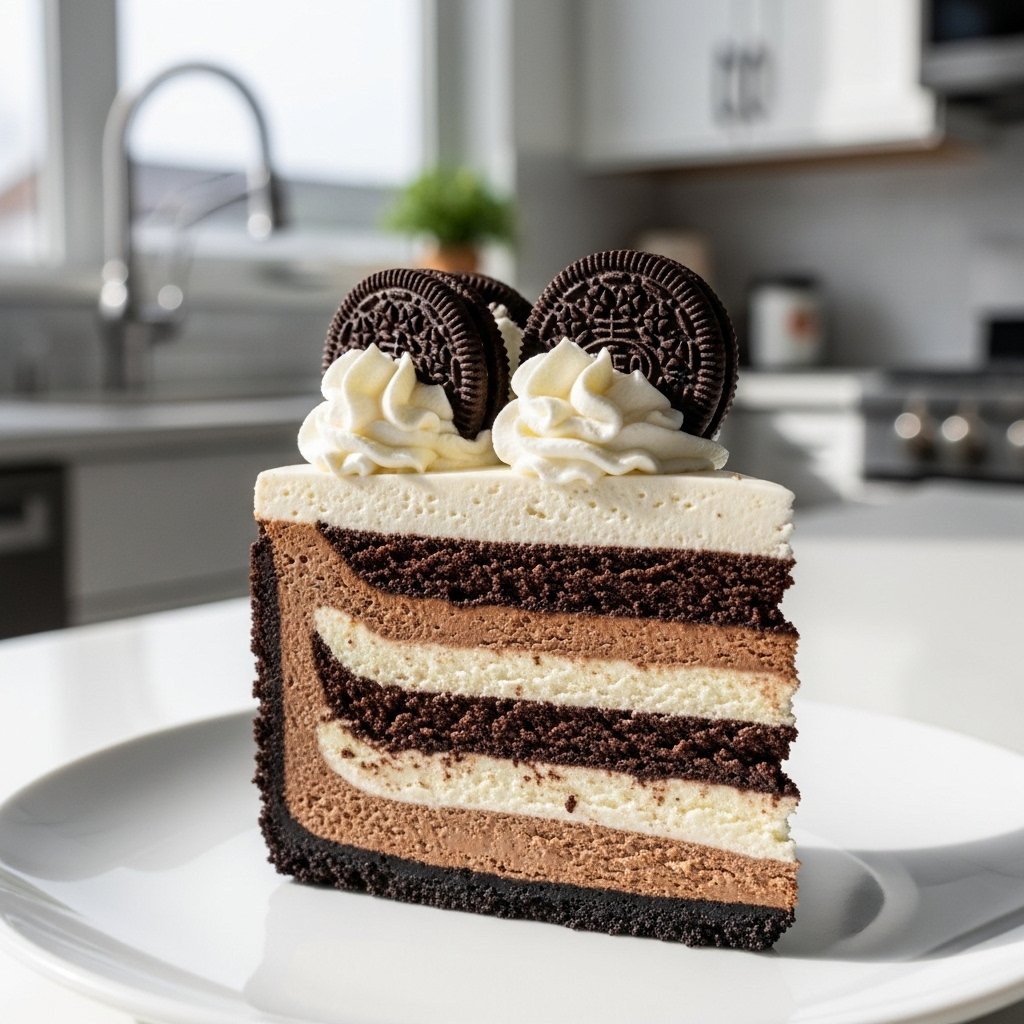
If you’ve ever had The Cheesecake Factory® OREO® Dream Extreme Cheesecake – 7″, you already know it’s not just dessert—it’s an experience. With layers of creamy cheesecake, rich chocolate, and crunchy OREO® cookies, this indulgent treat has become a fan favorite across the United States. The good news? You don’t have to visit the restaurant to enjoy it.
In this detailed, SEO-optimized guide, I’ll walk you through how to recreate this iconic cheesecake right in your own kitchen. It’s rich, decadent, and surprisingly achievable when you follow the right steps. Whether you’re baking for a celebration or just craving something extraordinary, this recipe delivers every time.
Why You’ll Love This Recipe
There’s a reason why The Cheesecake Factory® OREO® Dream Extreme Cheesecake – 7″ is so popular—it checks every box for dessert lovers.
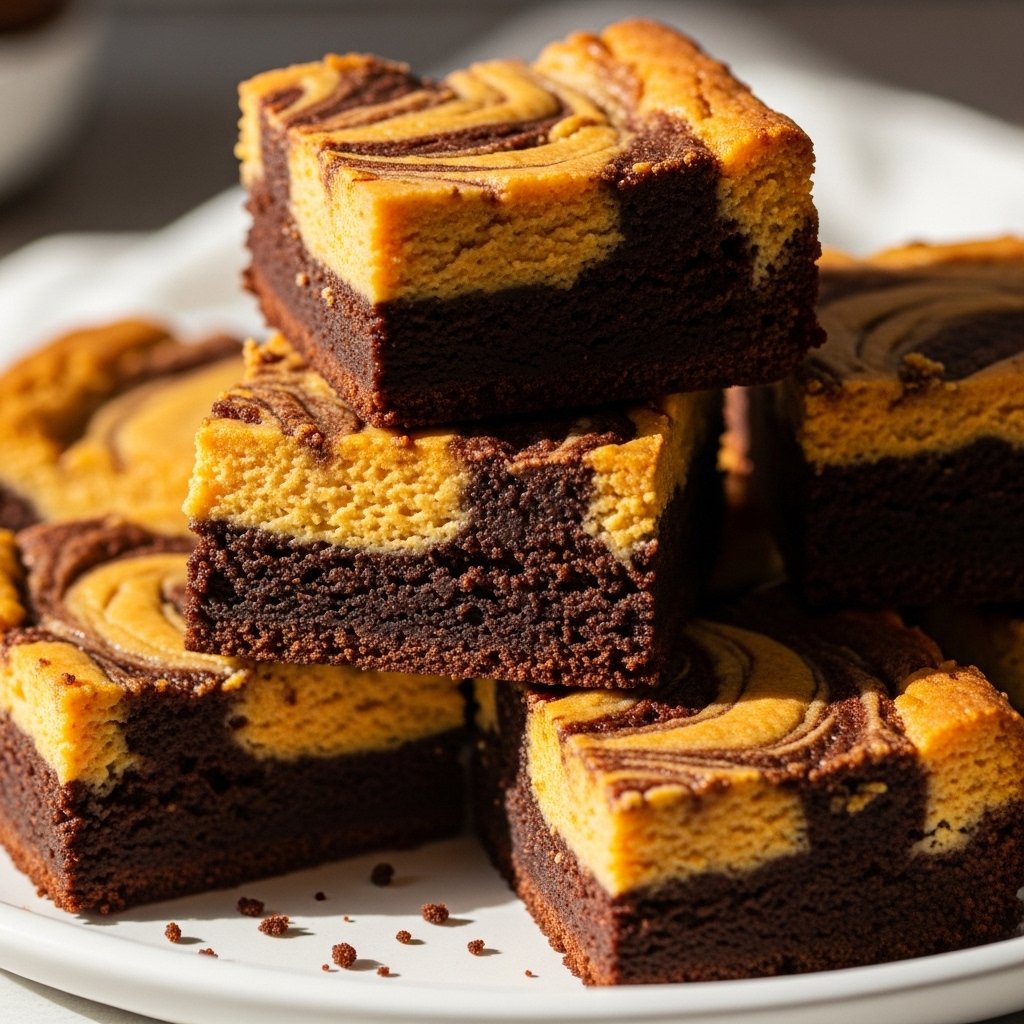
- Ultra-rich and creamy texture
- Loaded with chocolate and OREO® flavor
- Perfect balance of crunch and smoothness
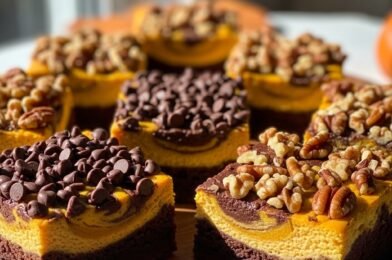
- Impressive presentation for guests
- Ideal for birthdays, holidays, and celebrations
This cheesecake isn’t just sweet—it’s layered with complexity, making every bite feel luxurious.
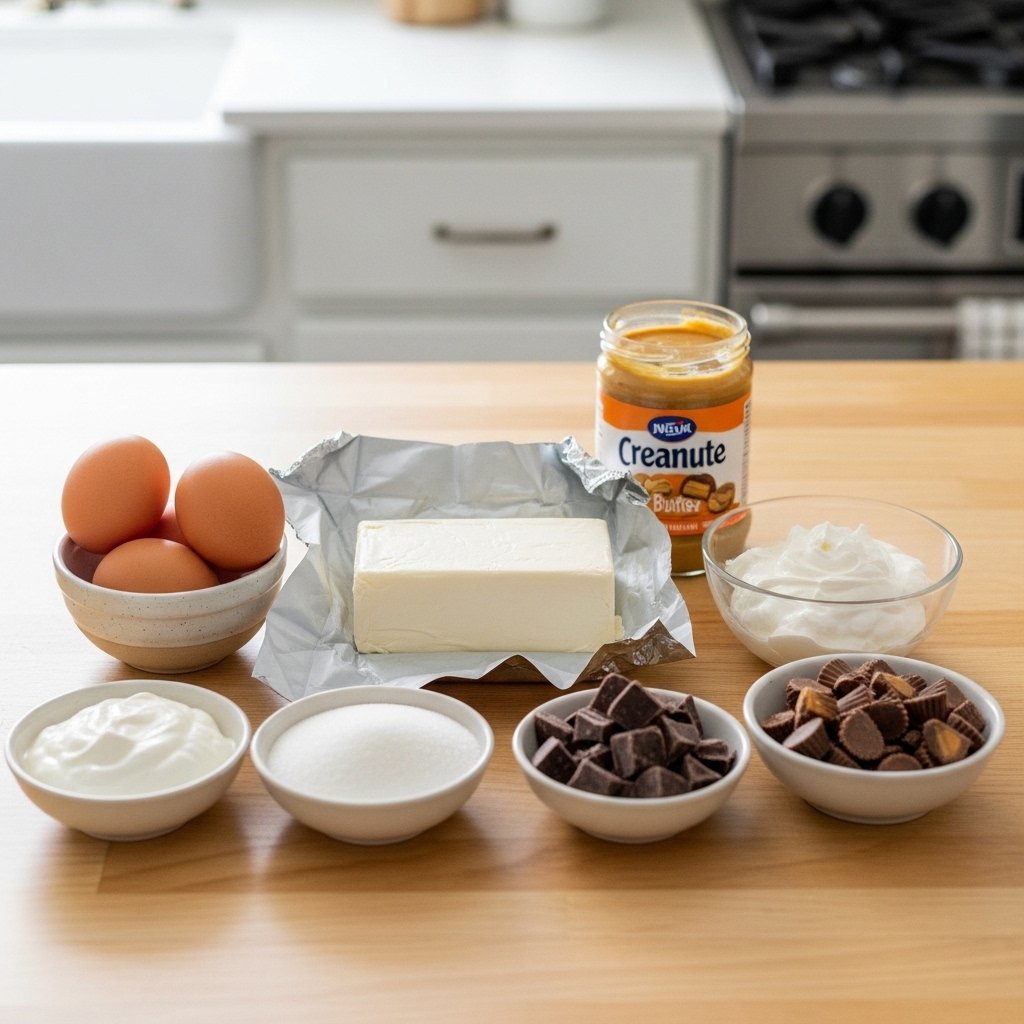
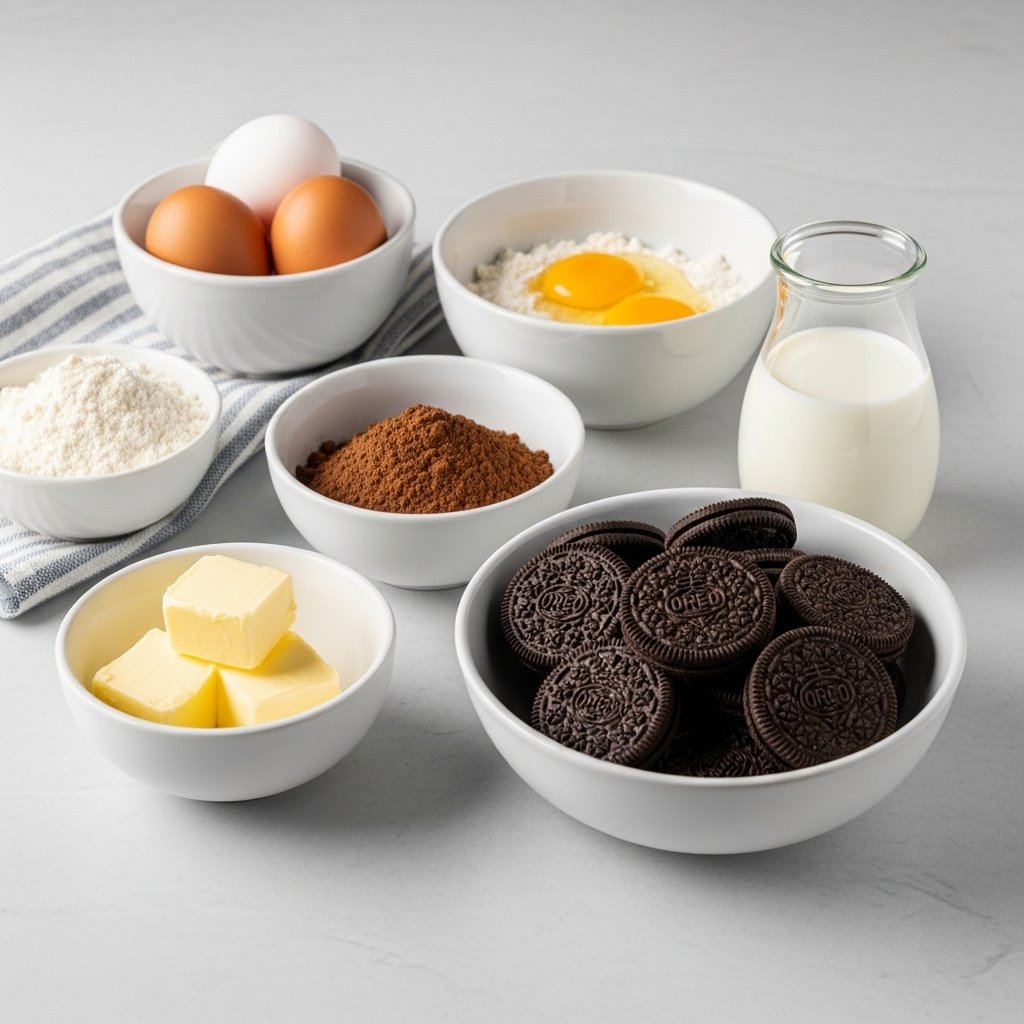
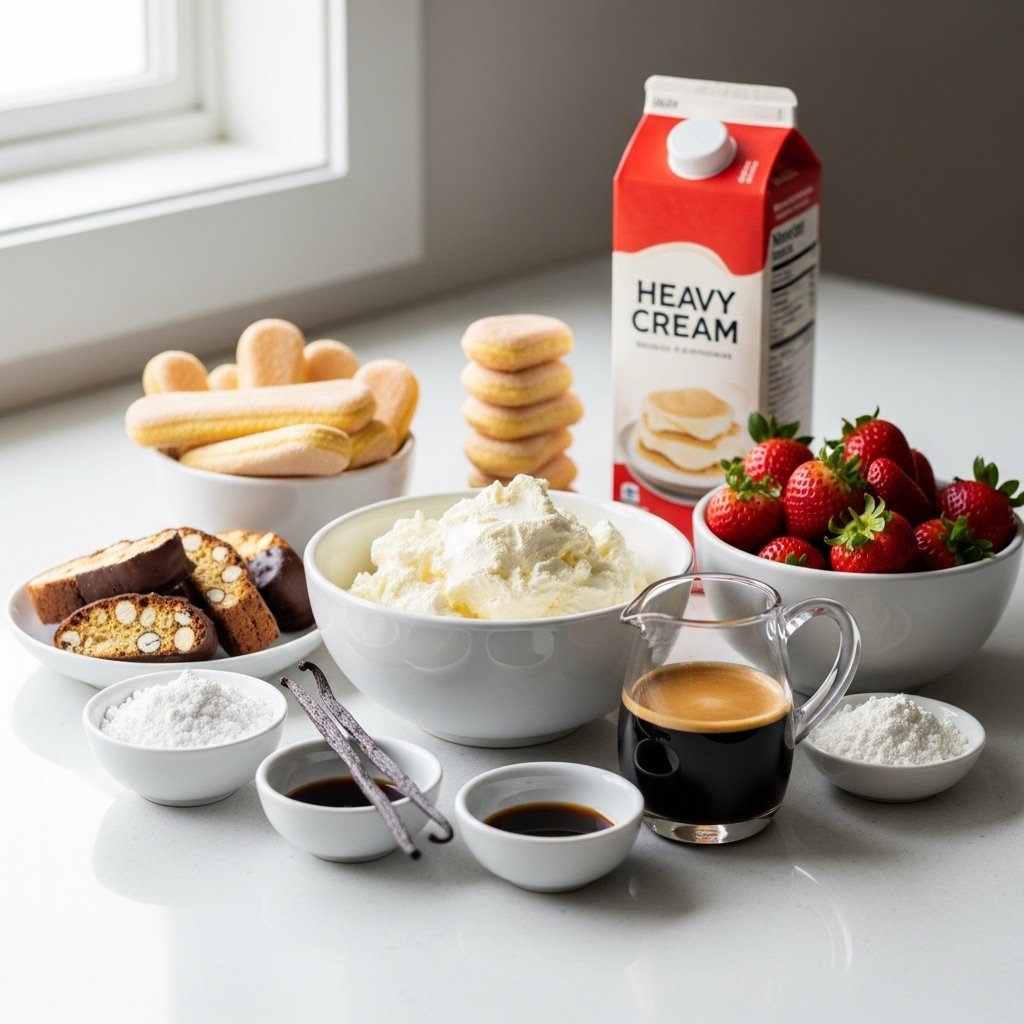
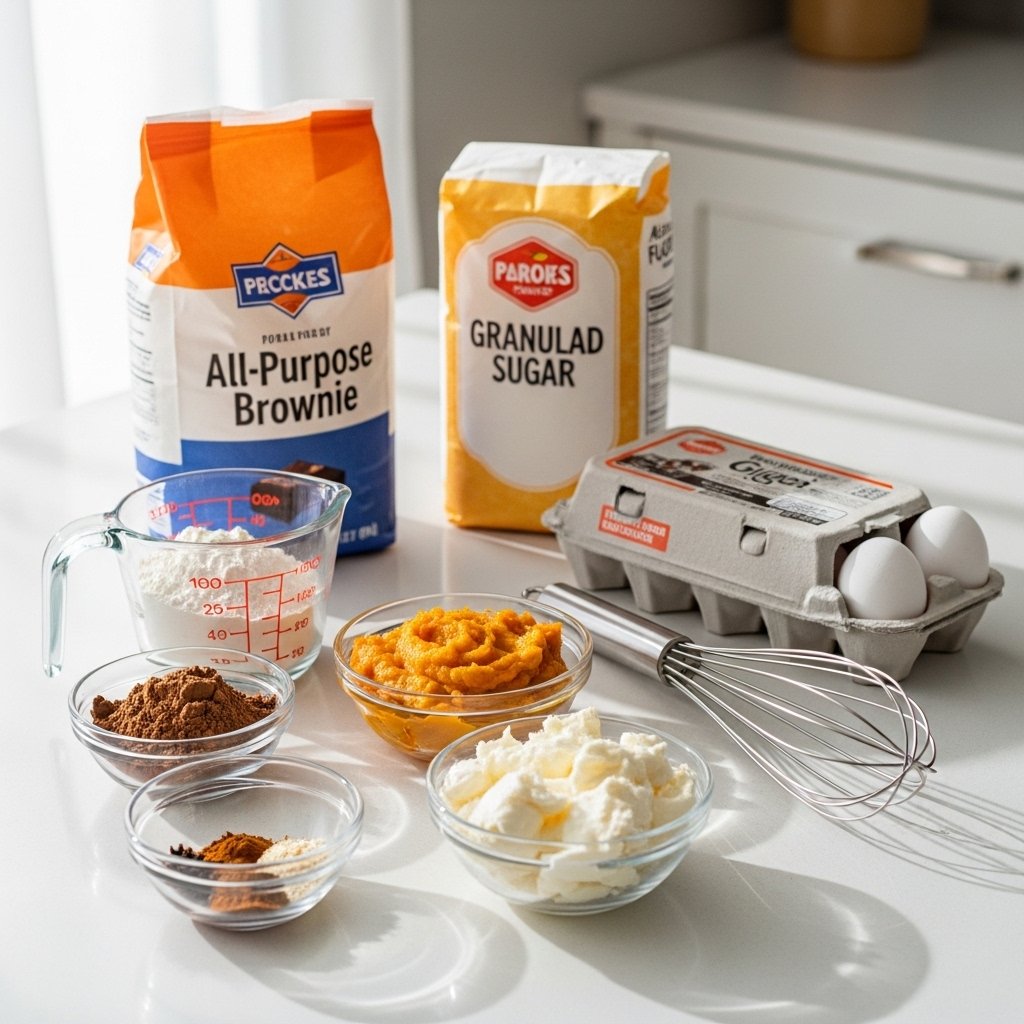
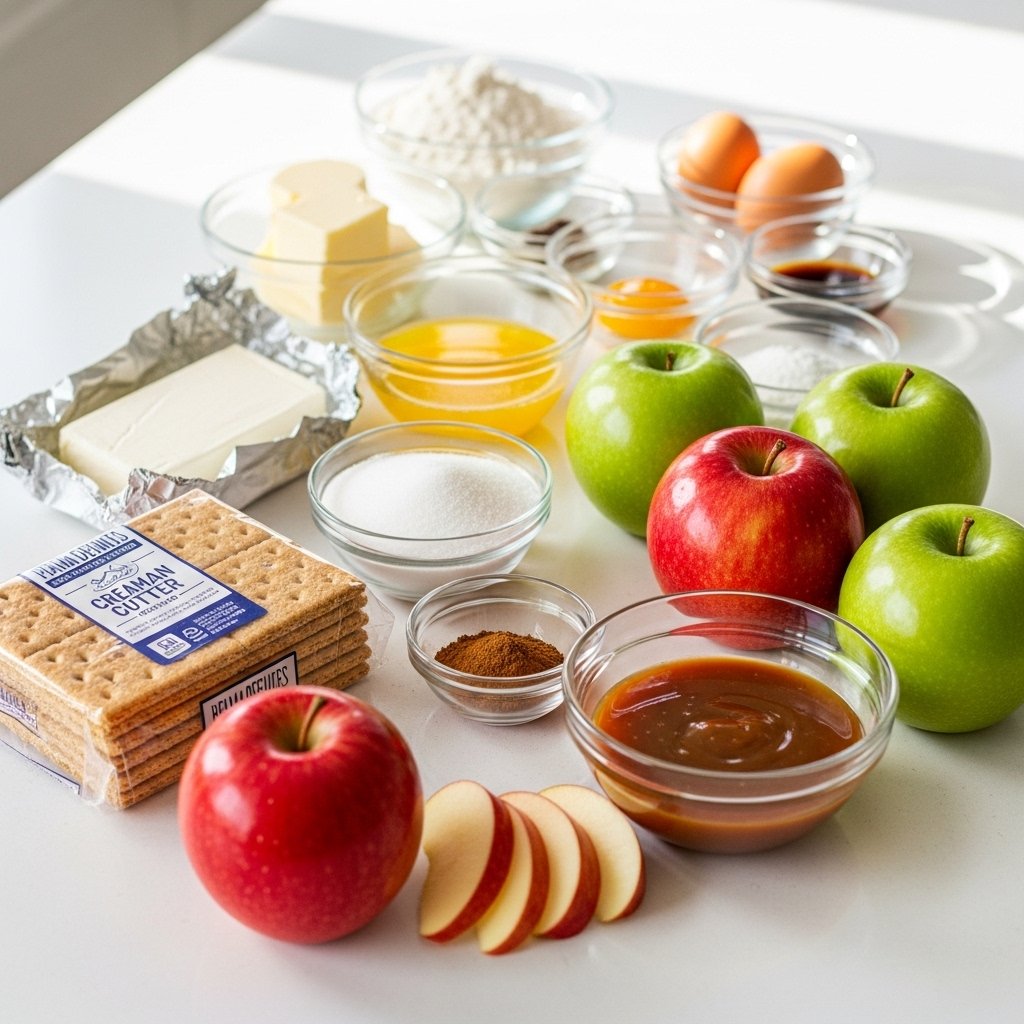
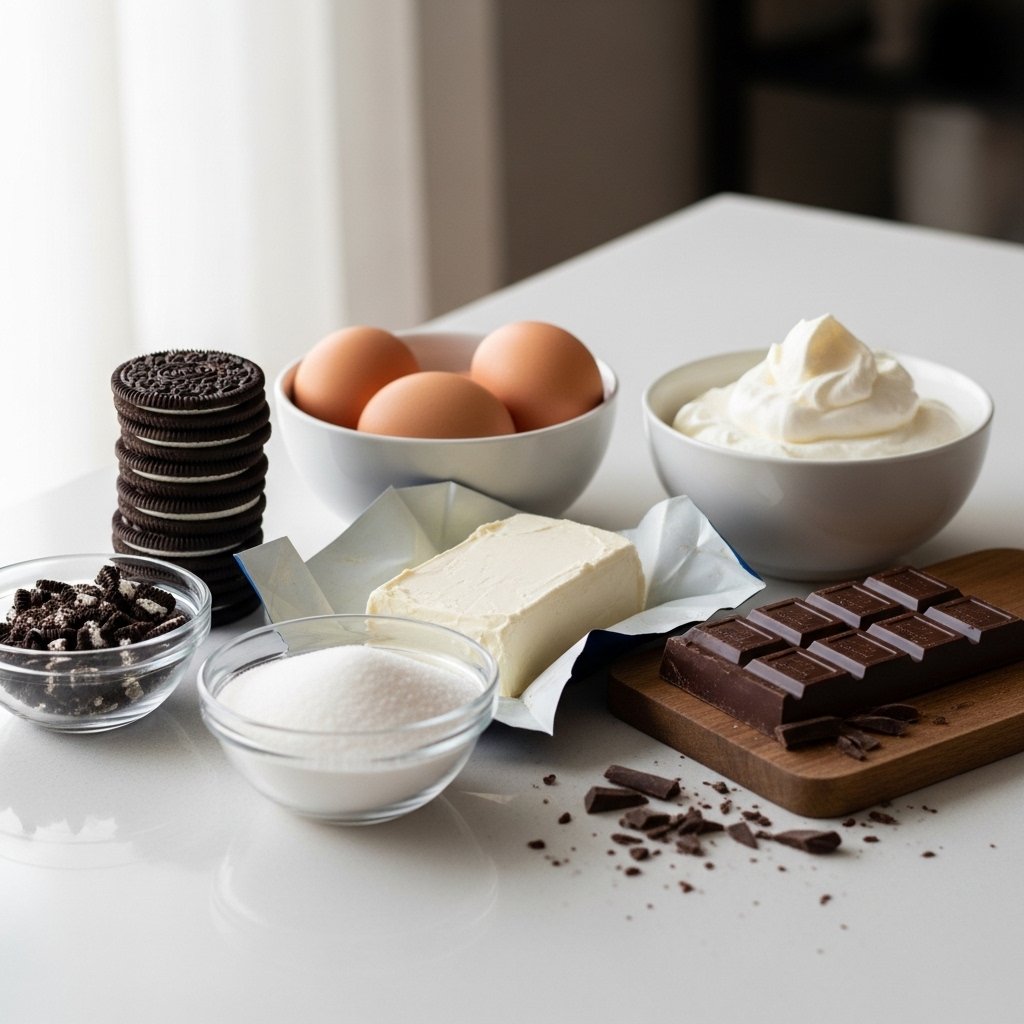
Ingredients
To recreate The Cheesecake Factory® OREO® Dream Extreme Cheesecake – 7″, you’ll need:
For the Crust:
- 2 cups crushed OREO® cookies
- 1/2 cup melted butter
For the Cheesecake Filling:
- 24 oz cream cheese, softened
- 1 cup sugar
- 3 large eggs
- 1 cup sour cream
- 1 tsp vanilla extract
- 1 cup crushed OREO® cookies
For the Chocolate Layer:
- 8 oz semi-sweet chocolate, melted
- 1/2 cup heavy cream
For the Topping:
- Whipped cream
- Whole and crushed OREO® cookies
- Chocolate drizzle
Ingredient Notes
When making The Cheesecake Factory® OREO® Dream Extreme Cheesecake – 7″, ingredient quality is key. Use full-fat cream cheese for a dense and creamy texture, and avoid substituting low-fat versions.
OREO® cookies are essential here—they provide both flavor and structure. For the chocolate layer, choose a high-quality semi-sweet chocolate to balance the sweetness of the filling.
Step-by-Step Instructions
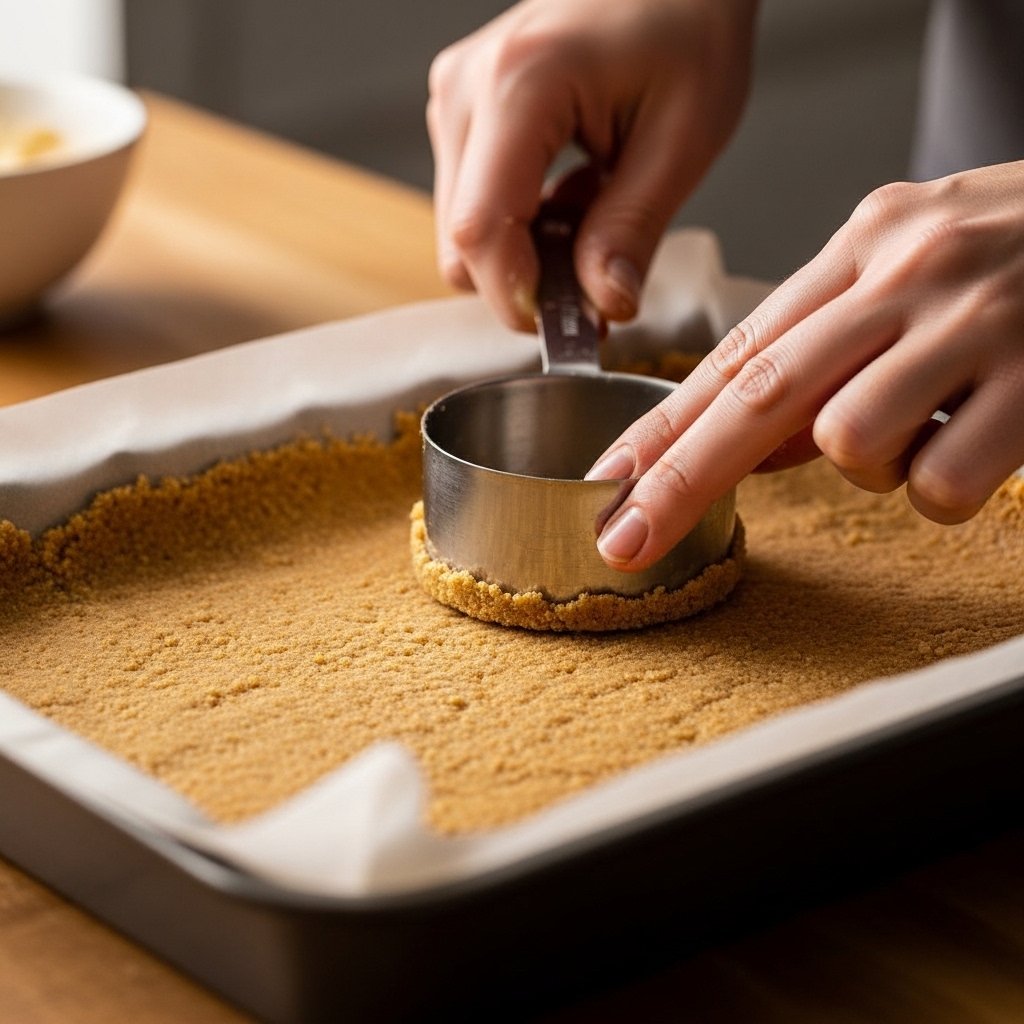
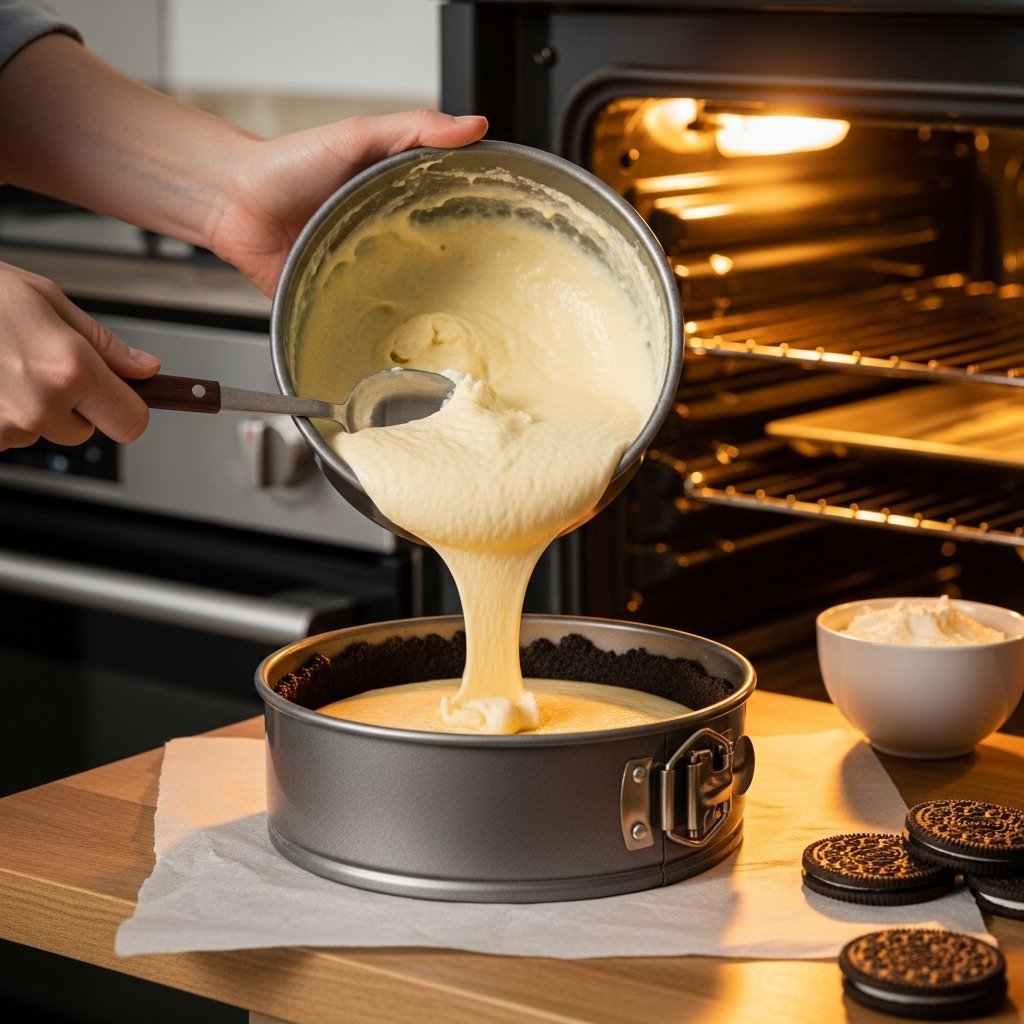
Step 1: Prepare the Crust
Preheat your oven to 325°F. Mix crushed OREO® cookies with melted butter and press firmly into a 7-inch springform pan. Bake for 10 minutes and let cool.
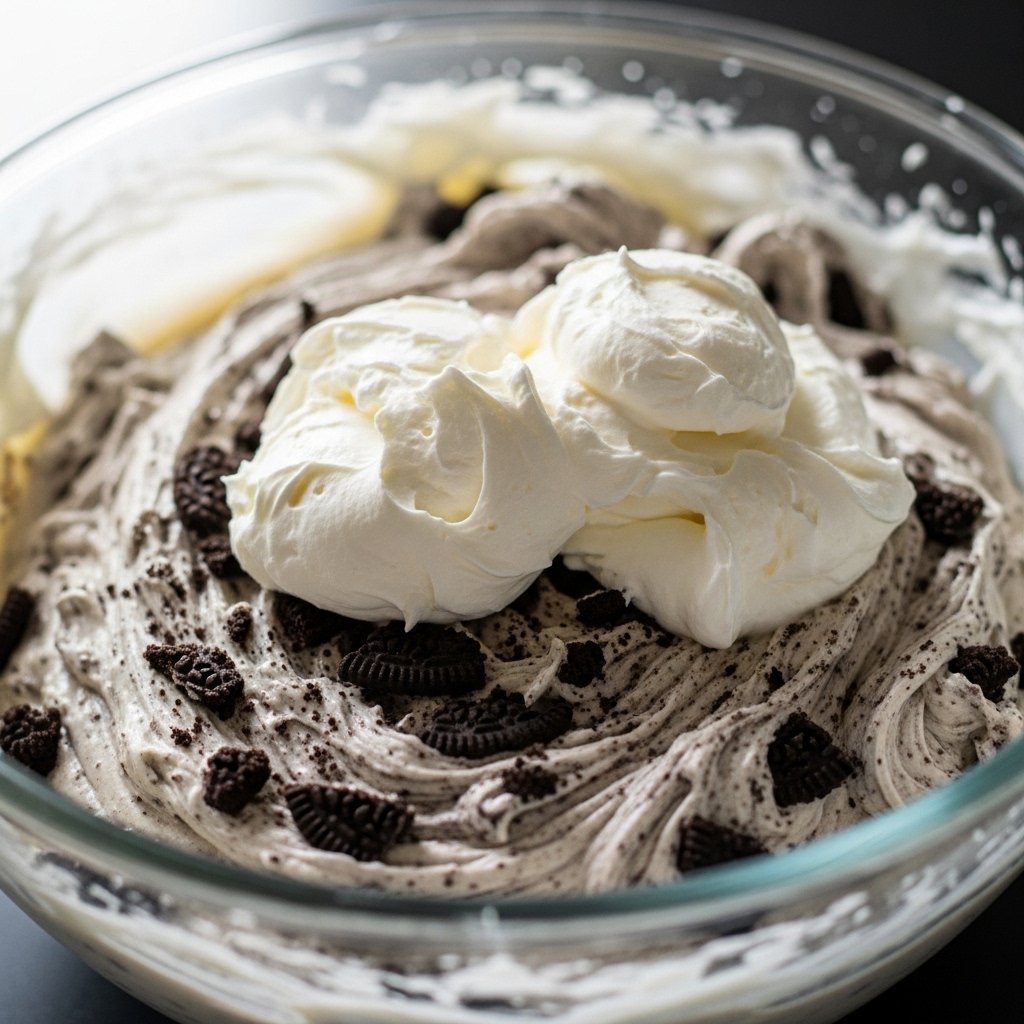
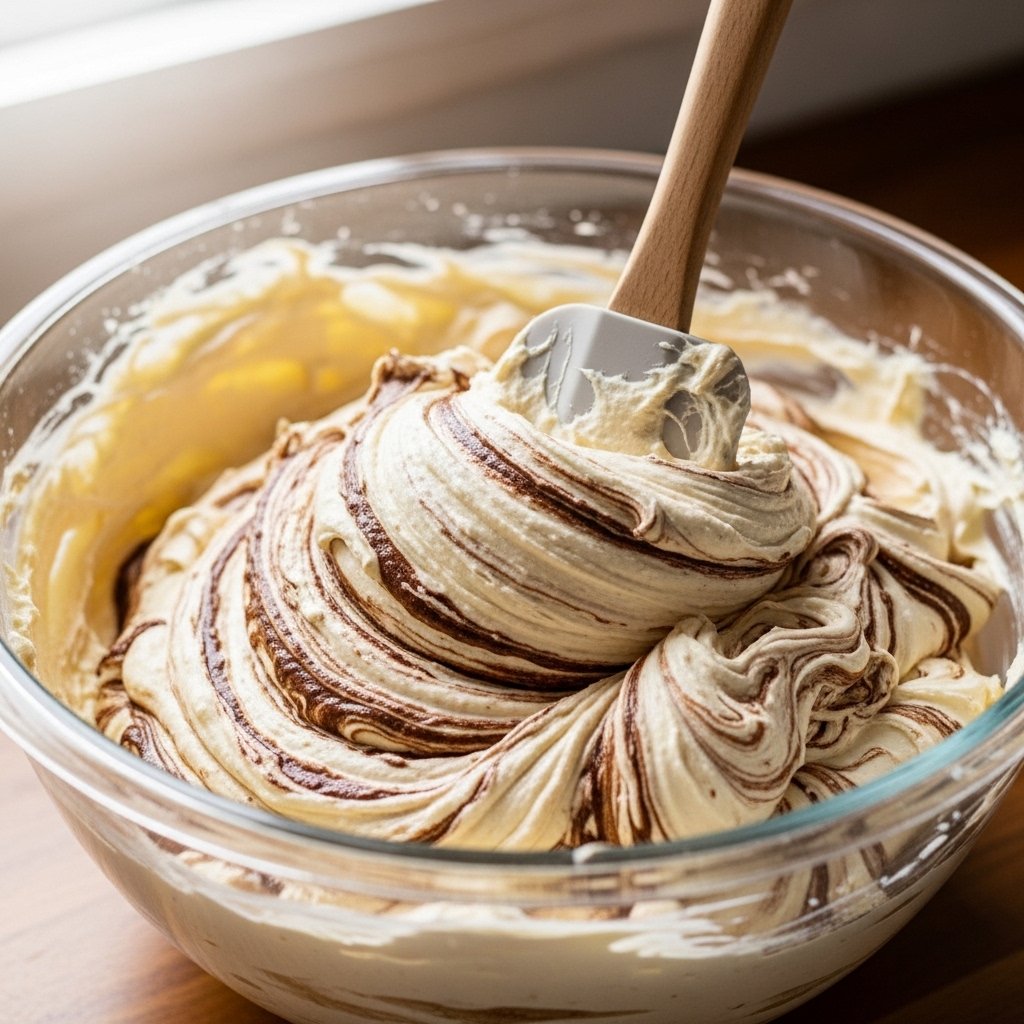
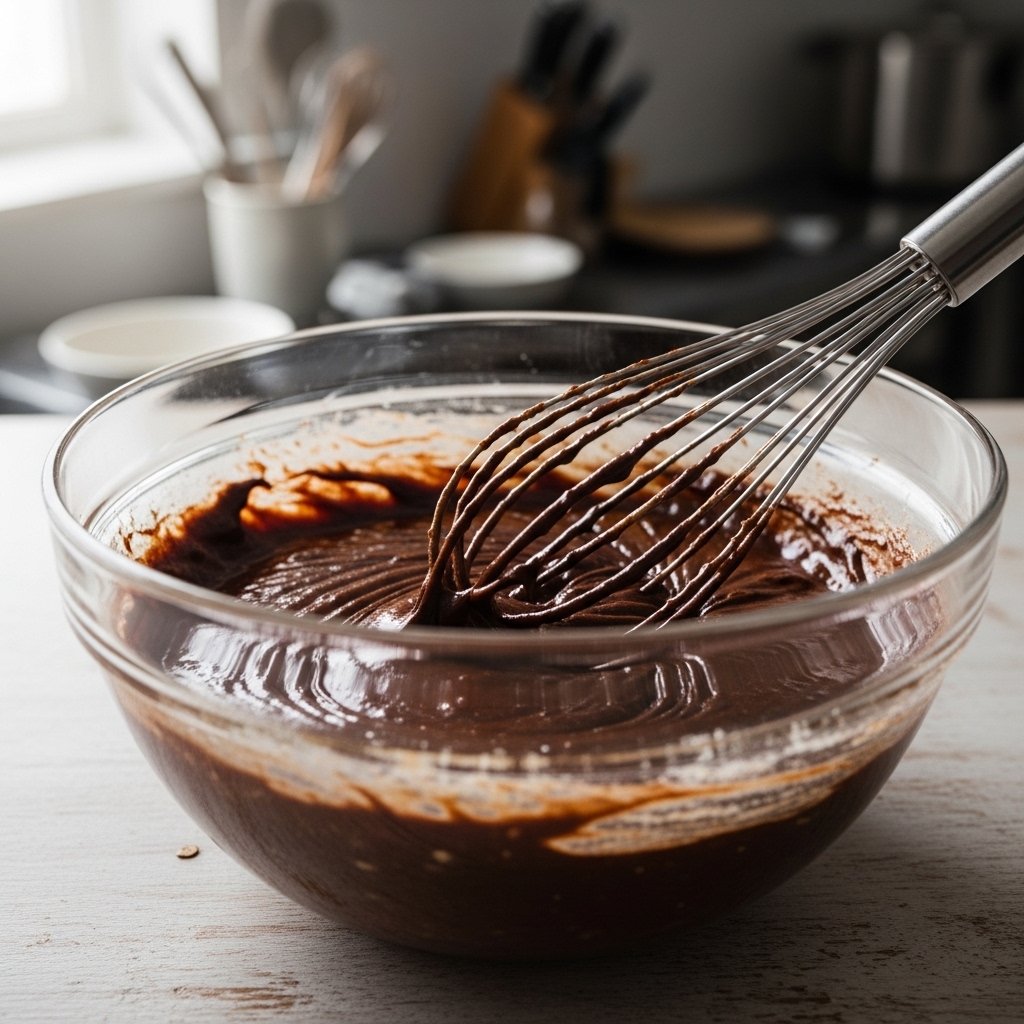
Step 2: Make the Filling
Beat cream cheese until smooth. Add sugar, then eggs one at a time. Mix in sour cream and vanilla extract. Fold in crushed OREO® cookies.
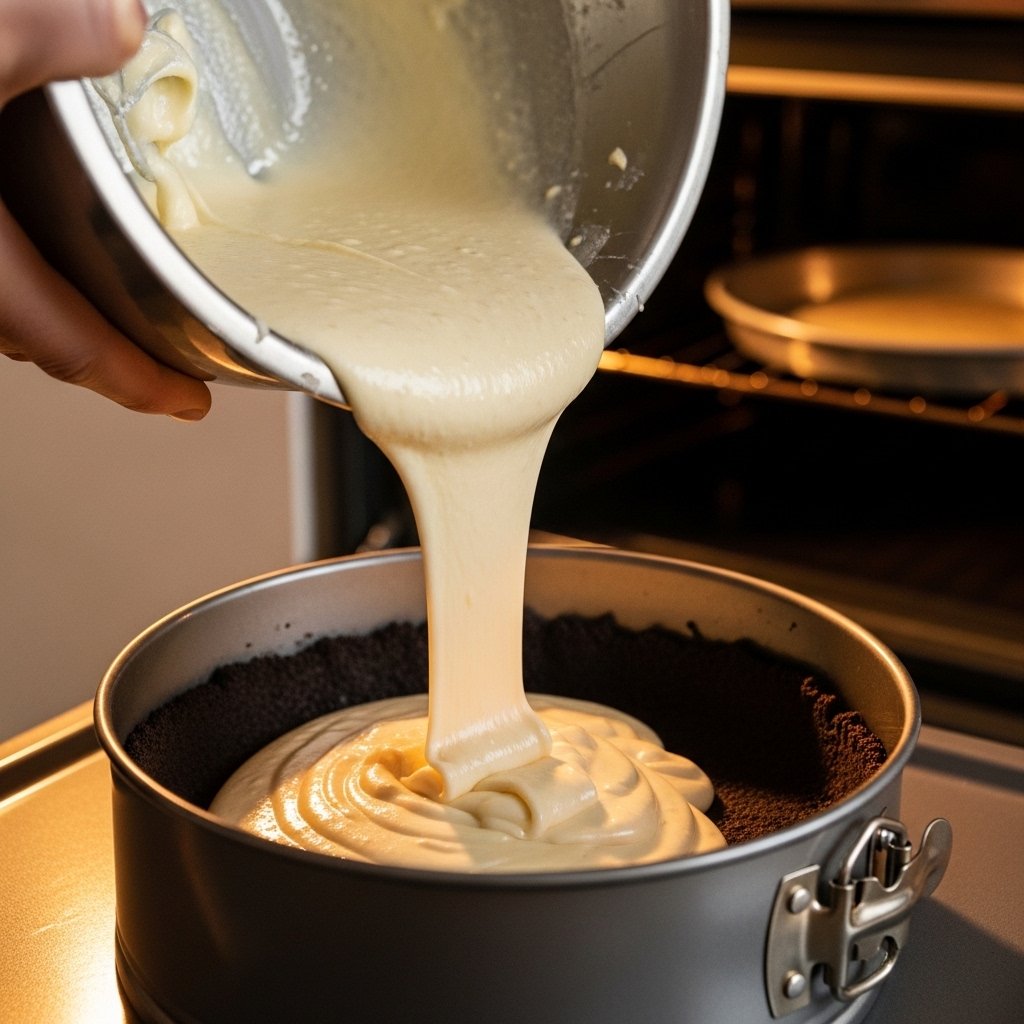
Step 3: Bake the Cheesecake
Pour the filling over the crust. Bake for 55–65 minutes until the center is slightly jiggly. Let cool gradually in the oven.
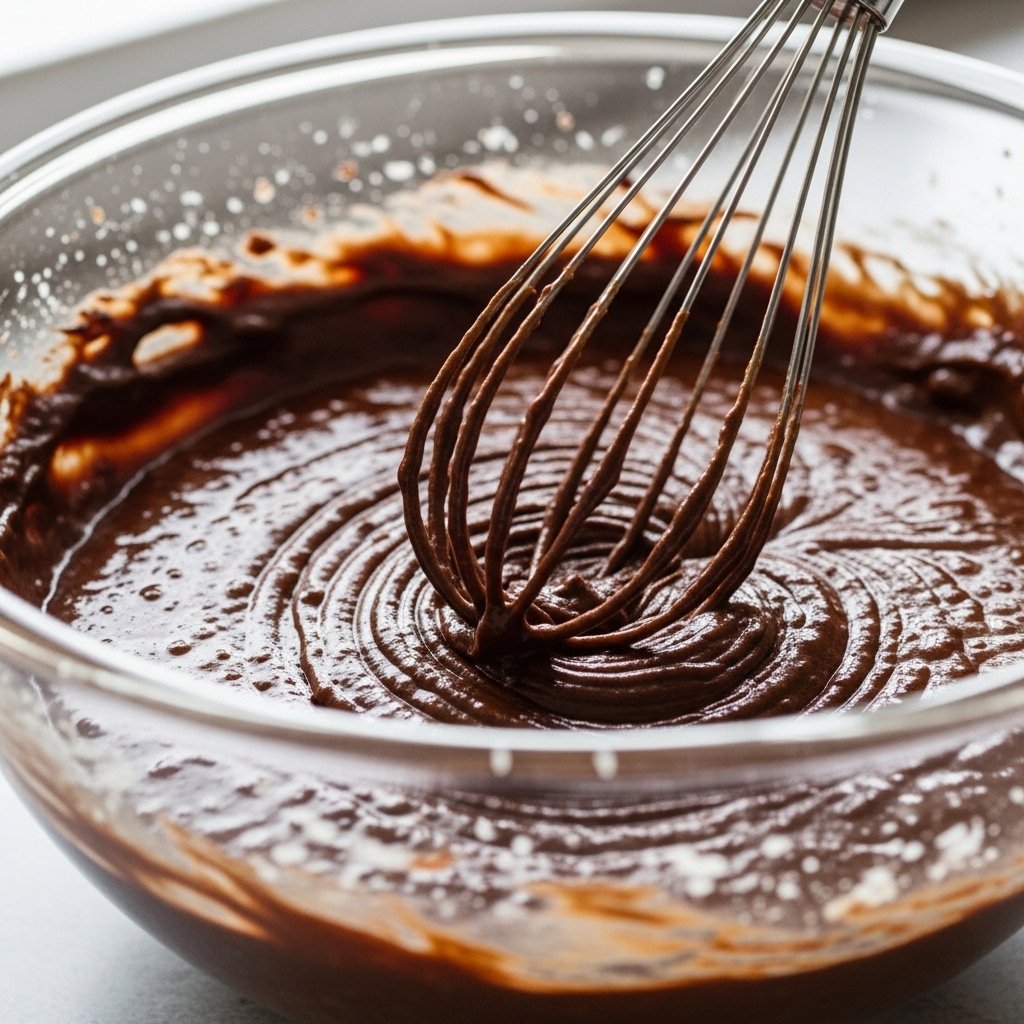
Step 4: Add Chocolate Layer
Mix melted chocolate with cream to create a smooth ganache. Spread over the cooled cheesecake.
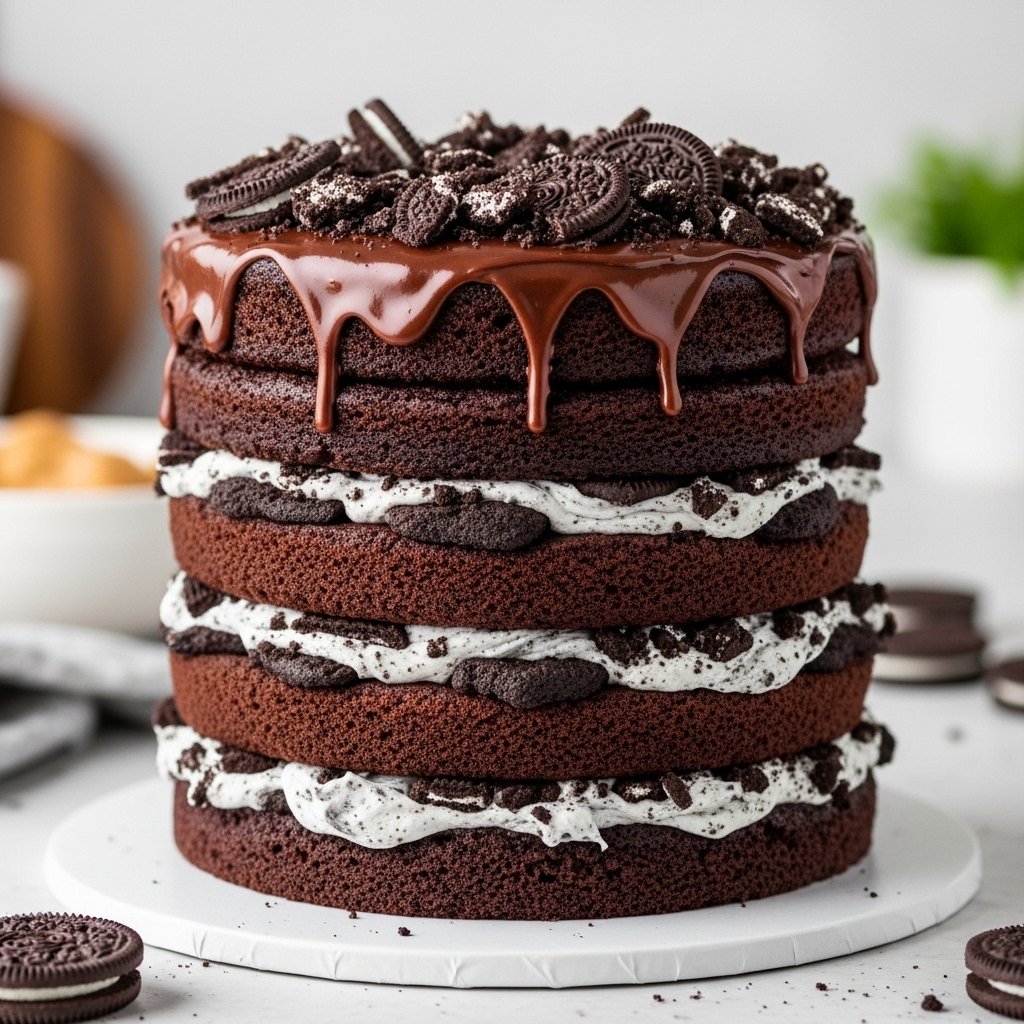
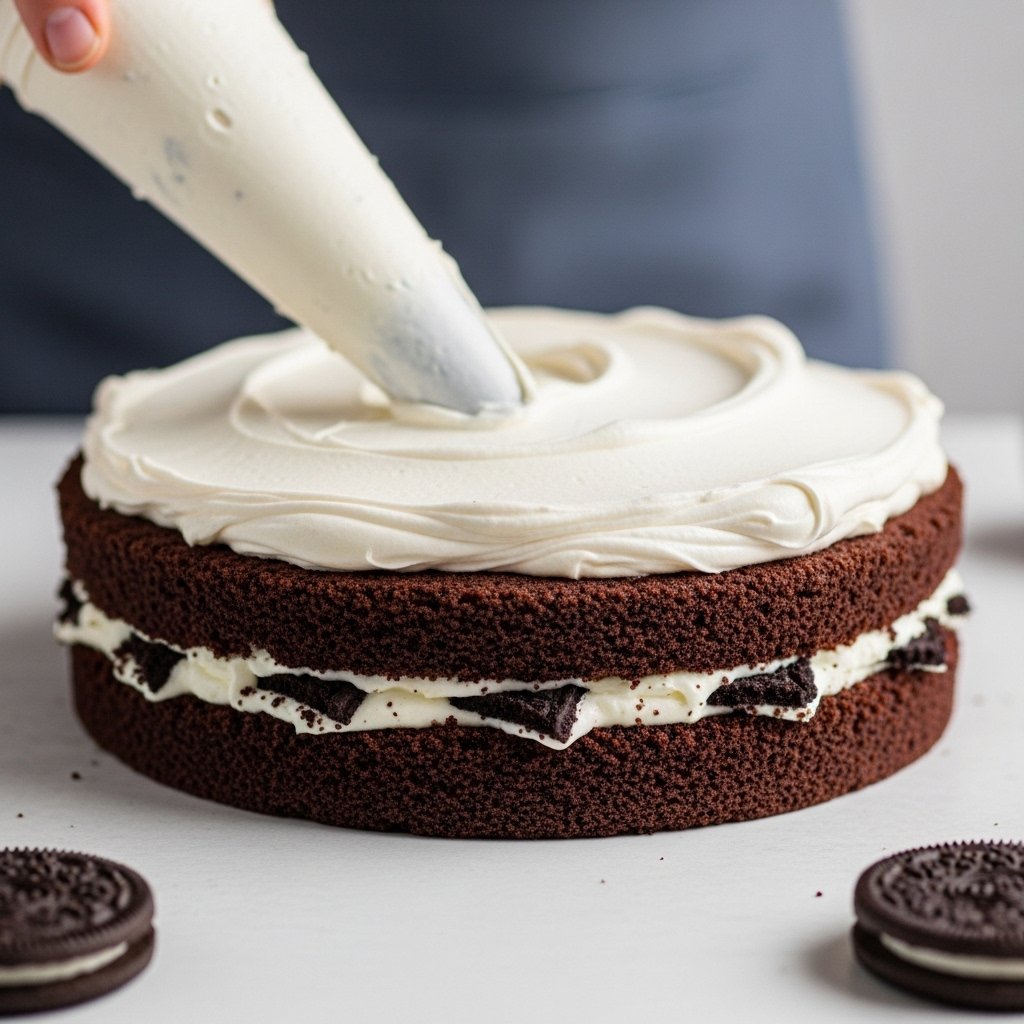
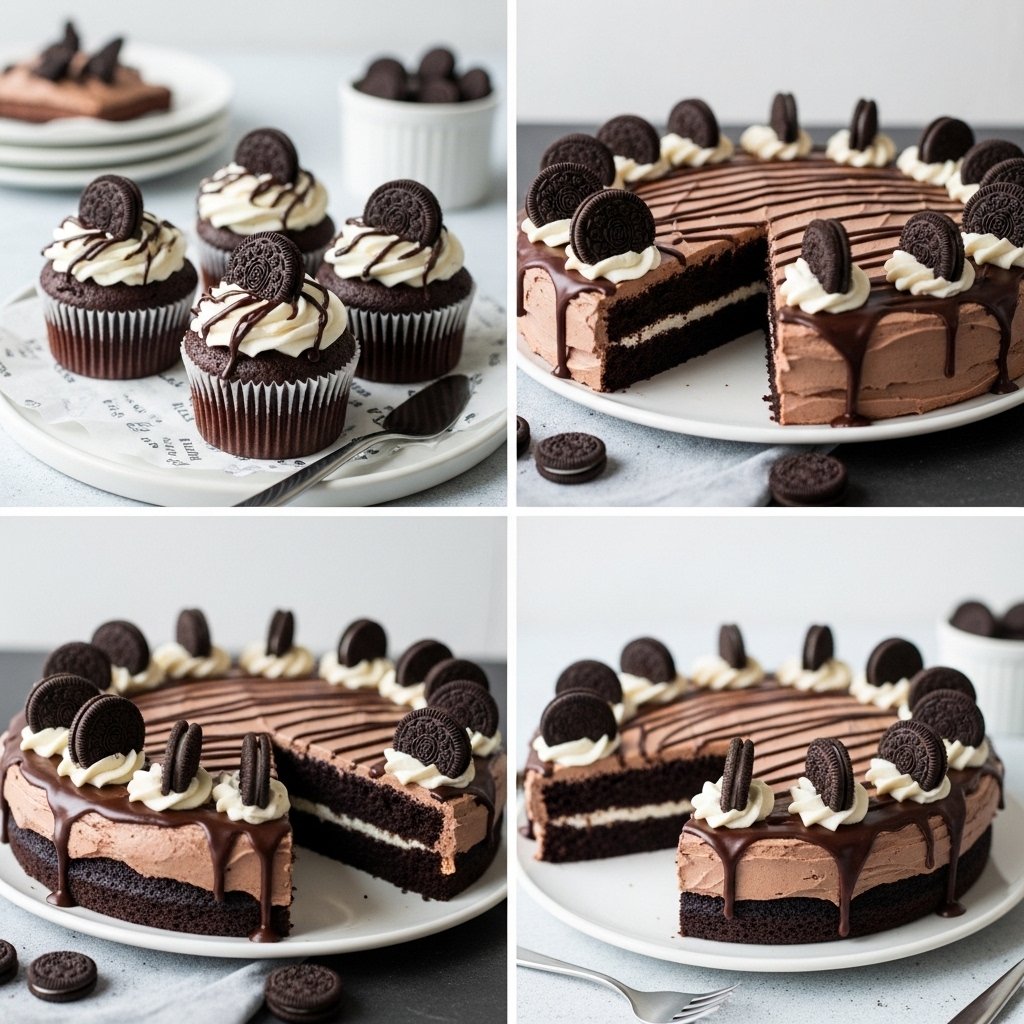
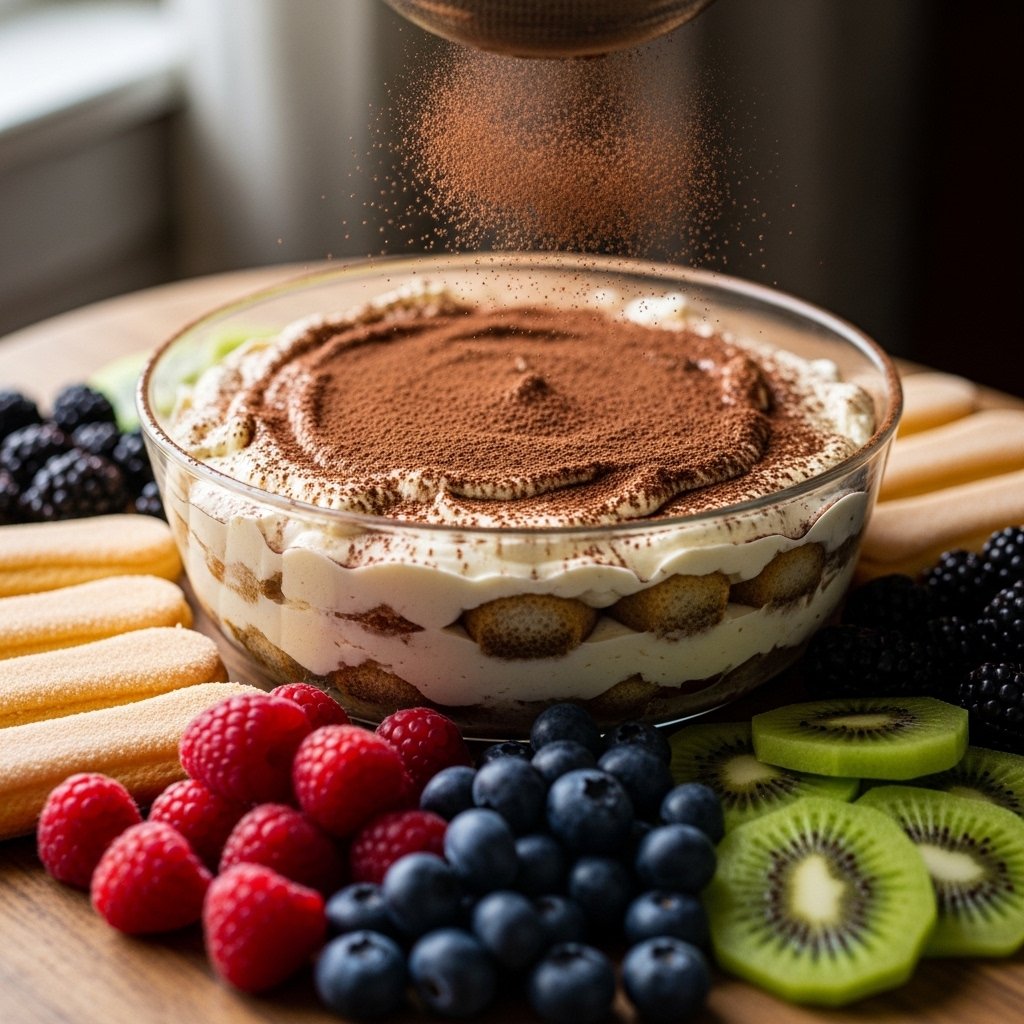
Step 5: Decorate
Top with whipped cream, OREO® cookies, and a drizzle of chocolate.
Tips for Perfect Results
Creating the perfect The Cheesecake Factory® OREO® Dream Extreme Cheesecake – 7″ comes down to technique:
- Use room-temperature ingredients
- Avoid overmixing to prevent cracks
- Bake using a water bath for even cooking
- Let the cheesecake cool slowly
- Chill overnight for best texture
These tips ensure your cheesecake is smooth, creamy, and bakery-quality.
Variations
You can customize this Oreo dream extreme cheesecake in several ways:
- Mini Cheesecakes: Perfect for parties
- Extra Chocolate Layers: Add chocolate mousse between layers
- No-Bake Version: Skip baking and use a gelatin-based filling
- Peanut Butter Twist: Add peanut butter to the filling
Each variation adds a new dimension while keeping the original flavor profile.
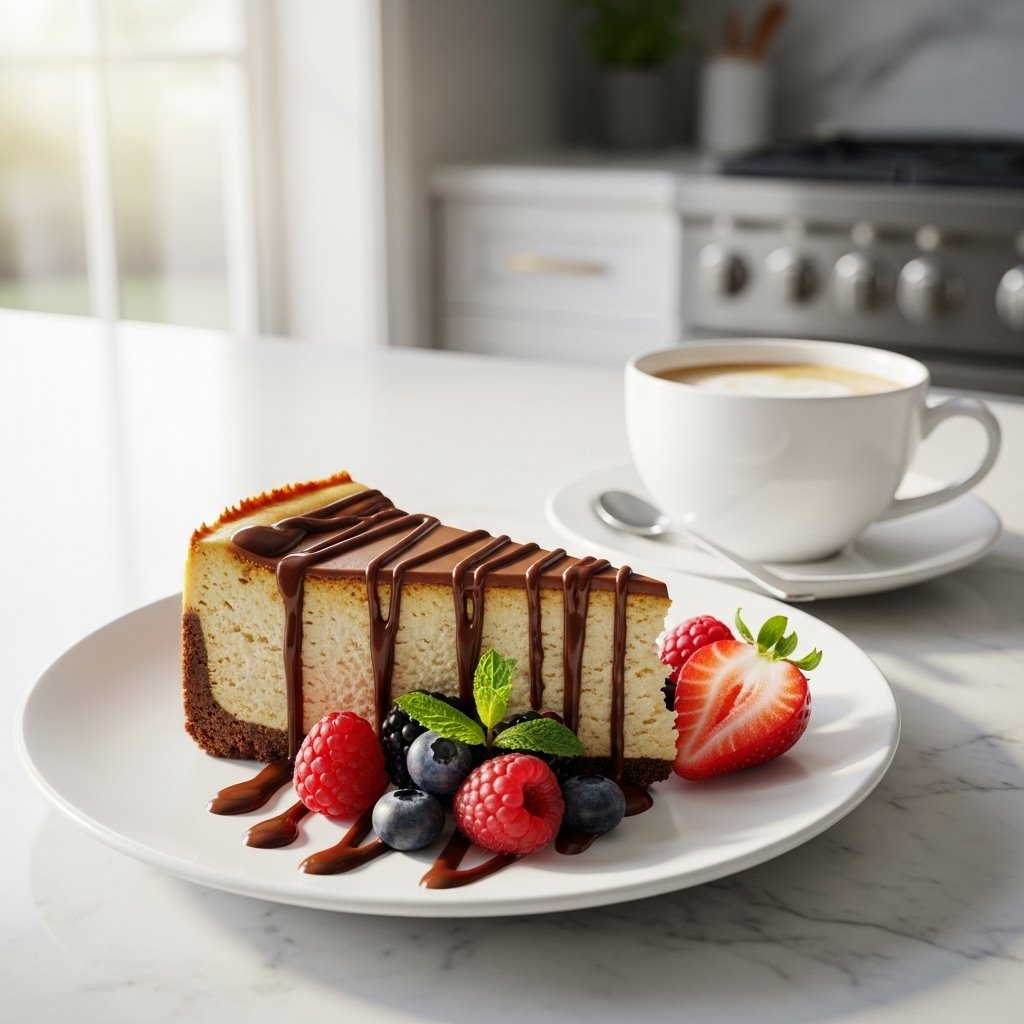
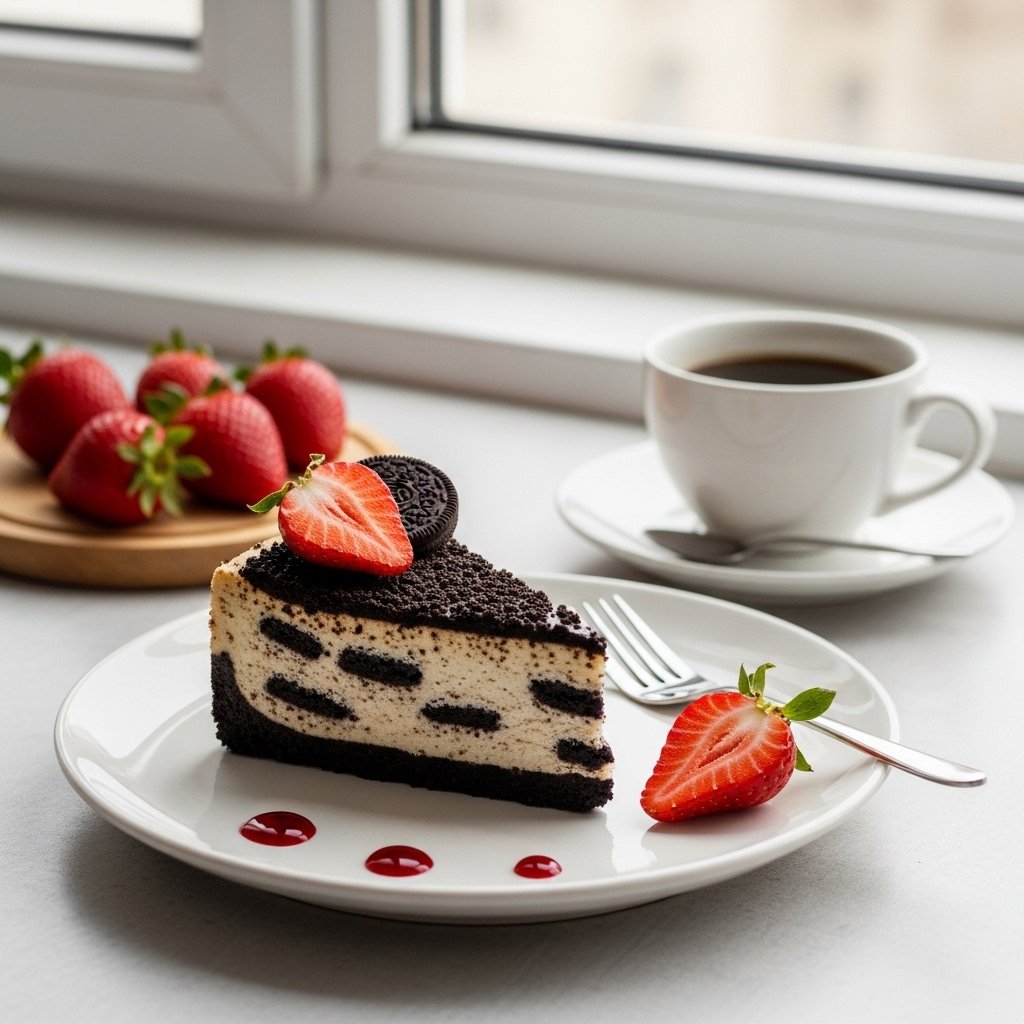
What to Serve With It
Because The Cheesecake Factory® OREO® Dream Extreme Cheesecake – 7″ is rich, pair it with lighter sides:
- Fresh berries for contrast
- Espresso or black coffee
- Vanilla ice cream
- Light caramel drizzle
Serving it chilled enhances its texture and flavor.
Storage & Reheating
Store your cheesecake in the refrigerator, covered, for up to 5 days. For longer storage, freeze slices individually for up to 2 months.
To serve, thaw in the refrigerator overnight. Avoid microwaving to preserve the creamy consistency.
Common Mistakes
Avoid these common issues when making The Cheesecake Factory® OREO® Dream Extreme Cheesecake – 7″:
- Overbaking (causes dryness)
- Skipping the cooling process
- Using cold ingredients
- Not preparing the pan properly
Small details can make a big difference in your final result.
FAQs
Can I make this cheesecake ahead of time?
Yes, it’s actually better when made a day in advance.
Why is my cheesecake cracking?
Usually due to overbaking or sudden temperature changes.
Can I use store-brand cookies instead of OREO®?
You can, but the flavor may differ slightly.
How do I know when it’s done?
The center should still jiggle slightly when done.
Final Thoughts
This homemade version of The Cheesecake Factory® OREO® Dream Extreme Cheesecake – 7″ brings the magic of a restaurant-quality dessert into your own kitchen. It’s rich, chocolatey, and loaded with cookies—everything you could want in a cheesecake.
With the right ingredients and a little patience, you can recreate this iconic dessert and impress anyone who takes a bite. Once you try it, you’ll understand why it’s one of the most beloved cheesecakes out there.