If you’re looking for a meal that’s vibrant, satisfying, and bursting with bold Tex-Mex flavors, this Southwest Chicken Salad is exactly what you need. It’s the perfect balance of juicy grilled chicken, crisp vegetables, hearty beans, and a creamy, tangy dressing that ties everything together beautifully. Whether you’re meal prepping for the week or serving a crowd, this salad delivers both flavor and nutrition in every bite.
What makes this dish stand out is its versatility—you can enjoy it as a light lunch, a hearty dinner, or even as a crowd-pleasing potluck dish. Plus, it’s incredibly customizable, so you can easily adapt it to suit your preferences or what you already have in your kitchen.
Why You’ll Love This Recipe
This Southwest Chicken Salad isn’t just another salad—it’s a full-on flavor experience. Every bite combines smoky, creamy, crunchy, and fresh elements that make it incredibly satisfying.
Here’s why it’s a favorite:
- Packed with protein and fiber
- Quick and easy to prepare
- Perfect for meal prep
- Naturally gluten-free
- Customizable to your taste
It’s the kind of recipe you’ll come back to again and again because it never feels boring or repetitive.
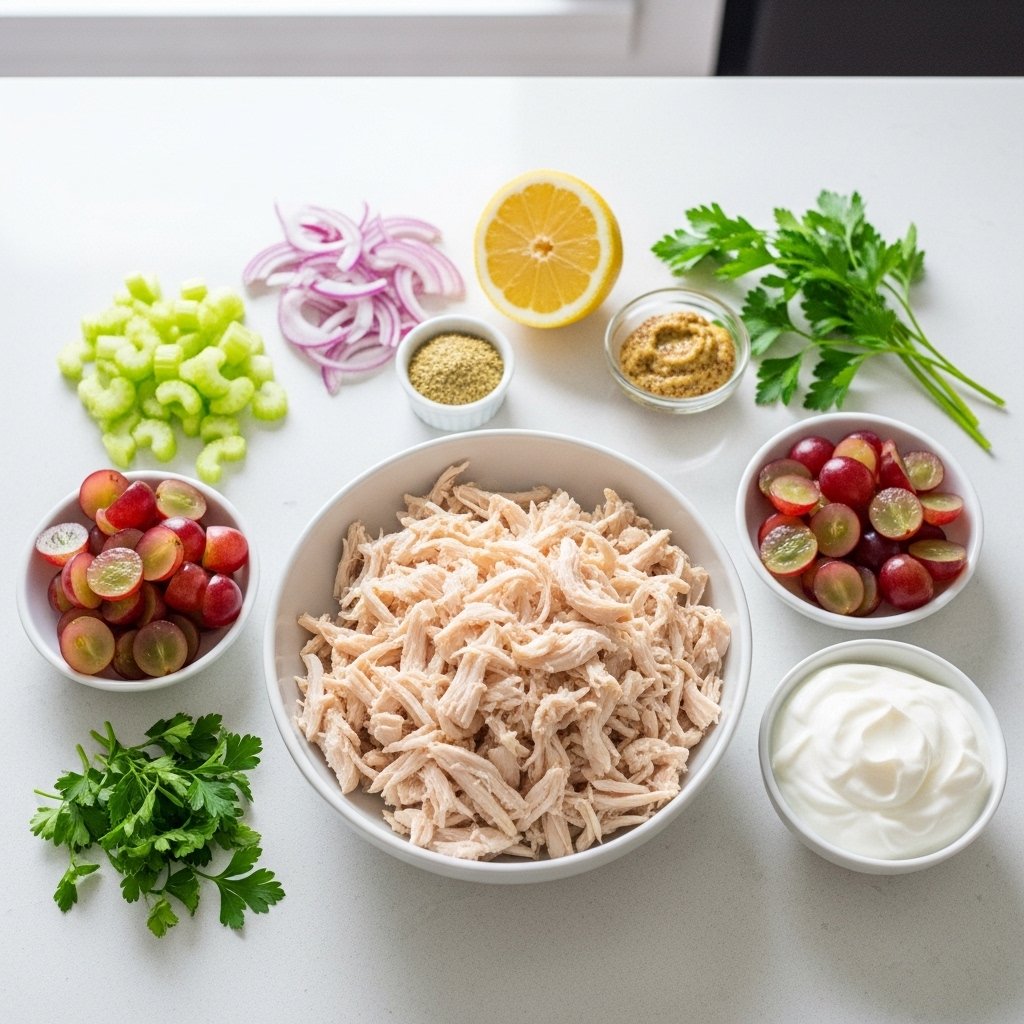
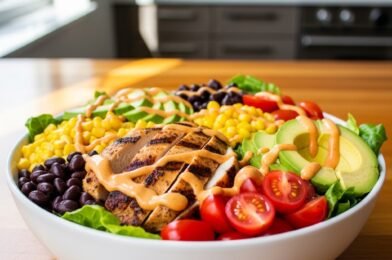
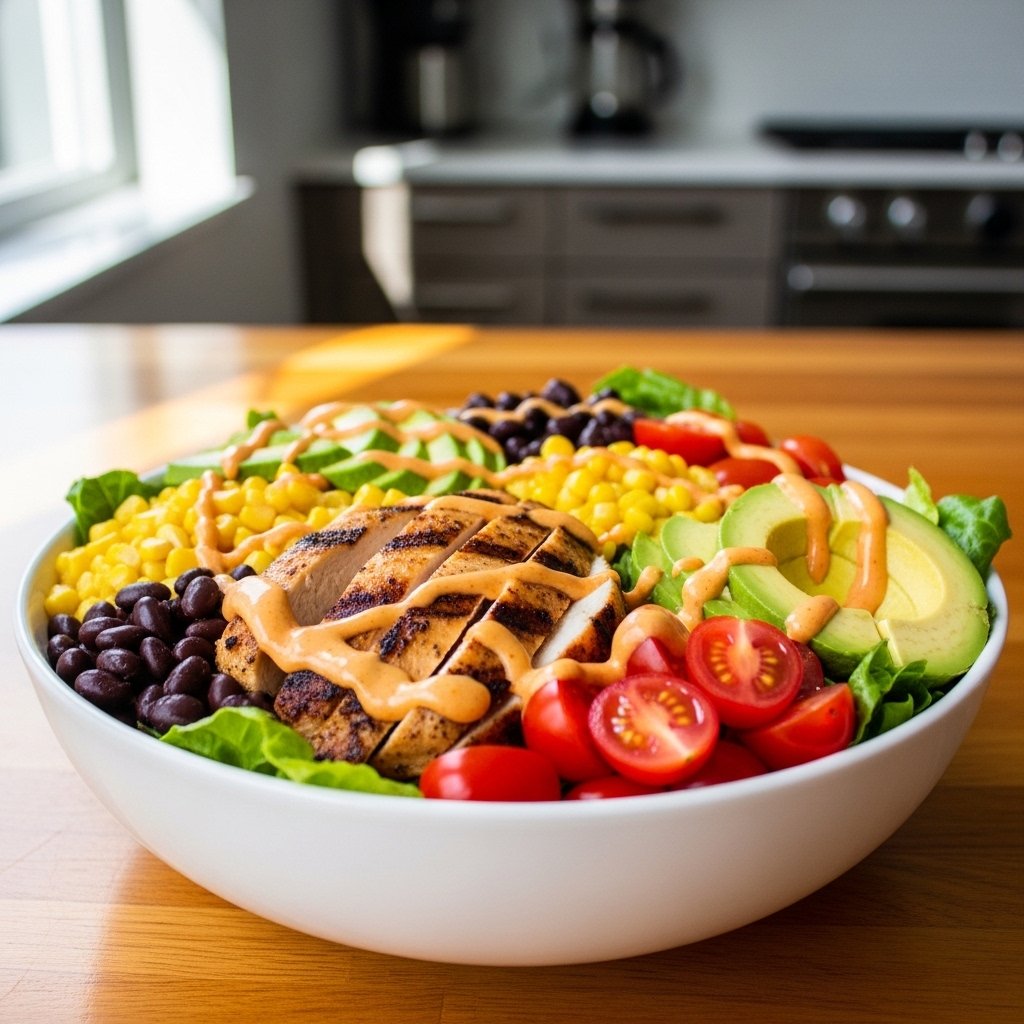
Ingredients
To make this delicious Southwest Chicken Salad, you’ll need:
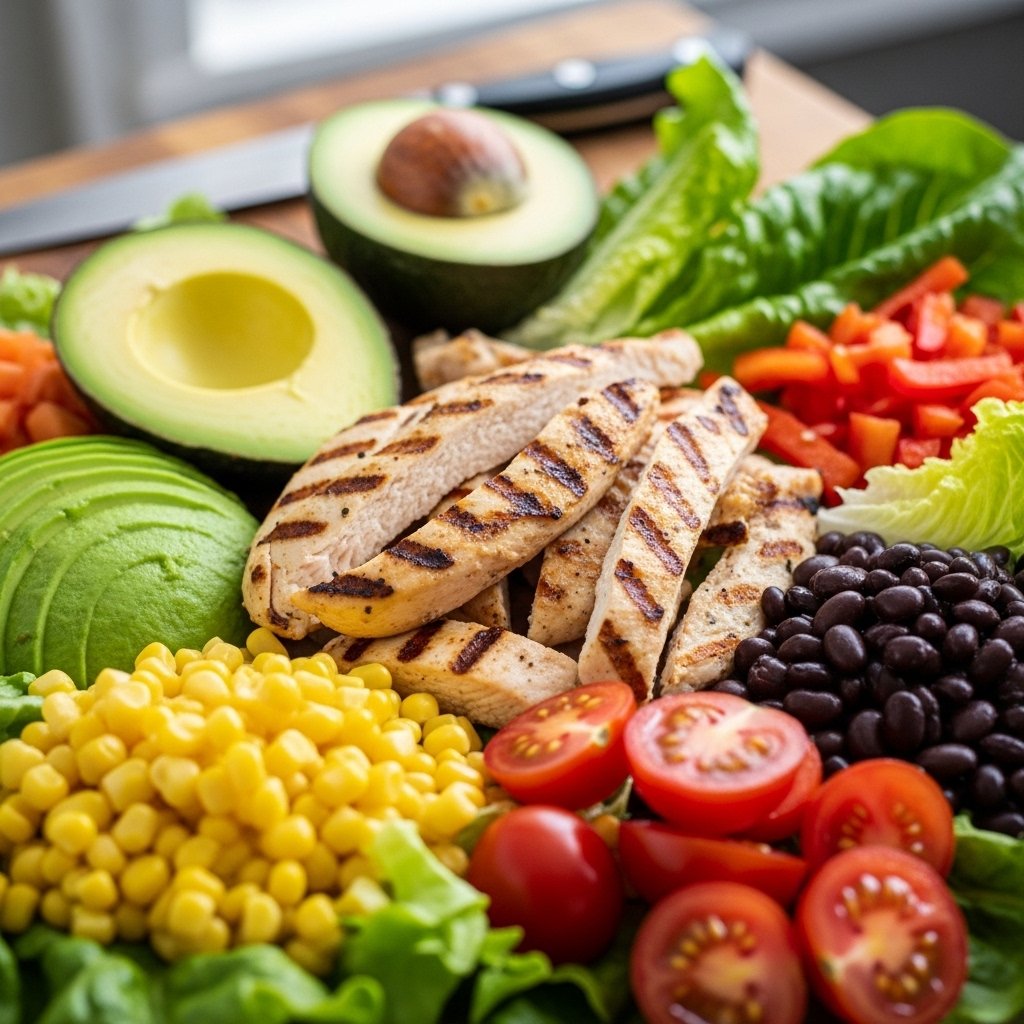
- 2 cups cooked grilled chicken breast (sliced or diced)
- 6 cups chopped romaine lettuce
- 1 cup canned black beans (rinsed and drained)
- 1 cup corn kernels (fresh, canned, or frozen)
- 1 cup cherry tomatoes (halved)
- 1 avocado (diced)
- ½ cup shredded cheddar or Mexican blend cheese
- ¼ cup red onion (thinly sliced)
- ¼ cup chopped cilantro
- Tortilla strips (optional, for crunch)
For the dressing:
- ½ cup Greek yogurt or mayonnaise
- 2 tablespoons lime juice
- 1 tablespoon olive oil
- 1 teaspoon chili powder
- ½ teaspoon cumin
- 1 garlic clove (minced)
- Salt and pepper to taste
Ingredient Notes
The beauty of this Southwest Chicken Salad lies in the quality and balance of its ingredients. Using freshly grilled chicken makes a huge difference in flavor, especially if it’s seasoned with chili powder, paprika, and garlic before cooking.
If you’re short on time, rotisserie chicken works wonderfully as a shortcut. For the corn, grilled corn adds a smoky sweetness that elevates the entire dish. And don’t skip the avocado—it adds a creamy texture that complements the tangy dressing perfectly.
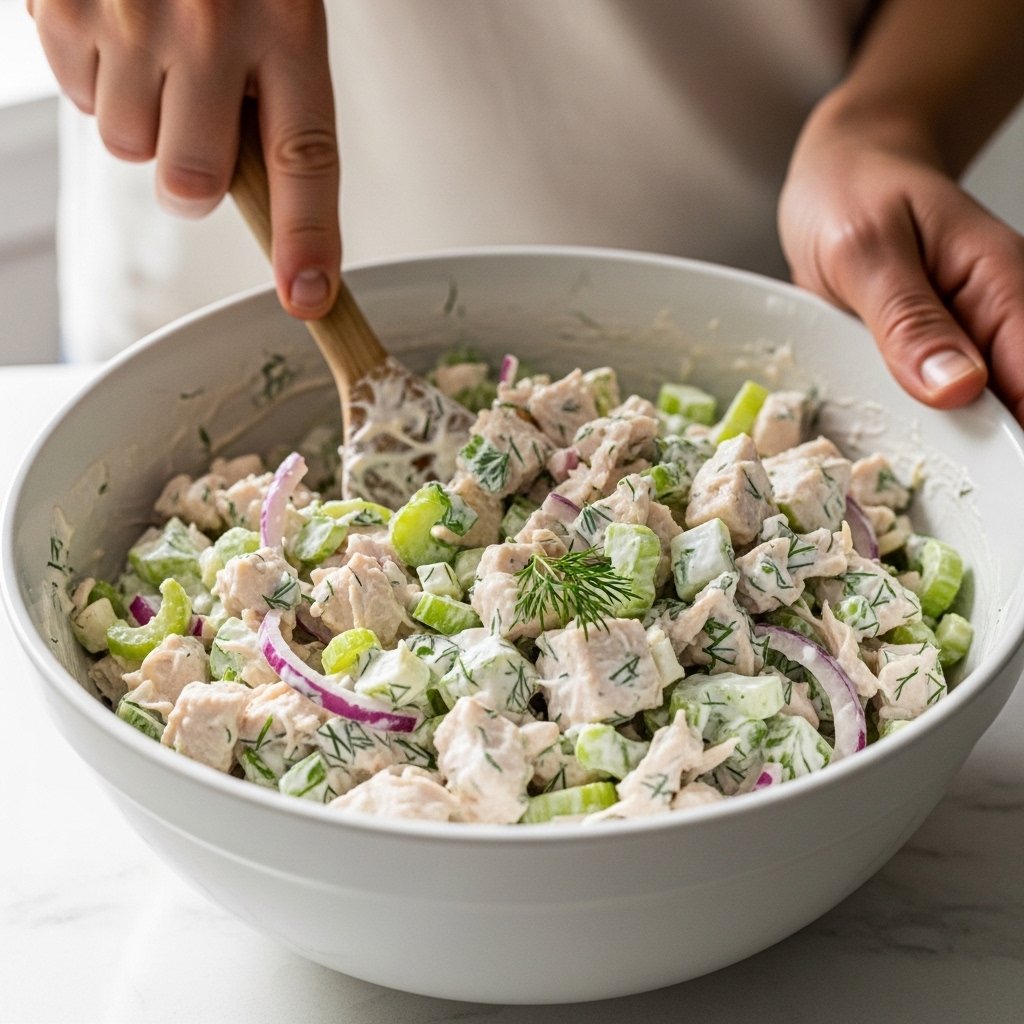
Step-by-Step Instructions
Making this Southwest Chicken Salad is simple and straightforward:
1. Prepare the Chicken
If not already cooked, season chicken with salt, pepper, chili powder, and cumin, then grill or pan-sear until fully cooked. Let it rest before slicing.
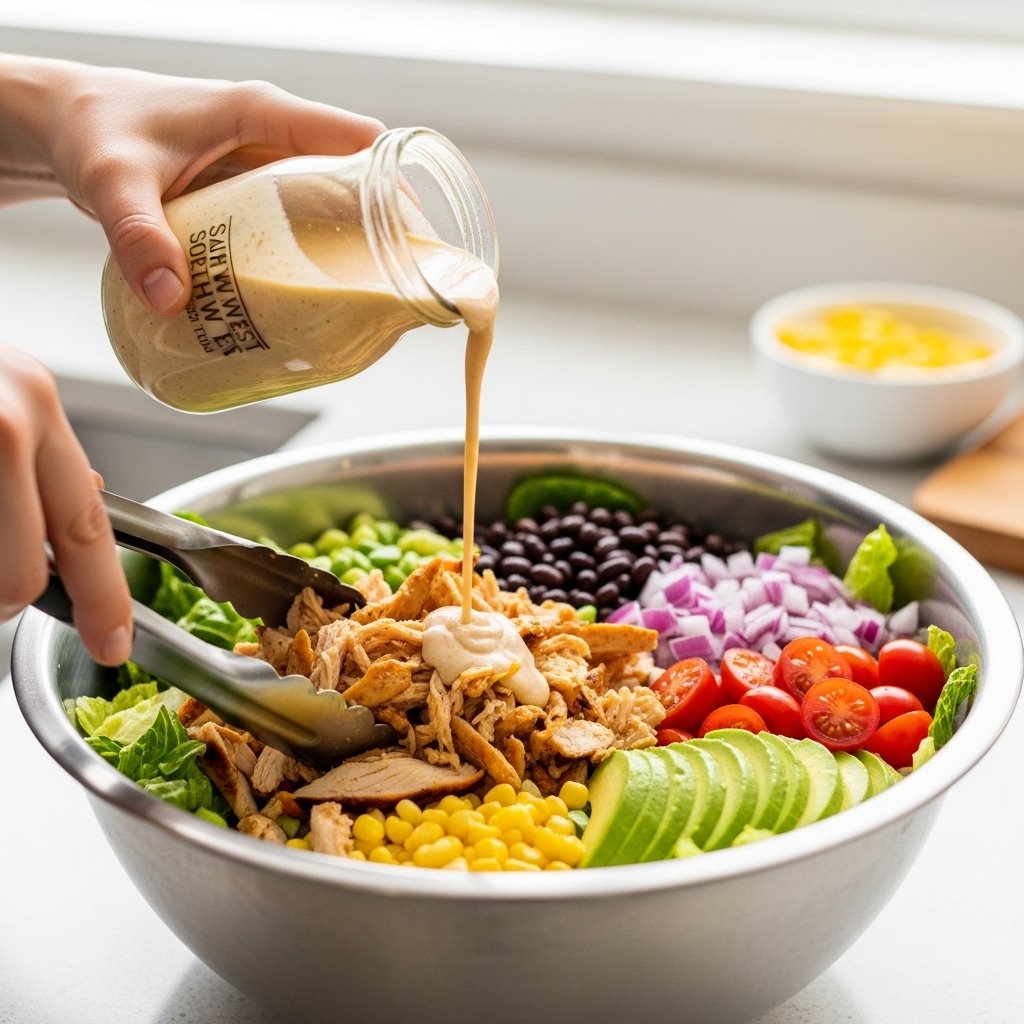
2. Make the Dressing
In a bowl, whisk together Greek yogurt (or mayo), lime juice, olive oil, spices, garlic, salt, and pepper until smooth and creamy.
3. Assemble the Salad
In a large bowl, combine lettuce, black beans, corn, tomatoes, onion, and cilantro.
4. Add Chicken & Toppings
Top with sliced chicken, avocado, cheese, and tortilla strips.
5. Toss & Serve
Drizzle dressing over the salad and toss gently until evenly coated.
Tips for Perfect Results
To make your Southwest Chicken Salad truly exceptional, keep these tips in mind:
- Always let your chicken rest before slicing to keep it juicy
- Use chilled ingredients for a refreshing salad
- Add dressing just before serving to prevent sogginess
- Taste and adjust seasoning before serving
A little attention to detail goes a long way in elevating this dish from good to unforgettable.
Variations
One of the best things about Southwest Chicken Salad is how adaptable it is.
Protein Swaps
- Use shrimp or steak instead of chicken
- Make it vegetarian with grilled tofu or extra beans
Dressing Options
- Try a chipotle ranch for extra smokiness
- Use a vinaigrette for a lighter version
Add-Ins
- Quinoa or rice for extra heartiness
- Jalapeños for heat
- Bell peppers for extra crunch
These variations allow you to reinvent the salad depending on your mood or dietary needs.
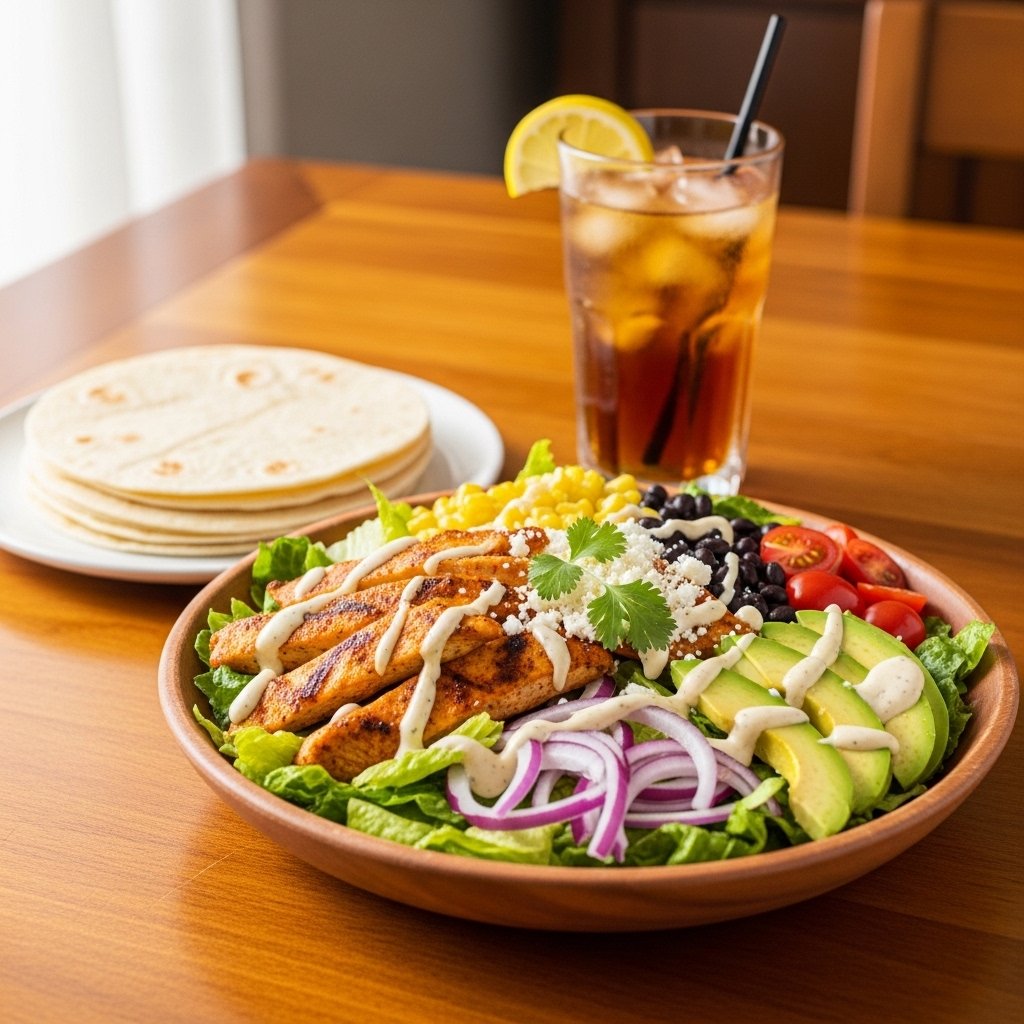
What to Serve With It
This Southwest Chicken Salad is a complete meal on its own, but it pairs beautifully with:
- Warm tortillas or flatbread
- A side of tortilla soup
- Fresh fruit salad
- Iced tea or lime agua fresca
It’s also fantastic as a filling for wraps or tacos if you want to switch things up.
Storage & Reheating
If you’re making this Southwest Chicken Salad ahead of time, proper storage is key.
- Store salad and dressing separately in airtight containers
- Keep refrigerated for up to 3 days
- Add avocado fresh before serving to prevent browning
Avoid reheating the salad, but you can warm the chicken slightly if desired before adding it back in.
Common Mistakes to Avoid
Even simple recipes can go wrong without a little care. Here are common pitfalls:
- Overdressing the salad (it can become soggy quickly)
- Using dry or overcooked chicken
- Skipping seasoning (this salad thrives on bold flavors)
- Not balancing textures (crunchy + creamy is key)
Avoiding these mistakes ensures your Southwest Chicken Salad turns out perfect every time.
FAQs
Can I make Southwest Chicken Salad ahead of time?
Yes! Just store the dressing separately and combine everything right before serving for best freshness.
Is this salad healthy?
Absolutely. It’s high in protein, fiber, and healthy fats, especially if you use Greek yogurt in the dressing.
Can I use canned chicken?
You can, but fresh or rotisserie chicken will give you much better flavor and texture.
How do I make it dairy-free?
Simply skip the cheese and use a dairy-free dressing alternative.
Final Thoughts
This Southwest Chicken Salad is everything a great recipe should be—flavorful, easy, versatile, and satisfying. It brings together the bold, zesty flavors of the Southwest in a way that feels fresh and nourishing, making it perfect for busy weeknights or relaxed weekend meals.
Once you try it, you’ll see why it’s a staple in so many kitchens. Don’t be surprised if it becomes one of your go-to recipes for both everyday meals and special gatherings.