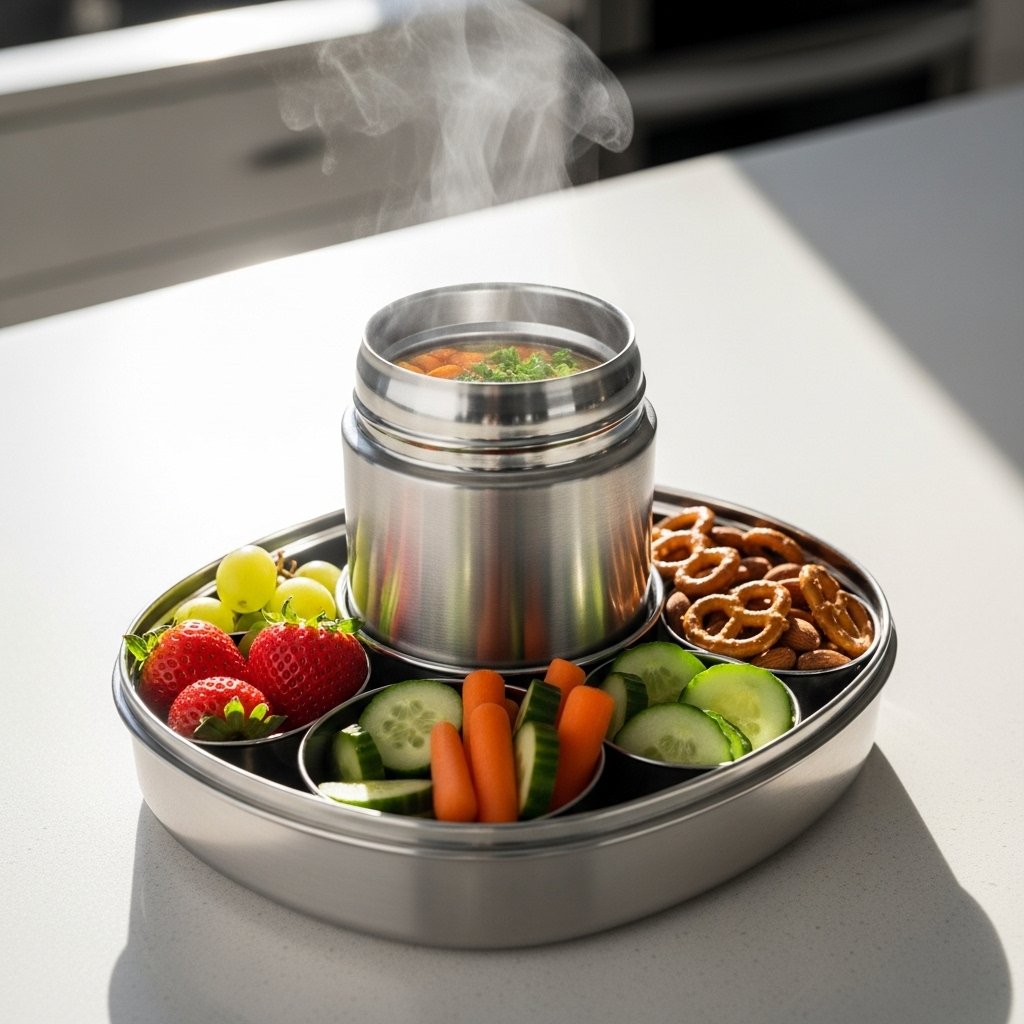
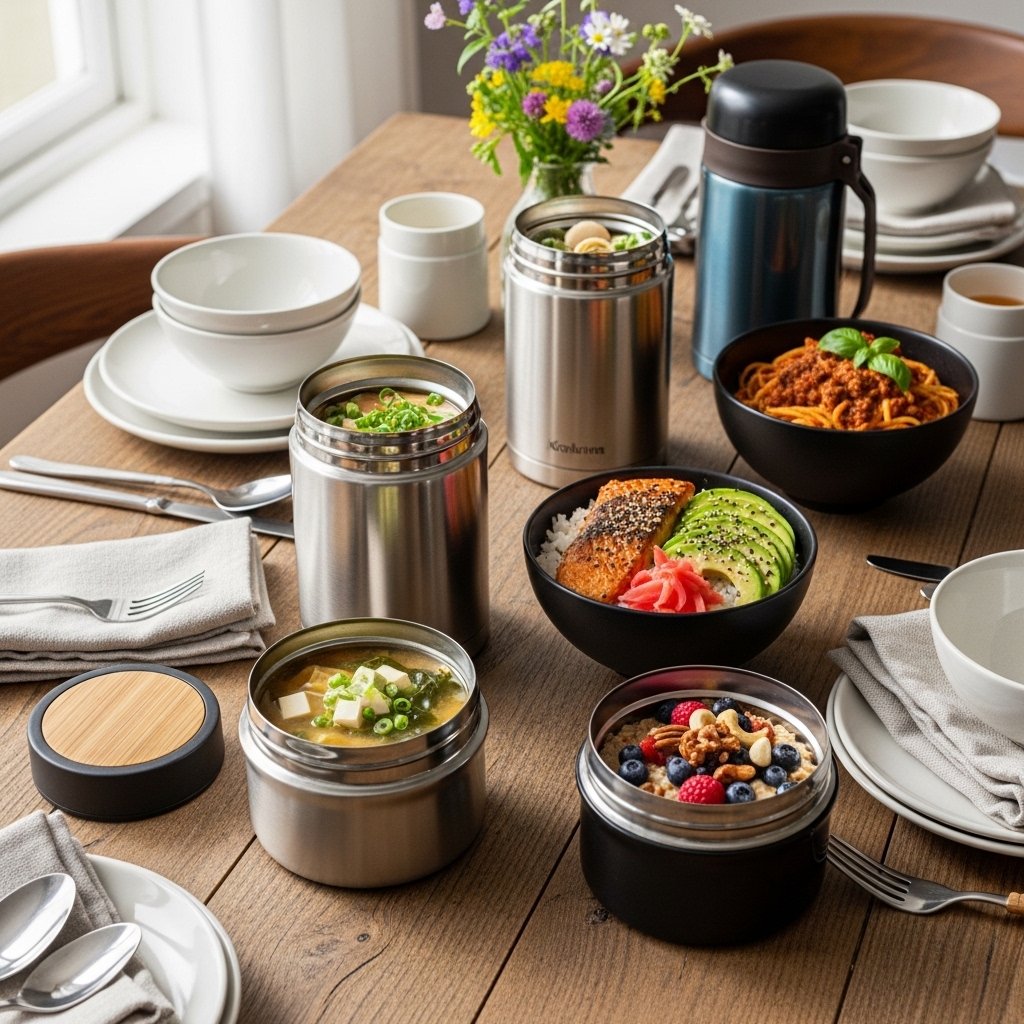
If you’re tired of cold lunches and want something warm, comforting, and satisfying on the go, this lunch box hot thermos bento is the perfect solution. Designed to keep food hot for hours, a thermos bento allows you to enjoy soups, pasta, rice bowls, and more—anytime, anywhere.
Whether you’re packing lunch for school, work, or travel, this method ensures your meals stay fresh, warm, and delicious.
Why You’ll Love This Lunch Box Hot Thermos Bento
This lunch box hot thermos bento is a game-changer for busy lifestyles:
- Keeps meals hot for hours
- Perfect for soups, rice, and pasta
- Ideal for meal prep
- Healthy and customizable
- Great for kids and adults
It’s the ultimate way to enjoy homemade comfort food wherever you are.
Ingredients
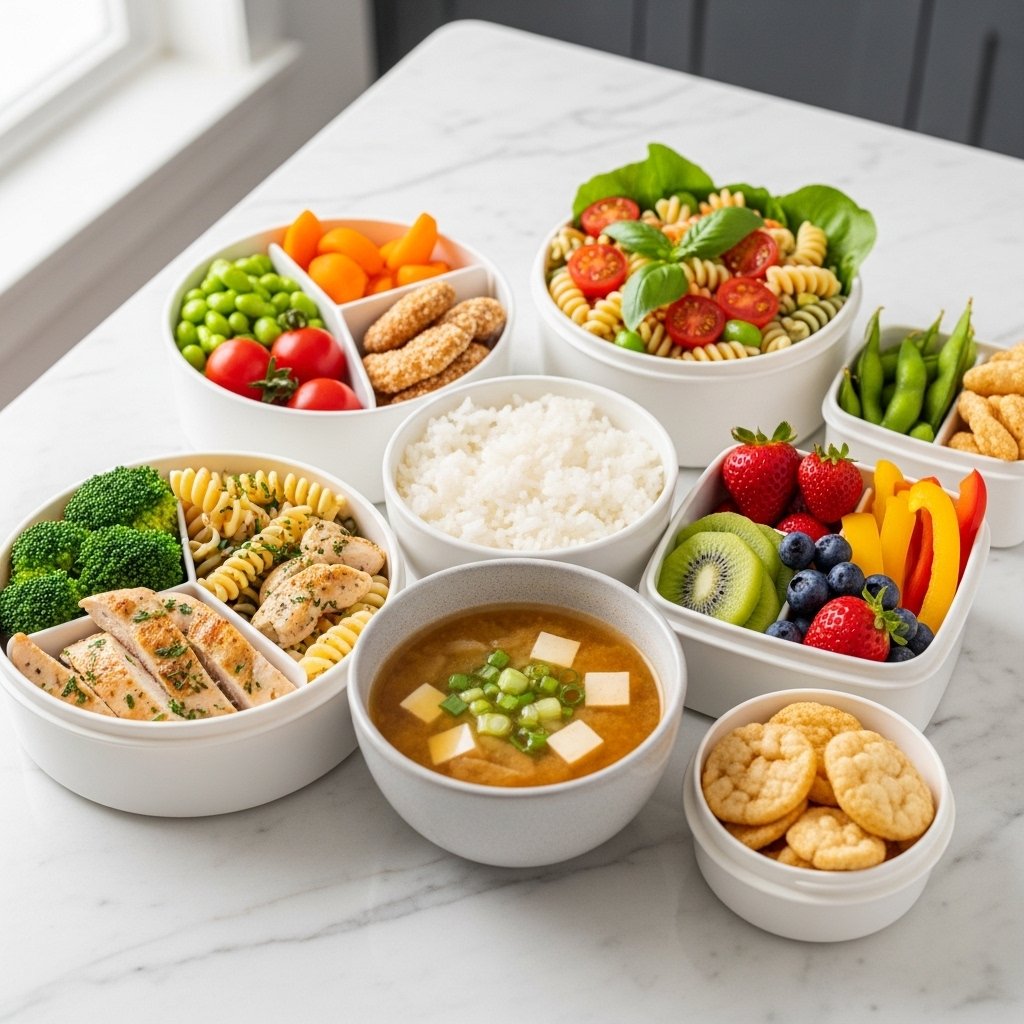
The beauty of a lunch box hot thermos bento is its flexibility. Here are some great food options:
Hot Main Ideas:
- Chicken noodle soup
- Rice with grilled chicken or vegetables
- Pasta with tomato or cream sauce
- Stir-fried noodles or fried rice
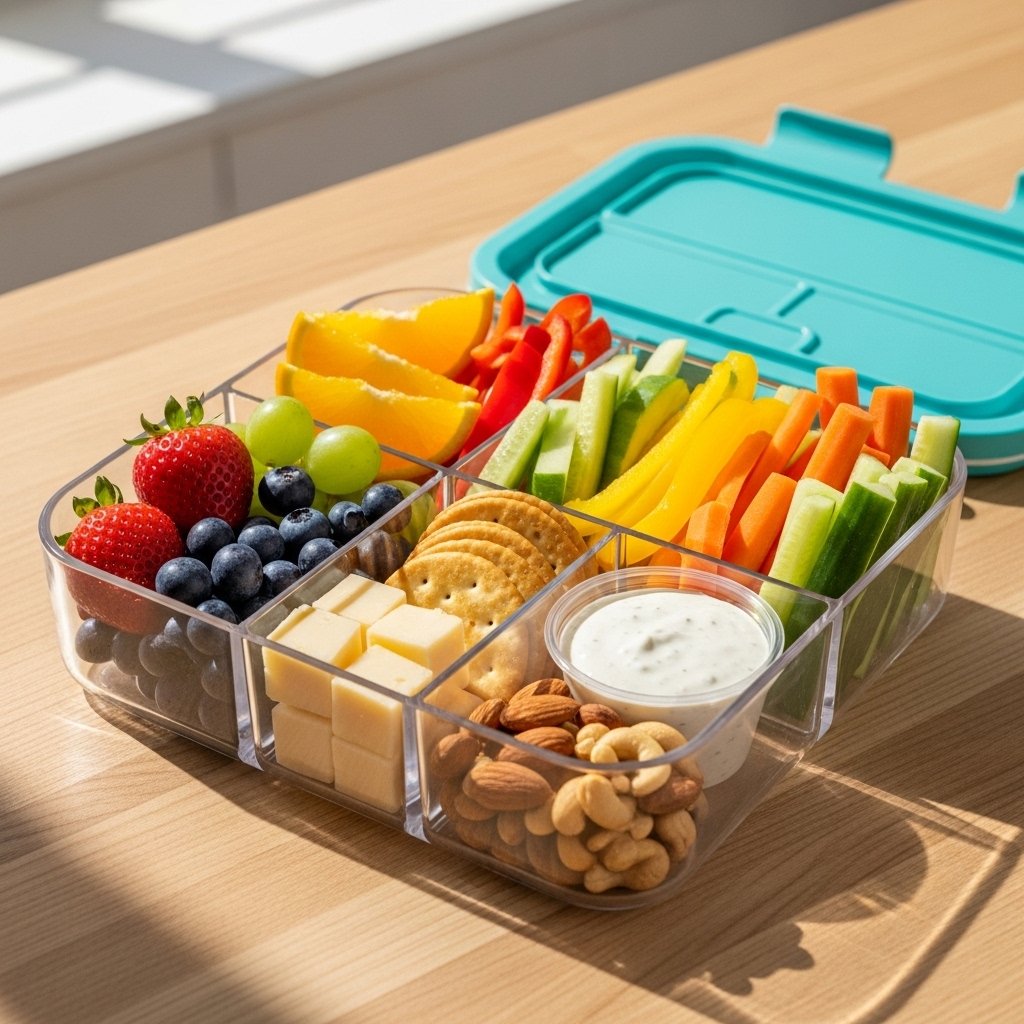
Side Options:
- Fresh fruit
- Cut vegetables
- Cheese cubes
- Crackers
Ingredient Notes
For the best lunch box hot thermos bento, choose meals that retain heat well, like soups, stews, and saucy dishes. These not only stay warm longer but also maintain their texture and flavor.
Avoid overly dry foods, as they may cool down quickly and become less enjoyable.
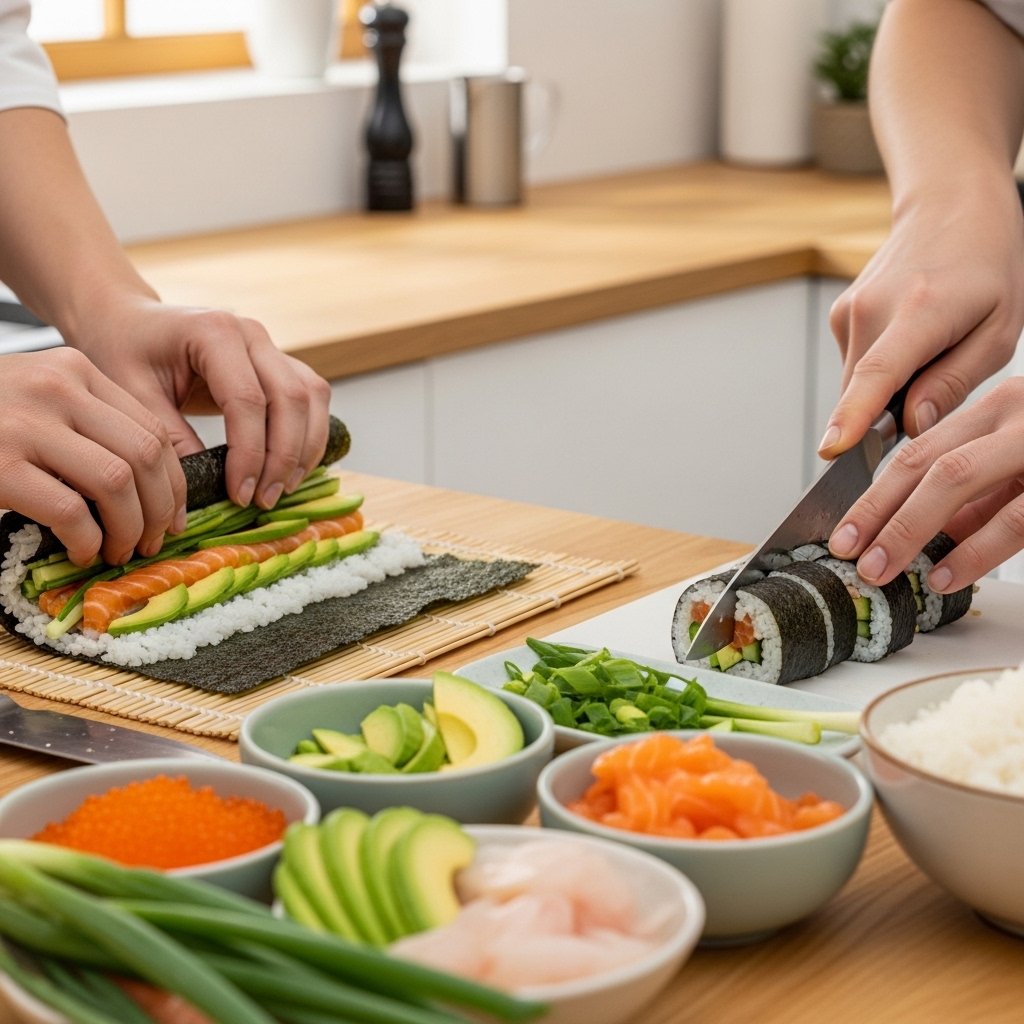
Step-by-Step Instructions
1. Preheat the Thermos
Fill the thermos with hot water and let sit for 5 minutes.
2. Heat Your Food
Make sure your food is piping hot before adding it.
3. Fill the Thermos
Empty the water and quickly add hot food.
4. Seal Immediately
Close tightly to lock in heat.
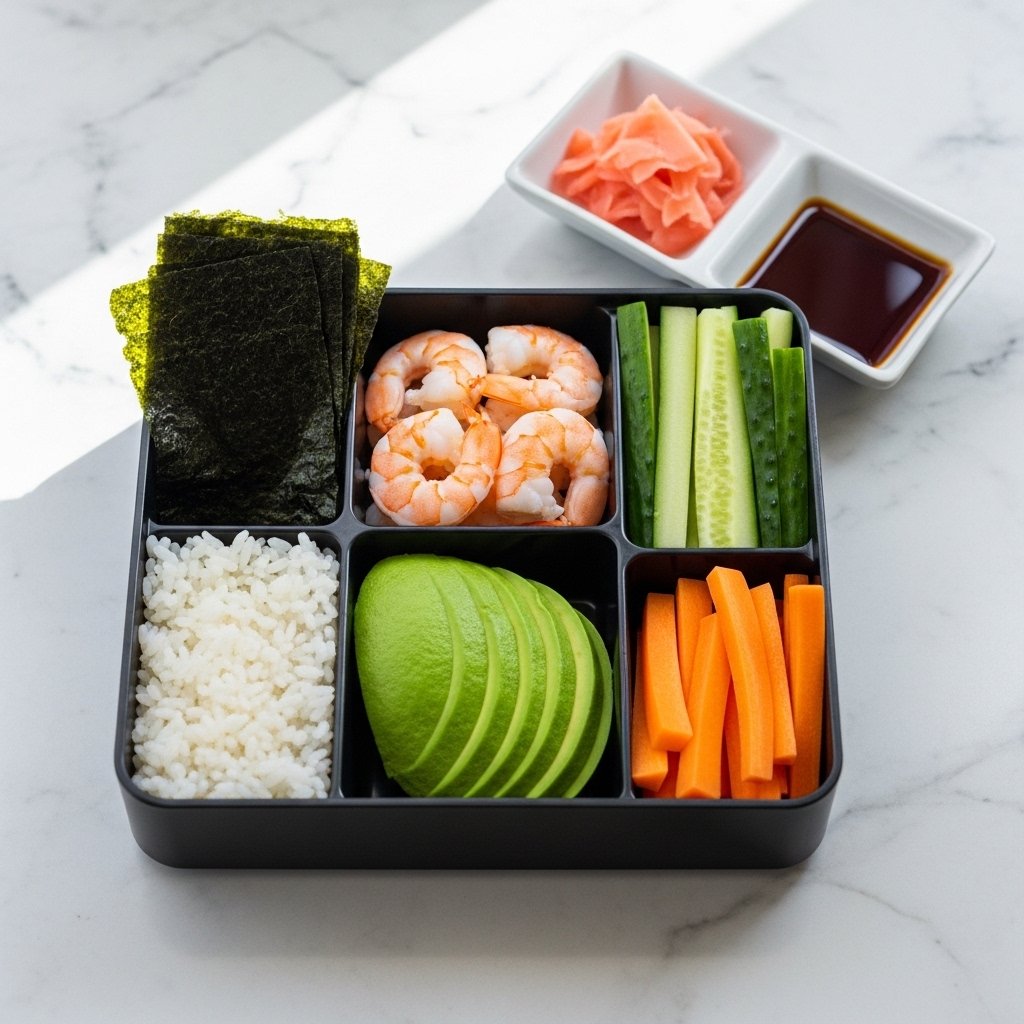
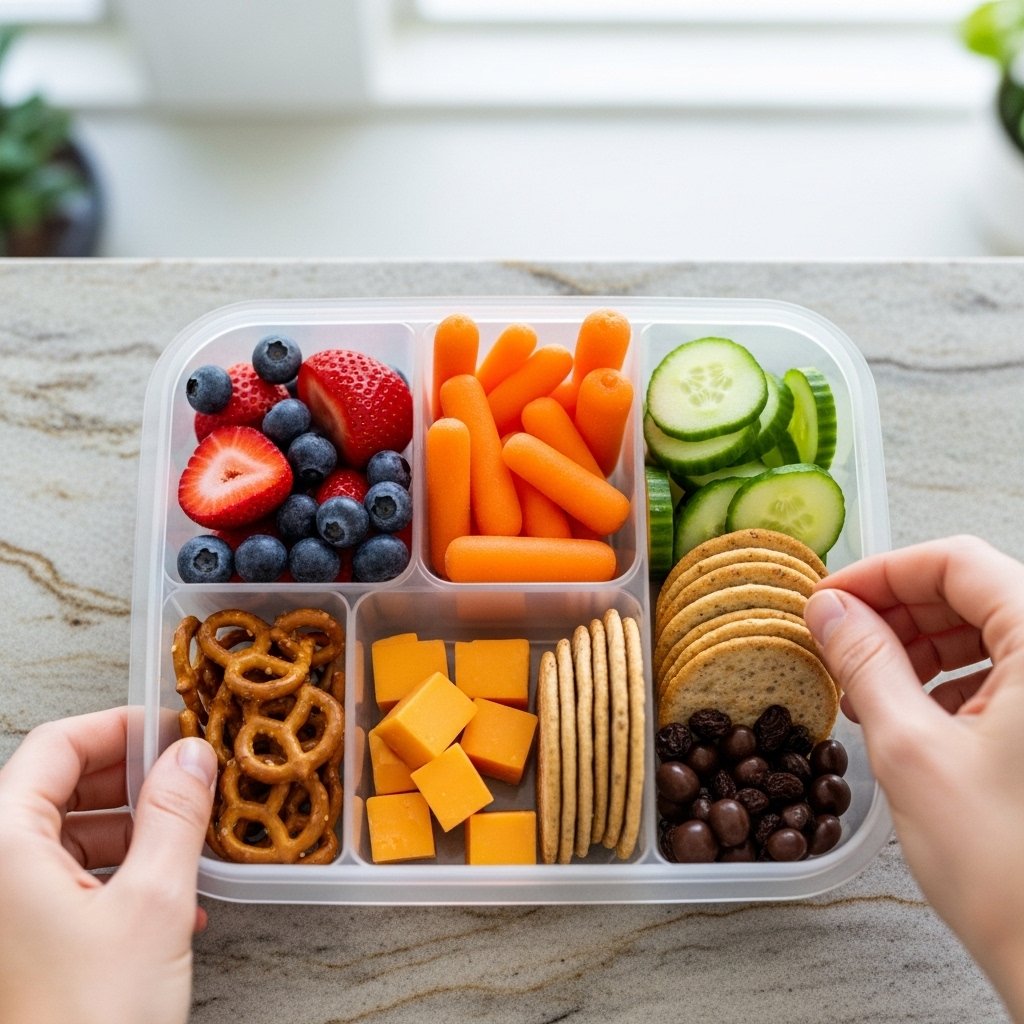
5. Pack the Bento Box
Add sides like fruits and snacks separately.

Tips for Perfect Results
To make the most of your lunch box hot thermos bento, follow these tips:
- Always preheat the thermos
- Fill it completely for better heat retention
- Use insulated, high-quality containers
- Avoid opening until ready to eat
- Pack sides separately
Variations to Try
Soup Bento
Perfect for colder days—think chicken soup or vegetable stew.
Rice Bowl Bento
Add protein and veggies over rice.
Pasta Bento
Warm pasta dishes with sauce work beautifully.
Breakfast Bento
Try oatmeal or scrambled eggs for a morning option.
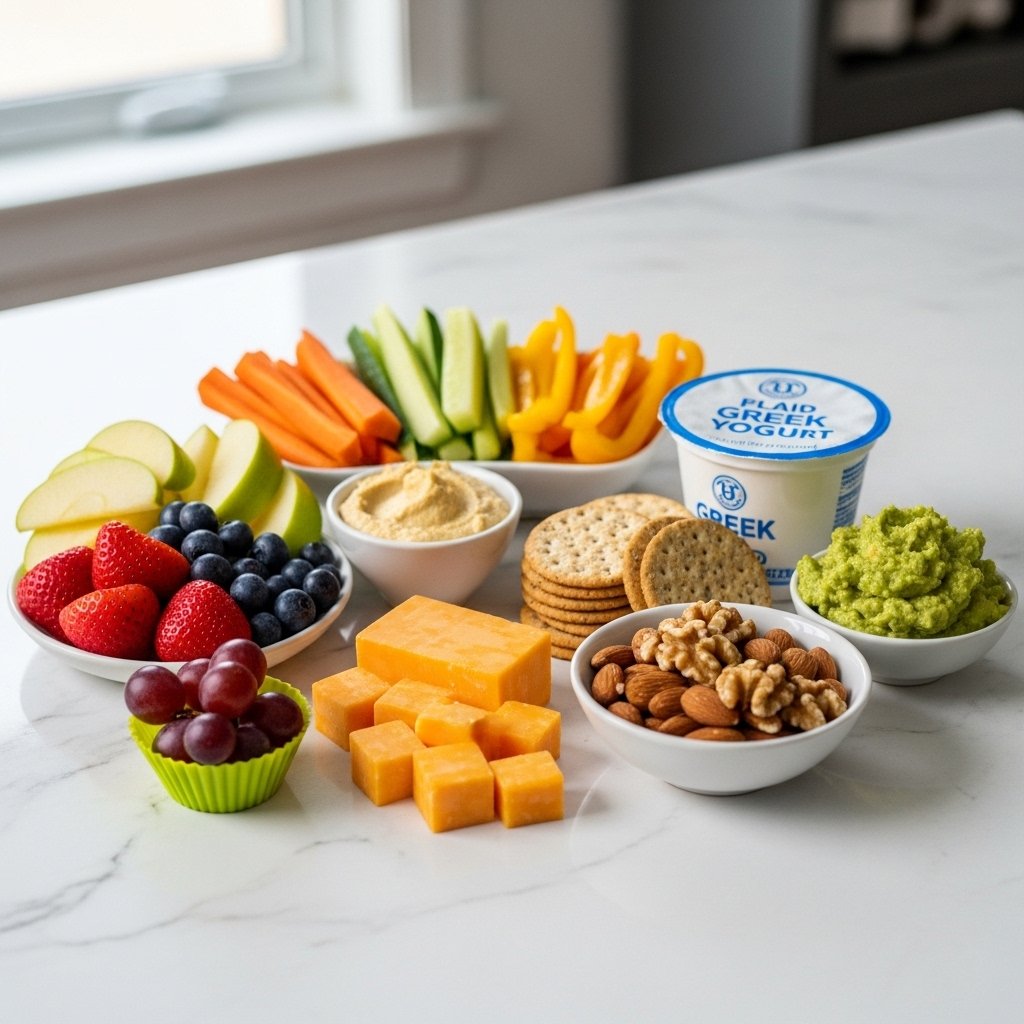
What to Serve With It
Complete your lunch box hot thermos bento with:
- Fresh fruit
- Yogurt
- Salad
- Juice or smoothies
These additions create a balanced and satisfying meal.
Storage & Reheating
For safe and effective use of your lunch box hot thermos bento:
- Store leftovers in the refrigerator
- Reheat thoroughly before adding to thermos
- Do not store food in thermos overnight
- Clean thermos thoroughly after use
Common Mistakes to Avoid
Avoid these common mistakes:
- Not preheating the thermos
- Adding lukewarm food
- Overfilling or underfilling
- Opening too early
FAQs
1. How long does food stay hot in a thermos?
Typically 4–6 hours, depending on the container.
2. Can I use it for cold foods?
Yes, thermoses also keep food cold.
3. What foods work best?
Soups, stews, pasta, and rice dishes.
4. Is it safe for kids?
Yes, just ensure food isn’t too hot when packed.
Final Thoughts
This lunch box hot thermos bento is a simple yet powerful way to upgrade your daily meals. It keeps food warm, flavorful, and comforting—no microwave needed.
Once you start using a thermos for your lunches, you’ll never want to go back to cold meals again. It’s convenient, practical, and perfect for anyone who values both taste and nutrition on the go.


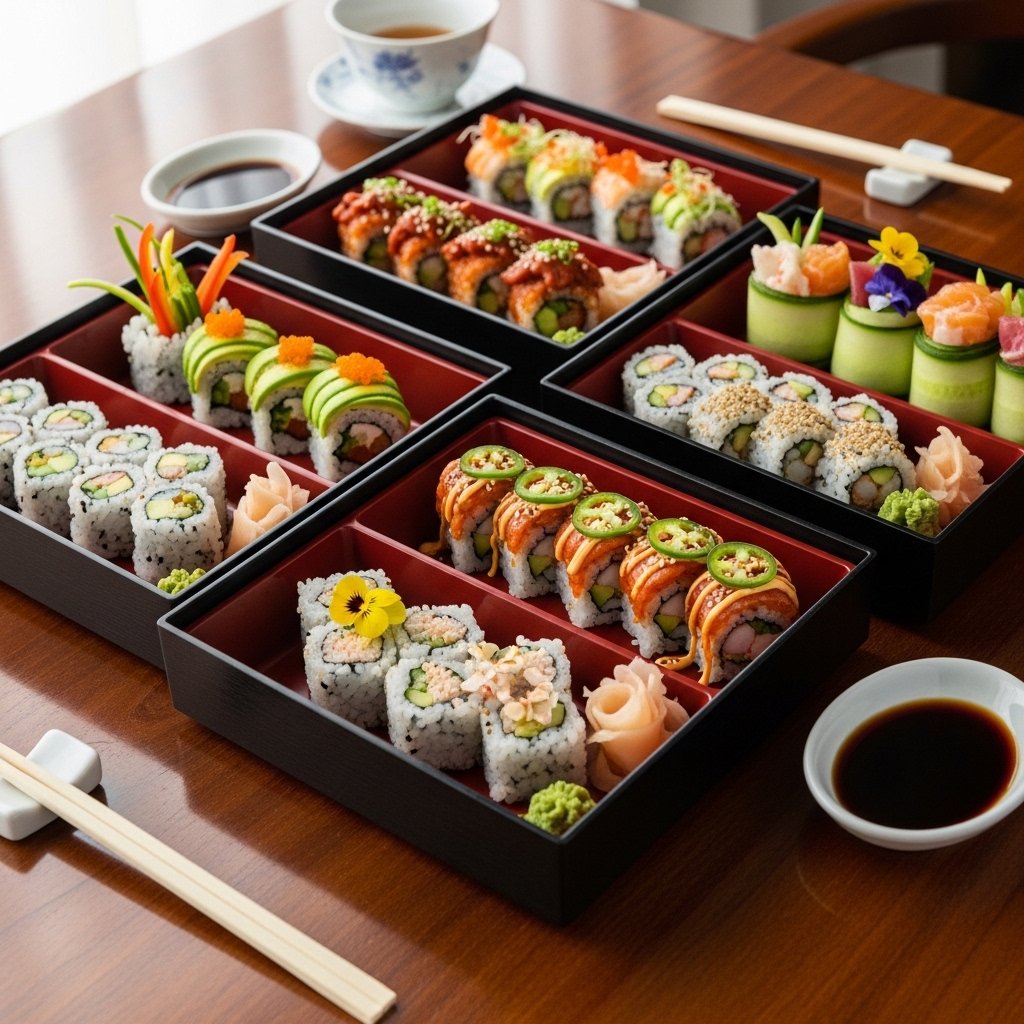

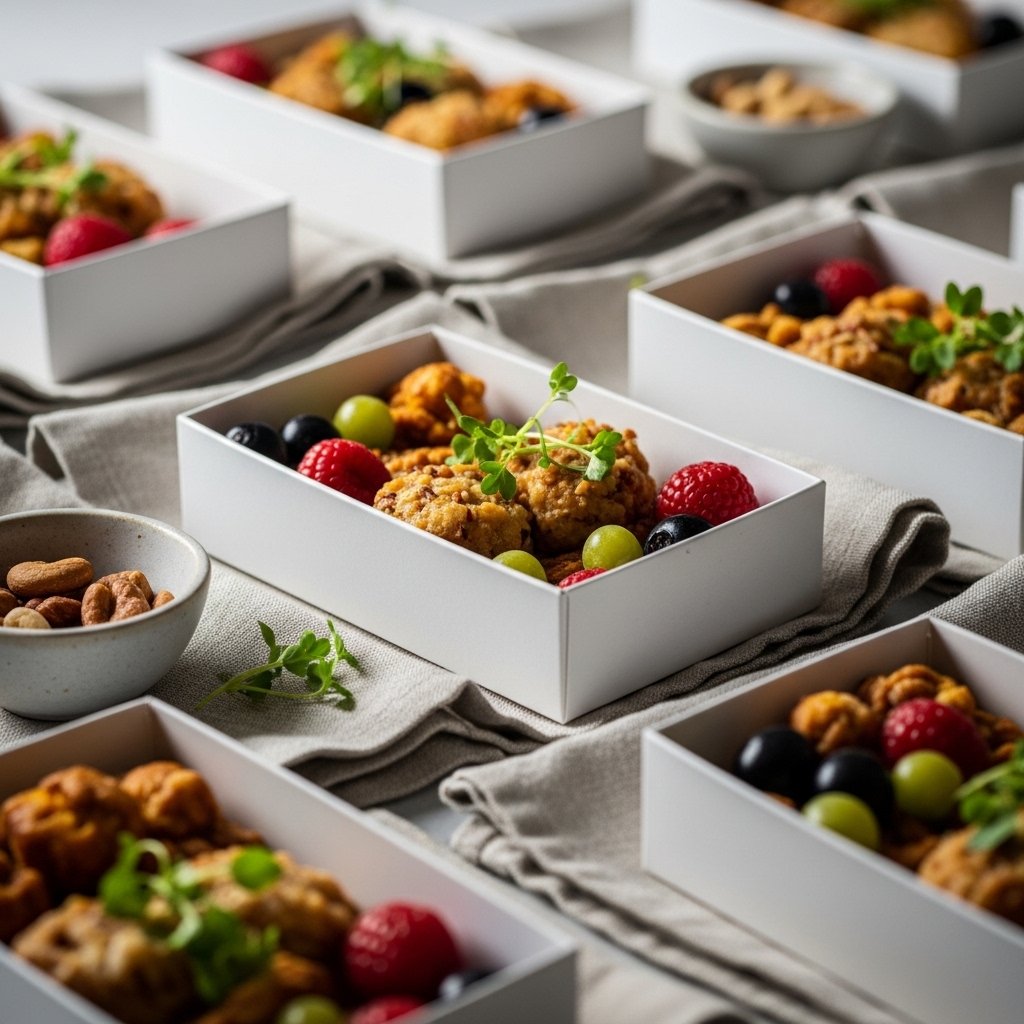

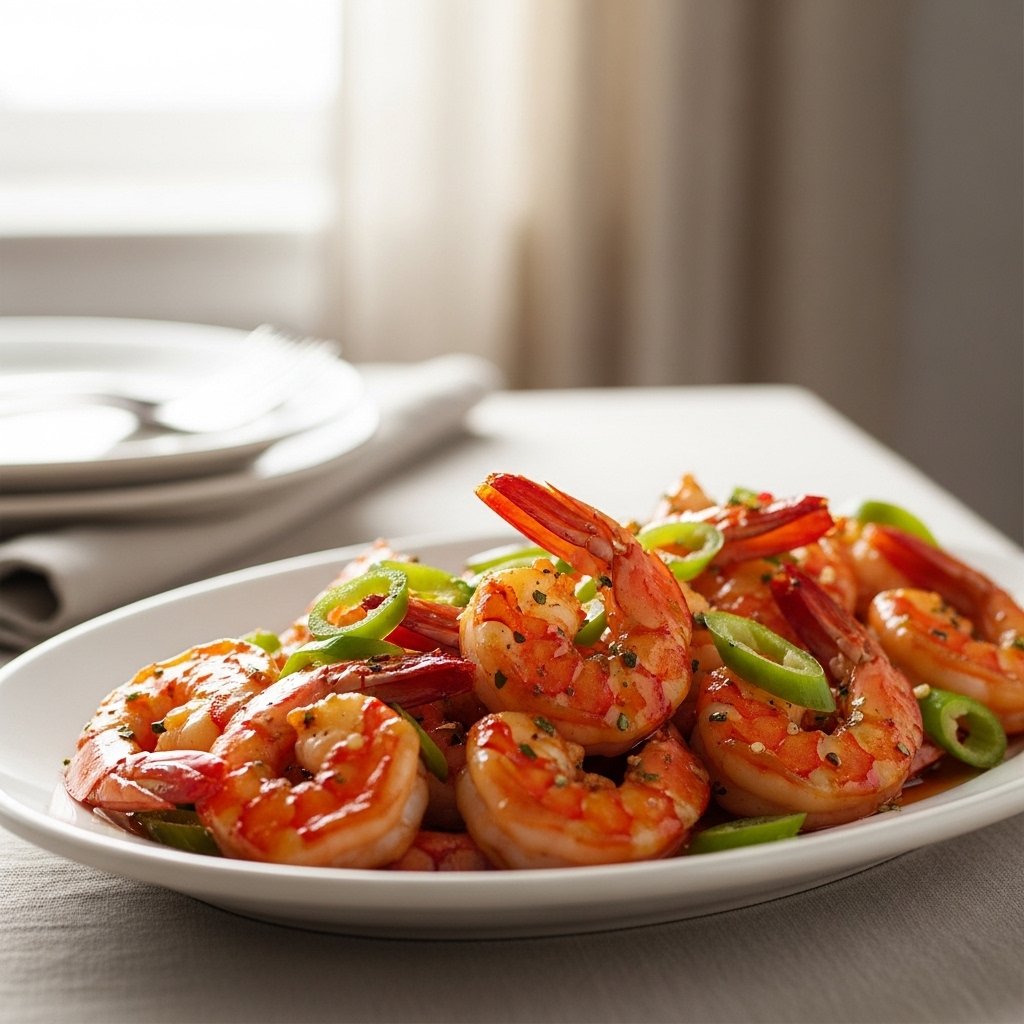
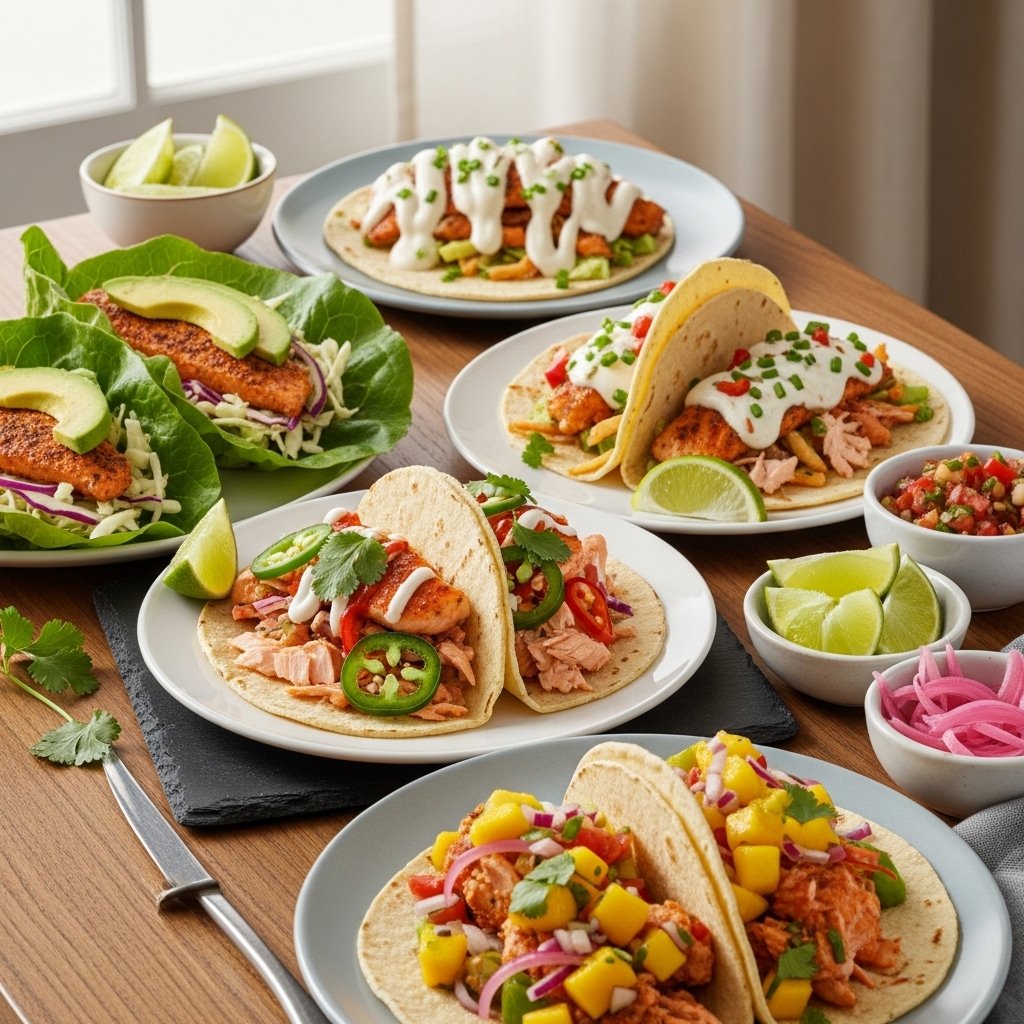
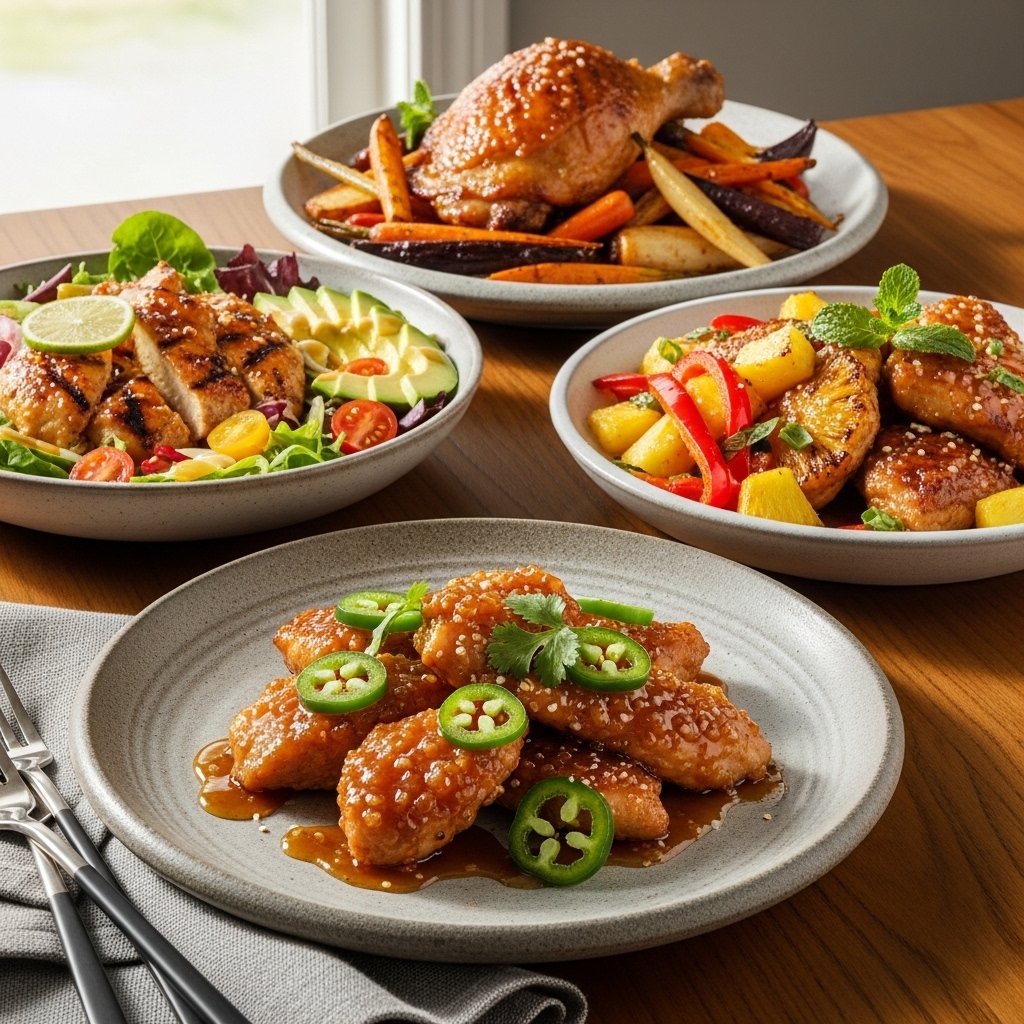 including spicy version with jalapeños, low-carb bowl with greens, tropical version with pineapple, and oven-baked version, arranged on a dining table, bright natural lighting, high-end food photography, 4k resolution