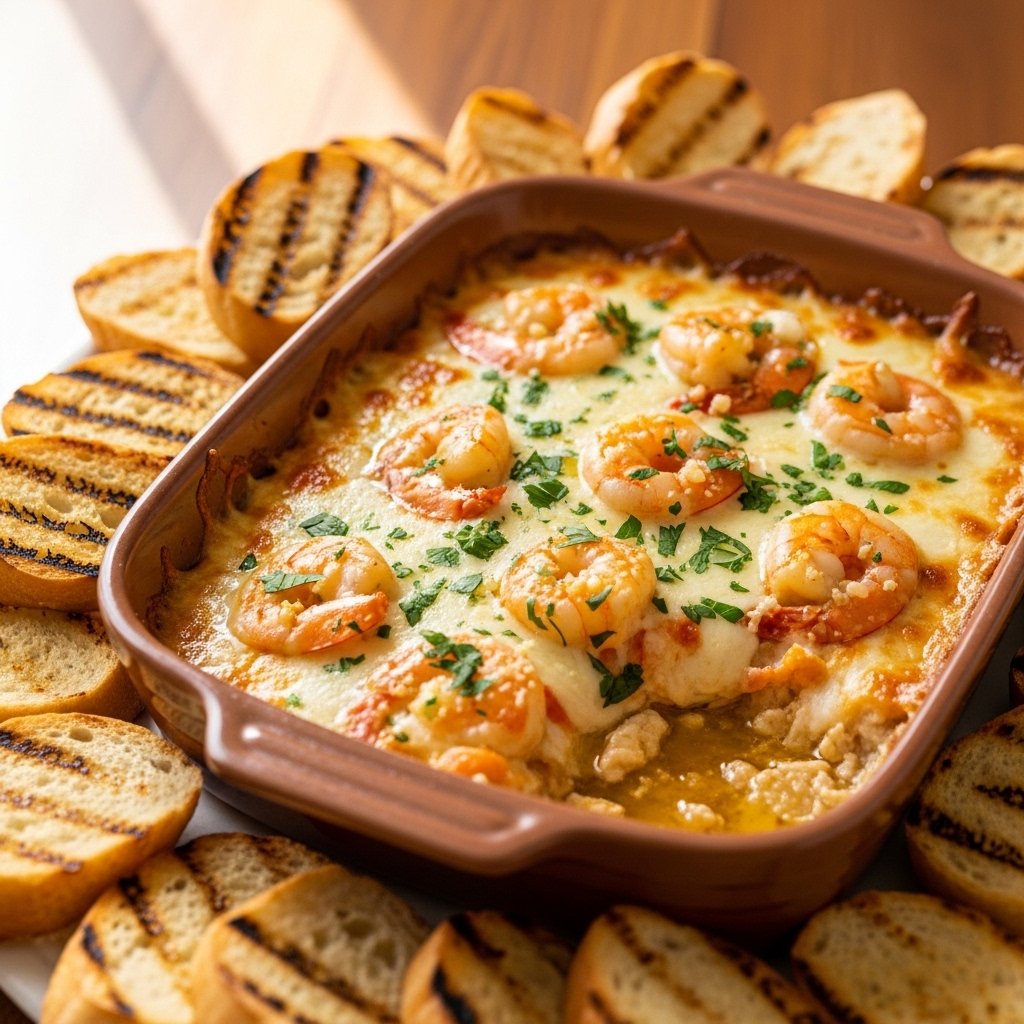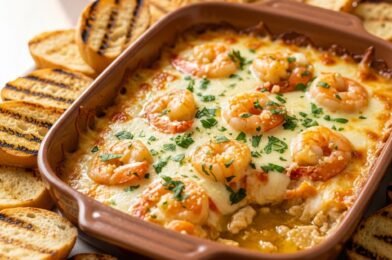
If you’re looking for a rich, indulgent appetizer that will impress any crowd, this Creamy Shrimp Scampi Dip Recipe is exactly what you need. It combines the classic flavors of shrimp scampi—garlic, butter, lemon, and herbs—with a creamy, cheesy base that turns it into the ultimate warm party dip.
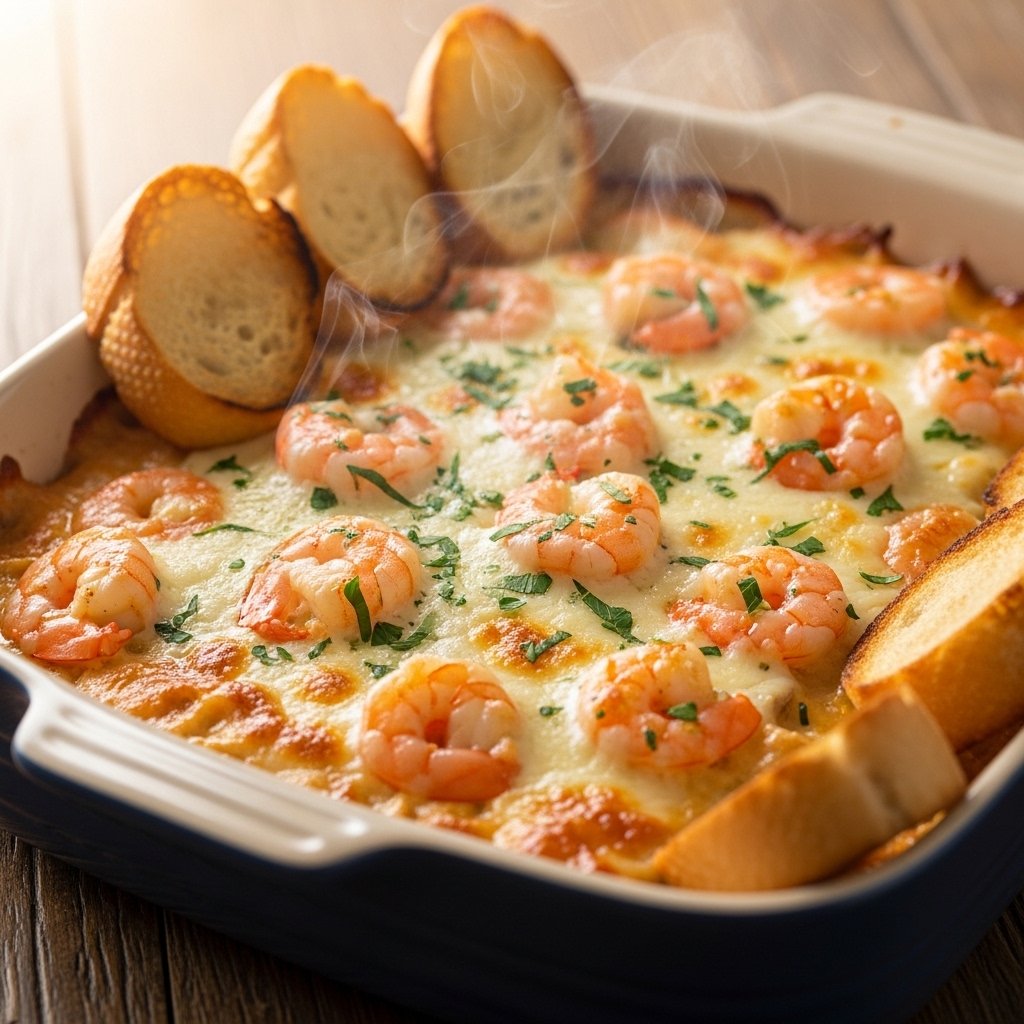
This shrimp scampi dip recipe is baked until hot and bubbly, creating a golden, cheesy top layer with tender shrimp folded into a velvety sauce. It’s perfect for holidays, game days, or any time you want a restaurant-style appetizer at home.
Why You’ll Love This Creamy Shrimp Scampi Dip Recipe
This Creamy Shrimp Scampi Dip Recipe is a guaranteed crowd favorite.
- Rich, creamy, and full of garlic butter flavor
- Perfect hot appetizer for parties and gatherings
- Easy to make in under 30 minutes
- Loaded with juicy shrimp and melted cheese
- Pairs perfectly with bread, crackers, or chips
It’s everything you love about shrimp scampi, transformed into a scoopable, cheesy dip.
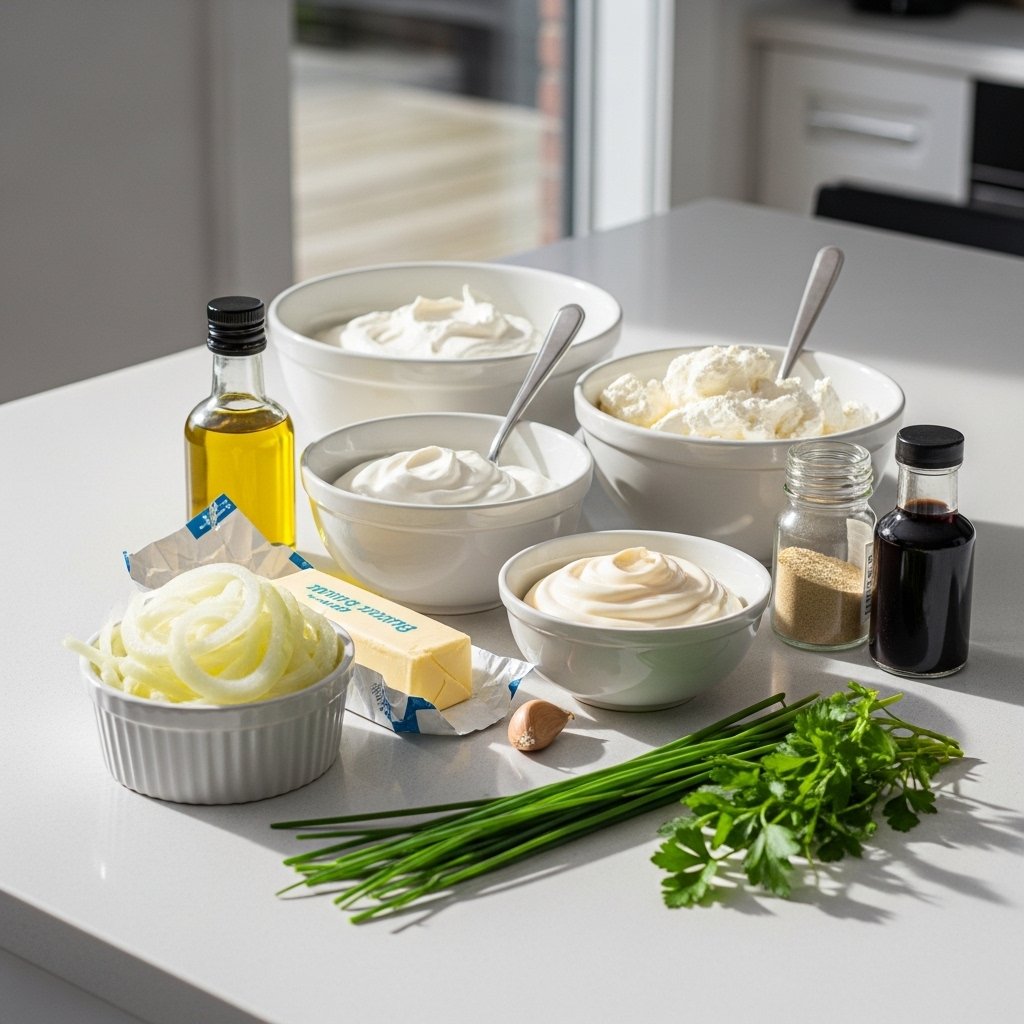
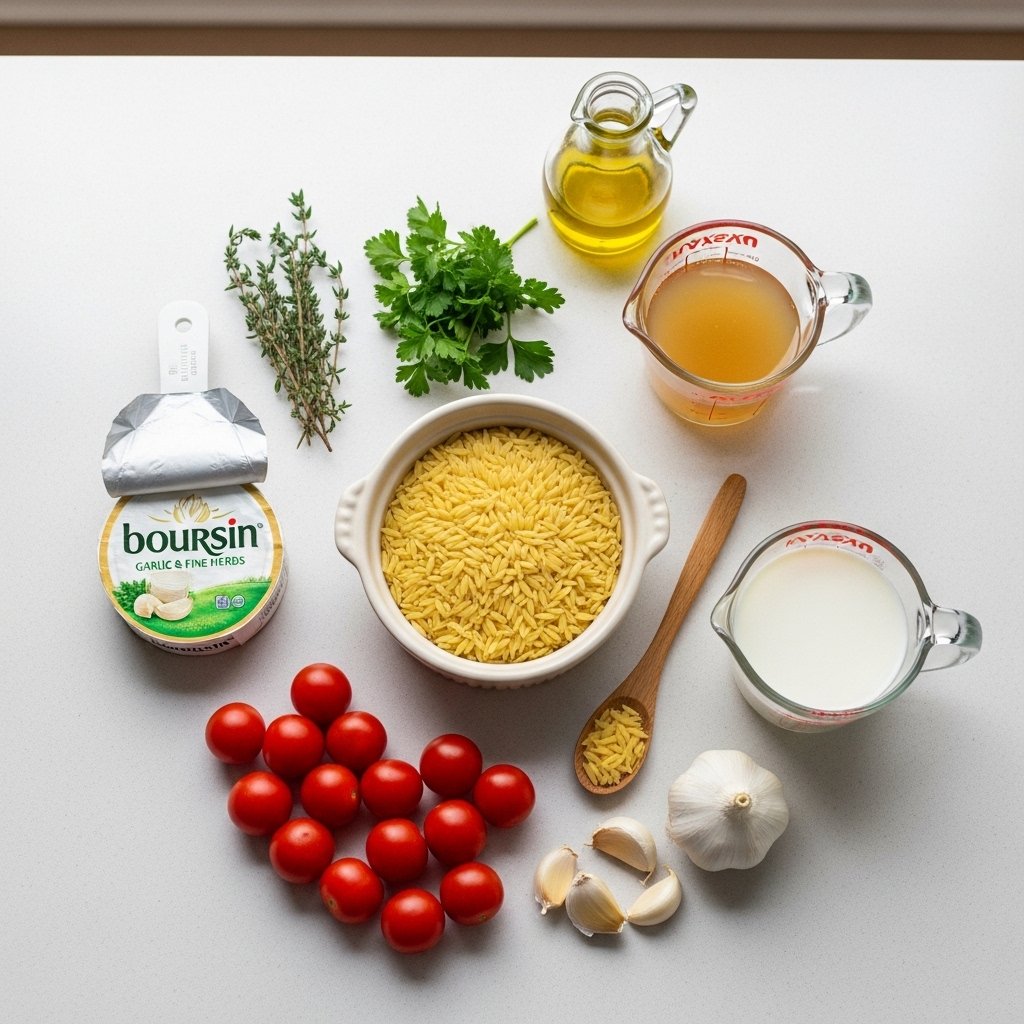
Ingredients
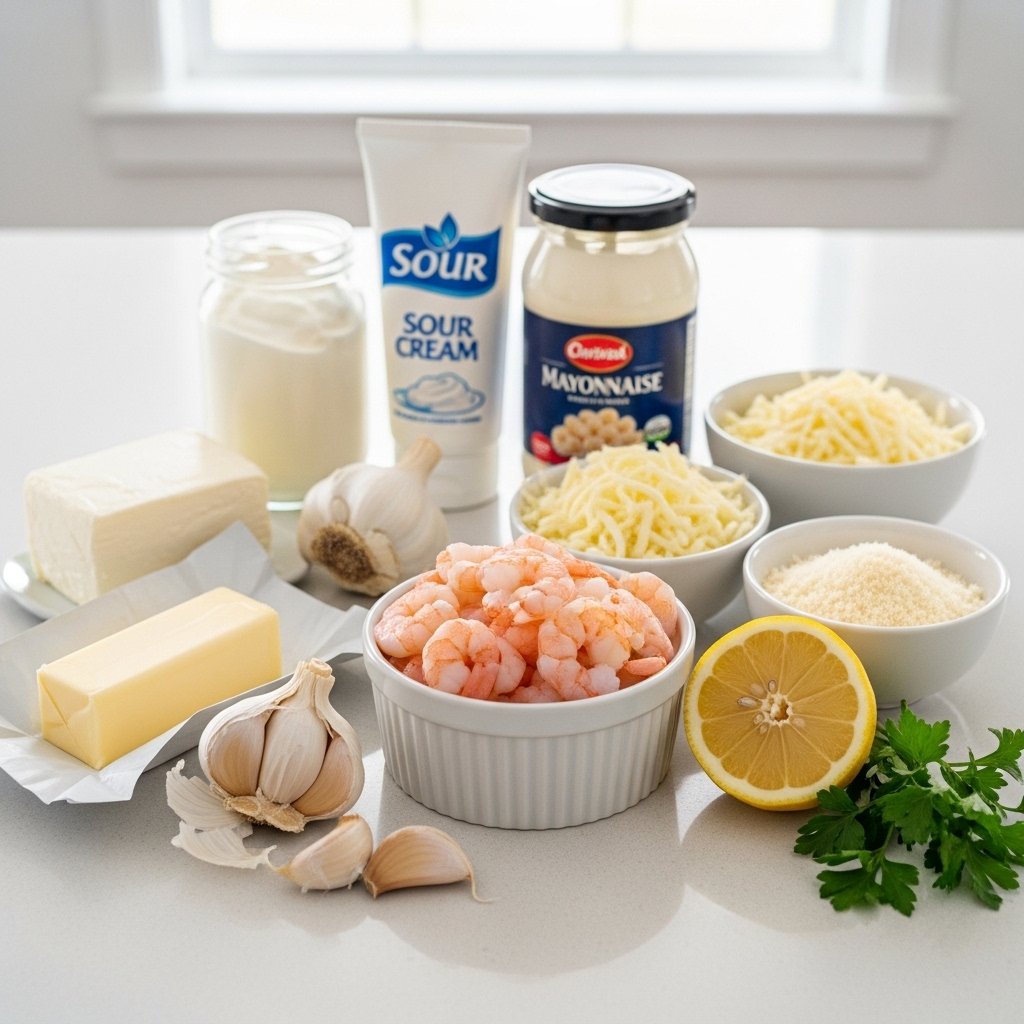
To make this shrimp scampi dip recipe, you’ll need:
- 1 lb shrimp (peeled and deveined, chopped)
- 3 tablespoons butter
- 3 cloves garlic (minced)
- 1 tablespoon olive oil
- 1/2 teaspoon red pepper flakes (optional)
- 1/2 cup cream cheese (softened)
- 1/2 cup sour cream
- 1/2 cup mayonnaise
- 1 cup shredded mozzarella cheese
- 1/2 cup grated Parmesan cheese
- 1 tablespoon lemon juice
- 2 tablespoons chopped parsley
- Salt and pepper to taste
Ingredient Notes
Shrimp Choice
Medium or large shrimp work best for this shrimp scampi dip recipe, giving a nice bite in every scoop.
Garlic Butter Base
Garlic sautéed in butter is essential for creating the classic scampi flavor.
Cheese Blend
Mozzarella provides meltiness, while Parmesan adds sharp, salty depth.
Step-by-Step Instructions
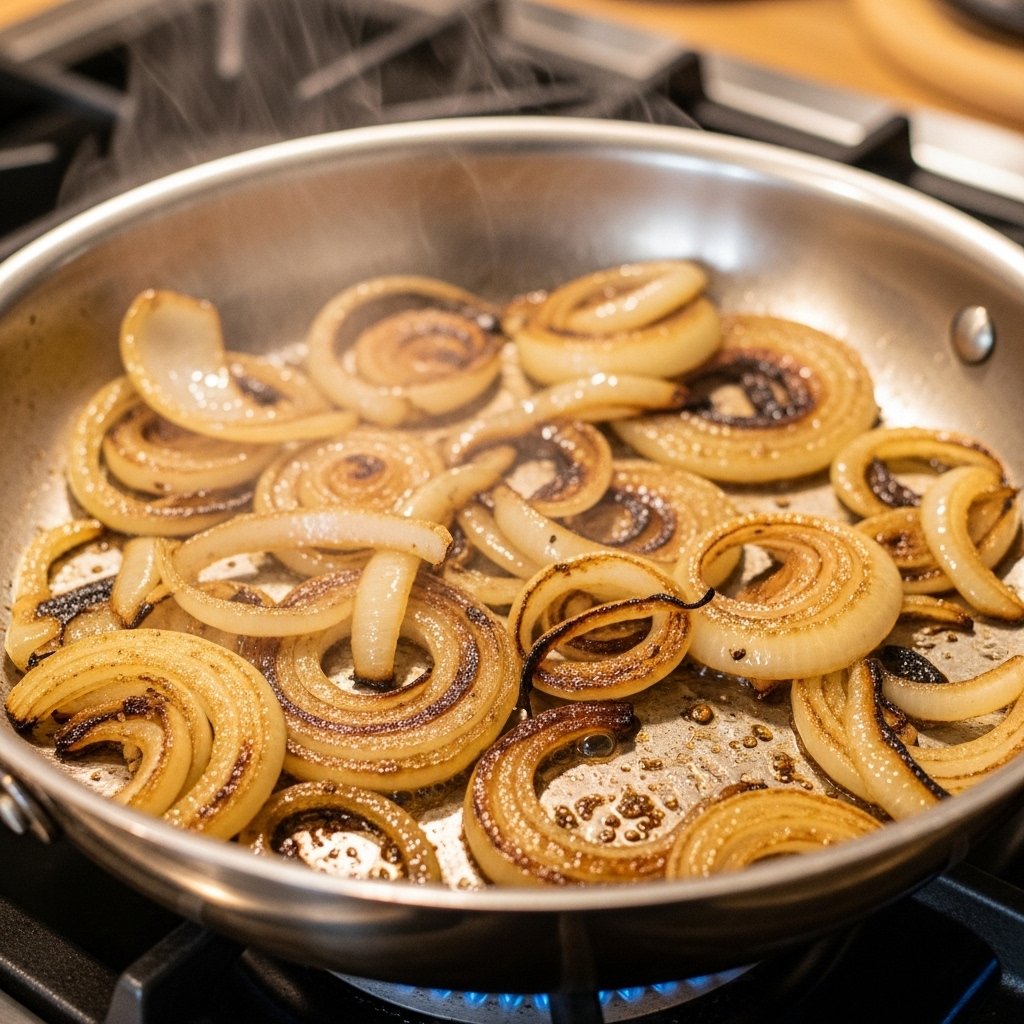
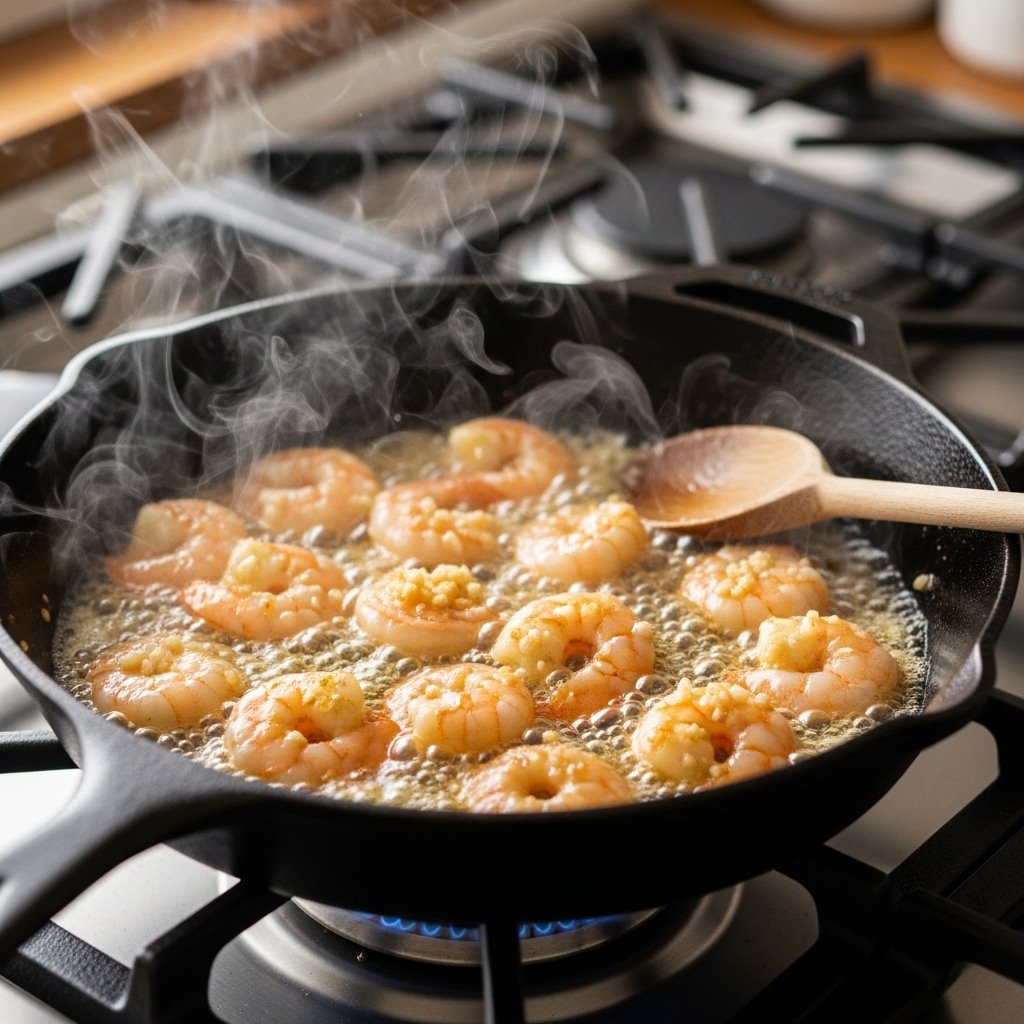
1. Cook Shrimp
Sauté shrimp in butter and olive oil until just cooked, then set aside.
2. Make Garlic Base
In the same pan, cook garlic until fragrant.
3. Prepare Cream Mixture
Mix cream cheese, sour cream, and mayonnaise until smooth.
4. Combine Ingredients
Add shrimp, garlic butter, lemon juice, and seasonings to the mixture.
5. Add Cheese
Fold in mozzarella and Parmesan.
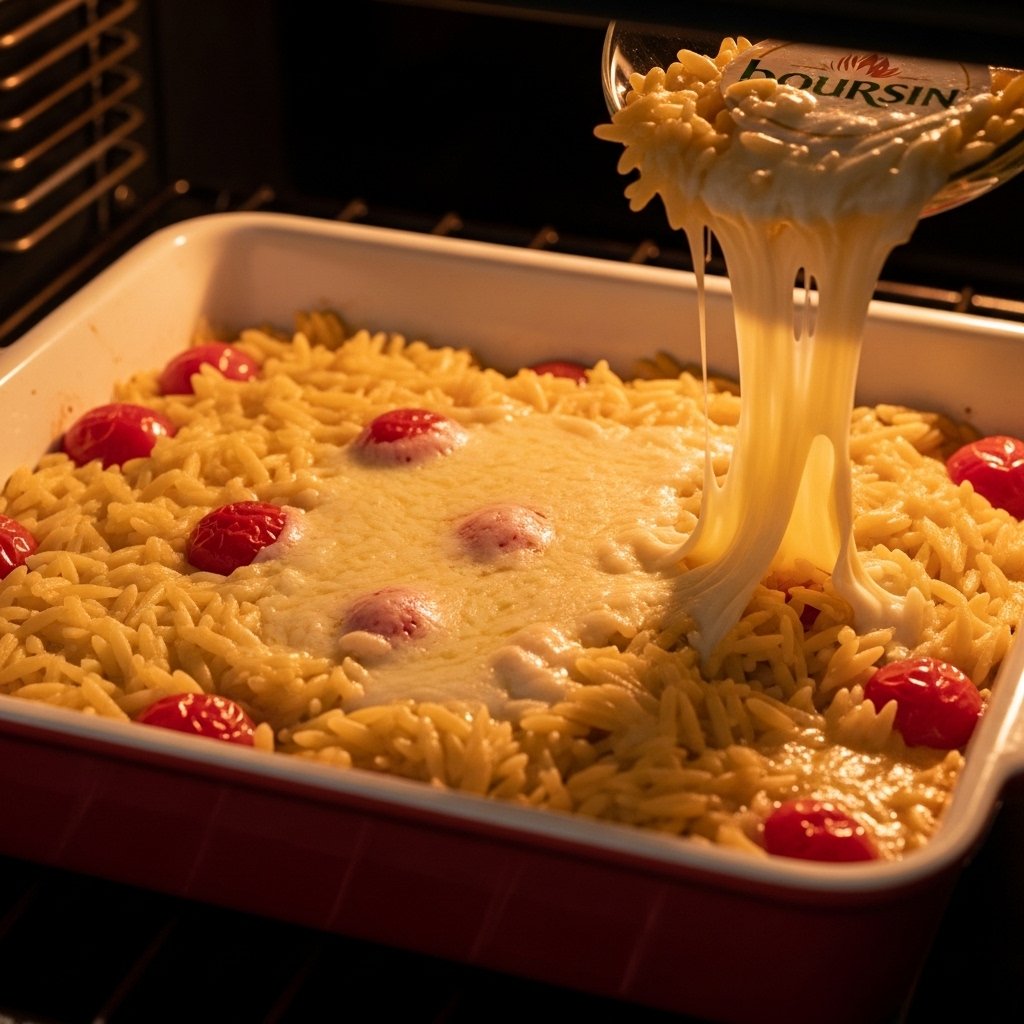
6. Bake
Transfer to a baking dish and bake at 375°F (190°C) for 15–20 minutes until bubbly.
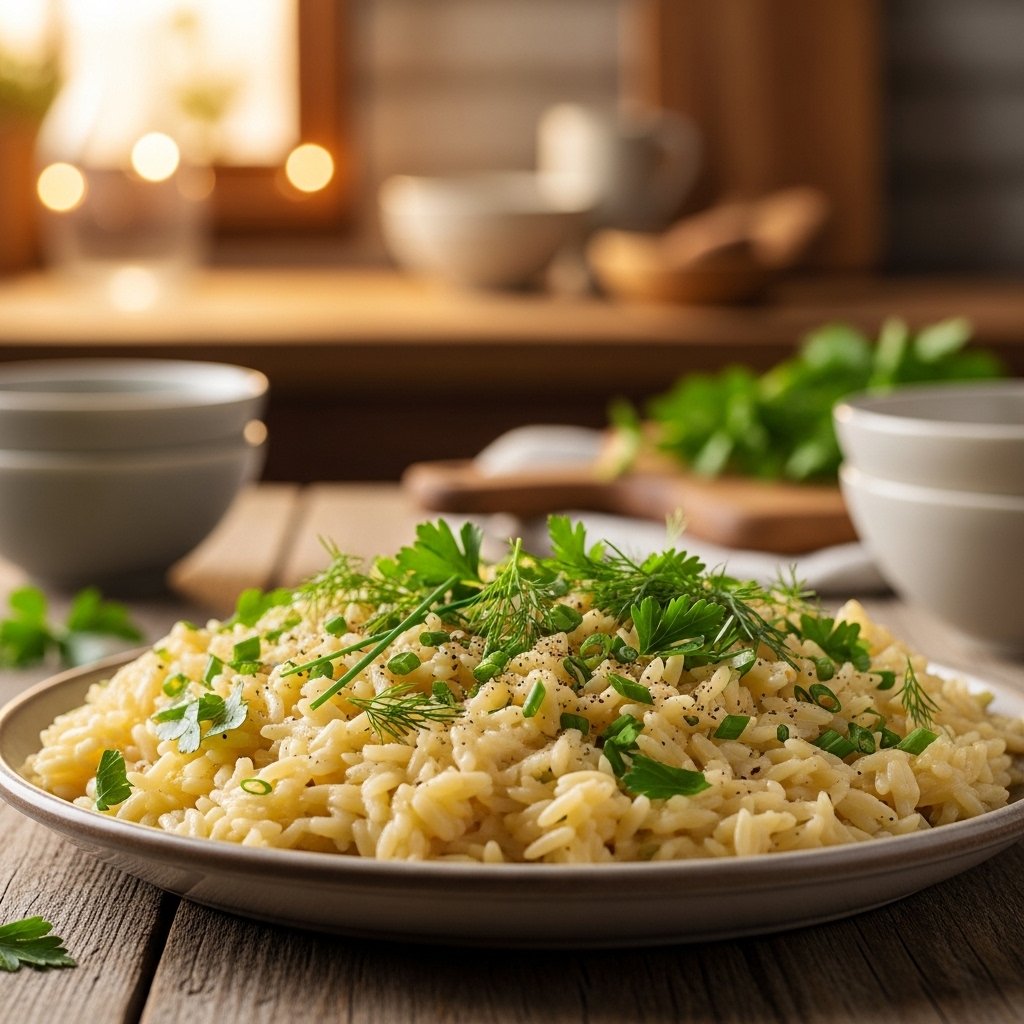
7. Serve Hot
Top with parsley and serve immediately.
Tips for Perfect Results
To make the best Creamy Shrimp Scampi Dip Recipe, follow these tips:
- Don’t overcook shrimp before baking
- Use freshly grated cheese for smoother melting
- Let cream cheese soften before mixing
- Add lemon juice at the end for freshness
- Serve immediately while hot and gooey
These steps ensure perfect texture and flavor.
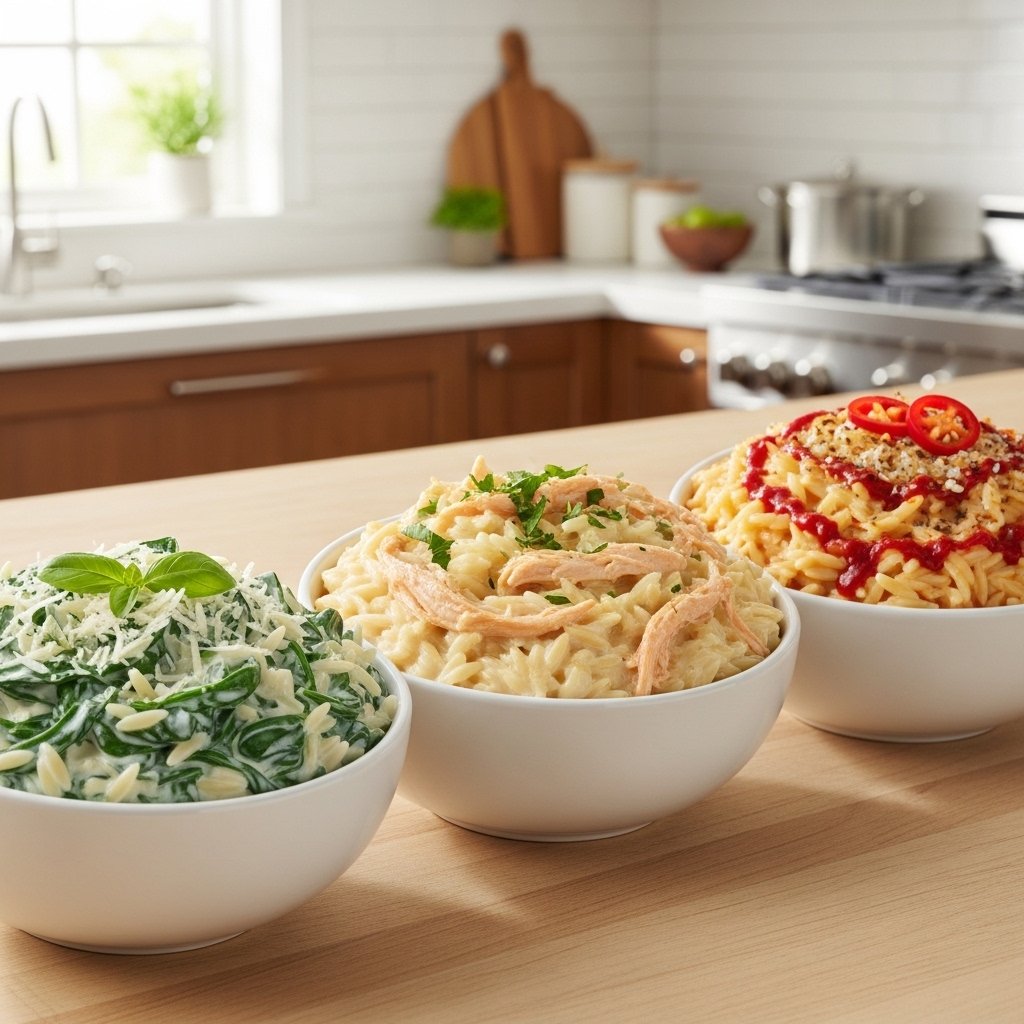
Variations
This shrimp scampi dip recipe is easy to customize:
Spicy Version
Add extra red pepper flakes or hot sauce.
Extra Cheesy Version
Add extra mozzarella or Gruyère cheese.
Low-Carb Version
Serve with cucumber slices or celery sticks.
Herb-Loaded Version
Add basil, thyme, or extra parsley.

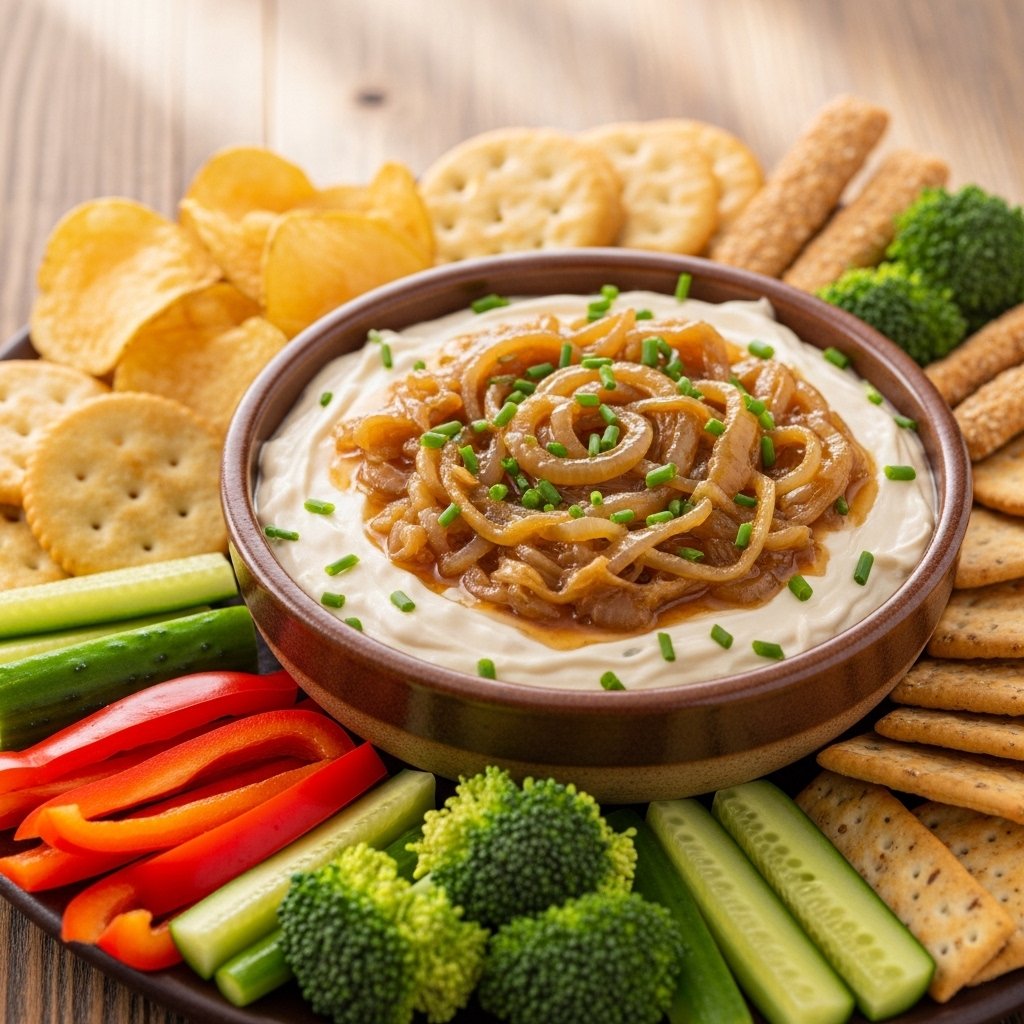
What to Serve With It
This Creamy Shrimp Scampi Dip Recipe pairs perfectly with:
- Toasted baguette slices
- Crackers or pita chips
- Garlic bread
- Fresh vegetables like celery or bell peppers
- Crostini or breadsticks
It’s a versatile appetizer for any occasion.
Storage & Reheating
- Refrigerator: Store up to 3 days in airtight container
- Reheating: Warm in oven at 350°F until heated through
- Freezing: Not recommended due to dairy texture changes
Stir gently when reheating for best consistency.
Common Mistakes to Avoid
When making shrimp scampi dip recipe, avoid:
- Overcooking shrimp (becomes rubbery)
- Using cold cream cheese (hard to mix)
- Skipping seasoning adjustments
- Overbaking (can dry out dip)
Avoiding these keeps your dip creamy and flavorful.
FAQs
Can I use frozen shrimp?
Yes, just thaw and drain before cooking.
Can I make this ahead of time?
Yes, assemble and bake right before serving.
Can I use pre-cooked shrimp?
Yes, but add them at the end to avoid overcooking.
What cheese works best?
Mozzarella and Parmesan are ideal for flavor and melt.
Final Thoughts
This Creamy Shrimp Scampi Dip Recipe is the ultimate warm, cheesy appetizer that brings bold garlic butter shrimp flavor into a rich, scoopable dip. It’s easy, elegant, and guaranteed to impress every guest.
Whether you’re hosting a party, celebrating the holidays, or just craving something indulgent, this dip delivers every time. Once you try it, it will become a permanent favorite in your appetizer rotation.