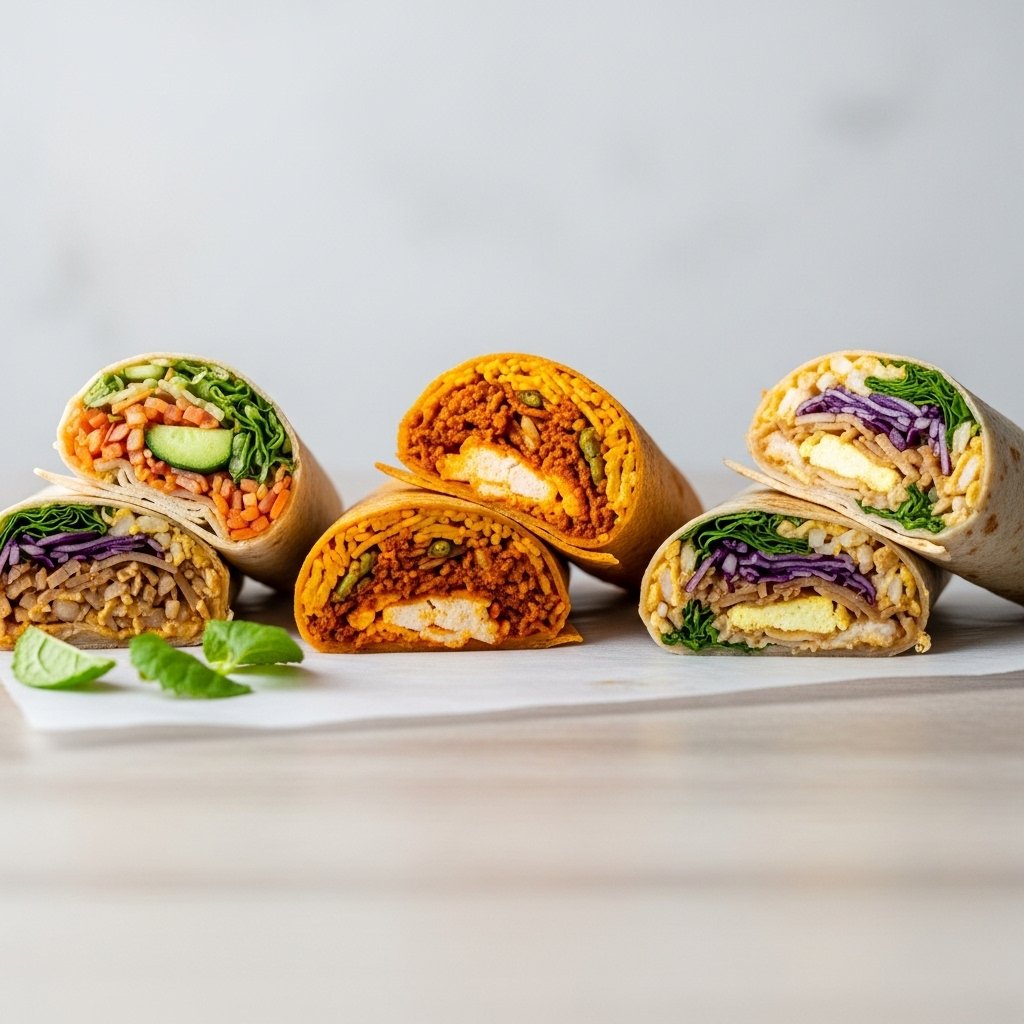
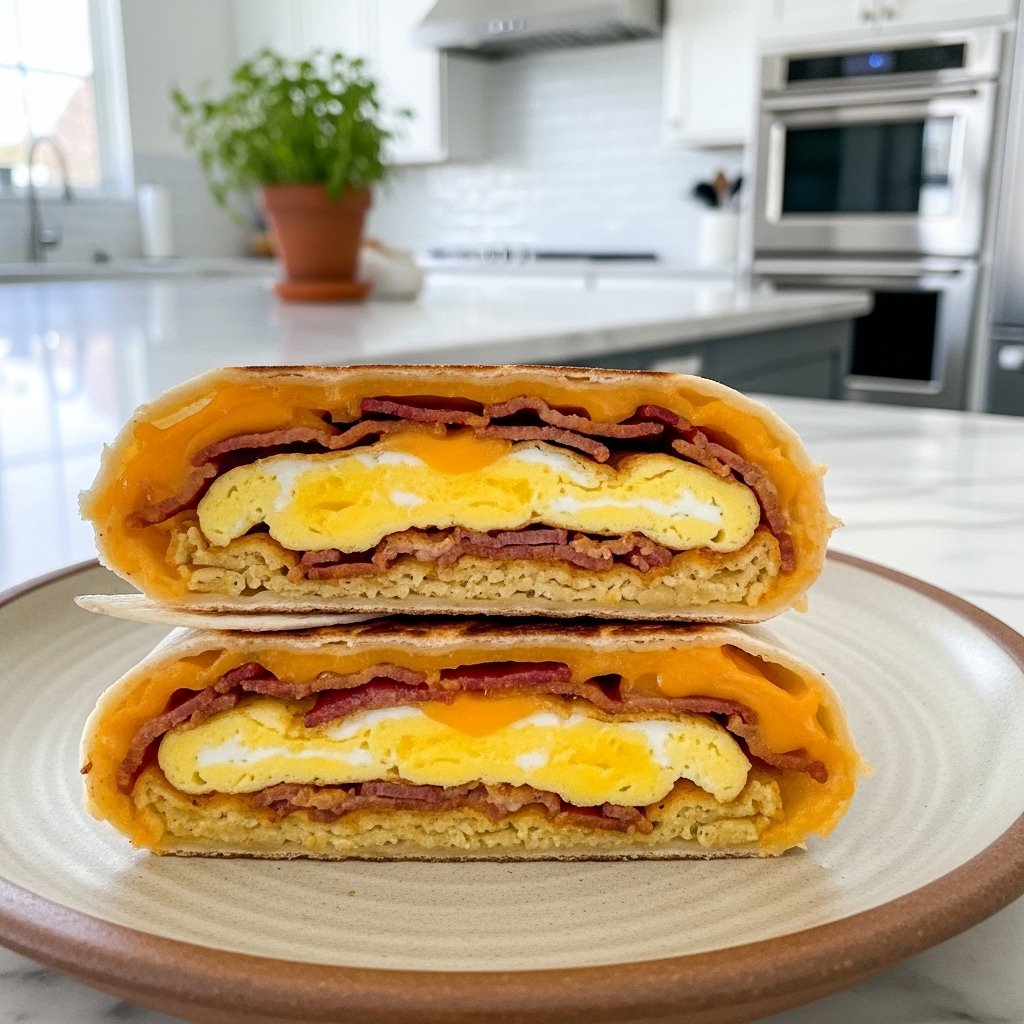
If you’re looking to upgrade your morning routine, this Breakfast Crunchwrap recipe is exactly what you need. These crispy, golden wraps are packed with fluffy scrambled eggs, melty cheese, savory bacon, and a satisfying crunch in every bite. Best of all, this recipe yields 4 crispy ultimate savory bites, making it perfect for sharing with family or prepping ahead for busy mornings.
Inspired by popular fast-food breakfast wraps, this homemade version is fresher, customizable, and incredibly easy to make. Once you try making your own Breakfast Crunchwrap at home, you’ll wonder why you ever waited in line for one. It’s comforting, filling, and guaranteed to start your day right.
Why You’ll Love This Recipe
There’s something truly irresistible about a homemade Breakfast Crunchwrap, especially when it’s perfectly crispy on the outside and warm and savory on the inside.
- Crispy perfection: Toasted tortilla gives a satisfying crunch
- Hearty and filling: Loaded with protein and flavor
- Quick to make: Ready in about 25 minutes
- Customizable: Easily swap ingredients to fit your taste
- Great for meal prep: Make ahead and reheat easily
These wraps bring together everything you love about breakfast in one convenient, handheld meal.
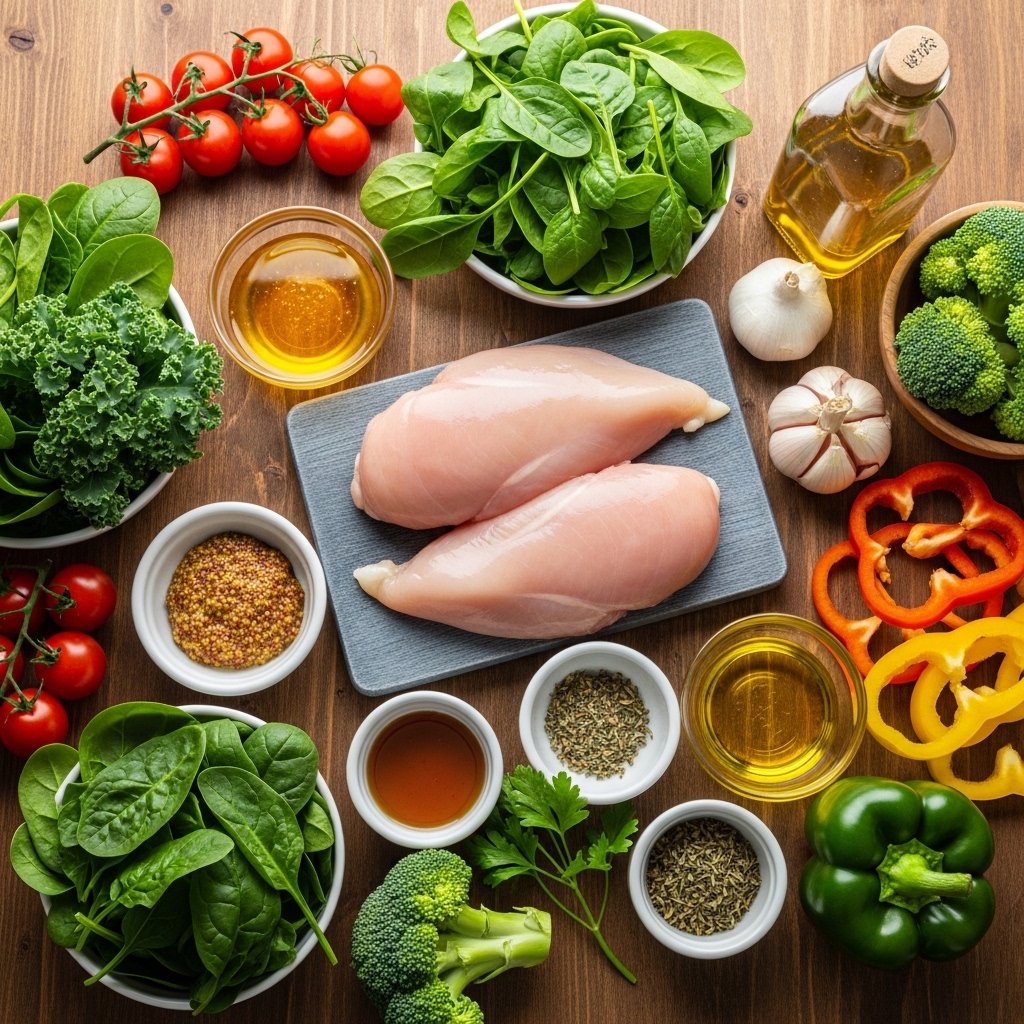
Ingredients
To make these Breakfast Crunchwraps, you’ll need simple, everyday ingredients:
For the Filling:
- Large flour tortillas
- Eggs
- Cooked bacon or sausage
- Shredded cheddar or Mexican blend cheese
- Hash browns or crispy tostada shells
- Sour cream
Optional Add-ins:
- Diced bell peppers
- Green onions
- Jalapeños
- Avocado slices
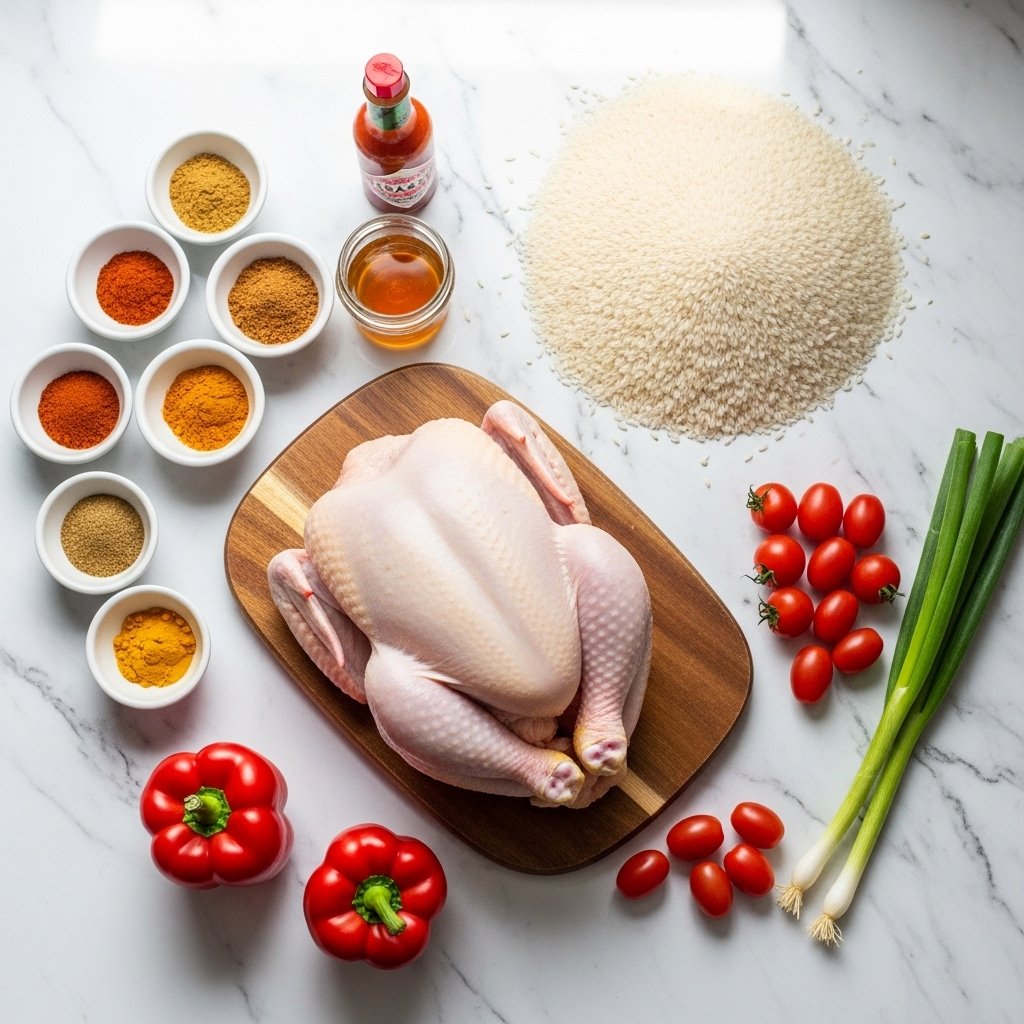
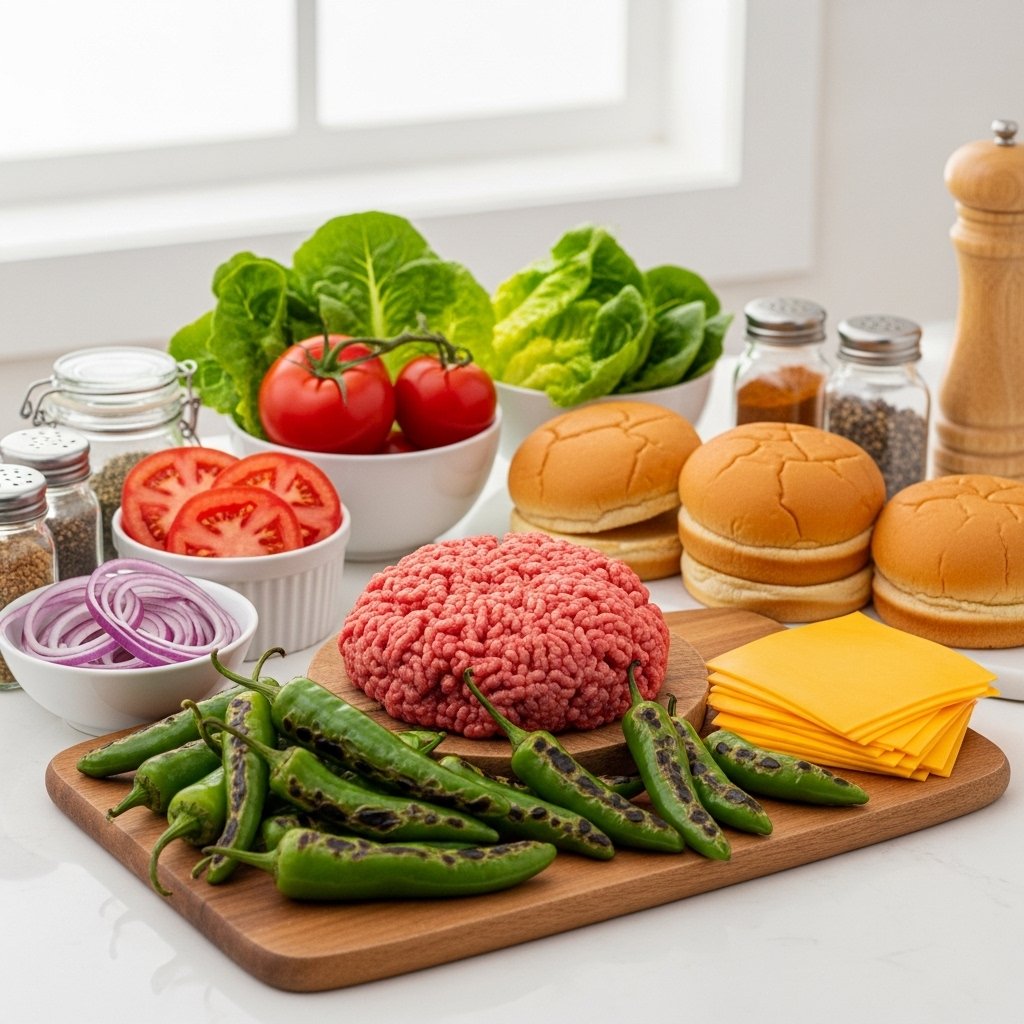
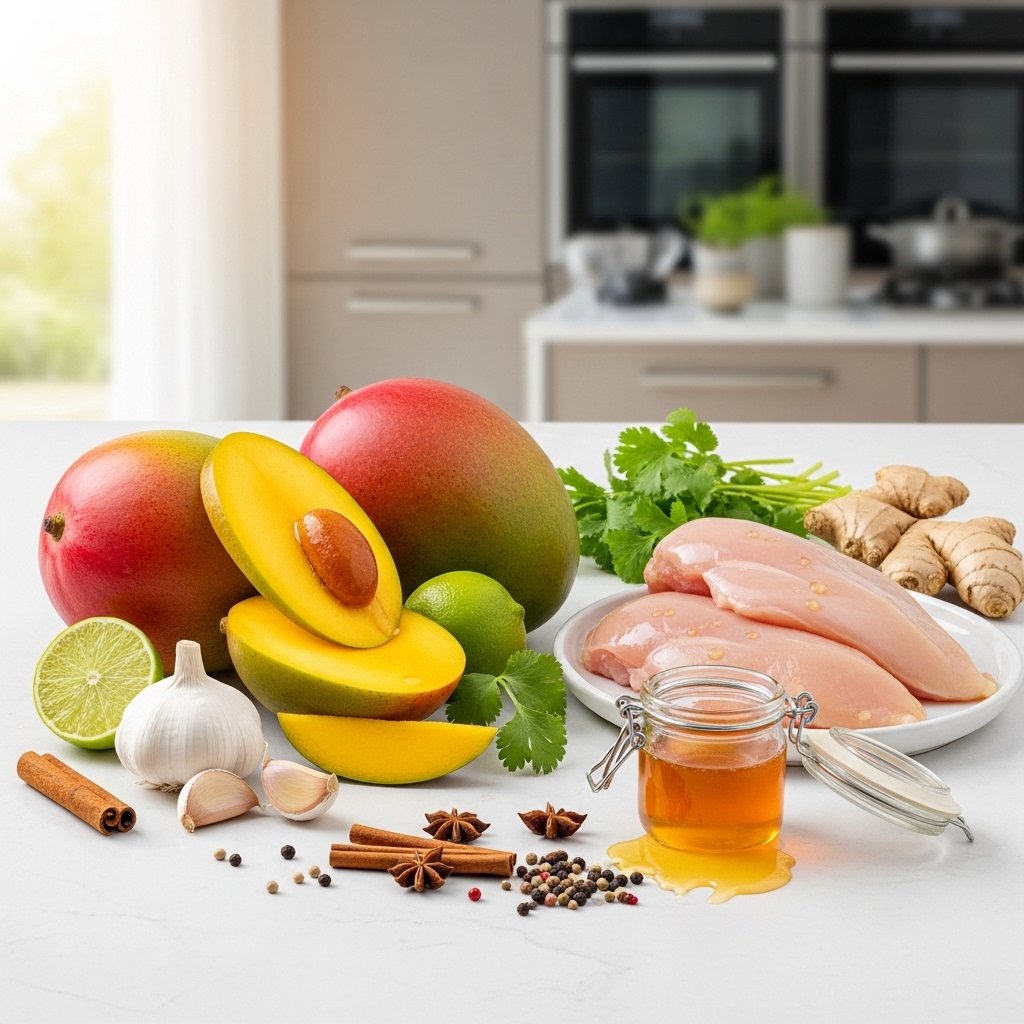
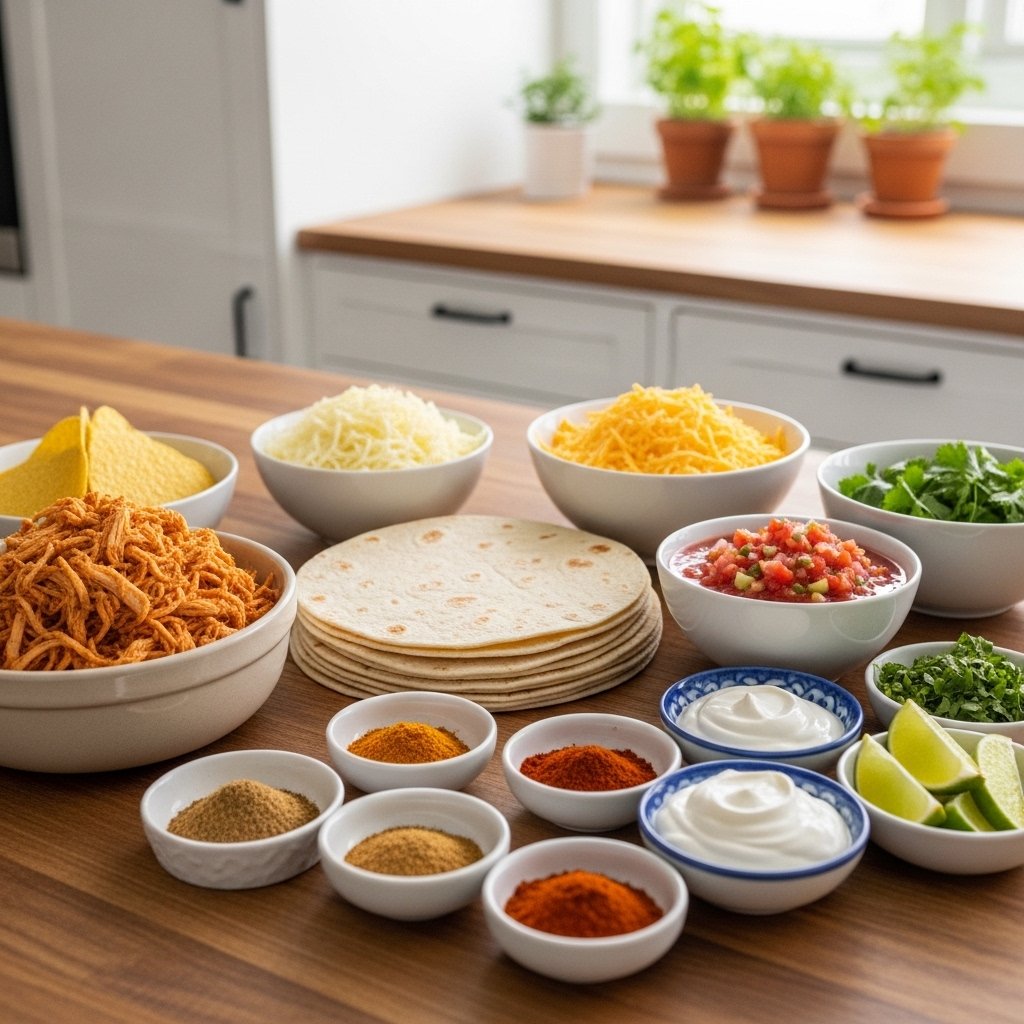
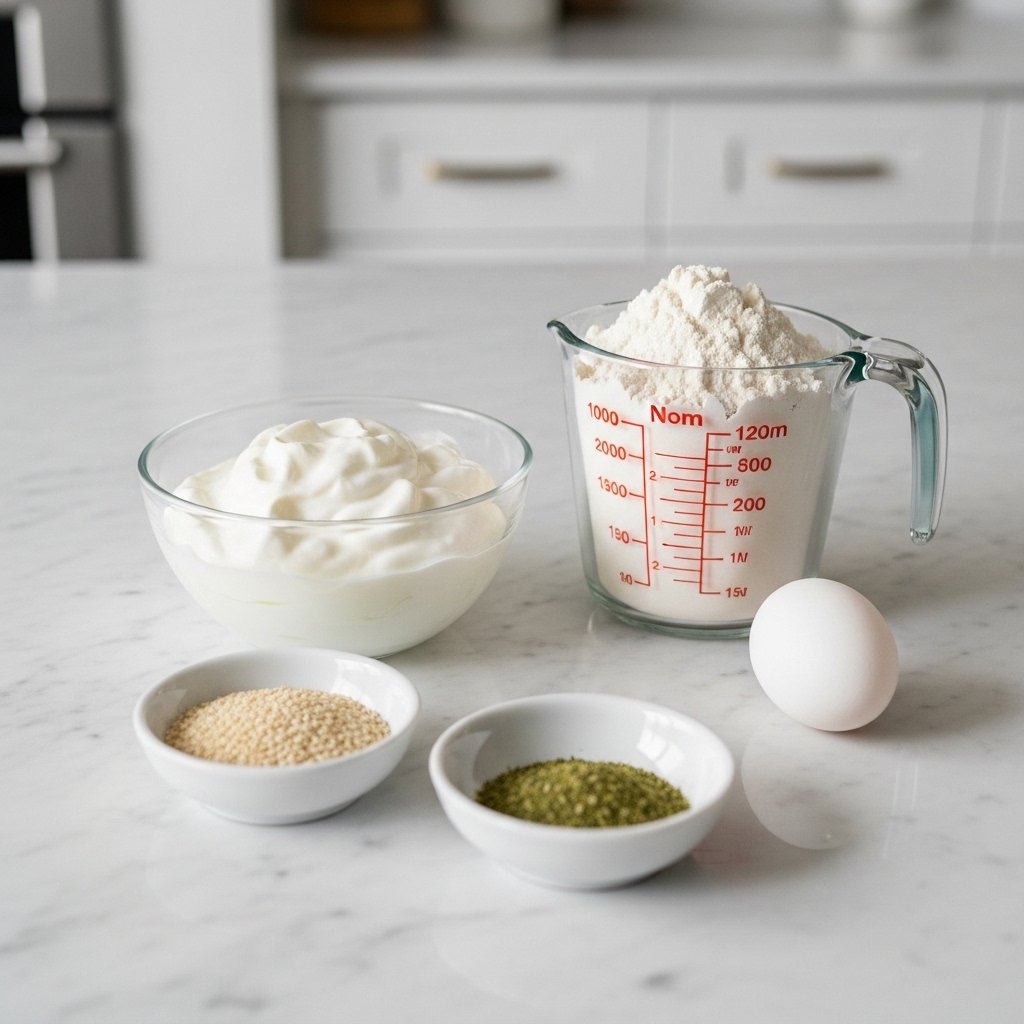
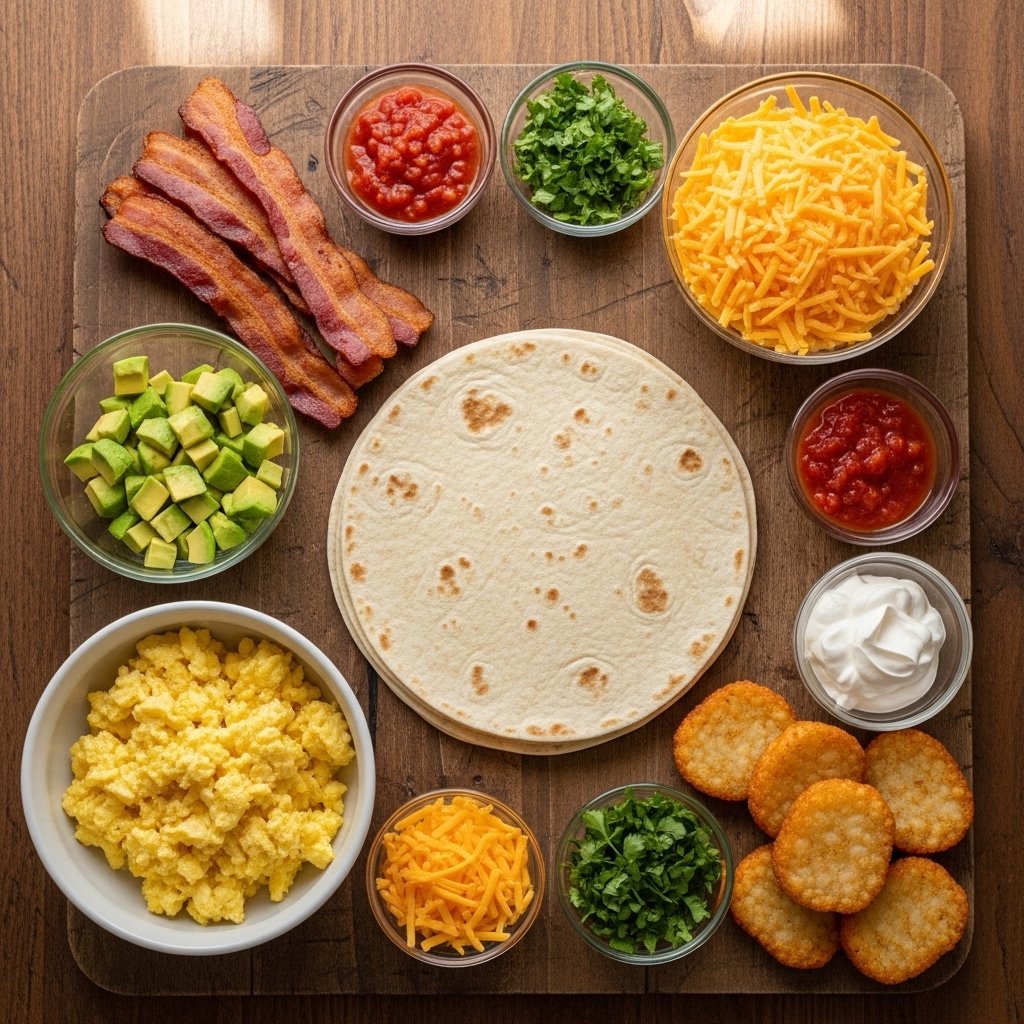
Image Prompt: Ingredients neatly arranged on a kitchen counter including tortillas, eggs, cooked bacon, shredded cheese, hash browns, and small bowls of toppings, natural daylight, overhead shot, high detail, 4k resolution
Ingredient Notes
The beauty of a Breakfast Crunchwrap lies in its layers. Each ingredient plays an important role in building flavor and texture. The tortillas should be large enough to fold easily, while the eggs should be soft and fluffy for the best bite.
Using crispy hash browns or a tostada shell adds that signature crunch. If you prefer a lighter version, you can skip the fried components and use baked potatoes instead. Cheese is key here—go for something that melts well to hold everything together.
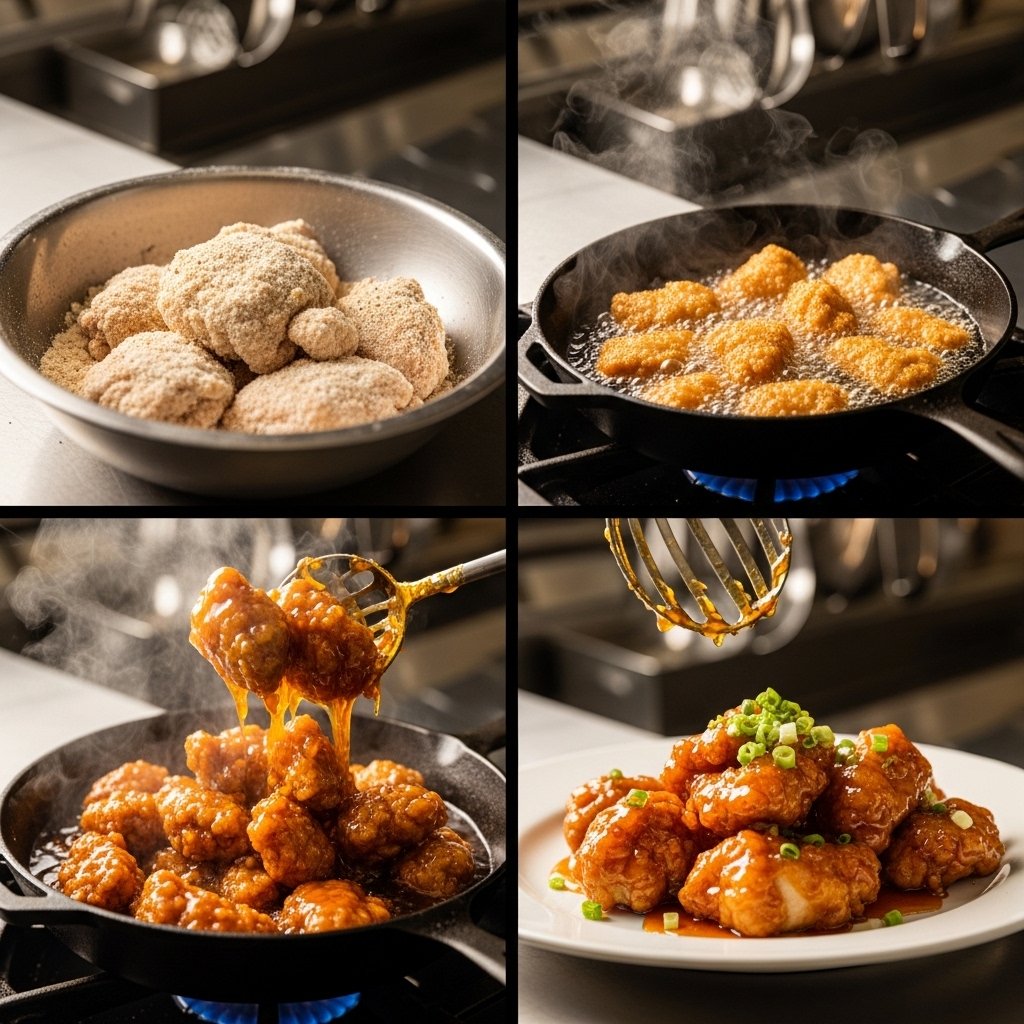
Step-by-Step Instructions
Step 1: Cook the Eggs
Scramble the eggs in a nonstick skillet over medium heat until just set. Remove from heat to avoid overcooking.
Step 2: Prepare the Fillings
Cook your bacon or sausage if not already prepared. Warm the hash browns or tostada shells.
Step 3: Assemble the Crunchwrap
Lay a tortilla flat, add eggs, meat, cheese, and a crunchy layer in the center. Top with sour cream and optional add-ins.
Step 4: Fold the Wrap
Carefully fold the edges of the tortilla toward the center, creating a sealed wrap.
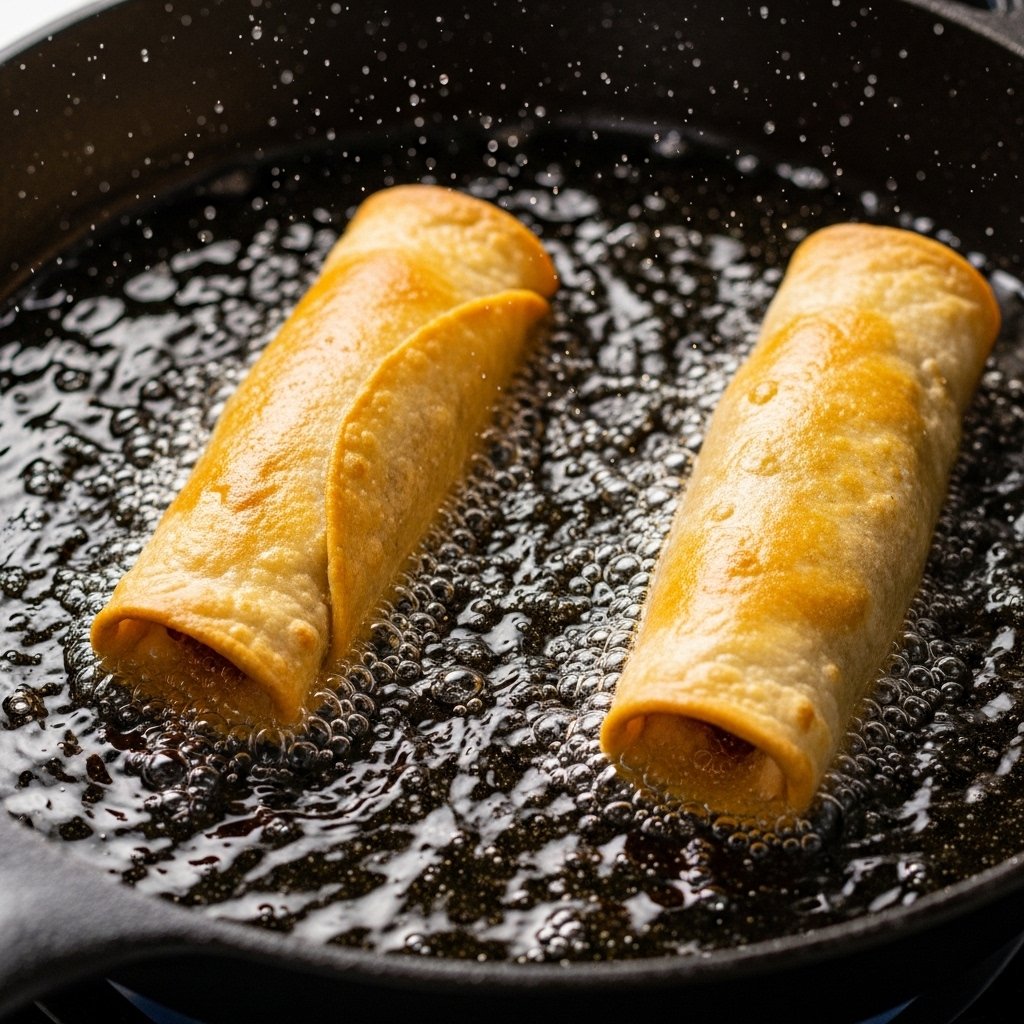
Step 5: Toast Until Crispy
Place seam-side down in a hot skillet and cook until golden brown and crispy, then flip and repeat.
Tips for Perfect Results
Making the perfect Breakfast Crunchwrap is easier with a few expert tips:
- Don’t overfill the wrap—it makes folding difficult
- Use medium heat to avoid burning the tortilla
- Press gently while cooking for even crispiness
- Let it rest for a minute before cutting
These small techniques ensure your crunchwrap comes out perfectly every time.
Variations
One of the best parts about this Breakfast Crunchwrap recipe is how flexible it is.
Make It Healthier
- Use whole wheat tortillas
- Swap bacon for turkey bacon or veggies
Vegetarian Option
- Skip the meat and add sautéed mushrooms and spinach
Spicy Twist
- Add hot sauce, jalapeños, or pepper jack cheese
Breakfast Burrito Style
- Skip the tostada for a softer wrap experience

What to Serve With It
While the Breakfast Crunchwrap is satisfying on its own, you can pair it with:
- Fresh fruit salad
- Orange juice or coffee
- Salsa or guacamole for dipping
- Breakfast potatoes
These additions turn your meal into a full breakfast feast.
Storage & Reheating
These Breakfast Crunchwraps are perfect for meal prep.
- Refrigerate: Store in an airtight container for up to 3 days
- Freeze: Wrap individually and freeze for up to 1 month
- Reheat: Use a skillet or air fryer for best crispiness
Avoid microwaving if possible, as it can make the wrap soggy.
Common Mistakes to Avoid
To get the best results, avoid these common pitfalls:
- Overstuffing the tortilla
- Cooking on high heat (burns outside, cold inside)
- Not sealing the wrap properly
- Skipping the crispy layer
Keeping these in mind will help you master the perfect Breakfast Crunchwrap.
FAQs
1. Can I make Breakfast Crunchwraps ahead of time?
Yes! Assemble and store them, then toast when ready to eat.
2. What’s the best cheese to use?
Cheddar or a Mexican blend works best for melting.
3. Can I bake instead of pan-frying?
Yes, bake at 400°F until crispy, flipping halfway through.
4. How do I keep them crispy?
Reheat in a skillet or air fryer instead of a microwave.
Final Thoughts
This Breakfast Crunchwrap recipe truly delivers on flavor, texture, and convenience. With its crispy exterior and savory, satisfying filling, it’s a breakfast option that feels indulgent yet simple to prepare at home.
Whether you’re feeding your family or prepping meals for the week, these wraps are guaranteed to impress. Once you make them, they’ll quickly become a staple in your kitchen—because nothing beats a crispy, homemade breakfast done right.