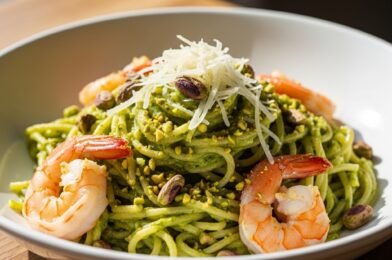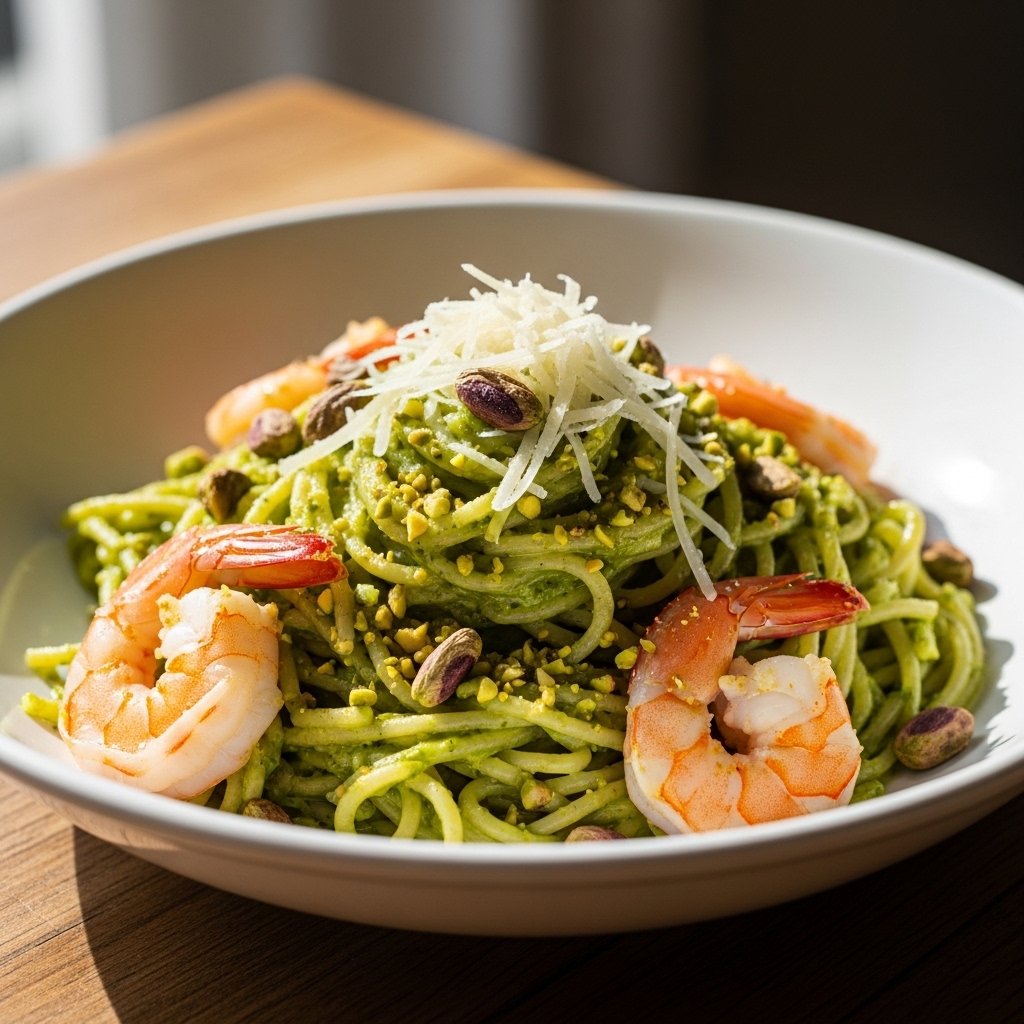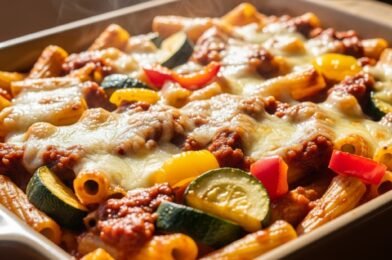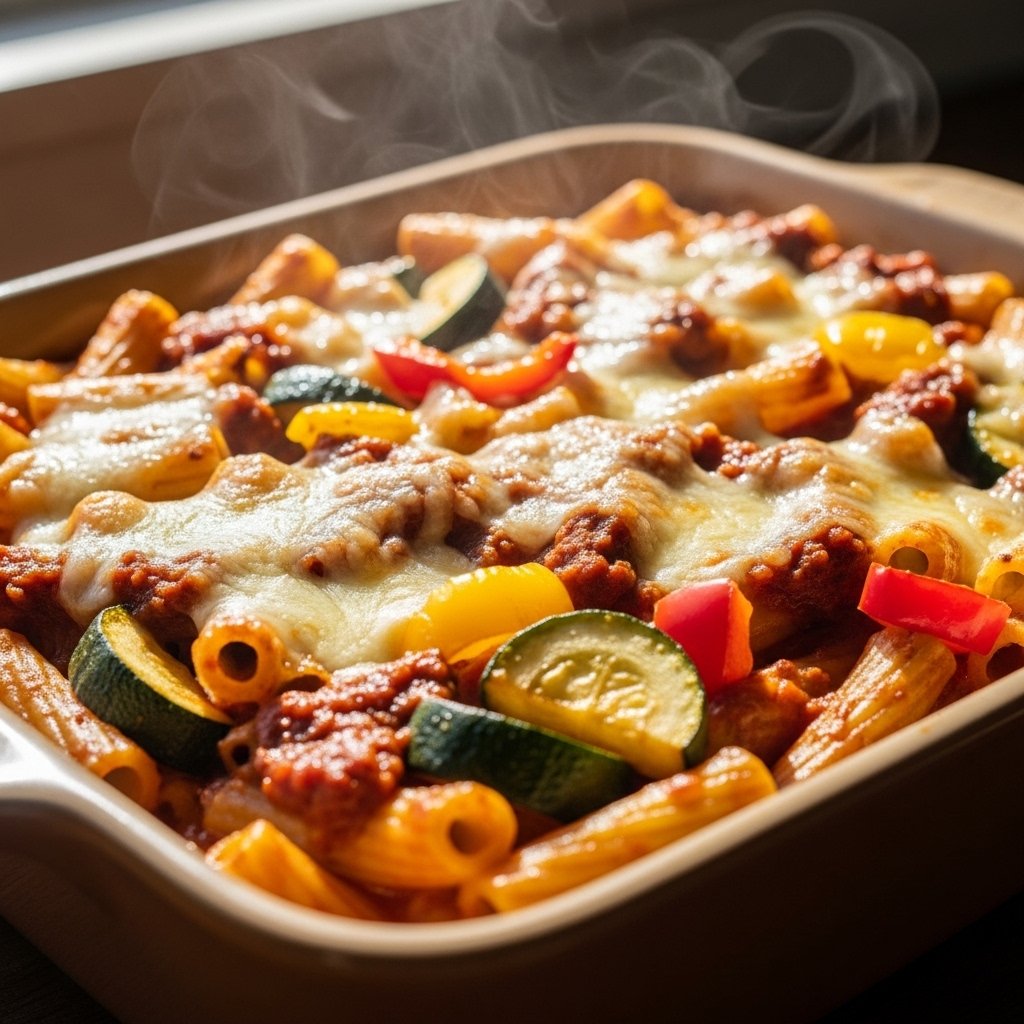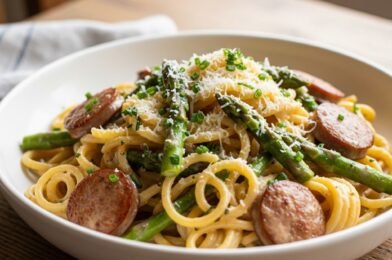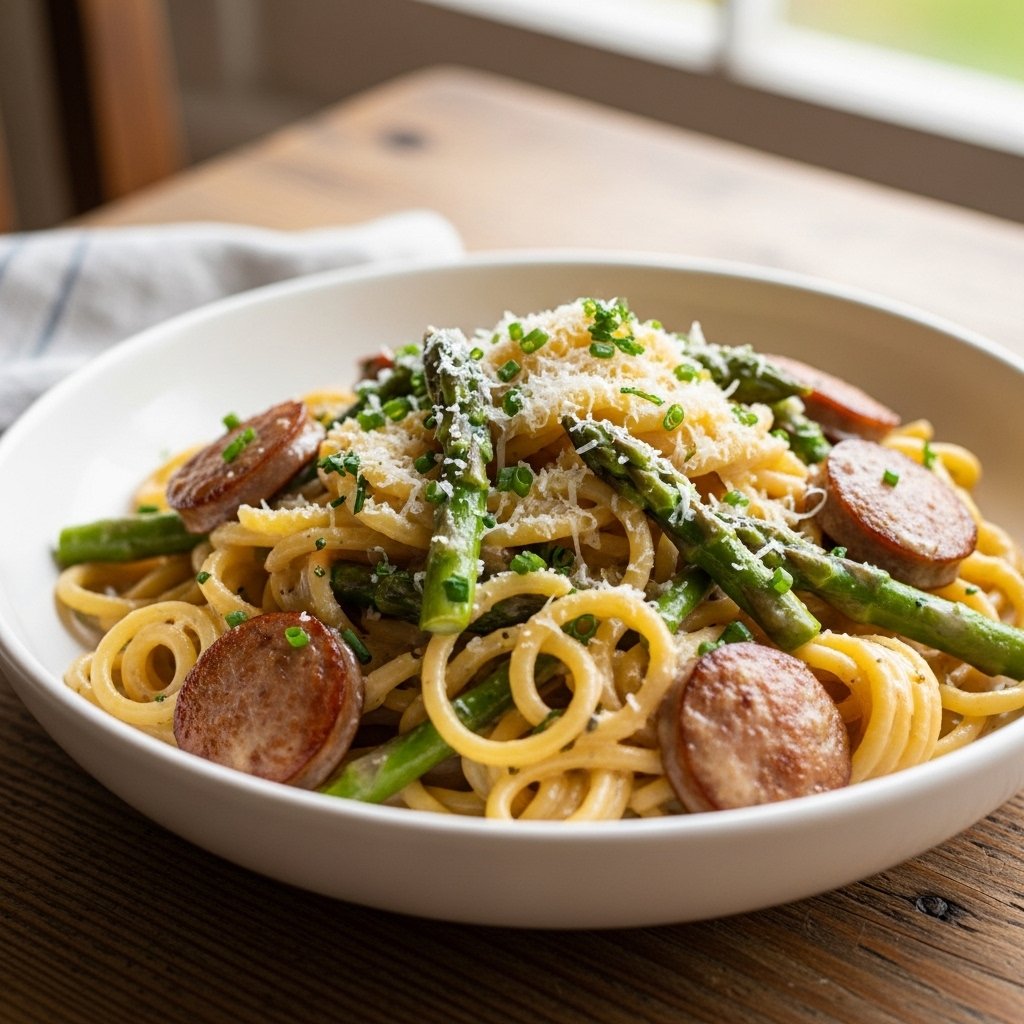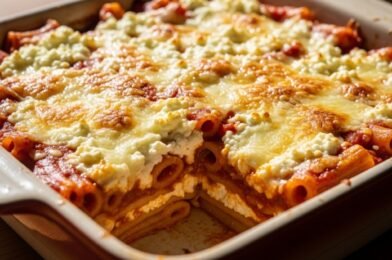
If you love comfort food but want something a little lighter and more nutritious, this Healthy High Protein Cottage Cheese Baked Ziti is about to become your new favorite recipe. It delivers everything you love about classic baked ziti—cheesy, saucy, and satisfying—while packing in extra protein and cutting down on heaviness.
The secret? Cottage cheese. It creates a creamy, rich texture without relying solely on heavy cheeses or cream. This Healthy High Protein Cottage Cheese Baked Ziti is perfect for busy weeknights, meal prep, or even feeding a crowd while keeping things balanced and wholesome.
Why You’ll Love This Healthy High Protein Cottage Cheese Baked Ziti
This recipe is the perfect mix of indulgent comfort and smart nutrition.
- High in protein thanks to cottage cheese
- Lighter than traditional baked ziti
- Creamy, cheesy, and satisfying
- Great for meal prep and leftovers
- Family-friendly and customizable
The beauty of Healthy High Protein Cottage Cheese Baked Ziti is that you get all the comfort without the heaviness.
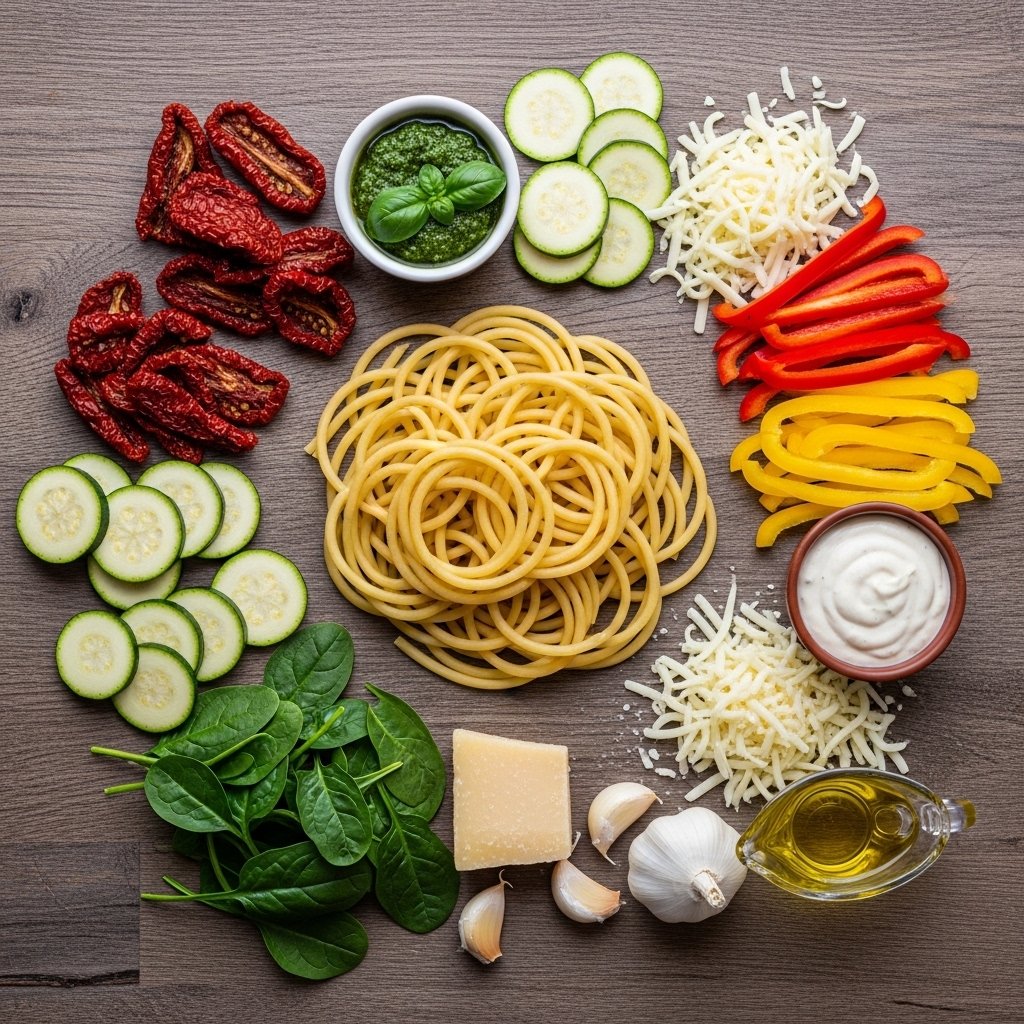
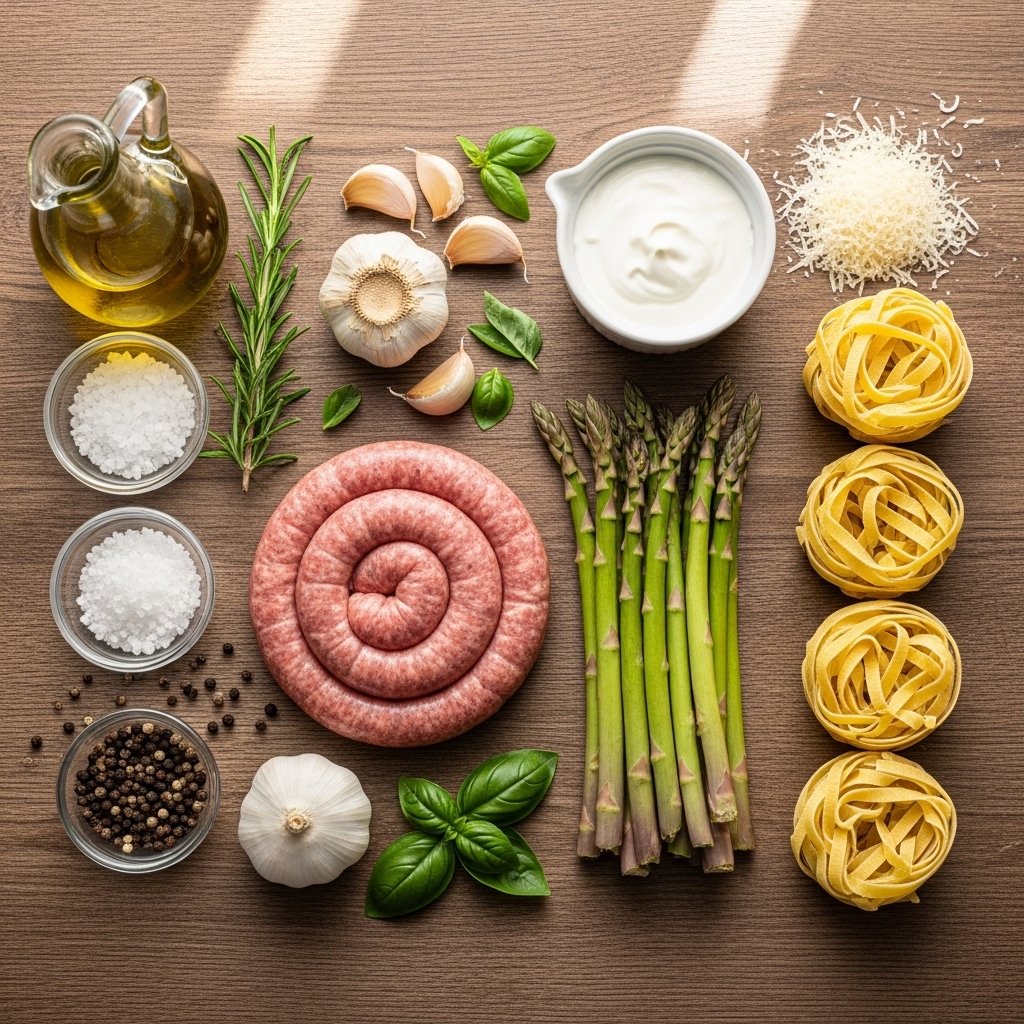
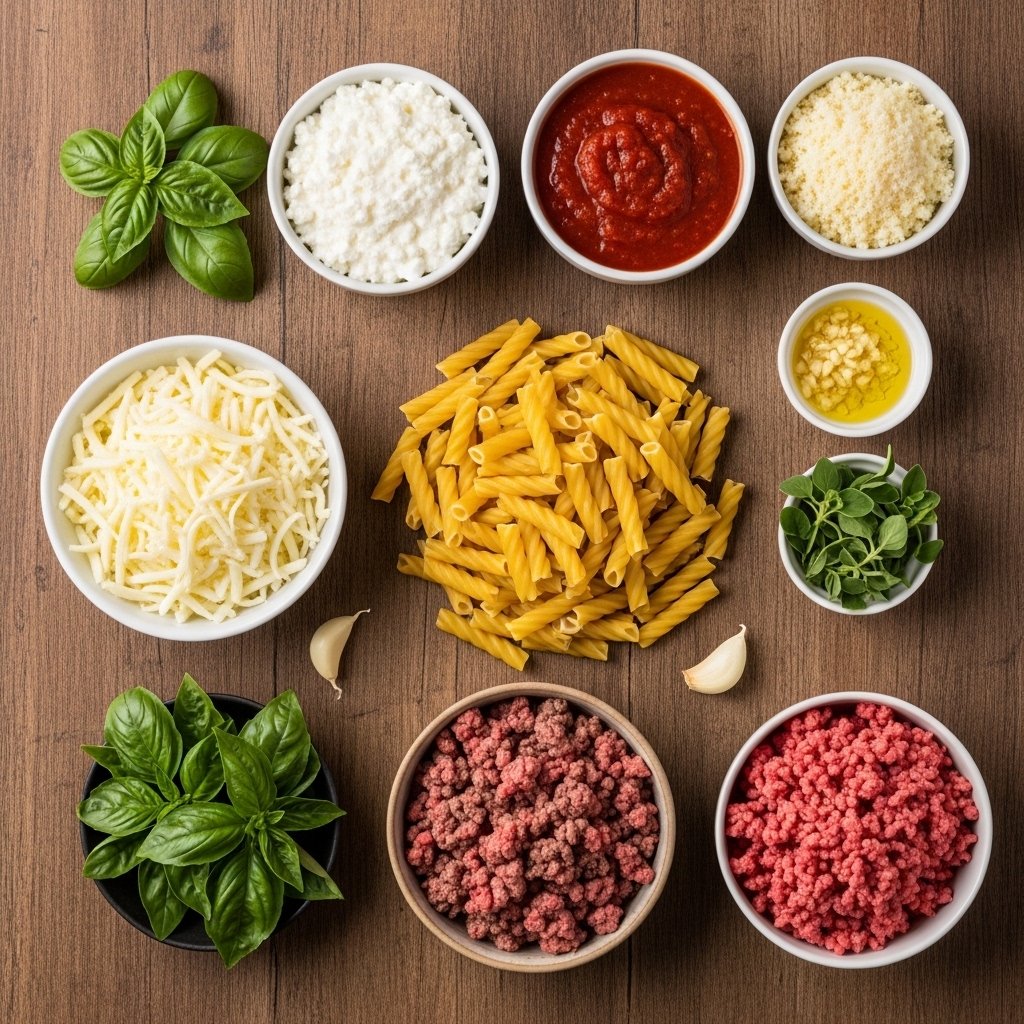
Ingredients You’ll Need
To make this Healthy High Protein Cottage Cheese Baked Ziti, you’ll need simple, wholesome ingredients.
- Ziti pasta (or penne)
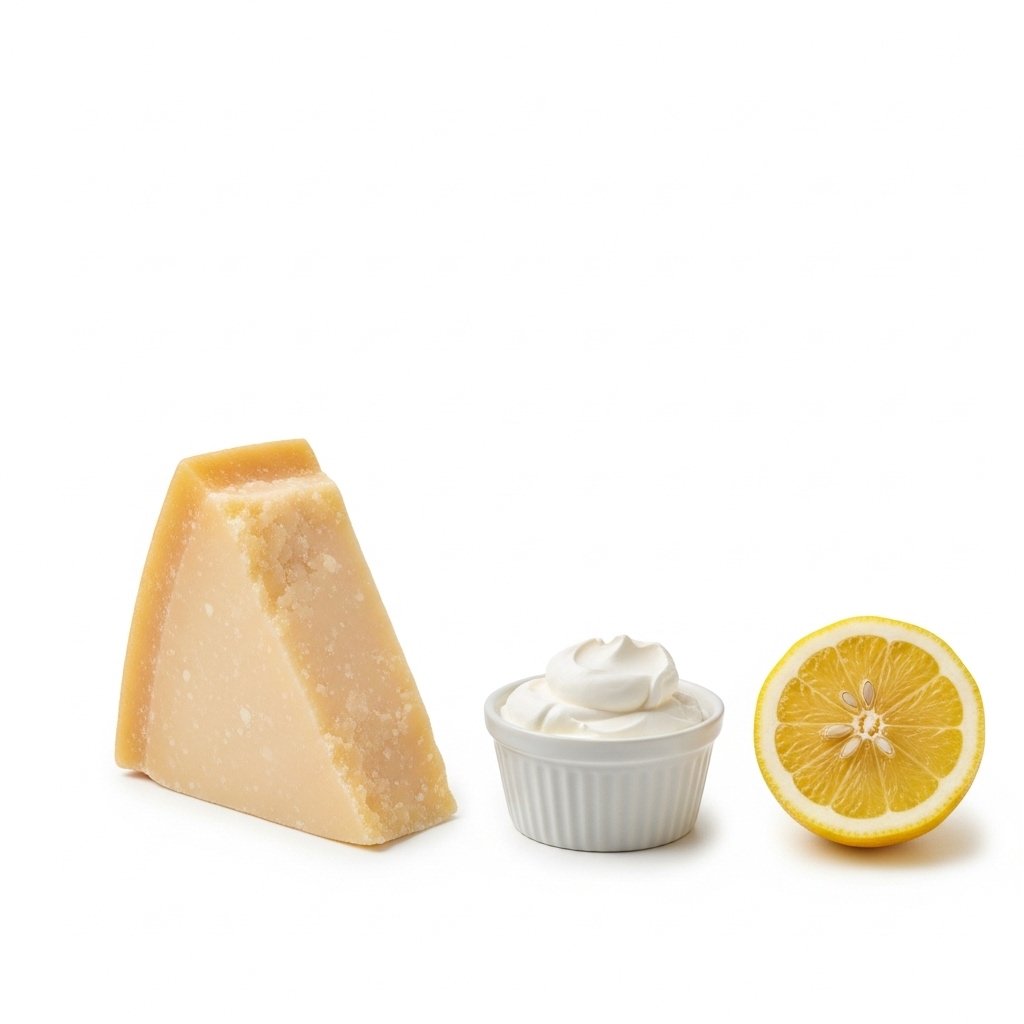
- Cottage cheese (full-fat or low-fat)
- Marinara sauce
- Mozzarella cheese, shredded
- Parmesan cheese, grated
- Ground turkey or beef (optional)
- Garlic cloves, minced
- Olive oil
- Italian seasoning
- Salt and black pepper
- Optional: fresh basil or parsley
Ingredient Notes & Substitutions
One of the best things about Healthy High Protein Cottage Cheese Baked Ziti is how flexible it is.
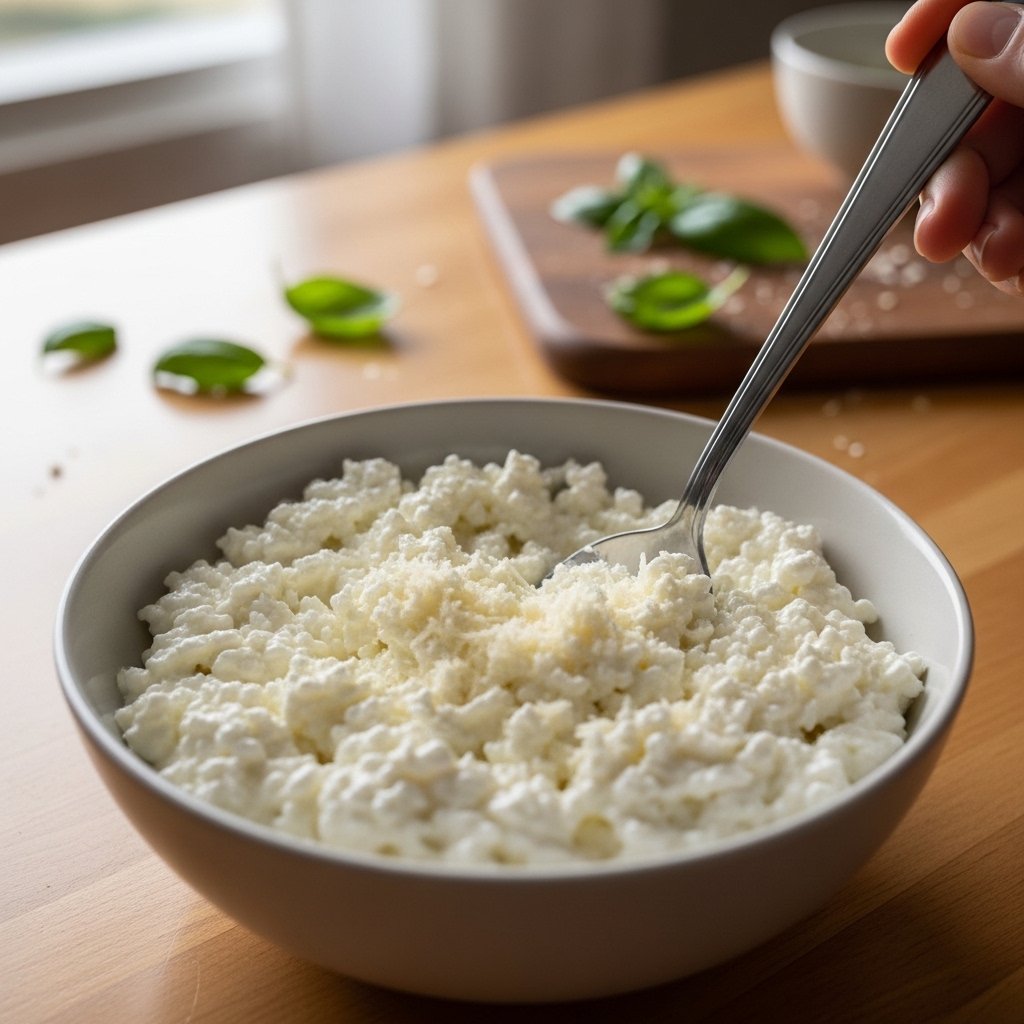
Cottage cheese is the star here—it adds protein and creaminess without the heaviness of ricotta. If you prefer a smoother texture, you can blend the cottage cheese before mixing it in.
For protein, ground turkey is a lean option, but ground beef, chicken, or even plant-based alternatives work well. You can also use whole wheat pasta for extra fiber or gluten-free pasta if needed.
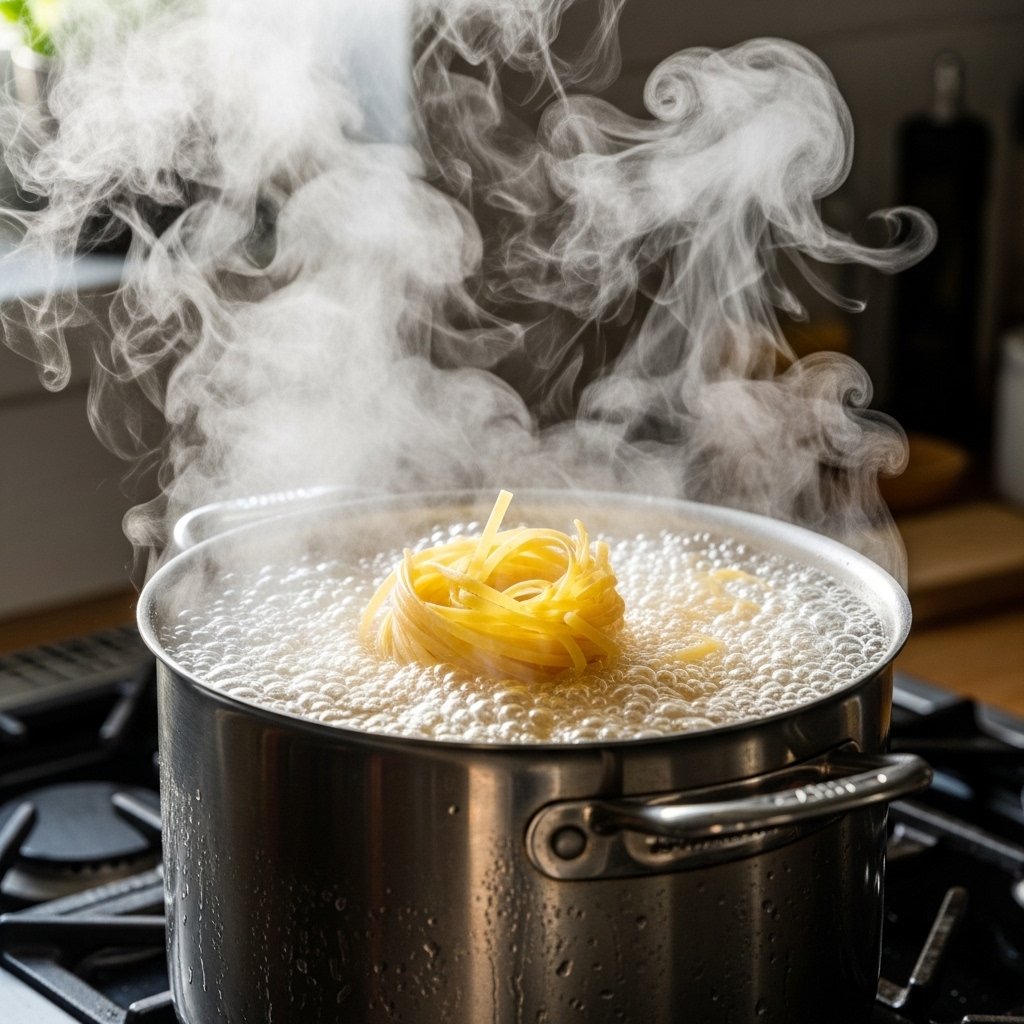
Step-by-Step Instructions
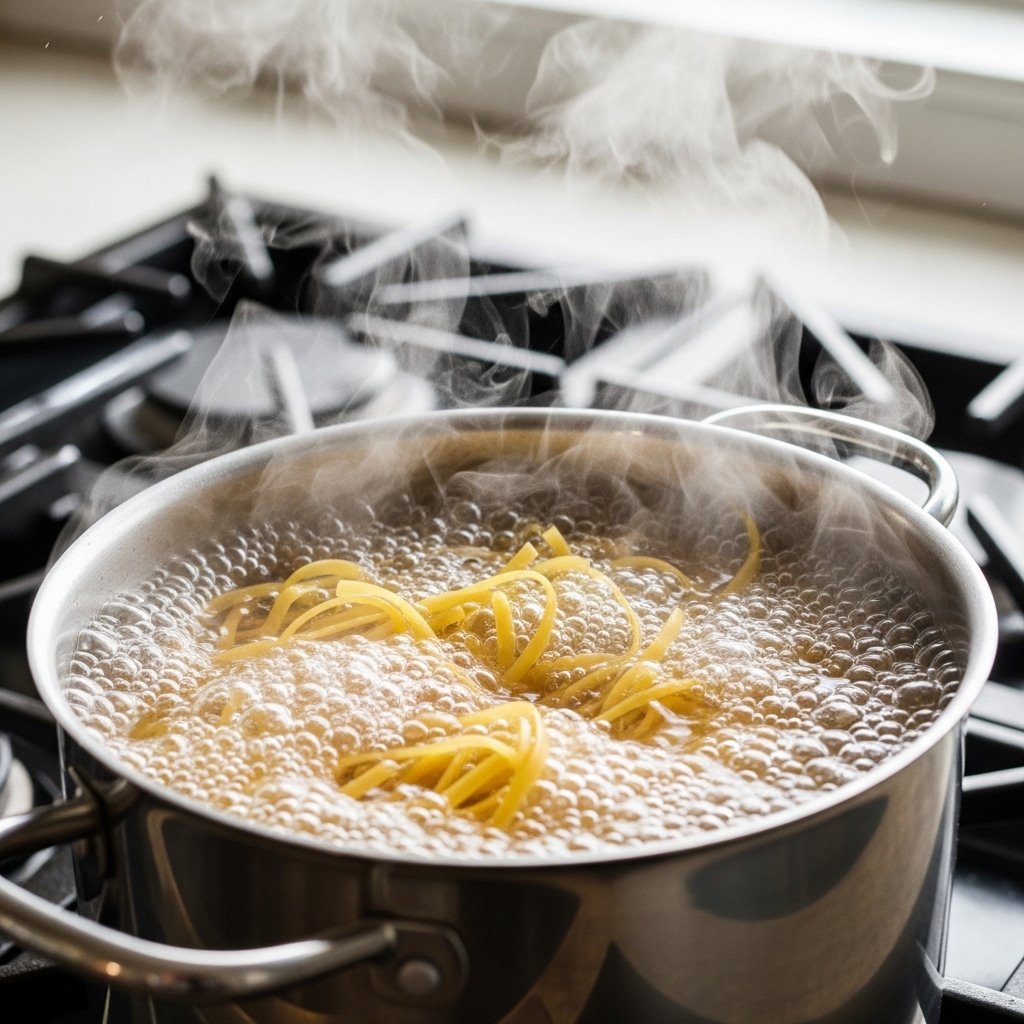
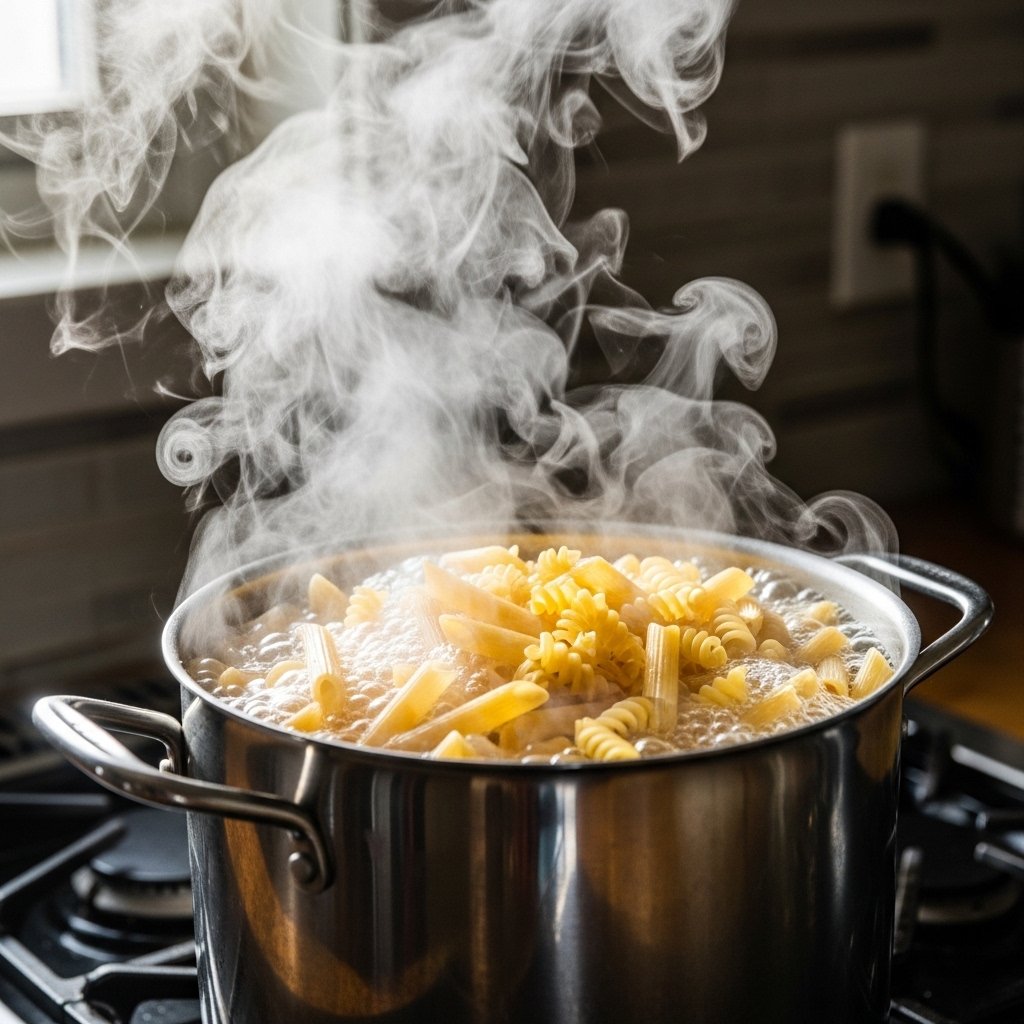
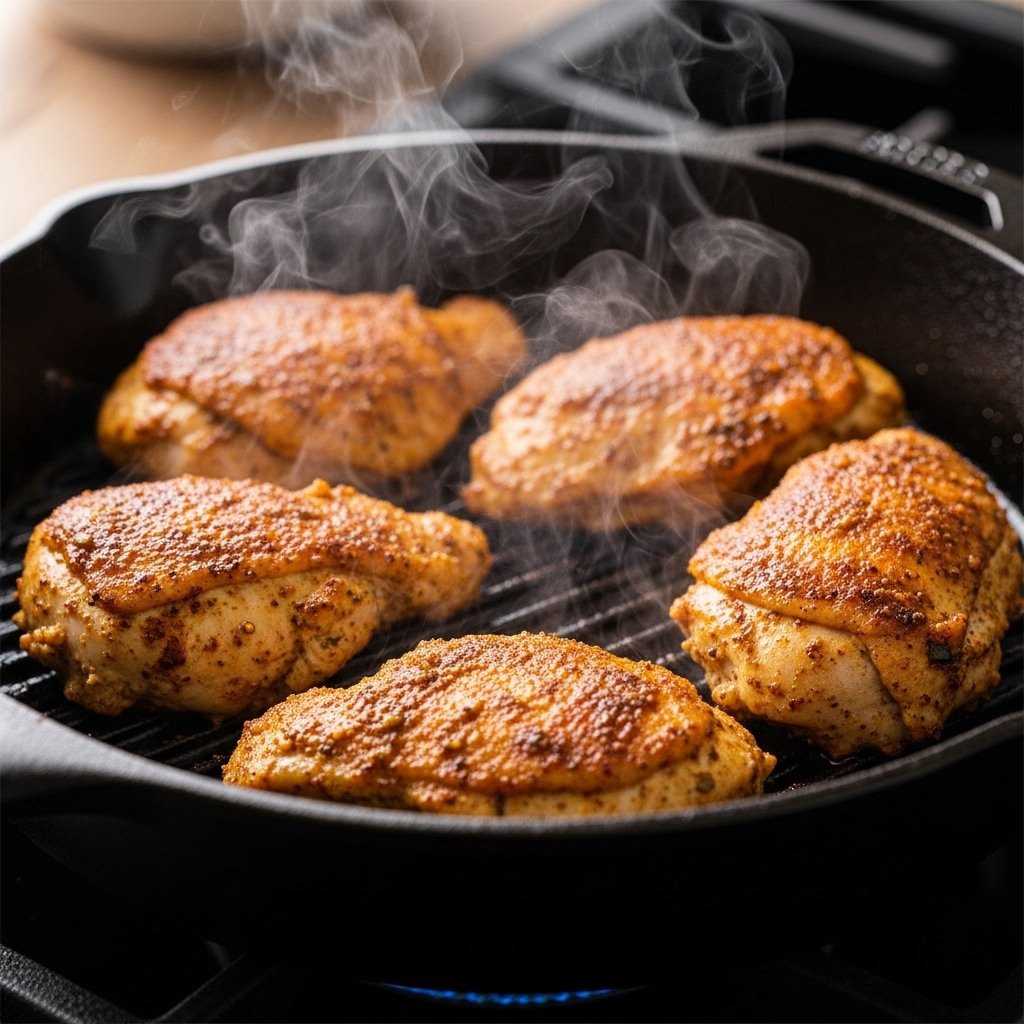
Step 1: Cook the Pasta
Boil ziti in salted water until just al dente. Drain and set aside.

Step 2: Prepare the Sauce
In a skillet, heat olive oil and sauté garlic. Add ground meat if using and cook until browned, then stir in marinara sauce and seasoning.
Step 3: Mix the Creamy Layer
In a bowl, combine cottage cheese, Parmesan, and a pinch of salt and pepper. This creates the creamy base for the Healthy High Protein Cottage Cheese Baked Ziti.
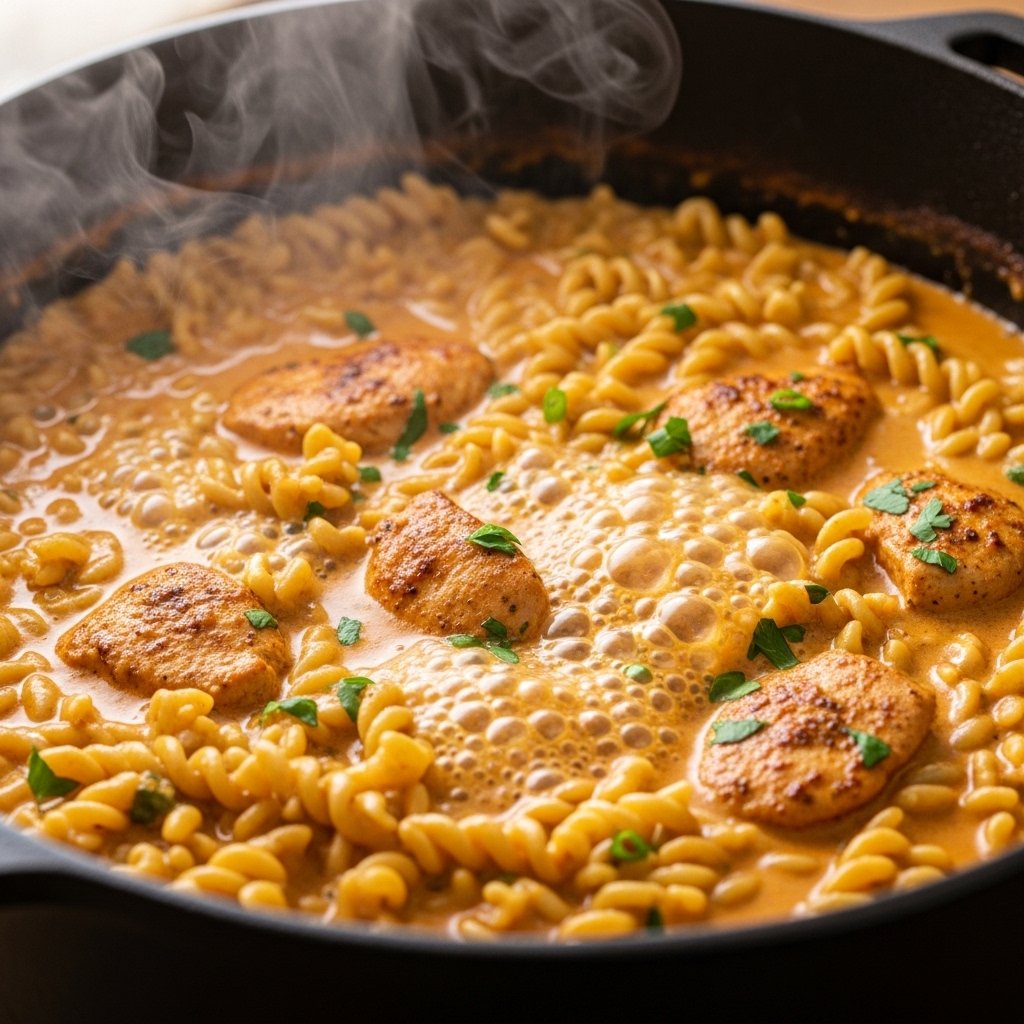
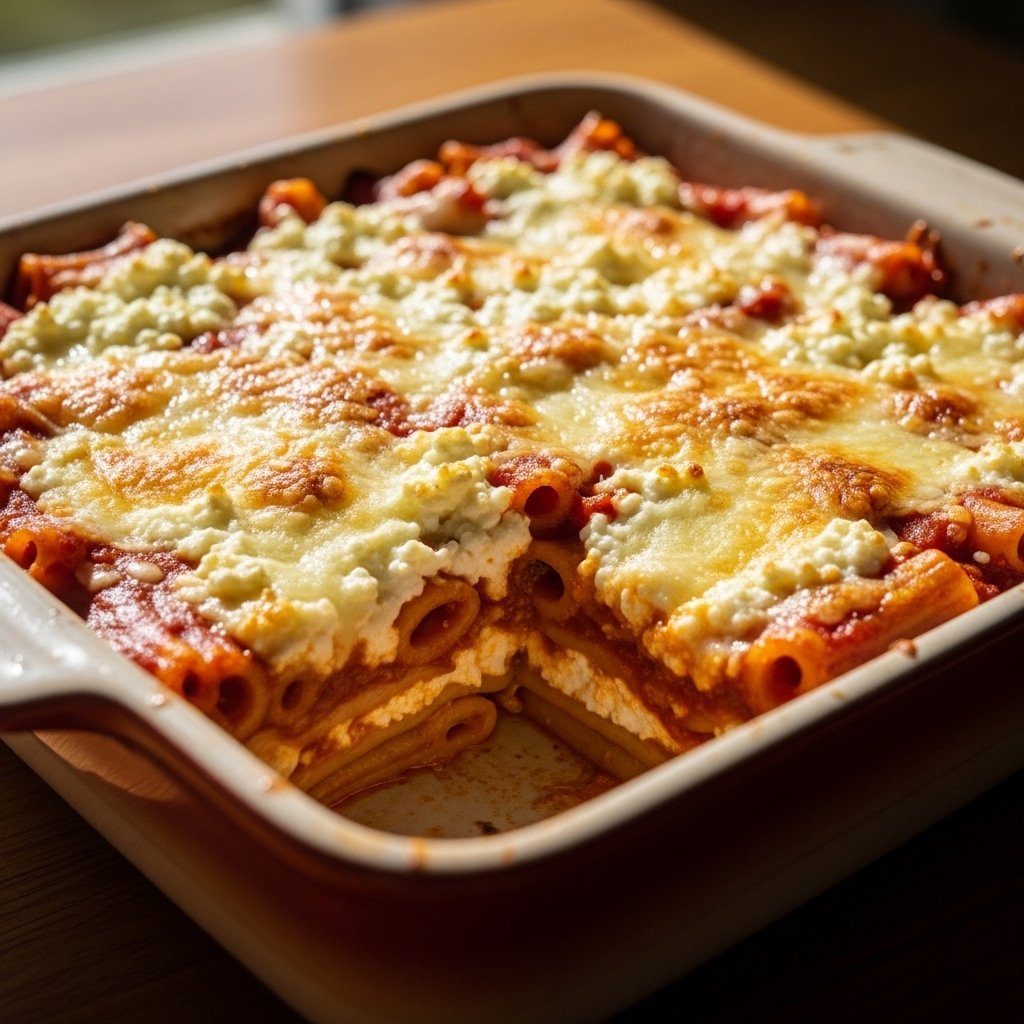
Step 4: Assemble the Ziti
Layer pasta, sauce, and cottage cheese mixture in a baking dish. Repeat layers and top with mozzarella cheese.
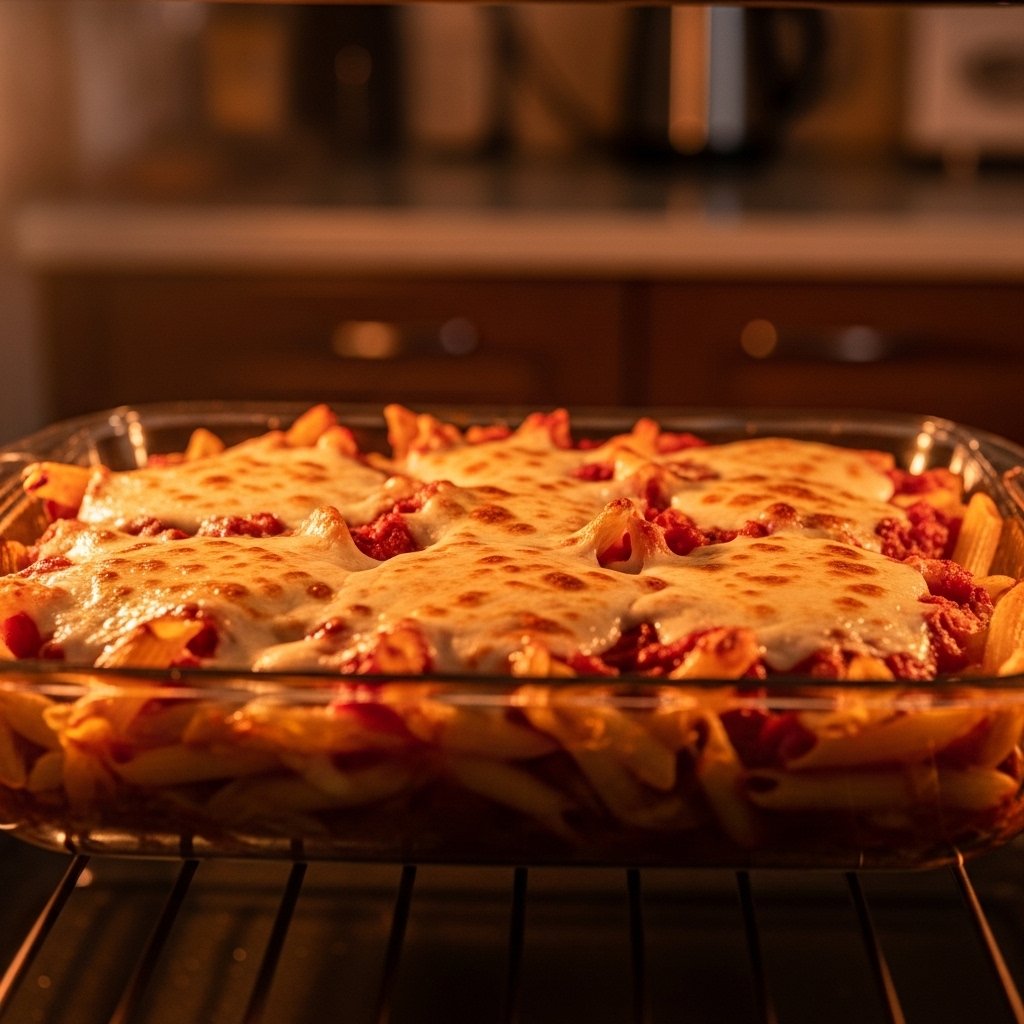
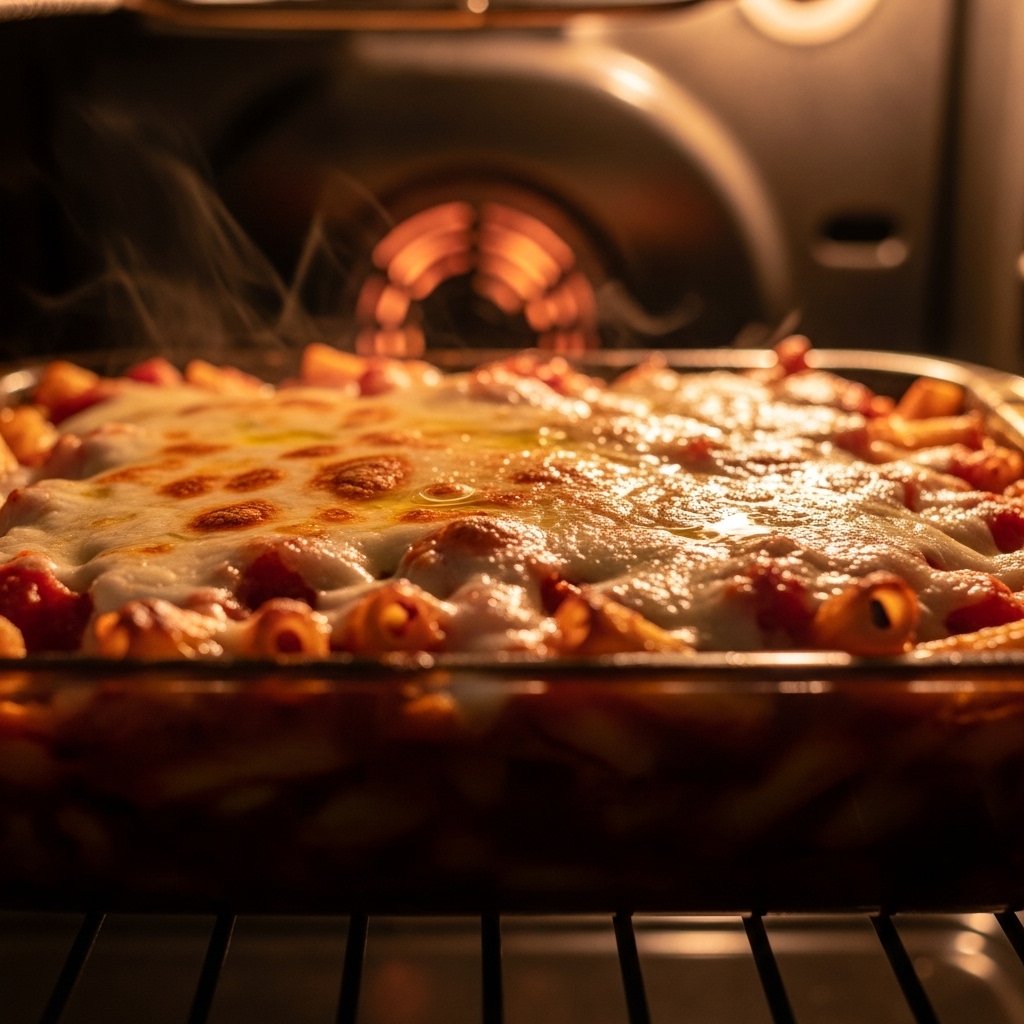
Step 5: Bake Until Golden
Bake until the cheese is melted, bubbly, and slightly golden on top.
Tips for Perfect Results
To make your Healthy High Protein Cottage Cheese Baked Ziti perfect every time, follow these tips:
- Don’t overcook pasta before baking
- Blend cottage cheese for smoother texture if desired
- Use high-quality marinara for best flavor
- Let the dish rest before serving
- Add fresh herbs for brightness
These tips help you achieve the perfect balance of creamy and flavorful.
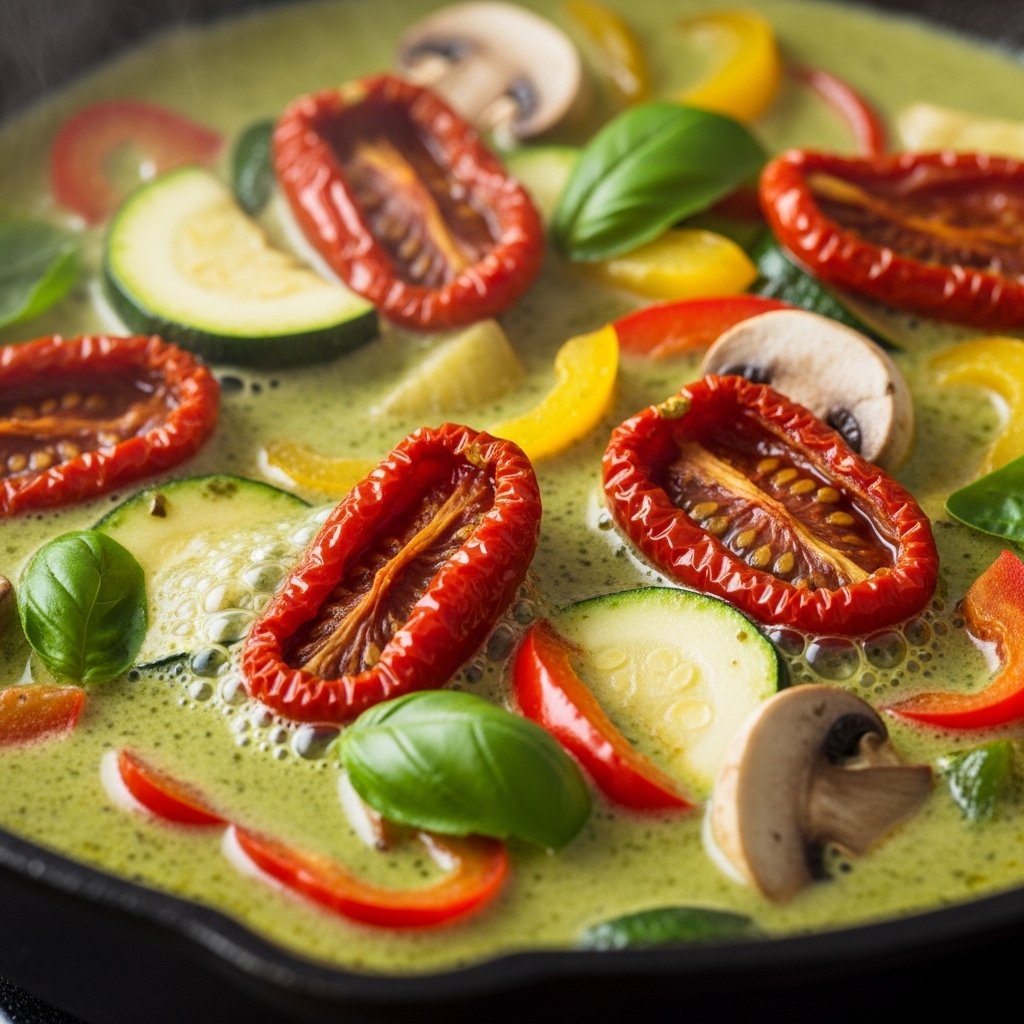
Delicious Variations
This Healthy High Protein Cottage Cheese Baked Ziti is easy to customize.
- Vegetarian version: Skip meat and add spinach or mushrooms
- Spicy twist: Add red pepper flakes
- Extra protein: Add shredded chicken
- Low-carb option: Use zucchini noodles
- Cheesy upgrade: Add ricotta or cream cheese
Each variation lets you tailor the recipe to your preferences.
What to Serve With This Baked Ziti
This dish pairs perfectly with simple sides to balance the richness.
- Garlic bread or whole grain bread
- Fresh green salad
- Roasted vegetables
- Tomato soup
- Sparkling water or iced tea
These sides complement the hearty Healthy High Protein Cottage Cheese Baked Ziti beautifully.
Storage & Reheating Tips
This recipe is ideal for leftovers and meal prep.
Store in an airtight container in the refrigerator for up to 4 days. Reheat in the oven or microwave with a splash of water or sauce to keep it moist.
You can also freeze portions for up to 2 months for easy future meals.
Common Mistakes to Avoid
Even simple baked dishes can go wrong without the right technique.
- Overcooking pasta before baking
- Using too much liquid sauce
- Skipping seasoning layers
- Not letting it rest after baking
- Overbaking until dry
Avoiding these mistakes ensures your Healthy High Protein Cottage Cheese Baked Ziti turns out perfect.
Frequently Asked Questions
Can I use ricotta instead of cottage cheese?
Yes, but cottage cheese adds more protein and a lighter texture.
Can I make this ahead of time?
Absolutely—assemble and refrigerate, then bake when ready.
Is this recipe freezer-friendly?
Yes, it freezes well for up to 2 months.
Can I make it vegetarian?
Yes, simply skip the meat and add more vegetables.
Final Thoughts
Healthy High Protein Cottage Cheese Baked Ziti is the perfect blend of comfort food and smart eating. It’s creamy, satisfying, and packed with protein while still being easy to make and family-friendly.
Whether you’re meal prepping, feeding a crowd, or just craving a cozy dinner, this recipe delivers every time—and you’ll feel good about every bite.