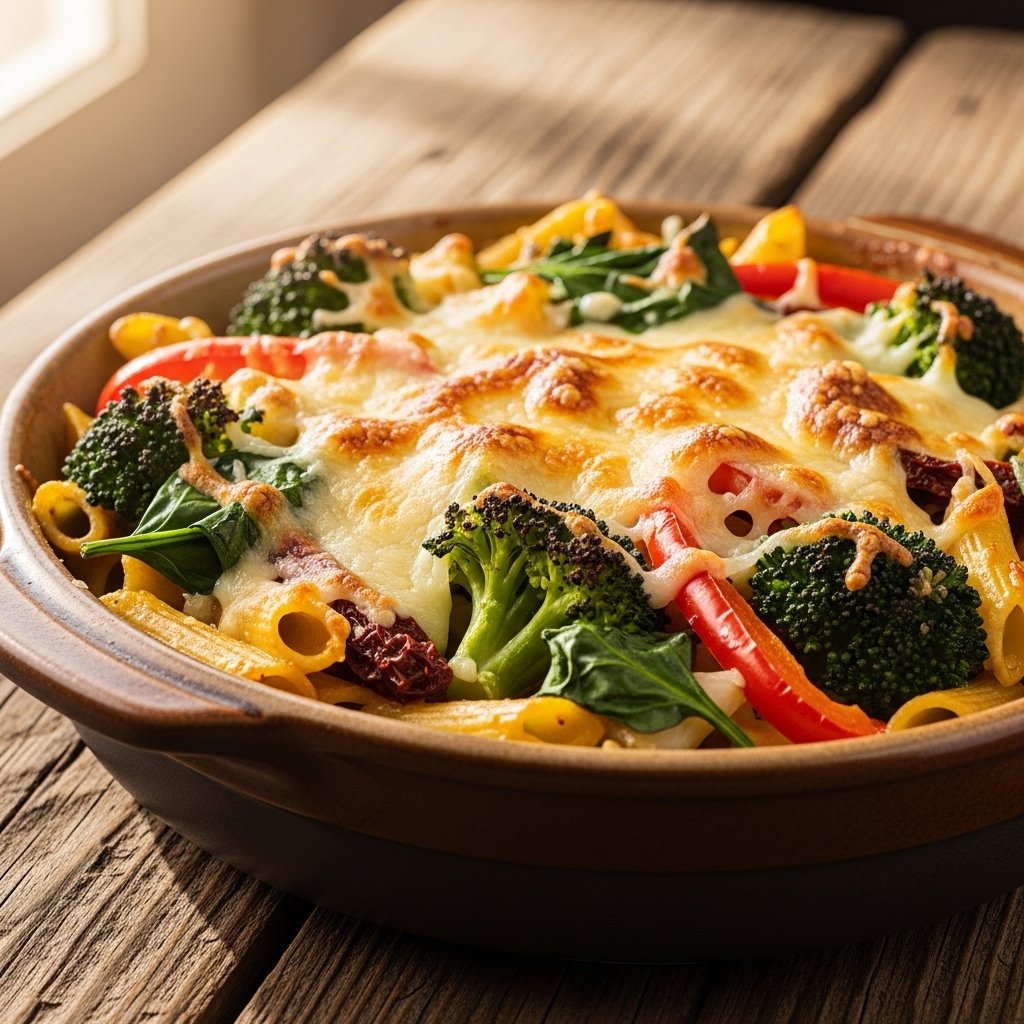
The Creamy Cabbage Casserole with Bacon is one of those cozy, old-fashioned comfort food recipes that deserves a permanent spot on your dinner table. It transforms simple cabbage into a rich, creamy, and cheesy baked dish that even picky eaters tend to love. Add crispy bacon into the mix, and you’ve got a casserole that’s smoky, savory, and absolutely irresistible.
What makes this Creamy Cabbage Casserole with Bacon so special is how it turns humble ingredients into something deeply satisfying. The cabbage becomes tender and sweet as it bakes, while the creamy sauce and melted cheese coat every bite. It’s budget-friendly, easy to prepare, and perfect for both weeknight dinners and holiday spreads.

Why You’ll Love This Creamy Cabbage Casserole with Bacon
This dish is the definition of comfort food made simple. It’s rich, flavorful, and surprisingly easy to prepare.
- Budget-friendly ingredients with big flavor
- Perfect balance of creamy, cheesy, and smoky
- Great way to use up fresh cabbage
- Easy one-dish baked meal
- Family-friendly and meal-prep approved
The Creamy Cabbage Casserole with Bacon is the kind of recipe that feels like home cooking at its best.
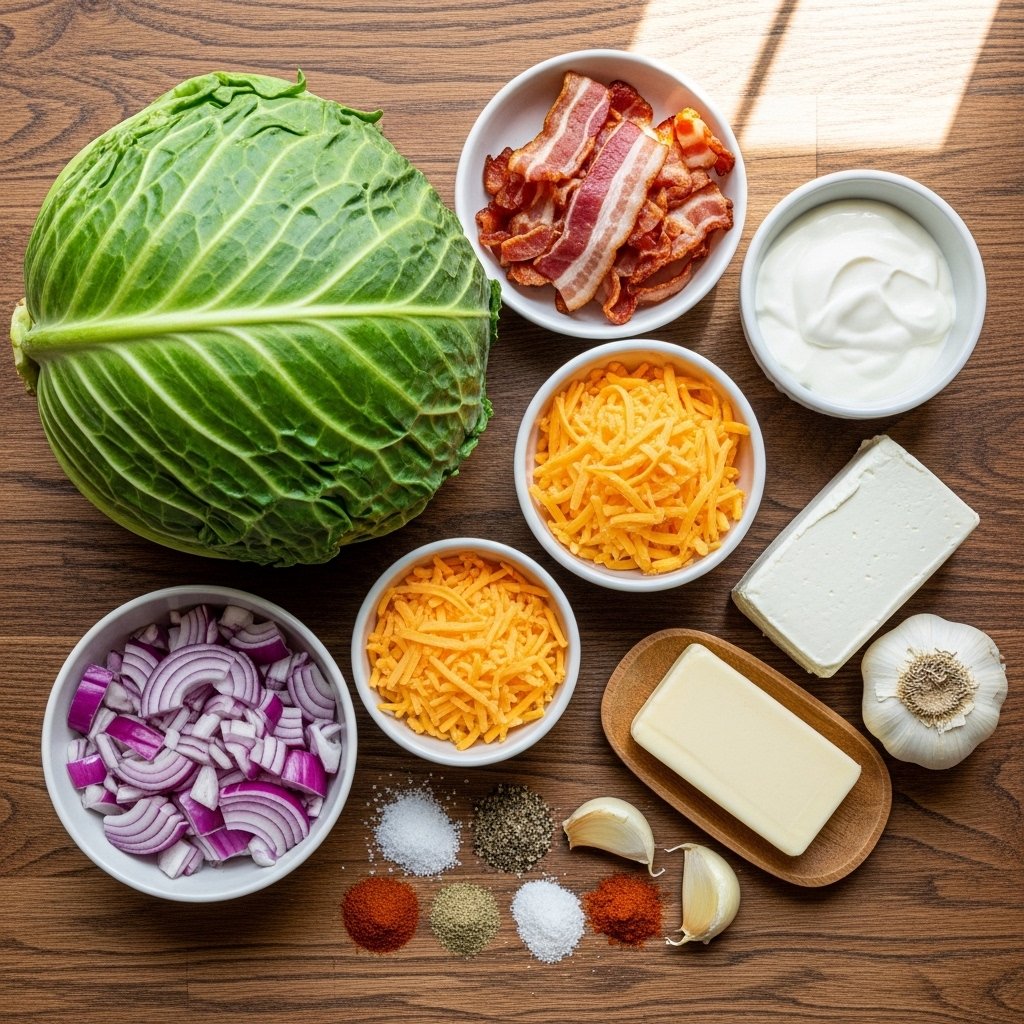
Ingredients You’ll Need
To make this Creamy Cabbage Casserole with Bacon, you only need a handful of everyday ingredients that work beautifully together.
- Green cabbage, chopped
- Bacon strips, cooked and crumbled
- Onion, finely diced
- Garlic, minced
- Heavy cream or half-and-half
- Cream cheese
- Cheddar cheese, shredded
- Parmesan cheese
- Butter
- Salt and black pepper
- Optional: paprika or red pepper flakes
Ingredient Notes & Substitutions
The beauty of the Creamy Cabbage Casserole with Bacon is how flexible and forgiving it is.
If you want a lighter version, you can swap heavy cream for milk or even evaporated milk. Turkey bacon can replace regular bacon for a leaner option, though you’ll lose a bit of smokiness. For extra richness, add mozzarella or Gruyère cheese.
You can also enhance the flavor by adding cooked sausage, mushrooms, or even shredded chicken for a heartier casserole.
Step-by-Step Instructions
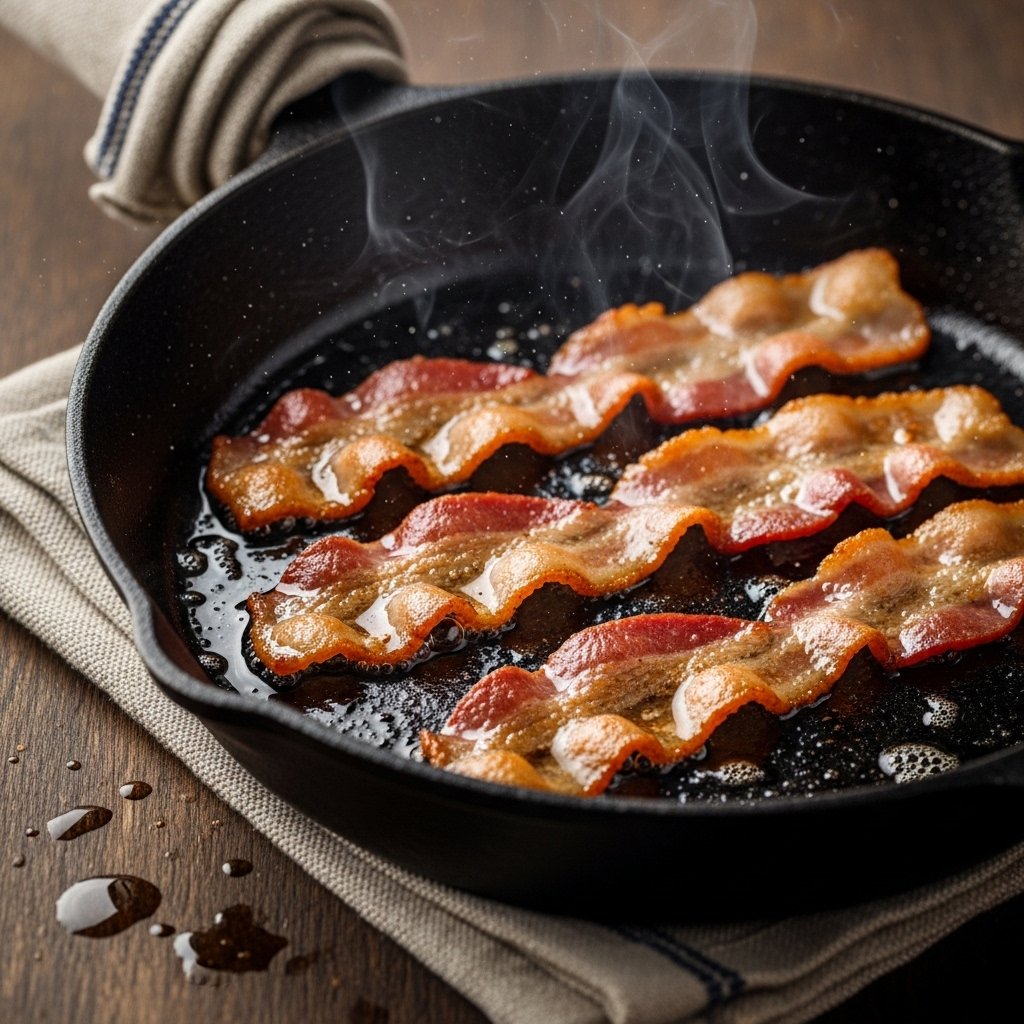
Step 1: Cook the Bacon
Start by cooking bacon in a large skillet until crispy. Remove and crumble, but keep a little bacon grease in the pan for flavor.
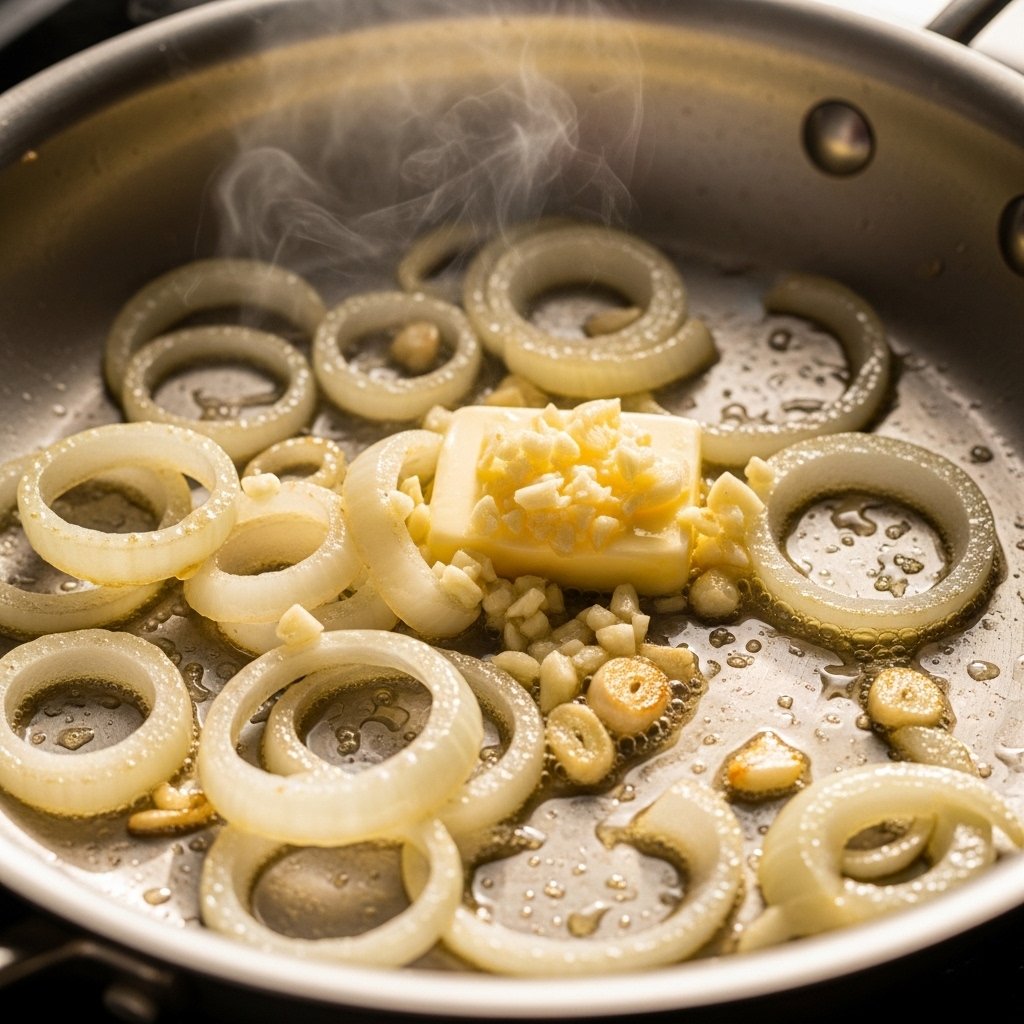
Step 2: Sauté the Aromatics
In the same skillet, add butter, onions, and garlic. Sauté until soft and fragrant. This builds the flavor base for the Creamy Cabbage Casserole with Bacon.
Step 3: Cook the Cabbage
Add chopped cabbage and cook until slightly softened. It should still have some texture since it will continue cooking in the oven.
Step 4: Make the Creamy Sauce
Stir in cream cheese and heavy cream until smooth. Add cheddar and parmesan cheese, stirring until melted into a thick, creamy sauce that coats the cabbage.

Step 5: Assemble and Bake
Transfer everything to a baking dish. Sprinkle crumbled bacon on top along with extra cheese. Bake until golden, bubbly, and slightly crisp on top.

Tips for Perfect Results
To make your Creamy Cabbage Casserole with Bacon absolutely perfect, follow these expert tips:
- Don’t overcook cabbage before baking
- Reserve some bacon for topping for extra crunch
- Use freshly shredded cheese for best melting
- Season in layers for maximum flavor
- Let casserole rest before serving for better texture
These small steps make a big difference in the final dish.
Delicious Variations
One of the best things about Creamy Cabbage Casserole with Bacon is how easy it is to customize.
- Keto version: Naturally low-carb and keto-friendly
- Cheesy deluxe: Add mozzarella or pepper jack cheese
- Spicy version: Add jalapeños or chili flakes
- Protein boost: Add sausage or ground beef
- Vegetarian twist: Skip bacon and add smoked paprika
Each variation keeps the comforting base while adding a new flavor profile.
What to Serve With Creamy Cabbage Casserole with Bacon
This casserole is rich and satisfying, so it pairs best with lighter sides.
- Roasted chicken or turkey
- Grilled steak or pork chops
- Simple green salad with vinaigrette
- Steamed rice or cauliflower rice
- Crusty bread for scooping
These sides balance the richness of the Creamy Cabbage Casserole with Bacon perfectly.
Storage & Reheating Tips
This casserole stores very well, making it great for leftovers.
Store in an airtight container in the refrigerator for up to 4 days. Reheat in the oven or microwave with a splash of cream or milk to restore creaminess. Avoid overheating to keep the texture smooth.
You can also freeze it for up to 2 months, though the texture may soften slightly after thawing.
Common Mistakes to Avoid
Even simple casseroles can go wrong without proper technique.
- Overcooking cabbage before baking
- Not draining excess bacon grease if too much
- Skipping seasoning layers
- Using low-quality cheese that doesn’t melt well
- Overbaking until it becomes dry
Avoiding these mistakes ensures your Creamy Cabbage Casserole with Bacon turns out perfect every time.
Frequently Asked Questions
Can I make Creamy Cabbage Casserole with Bacon ahead of time?
Yes, assemble it ahead and bake when ready to serve.
Is this recipe keto-friendly?
Yes, it’s naturally low-carb and perfect for keto diets.
Can I use pre-shredded cabbage?
Absolutely, it saves time and works just as well.
What cheese works best?
Cheddar is classic, but Gruyère or mozzarella also work great.
Final Thoughts
The Creamy Cabbage Casserole with Bacon is the ultimate comfort food side dish that combines simplicity, affordability, and incredible flavor. It’s creamy, cheesy, smoky, and satisfying in every bite.
Whether you’re serving it for a family dinner, holiday meal, or meal prep, this casserole delivers every single time and is sure to become a regular favorite in your kitchen.