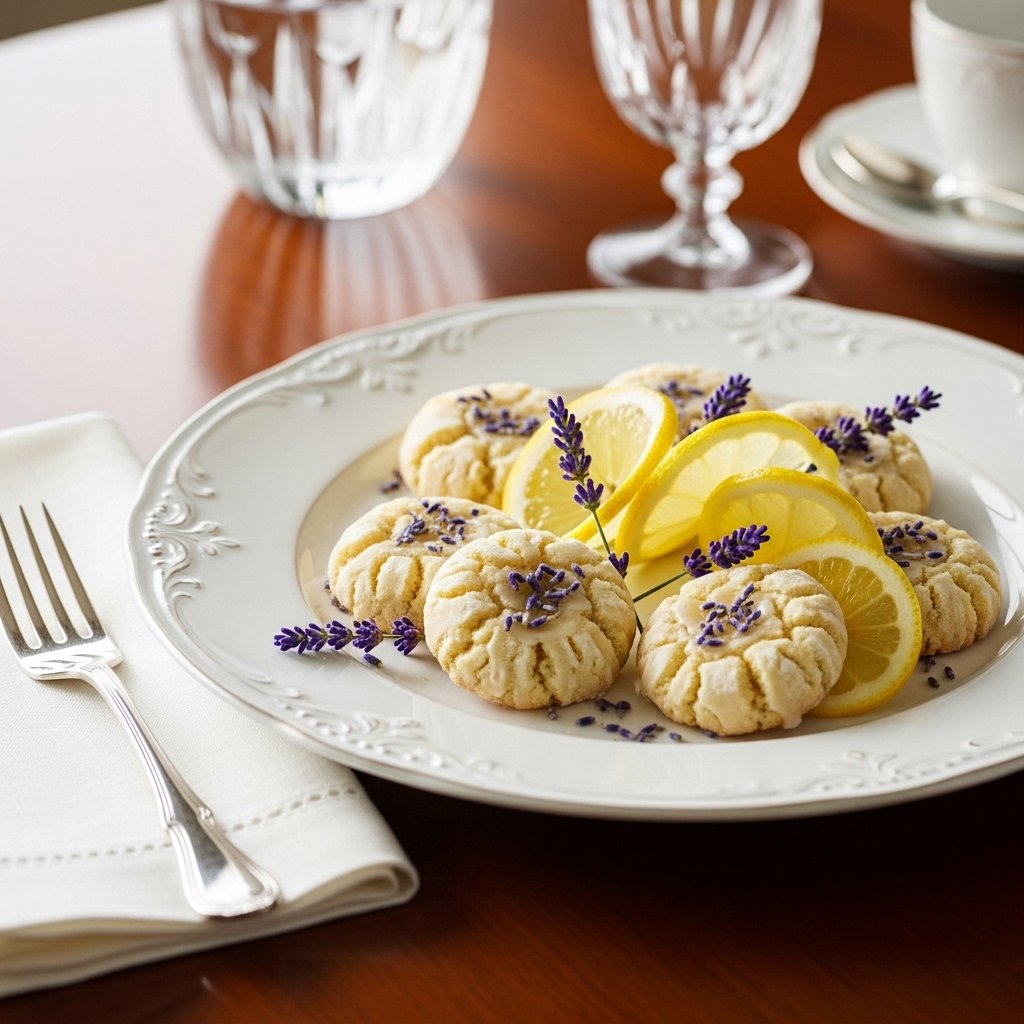
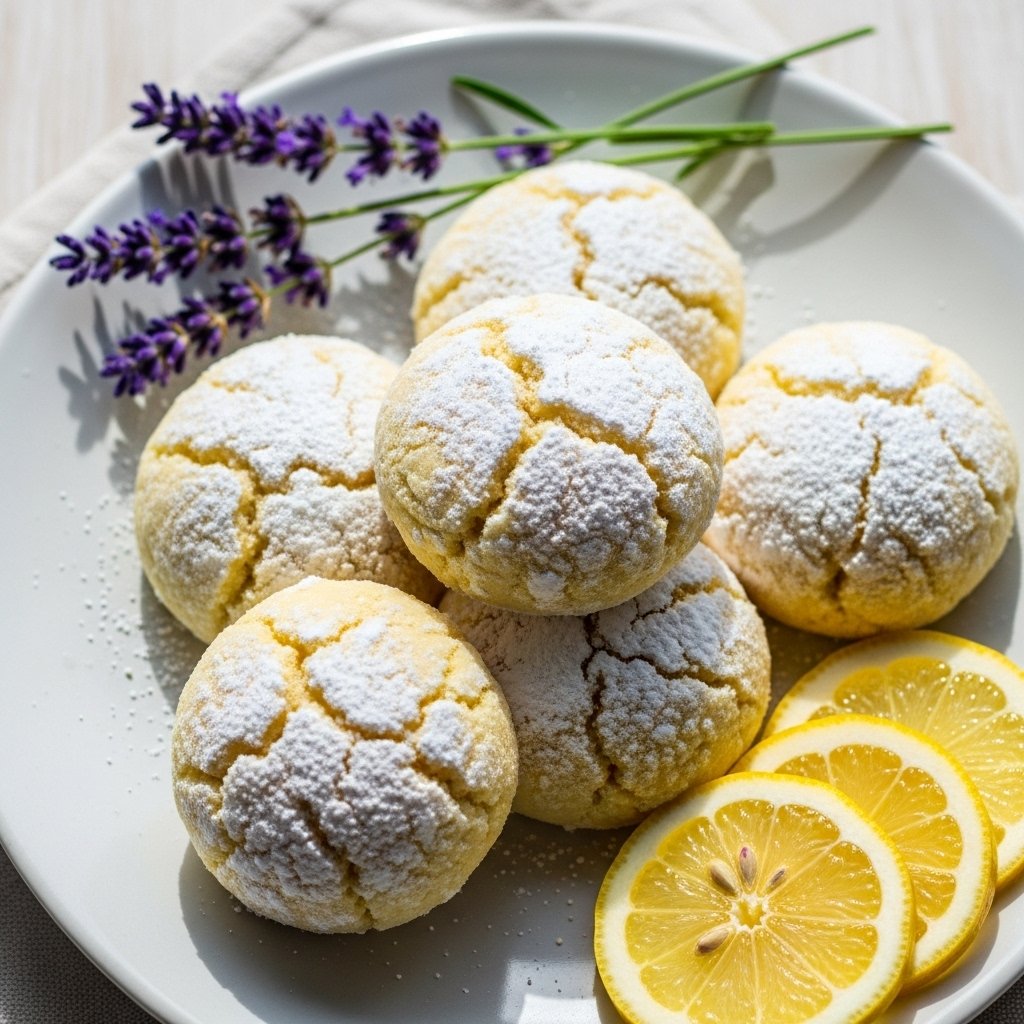
If you’ve never baked with floral flavors before, these Lemon Lavender Cookies are the perfect place to start. They’re soft, buttery, and delicately fragrant with real culinary lavender and bright lemon zest that brings everything to life.
These cookies feel elegant enough for a tea party yet simple enough for everyday baking. The combination of citrus and floral notes creates a refreshing, slightly sophisticated cookie that’s unlike anything you’ll find in a standard cookie jar.
Why You’ll Love These Lemon Lavender Cookies
These Lemon Lavender Cookies are more than just a treat—they’re an experience.
Here’s why you’ll love them:
- Soft, melt-in-your-mouth texture
- Bright citrus flavor balanced with floral lavender
- Elegant bakery-style appearance
- Perfect for tea parties, brunch, or gifting
- Simple ingredients with a gourmet feel
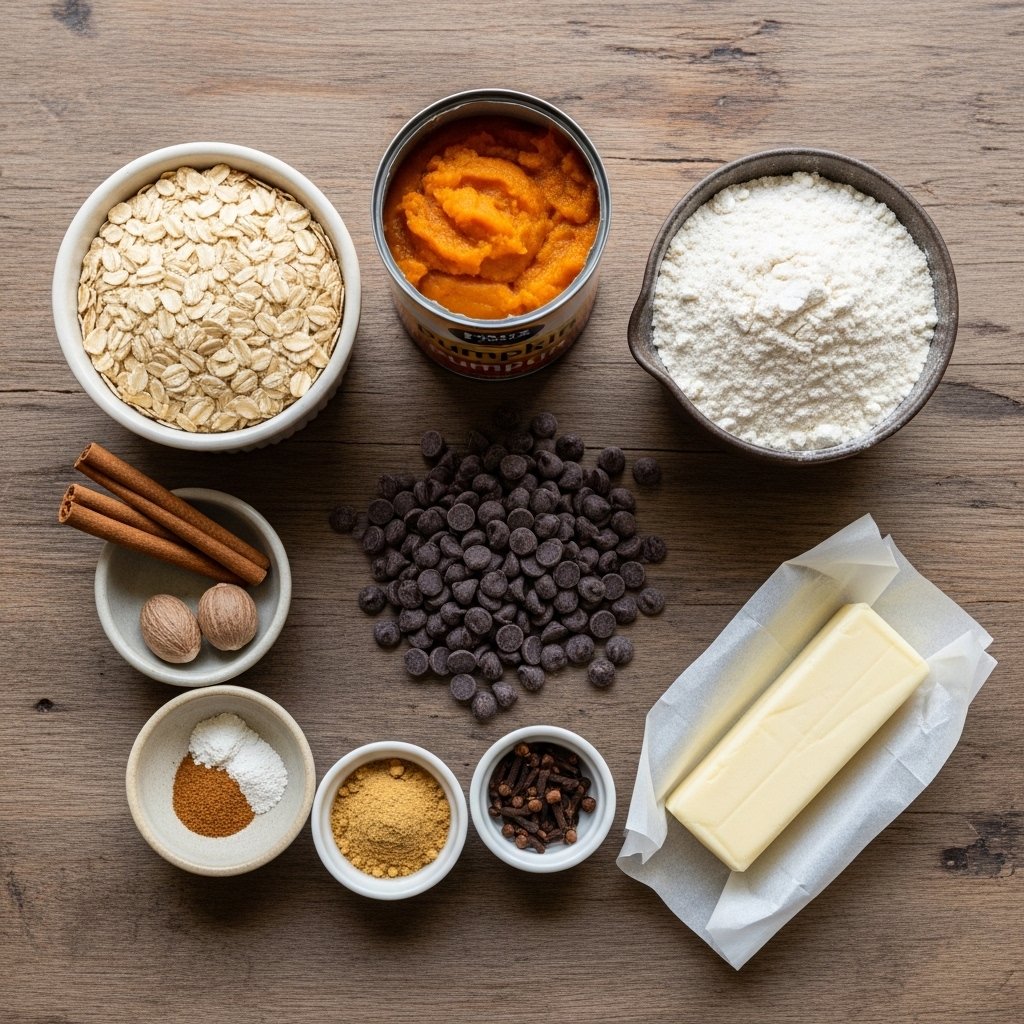
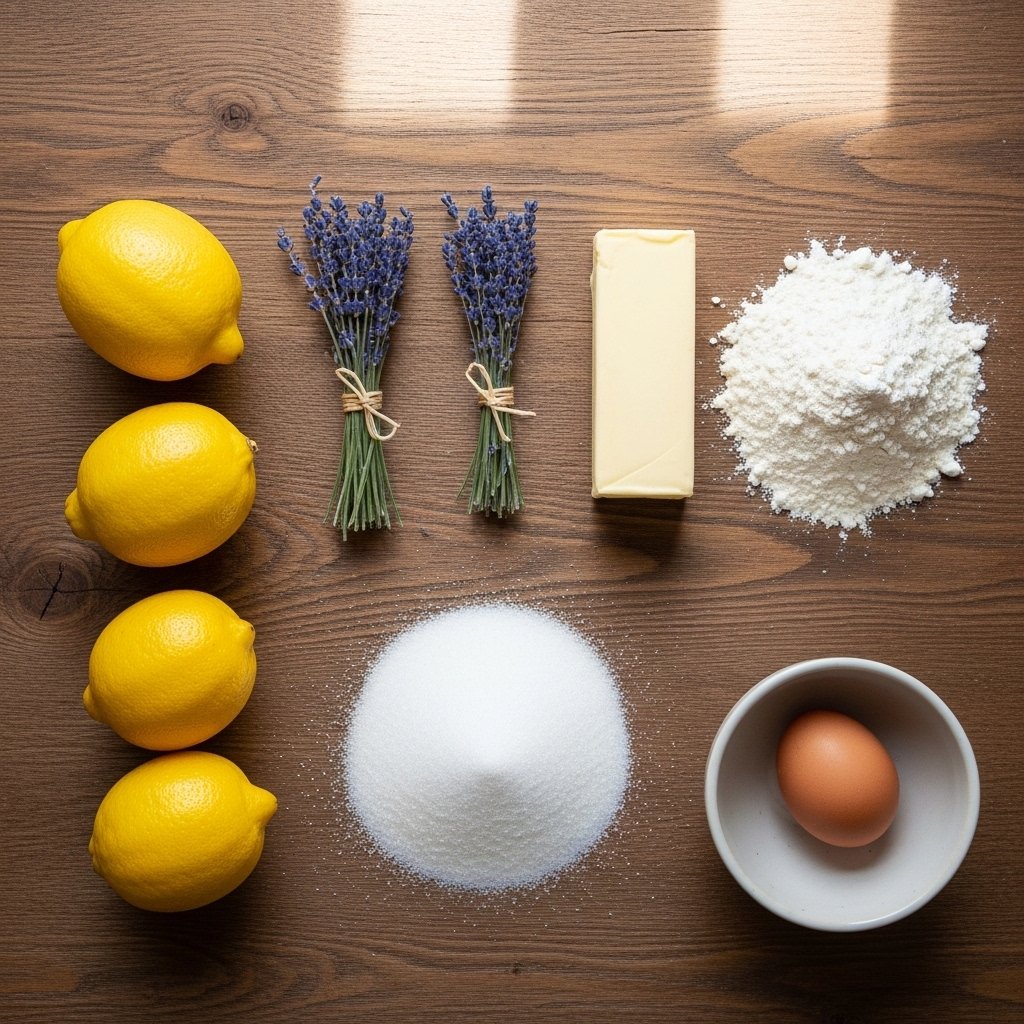
Ingredients
To make these lemon lavender cookies, you’ll need:
- 1/2 cup unsalted butter (softened)
- 3/4 cup granulated sugar
- 1 large egg
- 1 tablespoon lemon zest (freshly grated)
- 2 tablespoons fresh lemon juice
- 1/2 teaspoon vanilla extract
- 1 1/2 cups all-purpose flour
- 1/2 teaspoon baking powder
- 1/4 teaspoon salt
- 1 teaspoon culinary lavender (finely crushed)
- Optional: powdered sugar for dusting
Ingredient Notes
The key to perfect Lemon Lavender Cookies is using high-quality culinary lavender. It should be food-grade, lightly fragrant, and used sparingly—too much can overpower the cookies.
Fresh lemon zest is essential for bright flavor, while lemon juice adds a subtle tang. Together, they balance the floral notes beautifully.
Step-by-Step Instructions
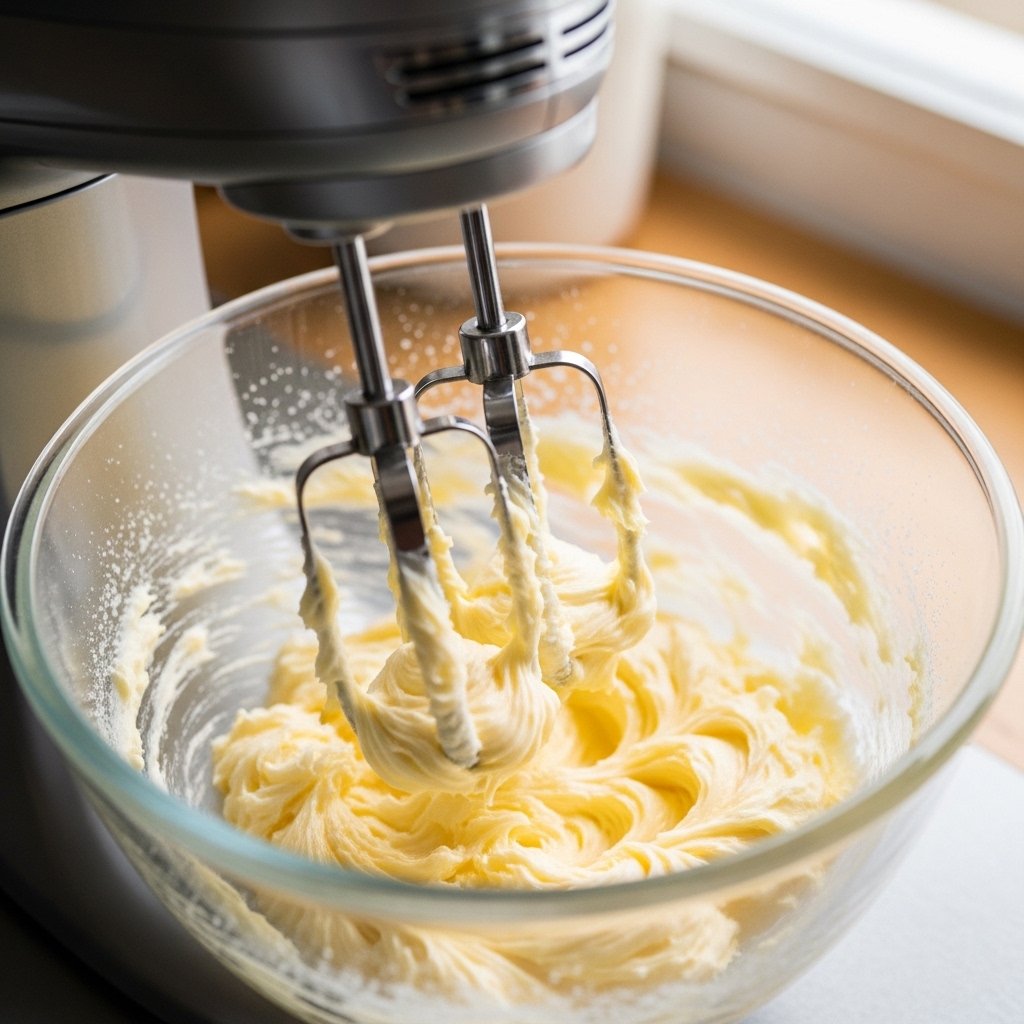
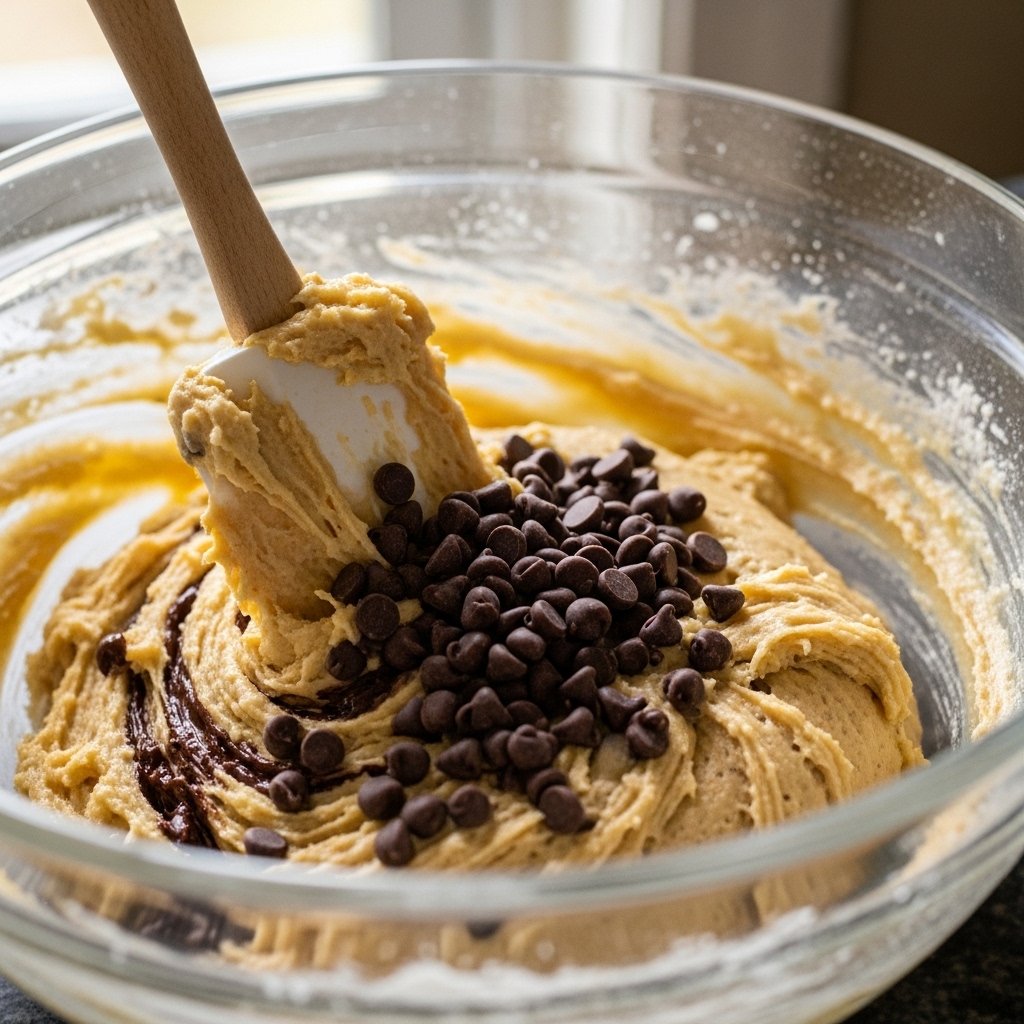
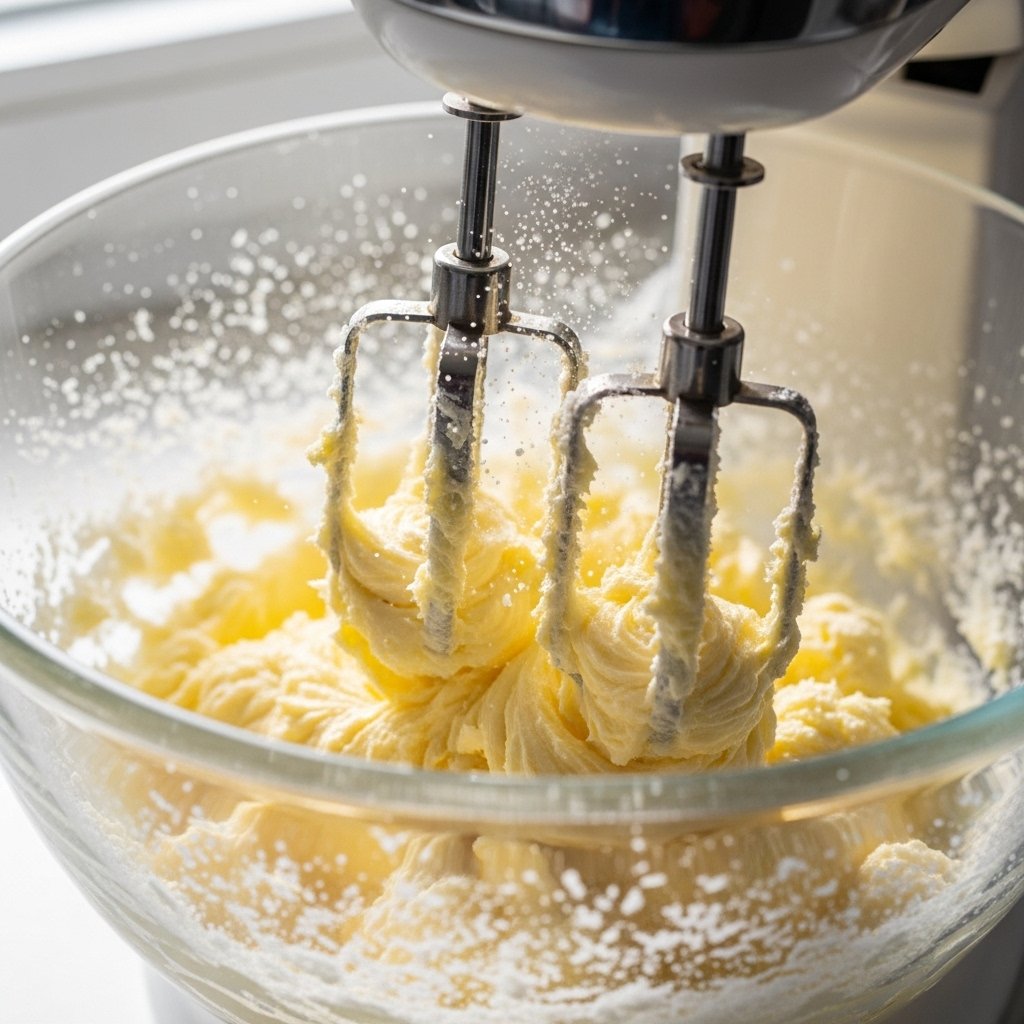
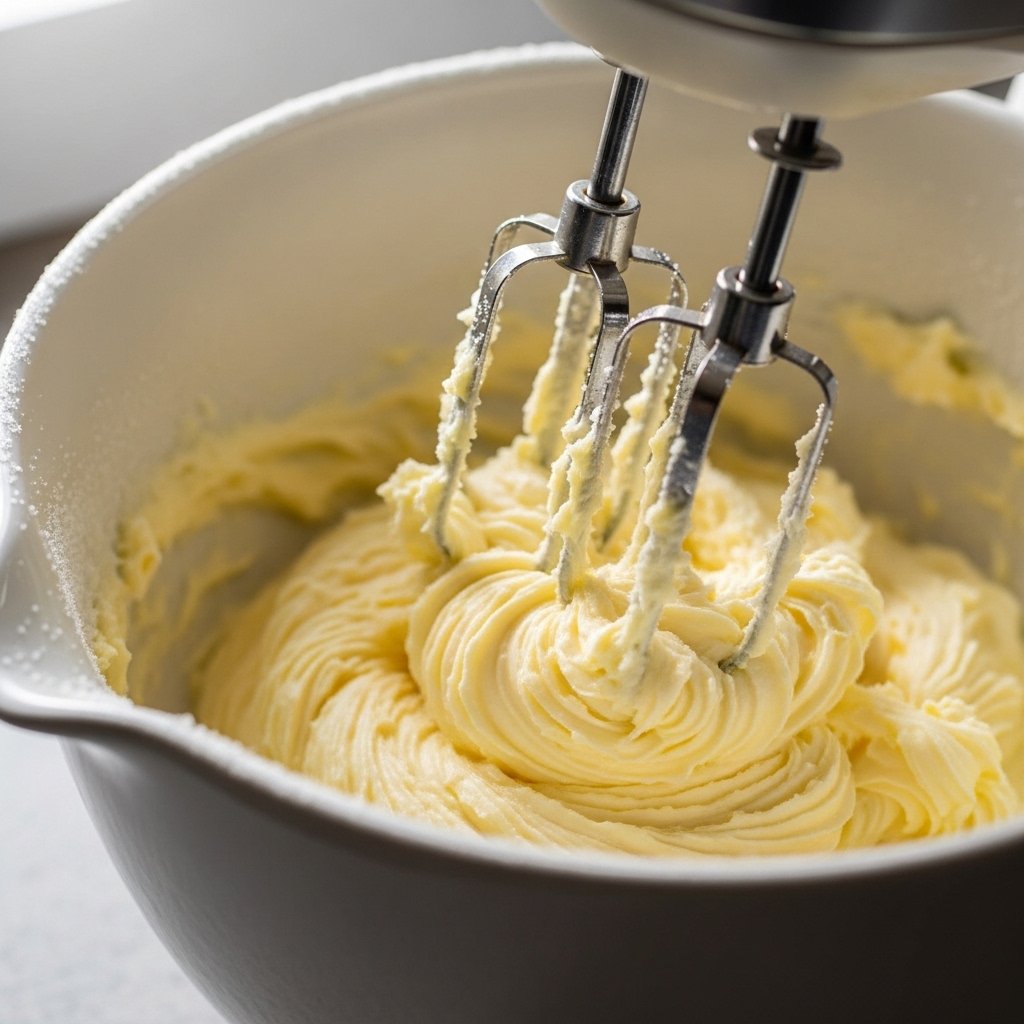
1. Cream Butter and Sugar
In a large bowl, beat butter and sugar until light and fluffy.
2. Add Wet Ingredients
Mix in egg, lemon zest, lemon juice, and vanilla extract until fully combined.
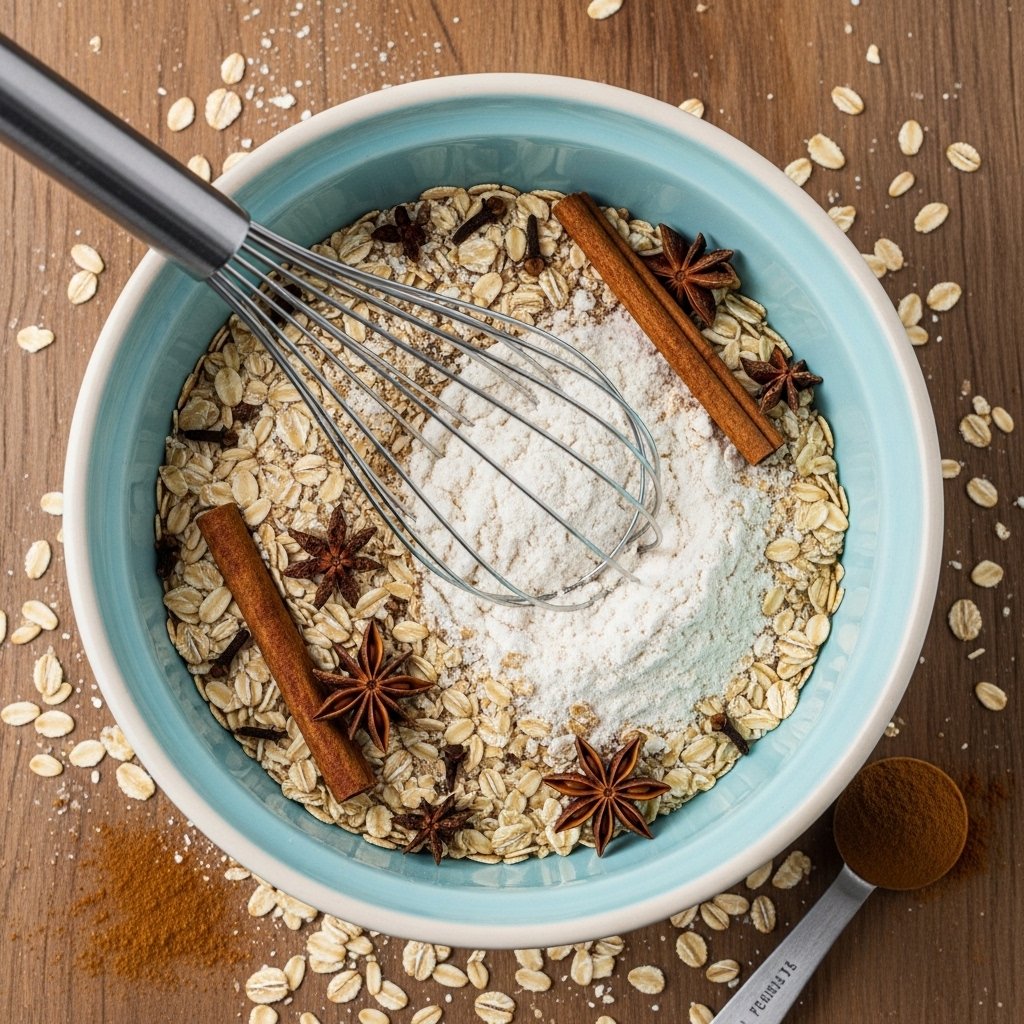
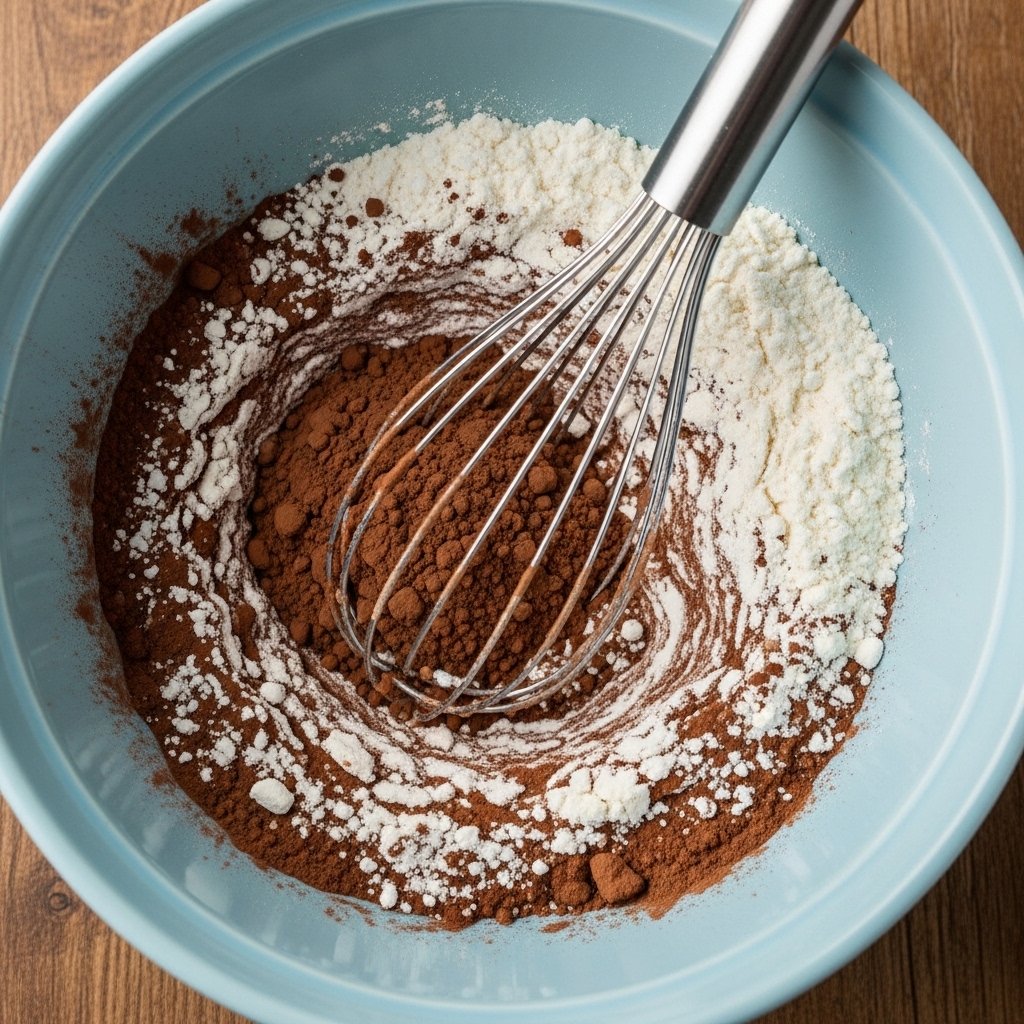
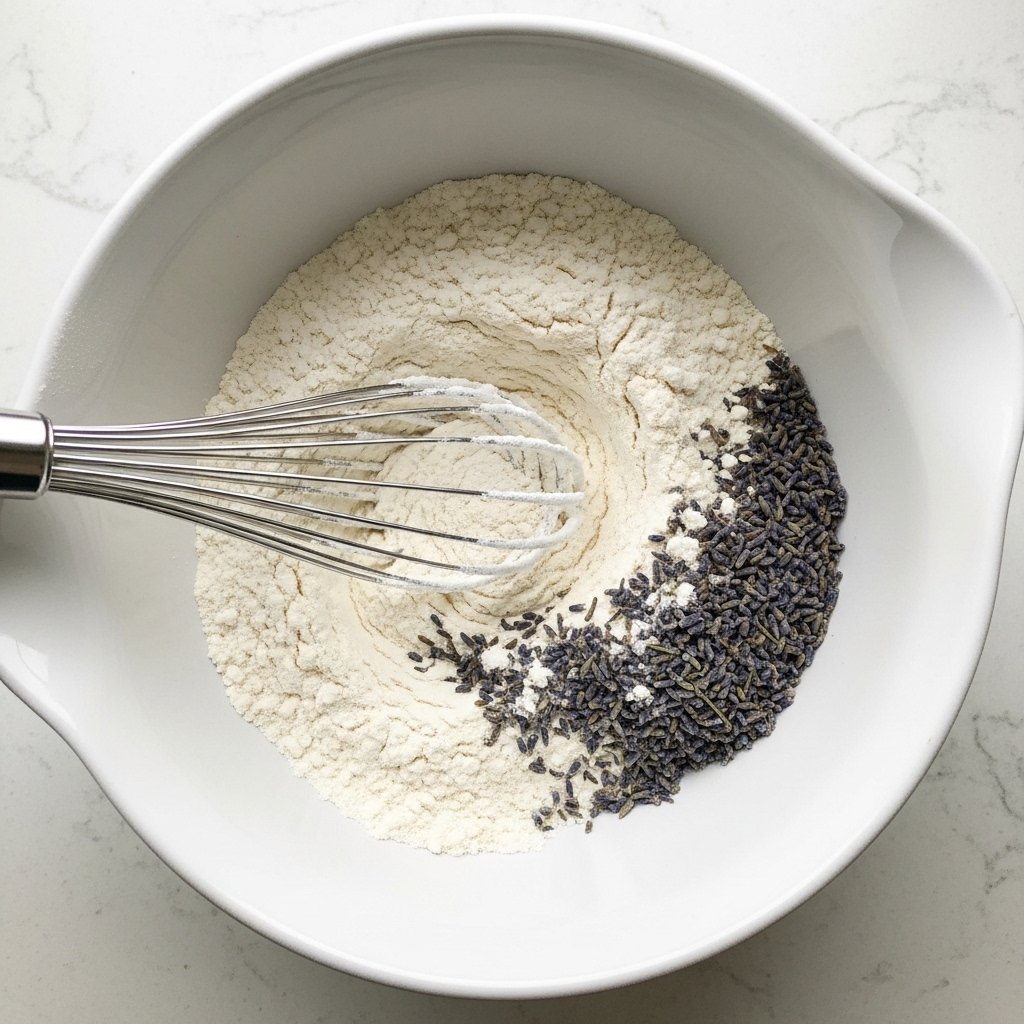
3. Combine Dry Ingredients
In a separate bowl, whisk flour, baking powder, salt, and crushed lavender.
4. Form Dough
Gradually add dry ingredients to wet mixture until a soft dough forms.
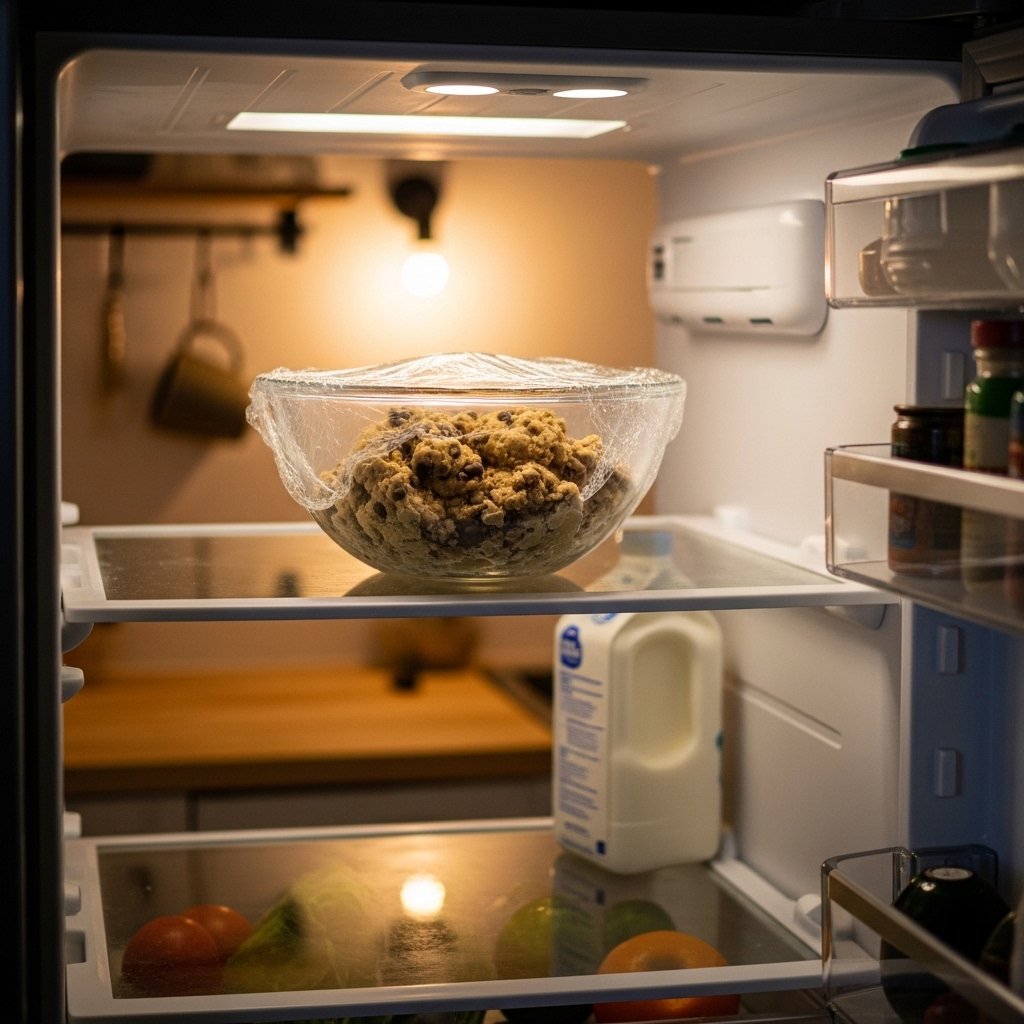
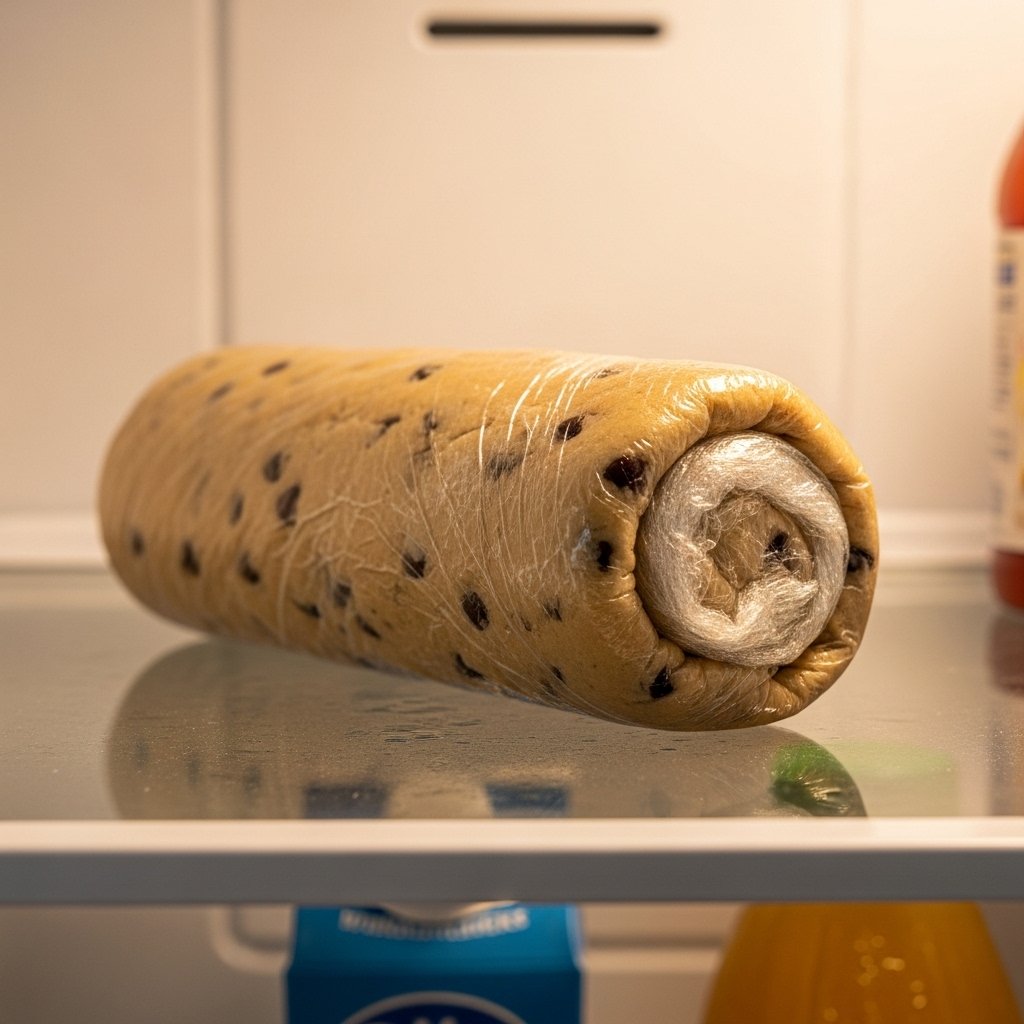
5. Chill Dough
Refrigerate dough for 30–60 minutes to enhance flavor and improve texture.

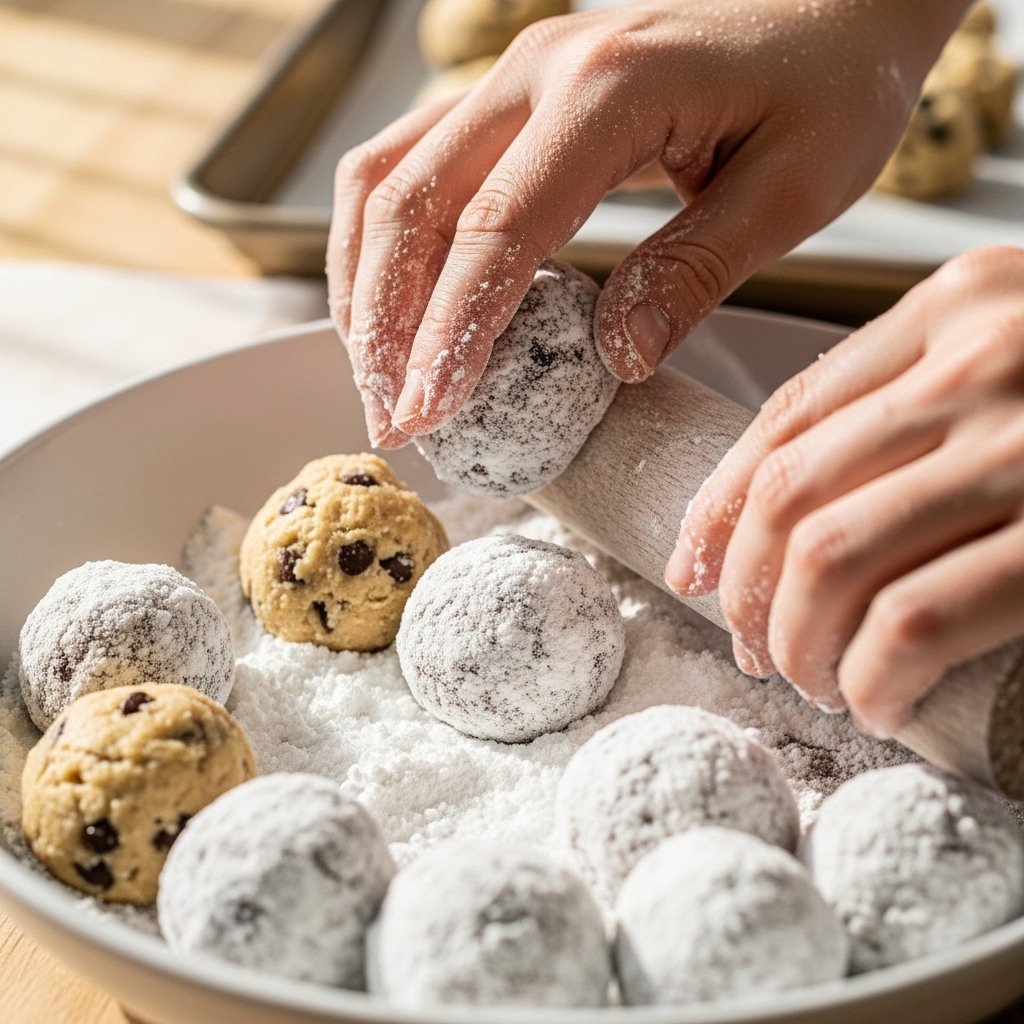
6. Shape Cookies
Roll dough into small balls and place on baking sheet, slightly flattening each one.

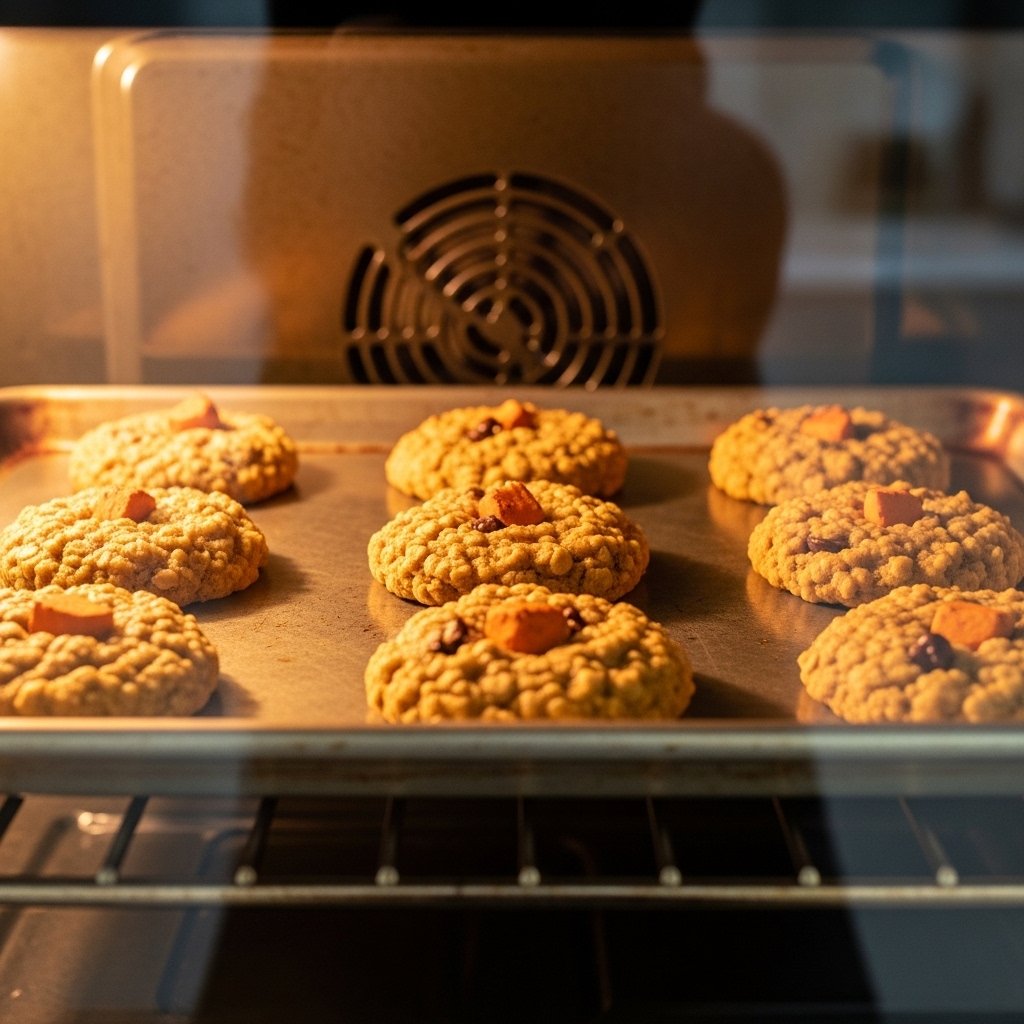
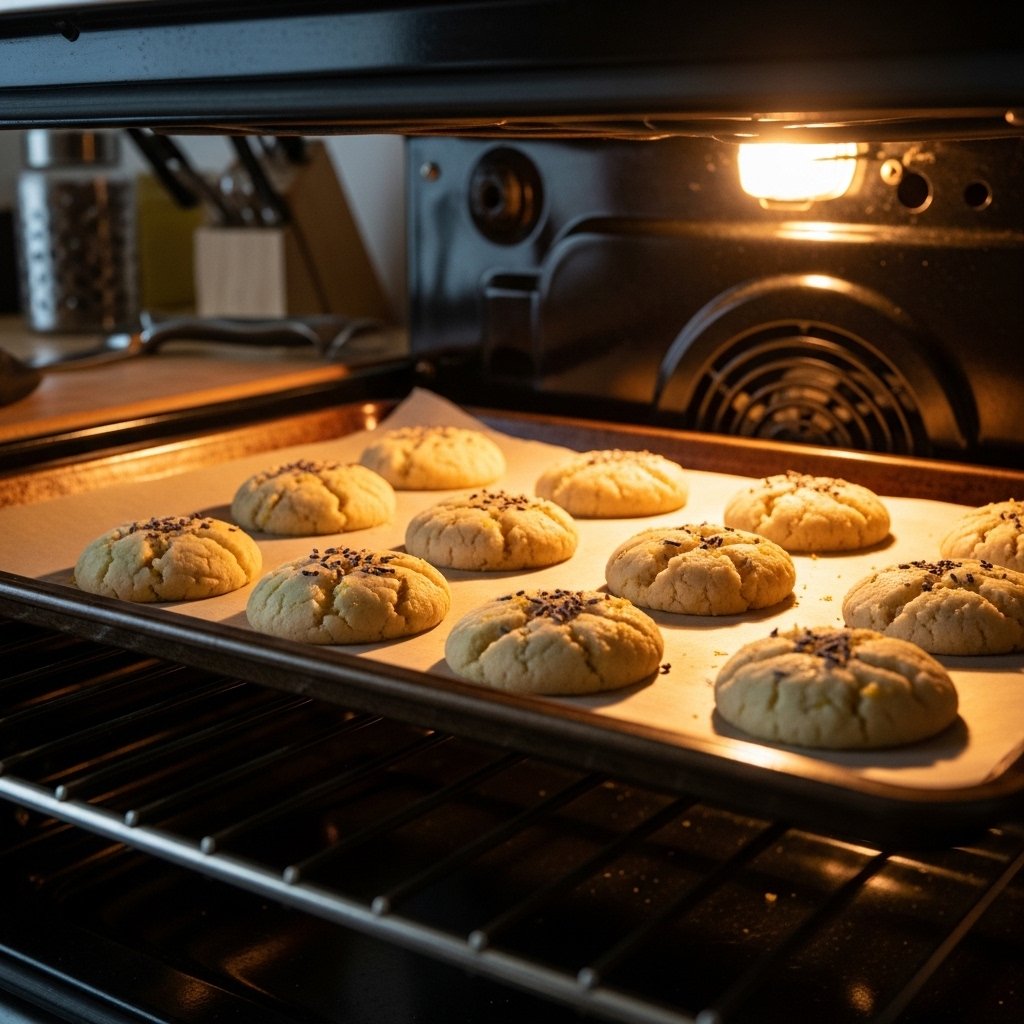
7. Bake
Bake at 350°F (175°C) for 10–12 minutes until edges are lightly golden.
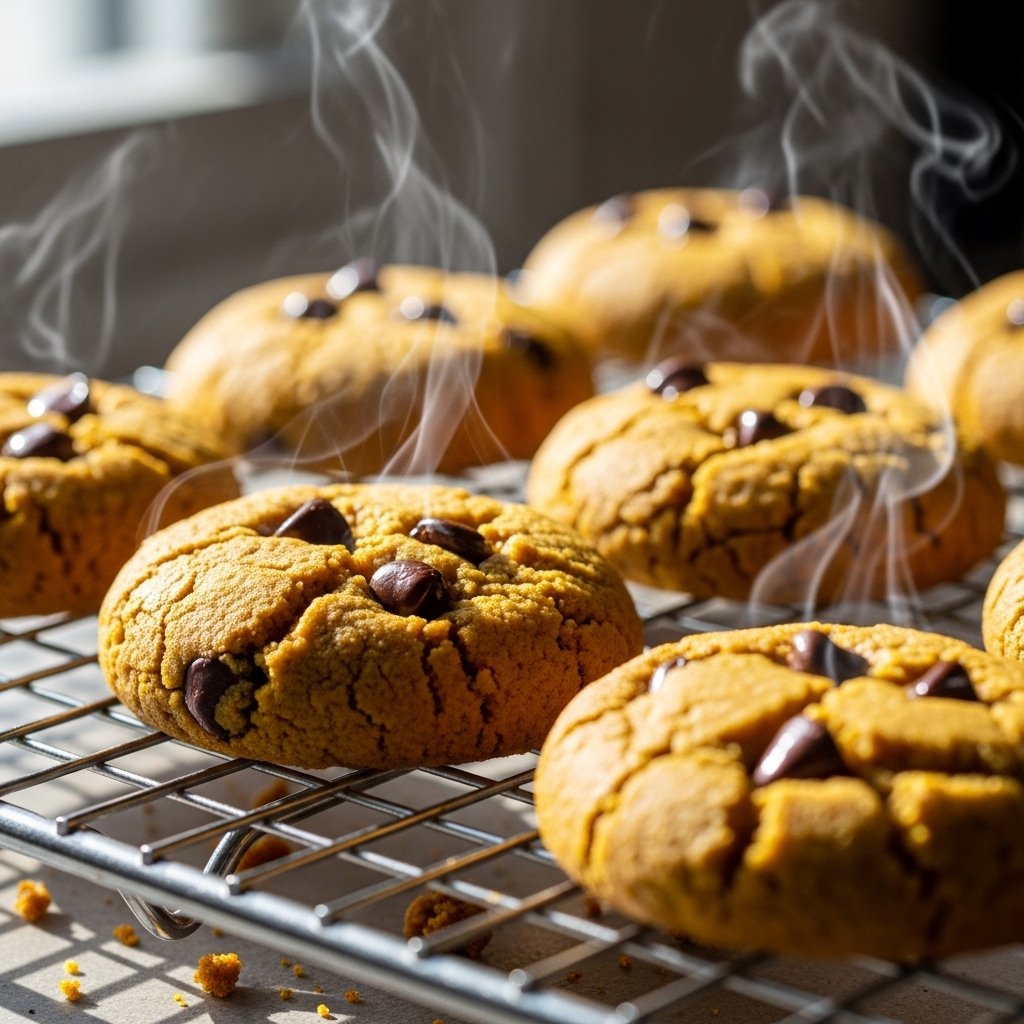
8. Cool and Finish
Allow cookies to cool completely. Dust with powdered sugar if desired.

Tips for Perfect Results
To make the best Lemon Lavender Cookies, follow these tips:
- Use culinary lavender only (not decorative lavender)
- Crush lavender lightly for better flavor distribution
- Don’t overbake—cookies should stay soft
- Chill dough for deeper flavor infusion
Variations
Try these creative twists:
- Lemon Glaze: Drizzle with lemon icing for extra sweetness
- Shortbread Style: Reduce baking powder for firmer texture
- Honey Lavender: Replace some sugar with honey
- Almond Twist: Add almond extract for depth
What to Serve With It
These cookies pair beautifully with:
- Hot tea (Earl Grey or chamomile)
- Lemon iced tea
- Espresso or cappuccino
- Light fruit desserts
They’re perfect for afternoon tea or elegant gatherings.
Storage & Reheating
For your Lemon Lavender Cookies:
- Room Temperature: Store in airtight container for 4–5 days
- Refrigerator: Keeps fresh up to 1 week
- Freezer: Freeze baked cookies for up to 2 months
- Reheat: Warm slightly for soft texture
Common Mistakes to Avoid
Avoid these issues:
- Using too much lavender (can taste soapy)
- Skipping lemon zest (key flavor element)
- Overbaking cookies
- Not chilling dough
FAQs
Can I use regular lavender?
No, only culinary-grade lavender should be used.
Do these cookies taste floral?
Yes, but lightly—lavender should be subtle, not overpowering.
Can I make them gluten-free?
Yes, use a 1:1 gluten-free flour blend.
Can I freeze the dough?
Absolutely—freeze dough balls and bake when needed.
Final Thoughts
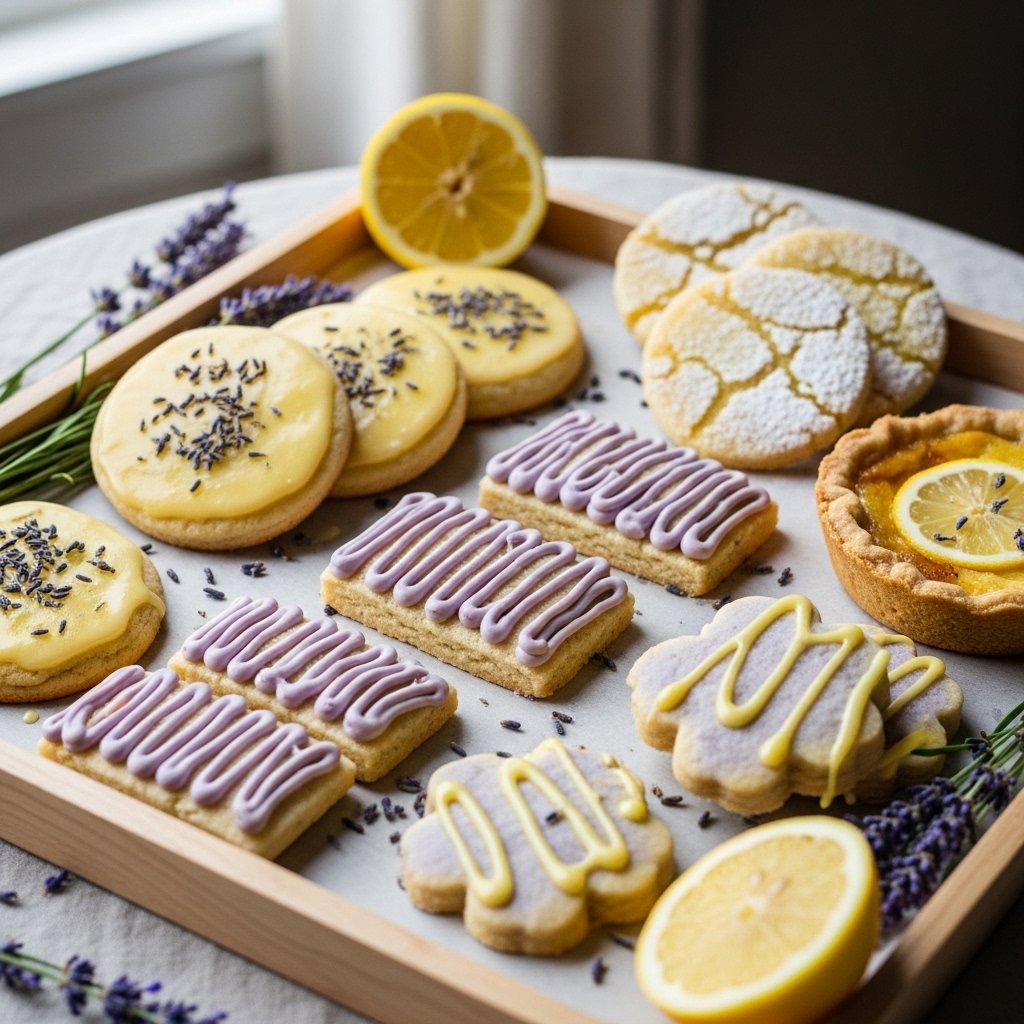
These Lemon Lavender Cookies are delicate, fragrant, and beautifully balanced with bright citrus and soft floral notes. They’re the kind of cookie that feels special without being complicated.
Whether you’re baking for spring gatherings, gifting, or simply treating yourself, this recipe brings a touch of elegance to every bite.