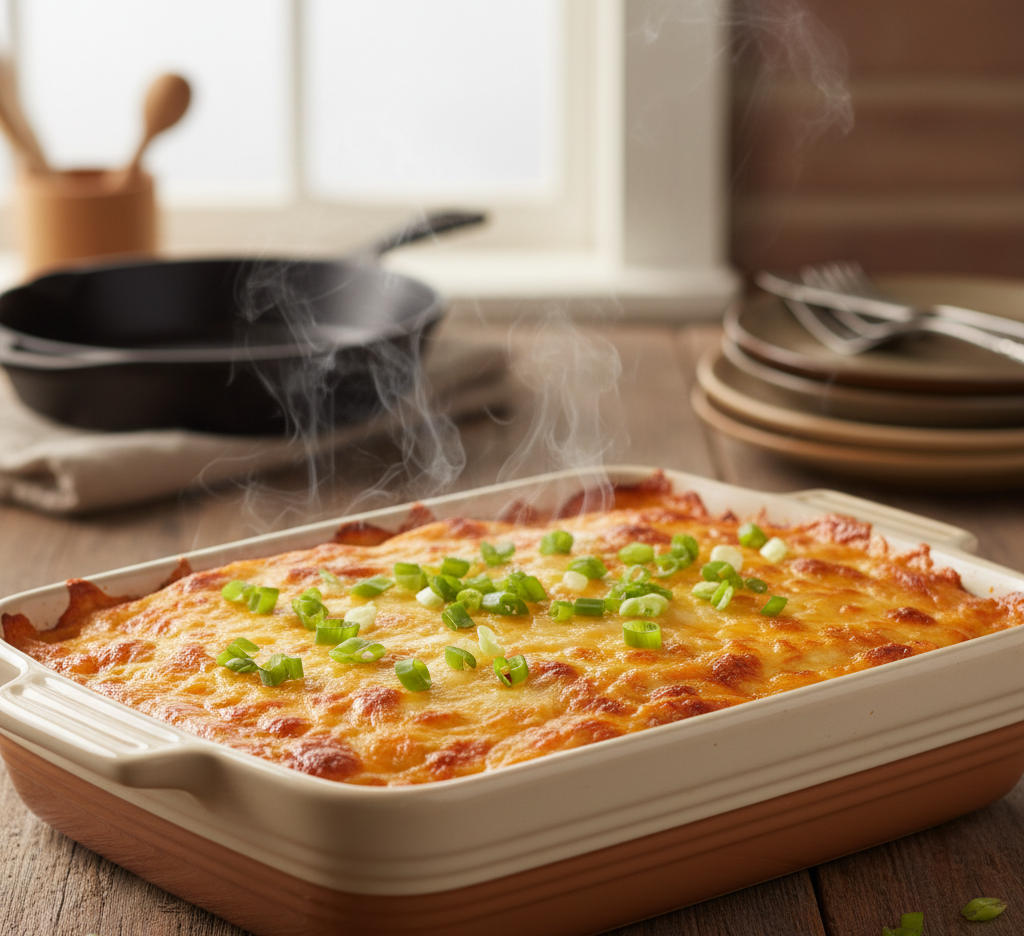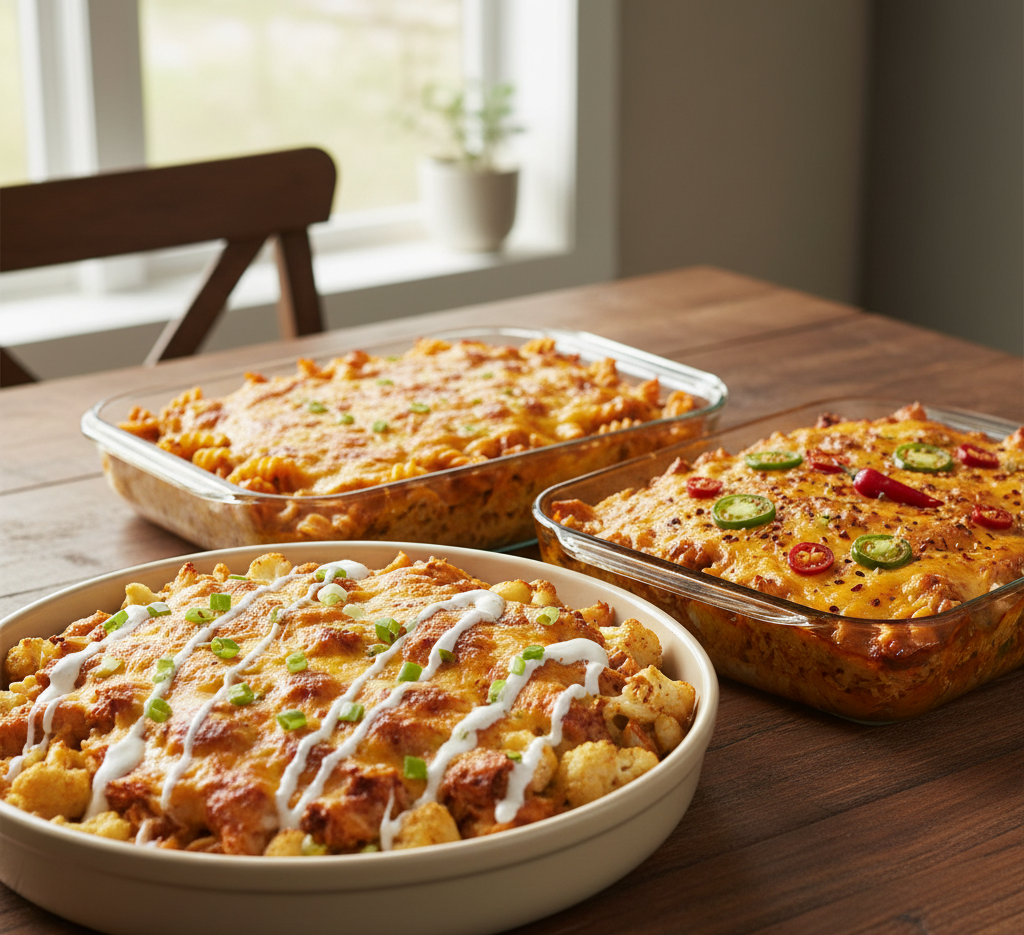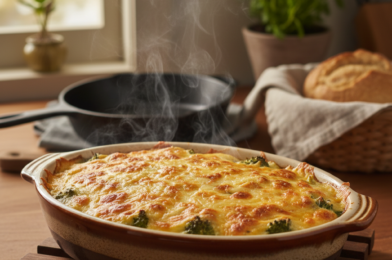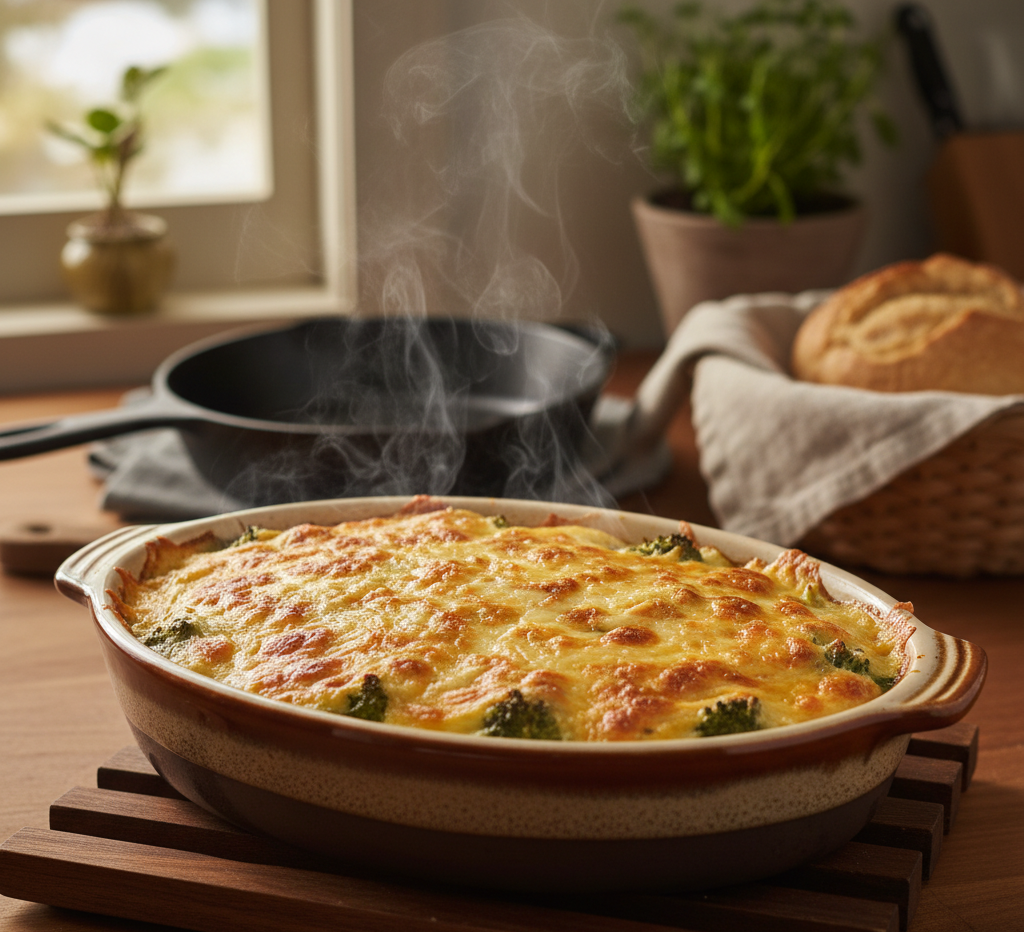
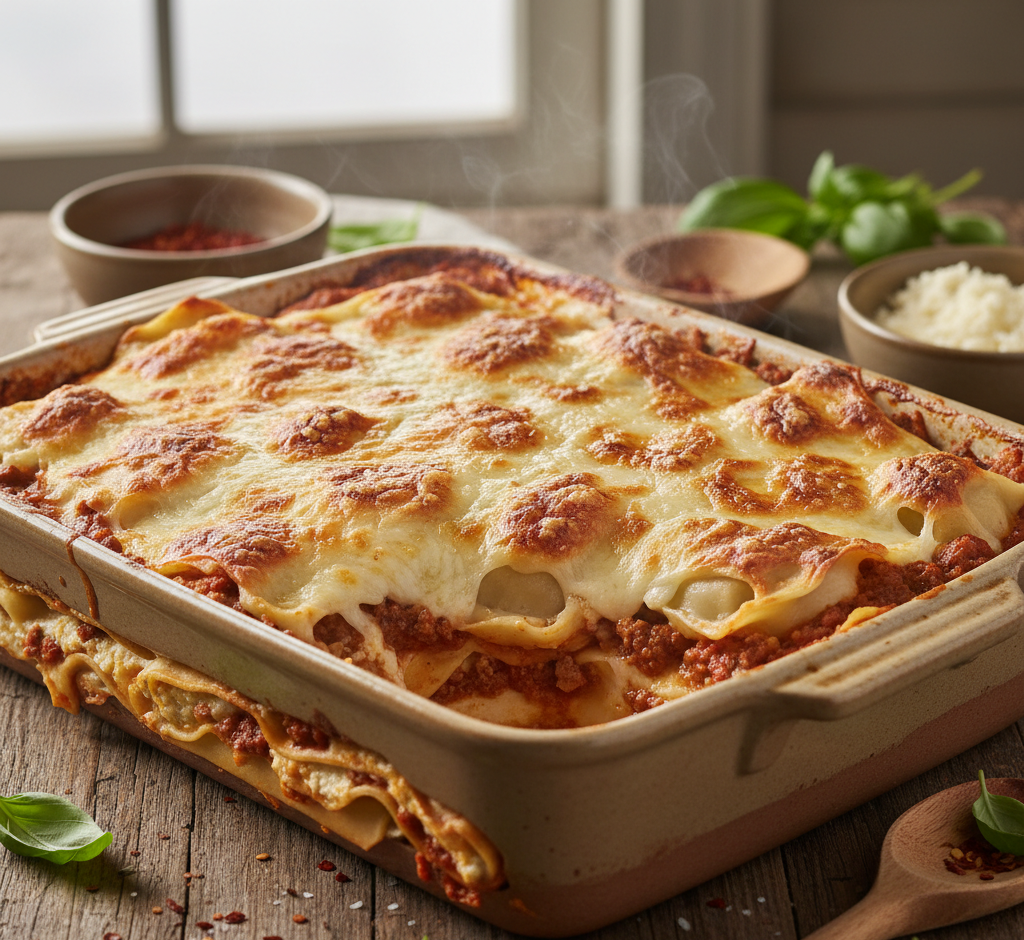
If you’re looking for a creative comfort food mashup that’s both easy and incredibly satisfying, this savory cheesy baked dumpling lasagna is about to become your new obsession. Imagine replacing traditional lasagna noodles with soft, pillowy dumplings layered between rich marinara sauce and gooey melted cheese—every bite is pure comfort.
This dish combines the hearty, familiar flavors of Italian lasagna with the convenience and texture of dumplings, making it perfect for busy weeknights or cozy family dinners. It’s a fun twist that feels gourmet but is surprisingly simple to make.
Why You’ll Love This Recipe
This savory cheesy baked dumpling lasagna checks all the boxes for a perfect comfort meal.
- Unique twist on classic lasagna
- Quick and easy preparation using frozen dumplings
- Rich, cheesy, and hearty
- Perfect for feeding a crowd
- Customizable with different flavors and fillings
It’s the kind of dish that feels familiar yet exciting at the same time.
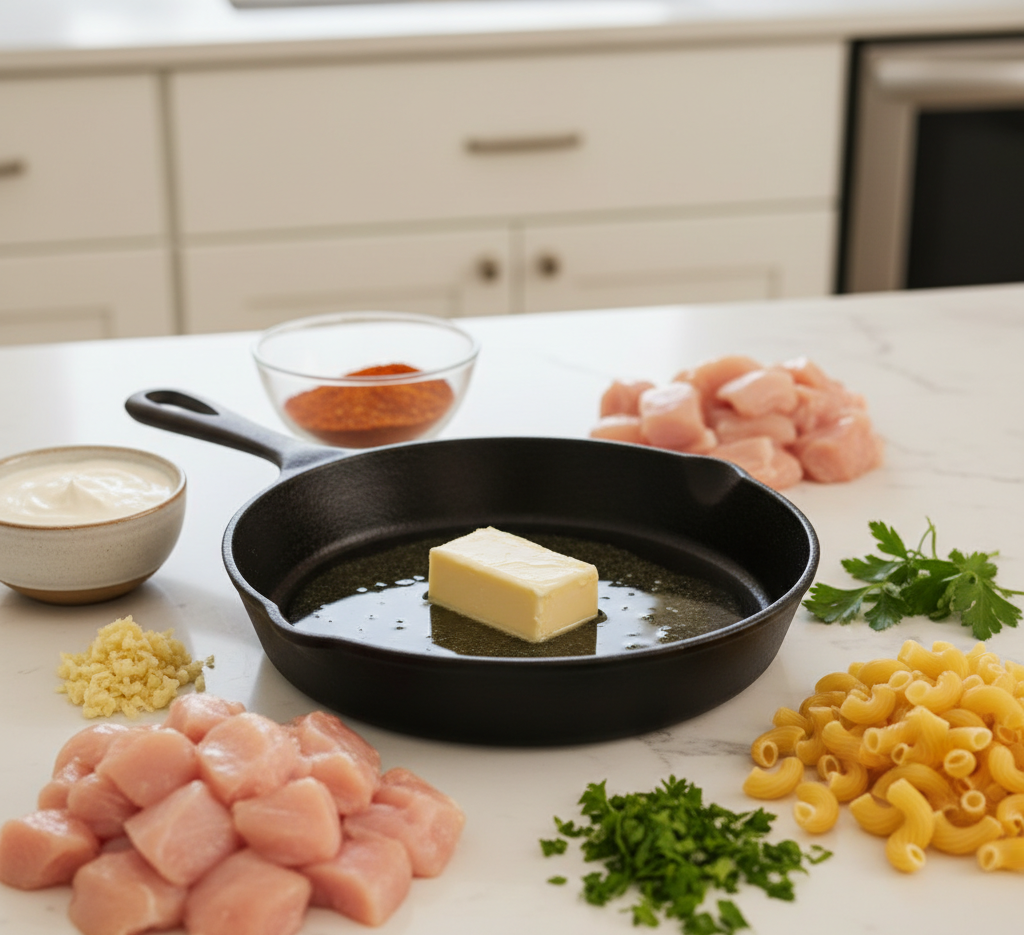
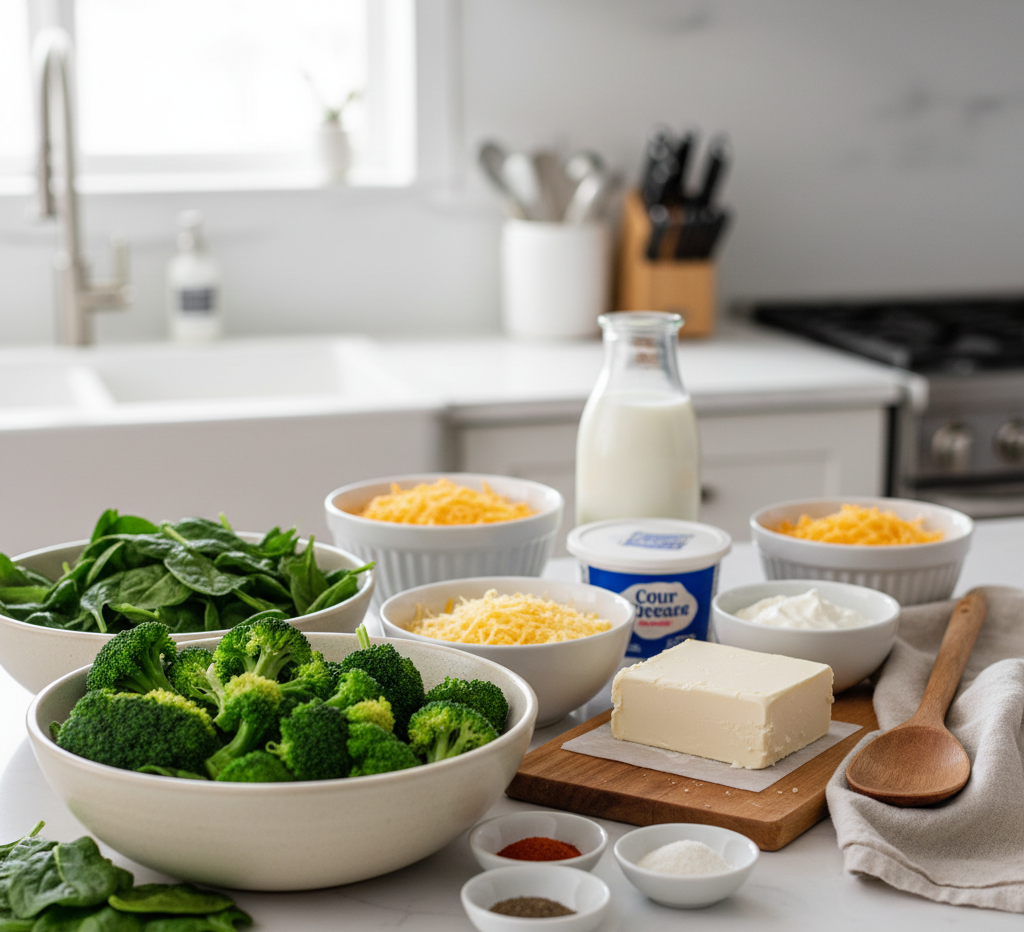
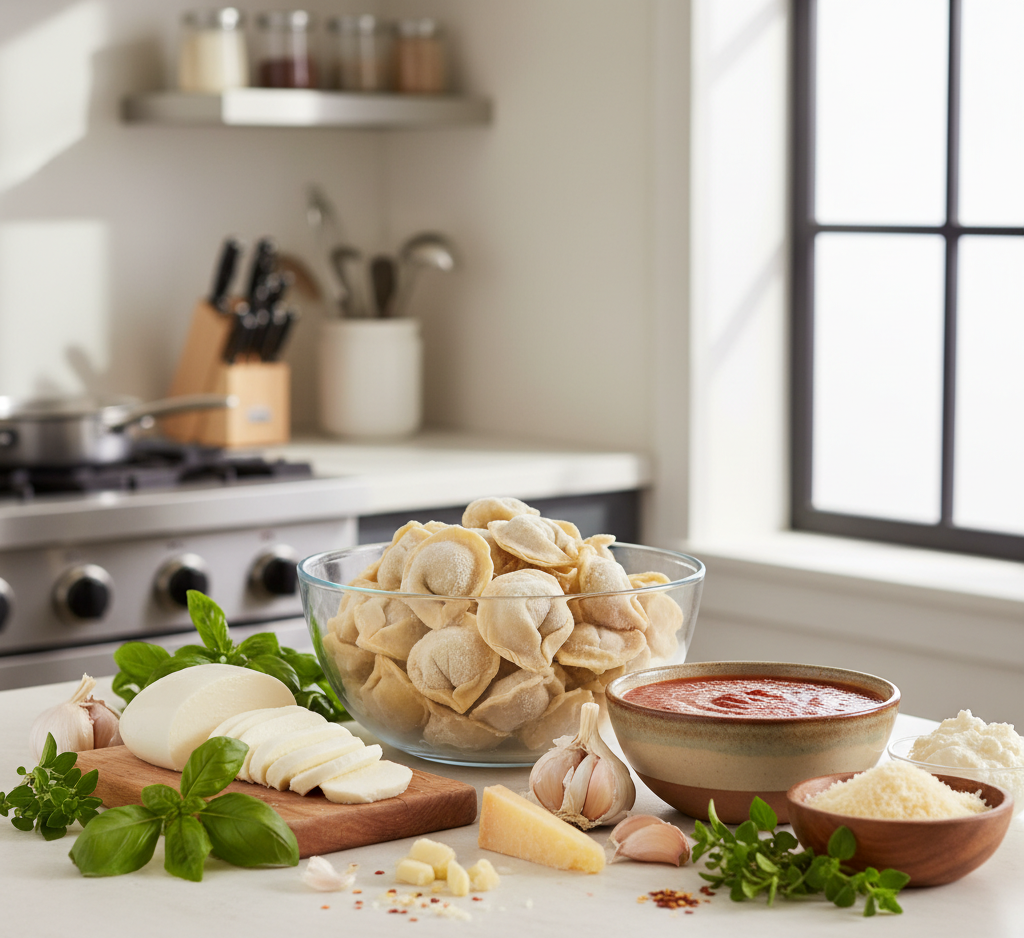
Ingredients
Here’s what you’ll need to make this delicious savory cheesy baked dumpling lasagna:
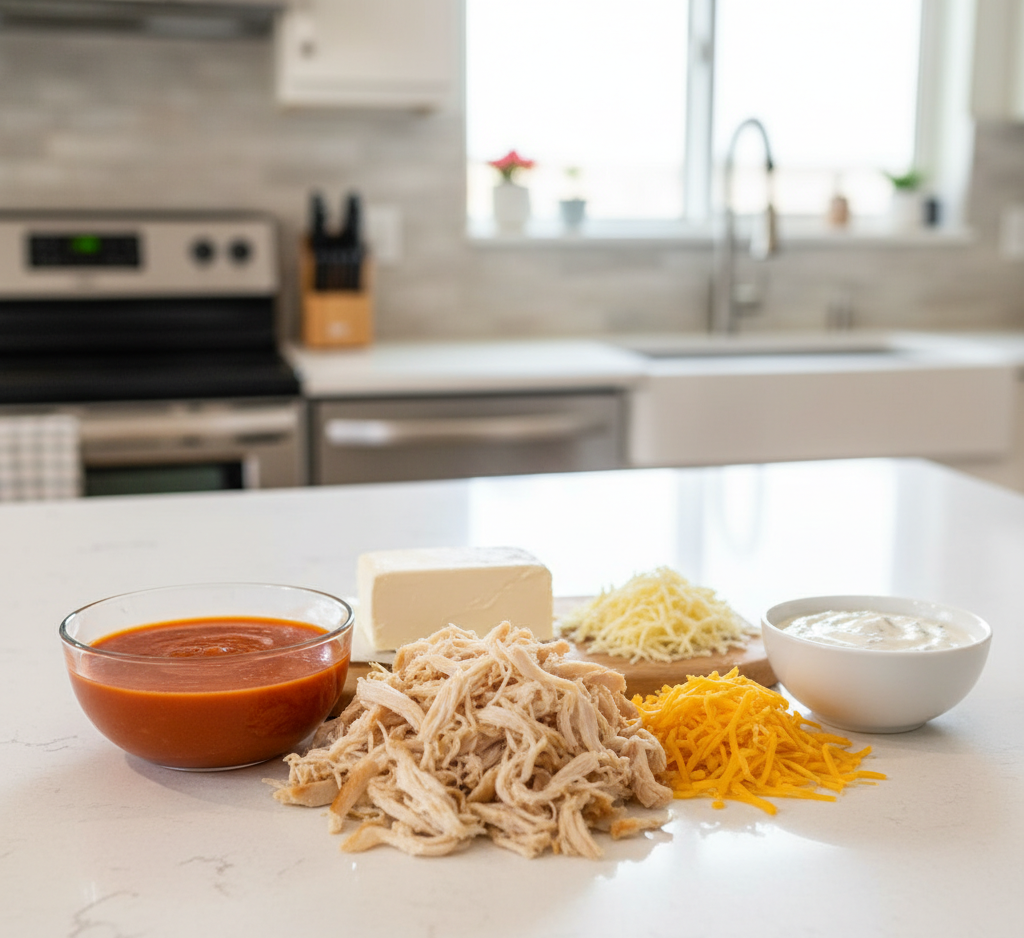
- 1 bag frozen dumplings (potstickers or gyoza)
- 2 cups marinara sauce
- 1 cup ricotta cheese
- 2 cups shredded mozzarella cheese
- 1/2 cup grated Parmesan cheese
- 1/2 pound ground beef or sausage (optional)
- 1 teaspoon Italian seasoning
- 2 cloves garlic (minced)
- Salt and pepper to taste
- Fresh basil or parsley for garnish
Ingredient Notes
The beauty of this savory cheesy baked dumpling lasagna is its flexibility and bold flavor.
- Dumplings: Use chicken, pork, or veggie dumplings based on preference
- Marinara sauce: Choose a high-quality sauce for the best flavor
- Ricotta cheese: Adds creaminess between layers
- Mozzarella: Creates that classic cheesy stretch
- Protein: Ground beef or sausage adds extra heartiness
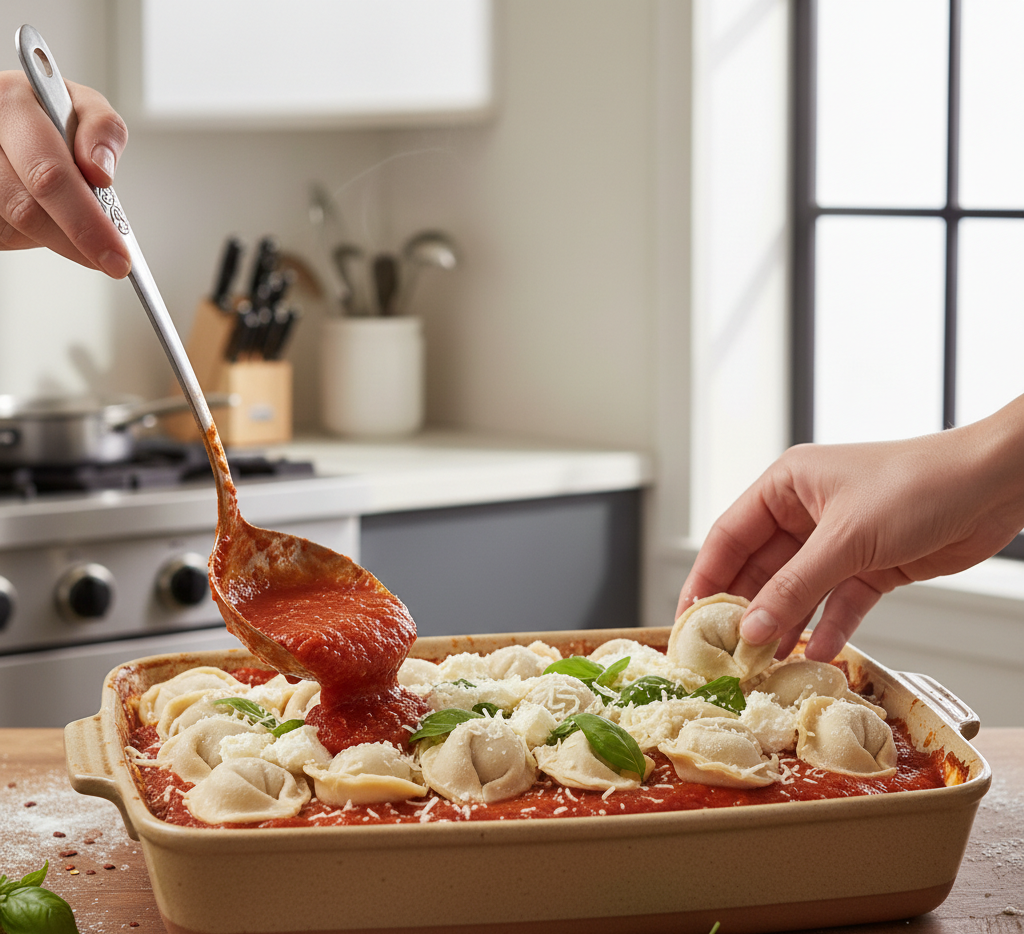
Step-by-Step Instructions
1. Preheat the Oven
Preheat your oven to 375°F (190°C) and lightly grease a baking dish.
2. Prepare the Sauce
In a skillet, cook ground beef or sausage (if using) until browned. Add garlic, marinara sauce, and Italian seasoning. Simmer for a few minutes.
3. Layer the Dish
Spread a thin layer of sauce on the bottom of the dish. Add a layer of dumplings, followed by ricotta, mozzarella, and sauce.
4. Repeat Layers
Continue layering dumplings, cheese, and sauce until all ingredients are used, finishing with a generous layer of mozzarella and Parmesan on top.
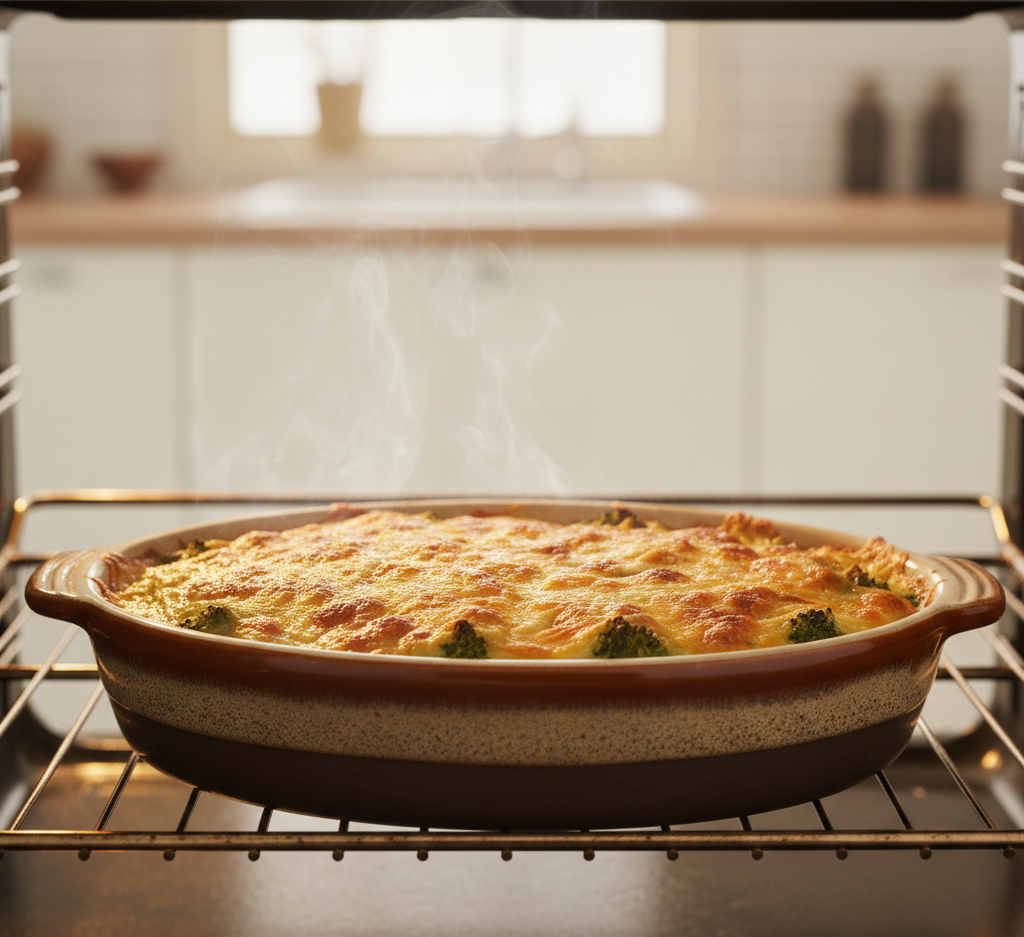
5. Bake
Cover with foil and bake for 25 minutes. Remove foil and bake an additional 10–15 minutes until bubbly and golden.
6. Rest and Serve
Let the lasagna rest for 10 minutes before slicing. Garnish with fresh herbs and serve warm.
Tips for Perfect Results
To get the most out of your savory cheesy baked dumpling lasagna, keep these tips in mind:
- Don’t thaw dumplings beforehand—they hold their shape better frozen
- Use enough sauce to keep the dish moist
- Cover while baking to prevent over-browning
- Let it rest before cutting for clean slices
These tips ensure a perfectly cooked, flavorful dish every time.
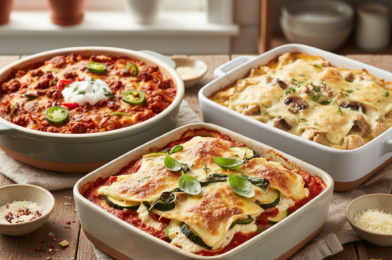
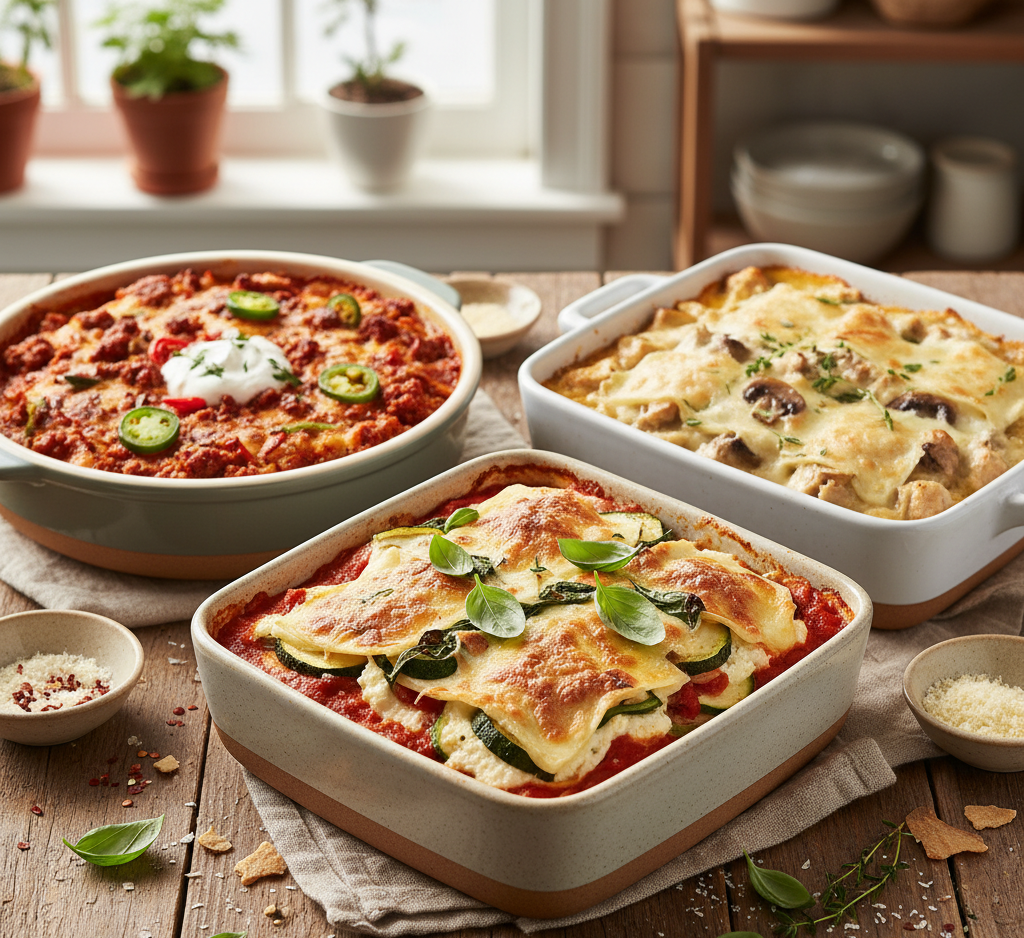
Variations
One of the best parts about savory cheesy baked dumpling lasagna is how easy it is to customize.
Vegetarian Version
- Use veggie dumplings and add spinach or mushrooms
Spicy Twist
- Add red pepper flakes or spicy marinara
Alfredo Style
- Swap marinara for Alfredo sauce
Asian-Inspired Fusion
- Use soy-based sauce and sesame oil for a unique flavor
What to Serve With It
This hearty savory cheesy baked dumpling lasagna pairs well with lighter sides:
- Fresh green salad
- Garlic bread
- Roasted vegetables
- Light vinaigrette dishes
These sides help balance the richness of the main dish.
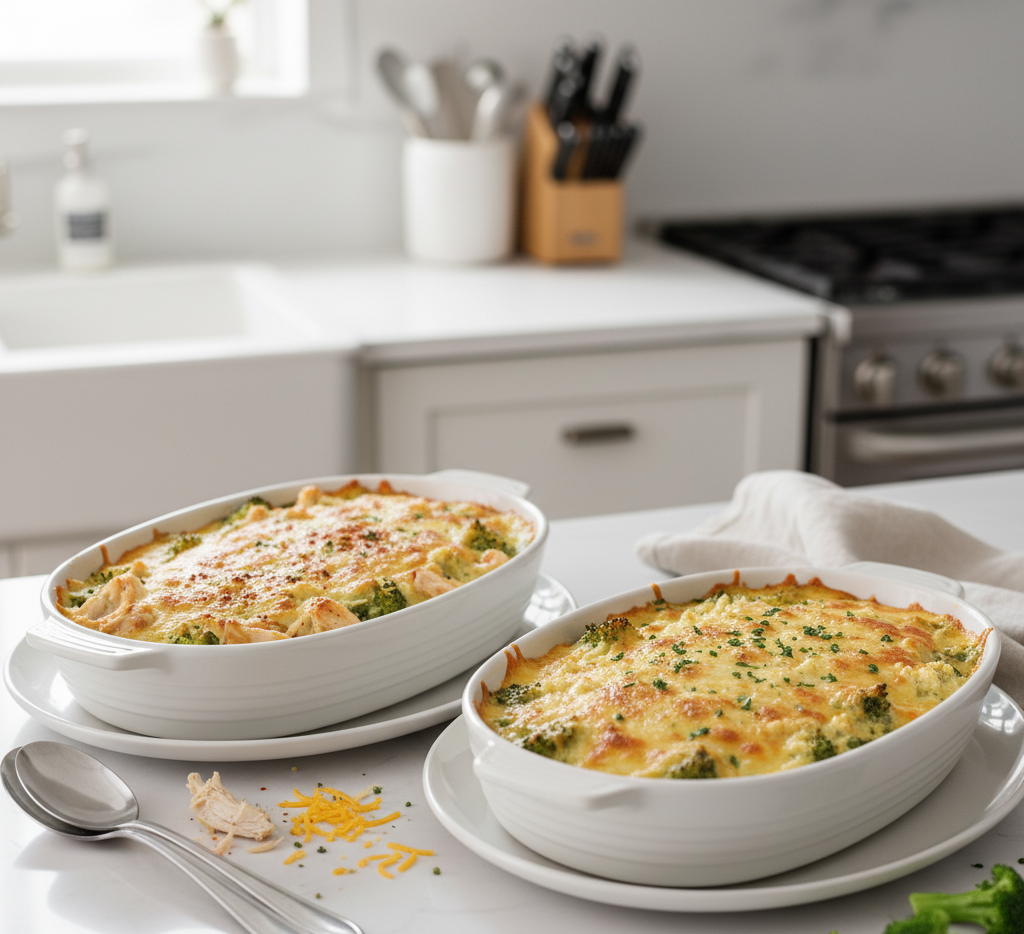
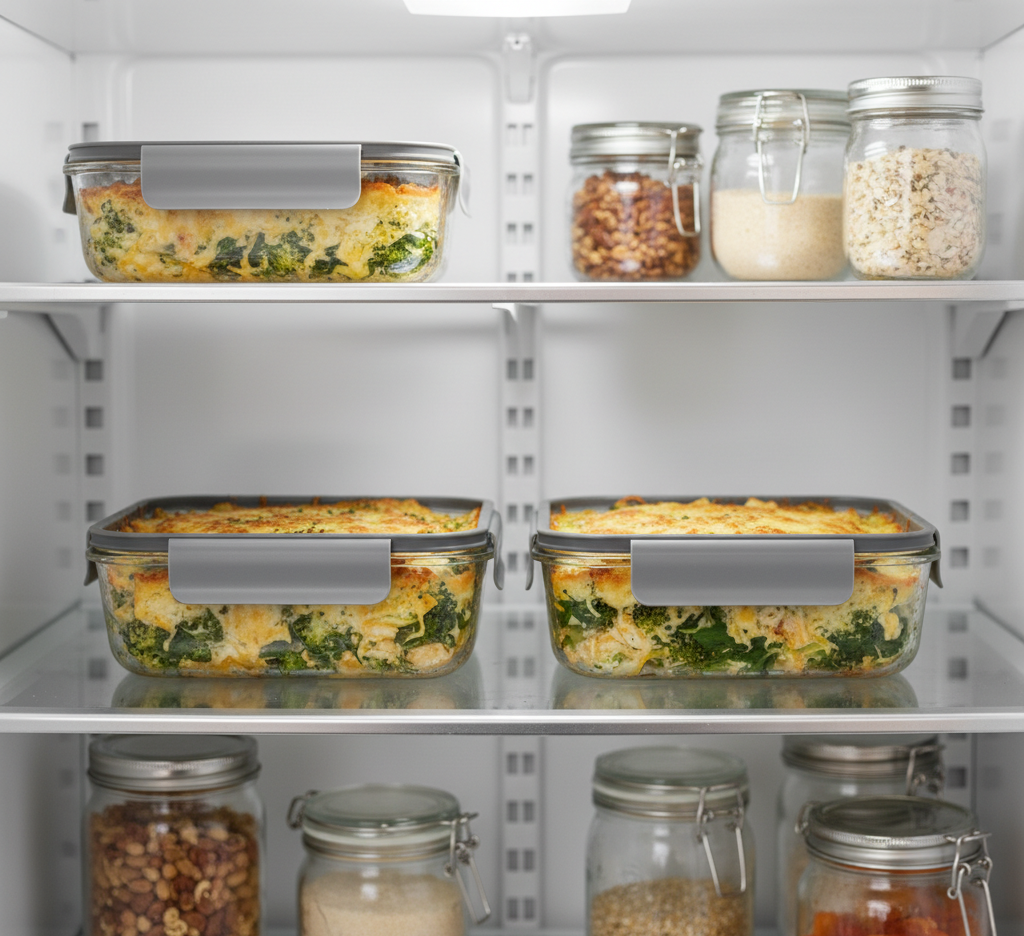
Storage & Reheating
This dish stores beautifully, making it great for leftovers.
- Refrigerate: Store in an airtight container for up to 4 days
- Freeze: Freeze portions for up to 2 months
- Reheat: Warm in the oven at 350°F or microwave individual servings
Add a bit of sauce before reheating to keep it moist.
Common Mistakes to Avoid
Avoid these common pitfalls when making savory cheesy baked dumpling lasagna:
- Using too little sauce (can dry out the dish)
- Overbaking (leads to tough dumplings)
- Skipping the resting time
- Overloading layers unevenly
Paying attention to these details makes all the difference.
FAQs
Can I use fresh dumplings instead of frozen?
Yes, but reduce the baking time slightly to avoid overcooking.
What type of dumplings work best?
Potstickers or gyoza with sturdy wrappers work best.
Can I make this ahead of time?
Absolutely! Assemble it ahead and refrigerate until ready to bake.
Is this freezer-friendly?
Yes, it freezes well—just thaw and reheat before serving.
Final Thoughts
This savory cheesy baked dumpling lasagna is the ultimate comfort food fusion—combining familiar flavors with a fun, creative twist. It’s rich, cheesy, and incredibly satisfying, making it perfect for both casual dinners and special occasions.
Once you try it, you’ll see how easy and versatile it is. Whether you stick to the classic version or experiment with variations, this dish is sure to become a favorite in your recipe rotation.