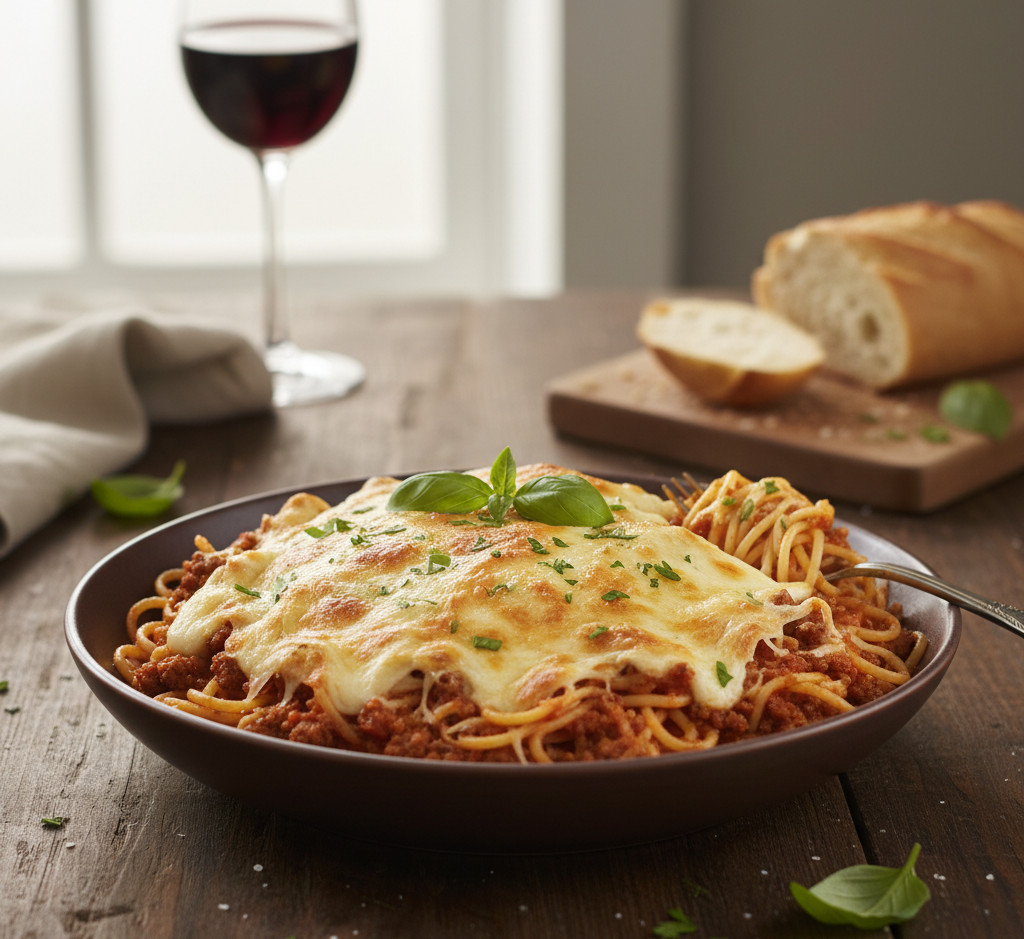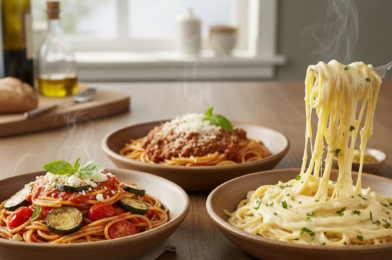
If you’re searching for the ultimate comfort food that’s quick, satisfying, and incredibly easy to make, this One Pot Million Dollar Spaghetti Recipe for Easy Weeknight Dinners is exactly what your kitchen needs. It combines rich meat sauce, creamy cheese layers, and perfectly cooked pasta—all made in one pot for minimal cleanup.
This dish gets its “million dollar” name from its indulgent, creamy texture and bold flavor that tastes like it came from a restaurant. But the best part? It’s simple enough for busy weeknights and guaranteed to become a family favorite.
Why You’ll Love This One Pot Million Dollar Spaghetti Recipe
This one pot million dollar spaghetti recipe for easy weeknight dinners checks all the boxes for a perfect meal.
Here’s why it stands out:
- One pot means less cleanup
- Creamy, cheesy, and ultra comforting
- Perfect for feeding a family
- Quick and easy to prepare
- Great for leftovers and meal prep
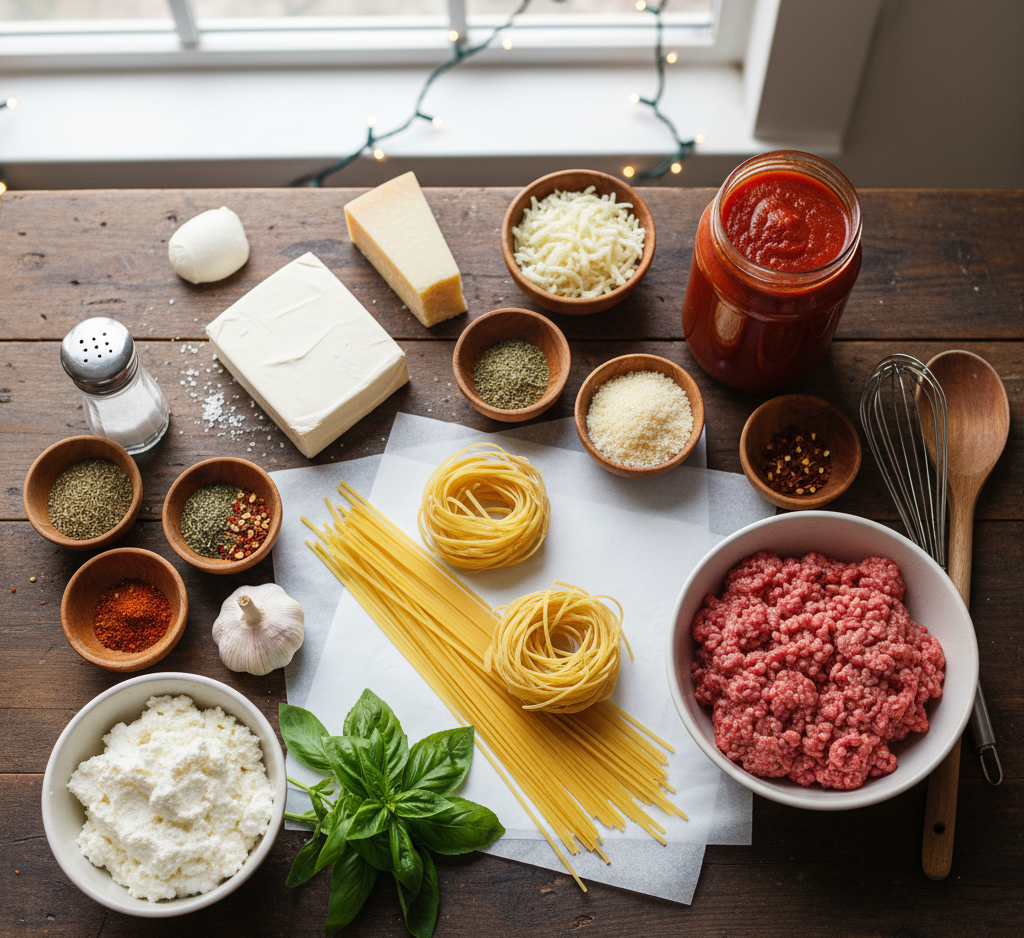
Ingredients
To make this one pot million dollar spaghetti recipe, you’ll need:
- 12 oz spaghetti
- 1 lb ground beef (or Italian sausage)
- 1 jar (24 oz) marinara sauce
- 2 cups chicken or beef broth
- 1/2 cup heavy cream
- 4 oz cream cheese, softened
- 1 cup shredded mozzarella cheese
- 1/2 cup grated Parmesan cheese
- 1 teaspoon garlic powder
- 1 teaspoon Italian seasoning
- Salt and pepper to taste
Ingredient Notes
The magic of this one pot million dollar spaghetti recipe for easy weeknight dinners lies in the combination of cheeses. Cream cheese creates a velvety base, while mozzarella and Parmesan add richness and stretch.
Using broth instead of water infuses the pasta with flavor as it cooks. You can also substitute ground turkey or plant-based meat for a lighter option.
Step-by-Step Instructions
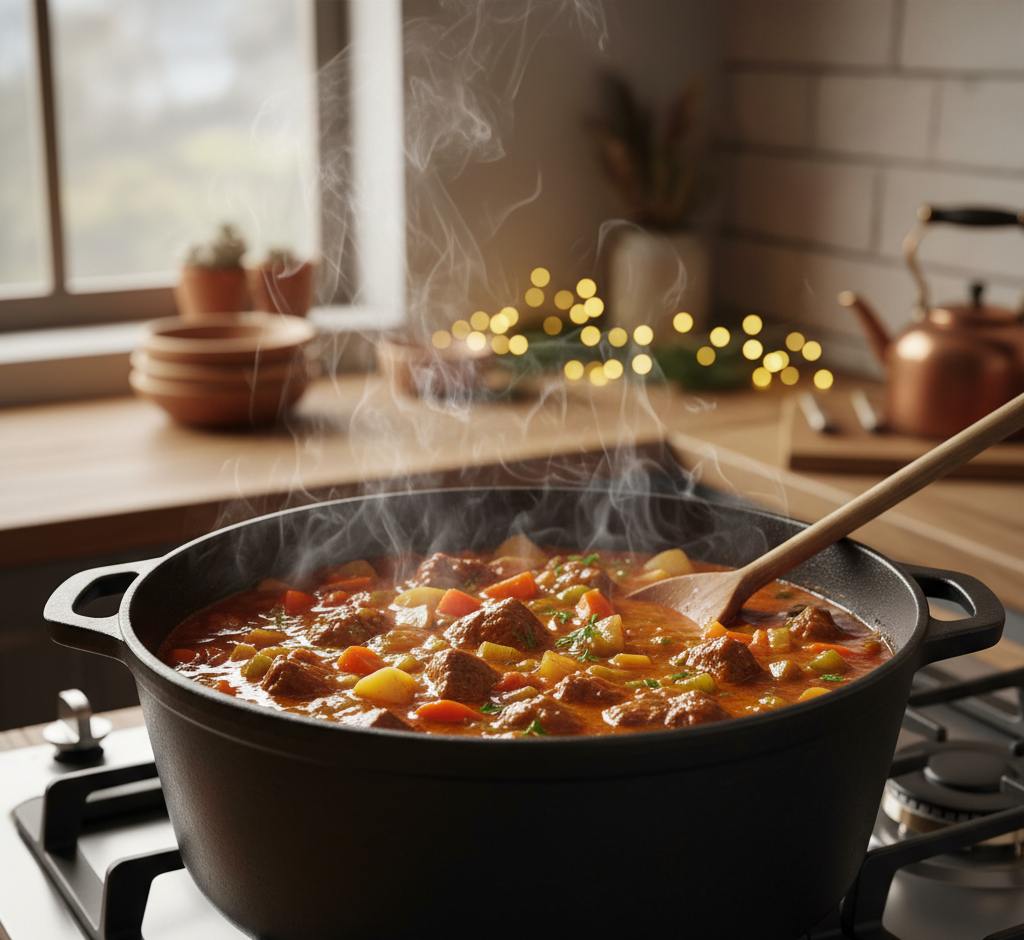
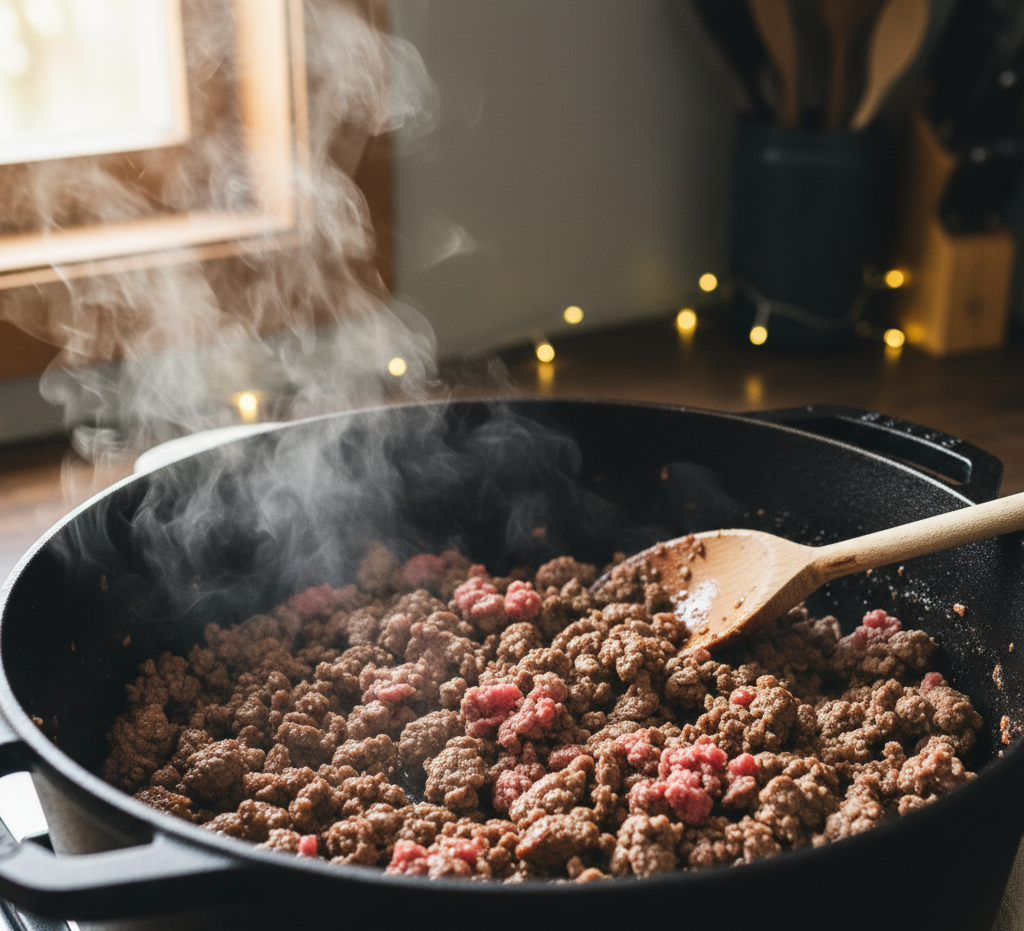
1. Brown the Meat
In a large pot, cook ground beef over medium heat until browned. Drain excess grease if needed.
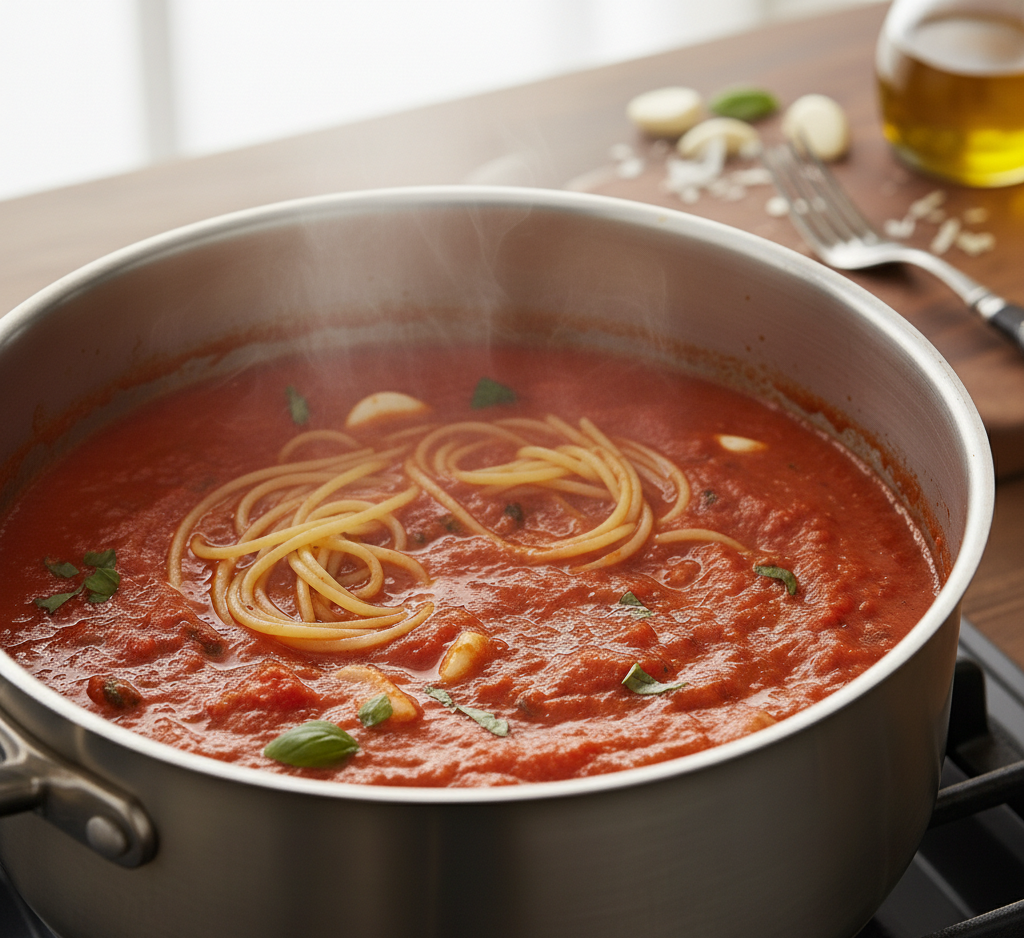
2. Add Sauce and Broth
Stir in marinara sauce, broth, garlic powder, and Italian seasoning. Bring to a simmer.
3. Add the Spaghetti
Break spaghetti in half and add to the pot, ensuring it’s submerged in liquid.
4. Cook Until Tender
Cover and cook for 12–15 minutes, stirring occasionally, until pasta is cooked through.
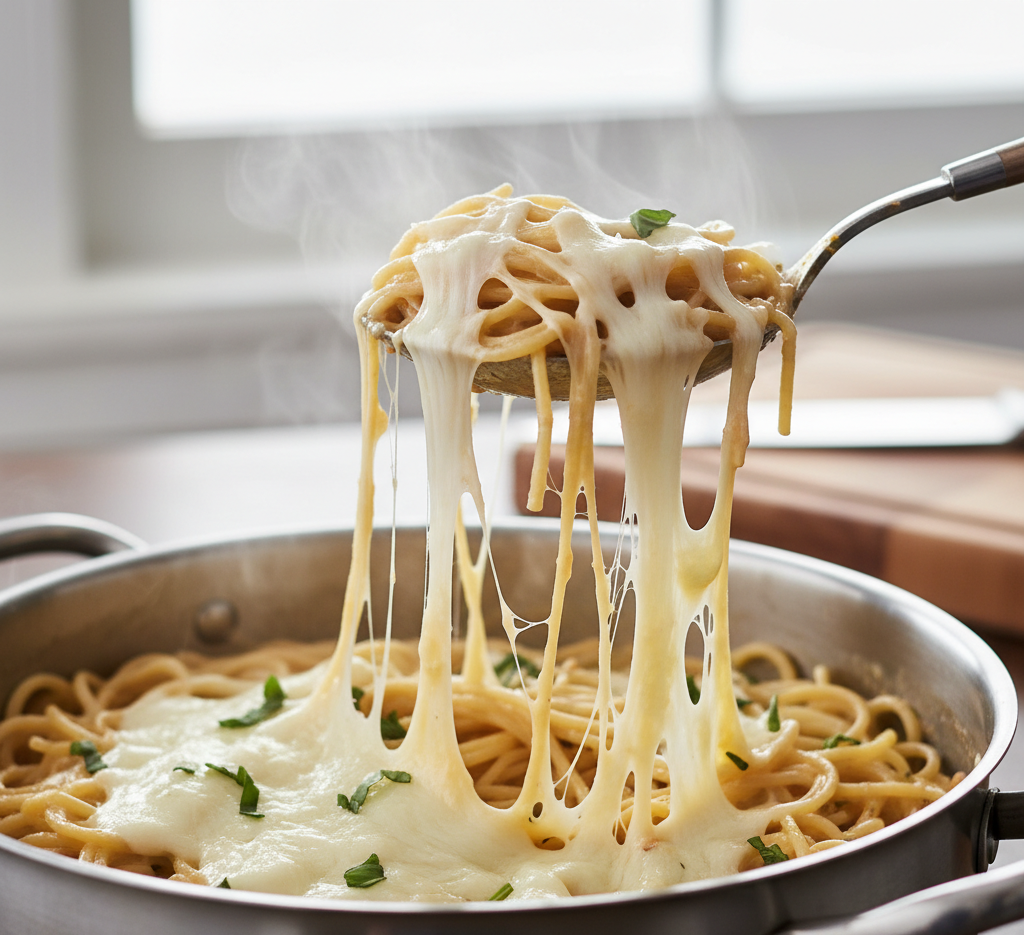
5. Add Creamy Ingredients
Stir in cream cheese and heavy cream until fully melted and smooth.
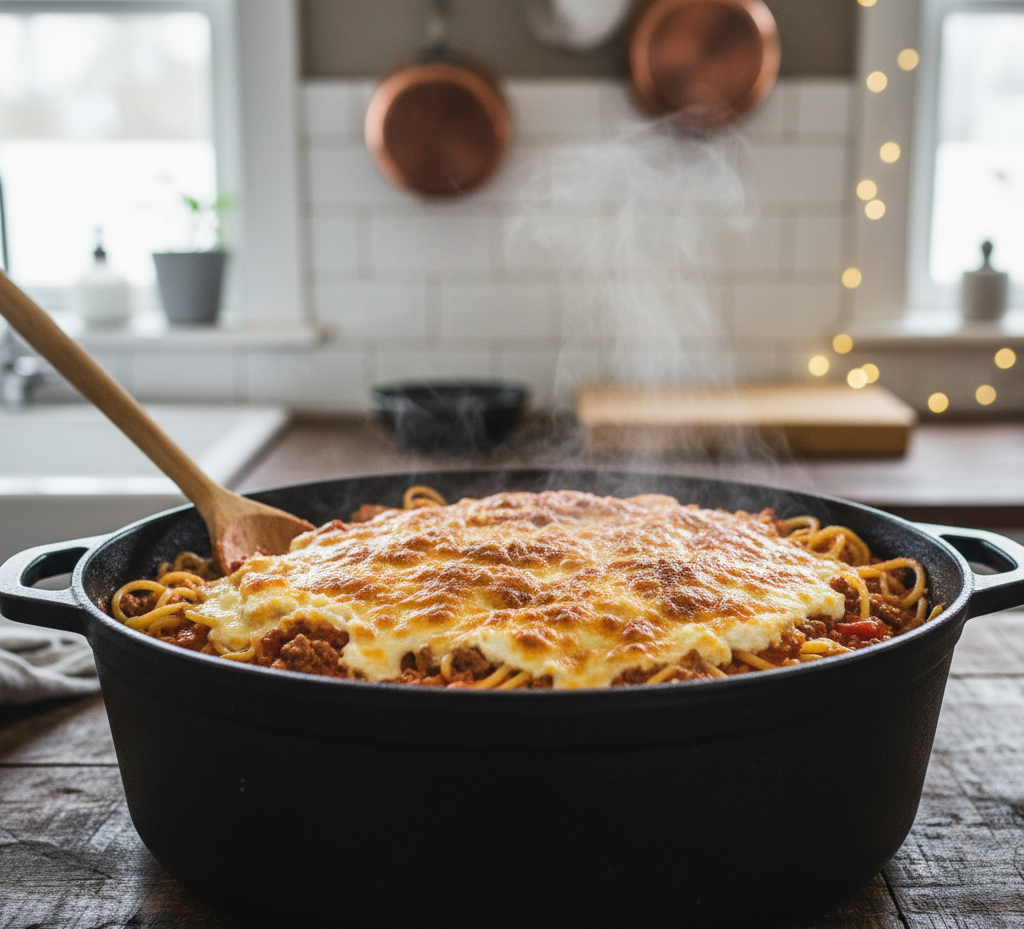
6. Add Cheese and Finish
Sprinkle mozzarella and Parmesan on top, cover briefly until melted, then stir gently.
Tips for Perfect Results
To master this one pot million dollar spaghetti recipe for easy weeknight dinners, follow these tips:
- Stir occasionally to prevent sticking
- Use freshly grated cheese for better melting
- Adjust liquid if pasta absorbs too much
- Let it rest for a few minutes before serving
These tips ensure the perfect creamy consistency.
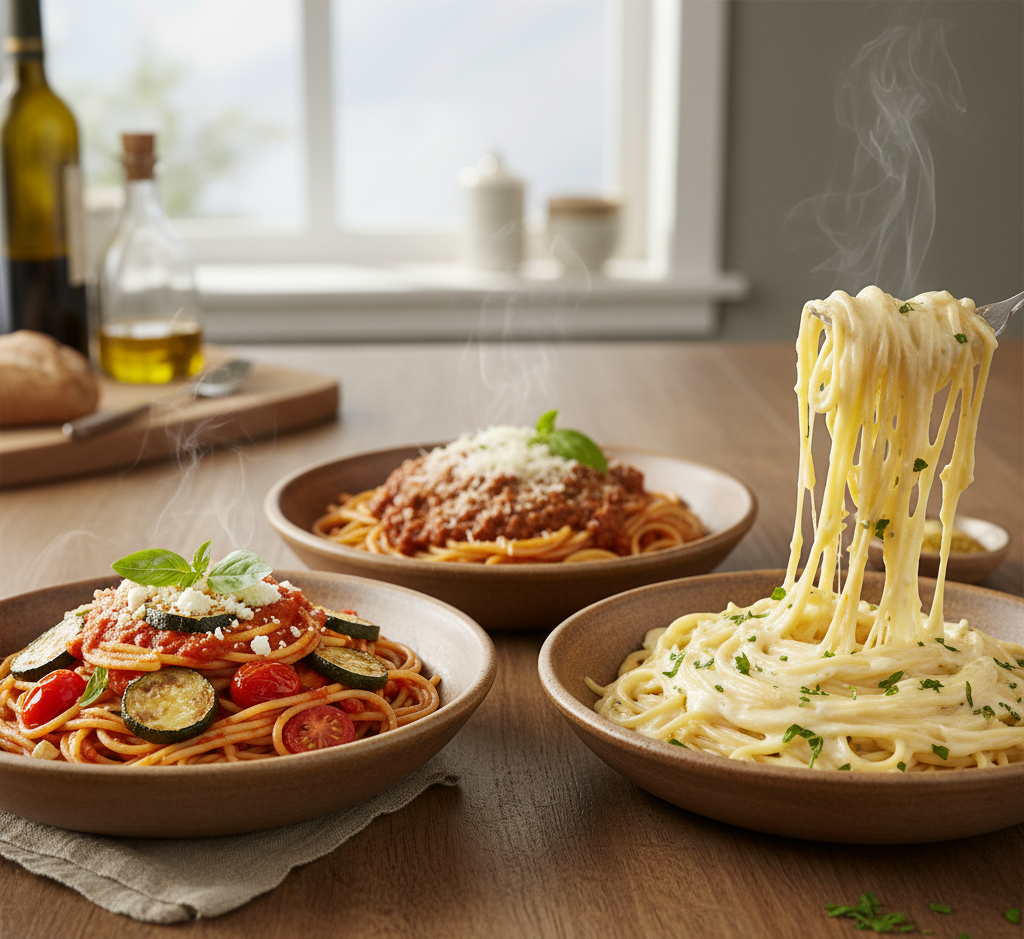
Variations
Customize your one pot million dollar spaghetti recipe with these ideas:
- Spicy Version: Add red pepper flakes
- Vegetarian: Use mushrooms or plant-based meat
- Extra Cheesy: Add ricotta or more mozzarella
- Healthier Option: Use whole wheat pasta
What to Serve With It
Pair this dish with:
- Garlic bread
- Side salad
- Roasted vegetables
- A glass of iced tea or soda
These sides complement the richness of the pasta perfectly.
Storage & Reheating
For your one pot million dollar spaghetti recipe for easy weeknight dinners:
- Refrigerate: Store in airtight container for up to 4 days
- Freeze: Freeze portions for up to 2 months
- Reheat: Warm on stovetop with a splash of broth or milk
Common Mistakes to Avoid
Avoid these common pitfalls:
- Not stirring pasta while cooking
- Using too little liquid
- Overcooking pasta
- Adding cheese too early
Paying attention to timing is key for perfect results.
FAQs
Can I use a different type of pasta?
Yes, but cooking time may vary.
Can I make this ahead of time?
Absolutely—it reheats very well.
How do I make it less rich?
Use less cream cheese or substitute with Greek yogurt.
Can I double the recipe?
Yes, just use a larger pot and adjust liquid accordingly.
Final Thoughts
This One Pot Million Dollar Spaghetti Recipe for Easy Weeknight Dinners is everything you want in a comfort meal—rich, creamy, flavorful, and incredibly easy to make. With just one pot and simple ingredients, you can create a dish that feels indulgent without the hassle.
Whether you’re feeding your family or looking for a cozy dinner after a long day, this recipe delivers every time. Once you try it, it’s guaranteed to earn a permanent spot in your weekly meal rotation.