Chocolate Peanut Butter Banana Bread

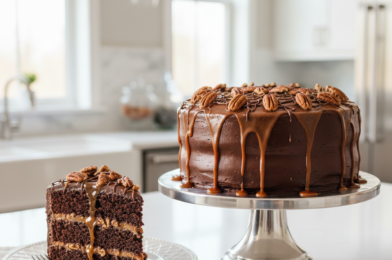
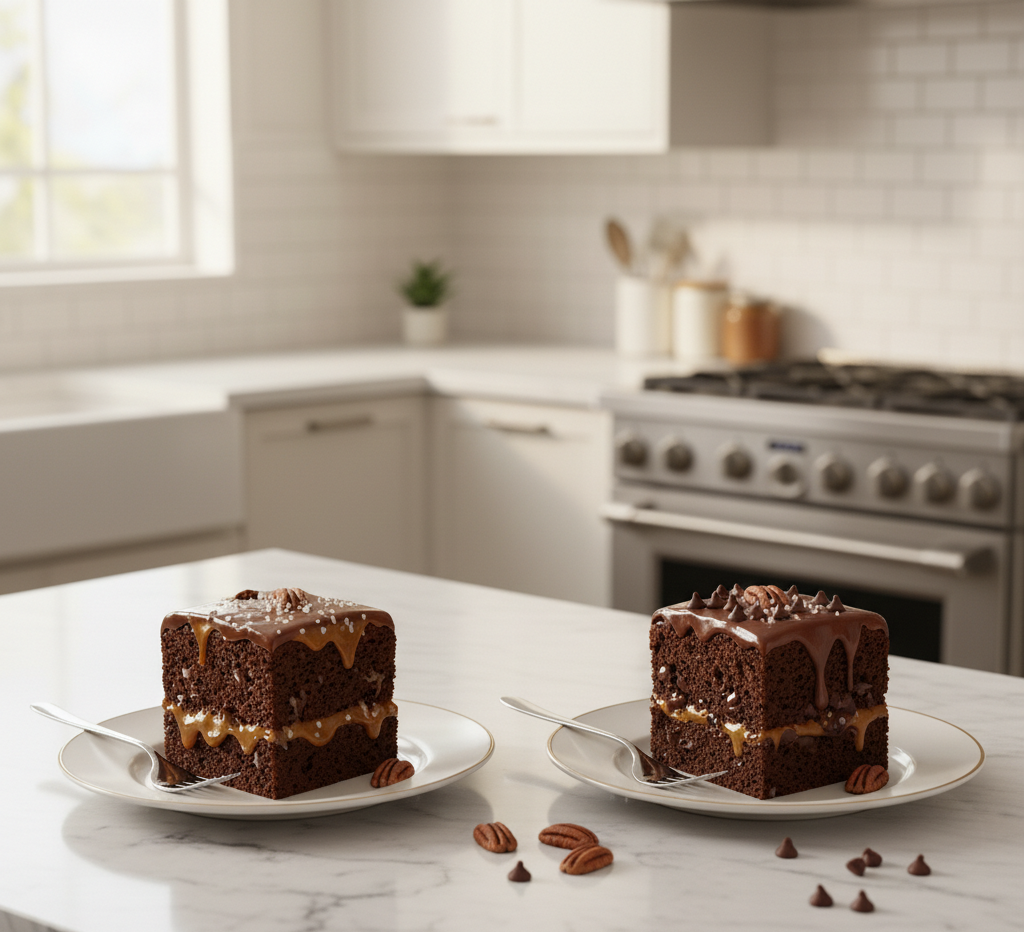
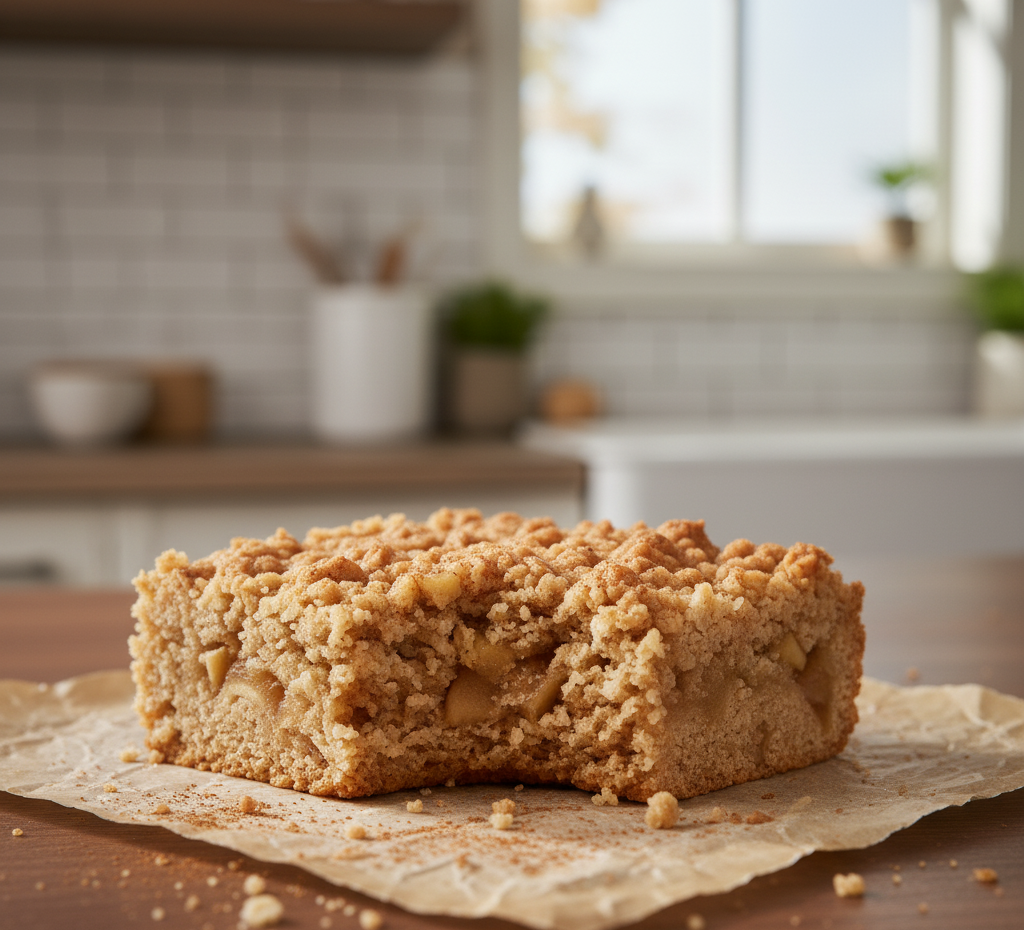
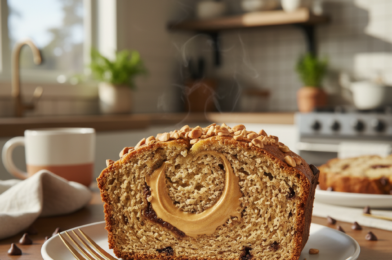
If you’re looking for the ultimate comfort bake that blends indulgence with nostalgia, this chocolate peanut butter banana bread is about to become your new favorite recipe. It’s the perfect mashup of three beloved flavors: rich chocolate, creamy peanut butter, and naturally sweet bananas. The result? A moist, tender loaf that feels like dessert but is perfectly acceptable for breakfast.

Whether you’re trying to use up overripe bananas or simply craving something cozy and homemade, this recipe delivers every time. It’s easy enough for beginners yet impressive enough to share with guests. Plus, your kitchen will smell absolutely incredible while it bakes.

Why You’ll Love This Recipe

This chocolate peanut butter banana bread isn’t just another quick bread—it’s a flavor-packed experience that hits all the right notes.

  • Ultra moist texture thanks to ripe bananas
  • Rich chocolate flavor balanced with nutty peanut butter
  • Easy one-bowl preparation for minimal cleanup
  • Perfect for any time of day—breakfast, snack, or dessert
  • Freezer-friendly so you can enjoy it later

Every bite feels indulgent without being overly heavy, making it a crowd-pleaser for both kids and adults.
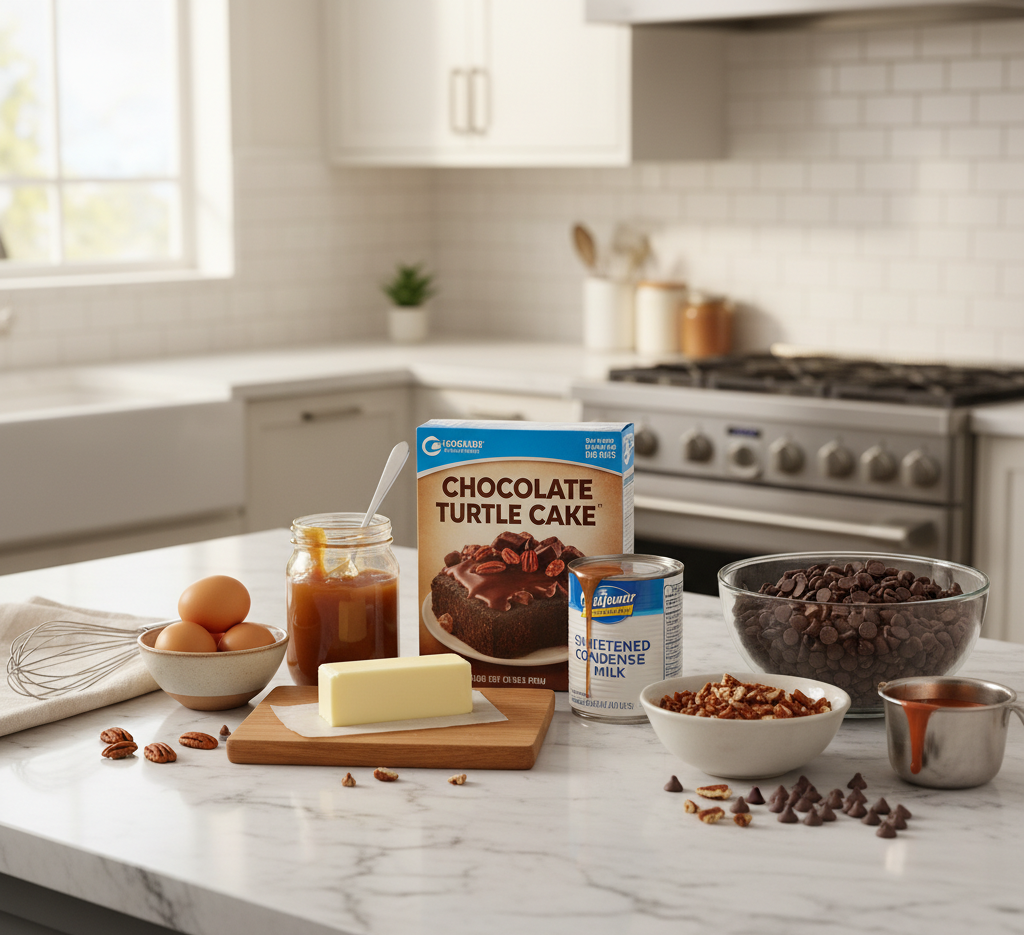
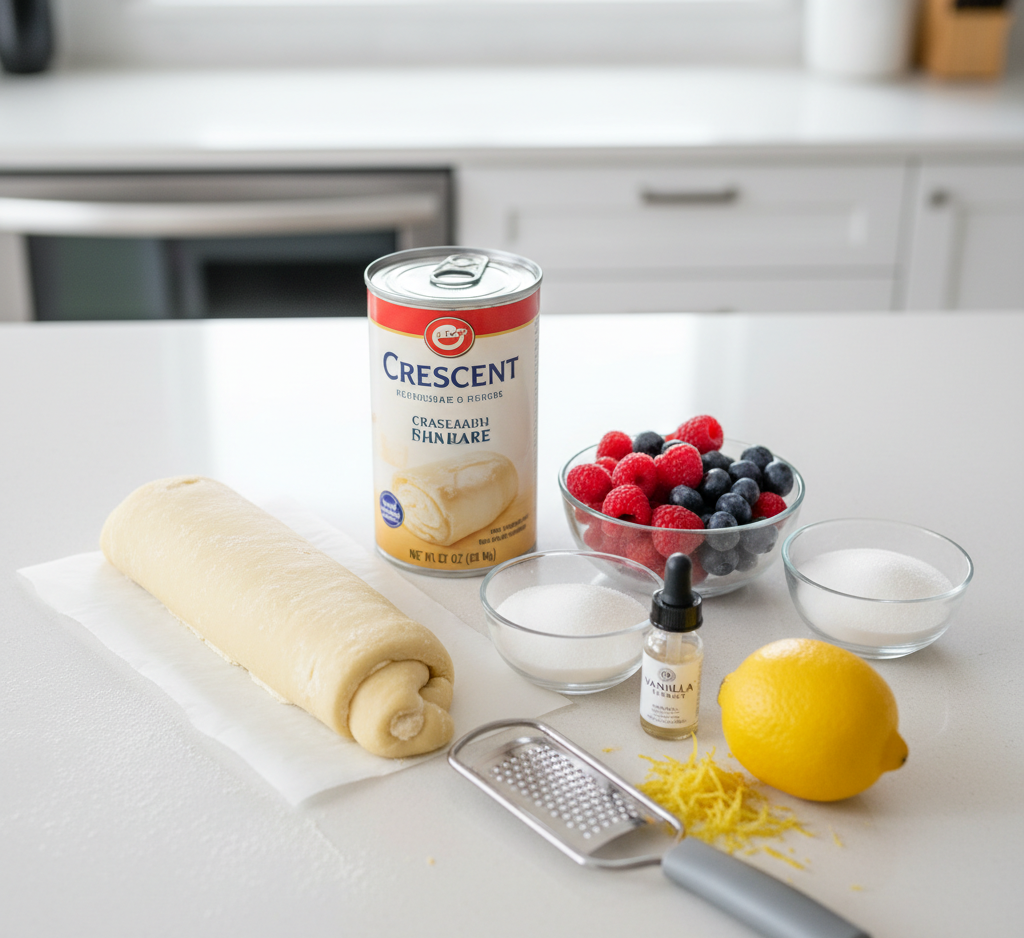
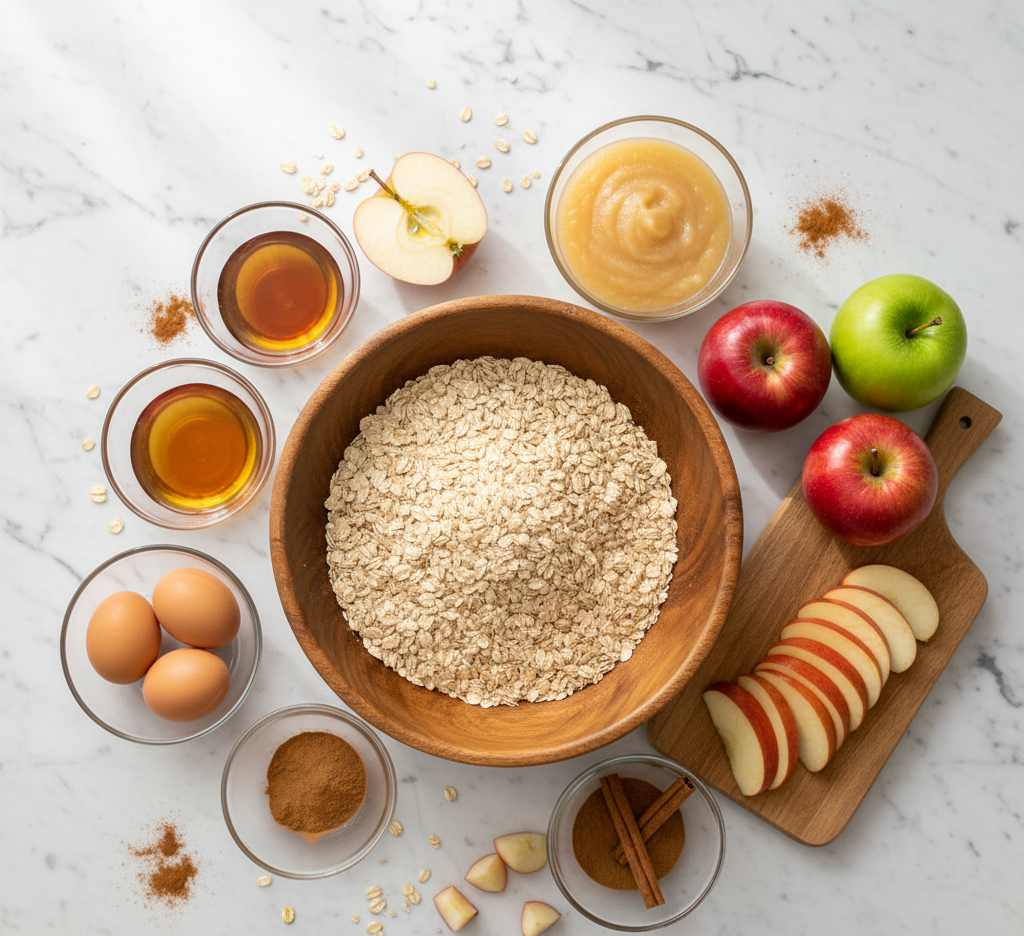
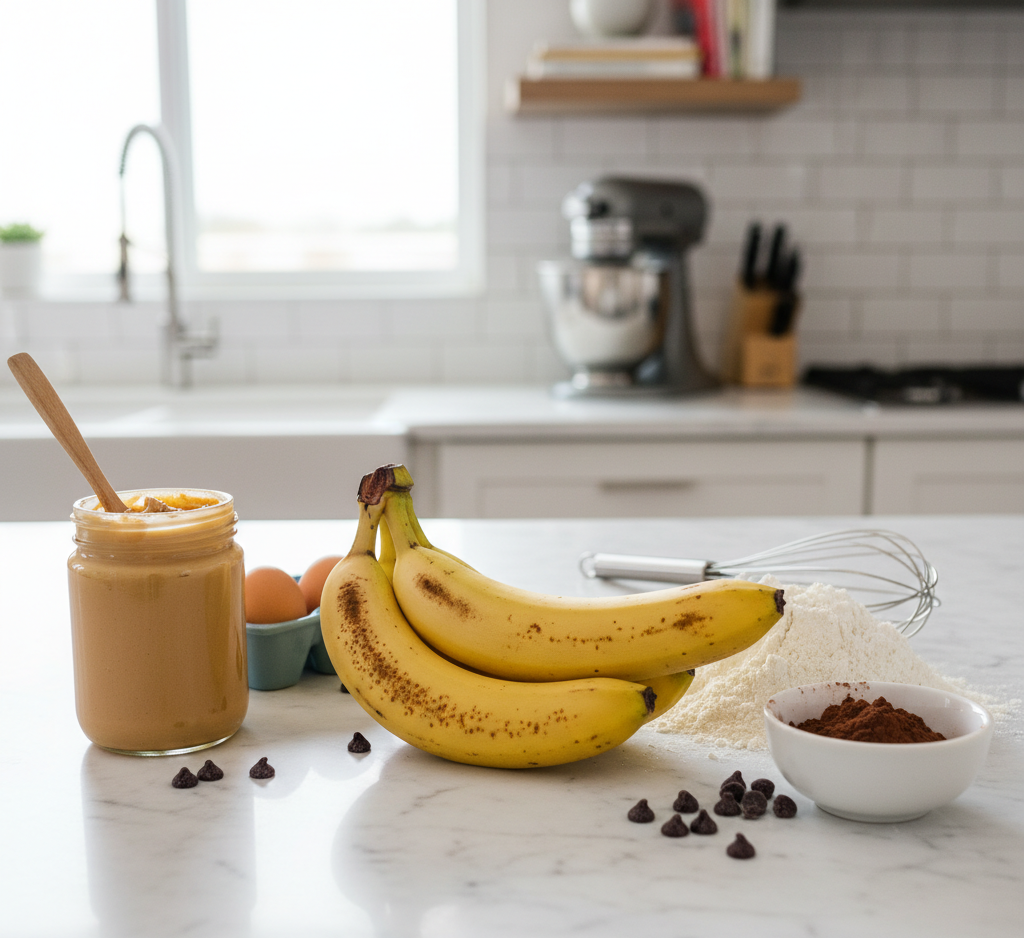
Ingredients

Here’s everything you’ll need to make this irresistible loaf:

  • 3 ripe bananas (mashed)
  • 1/2 cup creamy peanut butter
  • 1/2 cup unsalted butter (melted)
  • 3/4 cup brown sugar
  • 2 large eggs
  • 1 teaspoon vanilla extract
  • 1 1/2 cups all-purpose flour
  • 1/2 cup unsweetened cocoa powder
  • 1 teaspoon baking soda
  • 1/2 teaspoon salt
  • 1/2 cup chocolate chips

Ingredient Notes

The magic of this chocolate peanut butter banana bread comes from using high-quality ingredients and understanding their roles.

  • Bananas: The riper, the better. Look for dark brown spots—these add natural sweetness and moisture.
  • Peanut butter: Creamy works best, but natural peanut butter can be used if well stirred.
  • Cocoa powder: Use unsweetened cocoa for deep chocolate flavor.
  • Chocolate chips: Semi-sweet or dark chocolate chips balance the sweetness perfectly.

Step-by-Step Instructions

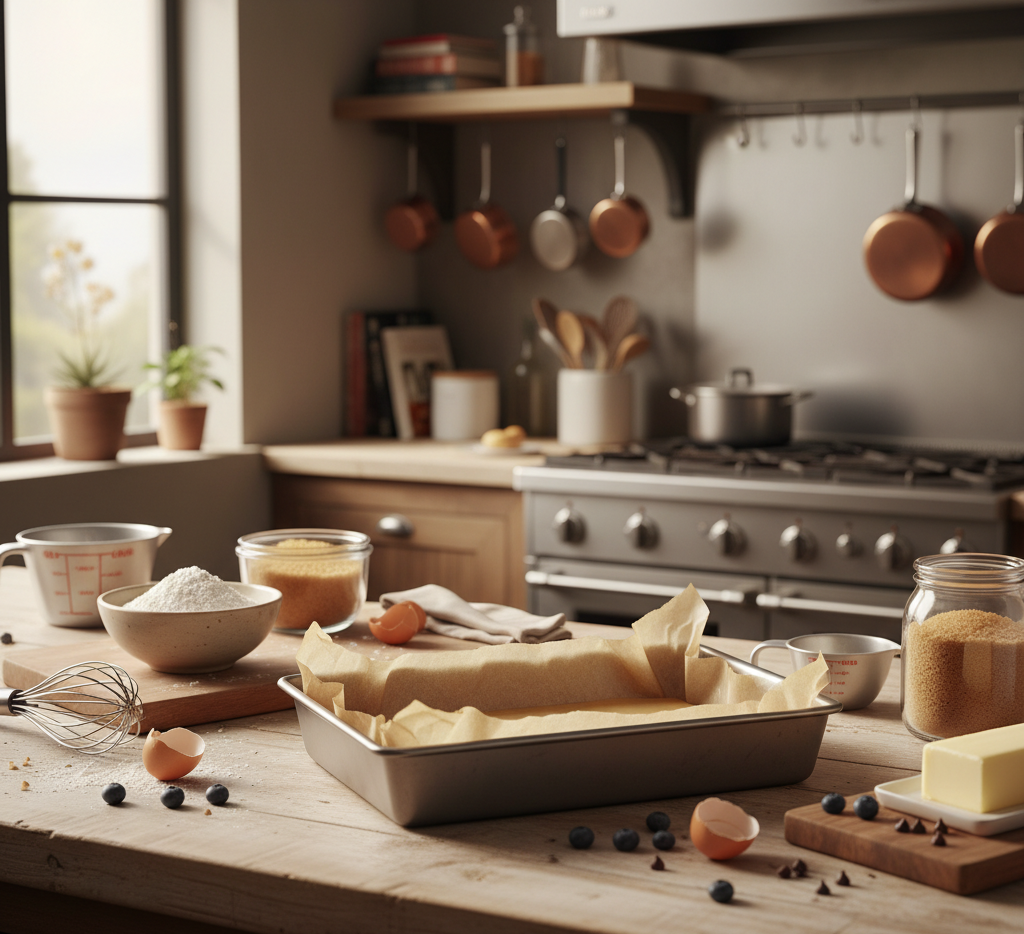
1. Prep Your Oven and Pan

Preheat your oven to 350°F (175°C) and grease a standard loaf pan or line it with parchment paper.

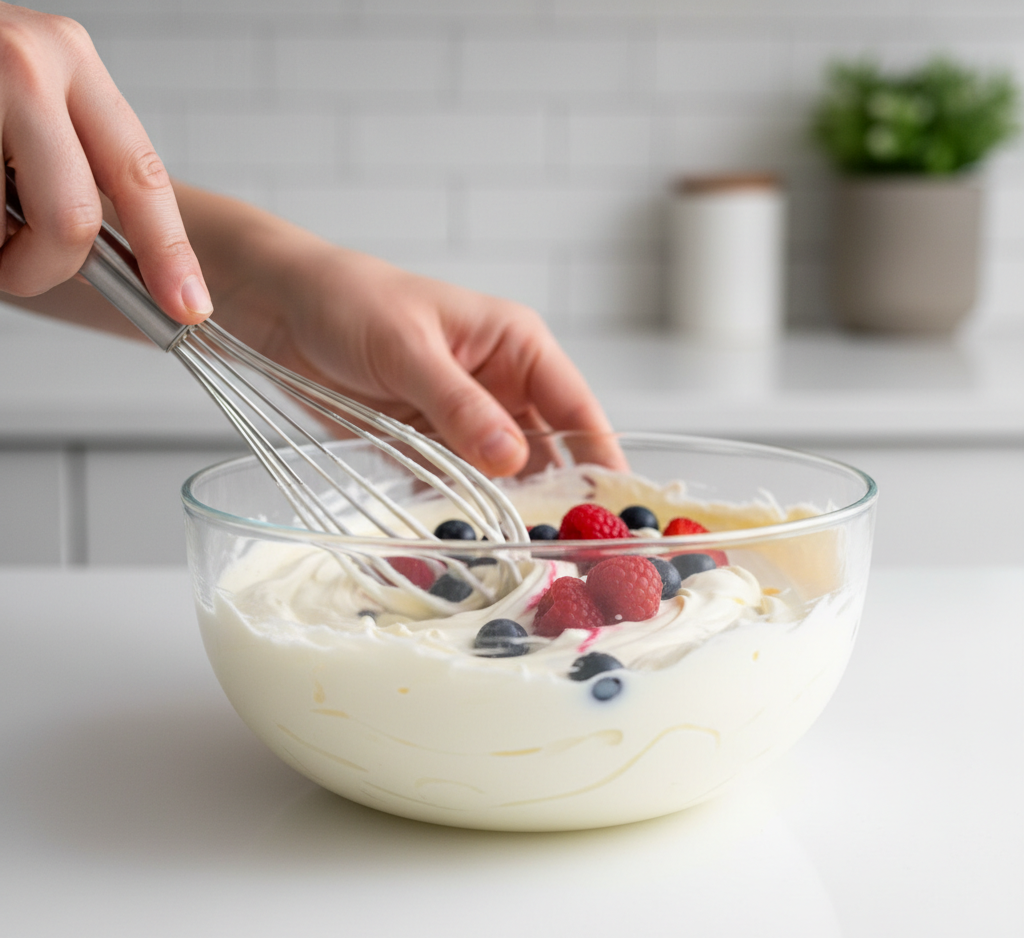
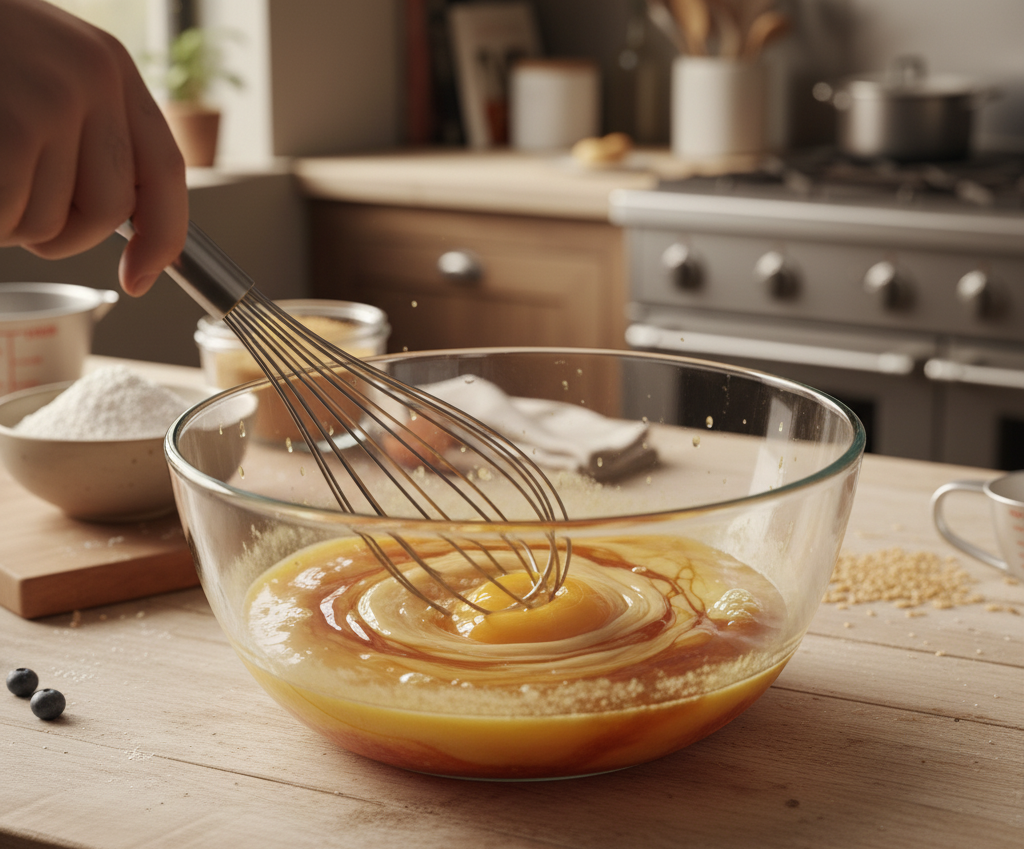
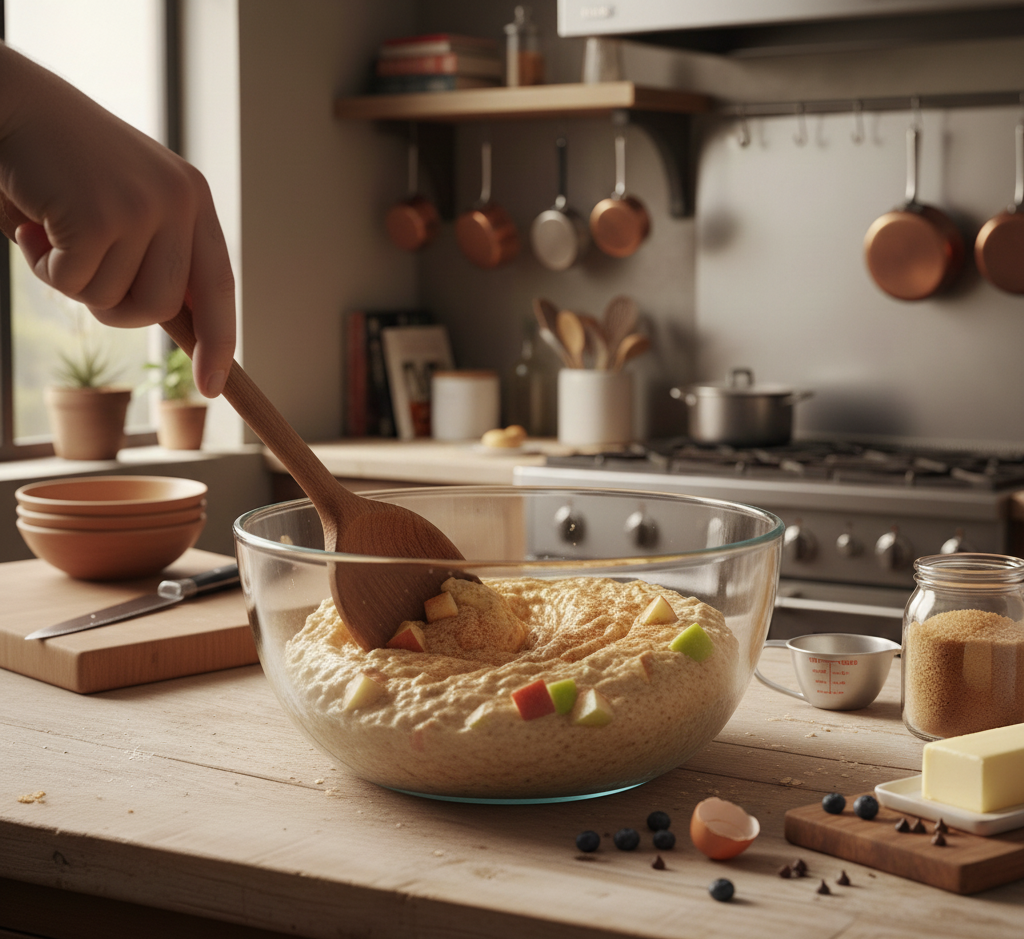
2. Mix Wet Ingredients

In a large bowl, mash the bananas until smooth. Add melted butter, peanut butter, brown sugar, eggs, and vanilla extract. Mix until fully combined and creamy.

3. Combine Dry Ingredients

In a separate bowl, whisk together flour, cocoa powder, baking soda, and salt.

4. Bring It All Together

Gradually add the dry ingredients into the wet mixture. Stir gently until just combined—don’t overmix.

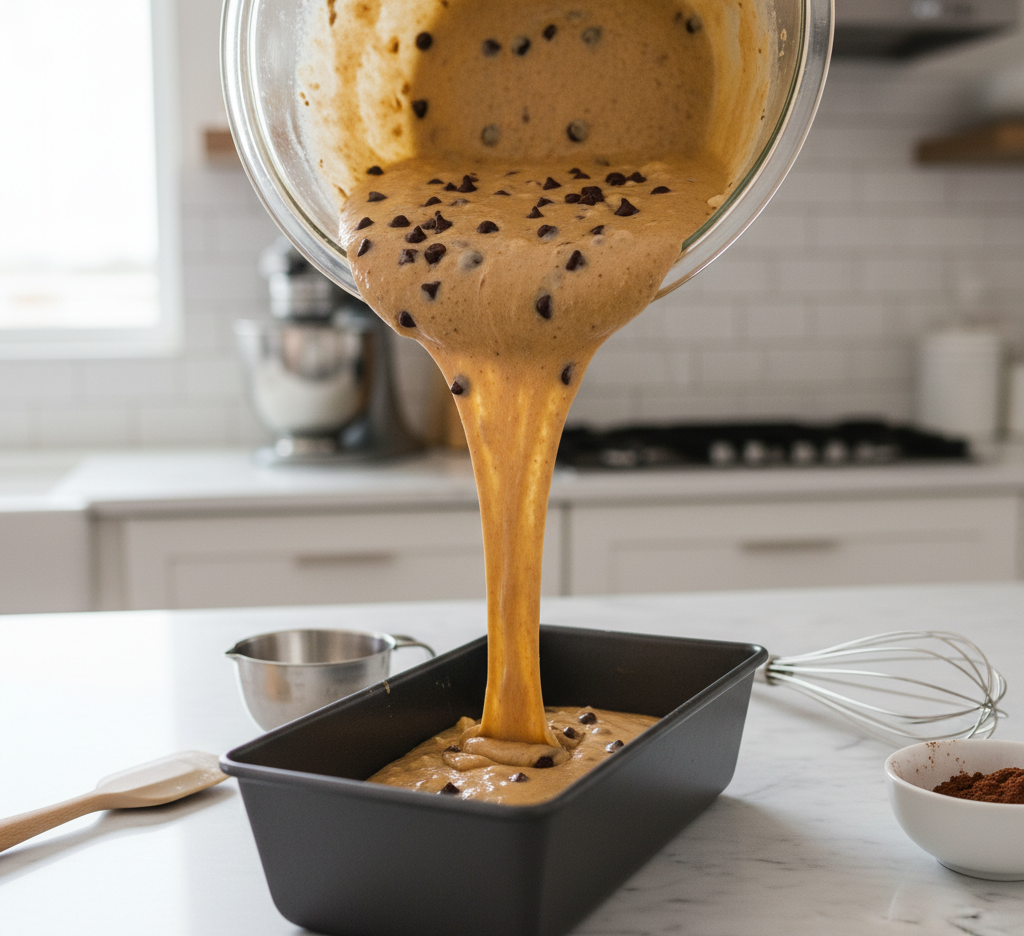
5. Add Chocolate Chips

Fold in the chocolate chips evenly throughout the batter.
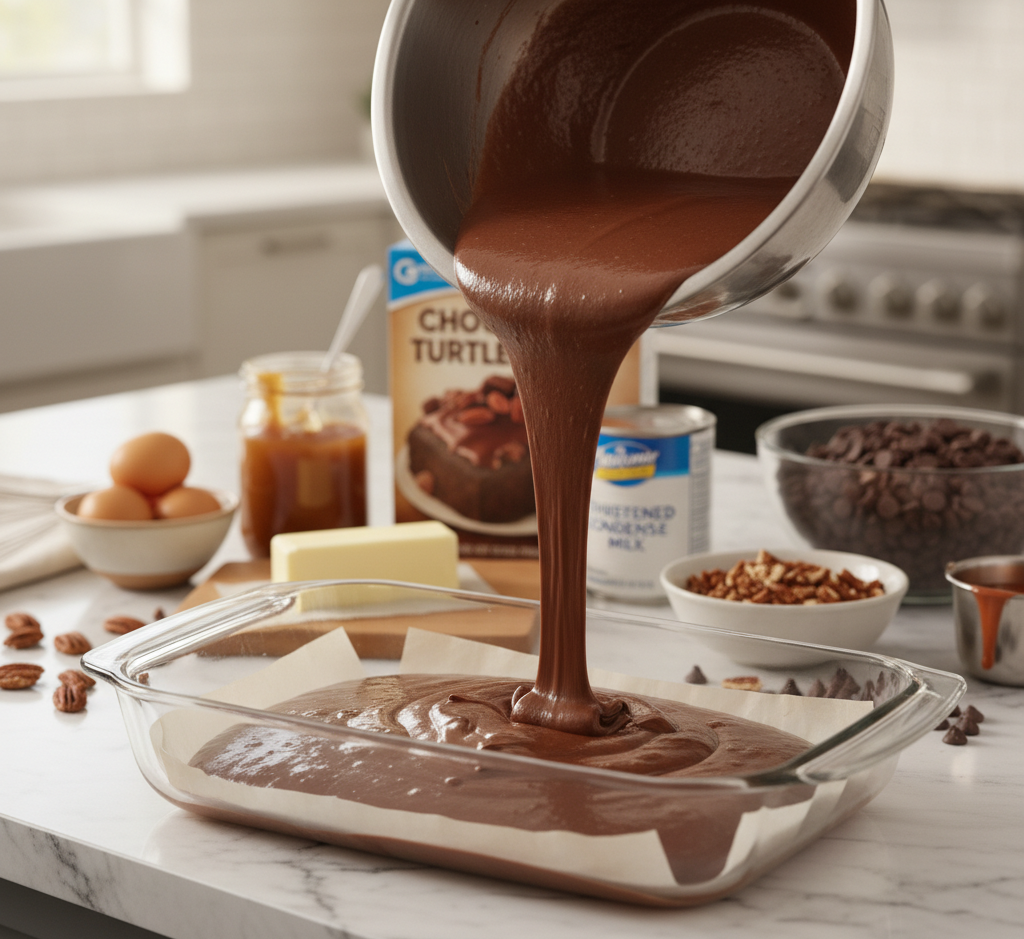
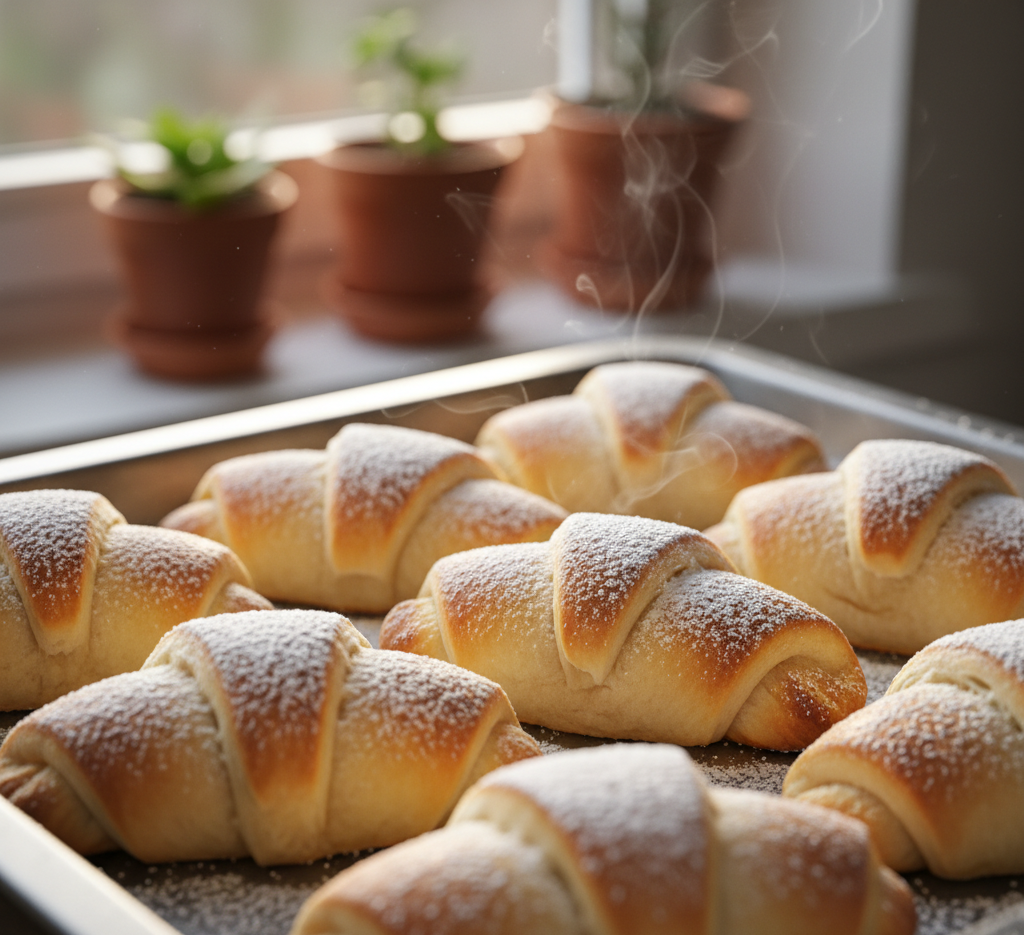
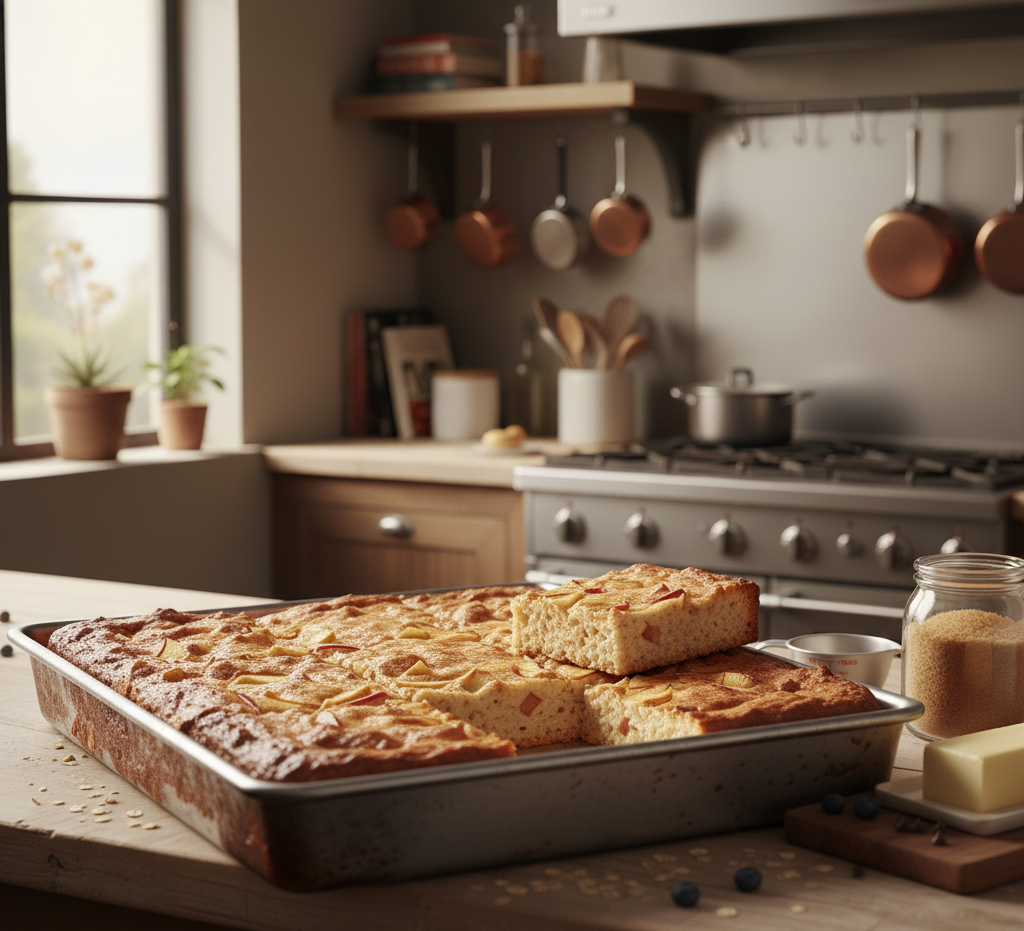
6. Bake

Pour the batter into your prepared loaf pan and bake for 55–65 minutes, or until a toothpick inserted in the center comes out mostly clean.
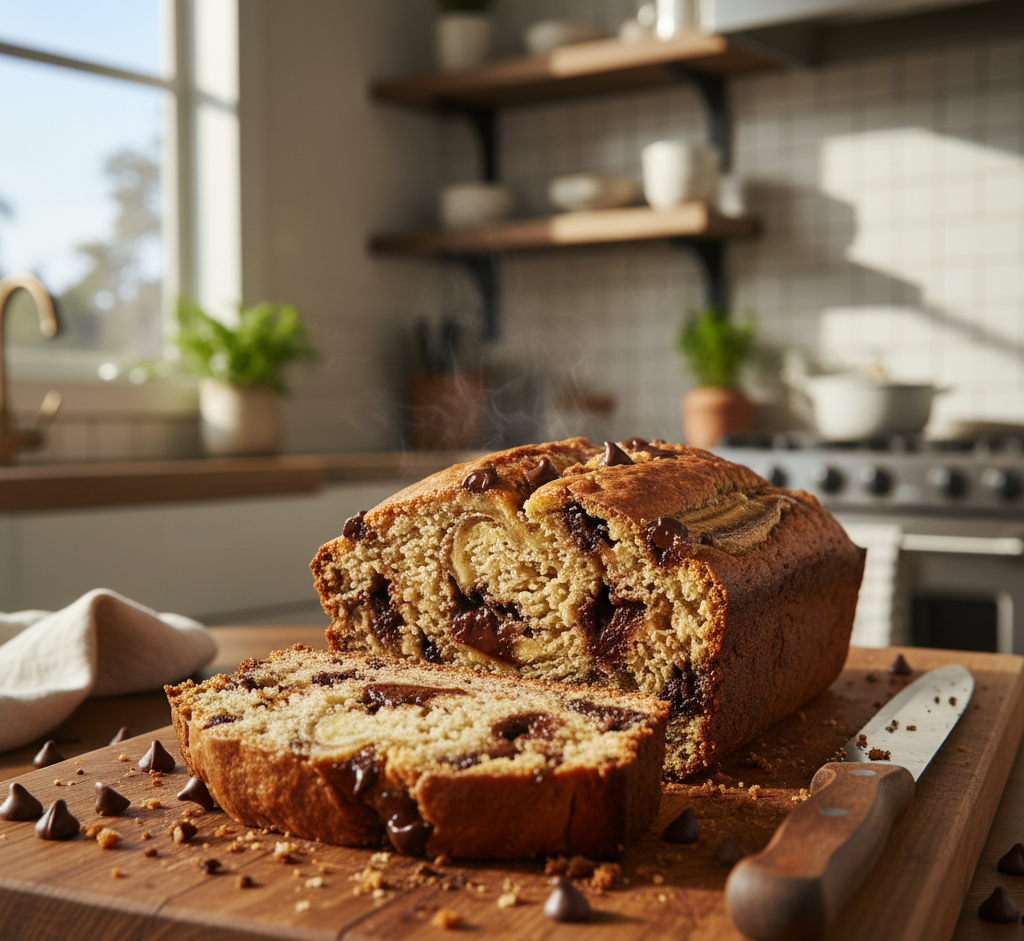
7. Cool and Serve

Let the bread cool in the pan for 10 minutes, then transfer to a wire rack to cool completely before slicing.

Tips for Perfect Results

Getting bakery-quality chocolate peanut butter banana bread at home is all about small details:

  • Don’t overmix the batter—this keeps the bread tender
  • Use room temperature eggs for better blending
  • Check doneness early to avoid overbaking
  • Let it cool completely before slicing for clean cuts

A little patience goes a long way in achieving that perfect moist crumb.
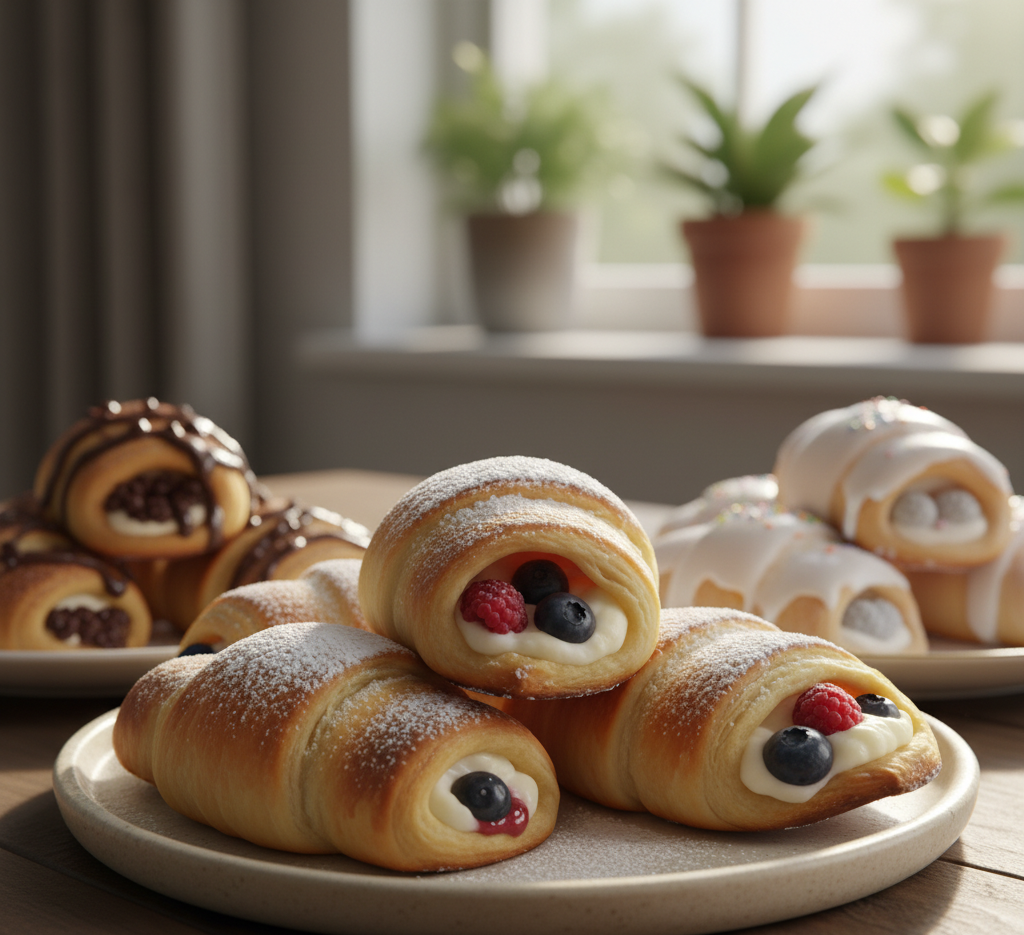
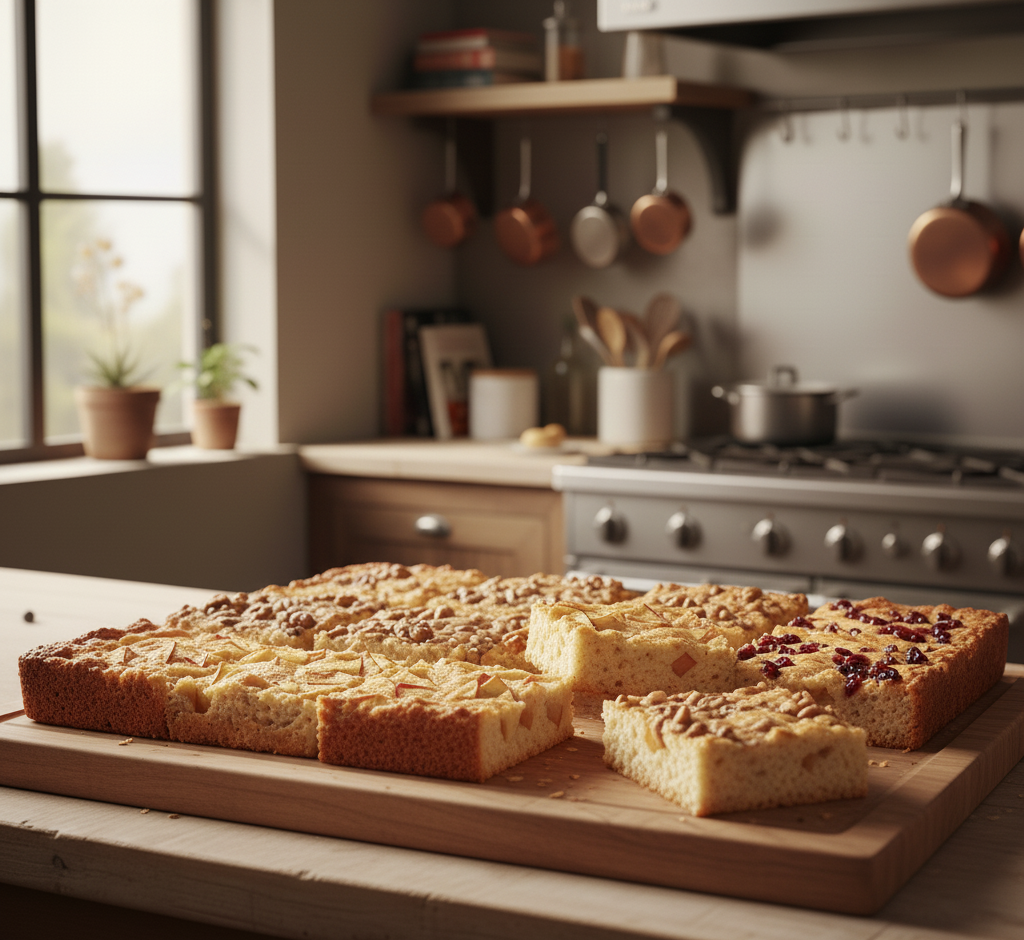
Variations

This recipe is incredibly versatile, so feel free to customize:
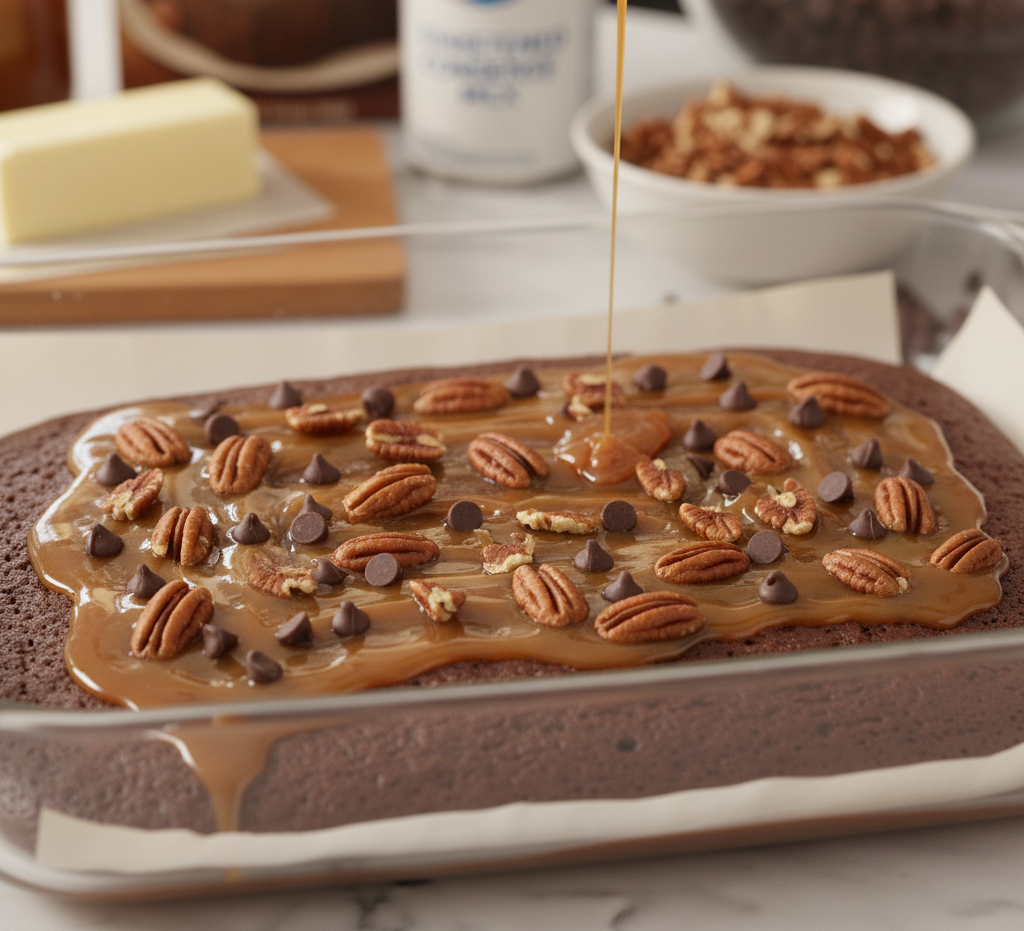
Add Some Crunch

  • Chopped walnuts or pecans for texture

Make It Healthier

  • Substitute half the flour with whole wheat flour
  • Use maple syrup instead of brown sugar

Go Extra Indulgent

  • Swirl extra peanut butter on top before baking
  • Add chunks of dark chocolate instead of chips

What to Serve With It

This chocolate peanut butter banana bread pairs beautifully with:

  • A hot cup of coffee or latte
  • A glass of cold milk
  • Fresh berries on the side
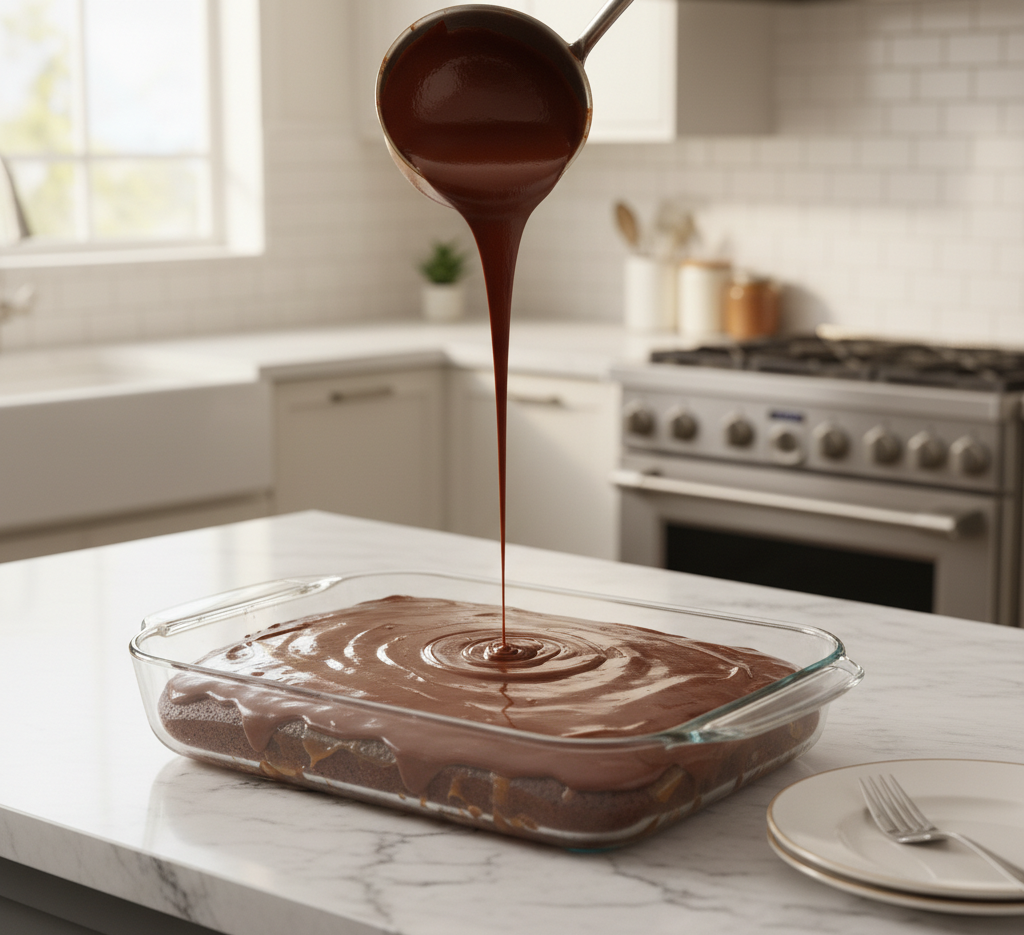
  • A drizzle of warm peanut butter or chocolate sauce

It’s also amazing lightly toasted with a bit of butter melting into each slice.
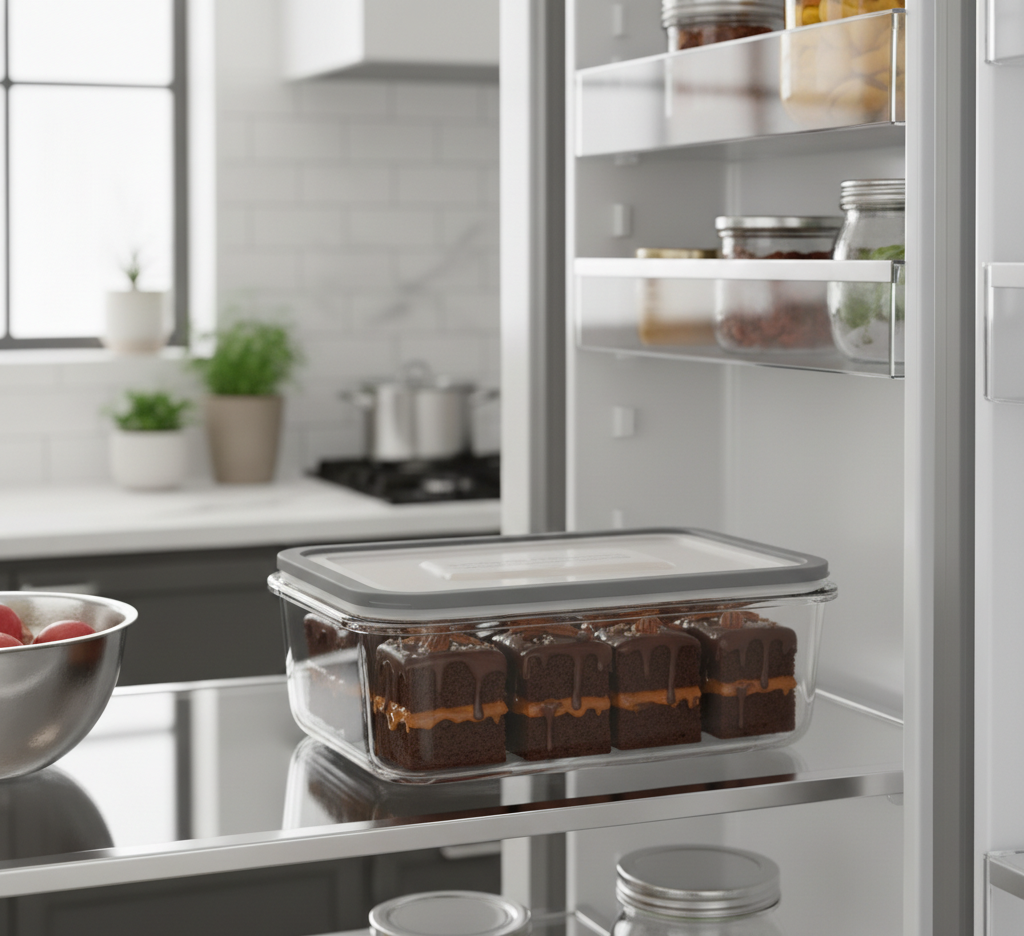
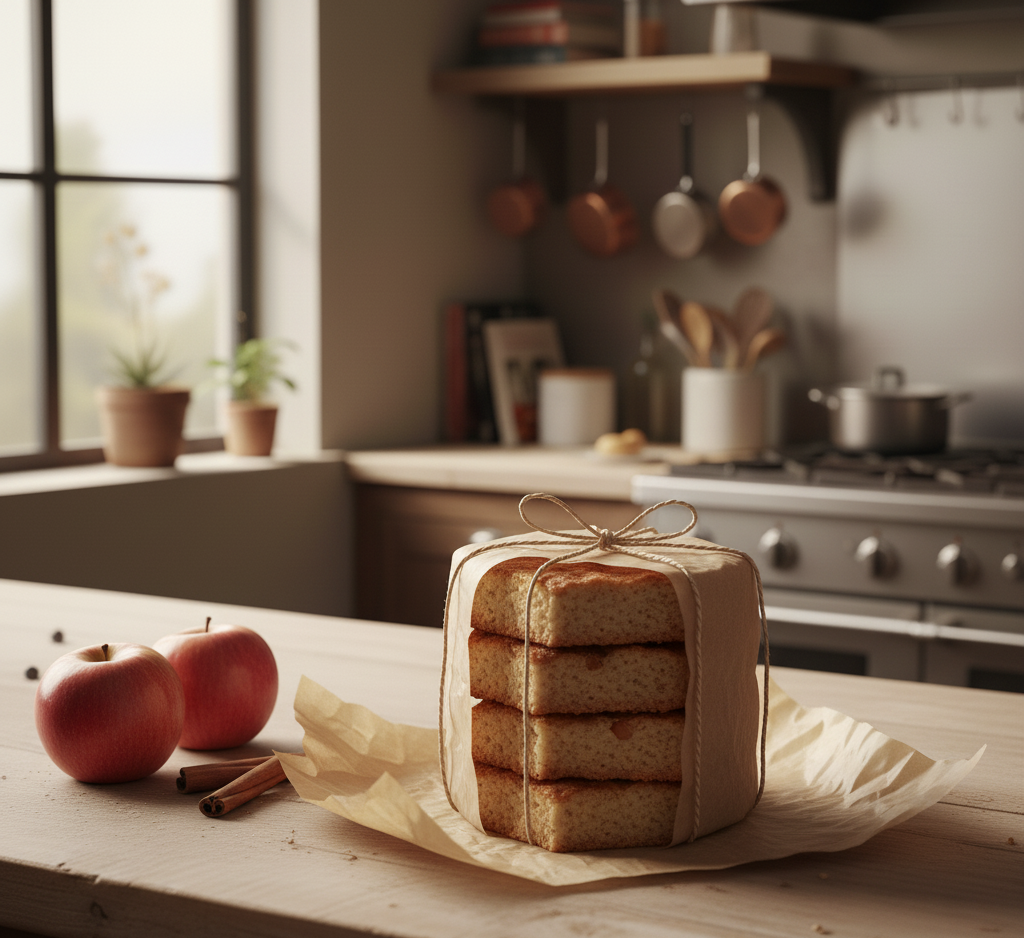
Storage & Reheating

To keep your banana bread fresh and delicious:

  • Room temperature: Store in an airtight container for up to 3 days
  • Refrigerator: Keeps for up to 1 week
  • Freezer: Wrap slices individually and freeze for up to 3 months

To reheat, simply microwave a slice for 15–20 seconds or warm it in the oven.

Common Mistakes to Avoid

Even simple recipes can go wrong—here’s what to watch out for:

  • Using underripe bananas (less flavor and sweetness)
  • Overbaking, which dries out the bread
  • Skipping the salt (it enhances the chocolate flavor)
  • Overmixing the batter

Avoiding these mistakes ensures a perfectly moist and flavorful loaf every time.

FAQs

Can I use natural peanut butter?

Yes, but make sure it’s well stirred. Natural peanut butter can separate and affect texture.

Can I make this gluten-free?

Absolutely! Use a 1:1 gluten-free flour blend for best results.

How do I know when banana bread is done?

Insert a toothpick into the center—if it comes out with a few moist crumbs, it’s ready.

Can I reduce the sugar?

Yes, you can slightly reduce it or substitute with natural sweeteners like honey or maple syrup.

Final Thoughts

This chocolate peanut butter banana bread is everything you want in a homemade treat—rich, moist, flavorful, and incredibly satisfying. It’s the kind of recipe you’ll come back to again and again, whether you’re baking for your family or just treating yourself.

Once you try it, don’t be surprised if it becomes a permanent staple in your kitchen. It’s easy, reliable, and absolutely delicious—exactly what great baking should be.

Crispy Beer Battered Fish and Chips (Pub-Style Recipe)

There’s nothing quite like biting into perfectly crispy beer battered fish and chips—that golden, crunchy coating giving way to tender, flaky fish inside. It’s the kind of comfort food you’d expect at your favorite pub, but the good news is you can recreate that same magic right in your own kitchen.

This pub-style recipe brings together light, airy beer batter with perfectly fried fish and classic thick-cut fries. Whether you’re planning a casual family dinner, game day meal, or just craving something indulgent, this recipe delivers authentic flavor and texture every single time.

Why You’ll Love This Recipe

This crispy beer battered fish and chips recipe is everything you want in a homemade version of this classic dish. It’s crunchy, flavorful, and surprisingly easy once you know a few key techniques.

The beer batter creates a light, airy crust that crisps up beautifully without feeling heavy or greasy. Paired with perfectly cooked fries, it’s a complete meal that feels both nostalgic and satisfying.

  • Authentic pub-style flavor at home
  • Light, crispy batter باستخدام beer
  • Flaky, tender fish inside
  • Perfectly golden fries
  • Great for gatherings or comfort meals

Ingredients

To make the best crispy beer battered fish and chips, you’ll need:

For the Fish:

  • 1 1/2 lbs white fish (cod, haddock, or pollock)
  • 1 cup all-purpose flour
  • 1 cup cold beer (lager works best)
  • 1 teaspoon baking powder
  • 1/2 teaspoon paprika
  • Salt and pepper to taste
  • Oil for frying

For the Chips:

  • 4 large russet potatoes
  • Oil for frying
  • Salt to taste

Ingredient Notes

Choosing the right ingredients is key to achieving restaurant-quality crispy beer battered fish and chips.

White fish like cod or haddock is ideal because it’s mild, flaky, and holds up well during frying. The beer is just as important—it adds carbonation, which helps create that light, crispy texture in the batter. A cold lager or pale ale works best.

Russet potatoes are perfect for fries because of their high starch content, which helps them crisp up on the outside while staying fluffy inside.

Step-by-Step Instructions

1. Prepare the Potatoes

Peel and cut the potatoes into thick fries. Rinse them in cold water to remove excess starch, then pat dry thoroughly.

2. First Fry (Blanching)

Heat oil to 325°F and fry the potatoes for 3–4 minutes until soft but not browned. Remove and set aside.

3. Make the Beer Batter

In a bowl, whisk together flour, baking powder, paprika, salt, and pepper. Gradually whisk in cold beer until smooth.

4. Prepare the Fish

Pat the fish dry and lightly coat it in flour. This helps the batter stick better.

5. Fry the Fish

Heat oil to 350°F. Dip the fish into the batter, then carefully place it into the hot oil. Fry for 4–6 minutes until golden brown and crispy.

6. Second Fry for Chips

Increase oil temperature to 375°F and fry the potatoes again until golden and crispy.

7. Drain and Serve

Remove fish and chips from oil and place on paper towels. Season with salt immediately and serve hot with lemon wedges.

Tips for Perfect Results

To master crispy beer battered fish and chips, keep these expert tips in mind:

  • Keep the batter cold: Cold batter creates a crispier coating
  • Dry the fish היט: Moisture prevents proper crisping
  • Use a thermometer: Maintain consistent oil temperature
  • Don’t overcrowd the fryer: Fry in batches for best results

Variations

This crispy beer battered fish and chips recipe is easy to customize.

You can swap beer for sparkling water if you prefer a non-alcoholic version. For a spicier twist, add cayenne pepper or hot sauce to the batter. You can also experiment with different fish varieties or even shrimp.

For a healthier option, try baking the fries or using an air fryer, though the texture will differ slightly from traditional frying.

What to Serve With It

Classic beer battered fish and chips are best served with simple, traditional sides.

  • Tartar sauce
  • Malt vinegar
  • Coleslaw
  • Pickles
  • Lemon wedges

These accompaniments enhance the flavor without overpowering the crispy fish.

Storage & Reheating

While crispy beer battered fish and chips are best enjoyed fresh, leftovers can still be saved.

Store in an airtight container in the refrigerator for up to 2 days. Reheat in the oven at 375°F to restore crispiness. Avoid microwaving, as it can make the batter soggy.

Common Mistakes to Avoid

Even simple frying recipes can go wrong without proper technique.

Avoid using warm batter, as it won’t crisp properly. Don’t skip drying the fish, and make sure your oil is hot enough before frying. Also, resist the urge to flip the fish too early—let it develop that golden crust first.

FAQs

What’s the best fish for beer battered fish and chips?

Cod and haddock are the most popular choices due to their mild flavor and flaky texture.

Can I make this without beer?

Yes, you can substitute sparkling water or club soda for similar results.

Why isn’t my batter crispy?

This usually happens if the batter isn’t cold or the oil temperature is too low.

Can I bake instead of fry?

You can, but the texture won’t be as crispy as traditional frying.

Final Thoughts

This Crispy Beer Battered Fish and Chips (Pub-Style Recipe) brings all the charm of your favorite pub straight into your kitchen. With its crunchy golden coating, tender fish, and perfectly crisp fries, it’s a dish that never goes out of style.

Once you master this recipe, you’ll find yourself coming back to it whenever you want a comforting, crowd-pleasing meal. Serve it hot, add your favorite sides, and enjoy a true classic done right.

Creamy Spinach Broccoli Cheese Casserole

If you’re looking for a cozy, crowd-pleasing dish that brings both comfort and nutrition to the table, this Creamy Spinach Broccoli Cheese Casserole is exactly what you need. Packed with tender broccoli, vibrant spinach, and a rich, cheesy sauce, this casserole delivers the perfect balance of flavor and texture in every bite.

Whether you’re planning a holiday spread, a weeknight dinner, or a potluck dish, this casserole fits right in. It’s hearty enough to stand on its own as a vegetarian main and versatile enough to serve as a side alongside your favorite proteins. Best of all, it’s incredibly easy to make with simple ingredients you likely already have in your kitchen.

Why You’ll Love This Recipe

This creamy spinach broccoli cheese casserole is one of those recipes that quickly becomes a family favorite. It combines wholesome vegetables with indulgent cheese, making it both satisfying and comforting.

The creamy texture pairs beautifully with the slight crunch of broccoli, while the spinach adds a subtle earthiness that balances the richness of the cheese sauce. It’s a dish that feels indulgent but still sneaks in plenty of greens.

  • Rich, creamy, and cheesy
  • Packed with nutritious vegetables
  • Easy to prepare ahead of time
  • Perfect for holidays or weeknight dinners
  • Kid-friendly and crowd-pleasing

Ingredients

To make this delicious creamy spinach broccoli cheese casserole, you’ll need:

  • 3 cups broccoli florets (fresh or frozen)
  • 2 cups fresh spinach (or frozen, thawed and drained)
  • 2 cups shredded cheddar cheese
  • 1/2 cup cream cheese, softened
  • 1/2 cup sour cream
  • 1/4 cup milk
  • 1/2 teaspoon garlic powder
  • 1/2 teaspoon onion powder
  • Salt and pepper to taste
  • 1/2 cup breadcrumbs (optional topping)
  • 2 tablespoons butter (for topping)

Ingredient Notes

The magic of this creamy spinach broccoli cheese casserole lies in how simple ingredients come together to create something extraordinary.

Fresh broccoli gives the best texture, but frozen works just as well if you’re short on time—just be sure to thaw and drain it היט. Spinach should also be well-drained to prevent excess moisture from making the casserole watery.

Cheddar cheese is the star here, offering bold flavor and a beautiful melt. For extra depth, you can mix in mozzarella or Parmesan. Cream cheese and sour cream create that ultra-creamy base that makes this casserole so irresistible.

Step-by-Step Instructions

1. Preheat and Prepare

Preheat your oven to 375°F and lightly grease a baking dish.

2. Cook the Vegetables

Steam or blanch the broccoli until just tender. If using fresh spinach, sauté it briefly until wilted. Drain any excess liquid.

3. Make the Creamy Sauce

In a large bowl, mix cream cheese, sour cream, milk, garlic powder, onion powder, salt, and pepper until smooth.

4. Combine Ingredients

Add the broccoli, spinach, and shredded cheese to the sauce, stirring until everything is evenly coated.

5. Assemble the Casserole

Transfer the mixture into the prepared baking dish and spread it evenly.

6. Add Topping

If using breadcrumbs, mix them with melted butter and sprinkle over the top for a crispy finish.

7. Bake

Bake for 25–30 minutes, or until bubbly and golden on top.

Tips for Perfect Results

To make the best creamy spinach broccoli cheese casserole, keep these tips in mind:

  • Drain vegetables היט: Excess moisture can make the casserole watery
  • Use freshly shredded cheese: Melts better than pre-shredded
  • Don’t overcook broccoli: Keep it slightly firm for the best texture
  • Let it rest before serving: Helps the casserole set

What to Serve With It

This creamy spinach broccoli cheese casserole pairs beautifully with a variety of main dishes.

  • Roasted chicken
  • Grilled steak
  • Baked salmon
  • Holiday turkey
  • Simple green salad

It’s also filling enough to enjoy on its own as a vegetarian main dish.

Storage & Reheating

Leftovers of this creamy spinach broccoli cheese casserole store wonderfully.

Keep it in an airtight container in the refrigerator for up to 4 days. To reheat, place in the oven at 350°F until warmed through, or microwave individual portions.

You can also freeze the casserole before or after baking for up to 2 months—just thaw overnight in the fridge before reheating.

Common Mistakes to Avoid

Even simple casseroles can go wrong without a few precautions.

One common mistake is not draining the vegetables properly, which can lead to a watery dish. Another is overbaking, which can dry out the creamy texture.

Also, avoid using too little seasoning—cheese-based dishes need proper seasoning to bring out their full flavor.

FAQs

Can I use frozen broccoli and spinach?

Yes, just make sure to thaw and drain them thoroughly before using.

Can I make this casserole ahead of time?

Absolutely! Assemble it ahead and refrigerate until ready to bake.

Can I make it without breadcrumbs?

Yes, the topping is optional. You can substitute with extra cheese if preferred.

How do I keep the casserole from being watery?

Drain all vegetables היט and avoid overcooking them before baking.

Final Thoughts

This Creamy Spinach Broccoli Cheese Casserole is the ultimate comfort food that brings together rich, cheesy goodness and wholesome vegetables in one satisfying dish. It’s easy to prepare, endlessly customizable, and perfect for everything from weeknight dinners to holiday gatherings.

Once you try this recipe, it’s sure to earn a permanent spot in your rotation. Whether you serve it as a side or enjoy it as a main, it’s a warm, delicious reminder that simple ingredients can create something truly special.

Indulge in Decadence with This Chocolate Turtle Cake Recipe

If you’re ready to truly treat yourself (and anyone lucky enough to share), this Chocolate Turtle Cake Recipe is the definition of indulgence. Rich chocolate cake, gooey caramel, crunchy pecans, and luscious chocolate drizzle come together in a dessert that feels like it belongs in a high-end bakery—but is surprisingly easy to make at home.

This cake is inspired by classic turtle candies, known for their irresistible combination of chocolate, caramel, and nuts. Each bite of this cake delivers that same magic, only amplified into a moist, layered dessert that’s perfect for celebrations, holidays, or whenever you’re craving something unforgettable.

Why You’ll Love This Chocolate Turtle Cake Recipe

There are plenty of chocolate cakes out there, but this chocolate turtle cake recipe stands in a league of its own. It’s not just about chocolate—it’s about layers of texture and flavor that create a truly memorable dessert experience.

The moist chocolate cake pairs beautifully with the buttery caramel and crunchy pecans, while the chocolate topping ties everything together. It’s rich without being overwhelming and impressive without being complicated.

  • Ultra-moist chocolate cake base
  • Gooey caramel layers throughout
  • Crunchy pecans for texture
  • Perfect for birthdays, holidays, or gatherings
  • Easy enough for home bakers

Ingredients

To make this indulgent chocolate turtle cake recipe, gather the following:

  • 1 box chocolate cake mix (or homemade equivalent)
  • Ingredients listed on the cake mix (eggs, oil, water)
  • 1 cup caramel sauce (store-bought or homemade)
  • 1 can sweetened condensed milk
  • 1 cup semi-sweet chocolate chips
  • 1 cup chopped pecans
  • 1/2 cup butter
  • 1/4 cup heavy cream

Ingredient Notes

The beauty of this chocolate turtle cake recipe is how flexible it is while still delivering incredible results.

Using a boxed cake mix saves time and ensures a consistent texture, but you can absolutely use your favorite homemade chocolate cake recipe if you prefer. The caramel sauce is the heart of the “turtle” flavor—choose a high-quality brand or make your own for an extra special touch.

Pecans add that signature crunch, but if you’re not a fan, walnuts can be a great substitute. And don’t skip the sweetened condensed milk—it helps create that gooey, almost fudgy layer inside the cake.

Step-by-Step Instructions

1. Prepare the Cake Batter

Preheat your oven to 350°F and prepare a 9×13-inch baking dish. Mix the chocolate cake batter according to package instructions.

2. Bake the First Layer

Pour half of the batter into the prepared pan and bake for about 15 minutes, just until partially set.

3. Add the Caramel Layer

Remove the cake from the oven and pour the sweetened condensed milk and caramel sauce evenly over the partially baked cake.

4. Add Toppings

Sprinkle chopped pecans and chocolate chips over the caramel layer.

5. Finish Baking

Pour the remaining cake batter over the top and return to the oven. Bake for an additional 20–25 minutes, or until fully cooked.

6. Prepare the Chocolate Drizzle

In a small saucepan, melt butter, chocolate chips, and heavy cream until smooth.

7. Drizzle and Serve

Drizzle the warm chocolate sauce over the cooled cake before serving.

Tips for Perfect Results

To make the best chocolate turtle cake recipe, keep these helpful tips in mind:

  • Don’t overbake: This cake should stay moist and slightly gooey
  • Use room temperature ingredients: Helps everything mix smoothly
  • Let it cool slightly before slicing: Allows layers to set properly
  • Toast the pecans: Enhances their flavor and crunch

Variations

This chocolate turtle cake recipe is incredibly versatile, making it easy to customize.

For a salted caramel version, sprinkle flaky sea salt over the top. If you want an extra chocolatey experience, add a layer of chocolate ganache between the cake layers. You can also experiment with different nuts or even add a hint of espresso powder to deepen the chocolate flavor.

What to Serve With It

This rich chocolate turtle cake recipe pairs beautifully with lighter accompaniments.

  • Vanilla ice cream
  • Fresh berries
  • Whipped cream
  • Hot coffee or espresso

The contrast between the rich cake and lighter sides creates a perfectly balanced dessert experience.

Storage & Reheating

Store leftover chocolate turtle cake in an airtight container in the refrigerator for up to 5 days. Because of the caramel and chocolate layers, it stays moist and delicious even after a few days.

To reheat, microwave individual slices for 10–15 seconds to bring back that gooey texture. You can also enjoy it cold for a firmer, fudge-like consistency.

Common Mistakes to Avoid

Even a forgiving recipe like this can go wrong if you’re not careful.

Avoid overbaking, which can dry out the cake and harden the caramel. Be careful not to overload the cake with too many toppings, as this can affect the structure. Also, make sure to spread the layers evenly to ensure every bite has the perfect balance of flavors.

FAQs

Can I make this chocolate turtle cake ahead of time?

Yes! It actually tastes even better the next day as the flavors meld together.

Can I use homemade caramel sauce?

Absolutely. Homemade caramel adds a richer, deeper flavor.

Can I freeze chocolate turtle cake?

Yes, wrap it tightly and freeze for up to 2 months. Thaw in the refrigerator before serving.

What makes it a “turtle” cake?

The combination of chocolate, caramel, and pecans is inspired by classic turtle candies.

Final Thoughts

This Chocolate Turtle Cake Recipe truly lives up to its name—it’s decadent, rich, and completely unforgettable. With layers of moist chocolate cake, gooey caramel, crunchy pecans, and silky chocolate drizzle, every bite is pure dessert bliss.

Whether you’re celebrating a special occasion or simply treating yourself, this cake delivers bakery-quality results with minimal effort. Once you make it, don’t be surprised if it becomes your go-to showstopper dessert for years to come.

Easy Berry Cream Cheese Stuffed Crescent Rolls

If you’re craving a quick, bakery-style treat without spending hours in the kitchen, these Easy Berry Cream Cheese Stuffed Crescent Rolls are exactly what you need. Flaky, golden crescent dough wraps around a luscious cream cheese filling and bursts of sweet, juicy berries—creating a dessert (or breakfast!) that feels both indulgent and effortless.

This recipe is perfect for busy mornings, last-minute guests, or when you just want something sweet without the hassle. Using refrigerated crescent roll dough cuts down prep time dramatically, while the creamy berry filling adds a homemade touch that tastes truly special. Whether you’re serving these at brunch or enjoying them with your morning coffee, they’re guaranteed to impress.

Why You’ll Love This Recipe

These easy berry cream cheese stuffed crescent rolls are a dream come true for anyone who loves simple yet delicious recipes. They strike the perfect balance between convenience and flavor, making them a staple you’ll return to again and again.

The combination of tangy cream cheese and sweet berries creates a rich, satisfying filling that pairs beautifully with the buttery, flaky crescent dough. Plus, they’re incredibly versatile—you can customize the filling based on what you have on hand.

  • Ready in under 30 minutes
  • Uses minimal, easy-to-find ingredients
  • Perfect for breakfast, brunch, or dessert
  • Kid-friendly and crowd-pleasing
  • Easily customizable with different fruits

Ingredients

To make these easy berry cream cheese stuffed crescent rolls, you’ll need:

  • 1 can refrigerated crescent roll dough
  • 4 oz cream cheese, softened
  • 2–3 tablespoons granulated sugar
  • 1/2 teaspoon vanilla extract
  • 1/2 cup mixed berries (strawberries, blueberries, raspberries)
  • 1 tablespoon powdered sugar (for garnish)
  • Optional: lemon zest for extra flavor

Ingredient Notes

The simplicity of these easy berry cream cheese stuffed crescent rolls means each ingredient plays an important role.

Crescent roll dough provides that signature flaky texture without the need for homemade pastry. Cream cheese should be softened to ensure a smooth, creamy filling that spreads easily. Fresh berries are ideal for the best flavor and texture, but frozen berries can work in a pinch—just be sure to thaw and drain them היט to avoid excess moisture.

Adding a touch of vanilla enhances the sweetness, while optional lemon zest brightens the entire filling with a subtle citrus note.

Step-by-Step Instructions

1. Prepare the Filling

In a medium bowl, mix the softened cream cheese, sugar, and vanilla extract until smooth and creamy.

2. Add the Berries

Gently fold in the berries, being careful not to crush them too much. You want small bursts of fruit in every bite.

3. Roll Out the Dough

Unroll the crescent dough and separate it into individual triangles along the perforated lines.

4. Fill the Crescent Rolls

Place a spoonful of the cream cheese berry mixture onto the wide end of each triangle.

5. Roll and Seal

Carefully roll each triangle from the wide end to the tip, enclosing the filling. Place them on a lined baking sheet.

6. Bake to Perfection

Bake in a preheated oven at 375°F for 10–13 minutes, or until golden brown and flaky.

7. Finish and Serve

Let them cool slightly, then dust with powdered sugar before serving.

Tips for Perfect Results

To get the best results from your easy berry cream cheese stuffed crescent rolls, keep these tips in mind:

  • Don’t overfill: Too much filling can cause leaks أثناء baking
  • Seal edges היט: Prevents the filling from escaping
  • Use parchment paper: Makes cleanup easy and prevents sticking
  • Chill slightly before baking: Helps maintain shape

These small steps can make a big difference in the final presentation and texture.

Variations

One of the best things about this recipe is how easy it is to customize.

You can switch up the berries depending on the season—try blackberries, cherries, or even diced peaches. For a richer dessert, add chocolate chips to the filling. Want a tangier flavor? Mix in a little Greek yogurt with the cream cheese.

For a more indulgent twist, drizzle the baked rolls with a simple glaze made from powdered sugar and milk.

What to Serve With It

These easy berry cream cheese stuffed crescent rolls are incredibly versatile and pair well with many dishes.

Serve them alongside:

  • Fresh fruit salad
  • Scrambled eggs or omelets
  • Coffee or tea
  • Yogurt parfaits
  • Smoothies

They work beautifully as part of a brunch spread or as a sweet snack any time of day.

Storage & Reheating

If you have leftovers (which isn’t always likely!), these easy berry cream cheese stuffed crescent rolls store well.

Keep them in an airtight container in the refrigerator for up to 3 days. To reheat, warm them in the oven at 300°F for a few minutes or microwave briefly.

For longer storage, you can freeze them after baking. Just thaw and reheat when ready to enjoy.

Common Mistakes to Avoid

Even simple recipes can have a few pitfalls.

Avoid using overly juicy berries without draining them, as excess moisture can make the rolls soggy. Don’t skip softening the cream cheese—it’s essential for a smooth filling. And be careful not to overbake, as this can dry out the pastry.

Paying attention to these details will ensure your crescent rolls come out perfect every time.

FAQs

Can I use frozen berries?

Yes, but make sure to thaw and drain them well before using.

Can I make these ahead of time?

You can assemble them ahead and refrigerate until ready to bake.

Can I use low-fat cream cheese?

Yes, though the filling may be slightly less rich and creamy.

How do I prevent the filling from leaking?

Avoid overfilling and make sure to roll the dough tightly.

Final Thoughts

These Easy Berry Cream Cheese Stuffed Crescent Rolls are proof that simple ingredients can create something truly special. With their flaky exterior, creamy filling, and bursts of sweet berries, they’re the kind of treat that feels both comforting and indulgent.

Whether you’re making them for a weekend brunch, a quick dessert, or just because you’re craving something sweet, this recipe delivers every time. Once you try them, they’re sure to become a favorite in your kitchen rotation.

Easy Honey Garlic Pork Chops Recipe (Oven Baked / Grilled Pork Chops)

If you’re searching for a quick, flavorful dinner that feels both comforting and impressive, this Easy Honey Garlic Pork Chops Recipe is exactly what you need. Whether you choose to make oven baked pork chops or fire up the grill, this recipe delivers juicy, tender meat coated in a sticky, sweet-and-savory honey garlic glaze that’s absolutely irresistible.

Perfect for busy weeknights or weekend cookouts, these honey garlic pork chops come together with simple pantry ingredients and minimal prep time. The balance of rich garlic, sweet honey, and savory seasoning creates a bold flavor profile that works beautifully whether baked in the oven or grilled outdoors.

Why You’ll Love This Recipe

This easy honey garlic pork chops recipe is one of those meals you’ll find yourself making again and again. It’s approachable, versatile, and packed with flavor that tastes like it came from a restaurant kitchen.

One of the biggest advantages is flexibility. You can bake the pork chops in the oven for a hands-off approach or grill them for a smoky, charred finish. Either way, the results are consistently delicious.

  • Ready in under 30 minutes
  • Uses simple pantry staples
  • Works for oven baked or grilled pork chops
  • Perfect balance of sweet and savory flavors
  • Great for family dinners or entertaining

Ingredients

To make these easy honey garlic pork chops, you’ll need:

  • 4 pork chops (bone-in or boneless)
  • 1/3 cup honey
  • 4 cloves garlic, minced
  • 2 tablespoons olive oil
  • 1/4 cup soy sauce
  • 1 tablespoon Dijon mustard
  • 1 teaspoon paprika
  • 1/2 teaspoon black pepper
  • 1/2 teaspoon salt
  • Fresh parsley (optional, for garnish)

Ingredient Notes

When making the best oven baked or grilled pork chops, ingredient quality makes a difference.

Thicker pork chops (about 1 inch thick) are ideal because they stay juicy during cooking. Bone-in pork chops tend to have more flavor, while boneless chops cook a bit faster and are easier to serve.

Honey acts as both a sweetener and a glaze base, helping the pork chops caramelize beautifully. Fresh garlic is essential for that bold, aromatic flavor that defines this dish. Soy sauce adds umami depth, while Dijon mustard gives a subtle tang that balances the sweetness.

Step-by-Step Instructions

How to Make Honey Garlic Pork Chops

1. Prepare the Marinade

In a bowl, whisk together honey, garlic, olive oil, soy sauce, Dijon mustard, paprika, salt, and pepper until fully combined.

2. Marinate the Pork Chops

Place the pork chops in a shallow dish or zip-top bag and pour the marinade over them. Let them marinate for at least 30 minutes, or up to 4 hours for deeper flavor.

Oven Baked Method

3. Preheat and Prepare

Preheat your oven to 400°F. Place the marinated pork chops on a lined baking sheet or in a baking dish.

4. Bake

Bake for 20–25 minutes, depending on thickness, until the internal temperature reaches 145°F. Spoon extra sauce over the chops halfway through cooking.

Making perfect easy honey garlic pork chops is simple, but these expert tips will take them to the next level.

  • Don’t skip marinating: Even 30 minutes adds incredible flavor
  • Use a meat thermometer: Ensures perfectly cooked, juicy pork
  • Avoid high heat too long: Honey can burn quickly
  • Let the meat rest: Rest for 5 minutes before serving to retain juices

Variations

This honey garlic pork chops recipe is easy to customize based on your preferences.

For a spicy version, add chili flakes or sriracha to the marinade. If you want a citrus twist, squeeze in fresh lemon or orange juice. You can also swap honey for maple syrup for a slightly different sweetness.

For a more herb-forward version, add fresh thyme, rosemary, or oregano to the marinade.

What to Serve With It

These oven baked or grilled pork chops pair beautifully with a variety of side dishes.

  • Garlic mashed potatoes
  • Steamed rice or quinoa
  • Roasted vegetables (broccoli, carrots, asparagus)
  • Fresh green salad
  • Buttered corn on the cob

The rich glaze makes these pork chops especially delicious when paired with sides that can soak up the sauce.

Storage & Reheating

Leftover easy honey garlic pork chops store well and make great next-day meals.

Store in an airtight container in the refrigerator for up to 4 days. To freeze, place in a freezer-safe container for up to 2 months.

Reheat gently in the microwave or on the stovetop with a splash of water or broth to keep the sauce from drying out.

Common Mistakes to Avoid

Even with a simple recipe like this, a few mistakes can affect your results.

Overcooking is the most common issue, leading to dry pork chops. Another mistake is not monitoring the glaze—because of the honey, it can burn quickly, especially on the grill.

Also, avoid skipping the resting step after cooking. This helps the juices redistribute, keeping the pork tender and juicy.

FAQs

Can I use boneless pork chops?

Yes, boneless pork chops work great and cook slightly faster than bone-in.

How long should I marinate the pork chops?

At least 30 minutes, but up to 4 hours for maximum flavor.

Can I cook these pork chops in advance?

Yes, you can cook them ahead and reheat gently when ready to serve.

How do I know when pork chops are done?

Use a meat thermometer—145°F is the safe internal temperature.

Final Thoughts

This Easy Honey Garlic Pork Chops Recipe (Oven Baked / Grilled Pork Chops) is the perfect combination of convenience and flavor. Whether you’re cooking indoors or grilling outside, you’ll end up with juicy, tender pork chops coated in a rich, caramelized glaze that’s impossible to resist.

With simple ingredients, flexible cooking methods, and bold flavor, this recipe is a must-have in your weekly rotation. Once you try it, it’s sure to become a favorite for both quick dinners and special occasions alike.

Slow Cooker Honey Garlic Butter Pork Chops

If you’re looking for a dinner that feels indulgent yet requires minimal effort, these Slow Cooker Honey Garlic Butter Pork Chops are about to become your new go-to recipe. This dish combines the rich, savory flavor of pork chops with the sweet and sticky goodness of honey, garlic, and butter—creating a mouthwatering meal that practically cooks itself.

There’s something magical about letting your slow cooker do all the heavy lifting. As the pork chops simmer gently for hours, they absorb every bit of that luscious honey garlic butter sauce, turning incredibly tender and juicy. Whether you’re feeding your family on a busy weeknight or preparing a cozy Sunday dinner, this recipe delivers comfort and flavor in every bite.

Why You’ll Love This Recipe

This slow cooker pork chop recipe checks all the boxes for a perfect home-cooked meal. It’s simple, satisfying, and packed with flavor.

  • Effortless cooking: Just set it and forget it
  • Incredibly tender pork: Falls apart with a fork
  • Sweet and savory balance: Honey and garlic create depth
  • Family-friendly: Loved by both kids and adults
  • Minimal cleanup: One pot, easy win

You’ll also love how versatile this recipe is. It pairs beautifully with a variety of side dishes, making it easy to adapt based on what you have on hand.


Ingredients

To make these slow cooker honey garlic butter pork chops, you’ll need:

  • 4 boneless or bone-in pork chops
  • 1/3 cup honey
  • 4 cloves garlic, minced
  • 1/4 cup unsalted butter, melted
  • 1/4 cup soy sauce
  • 1 teaspoon black pepper
  • 1 teaspoon paprika
  • 1/2 teaspoon salt (adjust to taste)
  • 1 tablespoon cornstarch (optional, for thickening)
  • 2 tablespoons water (optional, for slurry)
  • Fresh parsley for garnish

Ingredient Notes

Choosing the right ingredients can make a big difference in flavor and texture.

Pork chops:
Bone-in pork chops tend to stay juicier during slow cooking, but boneless works just as well if that’s what you have.

Honey:
Use a good-quality honey for the best flavor. It brings sweetness and helps create that sticky glaze.

Garlic:
Fresh garlic is key here. It adds bold, aromatic depth that powdered garlic just can’t match.

Butter:
Unsalted butter allows you to control the saltiness of the dish while adding richness.

Step-by-Step Instructions

1. Prepare the Sauce

In a medium bowl, whisk together the honey, melted butter, soy sauce, minced garlic, paprika, salt, and pepper until fully combined.

2. Arrange the Pork Chops

Place the pork chops in the bottom of your slow cooker in a single layer if possible.

3. Add the Sauce

Pour the honey garlic butter mixture evenly over the pork chops, making sure each piece is well coated.

4. Cook Low and Slow

Cover and cook on low for 5–6 hours or high for 3–4 hours, until the pork chops are tender and fully cooked.

5. Optional: Thicken the Sauce

If you prefer a thicker sauce, mix cornstarch with water and stir it into the slow cooker during the last 30 minutes of cooking.

6. Garnish and Serve

Sprinkle with freshly chopped parsley before serving for a pop of color and freshness.

Tips for Perfect Results

Getting the most out of your slow cooker honey garlic butter pork chops is easy with these tips:

  • Sear first (optional): For added flavor, quickly sear the pork chops in a skillet before adding them to the slow cooker.
  • Don’t overcook: Pork chops can become dry if cooked too long, even in a slow cooker.
  • Use a meat thermometer: Aim for an internal temperature of 145°F.
  • Layer properly: Avoid stacking pork chops too tightly to ensure even cooking.

Variations

This recipe is wonderfully adaptable depending on your taste preferences.

Spicy Honey Garlic Pork Chops
Add red pepper flakes or a dash of hot sauce for a kick.

Creamy Version
Stir in a splash of heavy cream at the end for a richer sauce.

Herb-Infused
Add thyme or rosemary for an earthy flavor twist.

Low-Sodium Option
Use low-sodium soy sauce to control salt levels without sacrificing taste.

What to Serve With It

These slow cooker honey garlic butter pork chops pair beautifully with a variety of sides:

  • Creamy mashed potatoes
  • Steamed rice or jasmine rice
  • Roasted vegetables (carrots, broccoli, Brussels sprouts)
  • Buttered noodles
  • Fresh green salad

The sauce is so good you’ll want something to soak it up—trust me on that!


Storage & Reheating

Storage:
Store leftover pork chops in an airtight container in the refrigerator for up to 3–4 days.

Freezing:
You can freeze the cooked pork chops and sauce for up to 2 months. Let them thaw overnight in the fridge before reheating.

Reheating:

  • Microwave: Heat in short intervals, stirring sauce occasionally
  • Stovetop: Reheat gently over low heat with a splash of water or broth

Common Mistakes to Avoid

Even simple recipes can go wrong without a few precautions.

  • Using too little liquid: The sauce is essential for moisture and flavor
  • Skipping seasoning: Pork benefits from well-balanced seasoning
  • Overcrowding the slow cooker: Leads to uneven cooking
  • Overcooking: Results in dry or tough meat

FAQs

Can I use frozen pork chops?

Yes, but it’s best to thaw them first for even cooking and better texture.

Can I make this recipe ahead of time?

Absolutely. You can prep the sauce and pork chops the night before and store them in the fridge until ready to cook.

What’s the best cut of pork for this recipe?

Both bone-in and boneless pork chops work well, but thicker cuts tend to stay juicier.

How do I know when the pork chops are done?

Use a meat thermometer—145°F is the safe internal temperature for pork.

Final Thoughts

These Slow Cooker Honey Garlic Butter Pork Chops are everything you want in a comforting, home-cooked meal: easy, flavorful, and incredibly satisfying. With minimal prep and maximum flavor, this recipe proves that you don’t need complicated techniques to create something truly delicious.

Whether you’re cooking for your family or just want leftovers that actually taste better the next day, this dish delivers every single time. Once you try it, don’t be surprised if it becomes a permanent part of your dinner rotation.

Sheet-Pan Sausage, Cabbage & Potatoes (Easy Weeknight Dinner)

When life gets busy, having a dependable dinner recipe can make all the difference. This Sheet-Pan Sausage, Cabbage & Potatoes (Easy Weeknight Dinner) is one of those meals you’ll find yourself returning to again and again. It’s simple, hearty, and incredibly flavorful—all while requiring minimal prep and just one pan.

The beauty of a sheet-pan dinner is how effortlessly everything comes together. With smoky sausage, tender roasted potatoes, and slightly caramelized cabbage, this dish delivers a satisfying balance of flavors and textures. Everything roasts together in the oven, allowing the savory juices from the sausage to coat the vegetables and create a deeply comforting meal.

Whether you’re feeding a hungry family, meal prepping for the week, or simply craving a cozy homemade dinner, this Sheet-Pan Sausage, Cabbage & Potatoes recipe checks all the boxes. It’s budget-friendly, customizable, and easy enough for even beginner cooks.

Why You’ll Love This Sheet-Pan Sausage, Cabbage & Potatoes

This Sheet-Pan Sausage, Cabbage & Potatoes (Easy Weeknight Dinner) recipe has quickly become a favorite for busy households. It combines classic comfort ingredients with the convenience of one-pan cooking.

Here’s why this recipe stands out:

  • One-pan dinner with easy cleanup

  • Ready in about 35–40 minutes

  • Budget-friendly ingredients

  • Perfect balance of protein and vegetables

  • Hearty, filling, and satisfying

  • Great for meal prep and leftovers

Because everything cooks together, the flavors meld beautifully. The sausage adds rich seasoning, while the cabbage and potatoes soak up all those savory juices as they roast.

Ingredients for Sheet-Pan Sausage, Cabbage & Potatoes

The ingredients for this Sheet-Pan Sausage, Cabbage & Potatoes recipe are simple and easy to find at any grocery store.

Main Ingredients

  • 14–16 oz smoked sausage (kielbasa or andouille), sliced

  • 1 small head green cabbage, cut into wedges

  • 4 medium potatoes, chopped

  • 1 medium onion, sliced

  • 3 tablespoons olive oil

  • 1 teaspoon garlic powder

  • 1 teaspoon smoked paprika

  • ½ teaspoon black pepper

  • ½ teaspoon salt (optional depending on sausage)

  • 1 teaspoon dried thyme

Optional garnishes:

  • Fresh parsley

  • Dijon mustard for serving

  • Crushed red pepper flakes

Ingredient Notes

A few ingredient choices can make your Sheet-Pan Sausage, Cabbage & Potatoes (Easy Weeknight Dinner) even more delicious.

Sausage Options

Smoked sausage adds the most flavor, but several varieties work well:

  • Kielbasa (classic choice)

  • Andouille sausage (spicier option)

  • Chicken sausage (lighter version)

  • Turkey sausage

Best Potatoes to Use

Yukon Gold or red potatoes roast beautifully because they develop crispy edges while remaining soft inside.

Fresh Cabbage

Green cabbage becomes slightly sweet and caramelized in the oven, making it the perfect complement to savory sausage.

Step-by-Step Instructions

This Sheet-Pan Sausage, Cabbage & Potatoes recipe comes together quickly with simple steps.

Step 1: Preheat the Oven

Preheat your oven to 425°F (220°C) and line a large sheet pan with parchment paper or foil.

Step 2: Prepare the Vegetables

In a large bowl, combine:

  • Potatoes

  • Cabbage wedges

  • Sliced onion

Drizzle with olive oil and sprinkle with garlic powder, smoked paprika, thyme, salt, and pepper. Toss until evenly coated.

Step 3: Add the Sausage

Spread the seasoned vegetables across the sheet pan. Add the sliced sausage pieces evenly across the pan so everything roasts together.

Step 4: Roast the Sheet Pan Dinner

Bake for 30–35 minutes, stirring halfway through to ensure even roasting. The potatoes should be tender and golden, and the cabbage edges slightly caramelized.


Step 5: Garnish and Serve

Remove the sheet pan from the oven and sprinkle with chopped fresh parsley if desired. Serve immediately while everything is hot and flavorful.

Tips for Perfect Results

To make sure your Sheet-Pan Sausage, Cabbage & Potatoes (Easy Weeknight Dinner) turns out perfectly, keep these tips in mind:

  • Cut potatoes evenly for consistent cooking.

  • Use a large sheet pan to avoid overcrowding.

  • Flip halfway through roasting for even browning.

  • Use high heat for caramelized vegetables.

These small steps help create a beautifully roasted and flavorful dish.

Delicious Variations

One of the best things about Sheet-Pan Sausage, Cabbage & Potatoes is how easy it is to customize.

Garlic Butter Version

Add melted butter and fresh minced garlic before roasting.

Spicy Sausage Version

Use spicy andouille sausage and add red pepper flakes.

Mediterranean Style

Add cherry tomatoes, oregano, and feta cheese after roasting.

Extra Vegetable Version

Add vegetables like:

  • Bell peppers

  • Brussels sprouts

  • Zucchini

What to Serve With Sheet-Pan Sausage, Cabbage & Potatoes

While this Sheet-Pan Sausage, Cabbage & Potatoes (Easy Weeknight Dinner) is a complete meal, a few sides can make it even better.

Serving ideas include:

  • Crusty artisan bread

  • Simple green salad

  • Garlic yogurt sauce

  • Mustard dipping sauce

  • Pickles or sauerkraut

These additions bring extra flavor and balance to the meal.

Storage & Reheating

This Sheet-Pan Sausage, Cabbage & Potatoes recipe is excellent for leftovers and meal prep.

Refrigerator

  • Store in an airtight container for 3–4 days.

Freezer

  • Freeze for up to 2 months in freezer-safe containers.

Reheating

  • Reheat in the oven at 350°F for 10–12 minutes or microwave until warmed through.

The roasted flavors often become even richer the next day.

Common Mistakes to Avoid

Avoid these common mistakes when making Sheet-Pan Sausage, Cabbage & Potatoes:

  • Overcrowding the sheet pan

  • Cutting potatoes too large

  • Not stirring halfway through cooking

  • Using low oven temperature

Roasting at high heat is key to getting that golden, caramelized finish.

Frequently Asked Questions

Can I make this recipe with chicken sausage?

Yes! Chicken sausage works great and makes this Sheet-Pan Sausage, Cabbage & Potatoes slightly lighter.

Do I need to boil the potatoes first?

No. When cut into small chunks, the potatoes roast perfectly in the oven.

Can I add other vegetables?

Absolutely. Bell peppers, carrots, or Brussels sprouts are great additions.

How do I keep cabbage from burning?

Make sure the cabbage pieces are coated with olive oil and placed cut-side down on the pan.

Can I make this recipe ahead of time?

Yes! You can chop all ingredients earlier in the day and store them in the refrigerator until ready to cook.


Final Thoughts

This Sheet-Pan Sausage, Cabbage & Potatoes (Easy Weeknight Dinner) is proof that simple ingredients can create incredibly satisfying meals. With smoky sausage, crispy roasted potatoes, and caramelized cabbage, every bite delivers comforting flavor and hearty texture.

Even better, everything cooks together on one pan, making this recipe perfect for busy weeknights when you want a homemade meal without the stress. It’s quick, customizable, and incredibly delicious.

Once you try this Sheet-Pan Sausage, Cabbage & Potatoes recipe, it’s likely to become a regular part of your dinner rotation.

Easy Corned Beef and Cabbage Sheet Pan (One-Pan Comfort Dinner)

If you love classic comfort food but want something simpler and easier to prepare, this Easy Corned Beef and Cabbage Sheet Pan recipe is the perfect solution. Instead of simmering everything in a pot for hours, this method roasts everything together in the oven on one pan, creating incredible flavor while keeping cleanup minimal.

Traditionally, corned beef and cabbage is slow-cooked in a large pot, especially around St. Patrick’s Day. While that method works beautifully, roasting the ingredients on a sheet pan gives the vegetables a delicious caramelized flavor and creates a slightly crispy texture that many people actually prefer. The corned beef becomes tender, juicy, and infused with roasted herbs and spices.

This Easy Corned Beef and Cabbage Sheet Pan meal is ideal for busy weeknights, cozy Sunday dinners, or holiday gatherings. With just a handful of ingredients and simple preparation, you’ll have a hearty, satisfying dinner that tastes like it took all day to make.

Why You’ll Love This Easy Corned Beef and Cabbage Sheet Pan

This Easy Corned Beef and Cabbage Sheet Pan recipe combines the comforting flavors of a traditional meal with the convenience of modern cooking.

Here’s why this recipe is worth trying:

  • One-pan dinner with easy cleanup

  • Roasted vegetables with caramelized flavor

  • Tender, juicy corned beef

  • Perfect for holidays or family dinners

  • Simple ingredients and minimal prep

  • Great for leftovers and meal prep

Because everything cooks together on the same sheet pan, the flavors blend beautifully while saving you time in the kitchen.

Ingredients for Corned Beef and Cabbage Sheet Pan

One of the best things about this Easy Corned Beef and Cabbage Sheet Pan dinner is that it uses simple, hearty ingredients.

Main Ingredients

  • 2–3 lb corned beef brisket with spice packet

  • 1 small head green cabbage, cut into wedges

  • 4 medium potatoes, cut into chunks

  • 3 large carrots, sliced

  • 1 medium onion, cut into wedges

  • 3 tablespoons olive oil

  • 1 teaspoon garlic powder

  • 1 teaspoon black pepper

  • 1 teaspoon dried thyme

  • Salt (optional, depending on corned beef seasoning)

Optional additions:

  • Whole garlic cloves

  • Dijon mustard for serving

  • Fresh parsley for garnish

Ingredient Notes

Choosing the right ingredients can make your Easy Corned Beef and Cabbage Sheet Pan even better.

Corned Beef Brisket

Look for a brisket that includes the seasoning packet. This packet contains spices like mustard seeds, coriander, and bay leaves that enhance the traditional flavor.

Best Potatoes to Use

Yukon Gold or red potatoes work best because they hold their shape and develop a crispy exterior when roasted.

Fresh Cabbage

Green cabbage is classic for this recipe. When roasted, cabbage becomes slightly sweet and beautifully caramelized.

Step-by-Step Instructions

This Easy Corned Beef and Cabbage Sheet Pan recipe comes together quickly with simple steps.

Step 1: Preheat the Oven

Preheat your oven to 400°F (200°C) and line a large sheet pan with parchment paper or foil.

Step 2: Prepare the Vegetables

In a large bowl, combine:

  • Potatoes

  • Carrots

  • Onion

  • Cabbage wedges

Drizzle with olive oil and season with garlic powder, pepper, and thyme. Toss until everything is evenly coated.

Step 3: Arrange on the Sheet Pan

Spread the vegetables evenly across the sheet pan, leaving space in the center for the corned beef.

Place the corned beef brisket in the middle and sprinkle the spice packet over the meat.

Step 4: Roast the Sheet Pan Dinner

Cover loosely with foil and roast for 45 minutes. Remove the foil and continue roasting another 20–30 minutes until the vegetables are tender and the beef is fully cooked.

Step 5: Rest and Slice the Corned Beef

Remove the sheet pan from the oven and allow the corned beef to rest for 10 minutes before slicing against the grain.

Serve with the roasted vegetables.

Tips for Perfect Results

To make sure your Easy Corned Beef and Cabbage Sheet Pan turns out perfectly every time, follow these tips:

  • Slice the beef against the grain for the most tender texture.

  • Don’t overcrowd the pan so vegetables roast instead of steam.

  • Use high heat to get crispy roasted edges.

  • Rest the meat before slicing to keep it juicy.

These small techniques elevate the entire dish.


Delicious Variations

This Easy Corned Beef and Cabbage Sheet Pan recipe can easily be customized.

Garlic Herb Version

Add fresh rosemary and minced garlic to the vegetables.

Mustard Glazed Corned Beef

Brush the corned beef with Dijon mustard before roasting.

Spicy Version

Sprinkle red pepper flakes over the vegetables.

Extra Veggie Version

Add Brussels sprouts or parsnips for more flavor and variety.

What to Serve With Corned Beef and Cabbage

This hearty Easy Corned Beef and Cabbage Sheet Pan dinner pairs well with a few classic sides.

Serving ideas include:

  • Irish soda bread

  • Grainy mustard or horseradish sauce

  • Buttered dinner rolls

  • Simple green salad

  • Roasted root vegetables

These sides help complete a comforting, traditional-style meal.

Storage & Reheating

Leftovers from this Easy Corned Beef and Cabbage Sheet Pan recipe store very well.

Refrigerator

  • Store in an airtight container for 3–4 days.

Freezer

  • Corned beef can be frozen for up to 2 months.

Reheating

  • Reheat in the oven at 325°F for 10–15 minutes or microwave in short intervals.

The flavors often become even better the next day.

Common Mistakes to Avoid

To get the best results when making Easy Corned Beef and Cabbage Sheet Pan, avoid these common mistakes:

  • Cutting vegetables too small (they may burn)

  • Overcrowding the sheet pan

  • Slicing the beef with the grain instead of against it

  • Skipping the resting time

A few simple adjustments make a big difference.

Frequently Asked Questions

Is corned beef already cooked?

Most store-bought corned beef briskets are cured but still need to be fully cooked before eating.

Can I cook corned beef and cabbage on one pan?

Yes! That’s exactly what this Easy Corned Beef and Cabbage Sheet Pan recipe is designed for.

How do I know when corned beef is done?

Corned beef is done when it reaches an internal temperature of 145°F and becomes tender when sliced.

Can I use red cabbage instead?

Yes, but green cabbage is more traditional and becomes sweeter when roasted.

What cut of corned beef is best?

Flat-cut brisket is the most common and slices nicely for serving.

Final Thoughts

This Easy Corned Beef and Cabbage Sheet Pan recipe transforms a classic comfort meal into a simple, modern one-pan dinner. Roasting the ingredients together creates incredible flavor while keeping preparation and cleanup incredibly easy.

With tender slices of corned beef, caramelized cabbage, and perfectly roasted vegetables, this dish is hearty, satisfying, and perfect for both weeknight dinners and special occasions.

Once you try this oven-roasted version of Easy Corned Beef and Cabbage Sheet Pan, you may never go back to the traditional boiled method again.

Easy Apple Cinnamon Breakfast Bars (Healthy & Delicious)

If you’re looking for a wholesome, grab-and-go breakfast that tastes like a cozy fall dessert, these Easy Apple Cinnamon Breakfast Bars (Healthy & Delicious) are exactly what you need. Packed with fresh apples, hearty oats, and warm cinnamon, these bars are soft, satisfying, and naturally sweetened—making them perfect for busy mornings.

Unlike many store-bought breakfast bars that are loaded with refined sugar and preservatives, these Easy Apple Cinnamon Breakfast Bars are made with simple, nutritious ingredients you likely already have in your kitchen. They’re wholesome enough for breakfast but delicious enough to feel like a treat. Plus, they’re easy to make ahead, which makes them ideal for meal prep.

Whether you’re feeding a busy family, prepping school lunches, or just trying to eat healthier in the morning, these apple cinnamon bars deliver comfort, nutrition, and incredible flavor in every bite.

Why You’ll Love These Easy Apple Cinnamon Breakfast Bars

There are countless breakfast bar recipes online, but these Easy Apple Cinnamon Breakfast Bars stand out because they combine simple ingredients with cozy flavor and satisfying texture.

Here’s why this recipe deserves a spot in your breakfast rotation:

  • Healthy and naturally sweetened

  • Perfect for meal prep

  • Kid-friendly and lunchbox ready

  • Made with wholesome oats and fresh apples

  • Soft, chewy, and full of warm cinnamon flavor

  • Freezer-friendly for busy weeks

These breakfast bars are not only convenient but also nourishing, making them a great option for anyone trying to start the day with something balanced and delicious.

Ingredients for Apple Cinnamon Breakfast Bars

One of the best parts about these Easy Apple Cinnamon Breakfast Bars (Healthy & Delicious) is that the ingredients are simple, wholesome, and easy to find.

Main Ingredients

  • 2 cups rolled oats

  • 1 ½ cups diced apples (about 1–2 apples)

  • 1 teaspoon ground cinnamon

  • ½ teaspoon nutmeg (optional)

  • 1 teaspoon baking powder

  • 2 eggs

  • ⅓ cup maple syrup or honey

  • ½ cup unsweetened applesauce

  • 1 teaspoon vanilla extract

  • ¼ teaspoon salt

Optional mix-ins:

  • Chopped walnuts or pecans

  • Raisins or dried cranberries

  • Chia seeds or flaxseeds

These ingredients combine to create breakfast bars that are hearty, moist, and full of comforting apple cinnamon flavor.

Ingredient Notes

Understanding the ingredients helps ensure your Easy Apple Cinnamon Breakfast Bars turn out perfectly every time.

Best Apples to Use

Choose apples that hold their shape while baking. Great options include:

  • Honeycrisp

  • Fuji

  • Gala

  • Pink Lady

These varieties provide natural sweetness and a pleasant texture.

Why Applesauce Matters

Applesauce adds moisture and natural sweetness while helping reduce the need for oil or butter. It’s one of the reasons these breakfast bars are considered healthier than many traditional baked bars.

Step-by-Step Instructions

Making these Easy Apple Cinnamon Breakfast Bars (Healthy & Delicious) is straightforward and beginner-friendly.

Step 1: Preheat the Oven

Preheat your oven to 350°F (175°C) and line an 8×8 baking pan with parchment paper for easy removal.

Step 2: Mix the Dry Ingredients

In a large mixing bowl, combine:

  • Rolled oats

  • Cinnamon

  • Nutmeg

  • Baking powder

  • Salt

Stir until evenly mixed.

Step 3: Combine the Wet Ingredients

In a separate bowl, whisk together:

  • Eggs

  • Maple syrup

  • Applesauce

  • Vanilla extract

Mix until smooth and well combined.

Step 4: Combine and Add Apples

Pour the wet ingredients into the dry mixture and stir until everything is well coated. Fold in the diced apples and any optional mix-ins like nuts or raisins.

Step 5: Bake the Bars

Spread the mixture evenly into the prepared baking pan and bake for 25–30 minutes, or until the bars are set and lightly golden on top.

Let them cool completely before slicing into squares.

Tips for Perfect Apple Cinnamon Breakfast Bars

To ensure your Easy Apple Cinnamon Breakfast Bars come out perfectly every time, keep these helpful tips in mind:

  • Dice apples into small pieces for even distribution.

  • Use parchment paper for easy removal from the pan.

  • Allow the bars to cool completely before slicing.

  • Use rolled oats instead of instant oats for better texture.

These small details make a big difference in the final result.

Delicious Variations

One of the best things about Easy Apple Cinnamon Breakfast Bars (Healthy & Delicious) is how customizable they are.

Apple Walnut Bars

Add ½ cup chopped walnuts for crunch.

Apple Cranberry Bars

Mix in dried cranberries for a sweet-tart flavor.

Apple Almond Bars

Add sliced almonds and a touch of almond extract.

Apple Protein Breakfast Bars

Add a scoop of vanilla protein powder and a little extra applesauce.

What to Serve With Apple Cinnamon Breakfast Bars

These Easy Apple Cinnamon Breakfast Bars are satisfying on their own, but they also pair well with other breakfast favorites.

Serving ideas include:

  • Greek yogurt with honey

  • A fresh fruit smoothie

  • Scrambled eggs

  • Coffee or chai tea

  • Peanut butter spread on top of the bar

These combinations help turn a simple breakfast bar into a more balanced morning meal.

Storage & Reheating

These Easy Apple Cinnamon Breakfast Bars (Healthy & Delicious) are perfect for meal prep because they store very well.

Refrigerator

  • Store in an airtight container for up to 5 days.

Freezer

  • Wrap individual bars and freeze for up to 3 months.

Reheating

  • Microwave for 10–15 seconds to warm them slightly before eating.

They’re just as delicious cold, making them great for packed lunches.

Common Mistakes to Avoid

Even simple recipes can benefit from a few baking tips.

Avoid these mistakes when making Easy Apple Cinnamon Breakfast Bars:

  • Using instant oats instead of rolled oats

  • Cutting the bars before they cool

  • Adding too many mix-ins which can make bars crumbly

  • Using apples cut too large

Keeping these tips in mind helps guarantee perfectly soft breakfast bars.

Frequently Asked Questions

Are apple cinnamon breakfast bars healthy?

Yes! These Easy Apple Cinnamon Breakfast Bars (Healthy & Delicious) are made with oats, apples, and natural sweeteners, making them a nutritious breakfast option.

Can I make these bars gluten-free?

Absolutely. Simply use certified gluten-free rolled oats.

Can I make them vegan?

Yes. Replace the eggs with flax eggs (1 tablespoon flaxseed + 2.5 tablespoons water per egg).

What apples work best for baking?

Firm apples like Honeycrisp, Fuji, or Gala work best because they hold their texture while baking.

Can I add chocolate chips?

Definitely! Adding a handful of dark chocolate chips turns these bars into a slightly more indulgent treat.

Final Thoughts

These Easy Apple Cinnamon Breakfast Bars (Healthy & Delicious) are the perfect combination of wholesome ingredients and cozy flavor. With hearty oats, naturally sweet apples, and warm cinnamon, they taste like a comforting homemade treat while still being nutritious enough for breakfast.

They’re simple to prepare, easy to customize, and ideal for meal prep. Whether you enjoy them with your morning coffee, pack them for work, or serve them as an after-school snack, these apple cinnamon bars are guaranteed to become a favorite in your kitchen.

Once you try these Easy Apple Cinnamon Breakfast Bars, you’ll likely find yourself making them again and again throughout the year.