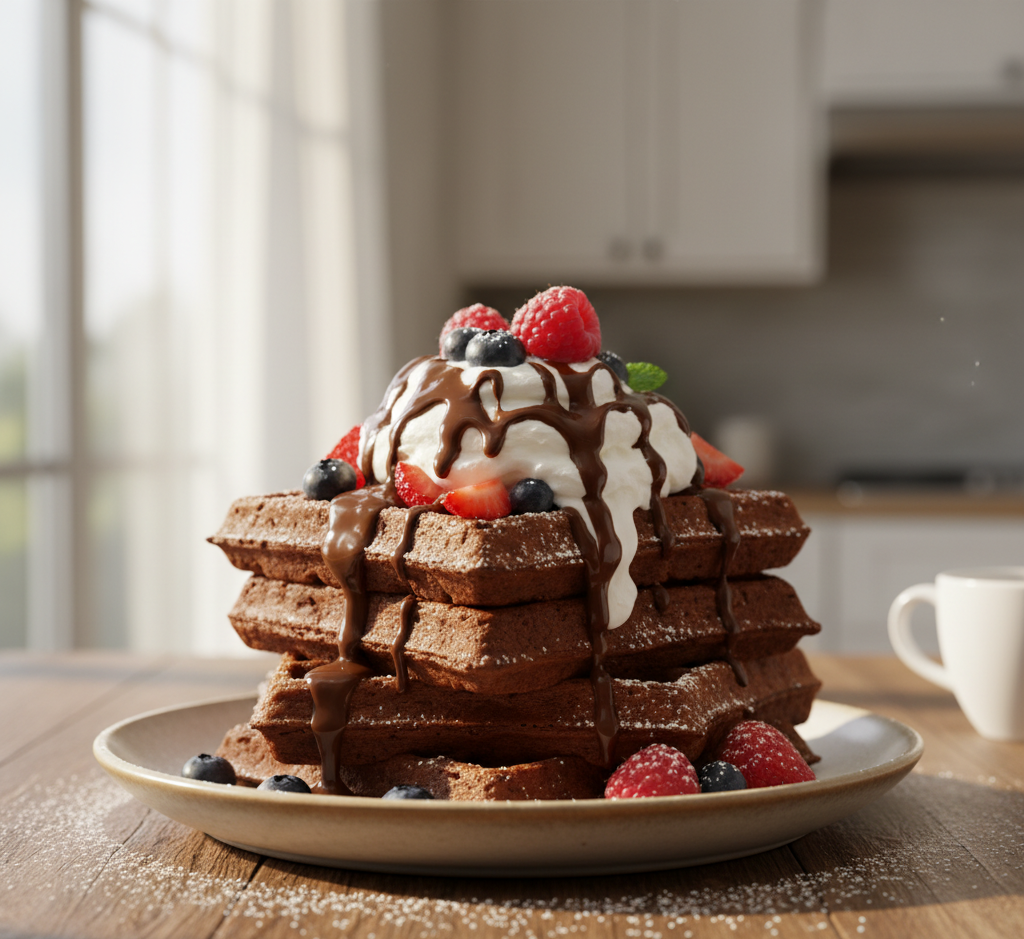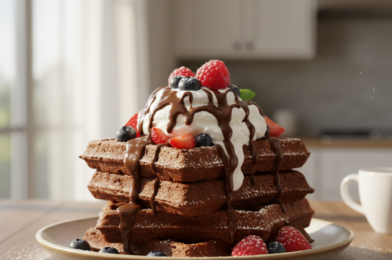
If you’ve ever wished you could enjoy brownies for breakfast without guilt, these Fudgy Brownie Waffles: Decadent Breakfast Treat are here to make that dream a reality. Combining the rich, gooey texture of brownies with the crisp edges of waffles, this recipe is pure indulgence in every bite.
Perfect for weekend brunch, special occasions, or even a late-night dessert, these fudgy brownie waffles strike the perfect balance between crispy and soft. With deep chocolate flavor and endless topping possibilities, they’re guaranteed to become a household favorite.
Why You’ll Love This Recipe
These Fudgy Brownie Waffles: Decadent Breakfast Treat are irresistible for so many reasons:
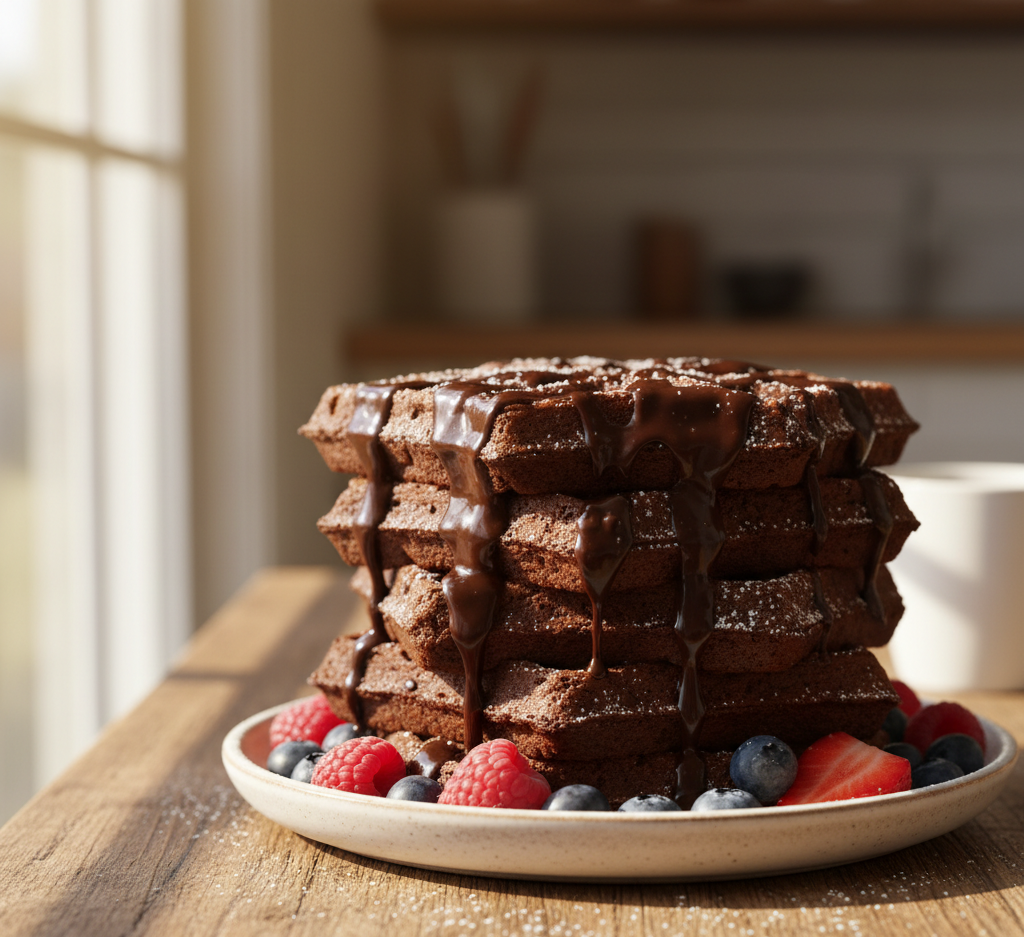
- Rich, chocolatey brownie flavor
- Crispy edges with soft, fudgy centers
- Quick and easy waffle iron recipe
- Perfect for breakfast or dessert
- Customizable with toppings
They’re the ultimate chocolate lover’s dream.
Ingredients
To make these delicious Fudgy Brownie Waffles: Decadent Breakfast Treat, you’ll need:
- 1 cup all-purpose flour
- 1/2 cup cocoa powder
- 3/4 cup granulated sugar
- 1/2 cup brown sugar
- 1 teaspoon baking powder
- 1/2 teaspoon salt
- 2 large eggs
- 1/2 cup melted butter
- 1/2 cup milk
- 1 teaspoon vanilla extract
- 1/2 cup chocolate chips
Ingredient Notes
The success of these Fudgy Brownie Waffles: Decadent Breakfast Treat depends on a few key ingredients:
- Cocoa powder: Gives deep chocolate flavor
- Brown sugar: Adds moisture and chewiness
- Butter: Creates richness and crisp edges
- Chocolate chips: Provide melty pockets of chocolate
- Milk and eggs: Help achieve the perfect batter consistency
Step-by-Step Instructions
1. Preheat the Waffle Iron
Heat your waffle maker according to manufacturer instructions.
2. Mix Dry Ingredients
In a bowl, whisk together flour, cocoa powder, sugars, baking powder, and salt.
3. Combine Wet Ingredients
In another bowl, whisk eggs, melted butter, milk, and vanilla.
4. Make the Batter
Combine wet and dry ingredients, then fold in chocolate chips.
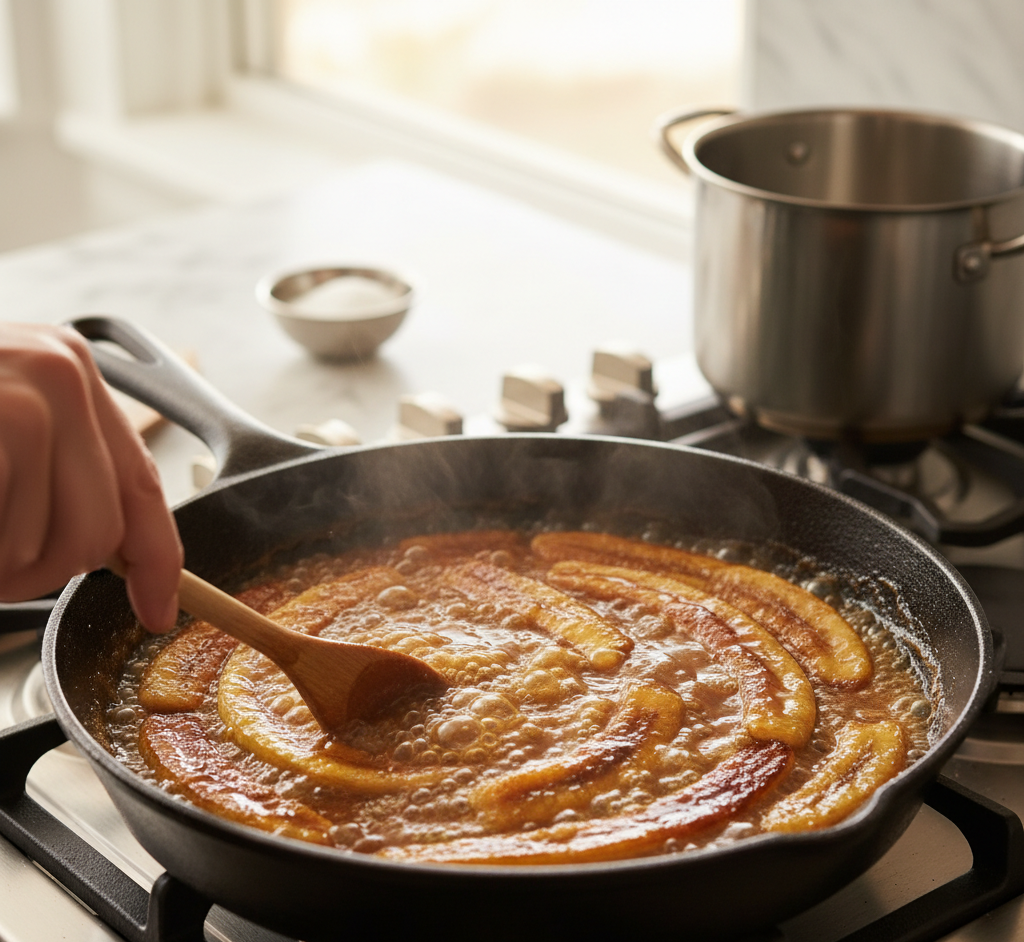
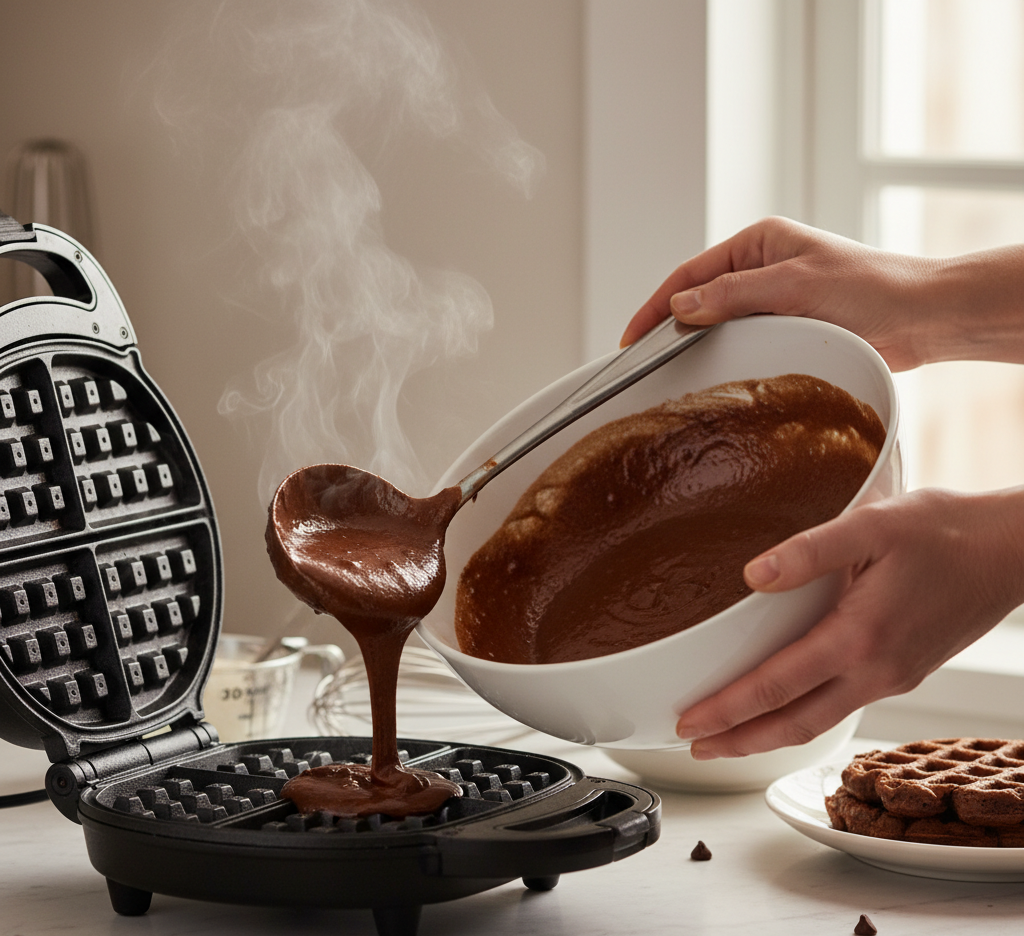
5. Cook the Waffles
Pour batter into the waffle iron and cook until crisp and cooked through.
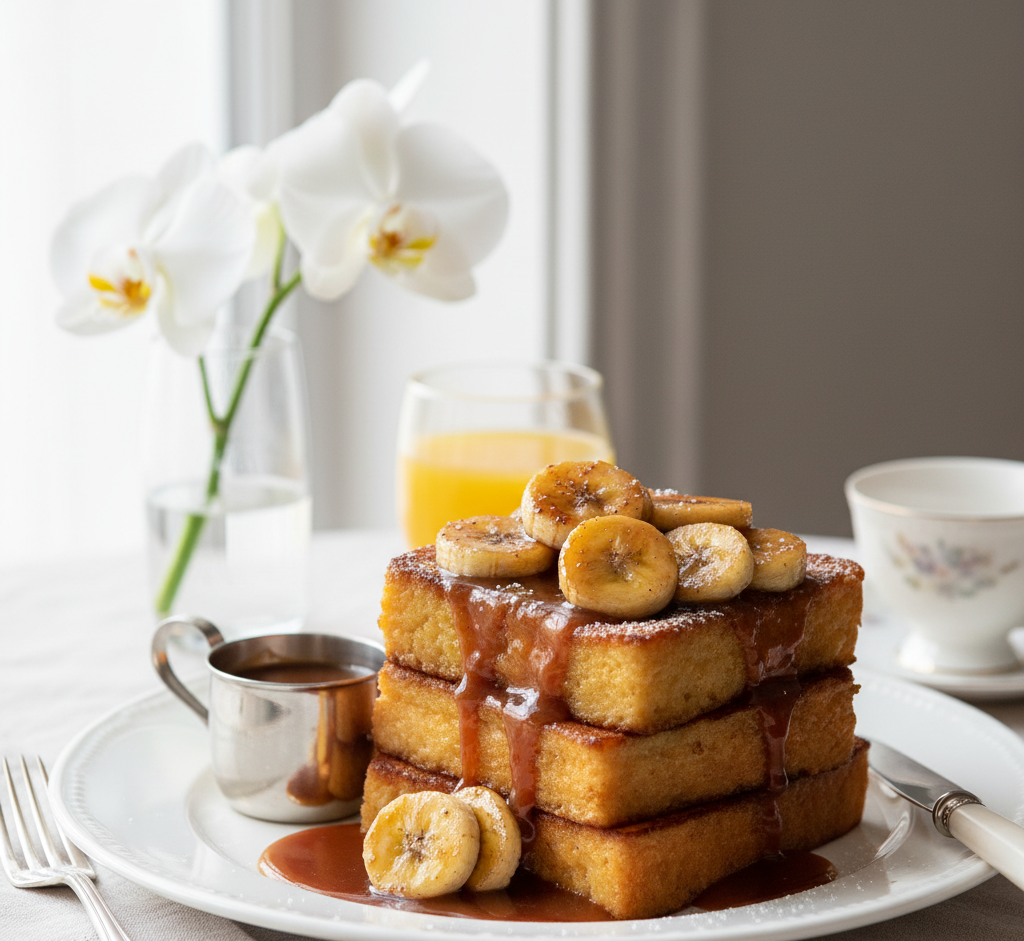
6. Serve Warm
Remove carefully and serve immediately with your favorite toppings.

Tips for Perfect Results
To make the best Fudgy Brownie Waffles: Decadent Breakfast Treat, follow these tips:
- Don’t overmix the batter to keep waffles tender
- Grease the waffle iron well to prevent sticking
- Cook until slightly crisp for contrast with fudgy interior
- Serve immediately for best texture
These tips ensure perfect waffles every time.
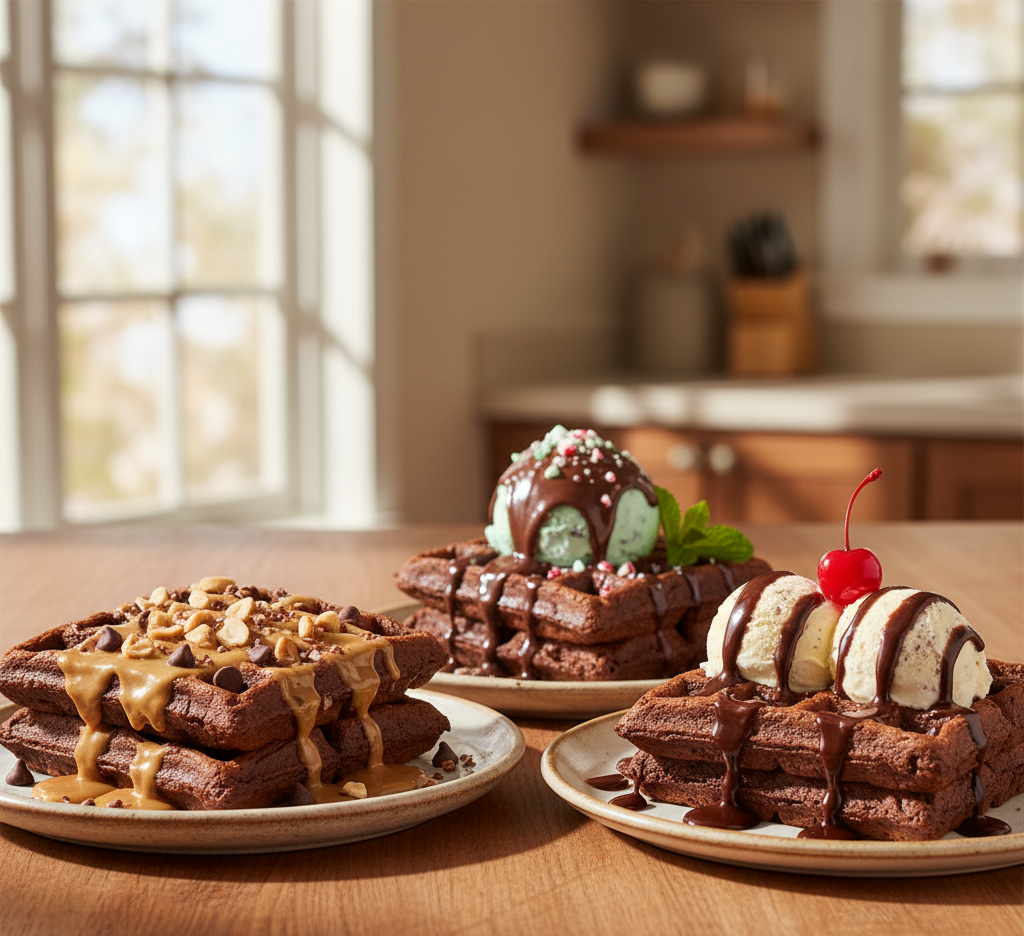
Variations
You can easily customize these Fudgy Brownie Waffles: Decadent Breakfast Treat:
Peanut Butter Swirl
- Add peanut butter to the batter
Mint Chocolate
- Add a drop of mint extract
Gluten-Free Option
- Use gluten-free flour blend
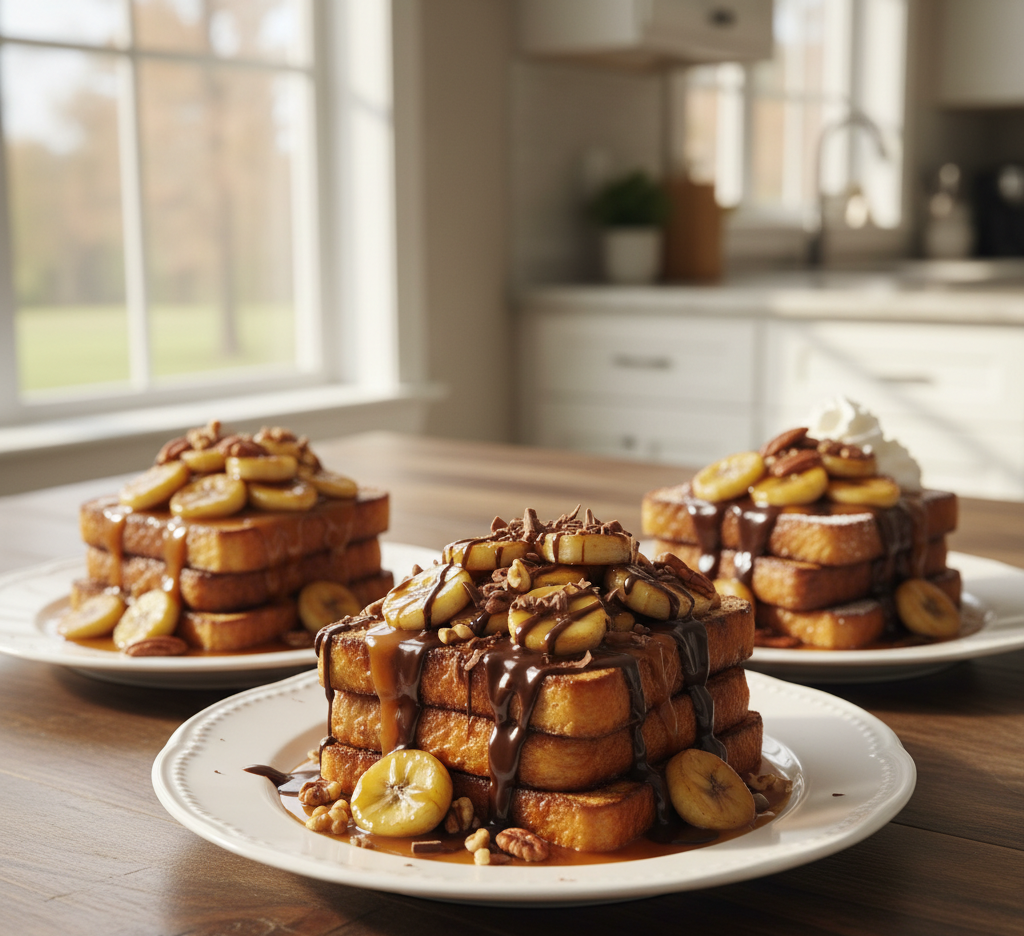
Extra Decadent
- Top with ice cream and fudge sauce
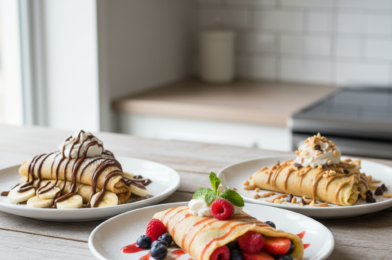
What to Serve With It
These Fudgy Brownie Waffles: Decadent Breakfast Treat pair perfectly with:
- Fresh berries
- Whipped cream
- Ice cream
- Coffee or milk
They can be as simple or indulgent as you like.
Storage & Reheating
- Refrigerate: Store for up to 3 days
- Freeze: Freeze waffles for up to 2 months
- Reheat: Use toaster or oven for crispiness
- Avoid microwaving to keep texture intact
Proper storage keeps them delicious.
Common Mistakes to Avoid
Avoid these mistakes when making Fudgy Brownie Waffles: Decadent Breakfast Treat:
- Overcooking (leads to dryness)
- Under-greasing the waffle iron
- Using too much batter
- Skipping preheating
Small details make a big difference.
FAQs
Can I use brownie mix instead?
Yes, brownie mix works as a shortcut.
Are these waffles very sweet?
They’re rich but balanced—adjust sugar if needed.
Can I make them ahead of time?
Yes, and reheat in a toaster for best results.
What waffle maker works best?
Any standard waffle maker works well.
Final Thoughts
These Fudgy Brownie Waffles: Decadent Breakfast Treat are the perfect combination of comfort and indulgence. With their rich chocolate flavor, crisp edges, and soft centers, they’re a treat you’ll want to make again and again.
Whether you’re serving them for brunch, dessert, or a special breakfast, these waffles are guaranteed to impress. Once you try them, you’ll never look at waffles—or brownies—the same way again.