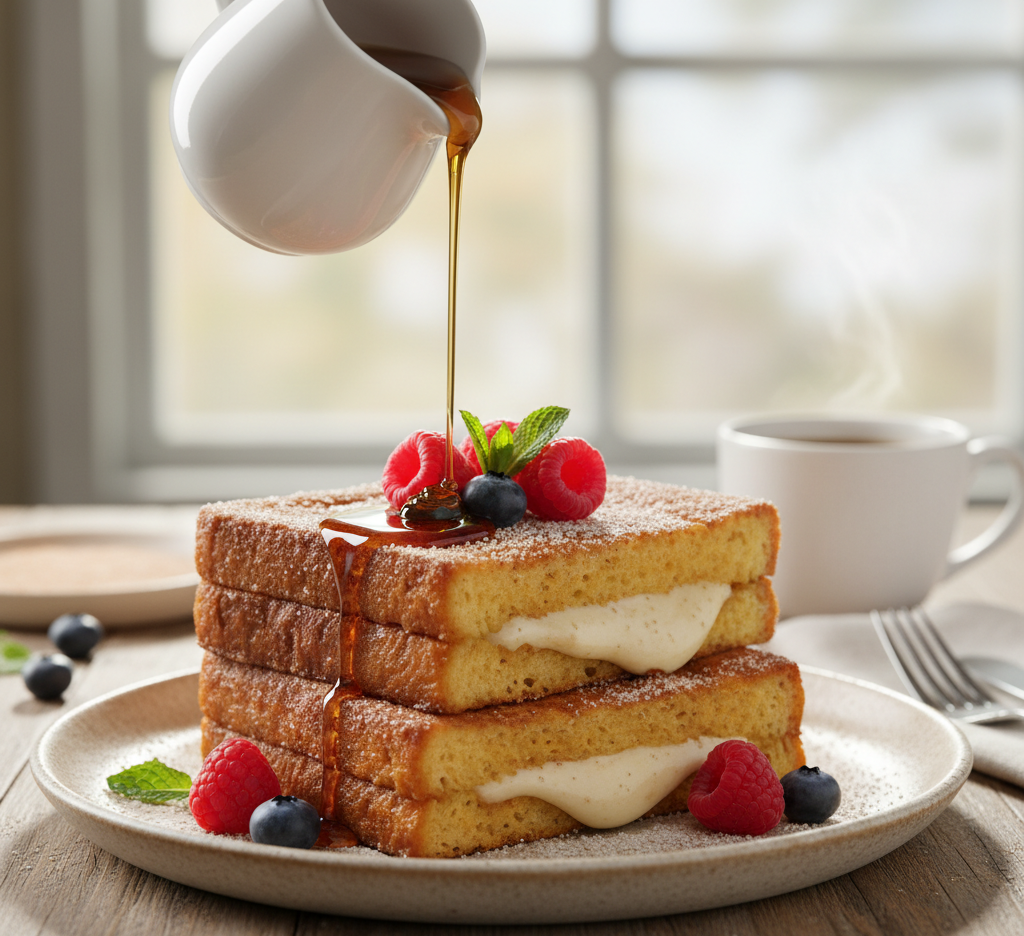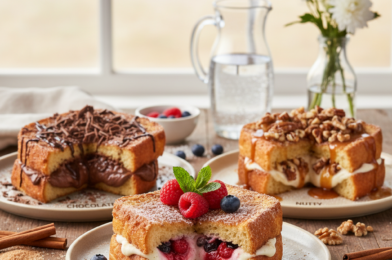
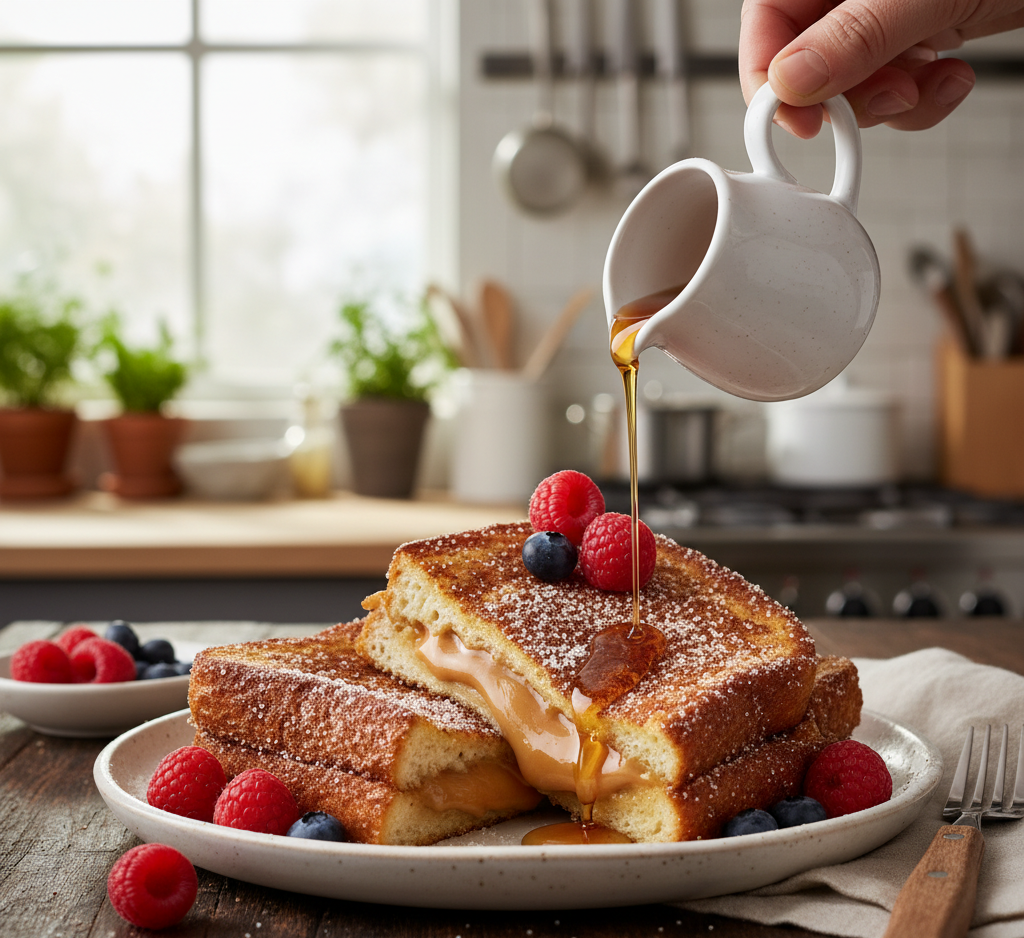
If you’re ready to take your breakfast game to the next level, this Epic Churro Stuffed French Toast with Cinnamon Sugar is about to blow your mind. Imagine thick slices of golden French toast, stuffed with a creamy filling, then rolled in warm cinnamon sugar for that classic churro flavor. It’s crispy on the outside, soft and rich on the inside, and completely unforgettable.
This epic churro stuffed French toast with cinnamon sugar is perfect for weekend brunches, holidays, or anytime you want to treat yourself (or impress guests). It combines the best of two beloved classics—churros and French toast—into one indulgent masterpiece.
Why You’ll Love This Recipe
This Epic Churro Stuffed French Toast with Cinnamon Sugar is a breakfast dream come true:
- Crispy churro-style coating with cinnamon sugar
- Rich, creamy filling inside every bite
- Perfect for special occasions or brunch
- Easy to customize with flavors and toppings
- A show-stopping presentation
It’s the kind of recipe that turns an ordinary morning into something special.
Ingredients
To make this irresistible Epic Churro Stuffed French Toast with Cinnamon Sugar, gather:
For the French Toast:
- 8 thick slices of brioche or Texas toast
- 4 large eggs
- 1 cup milk
- 1 teaspoon vanilla extract
- 1 teaspoon ground cinnamon
For the Filling:
- 8 oz cream cheese, softened
- ¼ cup powdered sugar
- 1 teaspoon vanilla extract
For the Coating:
- ½ cup granulated sugar
- 1 tablespoon ground cinnamon
- 2 tablespoons melted butter
Optional Toppings:
- Maple syrup
- Fresh berries
- Whipped cream
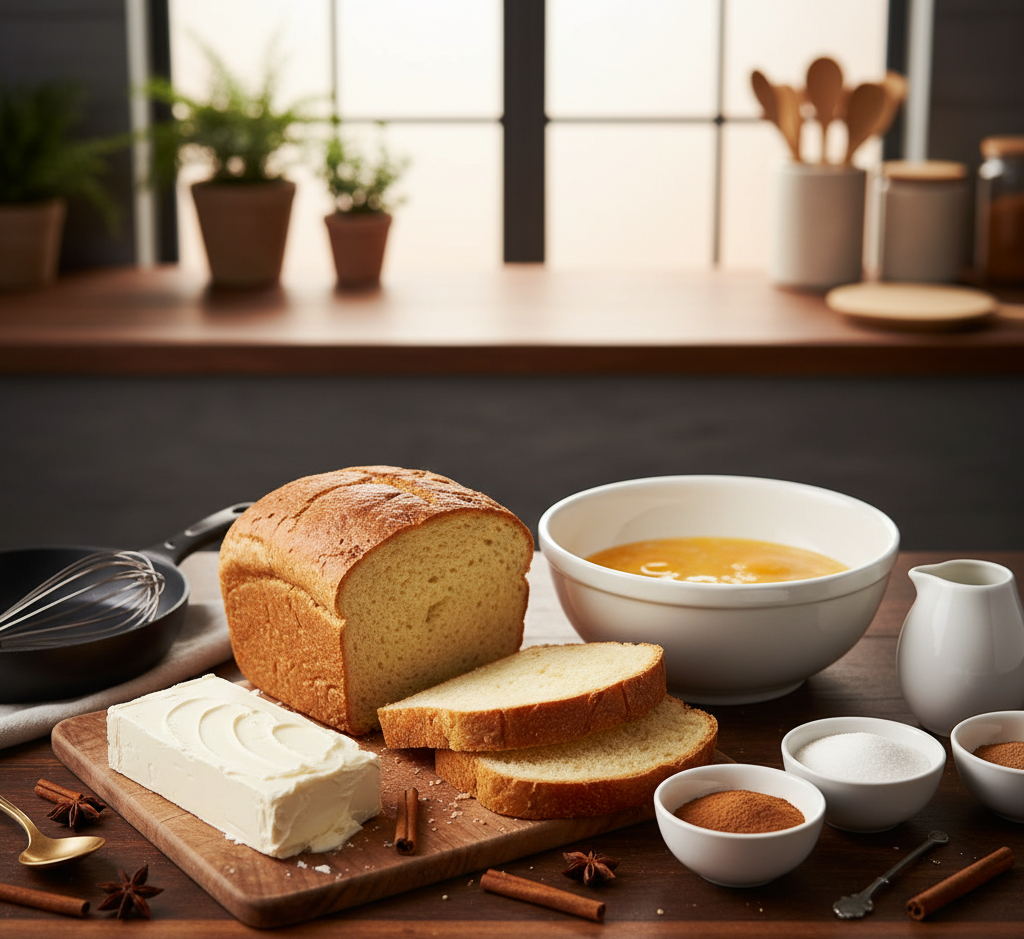
Ingredient Notes
The secret to the best Epic Churro Stuffed French Toast with Cinnamon Sugar is using quality ingredients:
- Bread: Thick-cut brioche or Texas toast absorbs the custard beautifully
- Cream cheese: Adds a rich, tangy filling
- Cinnamon sugar: Creates that signature churro flavor
- Vanilla: Enhances overall sweetness and aroma
Fresh ingredients will make your dish taste bakery-quality.
Step-by-Step Instructions
1. Prepare the Filling
Mix cream cheese, powdered sugar, and vanilla until smooth.
2. Assemble the Sandwiches
Spread the filling between two slices of bread to create a sandwich.
3. Make the Custard
Whisk eggs, milk, vanilla, and cinnamon in a shallow bowl.
4. Dip the Bread
Dip each sandwich into the custard, coating both sides evenly.
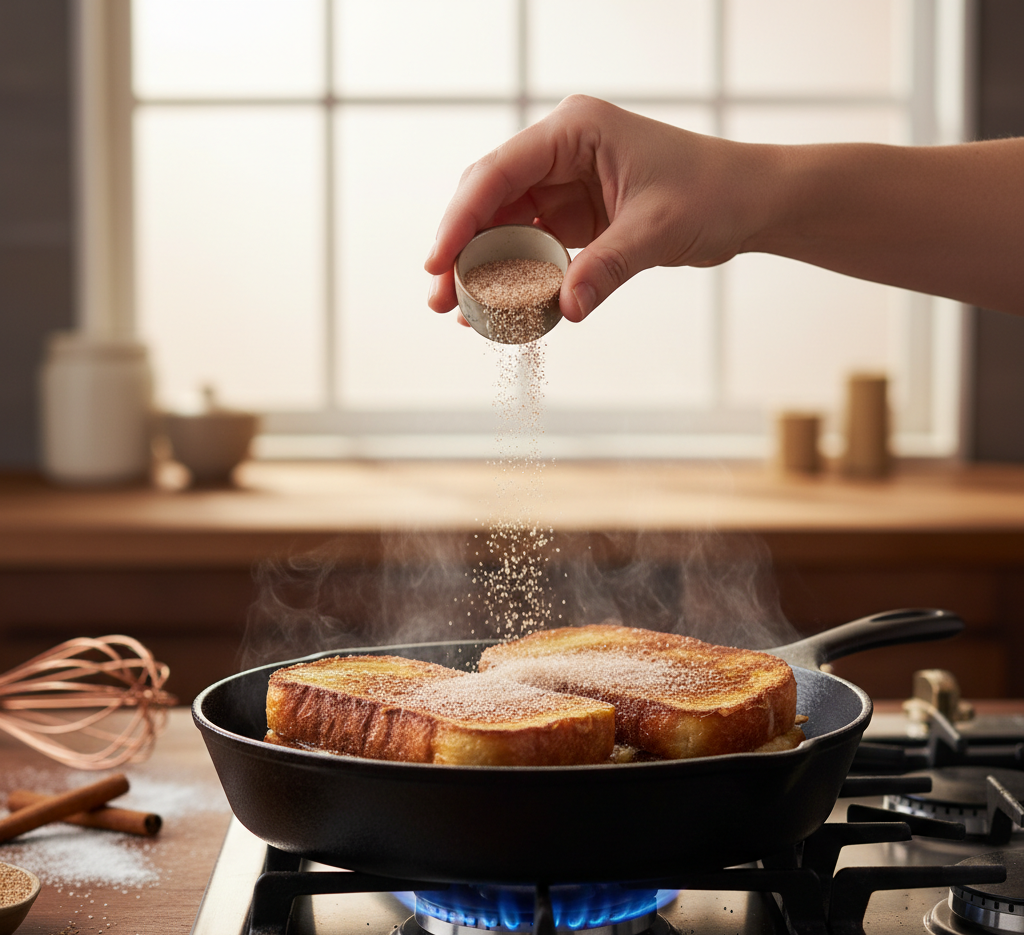
5. Cook
Cook on a buttered skillet over medium heat until golden brown on both sides.
6. Coat with Cinnamon Sugar
Brush with melted butter and roll in cinnamon sugar while warm.
7. Serve
Slice and serve with syrup and toppings.
Tips for Perfect Results
To make the perfect Epic Churro Stuffed French Toast with Cinnamon Sugar, follow these tips:
- Use day-old bread for better absorption
- Don’t soak too long to avoid sogginess
- Cook on medium heat for even browning
- Coat immediately in cinnamon sugar while warm
These tips ensure the perfect balance of crispy and creamy.
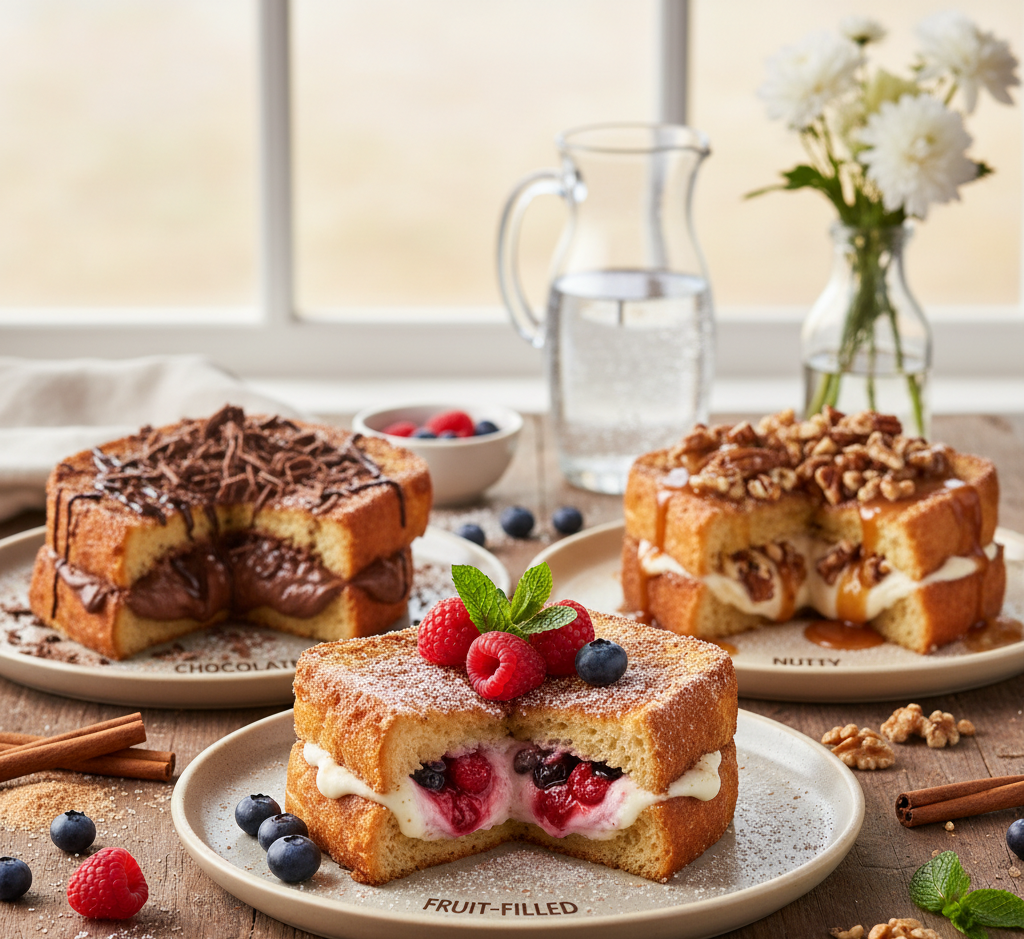
Variations
This Epic Churro Stuffed French Toast with Cinnamon Sugar can be customized in delicious ways:
Chocolate Lover’s Version
- Add chocolate chips to the filling
Fruity Twist
- Add sliced strawberries or bananas inside
Nutty Delight
- Include crushed pecans or almonds
Savory-Sweet Combo
- Add a hint of salt or bacon bits
What to Serve With It
Pair your Epic Churro Stuffed French Toast with Cinnamon Sugar with:
- Fresh fruit salad
- Crispy bacon or sausage
- Coffee or latte
- Fresh orange juice
These sides balance the richness beautifully.
Storage & Reheating
- Refrigerate: Store leftovers for up to 2 days
- Freeze: Wrap tightly and freeze up to 1 month
- Reheat: Use a skillet or oven to maintain crispiness
- Avoid microwaving if possible
Proper reheating keeps that churro-like texture intact.
Common Mistakes to Avoid
Avoid these mistakes when making Epic Churro Stuffed French Toast with Cinnamon Sugar:
- Over-soaking the bread
- Cooking on high heat (burns the outside)
- Skipping the cinnamon sugar coating
- Using thin bread
Attention to detail makes all the difference.
FAQs
Can I make this ahead of time?
Yes, assemble ahead and cook fresh when ready to serve.
What bread works best?
Brioche or Texas toast is ideal for thickness and texture.
Can I make it dairy-free?
Yes, use dairy-free cream cheese and milk alternatives.
How do I keep it crispy?
Reheat in a skillet or oven rather than a microwave.
Final Thoughts
This Epic Churro Stuffed French Toast with Cinnamon Sugar is the ultimate indulgent breakfast that combines comfort, creativity, and irresistible flavor. It’s crispy, creamy, sweet, and guaranteed to impress anyone at your table.
Whether you’re hosting brunch or simply treating yourself, this recipe delivers a bakery-style experience right at home. One bite, and you’ll understand why it’s truly epic.