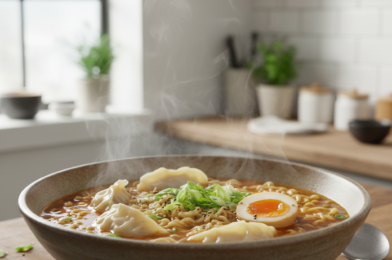
If you’re craving something warm, comforting, and deeply satisfying, this Dumpling Ramen Bowl is about to become your new obsession. Imagine tender dumplings nestled in a rich, savory broth with slurp-worthy ramen noodles and fresh, vibrant toppings. It’s the perfect fusion of two comfort food favorites—dumplings and ramen—all in one irresistible bowl.
As a food blogger who loves creating bold, approachable recipes for busy home cooks, I can confidently say this dumpling ramen bowl hits every note. It’s cozy enough for a chilly evening, quick enough for a weeknight dinner, and impressive enough to serve guests. Best of all, it’s highly customizable, making it easy to tailor to your taste preferences or what you already have in the fridge.
Why You’ll Love This Dumpling Ramen Bowl
There are plenty of ramen recipes out there, but this dumpling ramen bowl stands out for several reasons:
-
Quick and easy – Ready in about 30 minutes
-
Deep, savory flavor from a rich homemade broth
-
Hearty and filling thanks to the dumplings
-
Customizable toppings for endless variations
-
Perfect comfort food for any season
Combining dumplings and ramen creates a complete, balanced meal in one bowl—carbs, protein, and vegetables all working together in harmony.
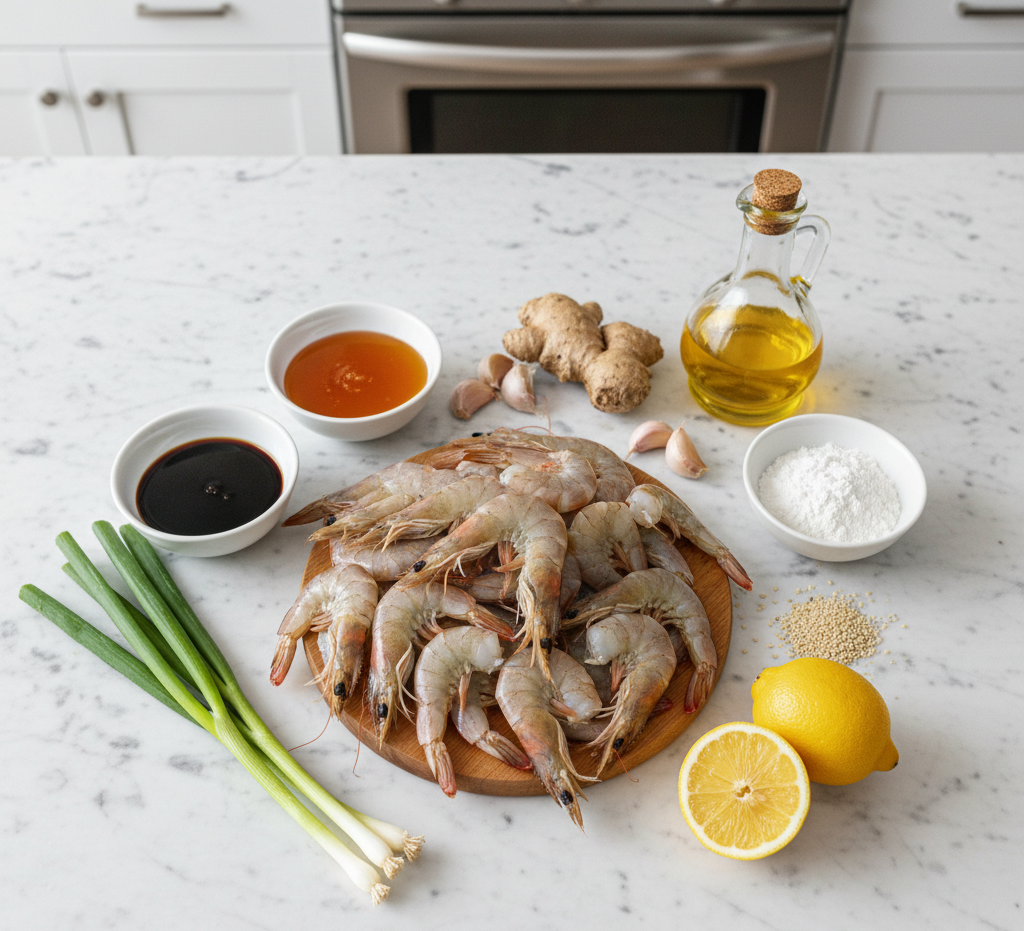
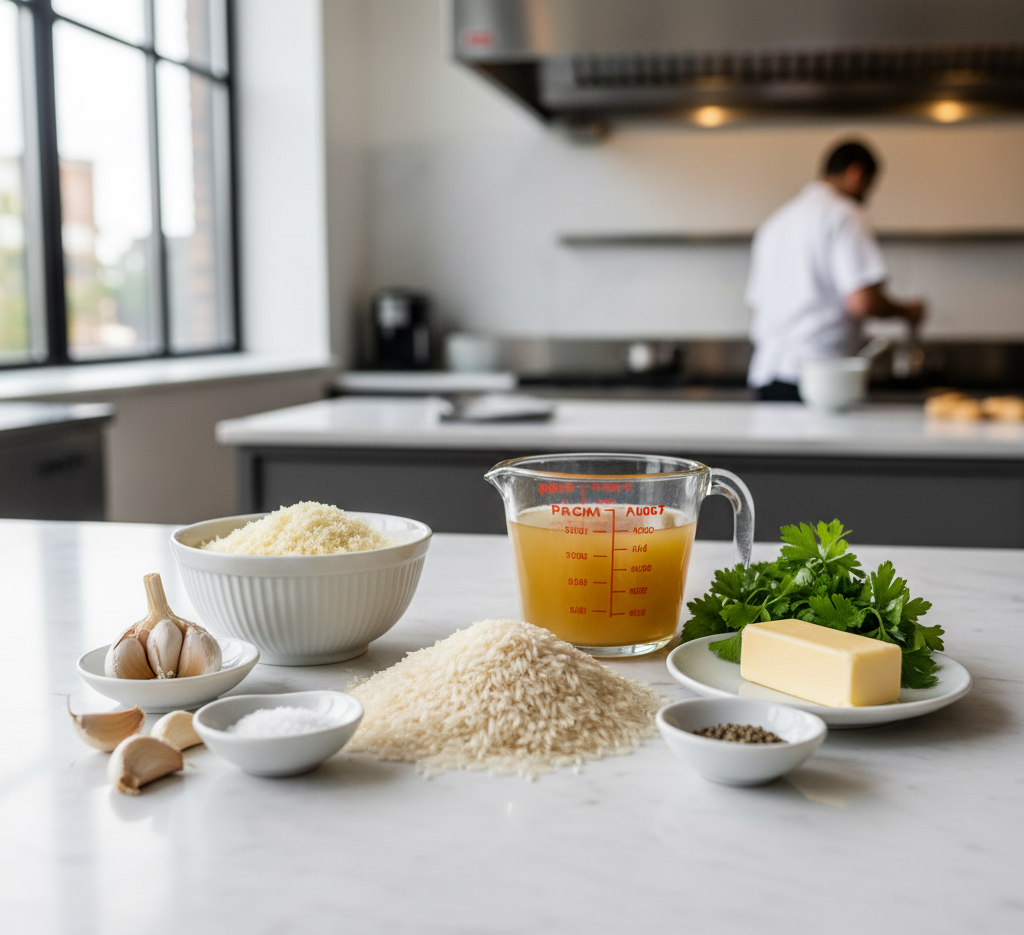
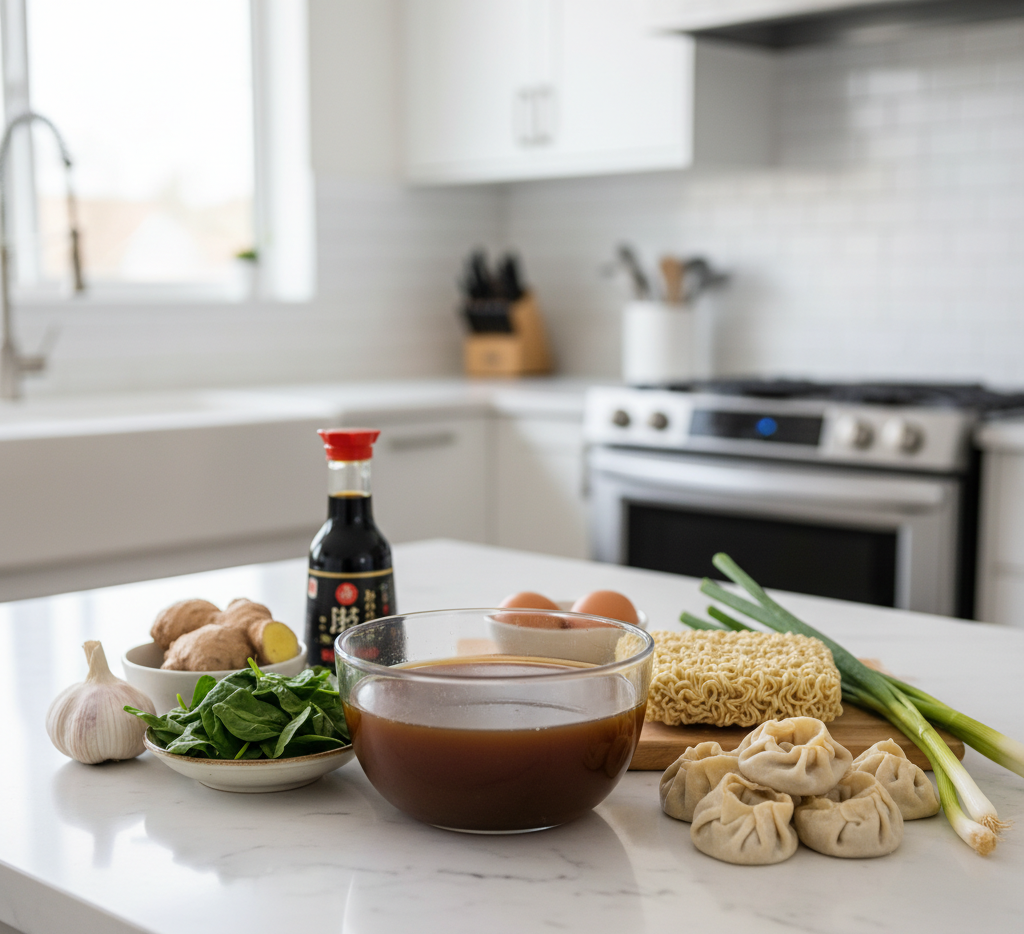
Ingredients for the Perfect Dumpling Ramen Bowl
Here’s what you’ll need to make this flavorful bowl:
-
4 cups chicken or vegetable broth
-
2 packs ramen noodles (discard seasoning packets)
-
12–16 frozen or fresh dumplings (pork, chicken, or veggie)
-
1 tablespoon soy sauce
-
1 tablespoon miso paste (optional but recommended)
-
1 teaspoon sesame oil
-
2 cloves garlic, minced
-
1 teaspoon freshly grated ginger
-
1 cup baby spinach or bok choy
-
2 soft-boiled eggs
-
Sliced green onions
-
Sesame seeds
-
Chili oil (optional)
These simple ingredients come together to create a restaurant-quality dumpling ramen bowl right in your own kitchen.
Ingredient Notes and Substitutions
Choosing the Dumplings
Frozen dumplings work beautifully in this dumpling ramen bowl, making it a convenient weeknight option. Look for high-quality potstickers or gyoza at your local grocery store. Homemade dumplings are fantastic if you have the time.
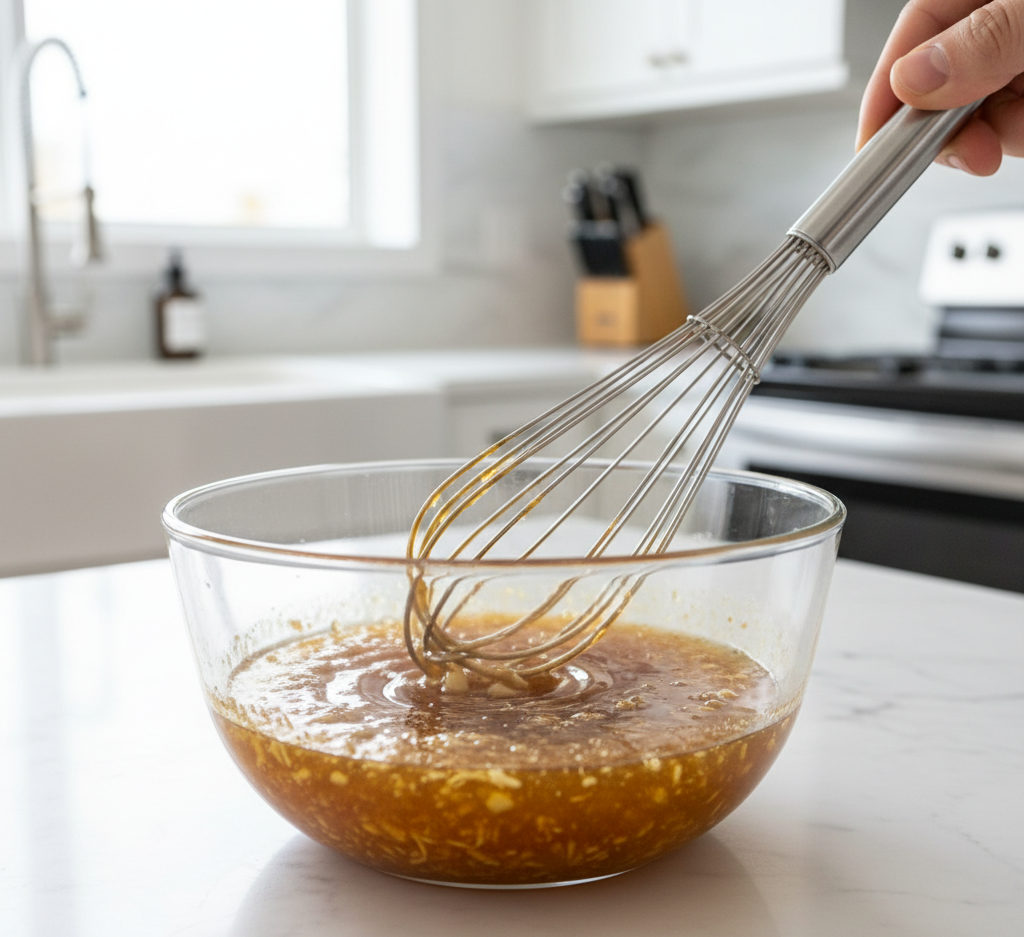
Upgrade the Broth
The broth is the heart of any ramen bowl. While boxed broth works well, enhancing it with garlic, ginger, soy sauce, and miso paste adds incredible depth and umami flavor.
Noodle Options
Traditional ramen noodles are ideal, but you can substitute:
-
Rice noodles for a gluten-free version
-
Whole wheat ramen for added fiber
-
Fresh ramen from the refrigerated section for extra texture
Step-by-Step Instructions
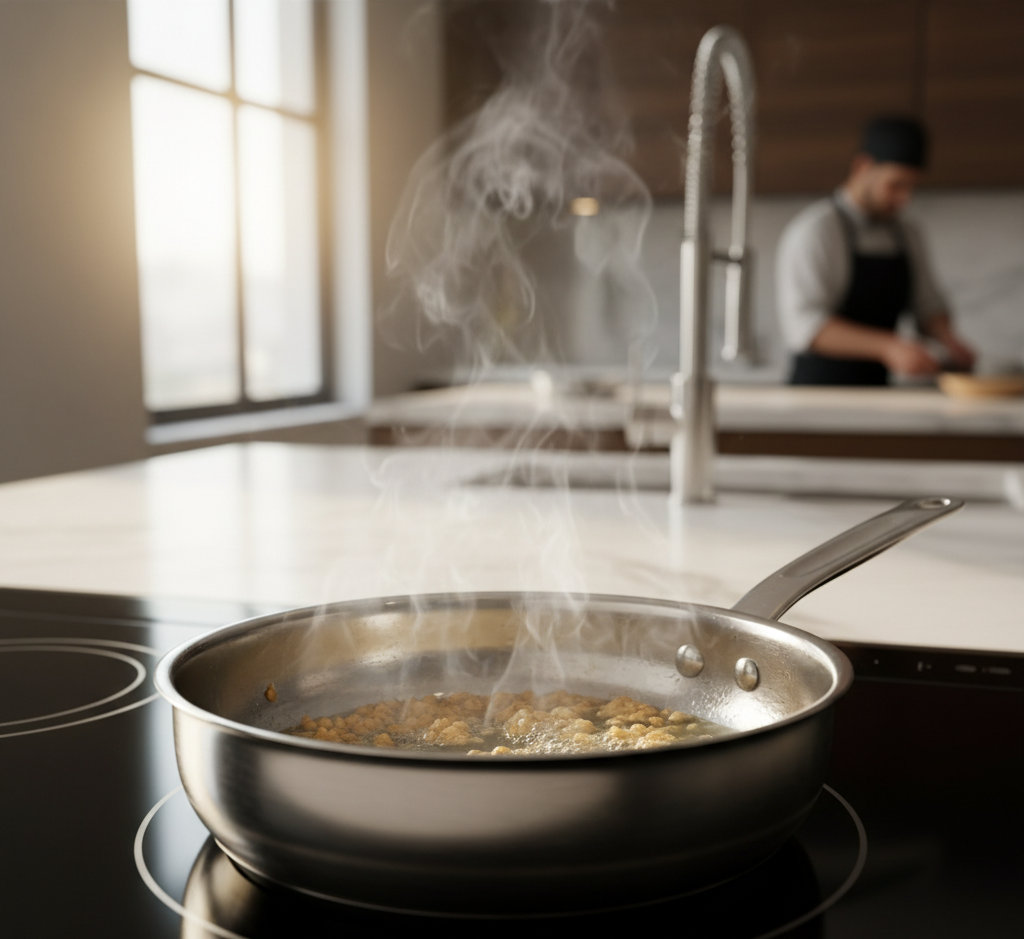
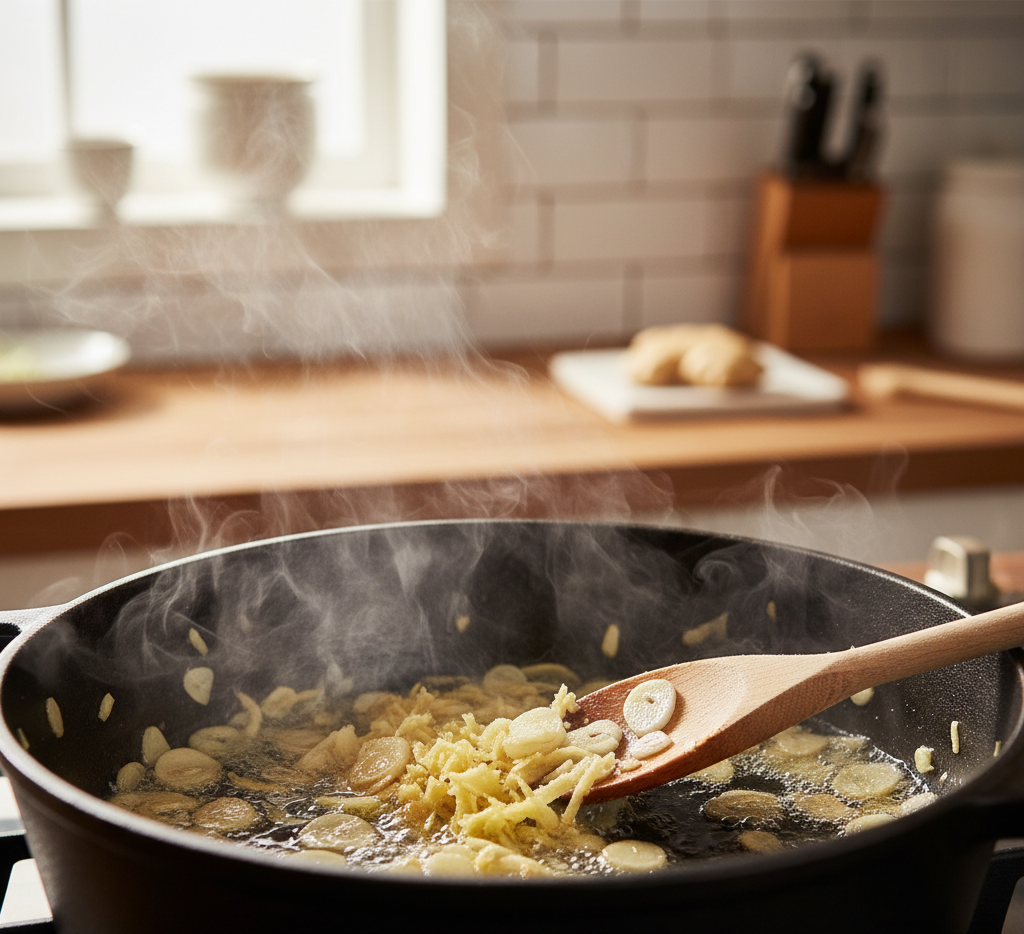
1. Build the Broth
In a large pot over medium heat, add a drizzle of sesame oil. Sauté garlic and ginger for about 30 seconds until fragrant. Pour in the broth, soy sauce, and miso paste. Bring to a gentle simmer and let the flavors meld for 5–7 minutes.
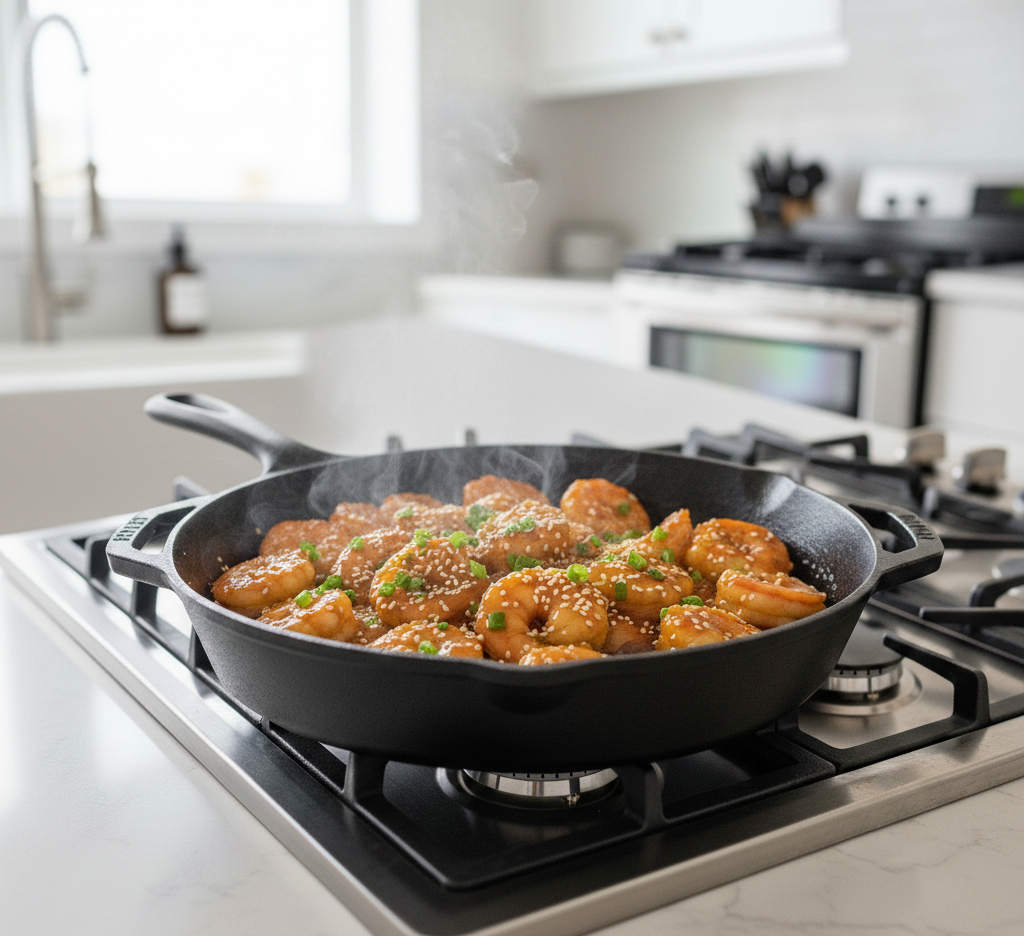
2. Cook the Dumplings
Add dumplings directly to the simmering broth. Cook according to package instructions, usually 4–6 minutes, until heated through and tender.
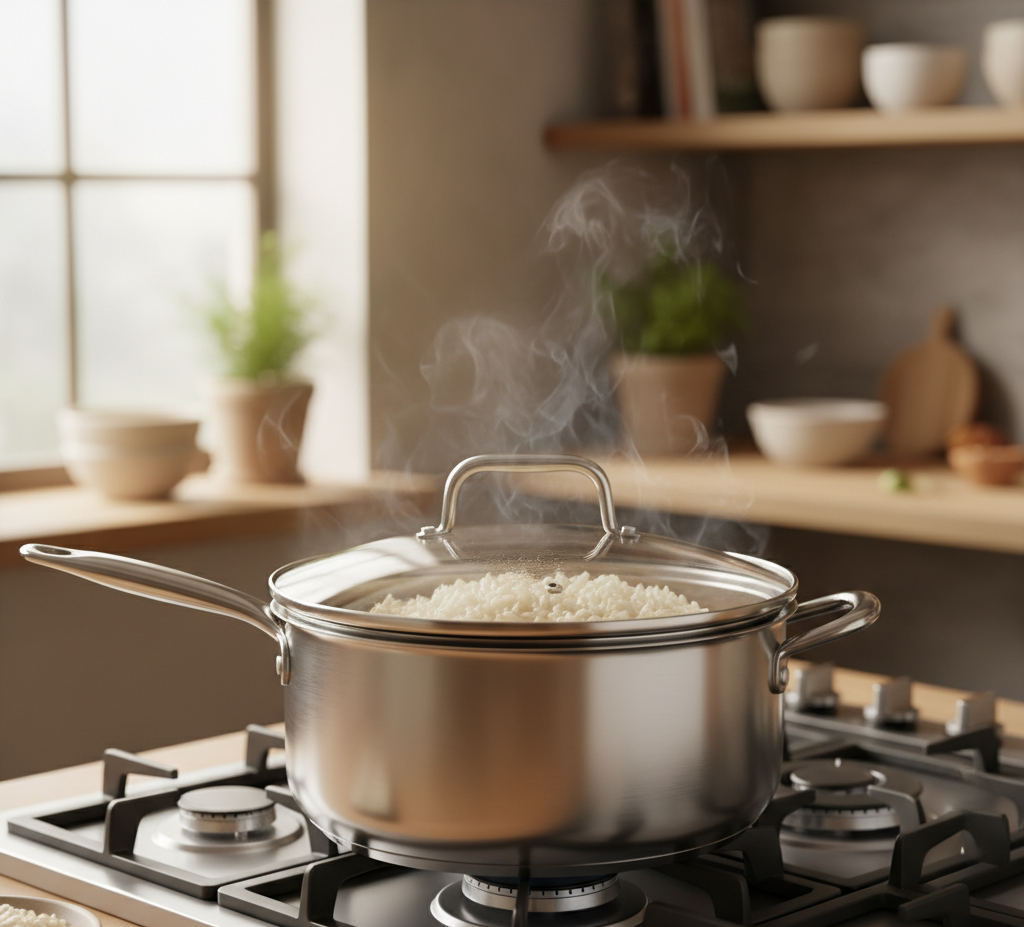
3. Add the Noodles and Greens
Add ramen noodles and cook for 2–3 minutes until just tender. Stir in spinach or bok choy during the final minute so they wilt but stay vibrant.
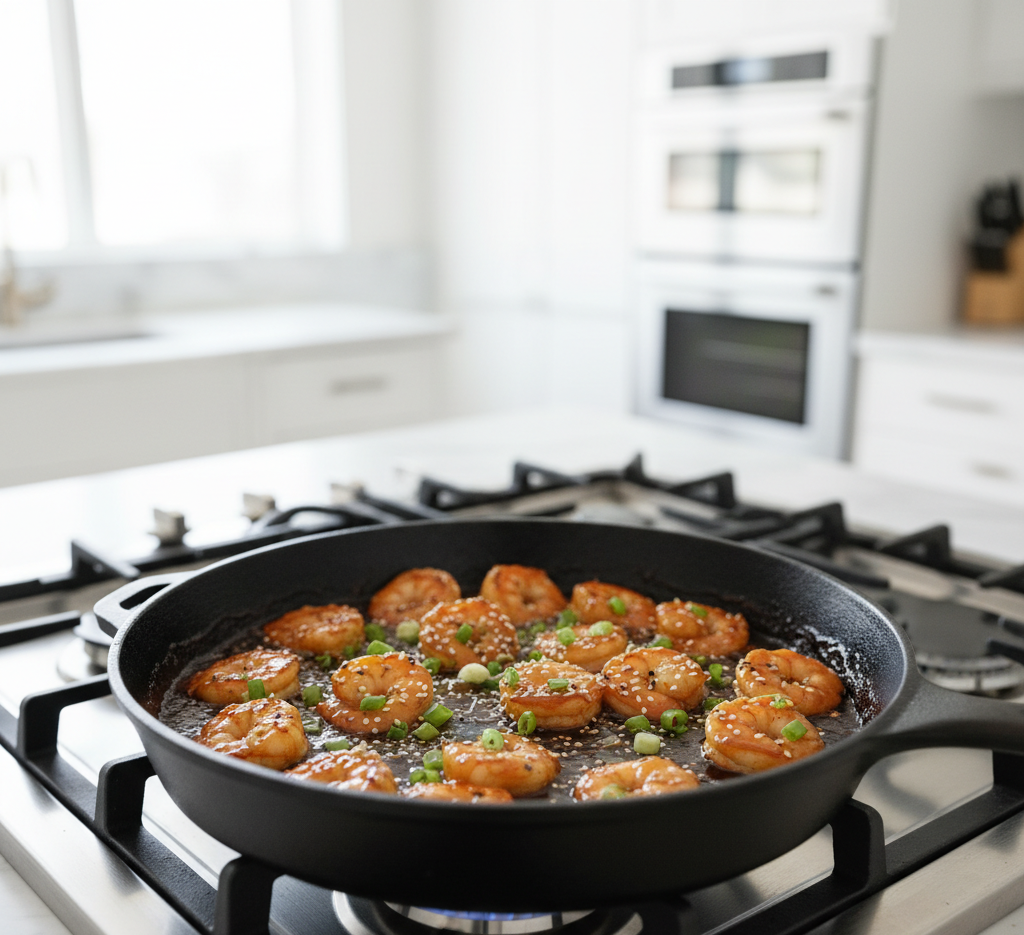
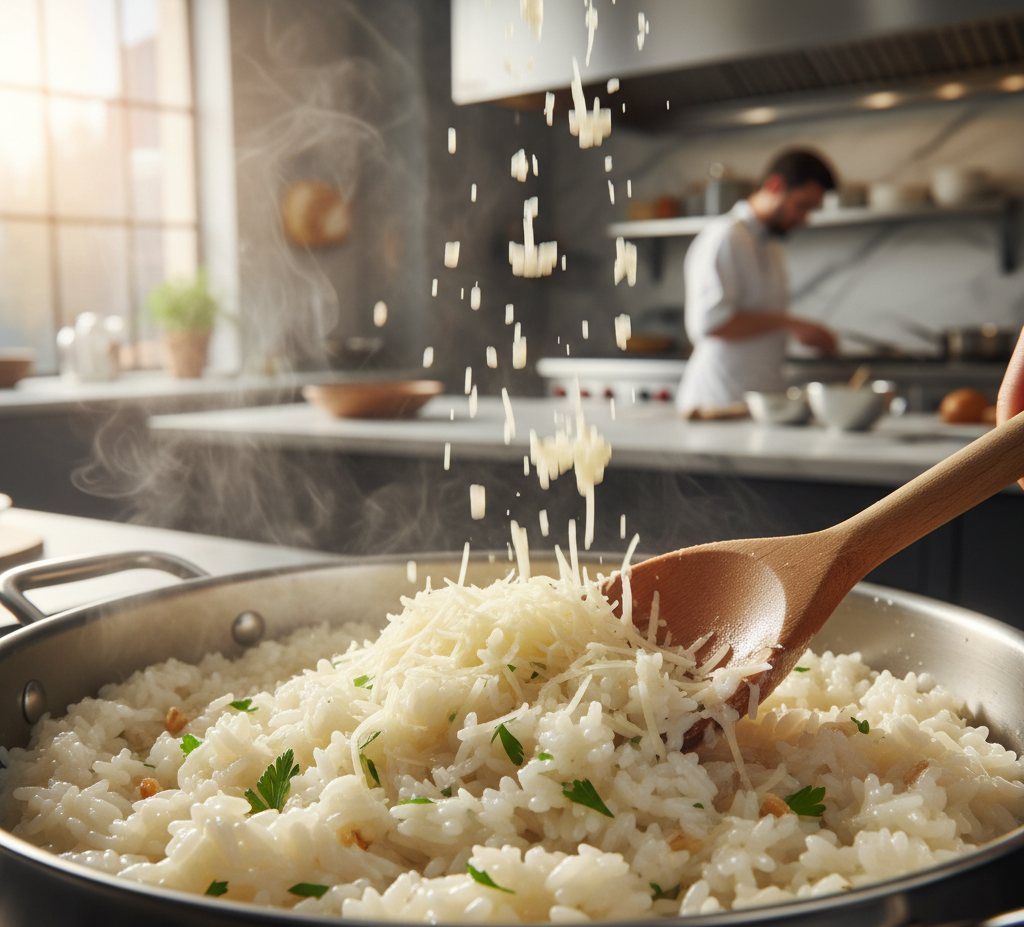
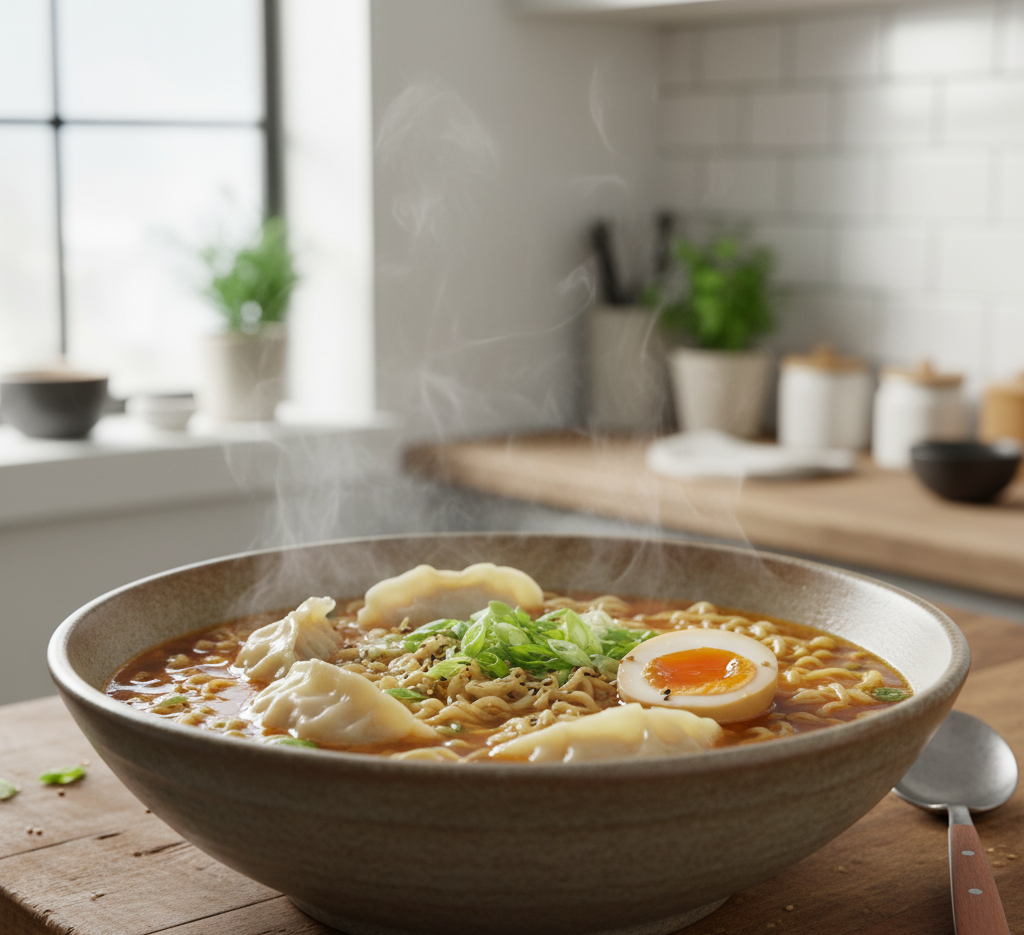
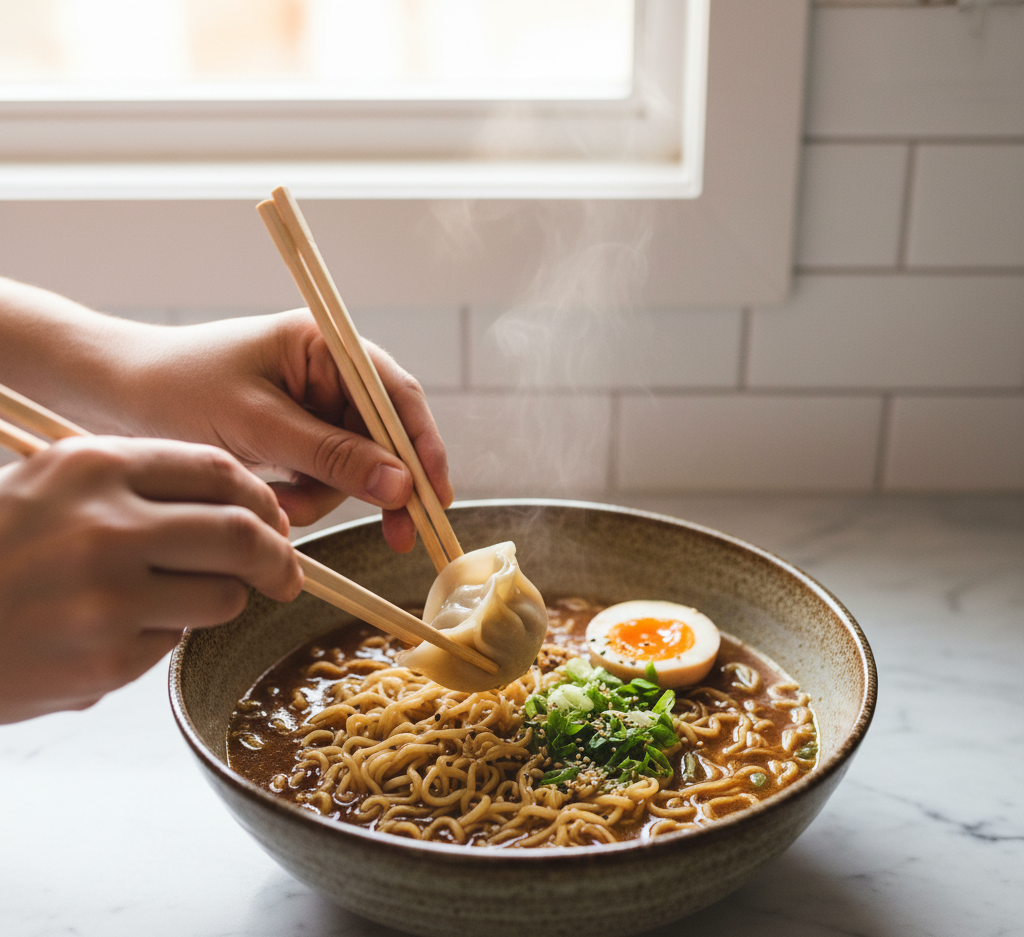
4. Assemble the Bowl
Divide noodles, dumplings, and broth into serving bowls. Top with halved soft-boiled eggs, green onions, sesame seeds, and chili oil if desired.
Tips for Perfect Dumpling Ramen Bowl
-
Don’t overcook the noodles—they should be tender but slightly firm.
-
Taste and adjust seasoning before serving.
-
Use fresh toppings to add brightness and texture contrast.
-
Serve immediately for best texture and flavor.
A great dumpling ramen bowl balances rich broth with fresh, crisp toppings.
Delicious Variations
One of the best parts about this dumpling ramen bowl is how versatile it is.
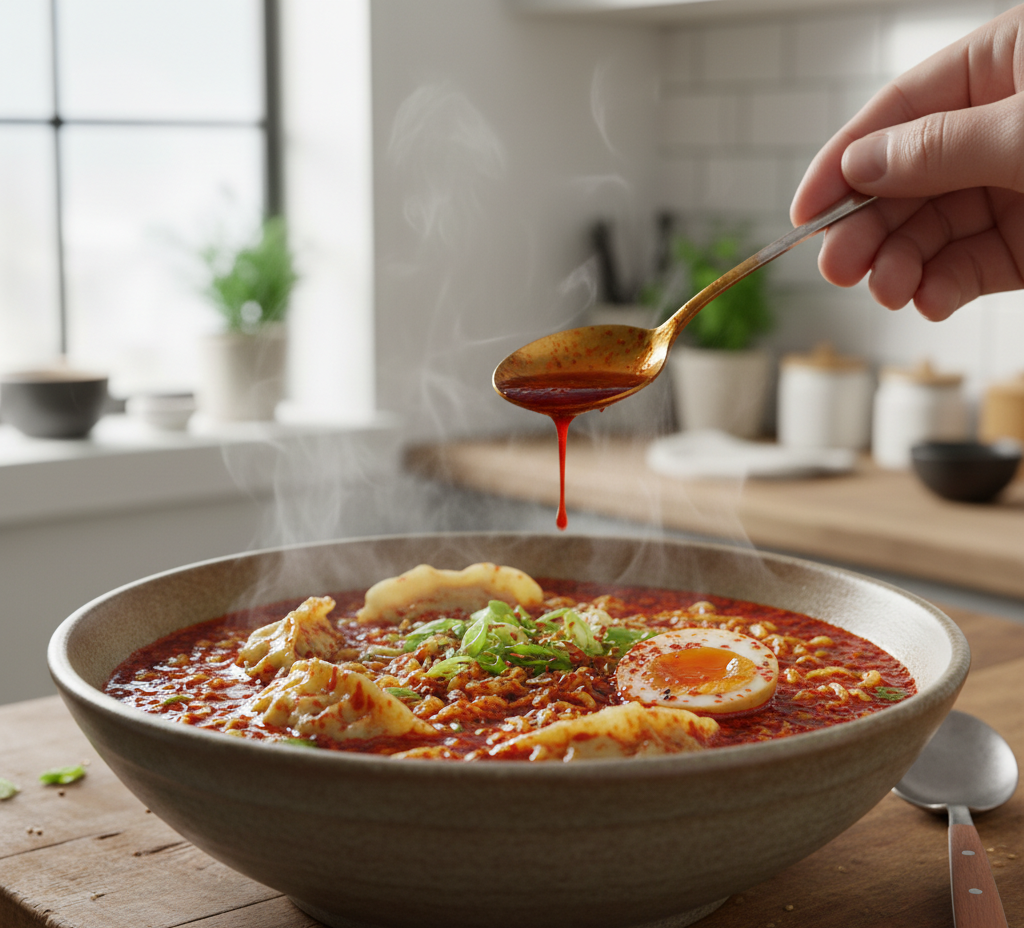
Spicy Dumpling Ramen Bowl
Add chili paste or sriracha to the broth for heat.
Creamy Version
Stir in a splash of coconut milk for a creamy twist.
Protein Boost
Add shredded chicken, sliced beef, or tofu cubes for extra protein.
Vegetarian Option
Use vegetable broth and veggie dumplings for a plant-based meal.
What to Serve With Dumpling Ramen Bowl
While this bowl is a complete meal, you can pair it with:
-
Asian cucumber salad
-
Steamed edamame
-
Spring rolls
-
Seaweed salad
-
Iced green tea
These sides complement the flavors without overpowering the dish.
Storage & Reheating Tips
If you anticipate leftovers, store components separately:
-
Broth and dumplings in one container
-
Noodles in another
-
Toppings separately
Reheat broth gently on the stovetop and add noodles just before serving. This prevents soggy noodles and maintains the integrity of your dumpling ramen bowl.
For best results, enjoy within 2–3 days.
Common Mistakes to Avoid
-
Overcooking dumplings – They can fall apart in the broth.
-
Using bland broth – Always season properly.
-
Letting noodles sit too long – They absorb too much liquid.
-
Skipping toppings – Garnishes add flavor and visual appeal.
Paying attention to these details ensures your ramen bowl tastes fresh and balanced.
Frequently Asked Questions
1. Can I use instant ramen packets?
Yes, just discard the seasoning packet and use the noodles only.
2. What type of dumplings work best?
Pork or chicken dumplings offer rich flavor, but veggie dumplings are excellent too.
3. Can I make this ahead of time?
You can prepare the broth in advance, but cook noodles fresh for best texture.
4. How do I make a soft-boiled egg?
Boil eggs for 6–7 minutes, then transfer to an ice bath before peeling.
5. Is this dumpling ramen bowl spicy?
Not by default. Add chili oil or hot sauce if you prefer heat.
Final Thoughts
This Dumpling Ramen Bowl delivers everything you want in a cozy meal—savory broth, tender dumplings, satisfying noodles, and vibrant toppings. It’s quick enough for a busy weeknight yet impressive enough to serve guests.
Once you master this recipe, you’ll find yourself making it again and again, experimenting with different dumplings, broths, and garnishes. It’s comfort food with personality—and every spoonful is pure satisfaction.
Grab your chopsticks and enjoy!