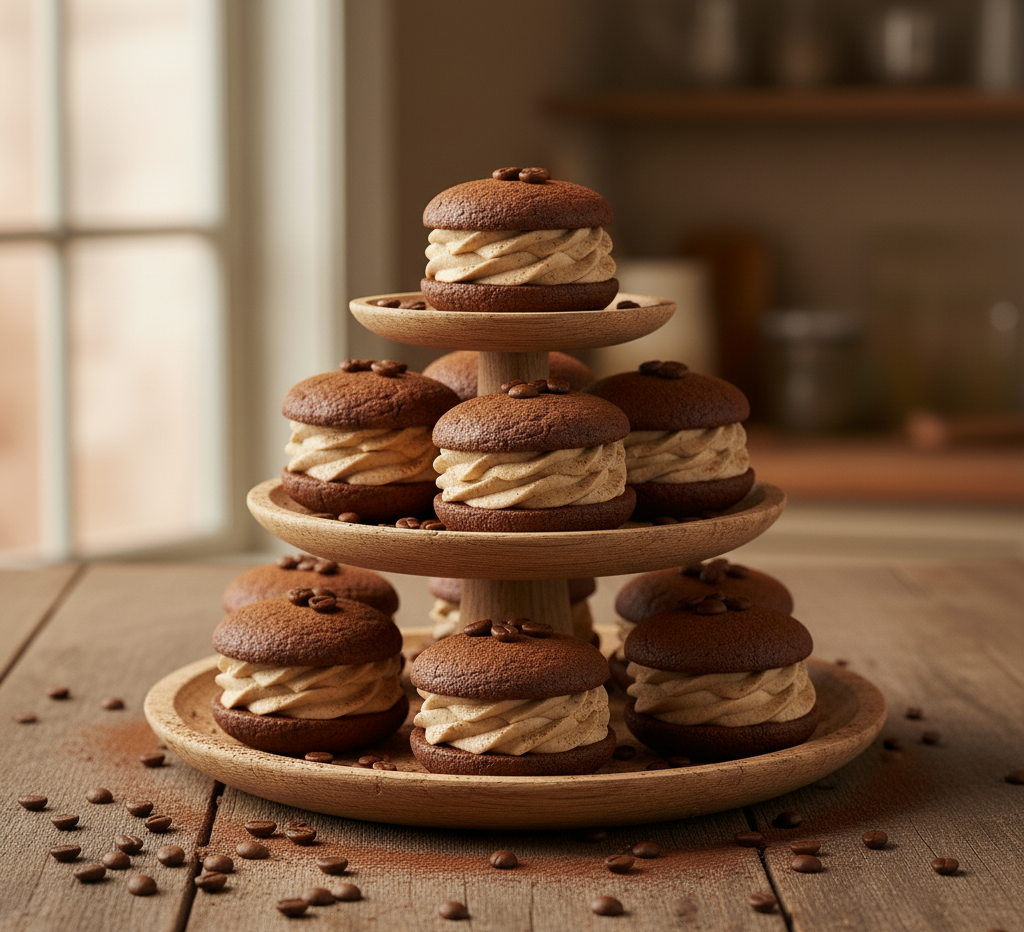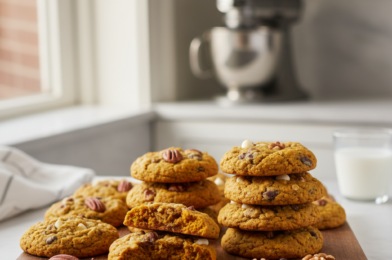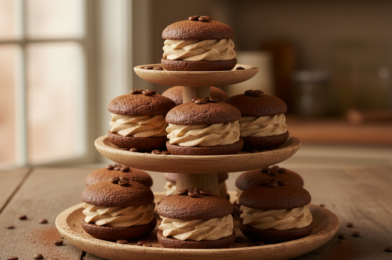
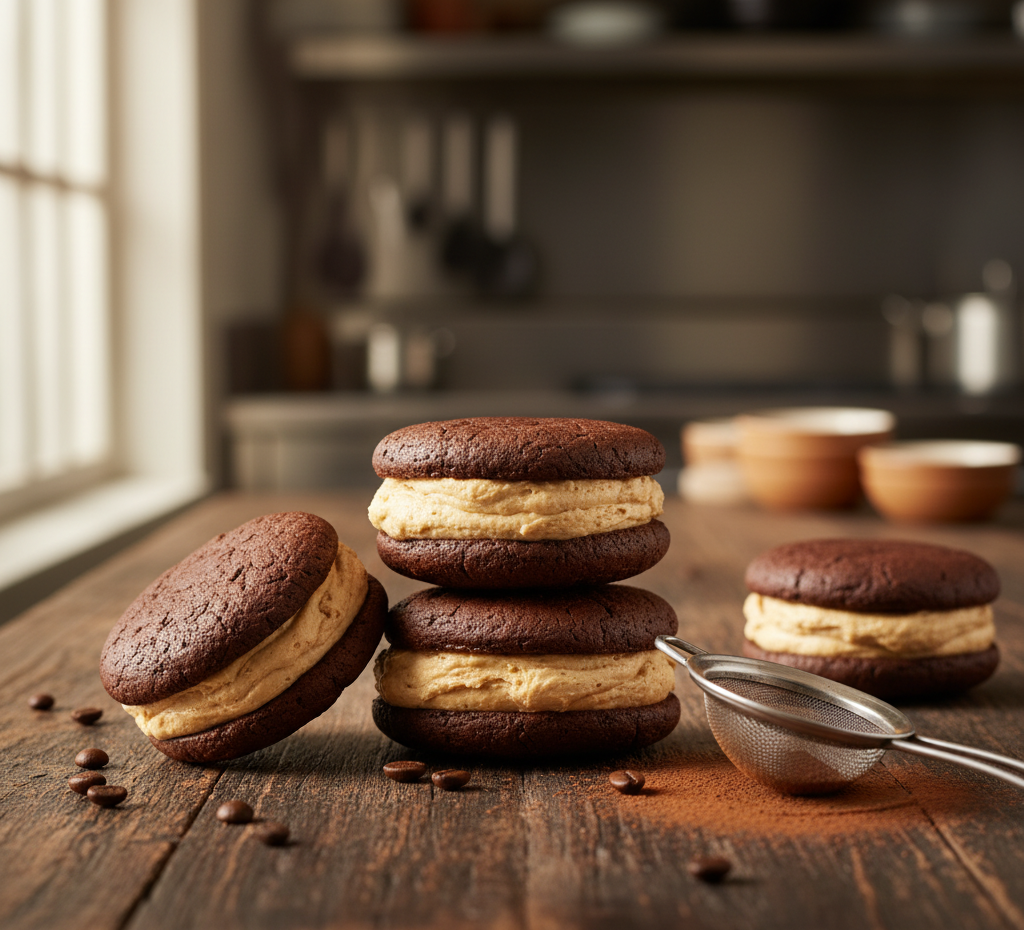
If you love the deep flavor of chocolate and the bold aroma of coffee, these Chocolate Coffee Whoopie Pies are about to become your new favorite dessert. Soft chocolate cake-like cookies sandwich a fluffy coffee-infused cream filling, creating a treat that feels indulgent yet comforting at the same time.
Whoopie pies have long been a beloved American dessert, especially in the Northeast. Traditionally made with chocolate cakes and vanilla filling, this upgraded version adds coffee for a sophisticated twist. The result is a perfectly balanced dessert where the cocoa flavor is enhanced by subtle espresso notes, making every bite rich, moist, and incredibly satisfying.
These chocolate coffee whoopie pies are ideal for bake sales, holiday cookie trays, or whenever you want a dessert that feels special but is still simple to make at home.
Why You’ll Love These Chocolate Coffee Whoopie Pies
There are plenty of dessert recipes out there, but chocolate coffee whoopie pies stand out because of their rich flavor and soft texture.
Here are a few reasons bakers adore this recipe:
-
Perfect chocolate and coffee combination
-
Soft, cake-like cookies
-
Creamy coffee buttercream filling
-
Great for parties and gatherings
-
Make-ahead friendly dessert
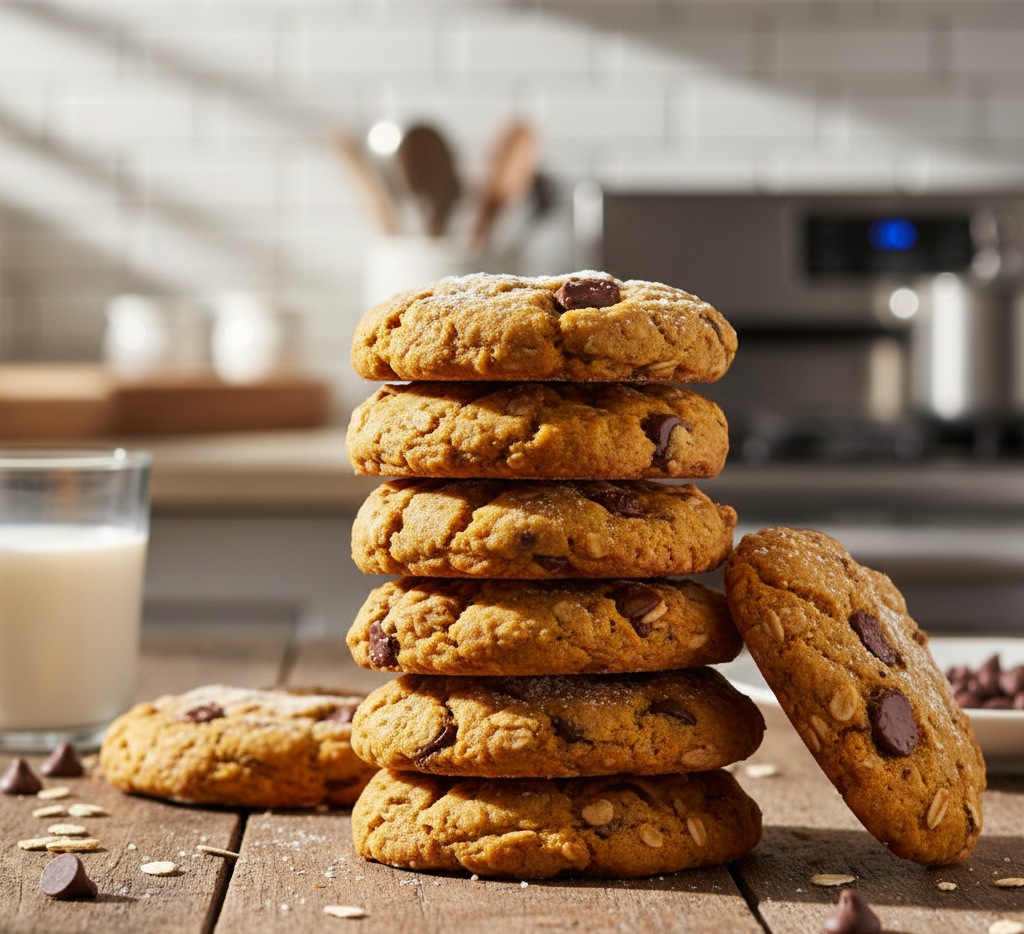
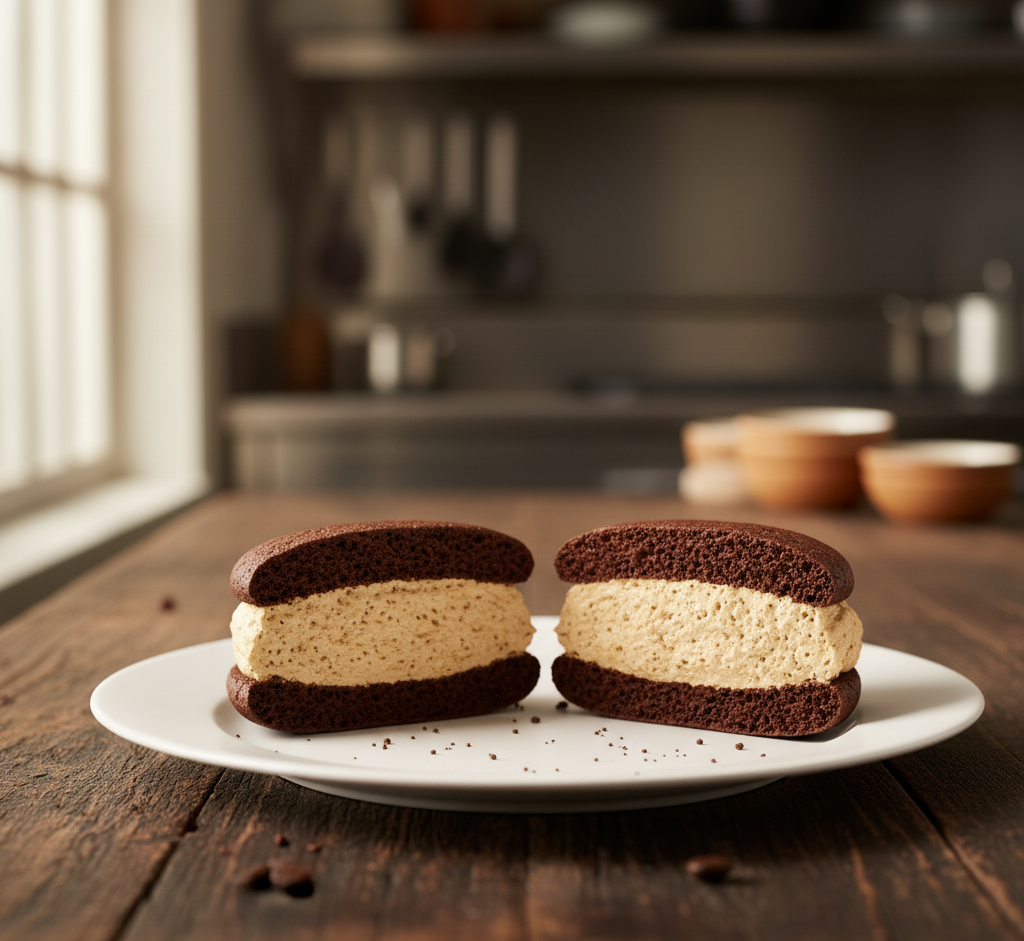
Another reason these treats are so popular is their texture. The cookies are tender and moist, almost like mini chocolate cakes, while the filling is light and fluffy.
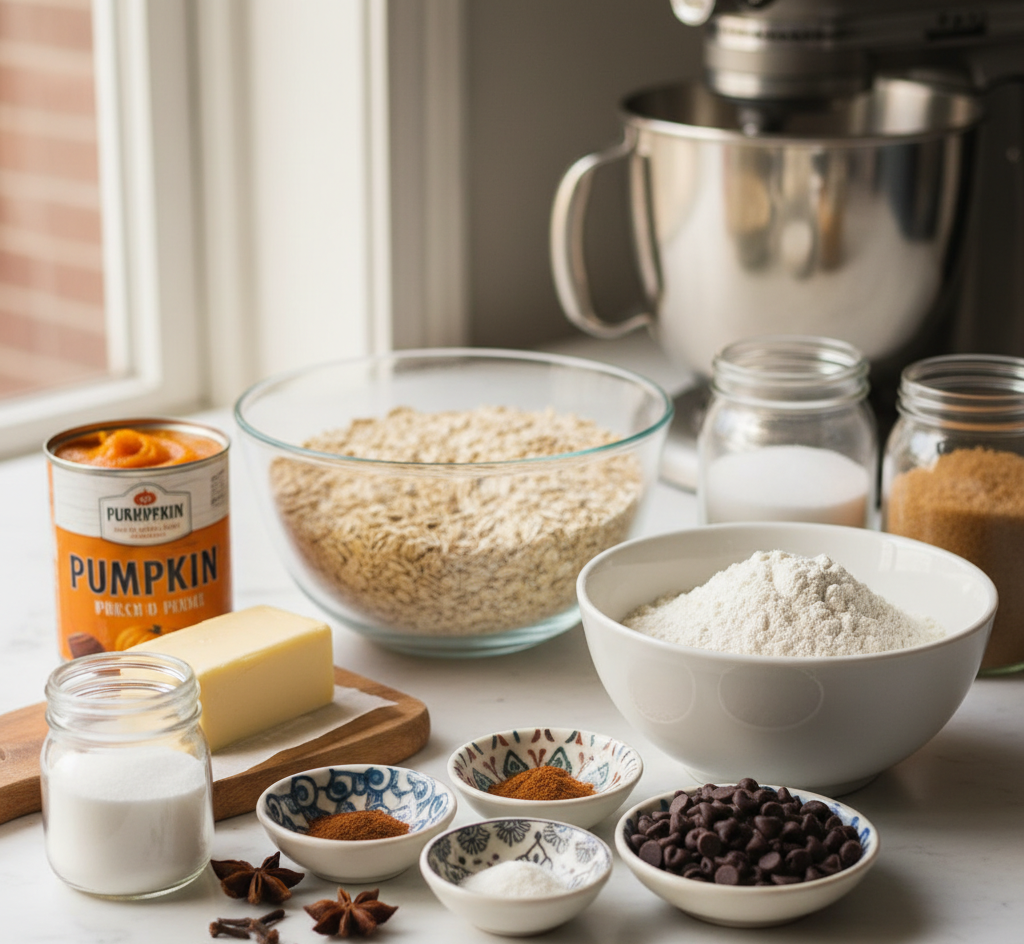
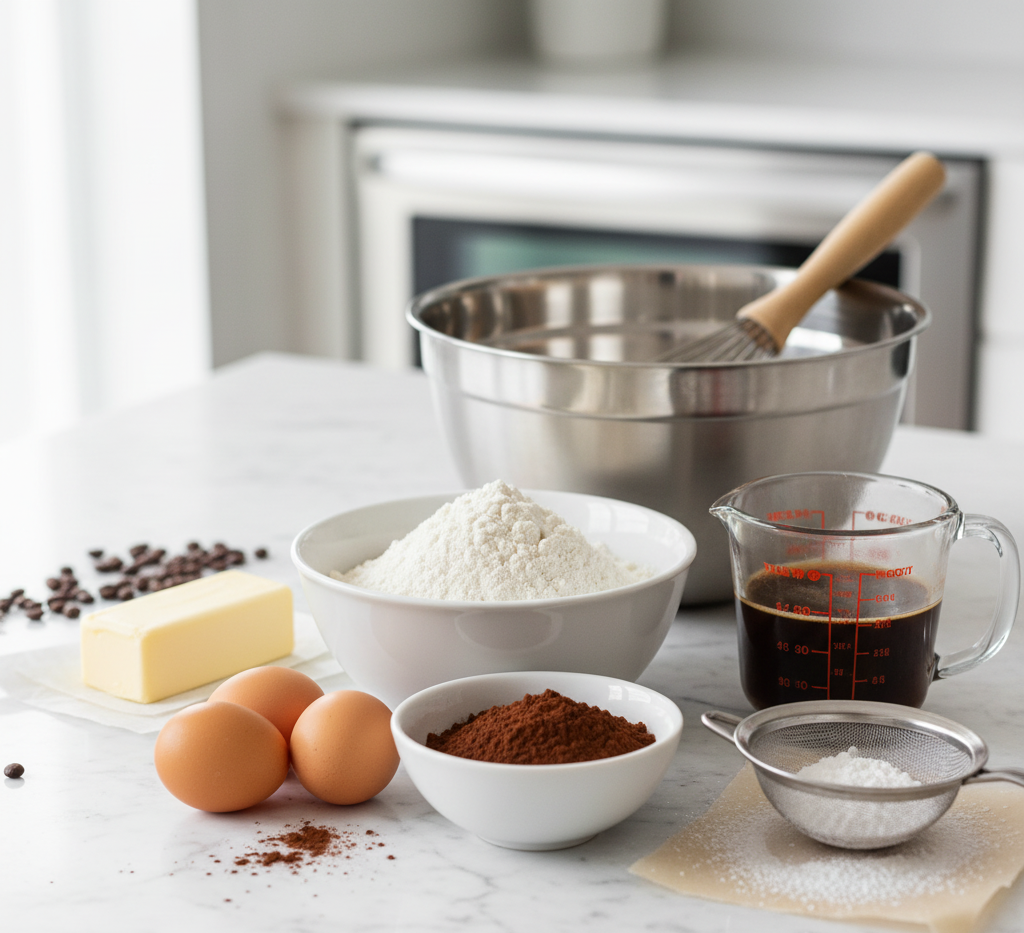
Ingredients for Chocolate Coffee Whoopie Pies
These chocolate coffee whoopie pies use simple pantry ingredients that come together to create bakery-quality flavor.
For the Chocolate Cookies
-
2 cups all-purpose flour
-
½ cup unsweetened cocoa powder
-
1 teaspoon baking soda
-
½ teaspoon salt
-
¾ cup granulated sugar
-
½ cup brown sugar
-
½ cup unsalted butter, softened
-
1 large egg
-
1 cup buttermilk
-
1 teaspoon vanilla extract
-
1 tablespoon brewed coffee or espresso
For the Coffee Cream Filling
-
½ cup unsalted butter, softened
-
2 cups powdered sugar
-
1 teaspoon instant espresso powder
-
1 tablespoon heavy cream
-
1 teaspoon vanilla extract
These ingredients create the rich chocolate cookies and creamy coffee frosting that make this dessert unforgettable.
Ingredient Notes
Using the right ingredients will elevate your chocolate coffee whoopie pies from good to incredible.
Cocoa Powder
Use unsweetened natural cocoa powder for a classic chocolate flavor. Dutch-process cocoa can also work but may slightly change the texture.
Coffee or Espresso
Coffee intensifies the chocolate flavor without making the cookies taste strongly like coffee. Fresh brewed espresso works best.
Buttermilk
Buttermilk keeps the cookies tender and moist. If you don’t have it, mix:
-
1 cup milk
-
1 tablespoon lemon juice or vinegar
Let it sit for 5 minutes before using.
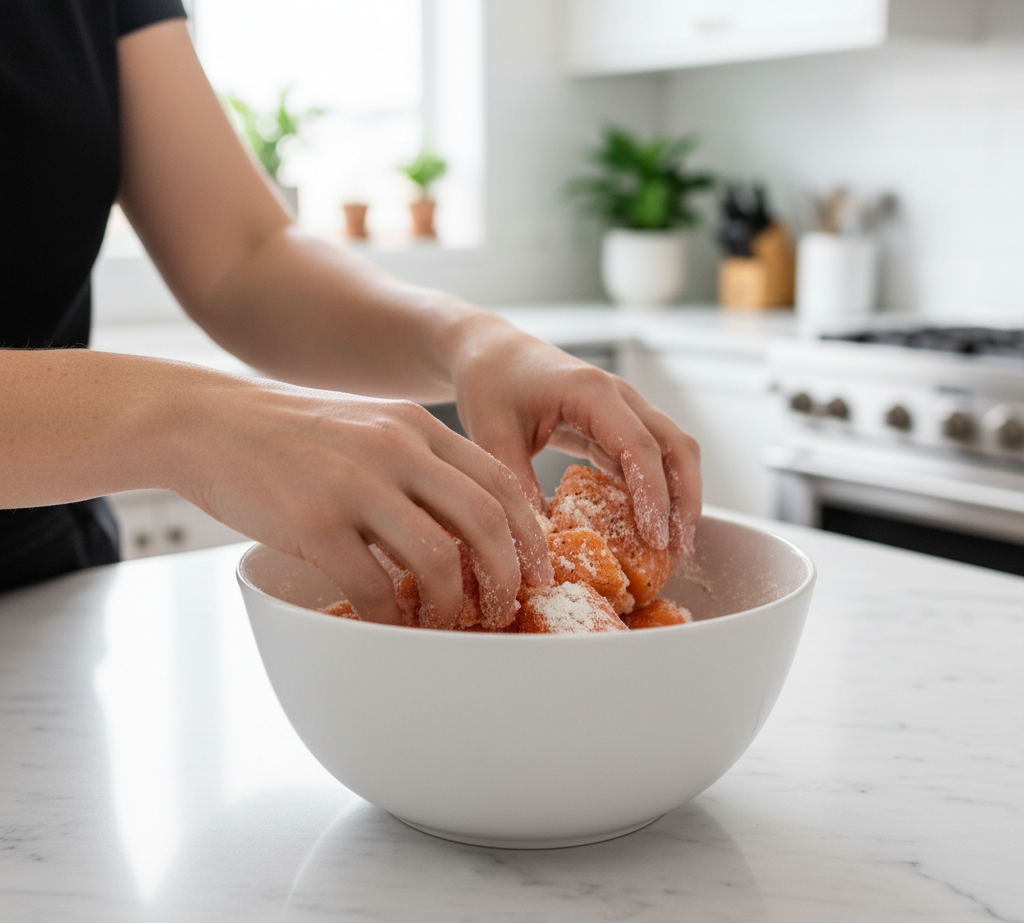
Step-by-Step Instructions
Making chocolate coffee whoopie pies is surprisingly easy and beginner-friendly.
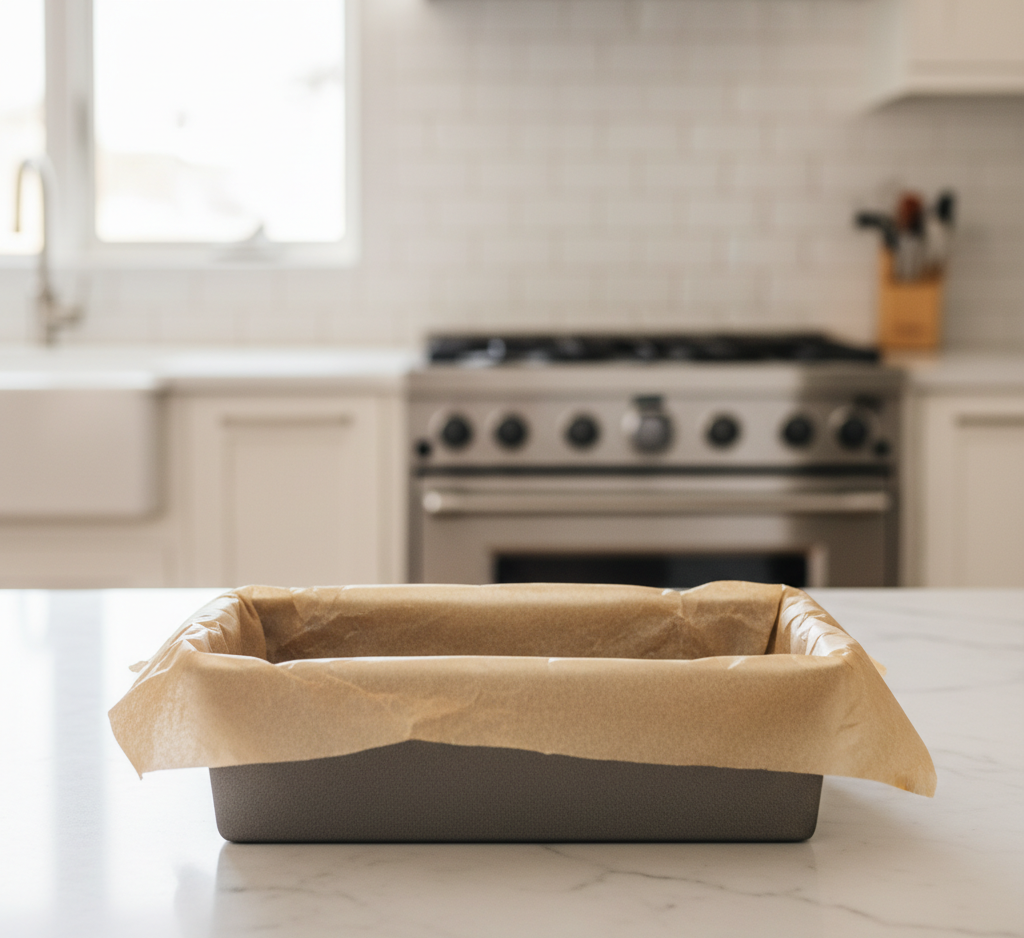
1. Preheat the Oven
Preheat your oven to 350°F (175°C) and line two baking sheets with parchment paper.
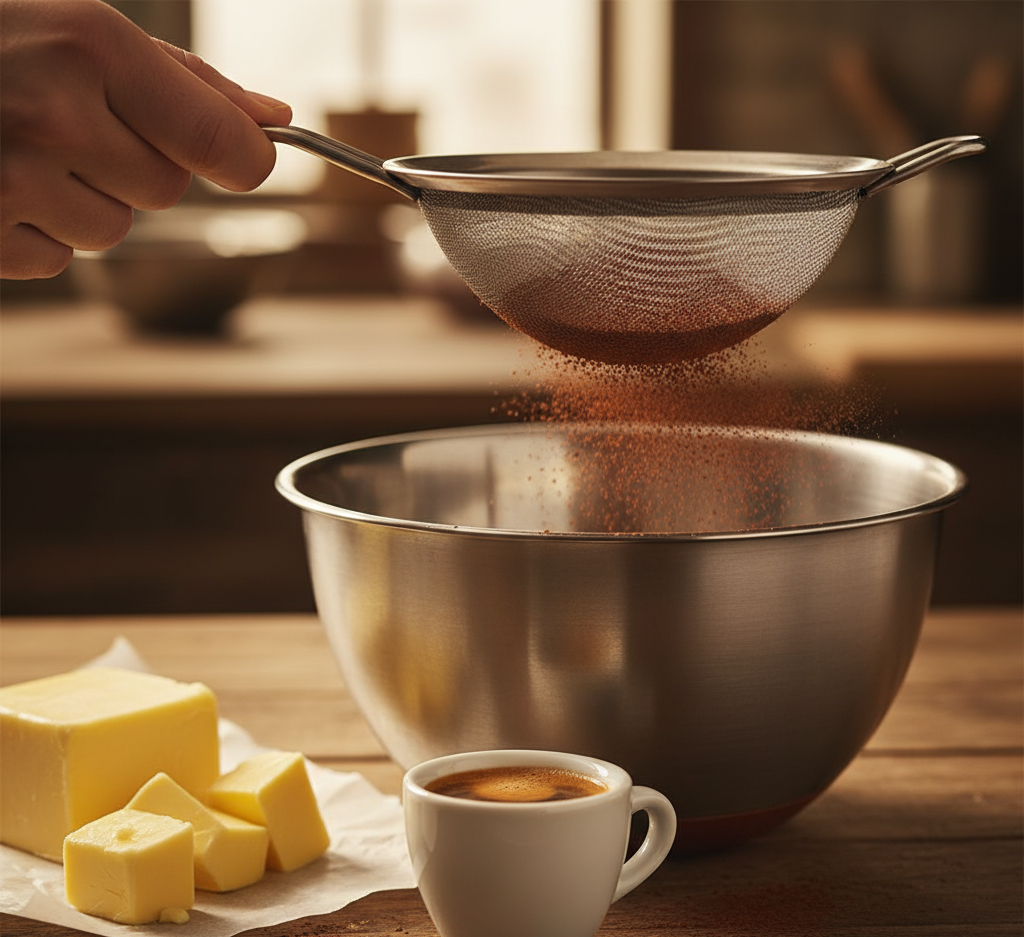
2. Mix the Dry Ingredients
In a medium bowl, whisk together:
-
Flour
-
Cocoa powder
-
Baking soda
-
Salt
This ensures the ingredients are evenly distributed.
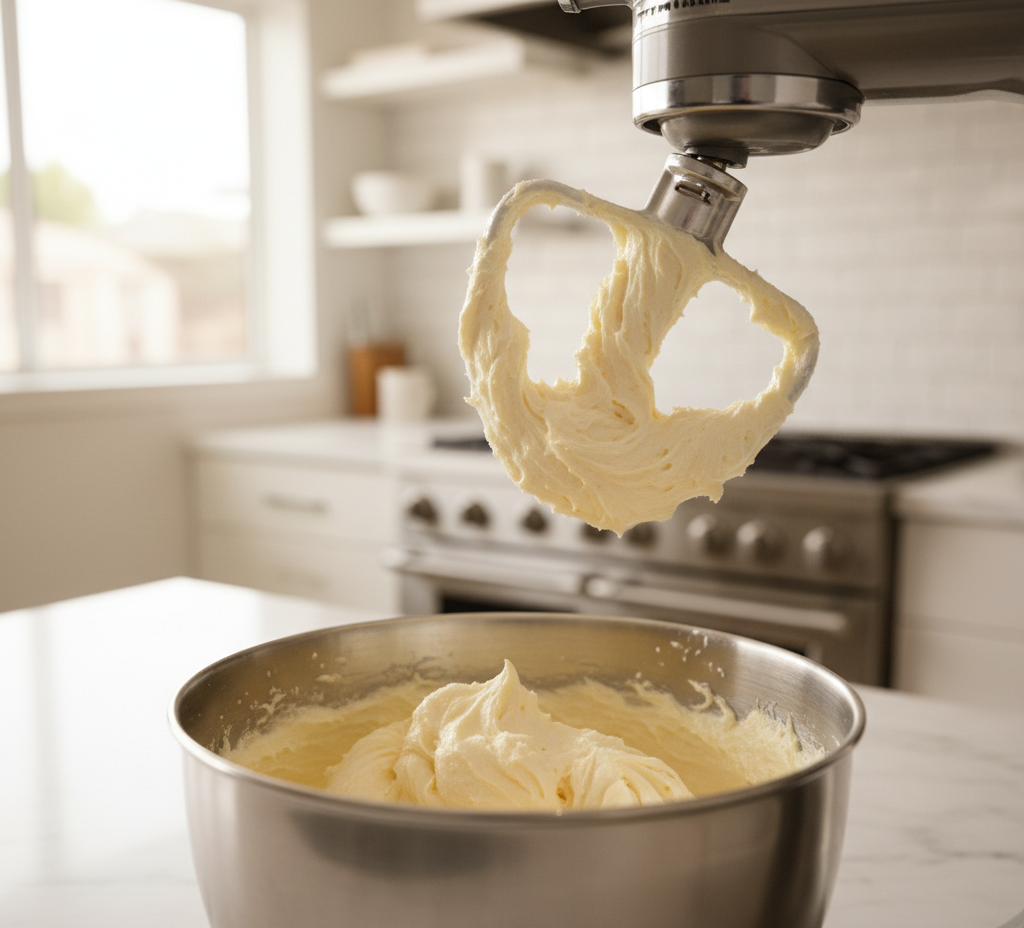
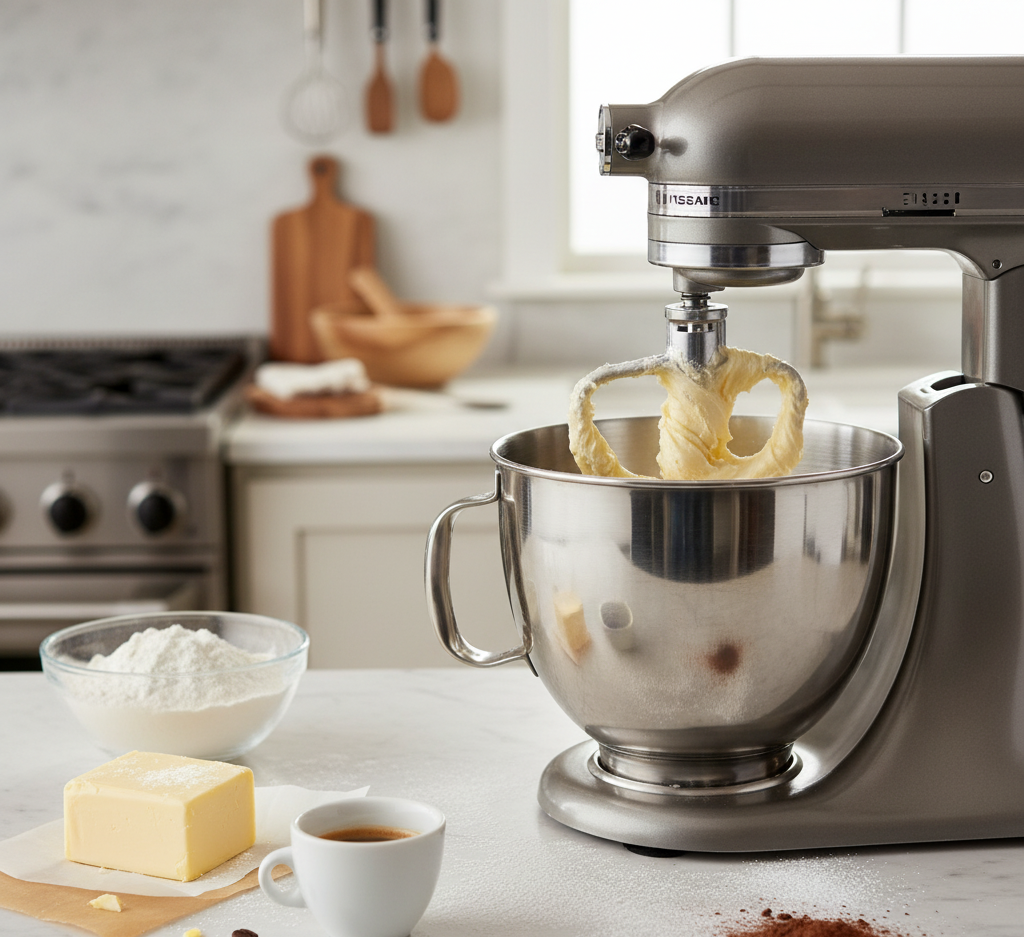
3. Cream Butter and Sugar
In a large bowl, beat the butter, granulated sugar, and brown sugar until light and fluffy. Add the egg and vanilla extract, mixing until smooth.
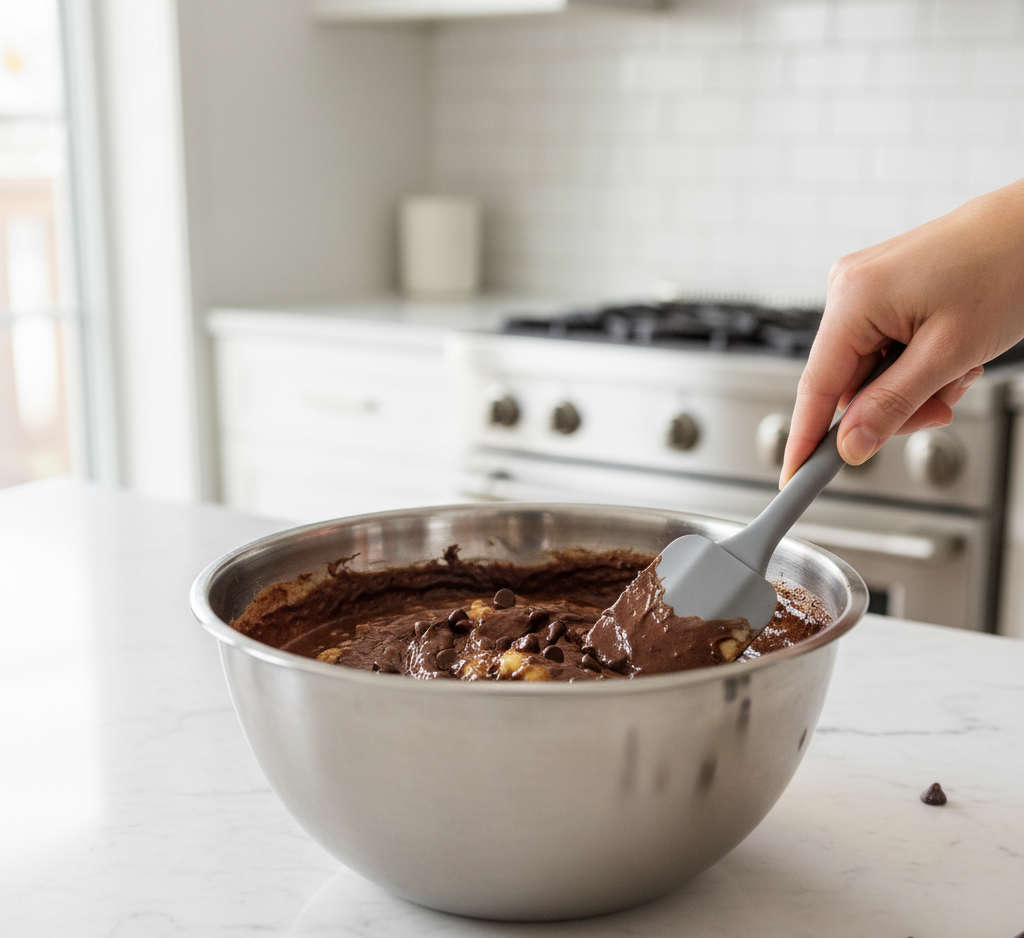
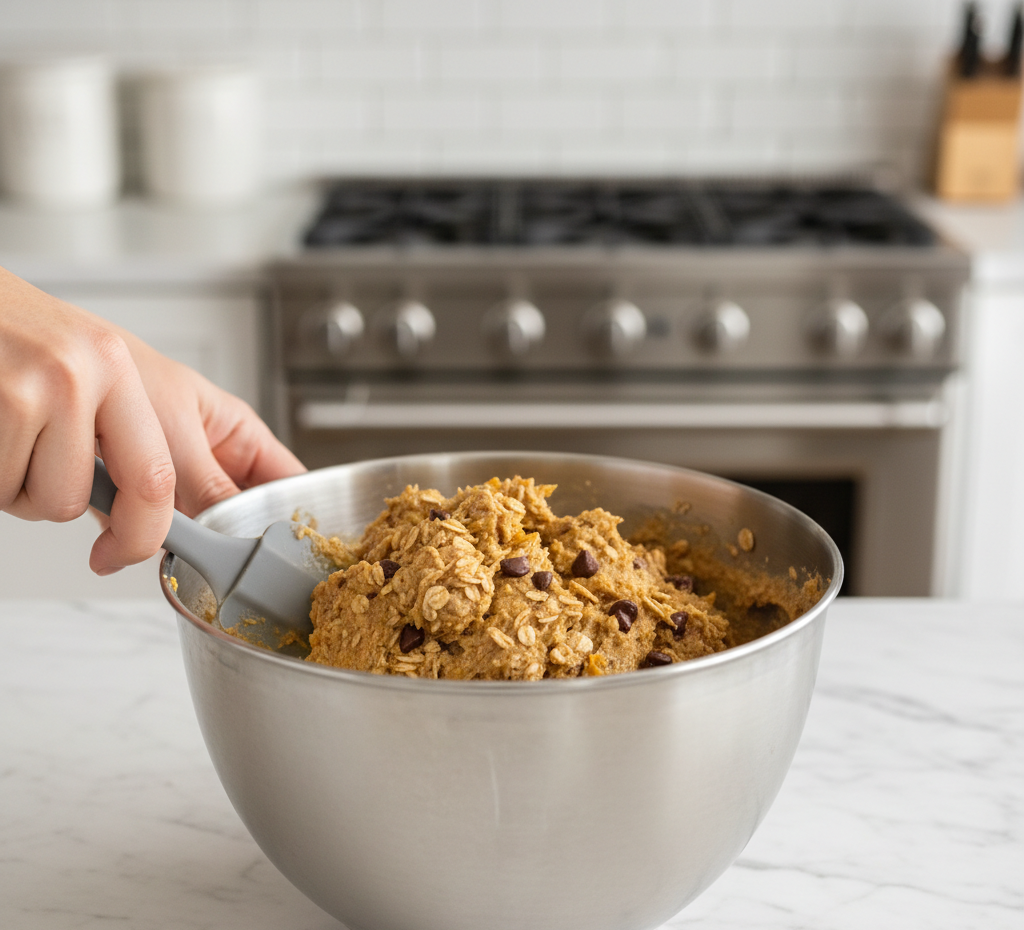
4. Combine Wet and Dry Ingredients
Add the dry ingredients in batches, alternating with the buttermilk and brewed coffee. Mix just until combined.
The batter will be thick but scoopable.
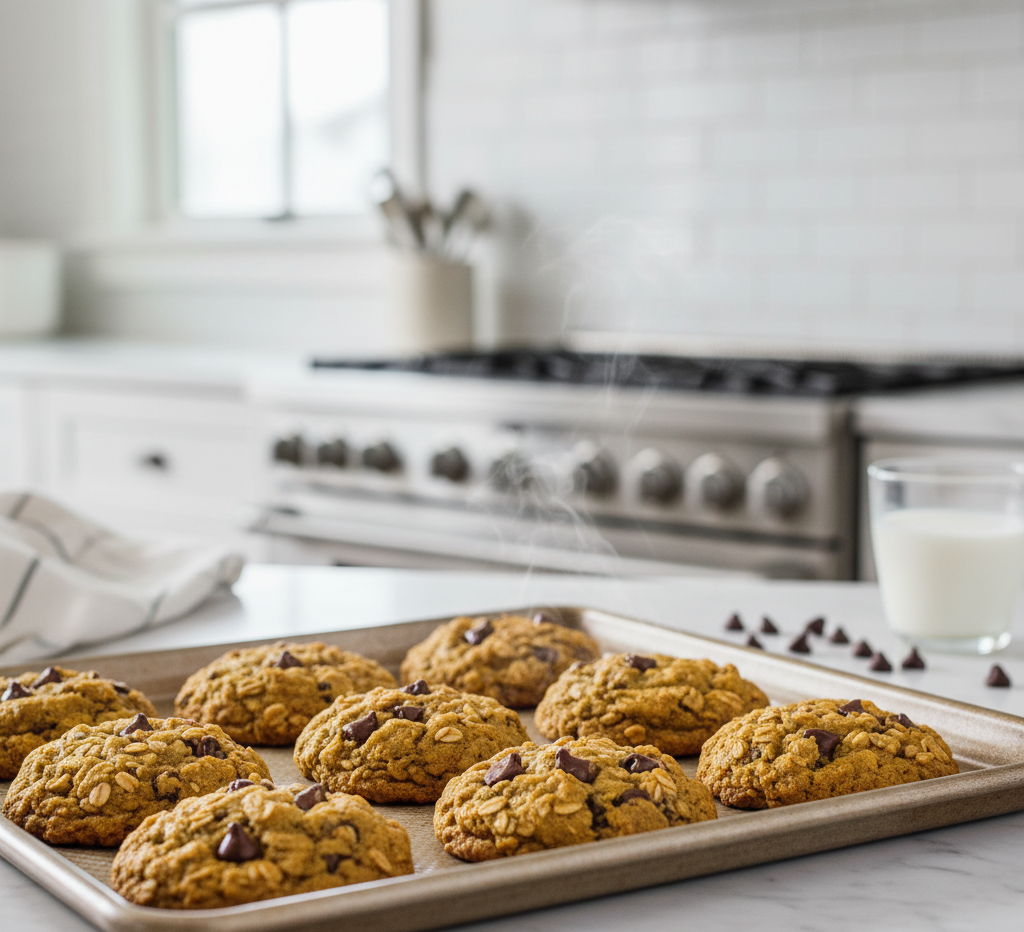
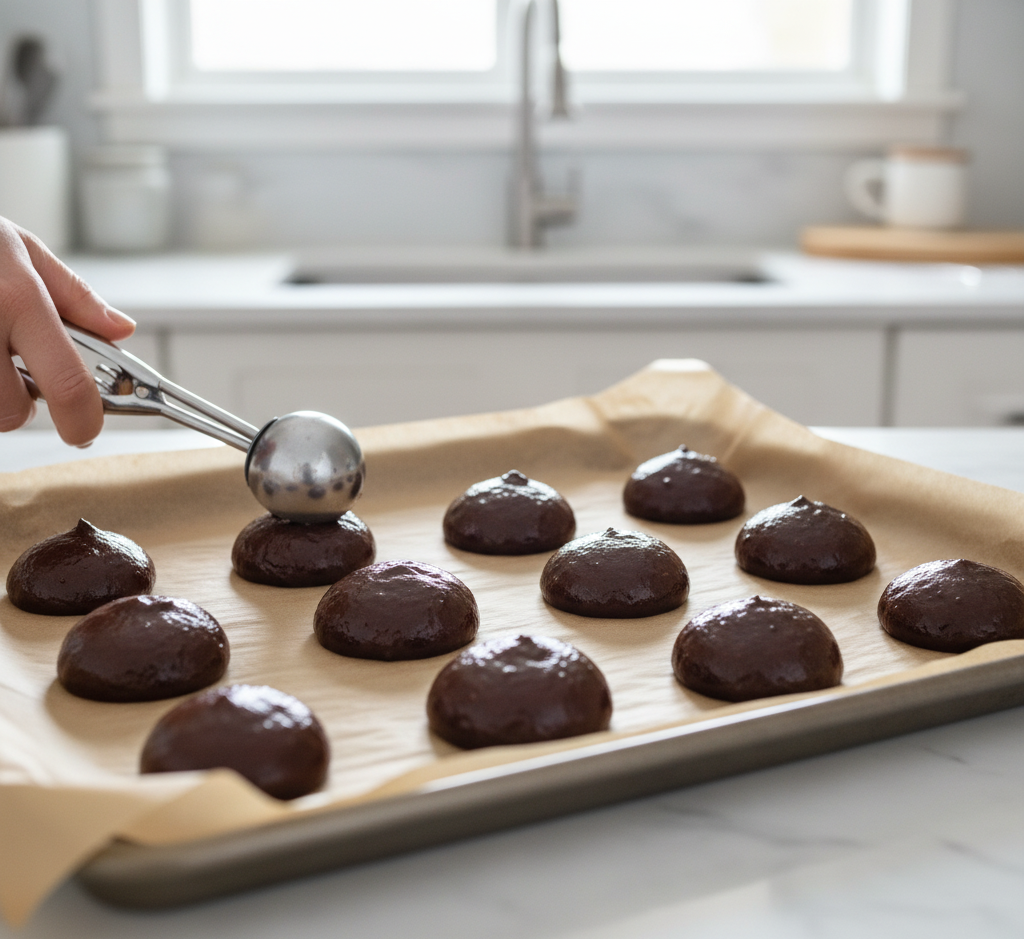
5. Scoop and Bake
Use a cookie scoop to drop rounded tablespoons of batter onto the prepared baking sheets, leaving space between each one.
Bake for 10–12 minutes until the cookies are set but still soft.
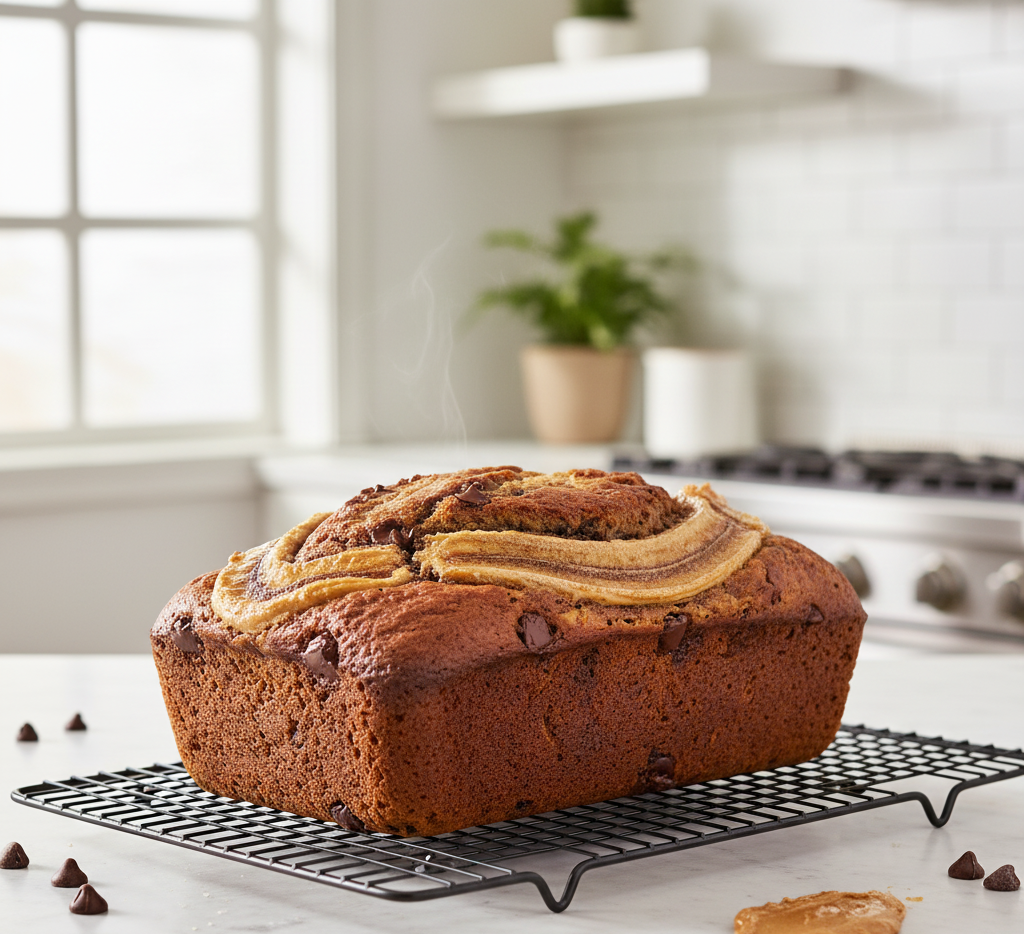
Allow them to cool completely before adding filling.
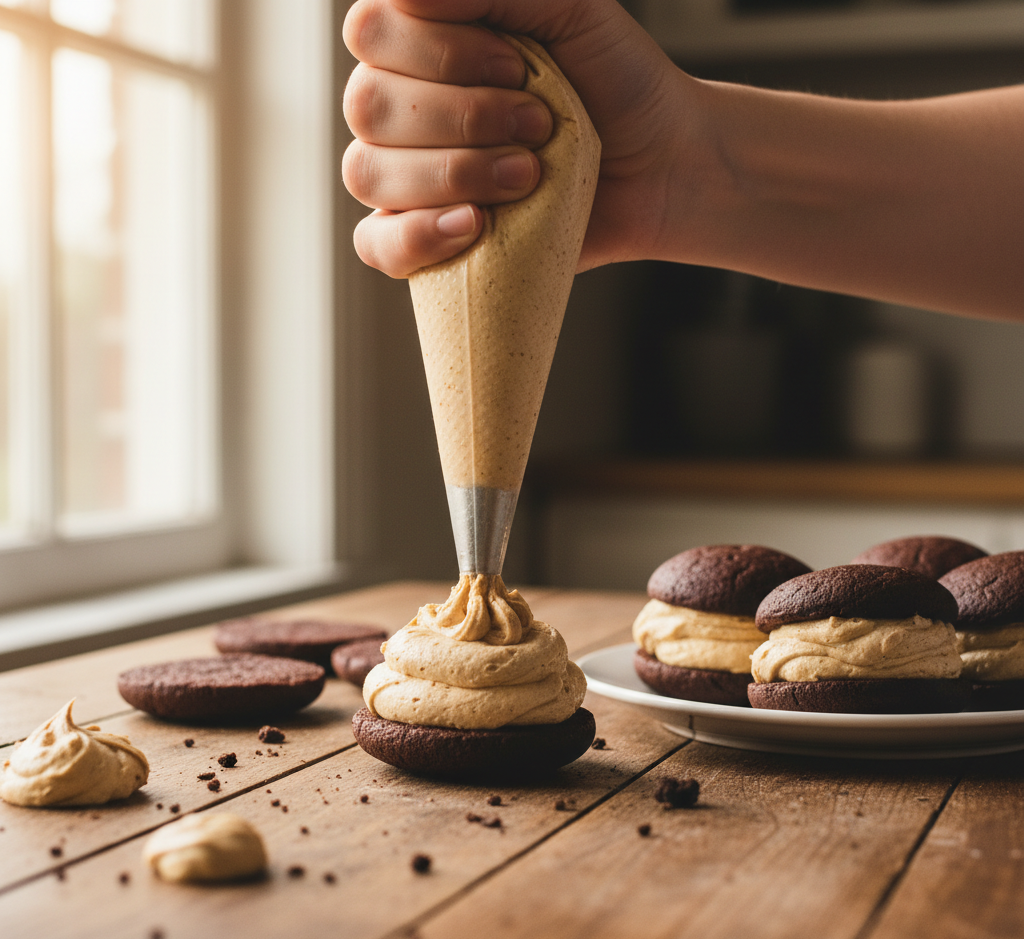
Making the Coffee Cream Filling
The creamy center is what makes chocolate coffee whoopie pies so irresistible.
Beat the butter until smooth, then gradually add powdered sugar. Dissolve the espresso powder in the cream and add it along with the vanilla extract.
Whip until the filling becomes light, fluffy, and smooth.
Spread or pipe the filling onto one cookie and gently press another cookie on top to form a sandwich.
Tips for Perfect Whoopie Pies
To make the best chocolate coffee whoopie pies, keep these tips in mind:
-
Use room temperature ingredients for smooth batter
-
Don’t overmix the batter
-
Bake cookies evenly sized for perfect sandwiches
-
Cool cookies completely before filling
-
Use a piping bag for neat filling layers
These small details help create professional-looking desserts.
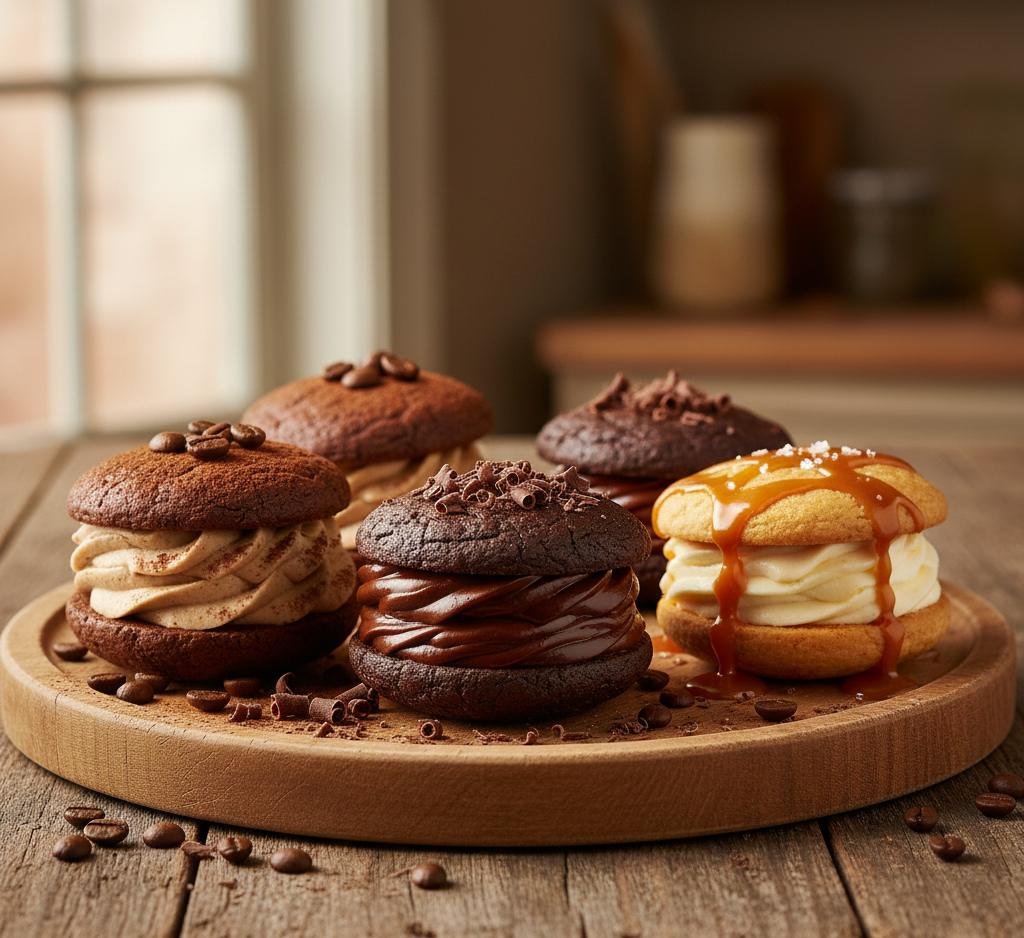
Delicious Variations
Once you master classic chocolate coffee whoopie pies, you can experiment with fun variations.
Mocha Whoopie Pies
Add espresso powder directly to the cookie batter for stronger coffee flavor.
Chocolate Ganache Filling
Replace the coffee cream with rich chocolate ganache.
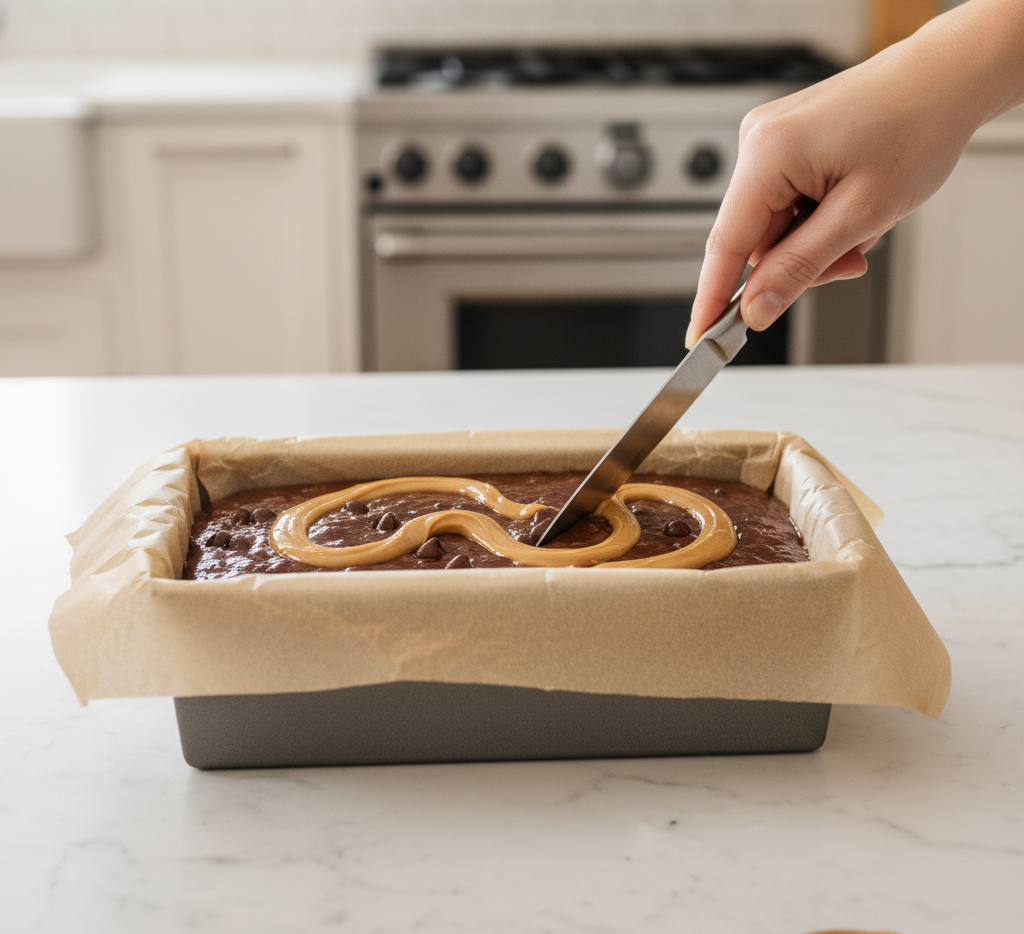
Salted Caramel Filling
Add a swirl of salted caramel inside the frosting.
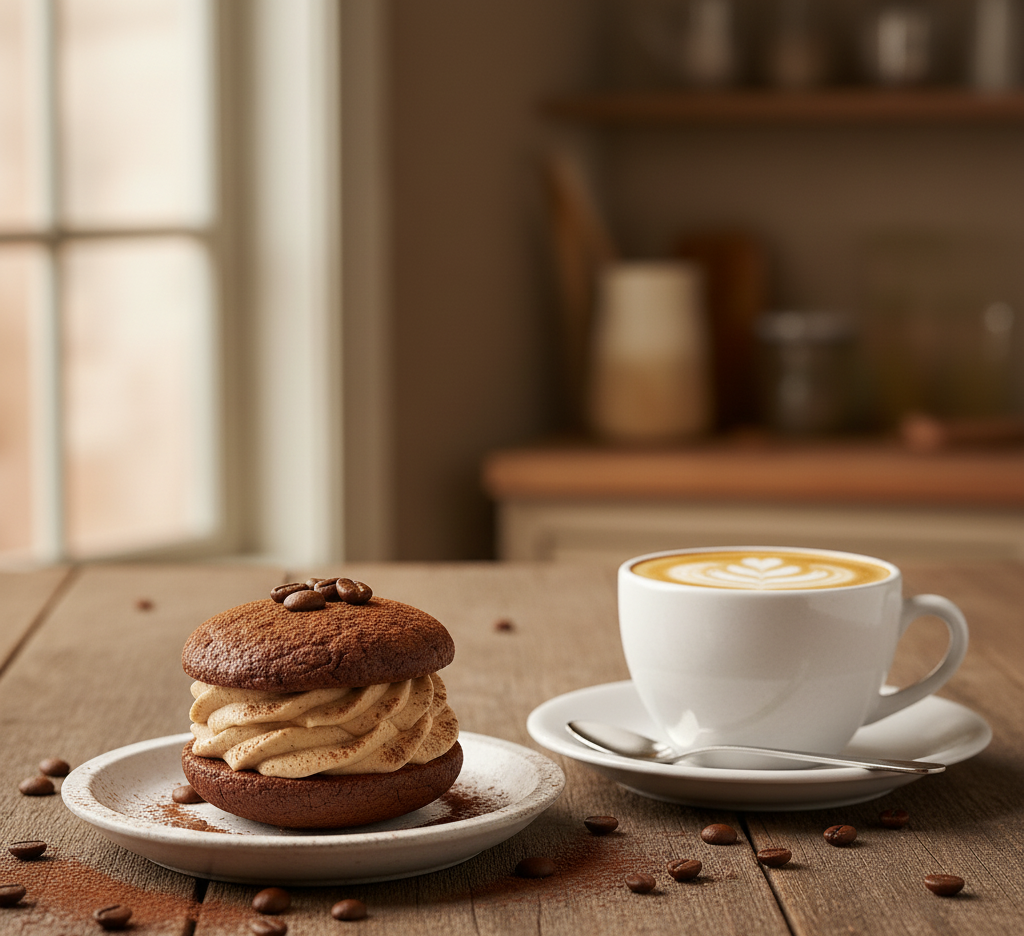
What to Serve With Chocolate Coffee Whoopie Pies
These desserts pair beautifully with warm beverages.
Try serving chocolate coffee whoopie pies with:
-
Freshly brewed coffee
-
Cappuccino or latte
-
Cold milk
-
Vanilla ice cream
-
Hot chocolate
They’re especially perfect for dessert tables, afternoon coffee breaks, or holiday baking trays.
Storage and Make-Ahead Tips
One of the best things about chocolate coffee whoopie pies is how well they store.
Room Temperature
Store in an airtight container for up to 2 days.
Refrigerator
Refrigerate for up to 5 days. Let them sit at room temperature before serving.
Freezing
Wrap individually and freeze for up to 2 months.
This makes them perfect for prepping desserts ahead of time.
Common Mistakes to Avoid
Even simple desserts can go wrong without the right techniques.
Avoid these common mistakes when baking chocolate coffee whoopie pies:
-
Overbaking the cookies
-
Using warm cookies with frosting
-
Overfilling the sandwiches
-
Not measuring flour correctly
-
Skipping parchment paper
A little attention to detail ensures soft, bakery-quality results.
FAQs
What are whoopie pies?
Whoopie pies are soft cake-like cookies sandwiched together with a creamy filling, similar to a handheld cake.
Can I make chocolate coffee whoopie pies ahead of time?
Yes! They actually taste even better the next day once the flavors meld together.
Can I make them without coffee?
Absolutely. Simply omit the coffee and espresso powder for classic chocolate whoopie pies.
Why are my whoopie pies dry?
They were likely overbaked. Remove them from the oven as soon as the tops are set.
Final Thoughts
These Chocolate Coffee Whoopie Pies are the ultimate dessert for anyone who loves rich chocolate and bold coffee flavors. Soft, tender cookies paired with creamy espresso filling create a treat that feels both nostalgic and gourmet.
Whether you’re baking for a party, sharing with friends, or simply satisfying a chocolate craving, this recipe delivers incredible flavor with simple ingredients. Once you try homemade chocolate coffee whoopie pies, you’ll understand why they’ve remained a classic American dessert for generations.