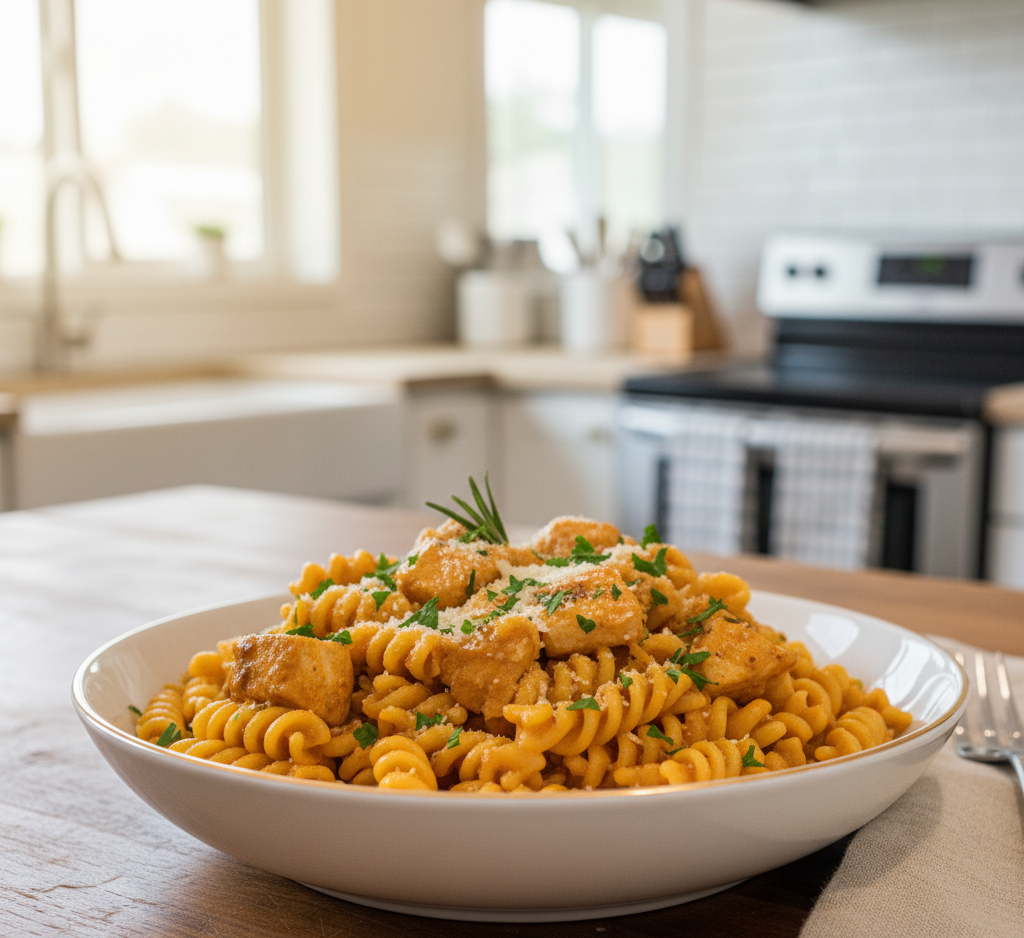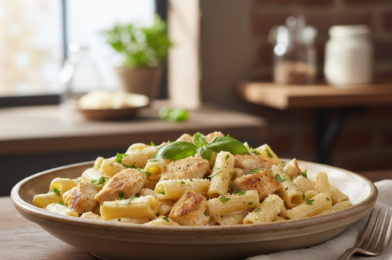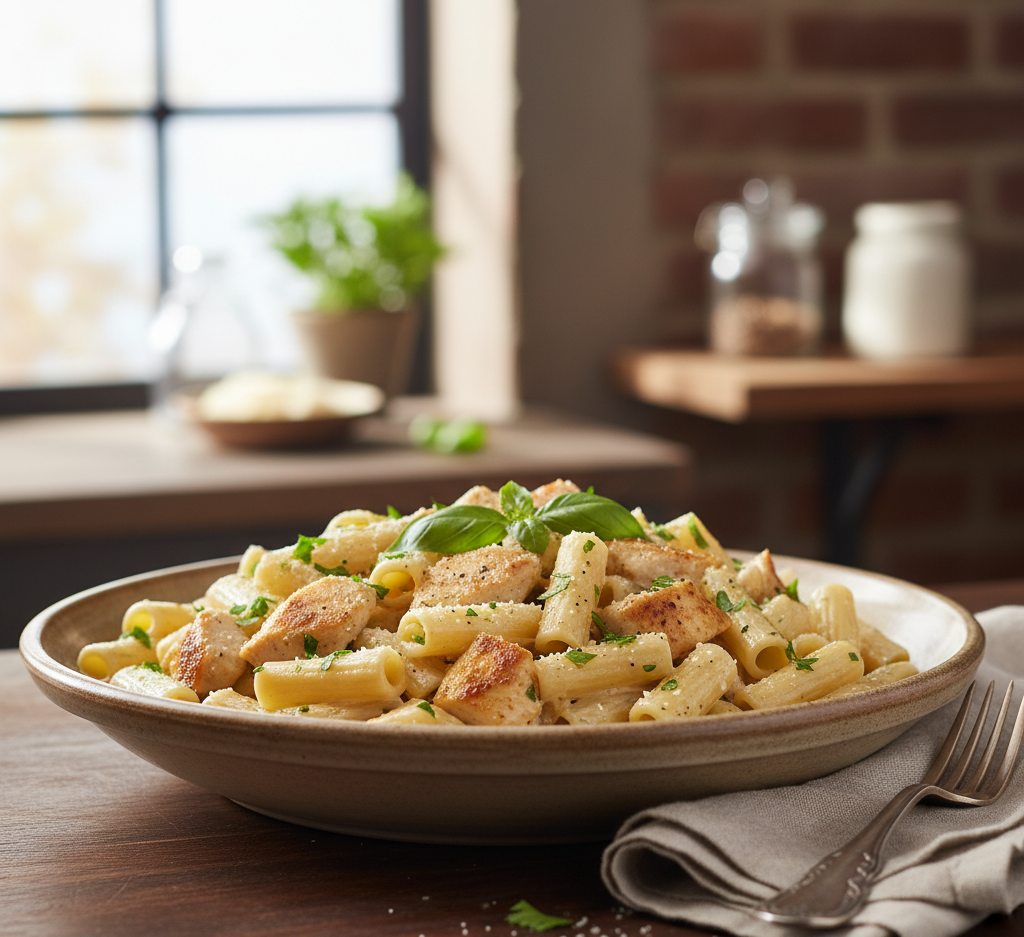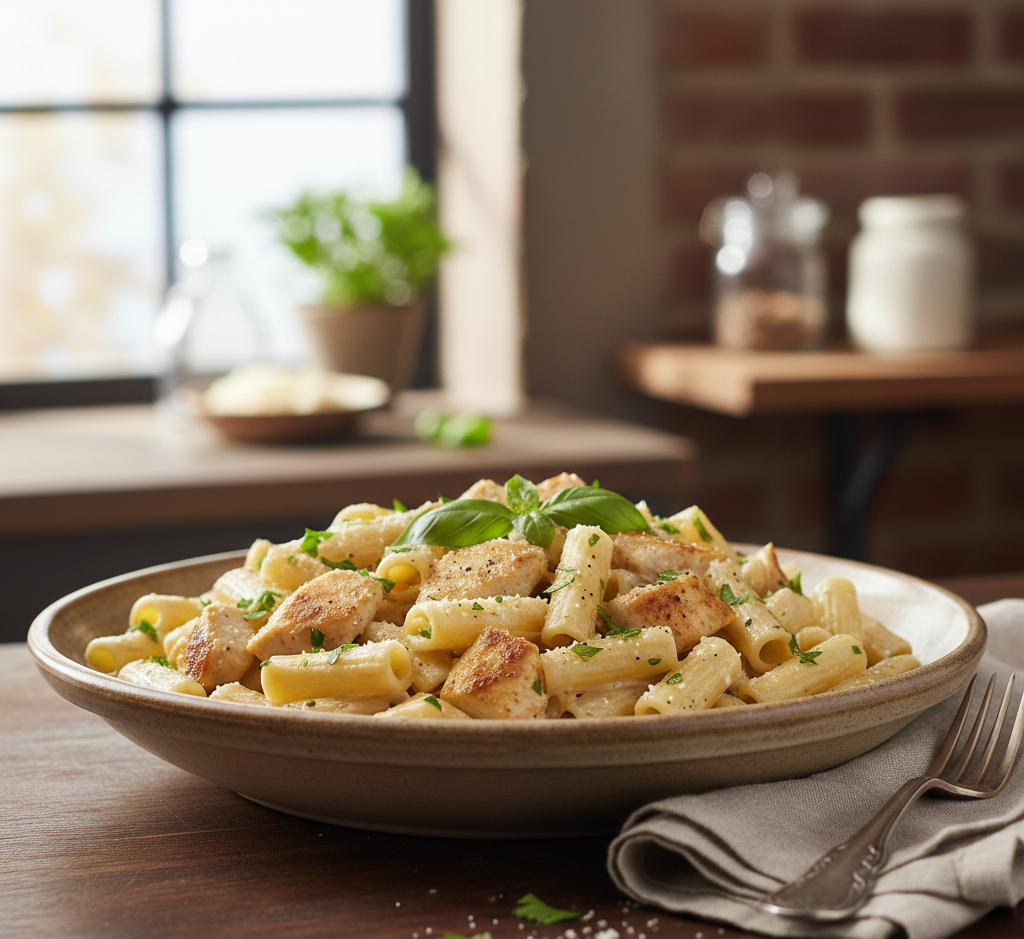
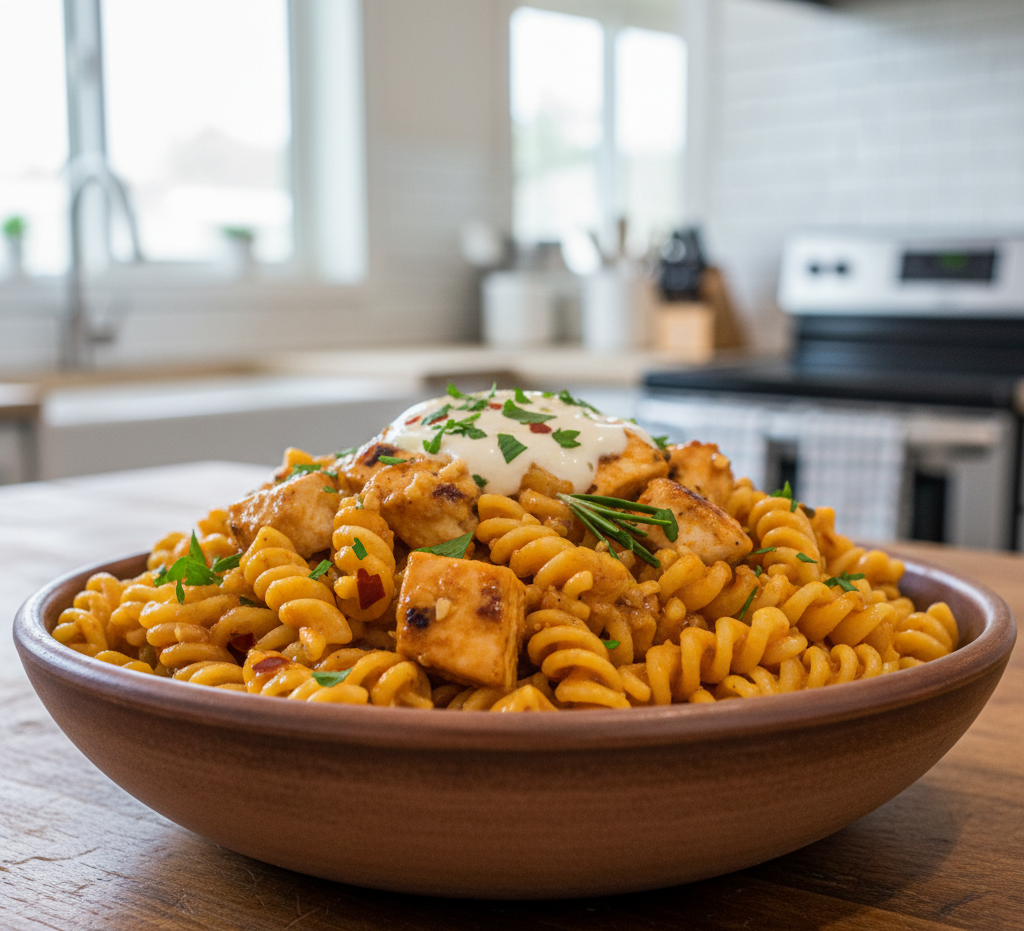
If you’re craving a dinner that’s bold, creamy, and packed with flavor, this Best Cowboy Butter Chicken Pasta – Creamy Garlic Dinner Recipe is exactly what you need. It’s the perfect combination of tender chicken, rich buttery garlic sauce, and perfectly cooked pasta—all coming together in one irresistible dish.
This recipe takes inspiration from the viral “cowboy butter” flavor profile—loaded with garlic, herbs, and a hint of spice—and transforms it into a comforting pasta dinner that’s both easy and impressive. Whether you’re cooking for your family or hosting friends, this creamy chicken pasta will quickly become a go-to favorite.
Why You’ll Love This Recipe
There are so many reasons to fall in love with this Best Cowboy Butter Chicken Pasta.
- Rich, creamy, and packed with garlic flavor
- Quick and easy—ready in about 30–40 minutes
- Perfect for weeknight dinners or special occasions
- Customizable with your favorite ingredients
- Comfort food with a gourmet twist
It’s the kind of meal that feels indulgent but is simple enough to make any night of the week.
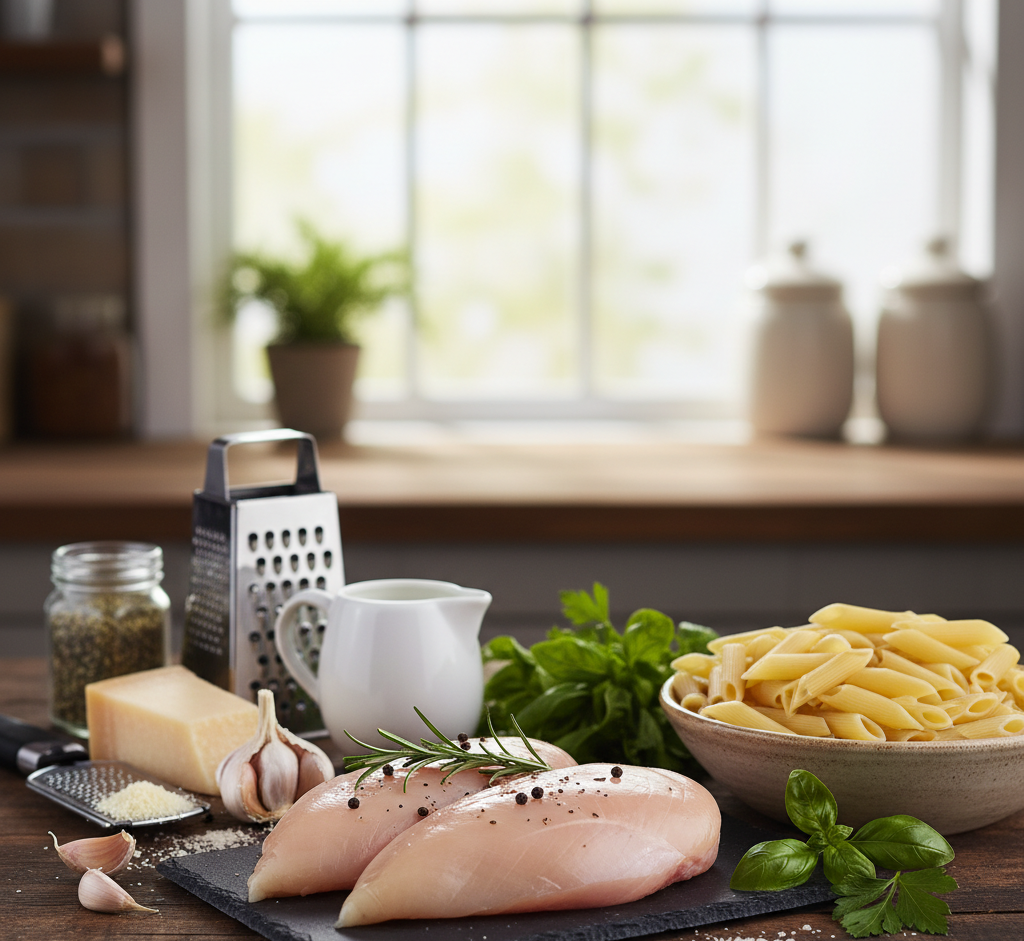
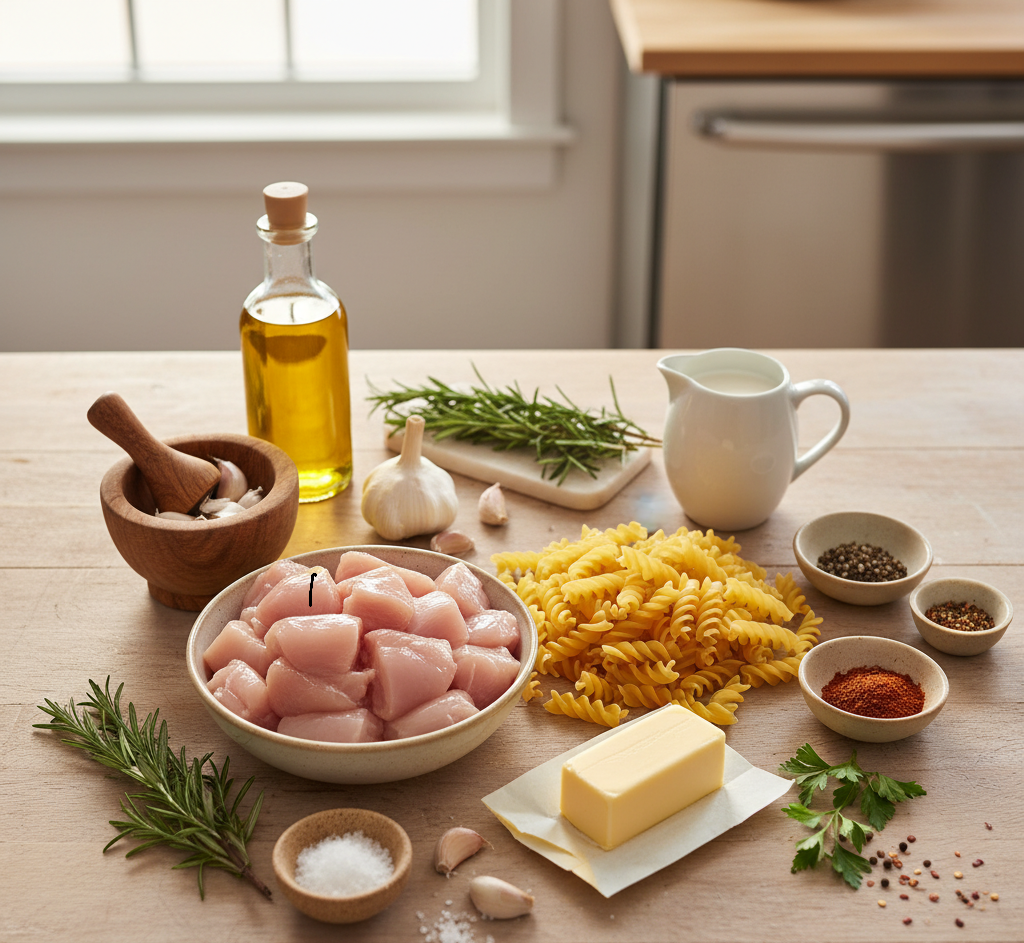
Ingredients
For the Chicken Pasta:
- 2 boneless, skinless chicken breasts (cut into bite-sized pieces)
- 12 oz pasta (penne or fettuccine works best)
- 3 tablespoons butter
- 4 cloves garlic, minced
- 1 cup heavy cream
- 1/2 cup grated Parmesan cheese
- 1 teaspoon paprika
- 1/2 teaspoon red pepper flakes
- Salt and black pepper to taste
For Cowboy Butter Flavor:
- 1 tablespoon lemon juice
- 1 teaspoon Dijon mustard
- 1 tablespoon chopped parsley
- 1 teaspoon fresh thyme (optional)
These ingredients create that signature creamy, garlicky, slightly tangy cowboy butter flavor.
Ingredient Notes
To make the best Cowboy Butter Chicken Pasta, quality ingredients matter. Use freshly grated Parmesan for a smoother, creamier sauce—it melts much better than pre-shredded cheese.
Chicken thighs can be substituted for breasts if you prefer a juicier, richer flavor. Also, don’t skip the lemon juice—it adds brightness that balances the richness of the cream and butter beautifully.
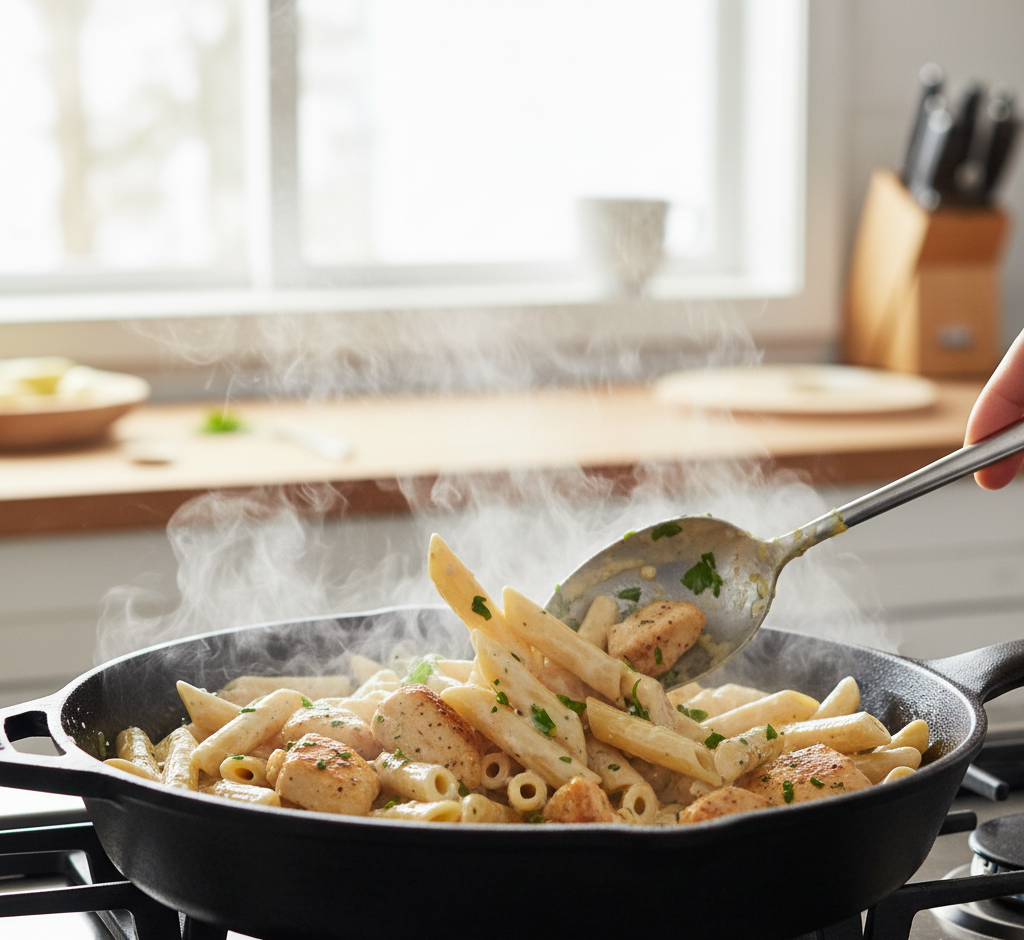
Step-by-Step Instructions
Step 1: Cook the Pasta
Bring a large pot of salted water to a boil and cook pasta according to package instructions. Reserve 1/2 cup of pasta water, then drain.
Step 2: Cook the Chicken
In a large skillet, melt butter over medium heat. Add chicken, season with salt, pepper, and paprika, and cook until golden and fully cooked.
Step 3: Add Garlic and Flavor
Stir in minced garlic and cook for about 1 minute until fragrant.
Step 4: Make the Sauce
Pour in heavy cream, then add Parmesan cheese, Dijon mustard, lemon juice, and red pepper flakes. Stir until smooth and creamy.
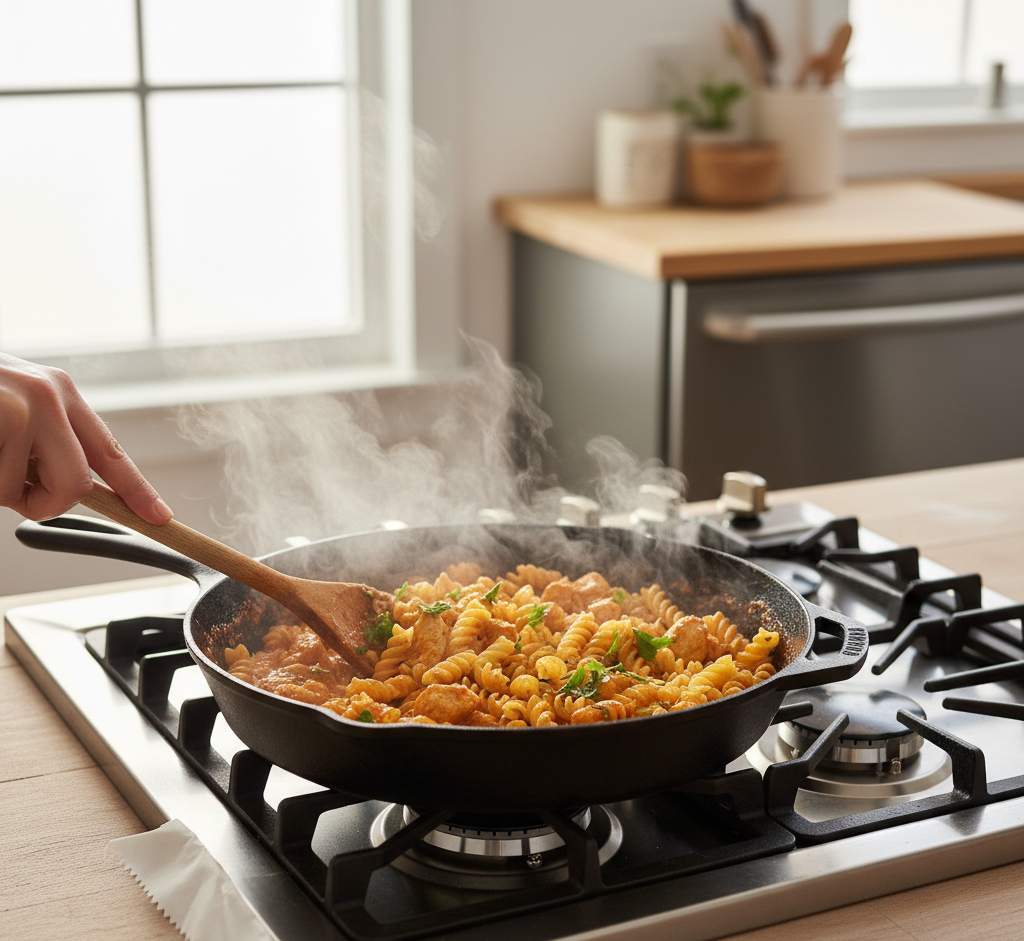
Step 5: Combine
Add cooked pasta to the skillet and toss to coat. Use reserved pasta water if needed to loosen the sauce.
Step 6: Finish
Sprinkle with fresh parsley and thyme before serving.
This step-by-step method ensures your Cowboy Butter Chicken Pasta turns out perfectly creamy every time.
Tips for Perfect Results
For the ultimate Best Cowboy Butter Chicken Pasta, keep these tips in mind:
- Don’t overcook the chicken—it should stay juicy
- Use medium heat to prevent the cream from curdling
- Add pasta water gradually for the perfect sauce consistency
- Taste and adjust seasoning before serving
Small adjustments make a big difference in achieving that restaurant-quality result.
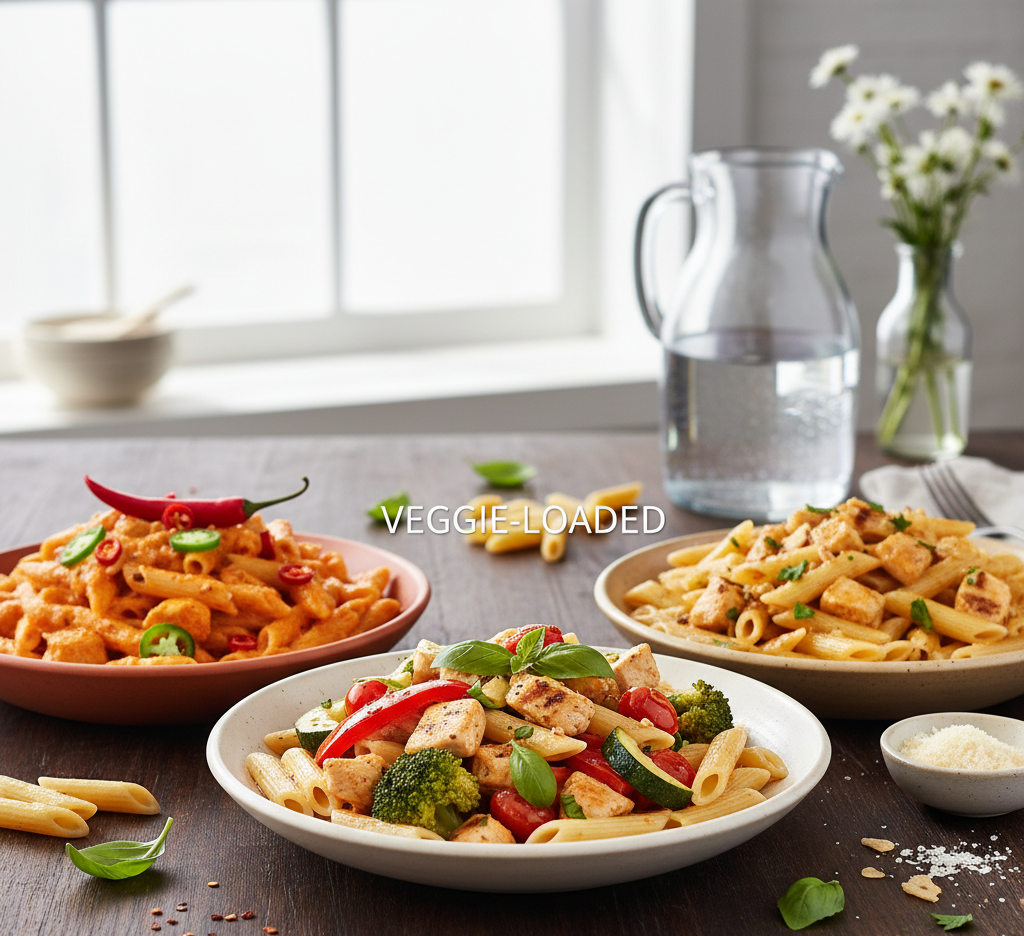
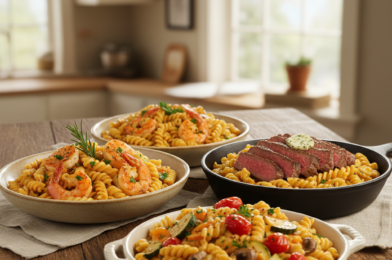
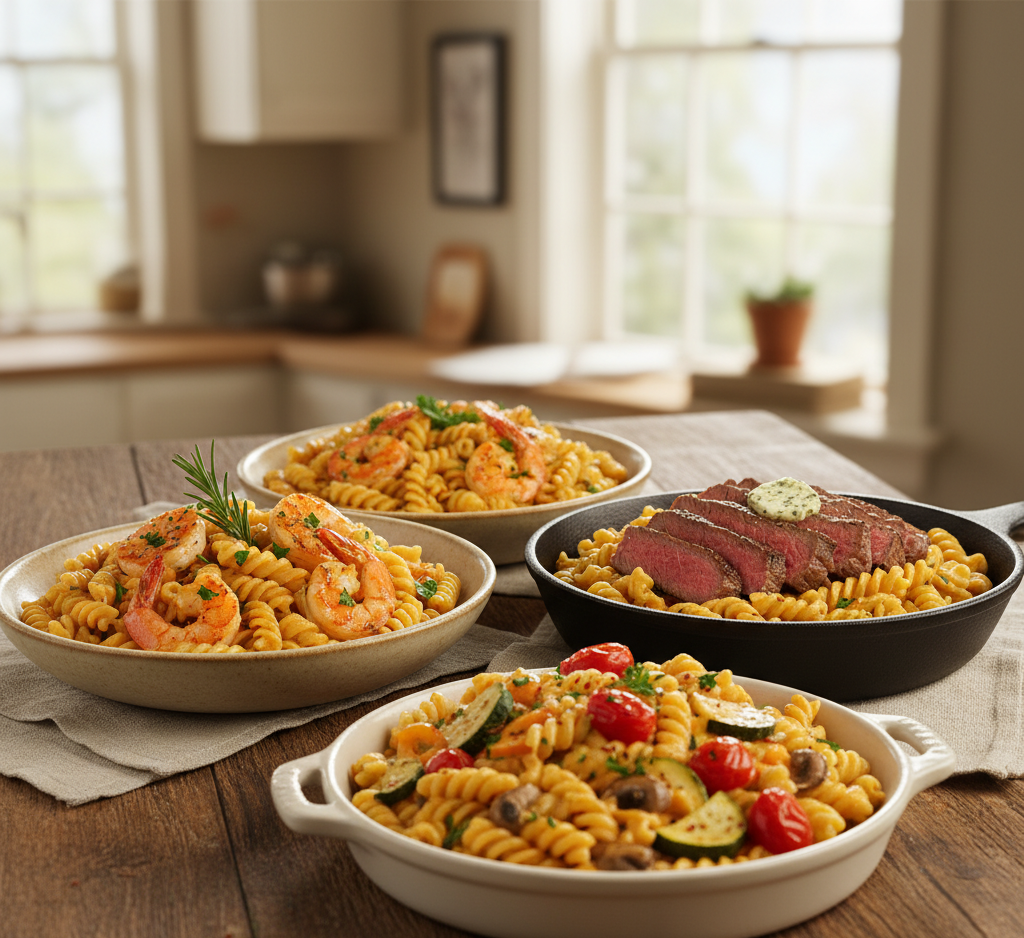
Variations
This Cowboy Butter Chicken Pasta is easy to customize based on your preferences.
Protein Options:
- Swap chicken for shrimp or steak
- Use rotisserie chicken for a quicker version
Flavor Twists:
- Add spinach or sun-dried tomatoes
- Stir in mushrooms for extra depth
- Use Cajun seasoning for a spicy kick
These variations allow you to keep the dish exciting and versatile.
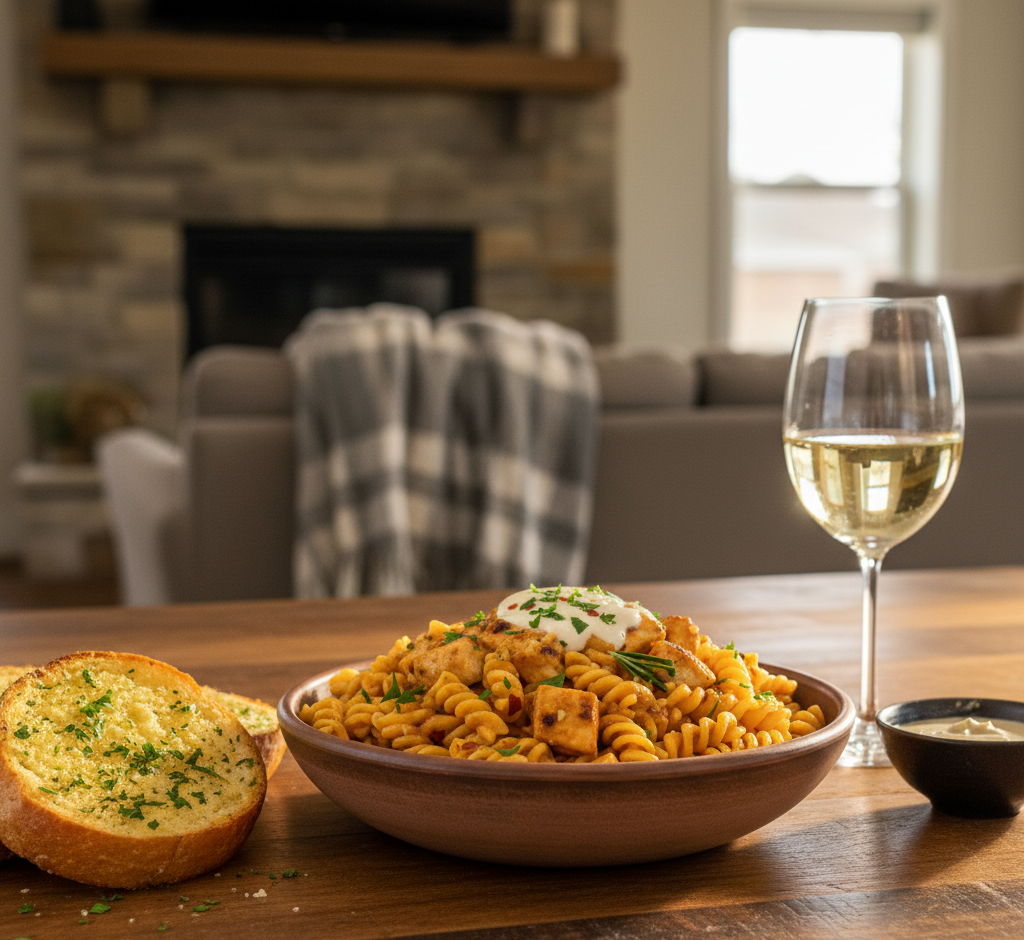
What to Serve With It
Pair your Best Cowboy Butter Chicken Pasta with:
- Garlic bread or crusty baguette
- Fresh green salad with vinaigrette
- Roasted vegetables
- A glass of white wine or iced tea
These sides complement the richness of the pasta perfectly.
Storage & Reheating
Here’s how to store and reheat your pasta:
- Store leftovers in an airtight container for up to 3 days
- Reheat gently on the stovetop with a splash of cream or milk
- Avoid high heat to keep the sauce smooth
This dish reheats well when handled properly.
Common Mistakes to Avoid
Avoid these common issues when making Cowboy Butter Chicken Pasta:
- Overcooking the pasta (keep it al dente)
- Using too much heat with cream sauce
- Skipping seasoning adjustments
- Not reserving pasta water
Being mindful of these helps ensure success every time.
FAQs
1. Can I make this cowboy butter chicken pasta ahead of time?
Yes, but it’s best served fresh. Reheat gently with added liquid to restore creaminess.
2. Can I use milk instead of heavy cream?
You can, but the sauce will be thinner and less rich.
3. Is this recipe spicy?
It has a mild kick from red pepper flakes, but you can adjust to taste.
4. What pasta works best?
Penne, fettuccine, or rigatoni all work well for holding the creamy sauce.
Final Thoughts
This Best Cowboy Butter Chicken Pasta – Creamy Garlic Dinner Recipe is everything you want in a comfort meal—rich, flavorful, and incredibly satisfying. It’s quick enough for busy nights but impressive enough for guests, making it a true all-around winner.
Once you try it, you’ll understand why cowboy butter flavors have become so popular. This dish brings bold taste and creamy texture together in a way that’s simply unforgettable.