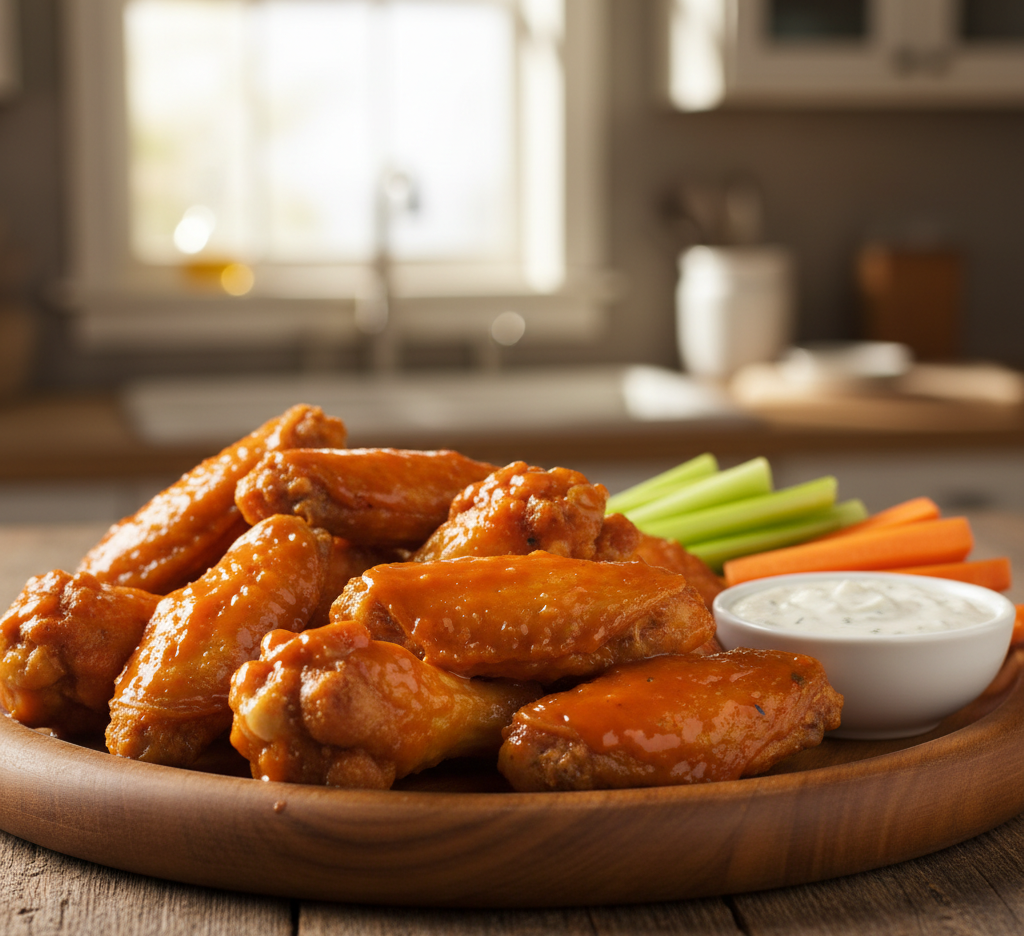
There’s nothing quite like a plate of Buffalo chicken wings—crispy on the outside, juicy on the inside, and tossed in that iconic tangy, buttery hot sauce. Whether you’re hosting a game-day party, planning a casual get-together, or simply craving a bold and satisfying snack, this classic recipe never disappoints.
Originating from Buffalo, New York, these wings have become a staple across the U.S., loved for their irresistible combination of crunch and heat. The good news? You don’t need a restaurant or deep fryer to make incredible Buffalo chicken wings at home. With the right technique and a few key tips, you can achieve perfectly crispy wings every time.
Why You’ll Love These Buffalo Chicken Wings
These homemade Buffalo chicken wings deliver everything you want in a classic wing recipe—and more.
- Crispy texture without complicated techniques
- Bold, tangy flavor from the signature buffalo sauce
- Perfect for gatherings like game day or parties
- Customizable heat levels to suit your taste
- Multiple cooking methods (baked, fried, or air-fried)
Once you master this recipe, you’ll never need to order takeout wings again.
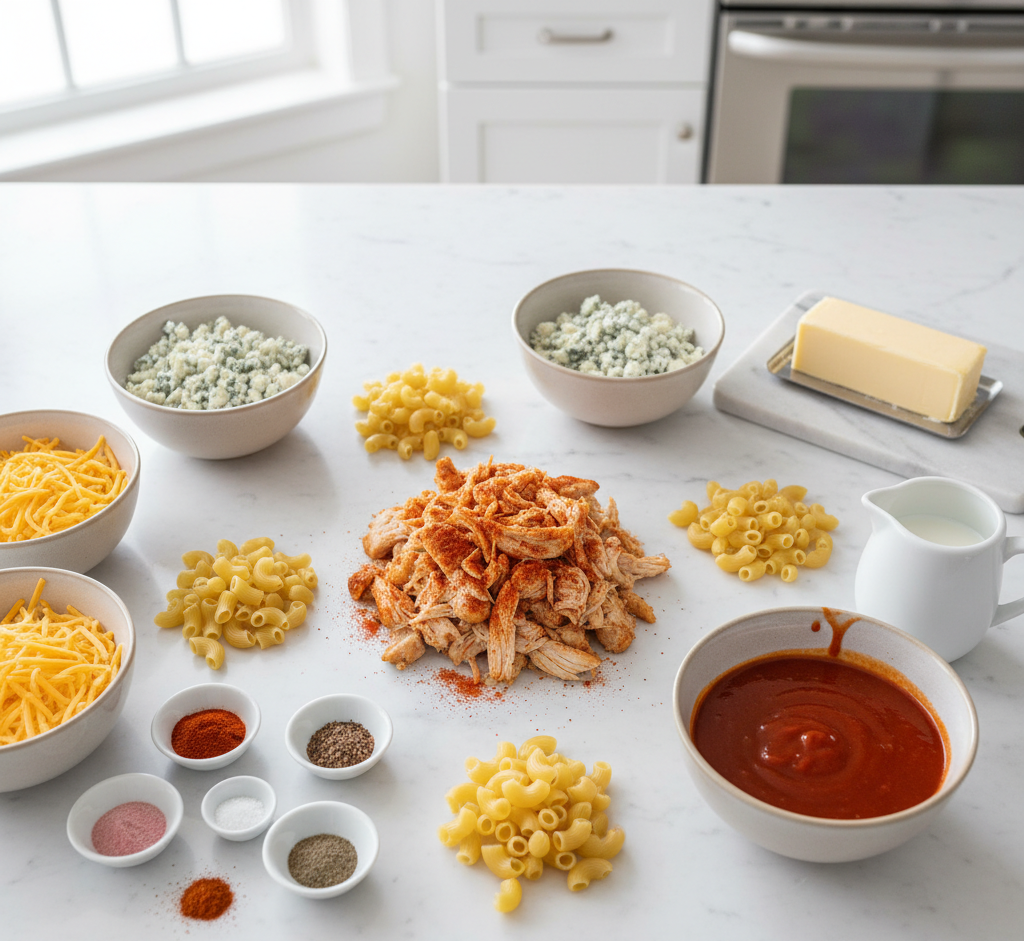
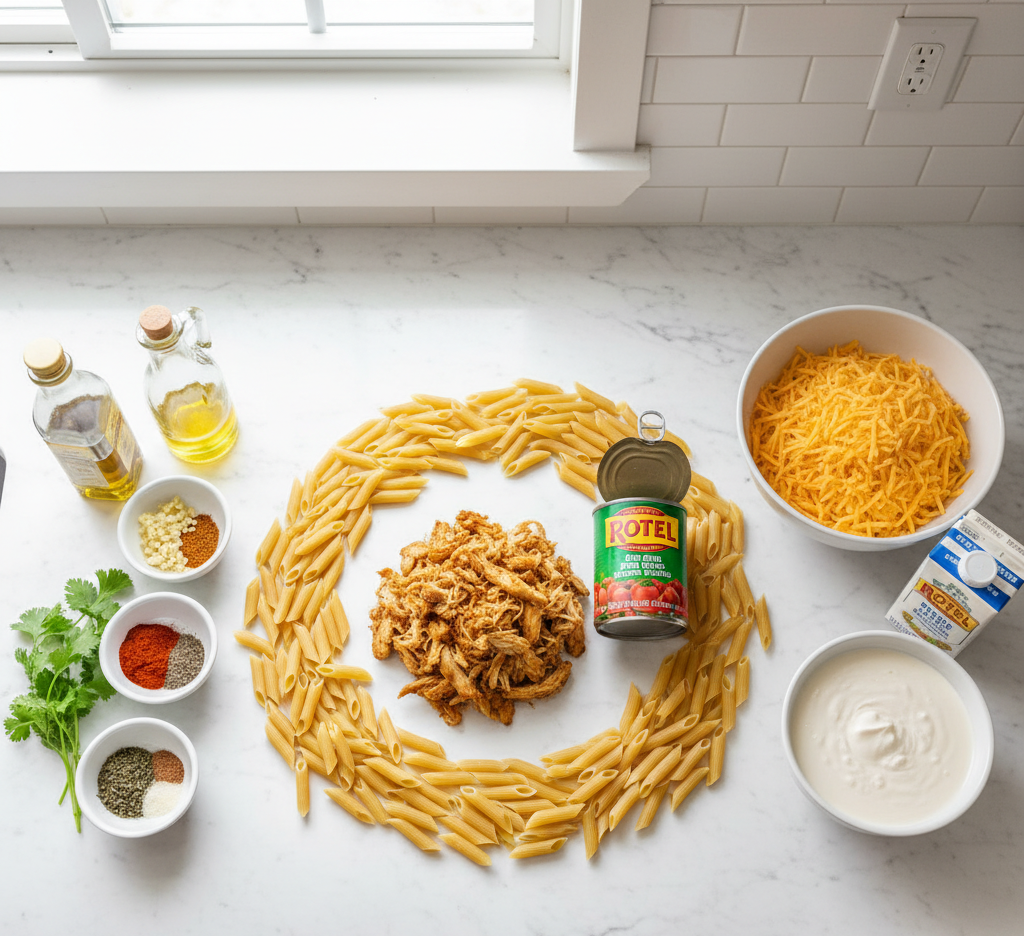
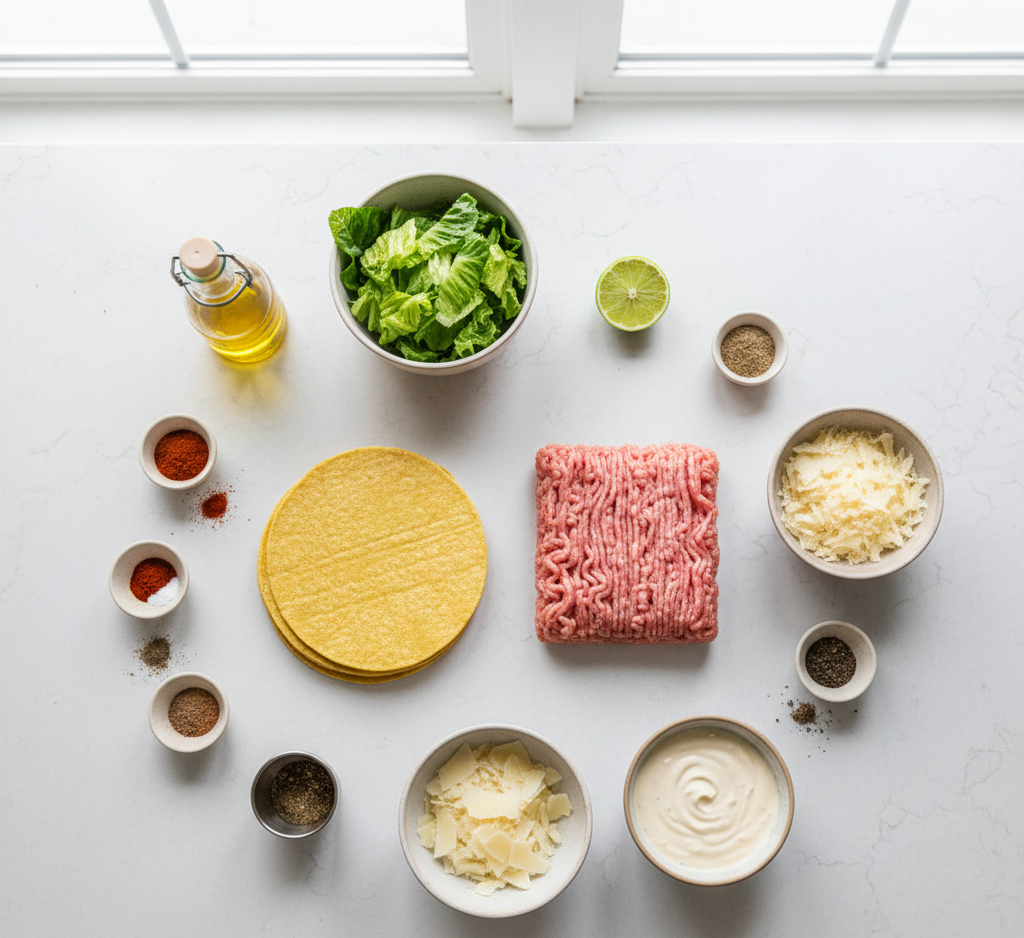
Ingredients for Buffalo Chicken Wings
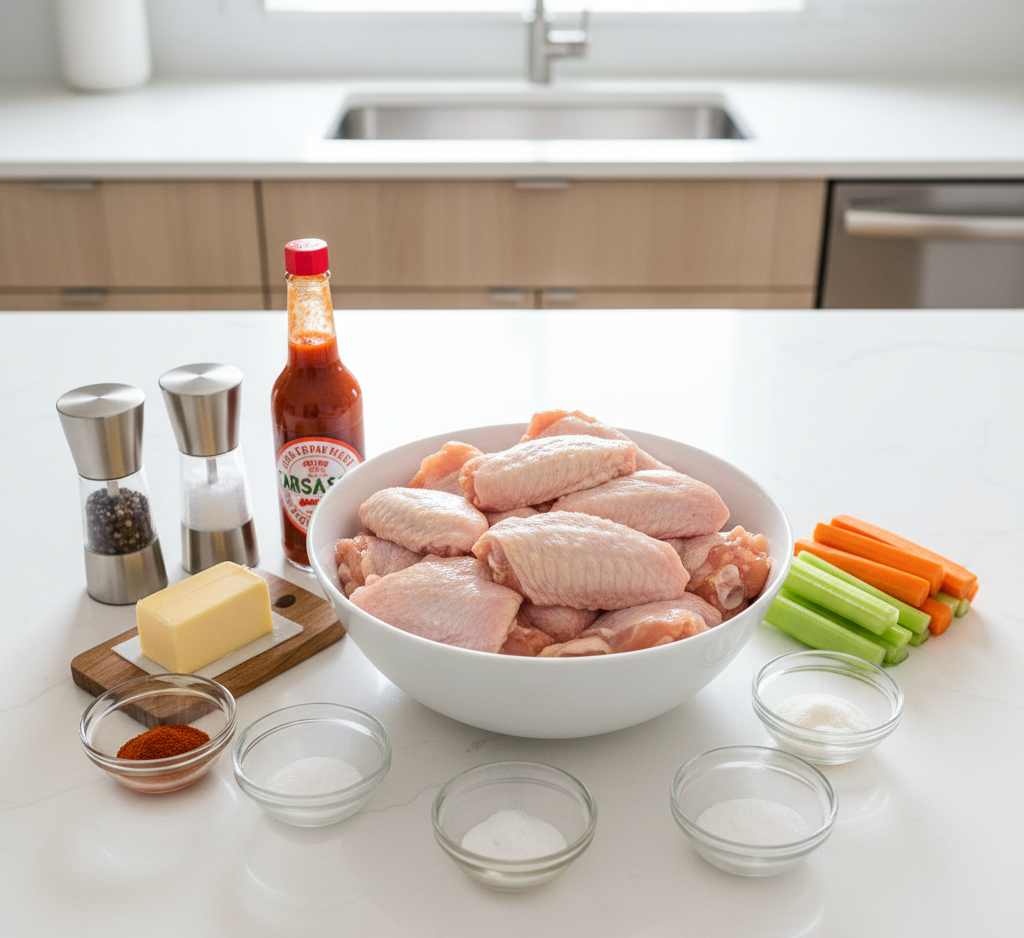
To make the best Buffalo chicken wings, you’ll need simple ingredients that pack a punch:
- 2 lbs chicken wings (split into flats and drumettes)
- 1 tablespoon baking powder (for crispiness)
- 1 teaspoon salt
- ½ teaspoon black pepper
- 1 teaspoon garlic powder
For the Buffalo Sauce:
- ⅓ cup hot sauce
- ¼ cup unsalted butter
- 1 tablespoon honey (optional)
- ½ teaspoon Worcestershire sauce
Ingredient Notes and Substitutions
Understanding your ingredients can make all the difference when preparing Buffalo chicken wings.
Chicken Wings
Fresh wings are best, but frozen wings work if fully thawed and patted dry.
Baking Powder Trick
This is the secret to crispy baked wings—it helps dry out the skin for a crunchy finish.
Hot Sauce
Classic cayenne-based sauces work best, but you can experiment with different brands or spice levels.
Butter Balance
Butter mellows the heat and creates that signature silky buffalo sauce.
Step-by-Step Instructions
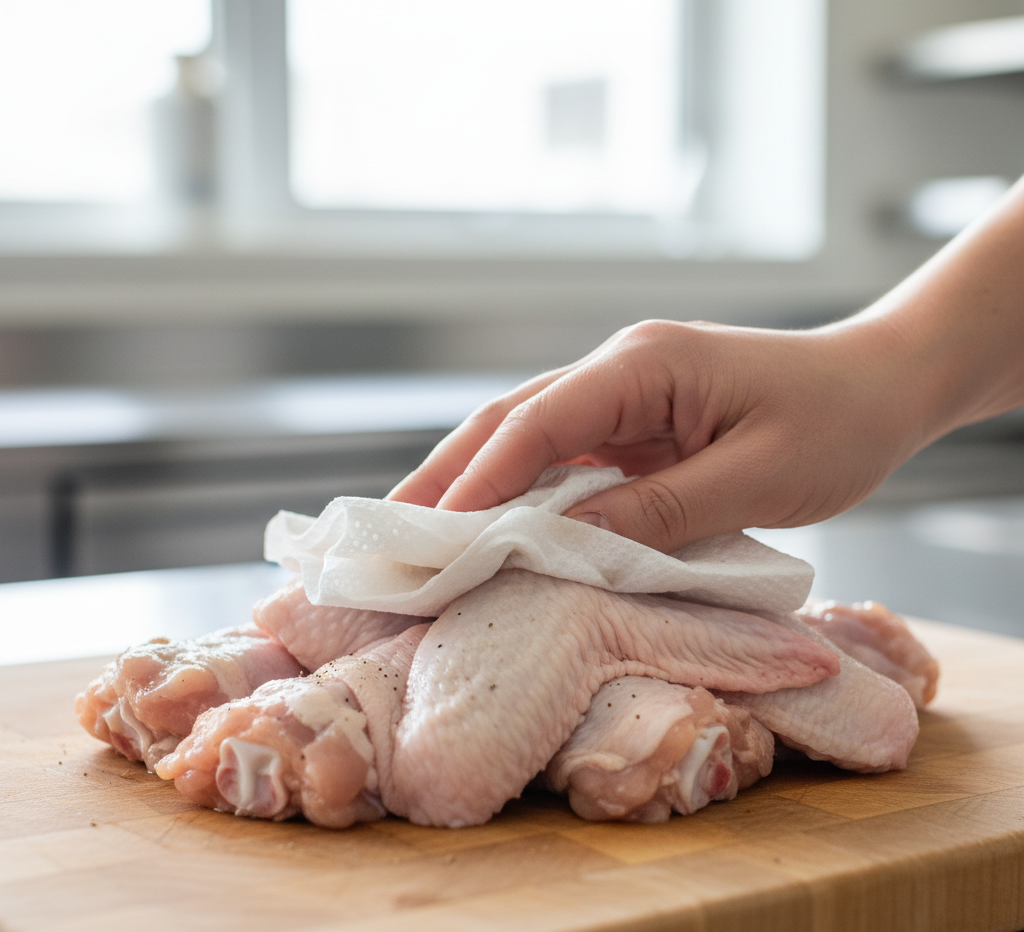
1. Prep the Wings
Pat the chicken wings completely dry with paper towels. Toss them with baking powder, salt, pepper, and garlic powder.
2. Arrange and Bake
Place wings on a wire rack over a baking sheet. Bake at 425°F for 40–45 minutes, flipping halfway through.
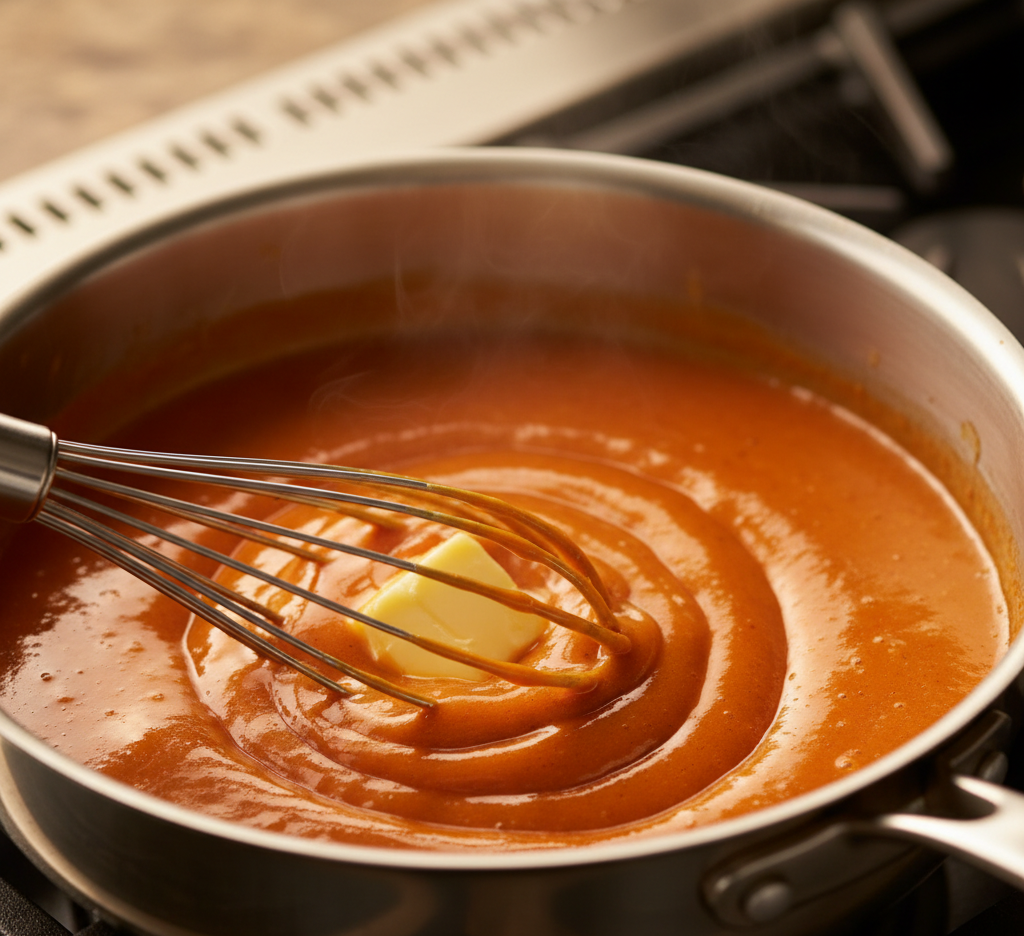
3. Make the Buffalo Sauce
In a saucepan, melt butter and whisk in hot sauce, honey, and Worcestershire sauce until smooth.
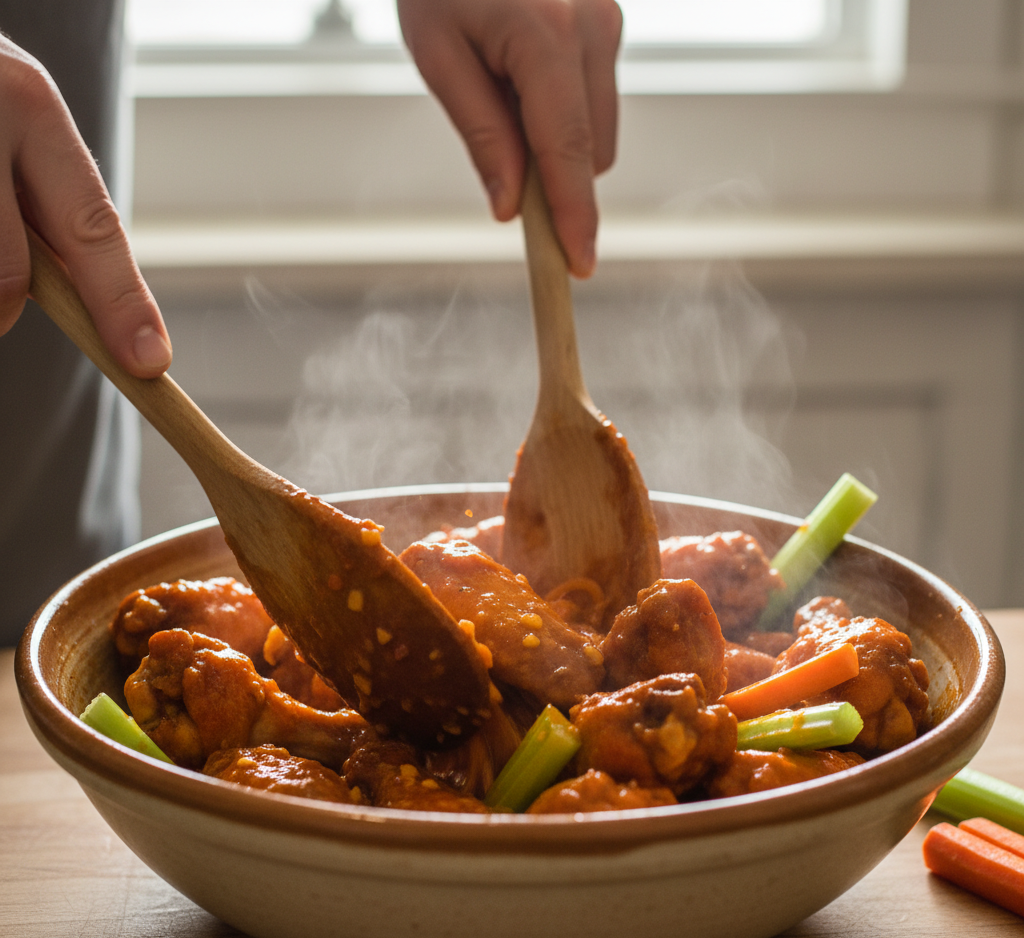
4. Toss the Wings
Once crispy, toss the wings in the buffalo sauce until evenly coated.
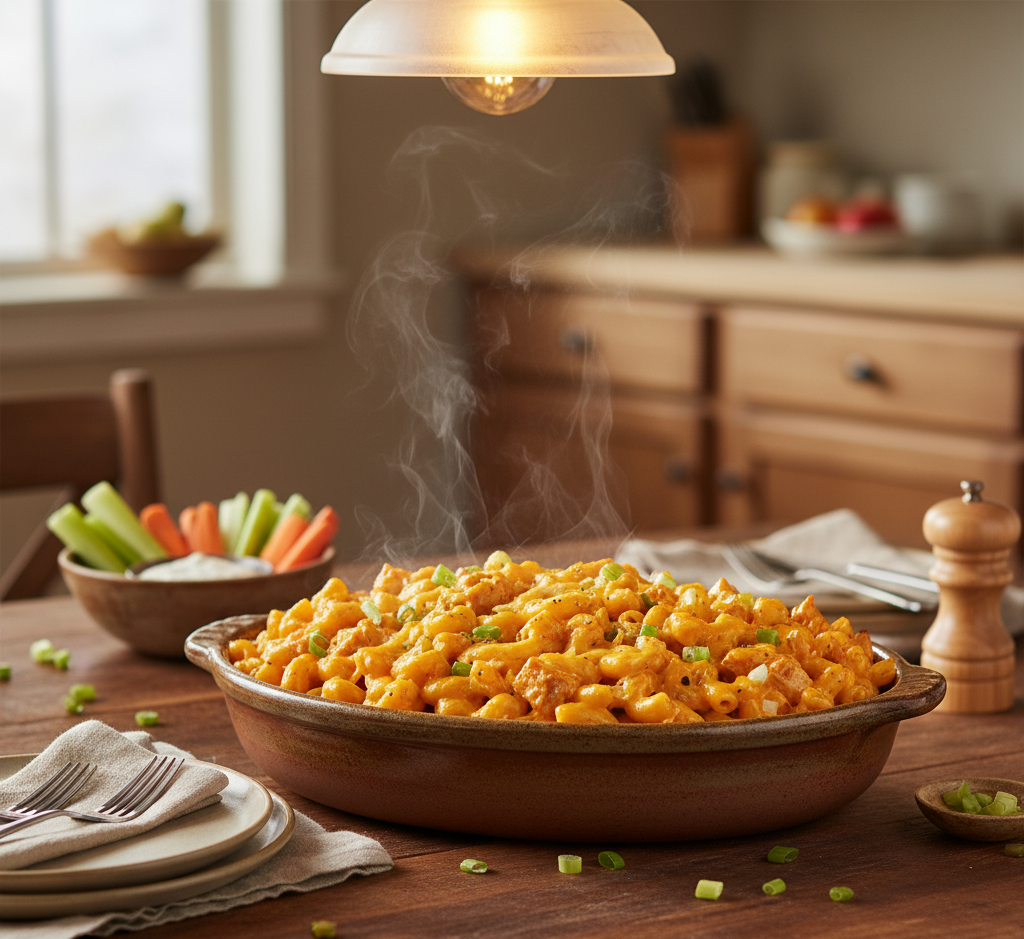
5. Serve Immediately
Serve hot with your favorite dipping sauces and sides.
Tips for Perfect Buffalo Chicken Wings
Achieving restaurant-quality Buffalo chicken wings at home is easier than you think with these tips:
- Dry wings thoroughly for maximum crispiness
- Use a wire rack to allow air circulation
- Bake at high heat for a crispy exterior
- Don’t overcrowd the pan
- Sauce just before serving to keep wings crispy
These small techniques make a big difference in texture and flavor.
Delicious Variations to Try
Once you’ve mastered classic Buffalo chicken wings, try these fun variations:
Garlic Parmesan Wings
Skip buffalo sauce and toss in garlic butter and Parmesan.
Honey Buffalo Wings
Add extra honey for a sweet and spicy twist.
Extra Hot Wings
Increase the hot sauce or add cayenne pepper.
BBQ Buffalo Hybrid
Mix buffalo sauce with BBQ sauce for a smoky-sweet flavor.
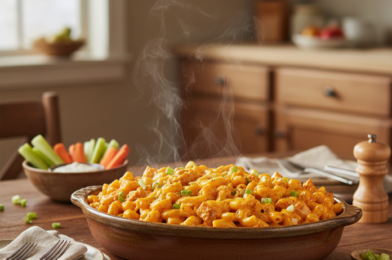
What to Serve With Buffalo Chicken Wings
Complete your spread with these classic pairings:
- Celery and carrot sticks
- Ranch or blue cheese dressing
- French fries or potato wedges
- Coleslaw
- Cold drinks like soda or beer

Storage & Reheating Tips
Leftover Buffalo chicken wings can still be delicious if stored properly.
- Refrigerate: Store in an airtight container for up to 4 days
- Reheat: Bake at 375°F until heated through and crispy
- Avoid microwaving: It softens the skin
Reheating in the oven helps restore that crispy texture.
Common Mistakes to Avoid
Avoid these common pitfalls when making Buffalo chicken wings:
- Not drying the wings (leads to soggy skin)
- Skipping the wire rack (prevents even cooking)
- Over-saucing too early (makes wings soggy)
- Cooking at too low a temperature
Keeping these in mind ensures perfectly crispy, flavorful wings.
Frequently Asked Questions
1. Can I air fry Buffalo chicken wings?
Yes! Air fry at 400°F for about 20–25 minutes, flipping halfway through.
2. Are Buffalo wings very spicy?
They have a moderate kick, but you can adjust the heat by changing the sauce ratio.
3. Can I make them ahead of time?
You can bake the wings ahead and reheat before tossing in sauce.
4. What’s the best dipping sauce?
Ranch and blue cheese are classic favorites.
Final Thoughts
These Buffalo chicken wings are everything you want in a classic American favorite—crispy, saucy, and bursting with bold flavor. Whether baked, fried, or air-fried, they’re guaranteed to be a hit at any gathering.
Once you try making them at home, you’ll realize just how easy and rewarding it is to recreate this iconic dish. So grab your ingredients, fire up the oven, and get ready to enjoy the ultimate wing experience.