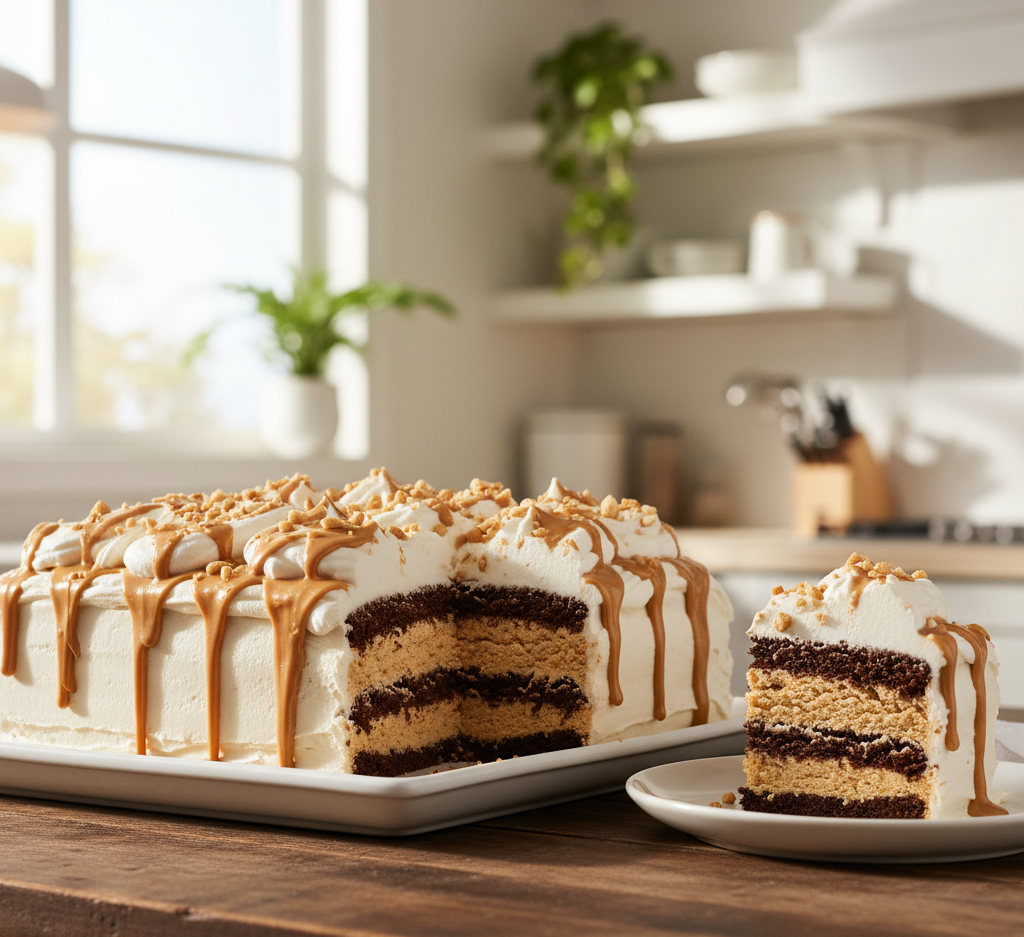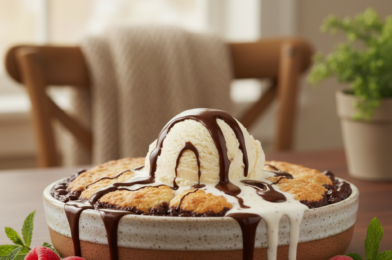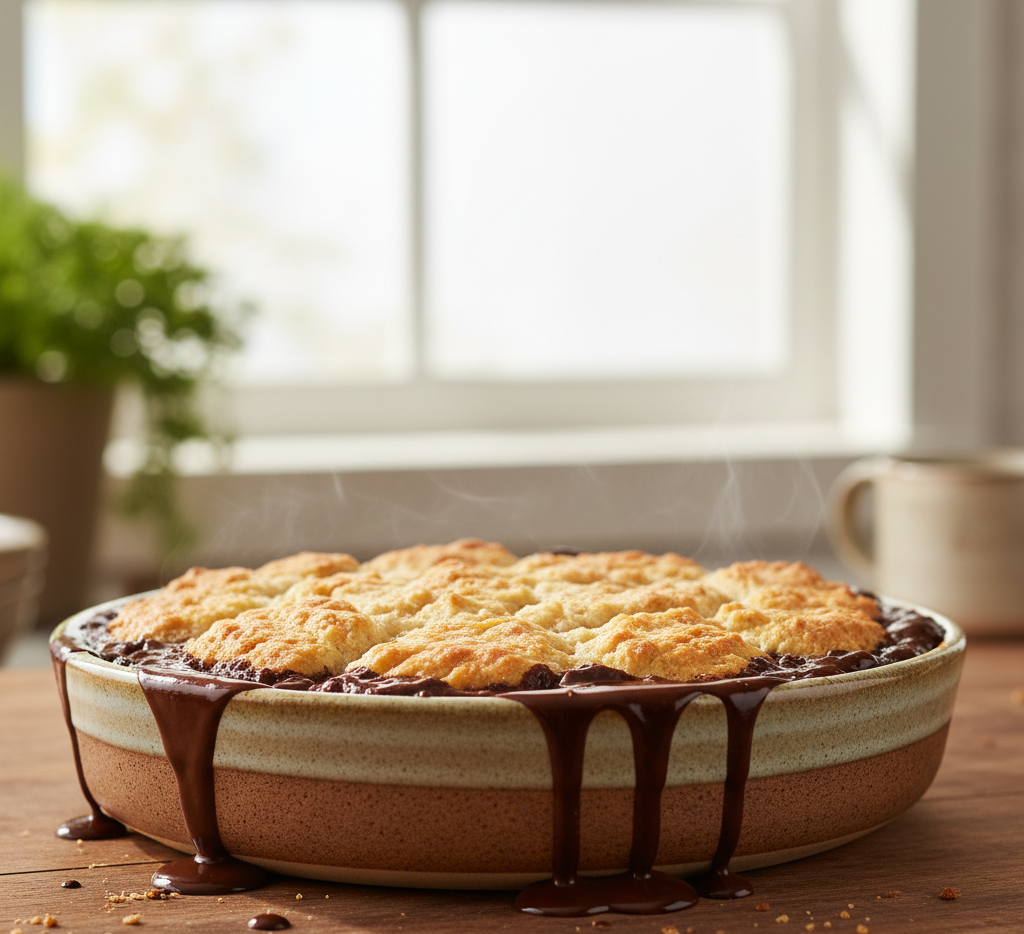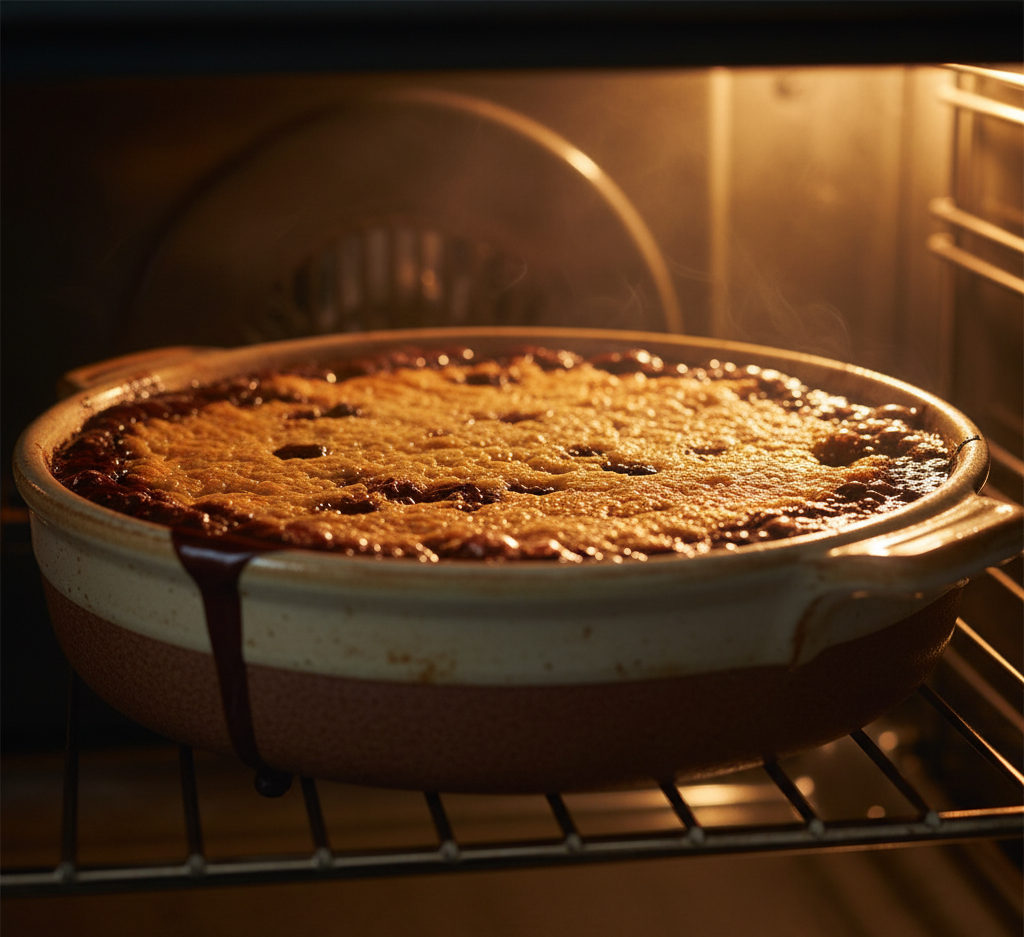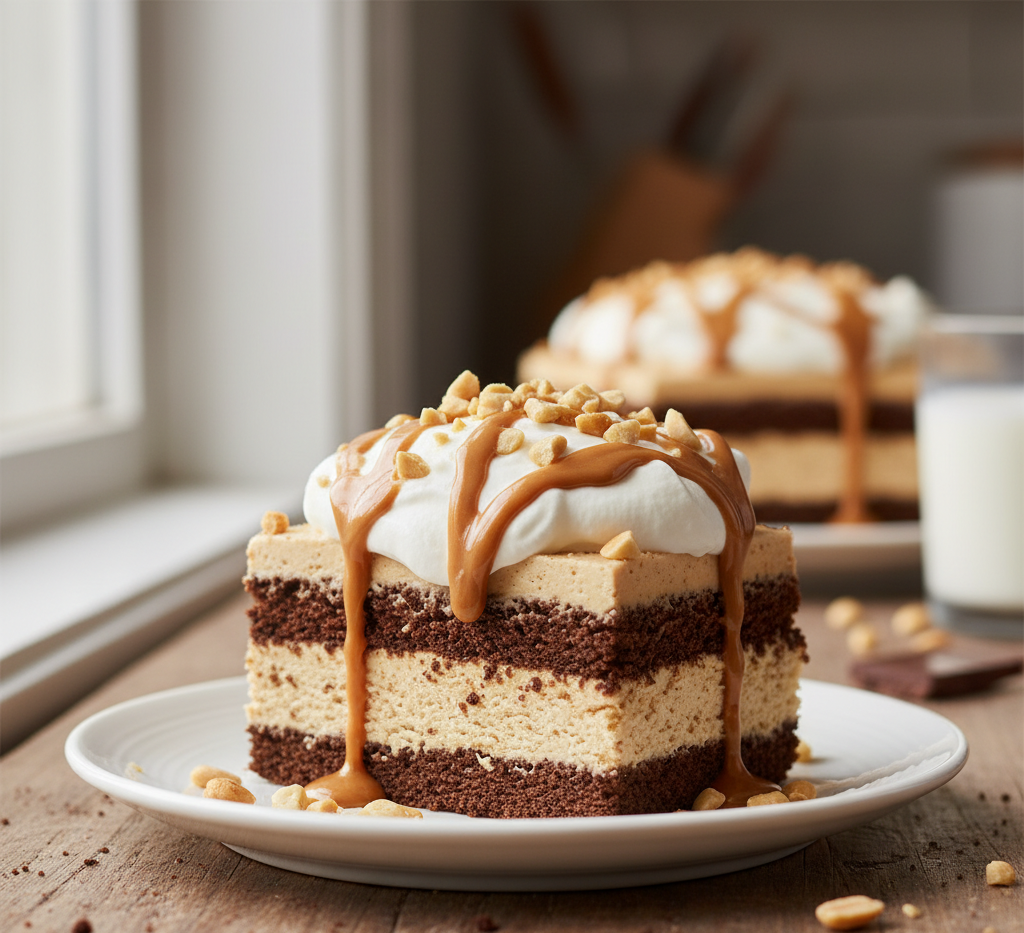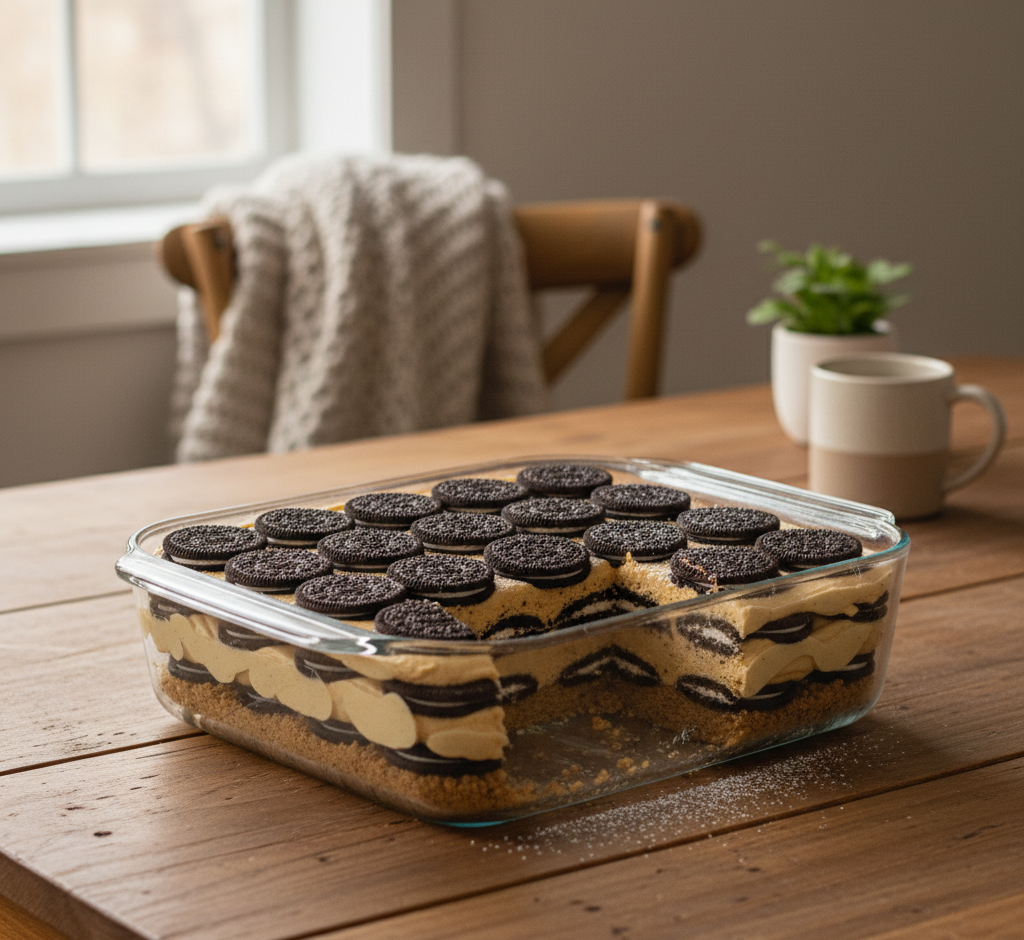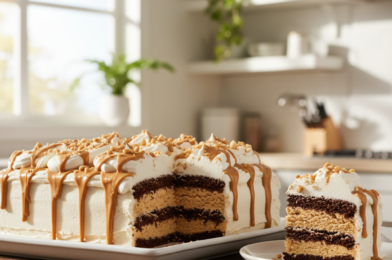
If you’re searching for a dessert that’s effortless yet incredibly indulgent, this peanut butter icebox cake is exactly what you need. With layers of creamy peanut butter filling and soft, cake-like cookies that magically transform in the fridge, this no-bake treat is a guaranteed crowd-pleaser.
Icebox cakes have been a classic American dessert for generations, loved for their simplicity and versatility. This peanut butter version takes things to the next level with its rich, nutty flavor and velvety texture. Whether you’re hosting a summer gathering or just want a make-ahead dessert, this recipe delivers big results with minimal effort.
Why You’ll Love This Recipe
This peanut butter icebox cake checks all the boxes for an easy, delicious dessert:
- No Baking Required: Perfect for hot days or when you don’t want to turn on the oven
- Make-Ahead Friendly: Tastes even better after chilling overnight
- Rich & Creamy: Smooth peanut butter filling with a melt-in-your-mouth texture
- Simple Ingredients: Easy-to-find pantry staples
- Crowd-Pleasing: Ideal for potlucks, parties, or family dinners
Once you try it, you’ll see why this dessert is a timeless favorite with a peanut butter twist.
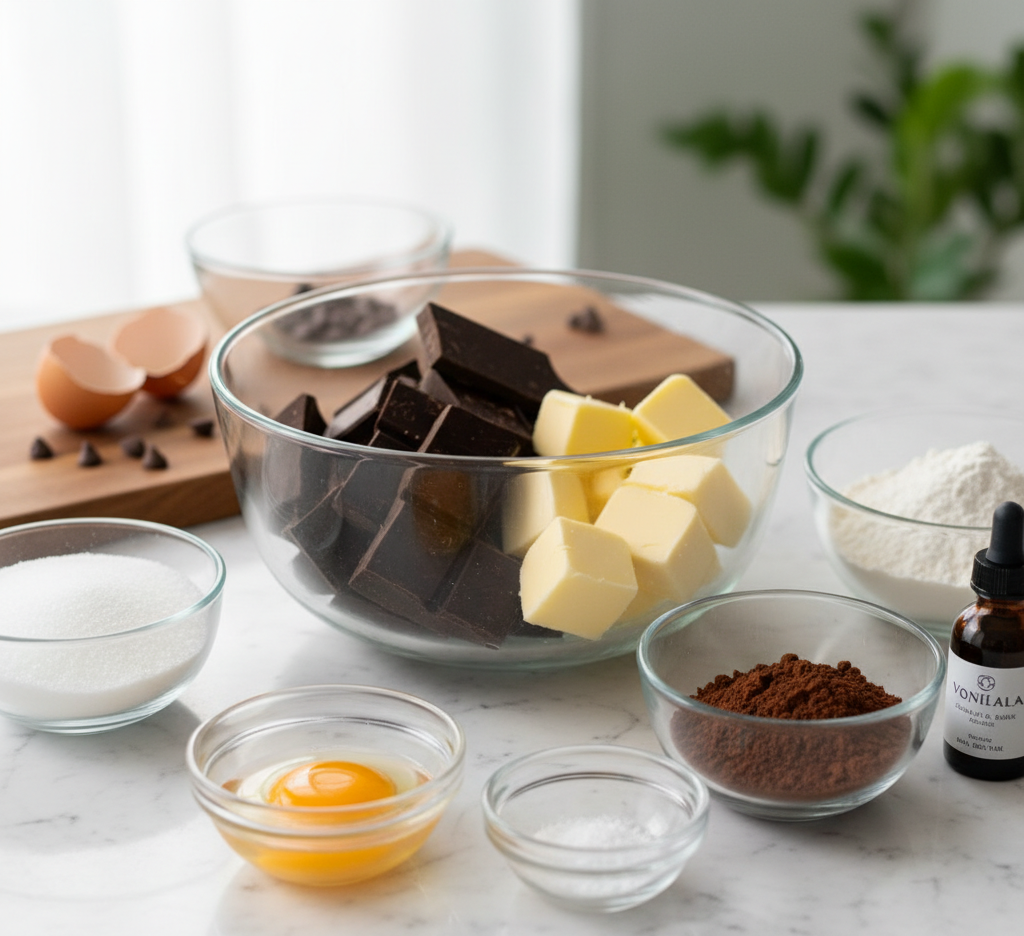
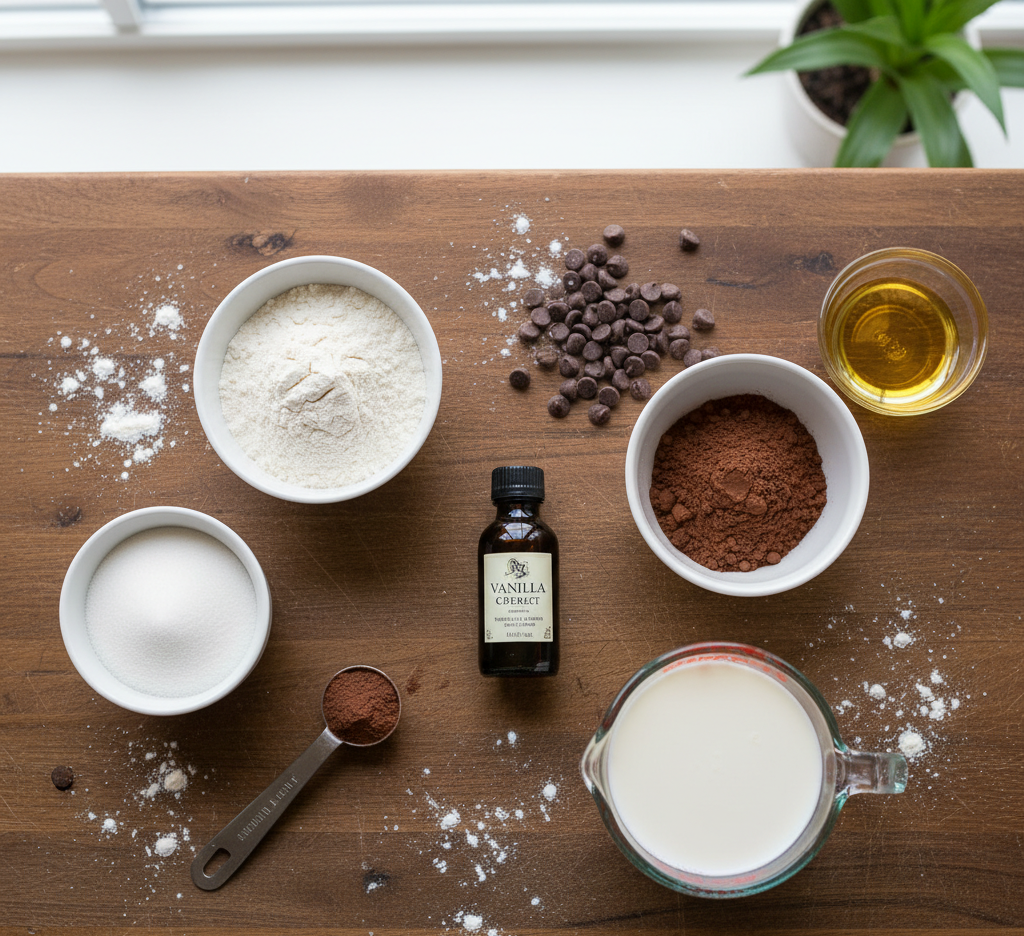
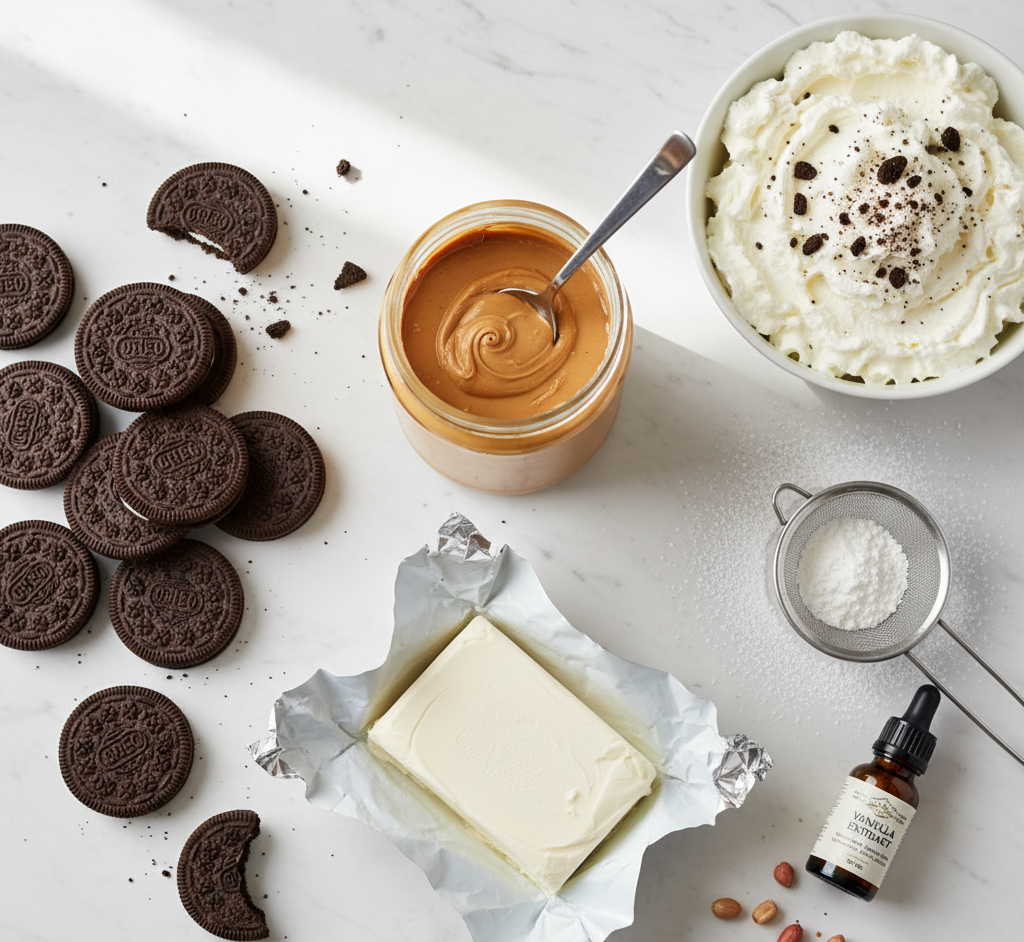
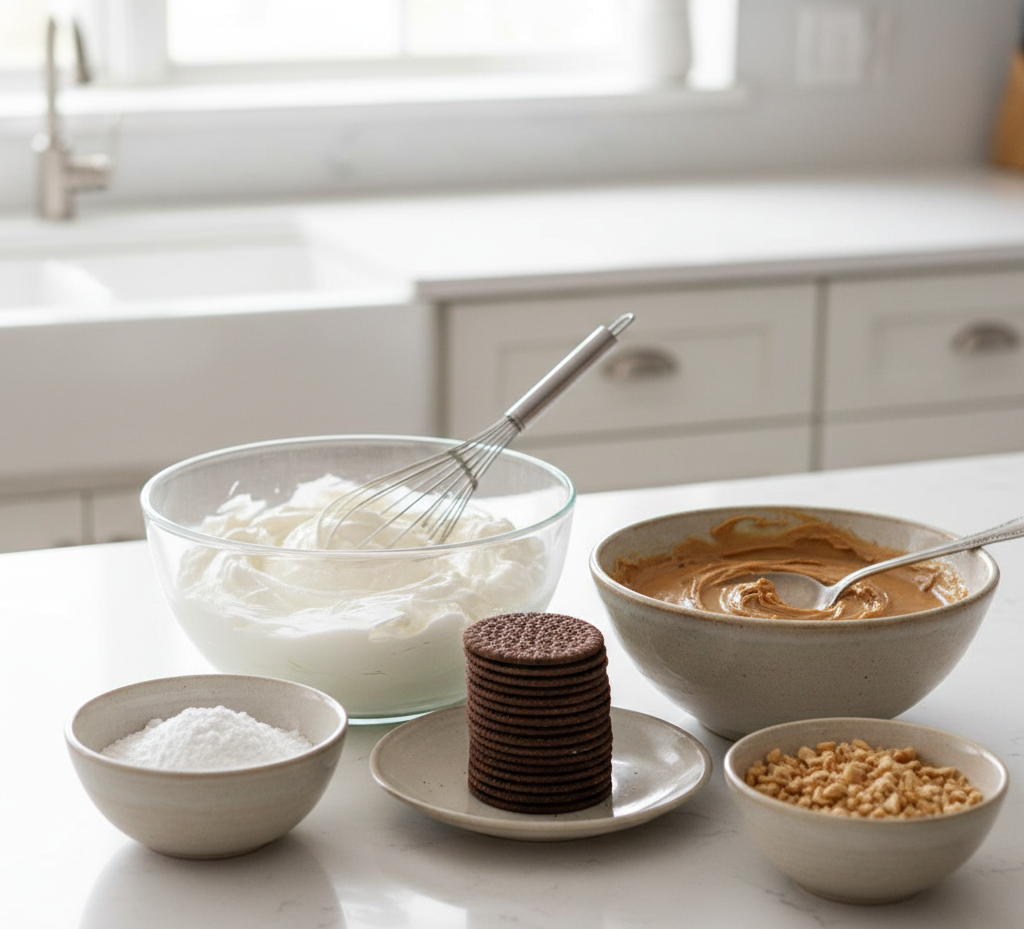
Ingredients
Here’s what you’ll need to make this irresistible peanut butter icebox cake:
- 2 cups heavy whipping cream
- 1 cup creamy peanut butter
- 1 cup powdered sugar
- 1 teaspoon vanilla extract
- 1 package chocolate wafer cookies or graham crackers
- ½ cup milk (for dipping cookies)
- Optional toppings: crushed peanuts, chocolate chips, peanut butter drizzle
Ingredient Notes
- Peanut Butter: Use creamy peanut butter for a smooth filling. Natural peanut butter can work but may slightly alter the texture.
- Cookies: Chocolate wafers create a rich contrast, while graham crackers offer a classic flavor.
- Whipping Cream: Freshly whipped cream gives the best texture and flavor—avoid pre-made toppings if possible.
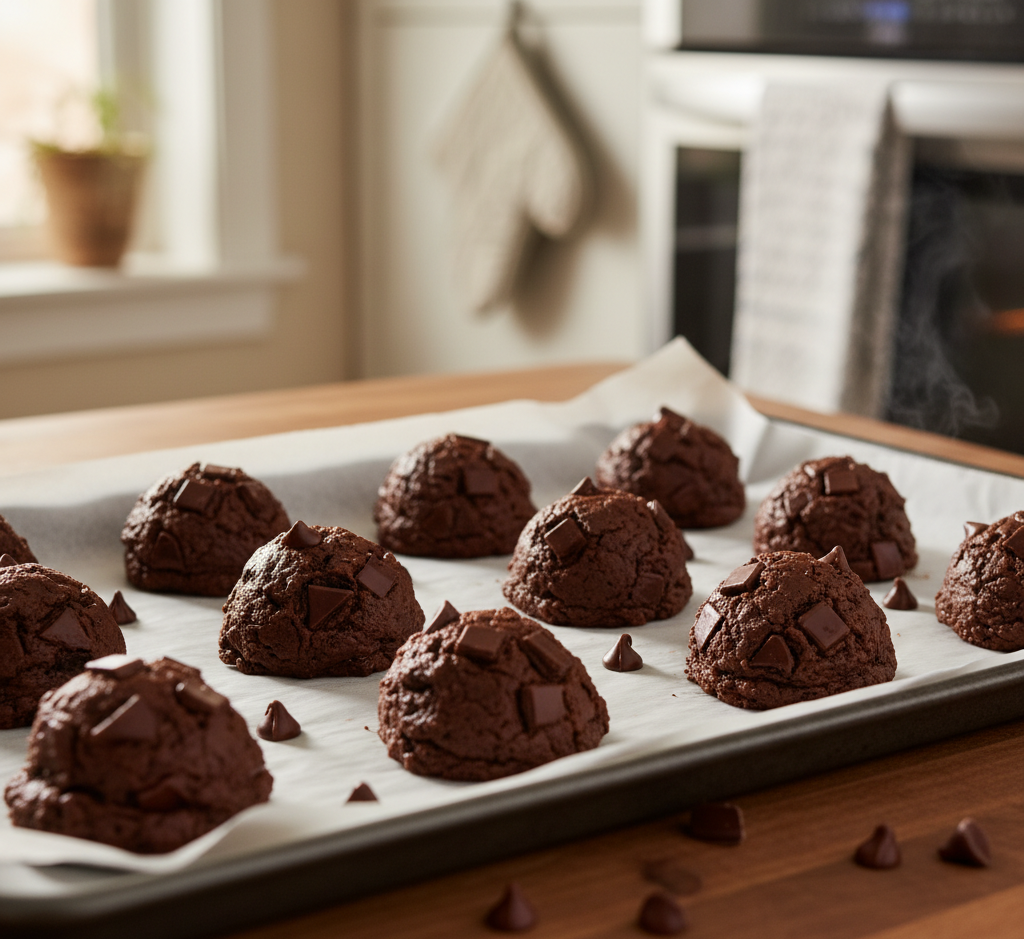
Step-by-Step Instructions
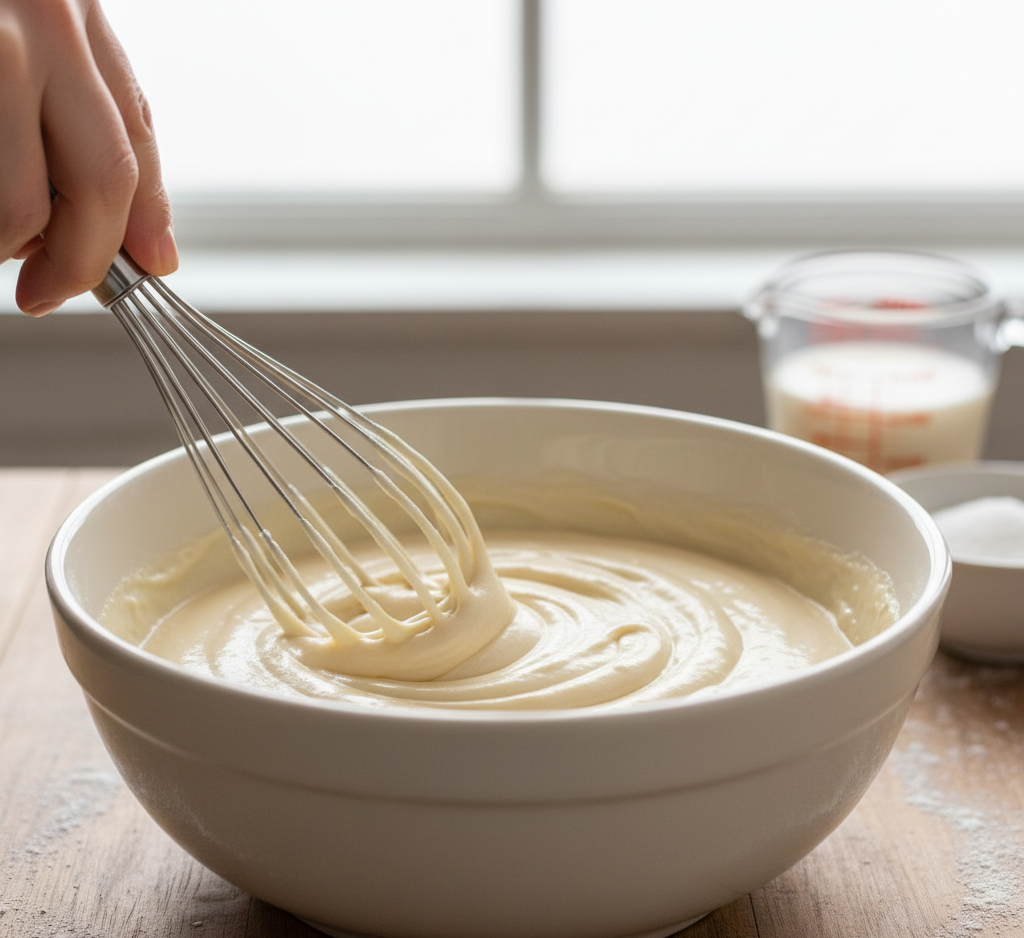
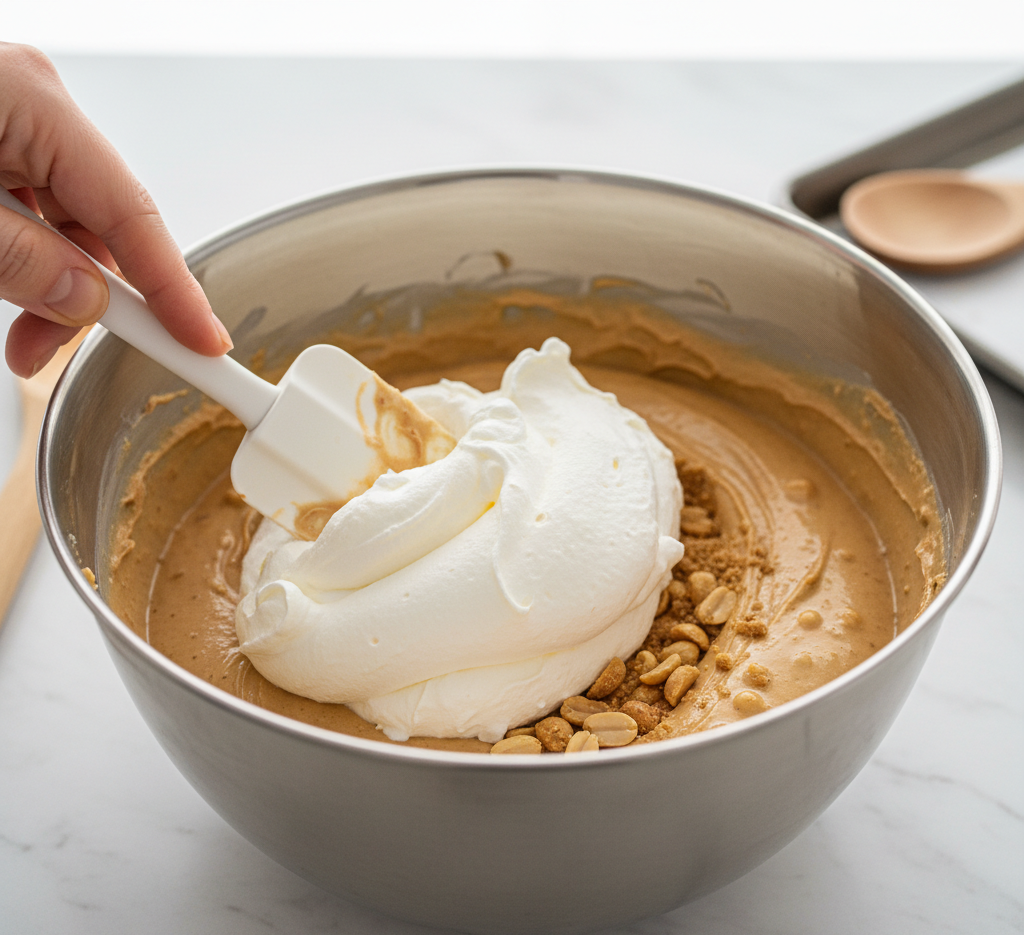
- Whip the Cream: In a large bowl, beat heavy cream until soft peaks form.
- Make the Filling: In another bowl, mix peanut butter, powdered sugar, and vanilla until smooth. Gently fold in the whipped cream until fully combined.
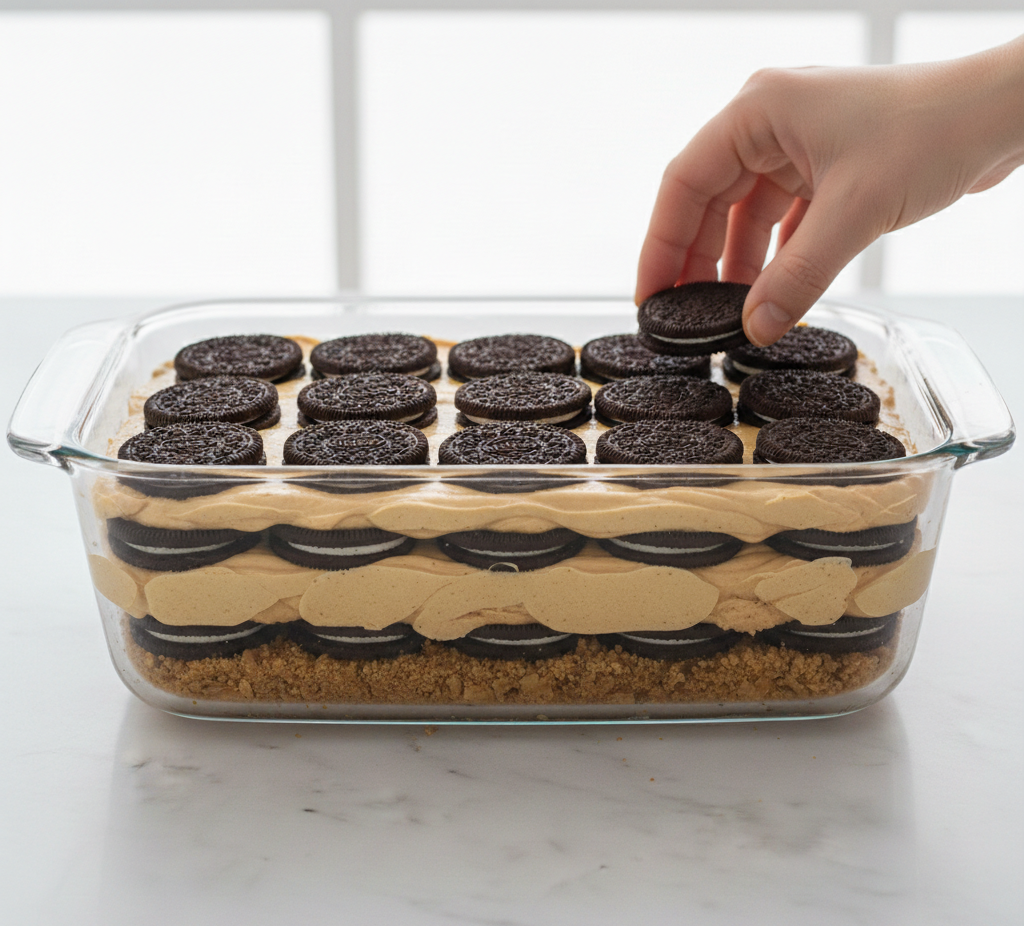
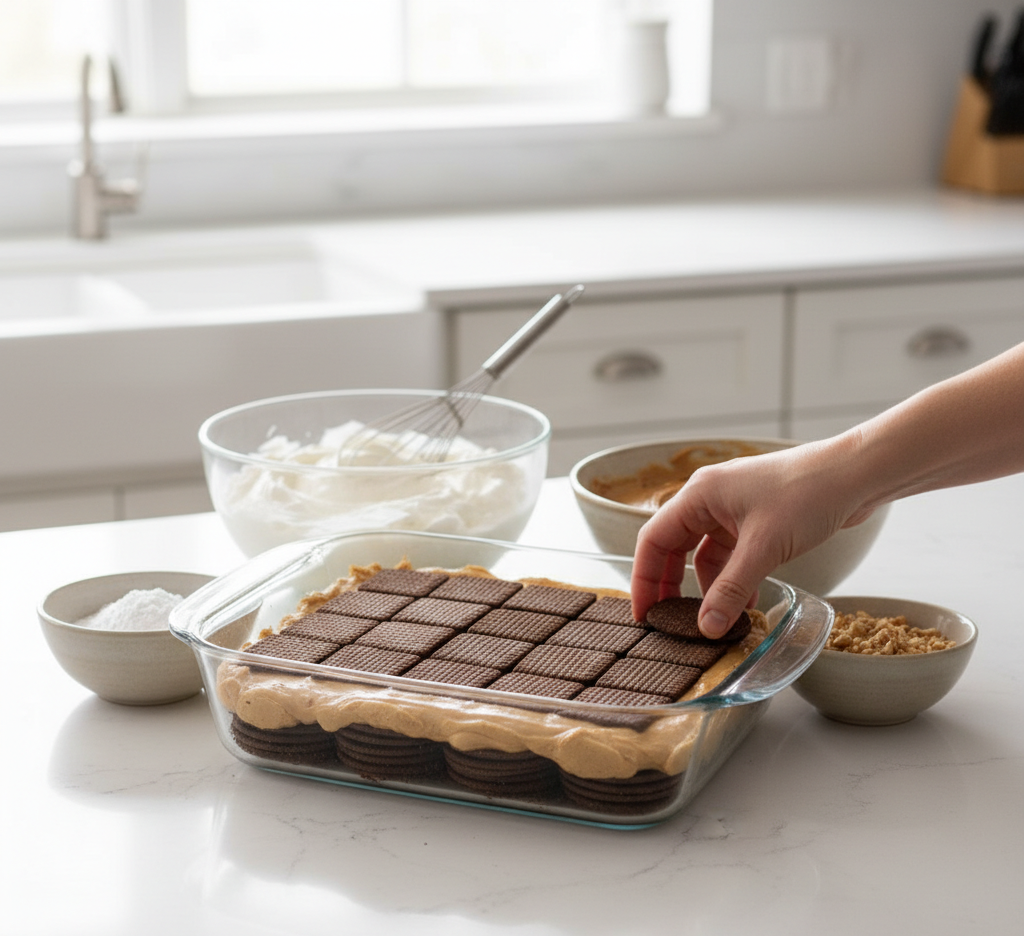
- Prepare Cookies: Lightly dip each cookie into milk for a second to soften.
- Layer the Cake: In a baking dish, create a layer of cookies, then spread a layer of peanut butter filling. Repeat layers until all ingredients are used, ending with cream on top.
- Chill: Cover and refrigerate for at least 6 hours, preferably overnight, to allow cookies to soften into a cake-like texture.
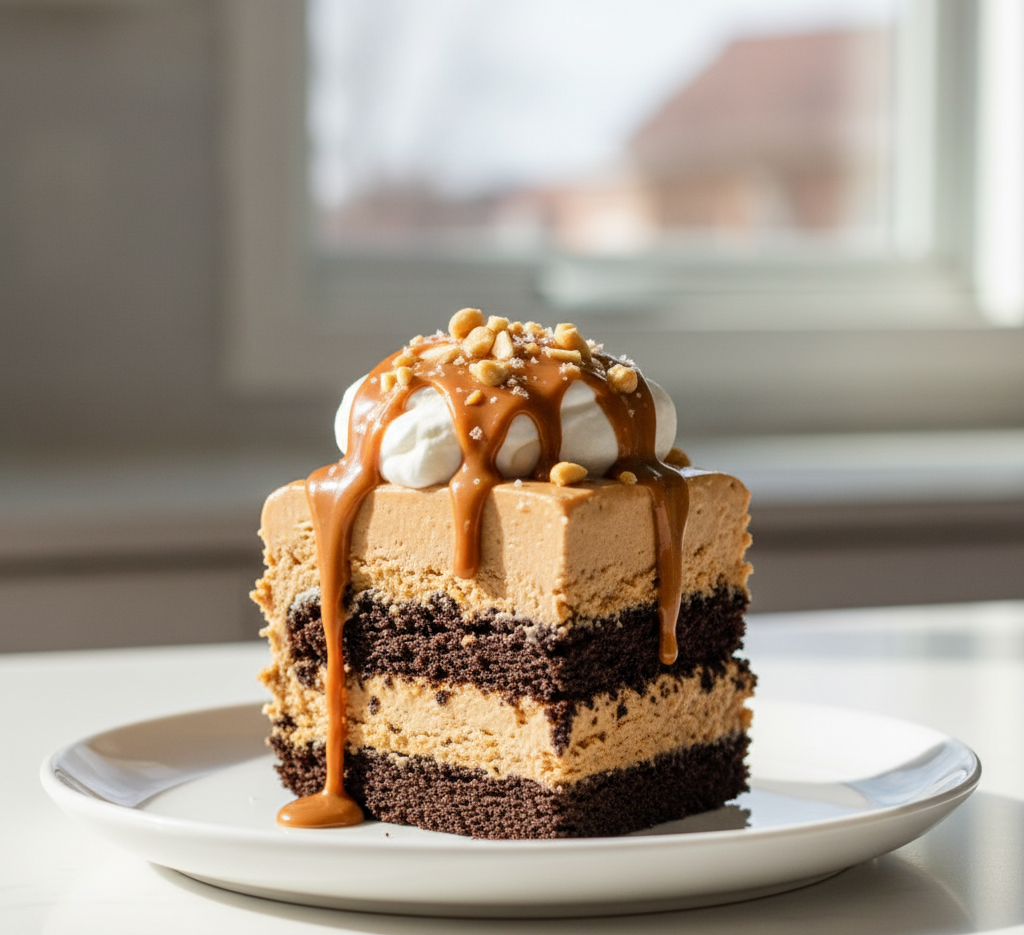
- Serve: Slice and top with crushed peanuts or a drizzle of peanut butter before serving.
Tips for Perfect Results
- Don’t Skip Chilling Time: This is crucial for achieving the soft, cake-like texture.
- Dip Cookies Quickly: Over-soaking can make them too soggy.
- Use Offset Spatula: Helps spread layers evenly for a clean presentation.
- Chill Overnight: The longer it sits, the better the flavor and texture.
Variations
Creative Twists on Peanut Butter Icebox Cake
- Chocolate Lover’s Version: Add a layer of chocolate ganache between layers
- Banana Peanut Butter: Add thin slices of banana between layers
- Oreo Version: Substitute cookies with chocolate sandwich cookies
- Nut-Free Option: Use sunflower seed butter instead of peanut butter
These variations make it easy to adapt the recipe to your taste or dietary needs.
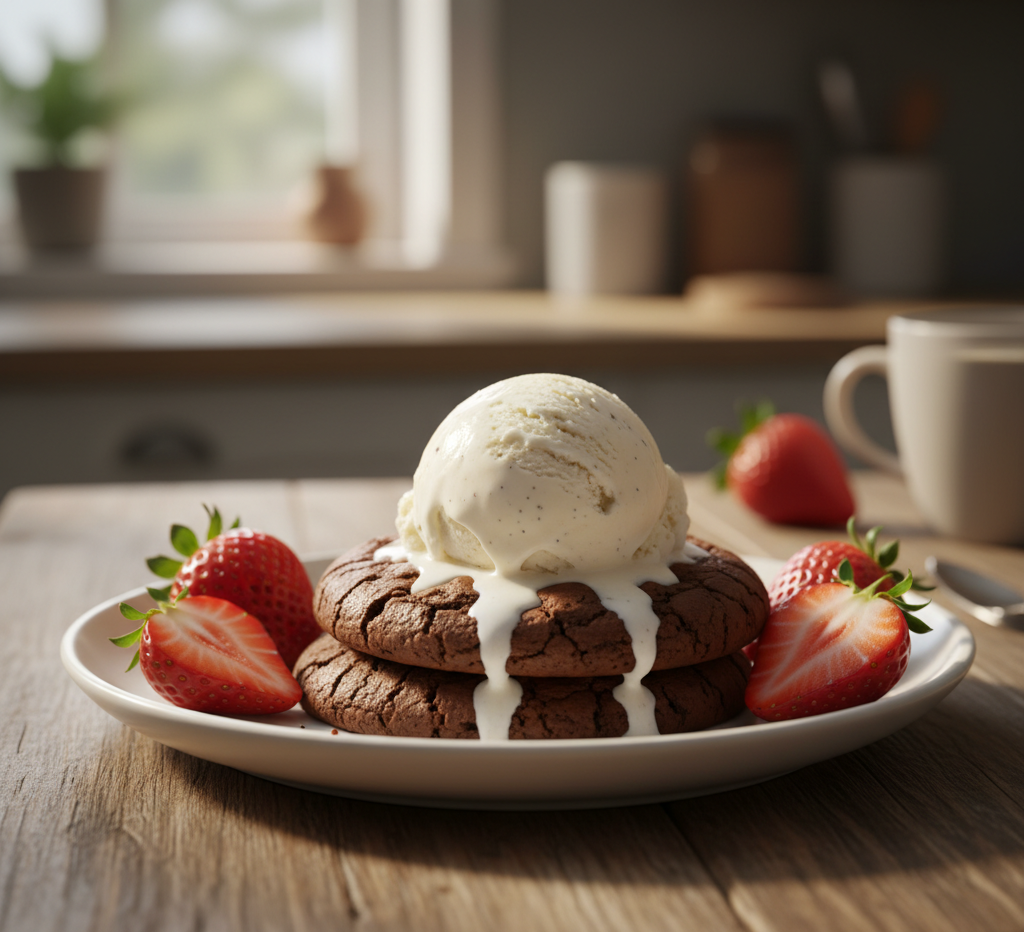
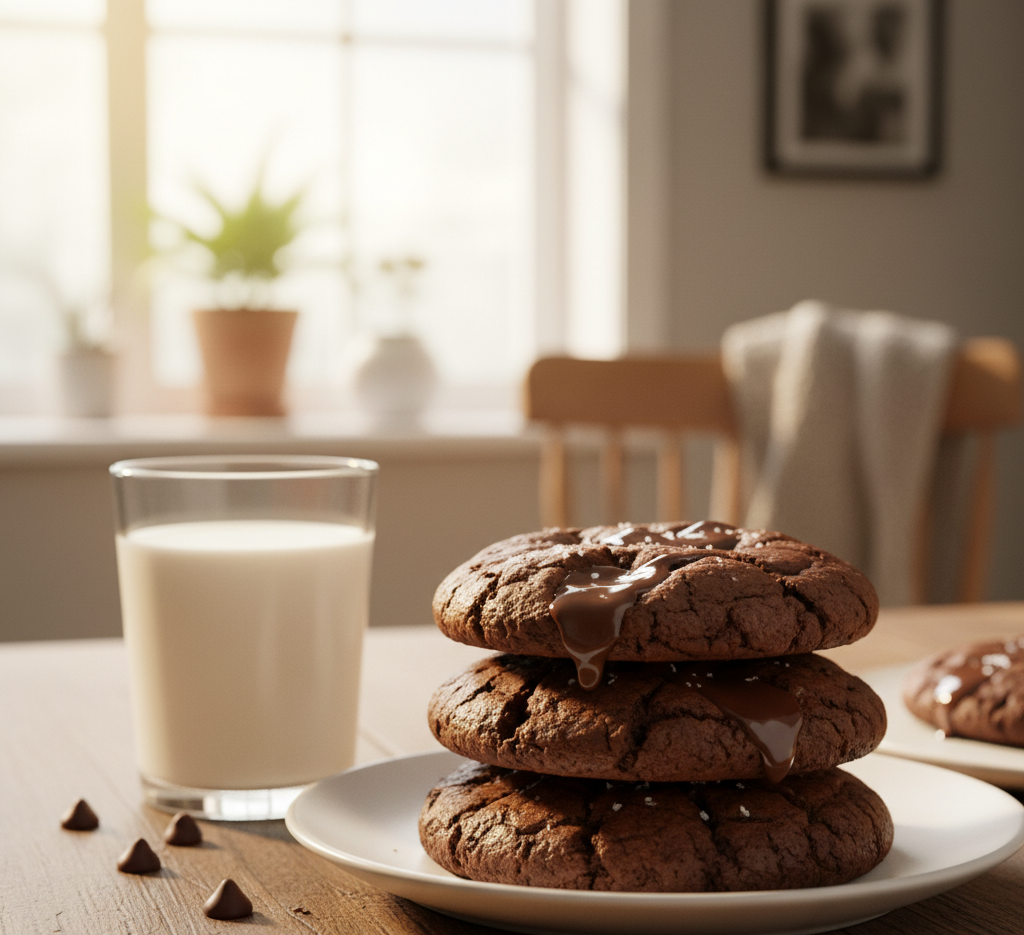
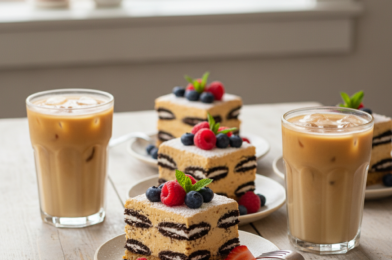
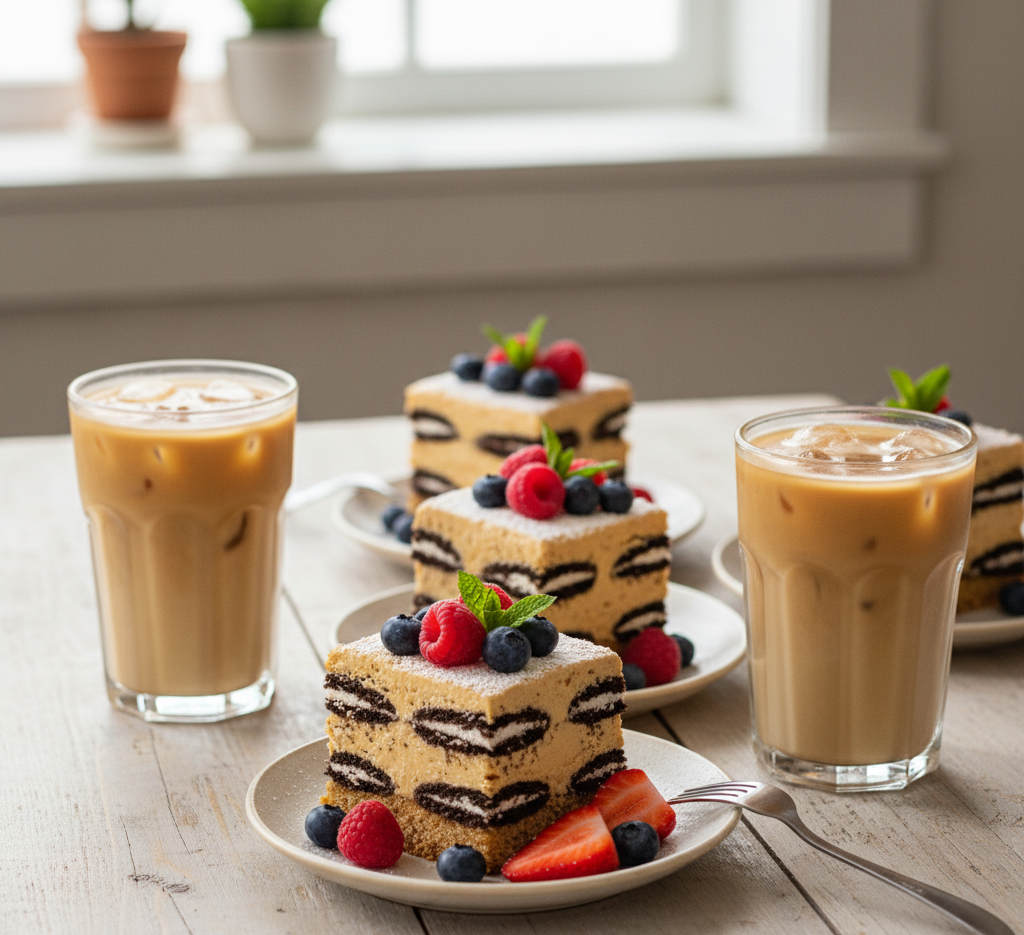
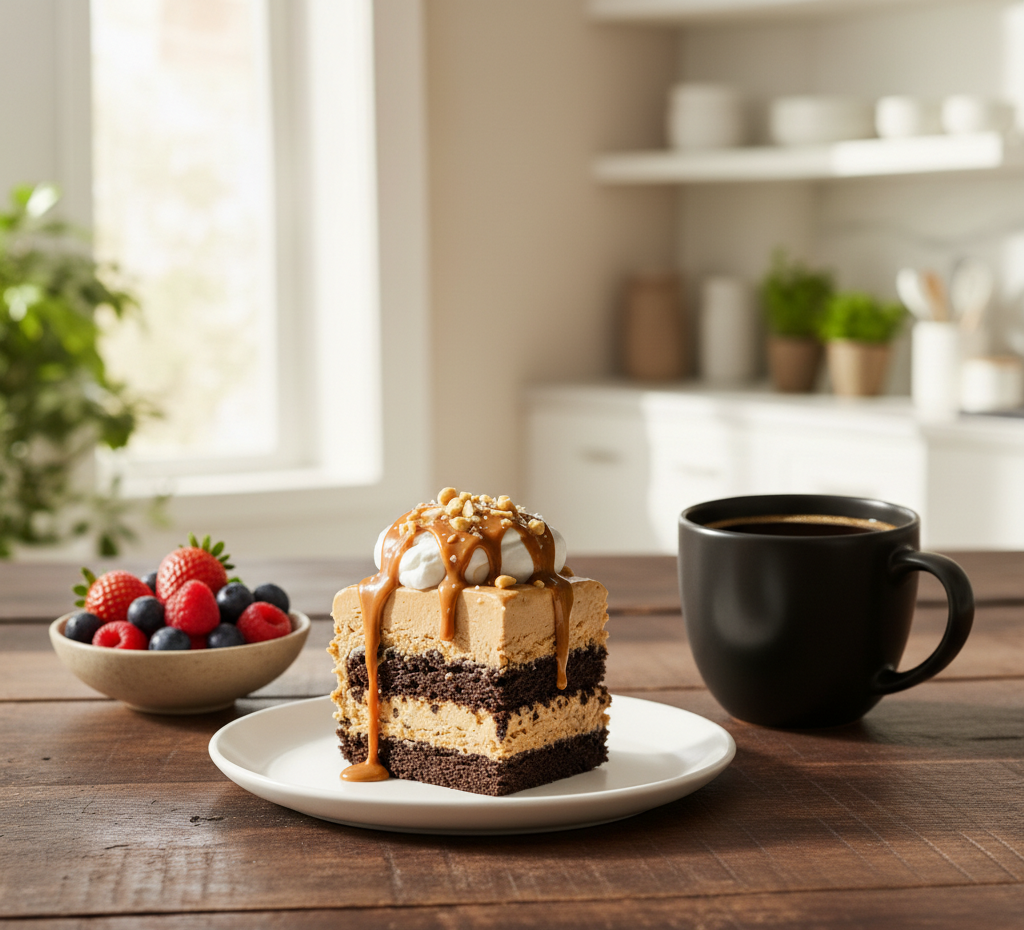
What to Serve With It
This peanut butter icebox cake pairs beautifully with:
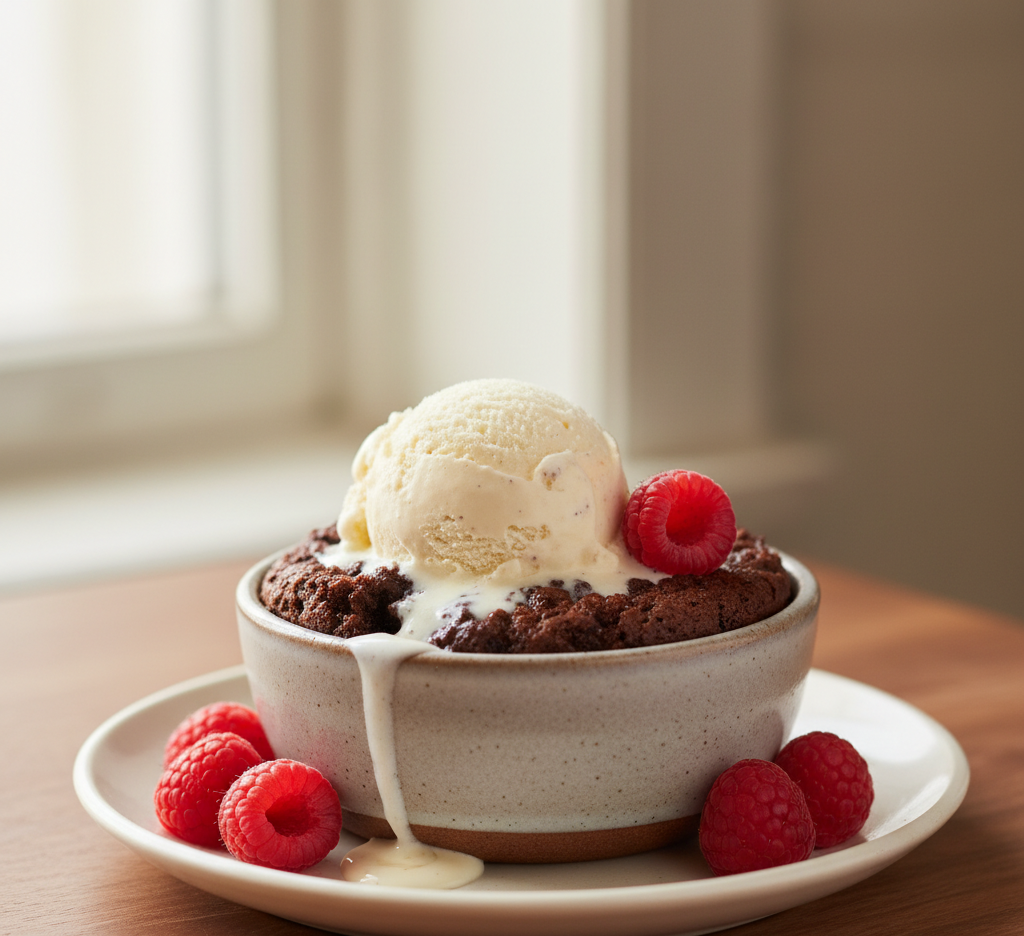
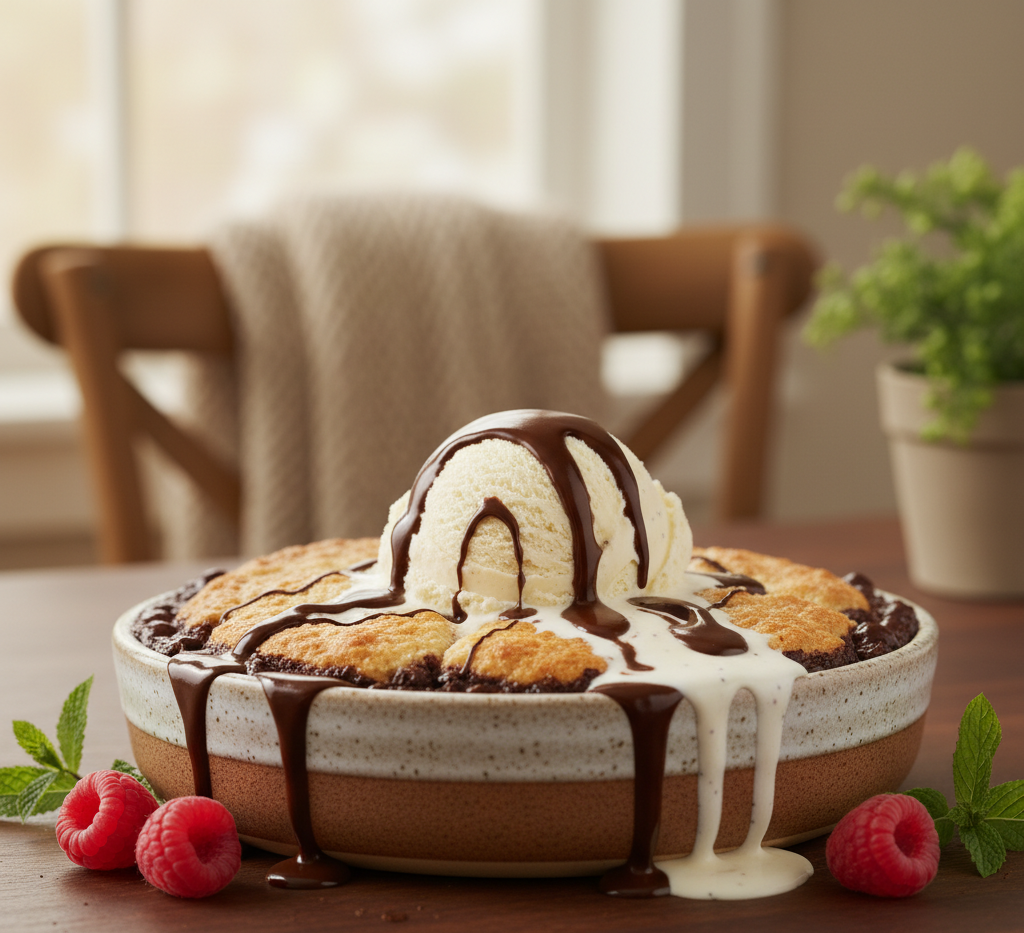
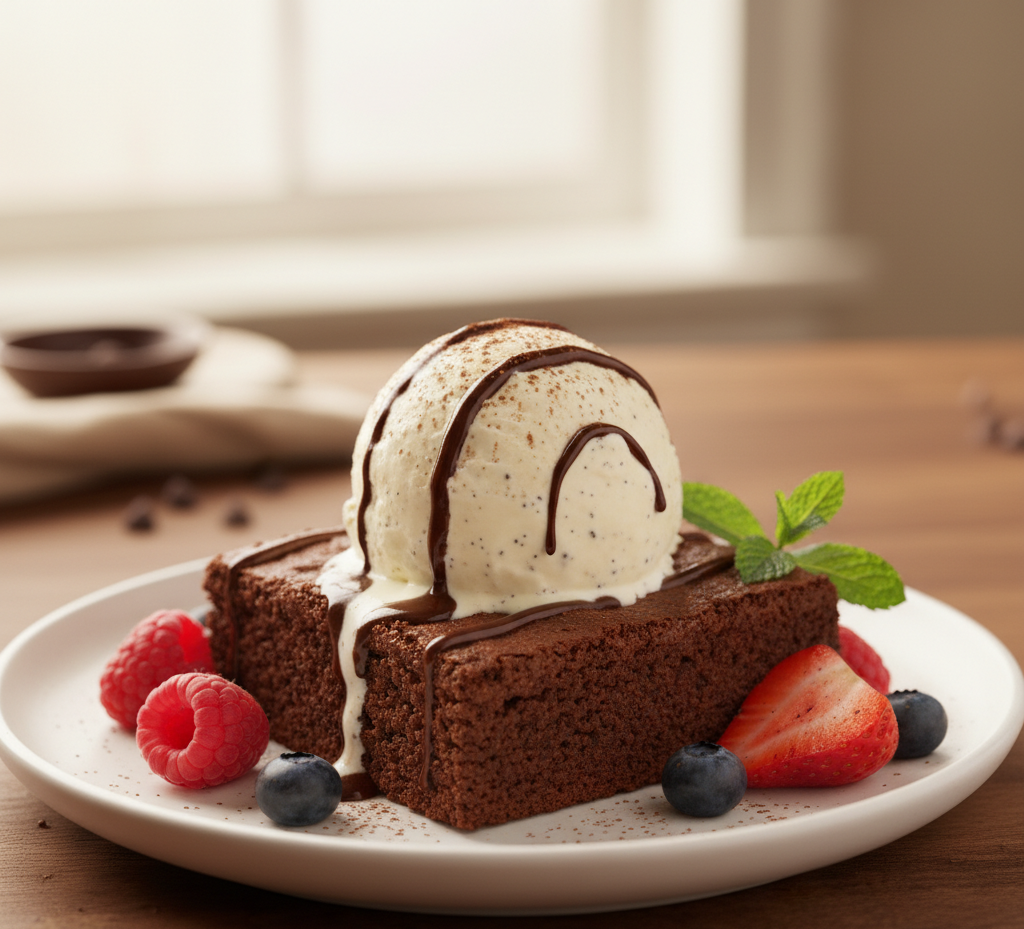
- Fresh berries like strawberries or raspberries
- A hot cup of coffee or espresso
- A cold glass of milk
- Vanilla ice cream for an extra indulgent dessert
Storage & Reheating
- Refrigeration: Store covered in the fridge for up to 4 days
- Freezing: Freeze for up to 2 months; thaw overnight in the refrigerator
- Serving Tip: Serve chilled for best texture—no reheating needed
This dessert is perfect for making ahead and enjoying throughout the week.
Common Mistakes
- Not Chilling Long Enough: Results in crunchy cookies instead of soft layers
- Overmixing the Cream: Can deflate the whipped cream and affect texture
- Too Much Liquid: Over-dipping cookies can make the cake soggy
- Uneven Layers: Take time to spread evenly for the best presentation
FAQs
1. Can I make peanut butter icebox cake ahead of time?
Yes! It’s actually best made a day in advance to allow the flavors and textures to develop.
2. Can I use store-bought whipped topping?
You can, but homemade whipped cream provides better flavor and texture.
3. What type of cookies work best?
Chocolate wafers or graham crackers are ideal, but you can experiment with other cookies.
4. Is this dessert freezer-friendly?
Absolutely. It freezes well and can even be enjoyed slightly frozen for a firmer texture.
Final Thoughts
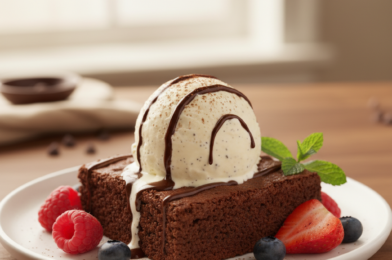
This peanut butter icebox cake is the ultimate no-bake dessert—rich, creamy, and incredibly easy to prepare. It’s the kind of recipe that looks impressive but requires minimal effort, making it perfect for both beginner and experienced home cooks.
With its luscious peanut butter filling and perfectly softened cookie layers, every bite is pure comfort. Whether you’re making it for a special occasion or just treating yourself, this dessert is guaranteed to become a staple in your recipe collection.