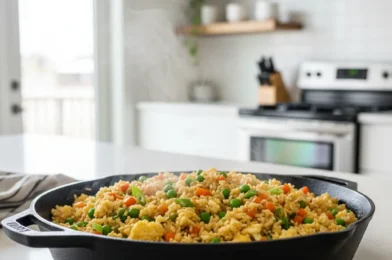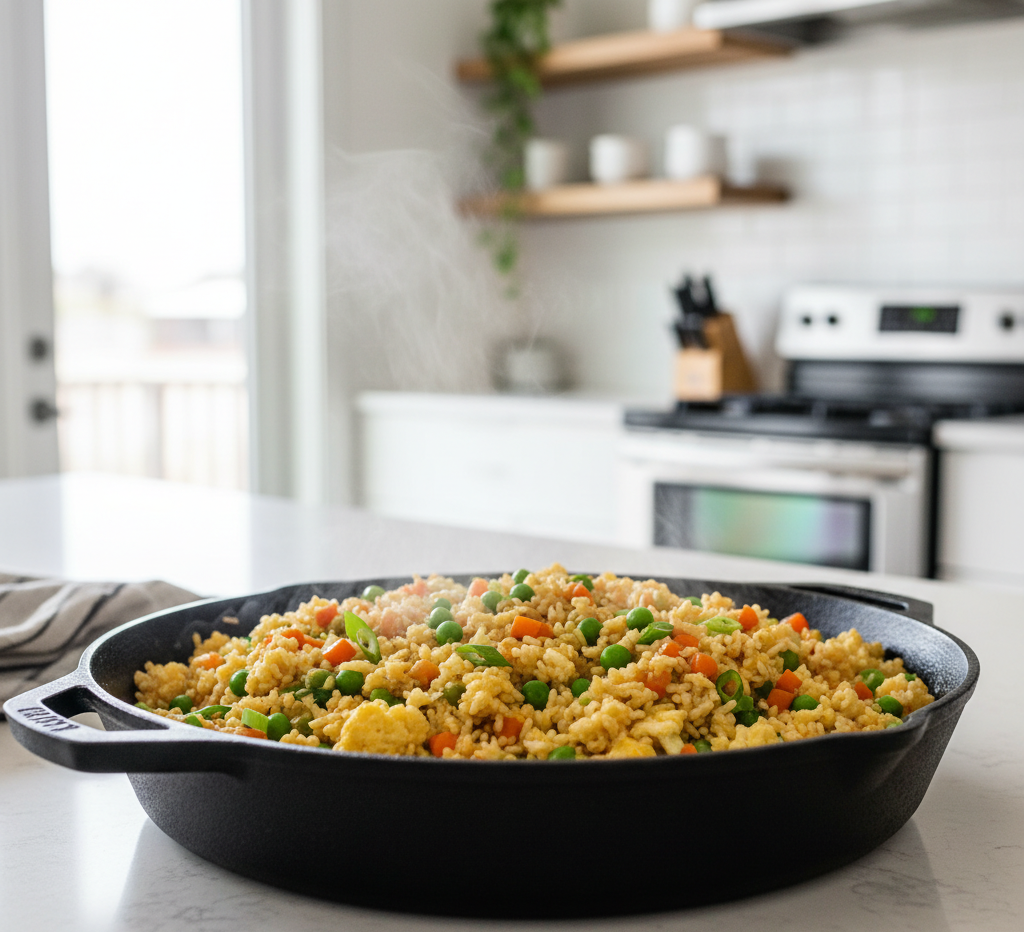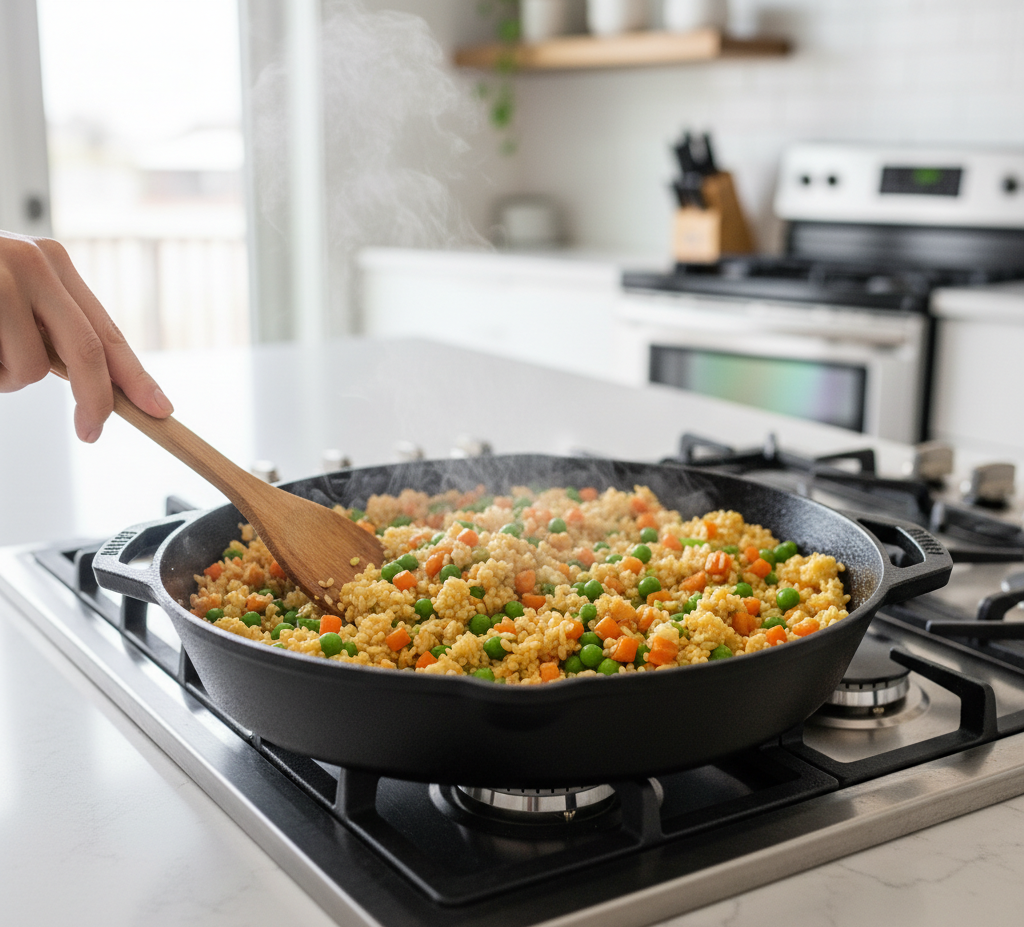
If you’re looking for a dinner that’s fast, flavorful, and packed with lean protein, this High-Protein Honey Garlic Shrimp: An Amazing Ultimate Recipe checks every box. It’s sweet, savory, slightly sticky, and bursting with bold garlic flavor—all while delivering a serious protein boost. Best of all? It’s on the table in about 20 minutes.
Shrimp is naturally high in protein and low in fat, making it a perfect choice for anyone focused on healthy eating, weight management, or muscle-building meals. When paired with a simple honey garlic sauce, it transforms into a restaurant-quality dish that tastes indulgent but fits beautifully into a balanced lifestyle.
Why You’ll Love This High-Protein Honey Garlic Shrimp
This high-protein honey garlic shrimp recipe is more than just quick—it’s incredibly versatile and satisfying.
-
High in lean protein – perfect for fitness-focused meals
-
Ready in 20 minutes – ideal for busy weeknights
-
Sweet and savory balance – honey meets garlic and soy sauce
-
Minimal ingredients – simple pantry staples
-
Meal-prep friendly – reheats beautifully
Unlike heavy cream-based shrimp dishes, this one keeps things light while still delivering bold flavor. It’s a clean-eating dinner that doesn’t feel like “diet food.”
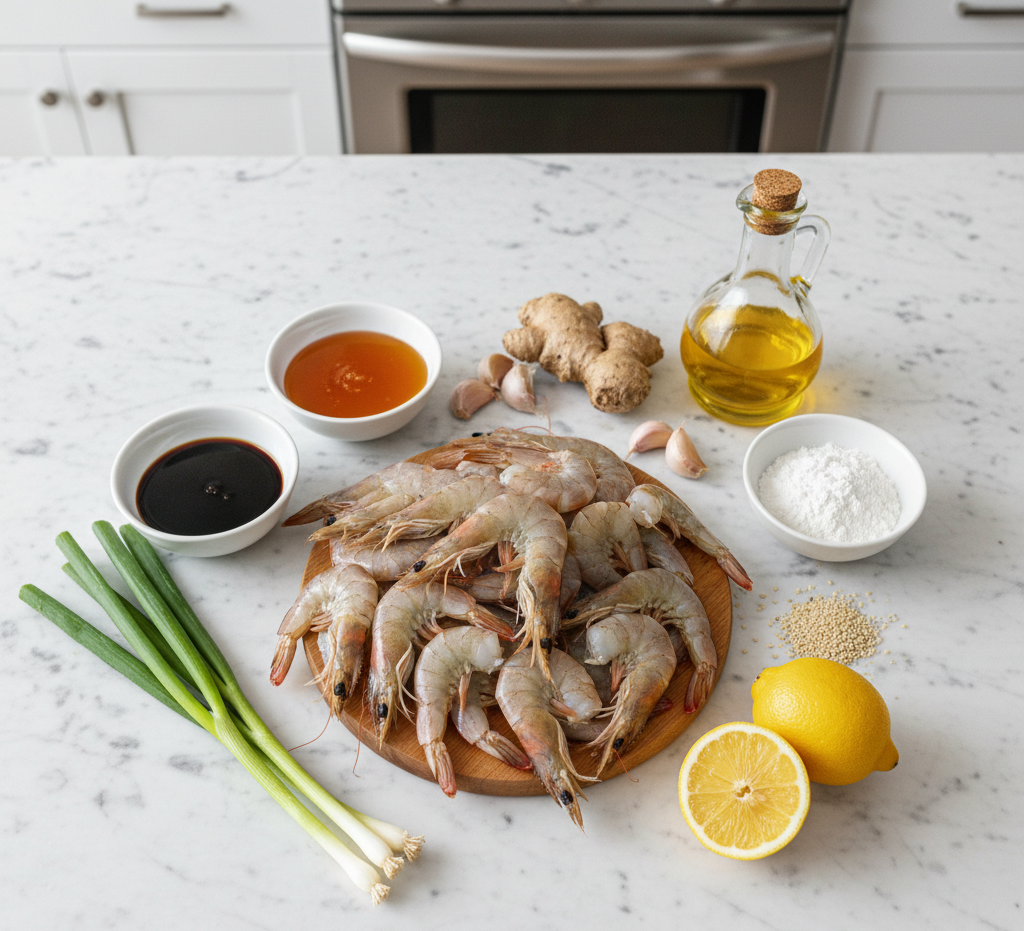
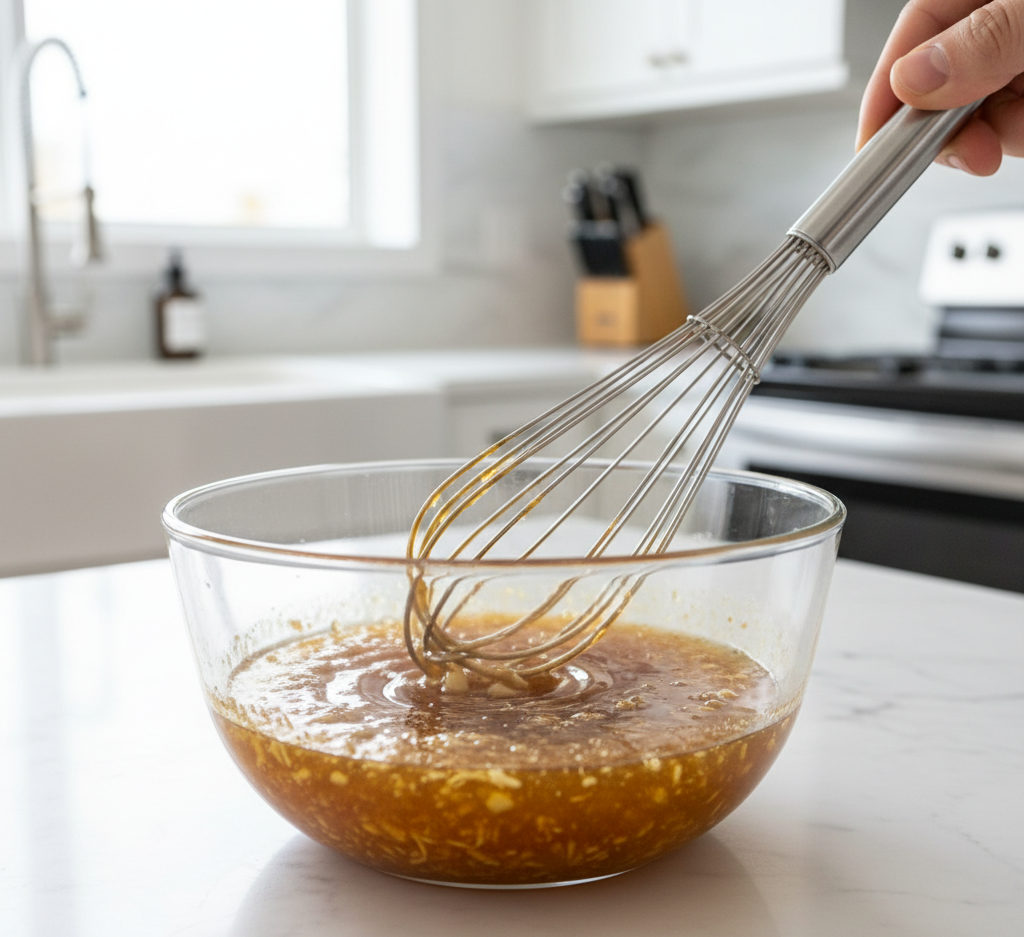
Ingredients for Honey Garlic Shrimp
Here’s everything you need to make this high-protein honey garlic shrimp:
-
1 ½ pounds large shrimp, peeled and deveined
-
3 tablespoons honey
-
3 tablespoons low-sodium soy sauce (or tamari)
-
4 cloves garlic, minced
-
1 tablespoon fresh ginger, grated
-
1 tablespoon olive oil or avocado oil
-
1 teaspoon cornstarch (optional, for thickening)
-
2 tablespoons water (if using cornstarch)
-
1 tablespoon lemon juice
-
Sliced green onions and sesame seeds for garnish
Ingredient Notes & Healthy Swaps
Large shrimp work best for this high-protein honey garlic shrimp recipe because they stay juicy and tender. Fresh or frozen both work—just thaw completely and pat dry before cooking.
For a lower-sugar option, reduce the honey slightly or use a sugar-free honey alternative. Coconut aminos can replace soy sauce for a soy-free or gluten-free variation.
Fresh garlic and ginger are non-negotiable here—they provide the bold, aromatic flavor that makes this dish shine.
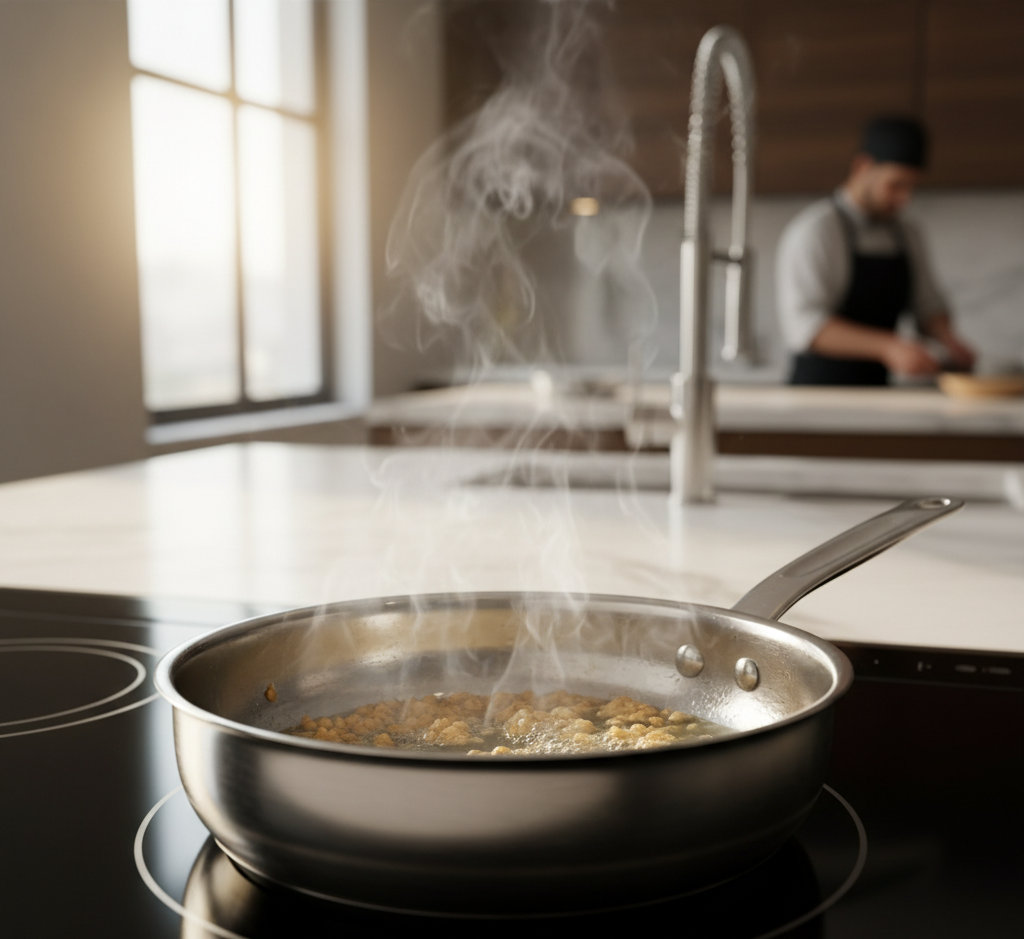
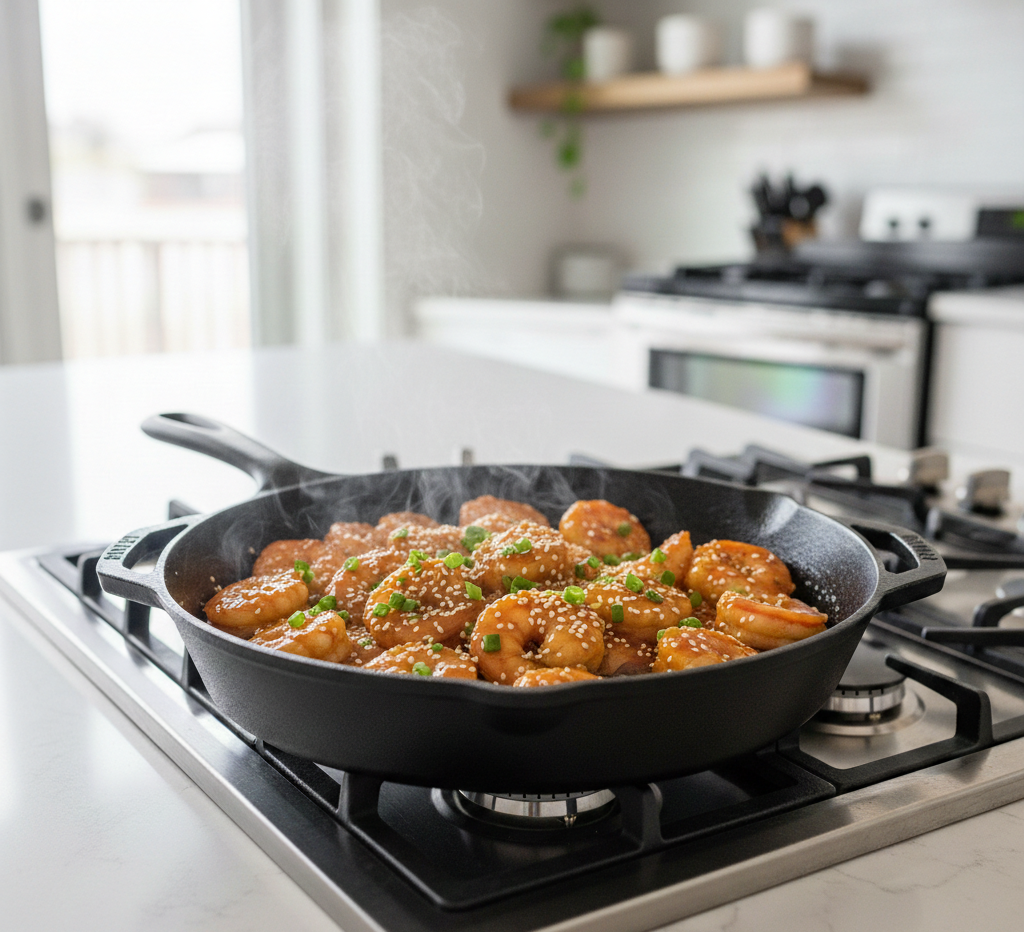
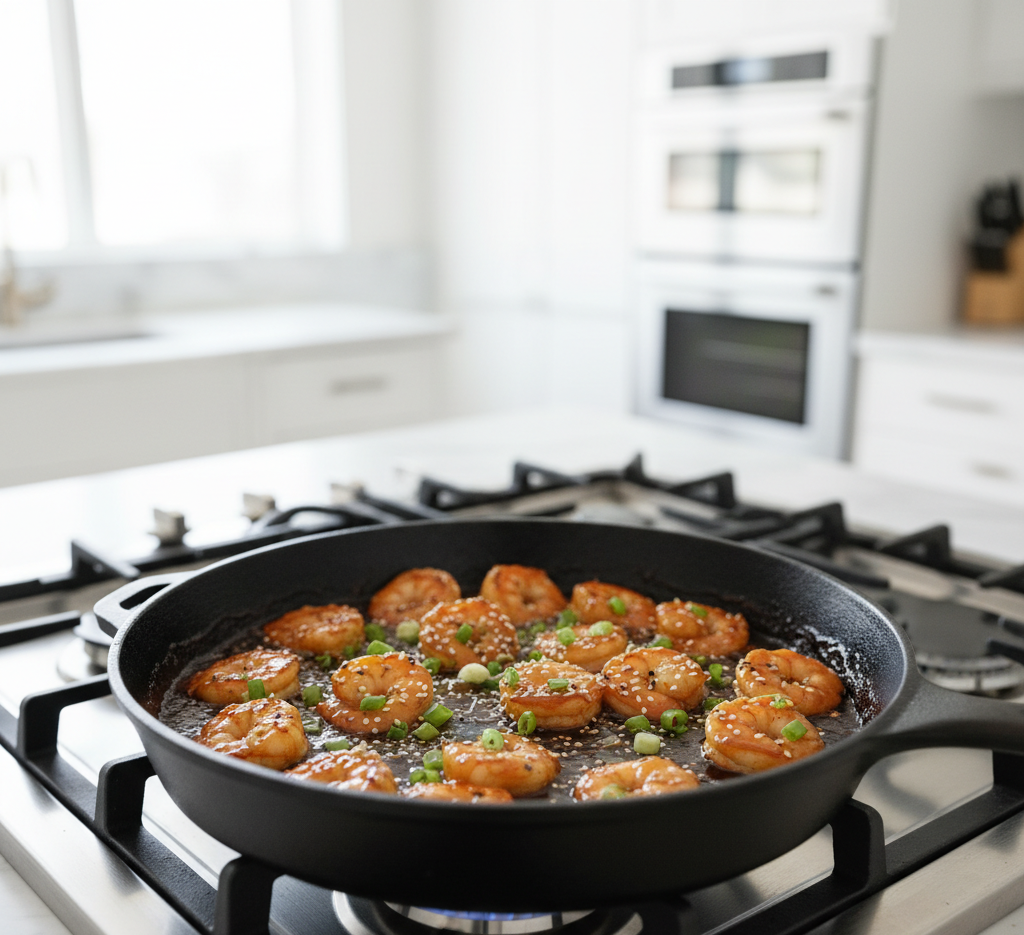
2. Sear the Shrimp
Heat olive oil in a large skillet over medium-high heat. Add shrimp in a single layer and cook for 1–2 minutes per side until pink and opaque. Avoid overcrowding the pan.
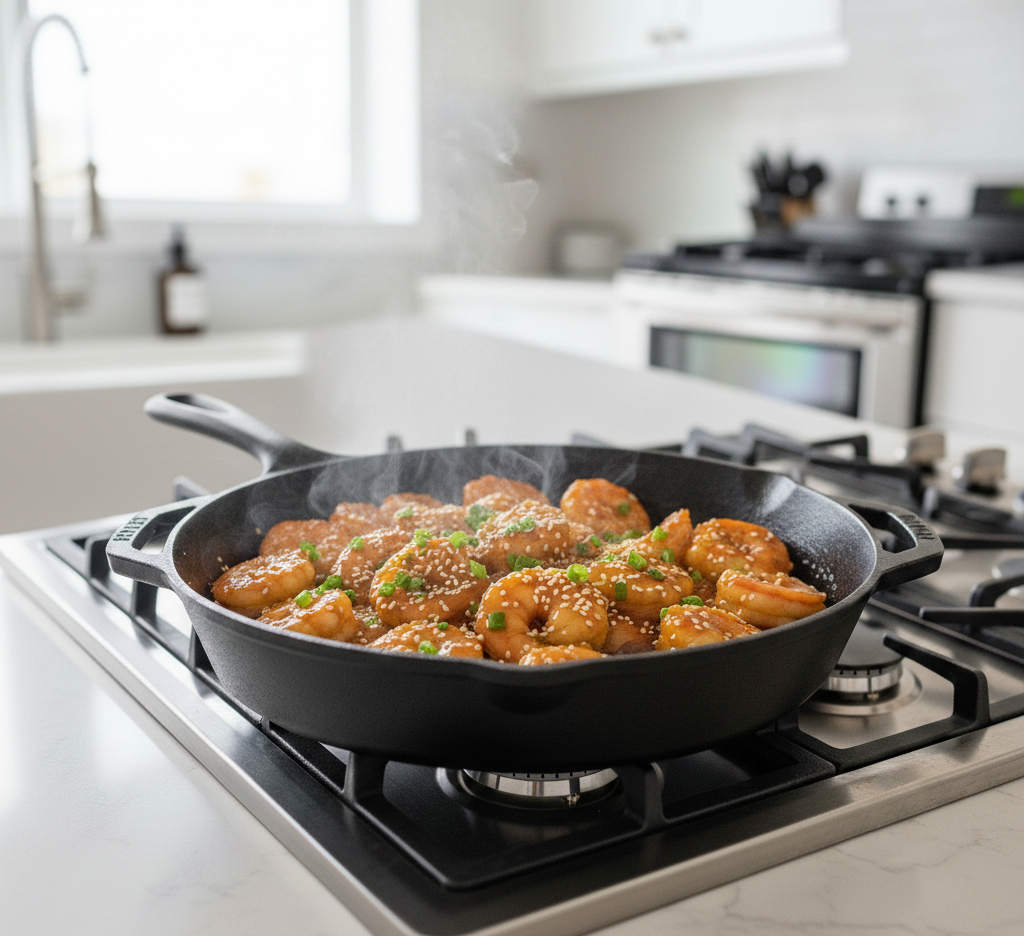
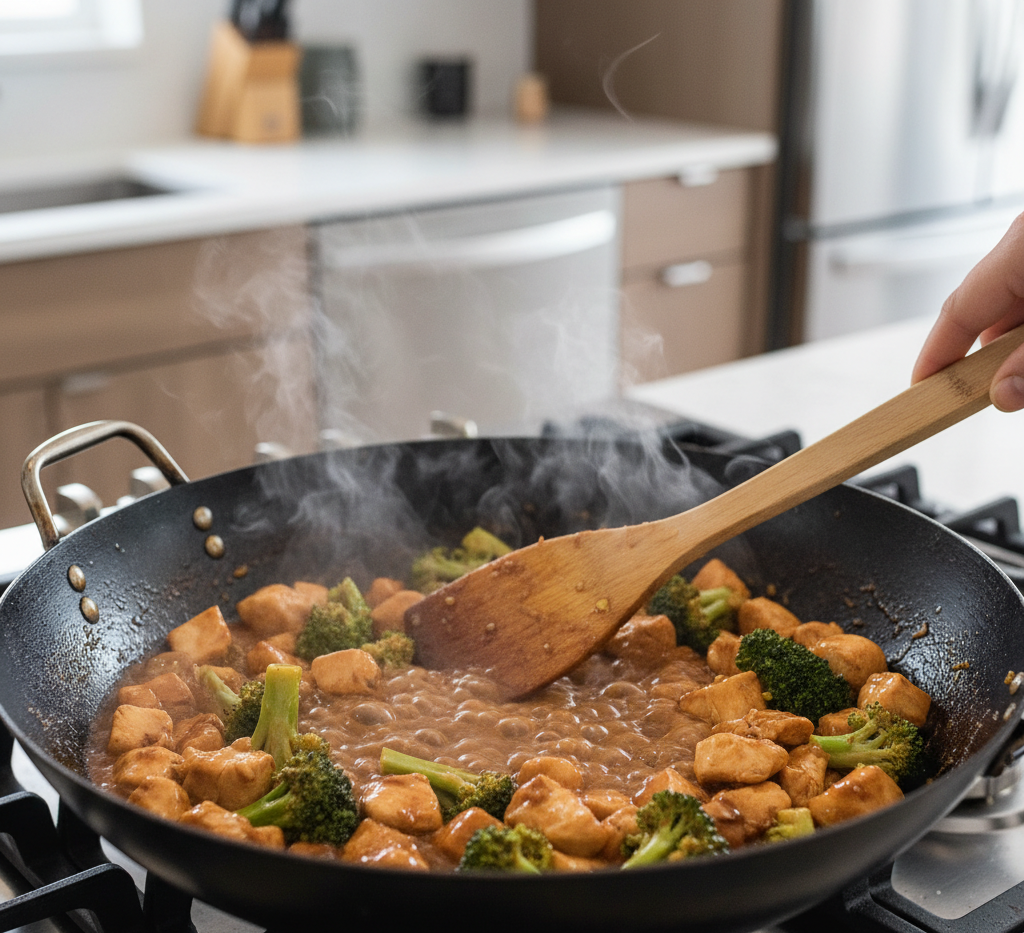
3. Add the Sauce
Pour the honey garlic sauce into the skillet. Cook for 2–3 minutes, allowing the sauce to bubble and slightly thicken. Toss the shrimp to coat evenly in the glaze.
Tips for Perfect High-Protein Honey Garlic Shrimp
-
Pat shrimp dry before cooking for better browning.
-
Cook quickly – shrimp overcook fast and can turn rubbery.
-
Use high heat for a proper sear.
-
Add sauce at the end to prevent burning the honey.
-
Taste and adjust sweetness or saltiness before serving.
Mastering timing is key to achieving tender, juicy shrimp every time.
Delicious Variations
This high-protein honey garlic shrimp recipe is incredibly adaptable.
Spicy Honey Garlic Shrimp
Add red pepper flakes or sriracha for heat.
Honey Garlic Shrimp Stir-Fry
Toss in broccoli, bell peppers, or snap peas for extra fiber.
Air Fryer Version
Cook shrimp at 400°F for 6–8 minutes, then toss in warmed sauce.
Meal Prep Bowls
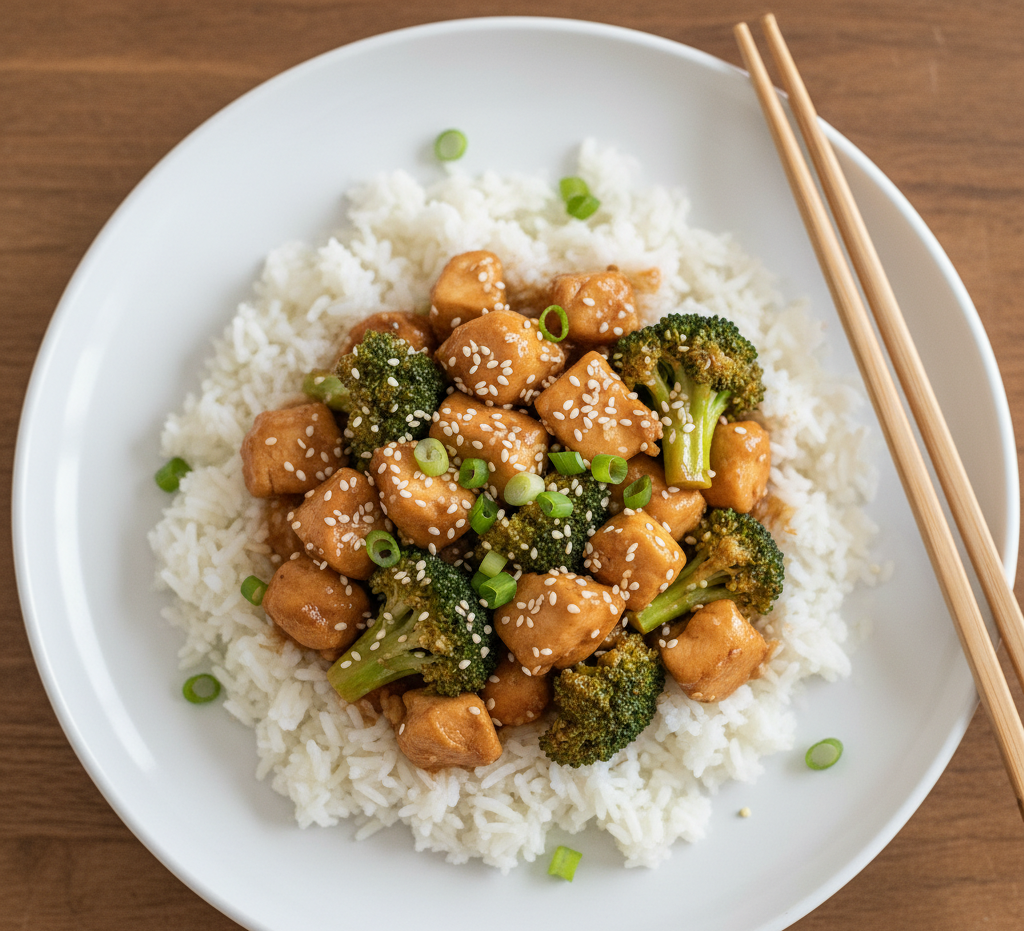
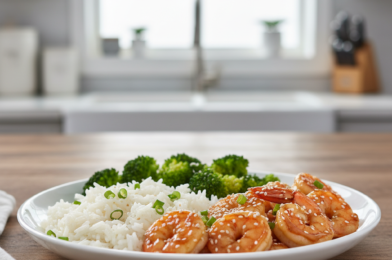
Serve over brown rice, quinoa, or cauliflower rice with steamed veggies.
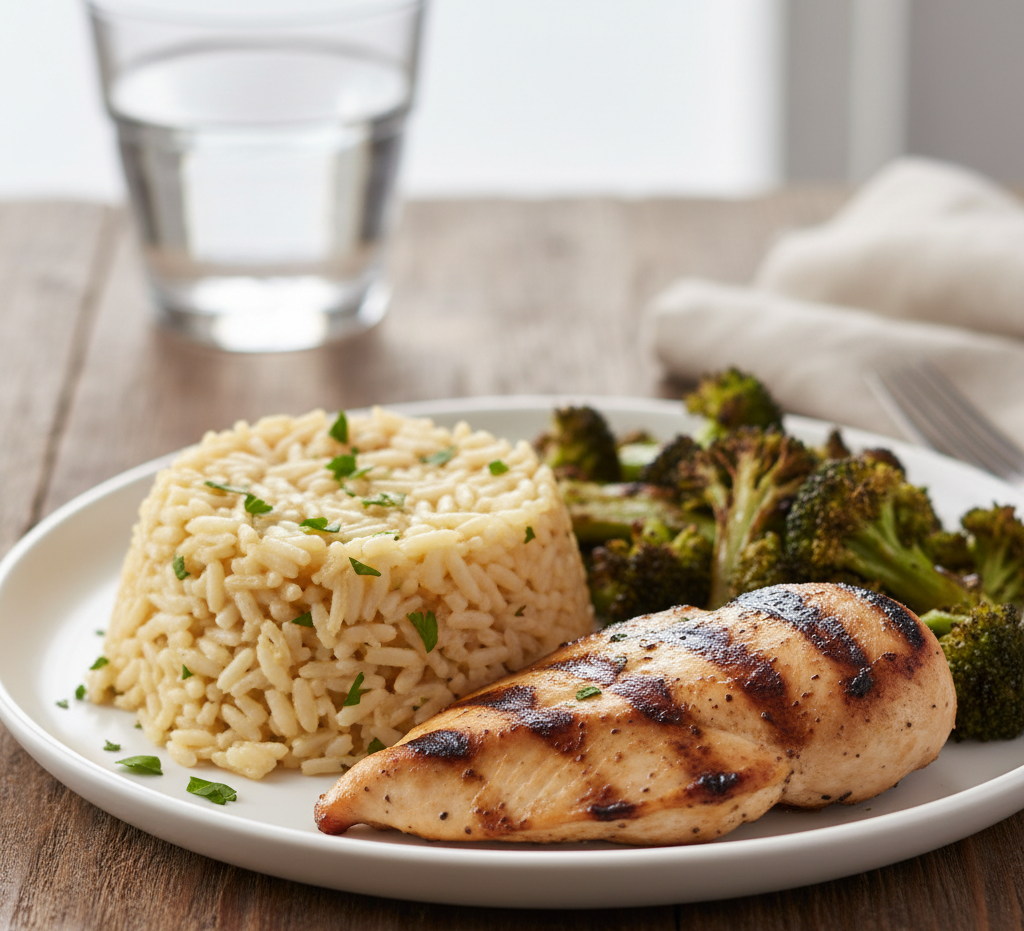
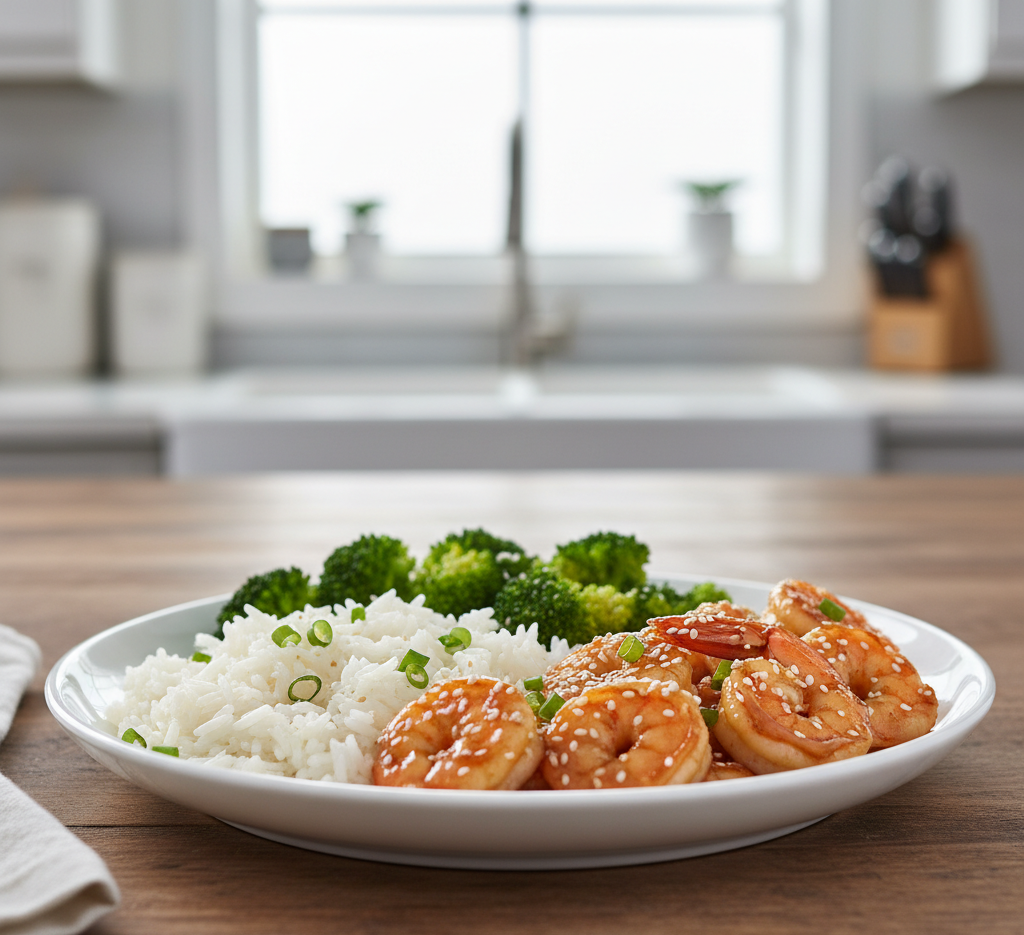
What to Serve with Honey Garlic Shrimp
This dish pairs beautifully with a variety of sides:
-
Steamed jasmine or basmati rice
-
Garlic butter noodles
-
Stir-fried vegetables
-
Fresh cucumber salad
-
Cauliflower rice for low-carb option
Storage & Reheating Tips
Store leftover high-protein honey garlic shrimp in an airtight container in the refrigerator for up to 3 days.
To reheat:
-
Warm gently in a skillet over medium heat.
-
Microwave in 30-second intervals to avoid overcooking.
Avoid freezing after cooking, as shrimp texture can change significantly.
Common Mistakes to Avoid
Even simple shrimp recipes can go wrong. Watch out for:
-
Overcooking the shrimp
-
Using too much honey (overly sweet sauce)
-
Not drying shrimp before searing
-
Burning garlic by cooking it too long
Cooking shrimp quickly and confidently ensures restaurant-quality results.
Frequently Asked Questions
1. Is honey garlic shrimp high in protein?
Yes! Shrimp is naturally high in lean protein, making this a great muscle-friendly meal.
2. Can I use frozen shrimp?
Absolutely. Just thaw completely and pat dry before cooking.
3. How do I know when shrimp are done?
They turn pink and opaque with a slight “C” shape. If tightly curled, they’re overcooked.
4. Can I meal prep this recipe?
Yes! It works great in rice bowls for 2–3 days of healthy lunches.
5. Is this recipe gluten-free?
Use tamari or coconut aminos instead of soy sauce to keep it gluten-free.
Final Thoughts
This High-Protein Honey Garlic Shrimp: An Amazing Ultimate Recipe delivers bold flavor, clean ingredients, and impressive nutrition all in one skillet. It’s proof that healthy meals don’t have to be boring or complicated.
Whether you’re fueling your fitness goals, cooking a quick family dinner, or meal prepping for the week ahead, this high-protein honey garlic shrimp will quickly earn a permanent spot in your recipe rotation. Once you try it, you’ll see why it truly deserves the title of “ultimate.”