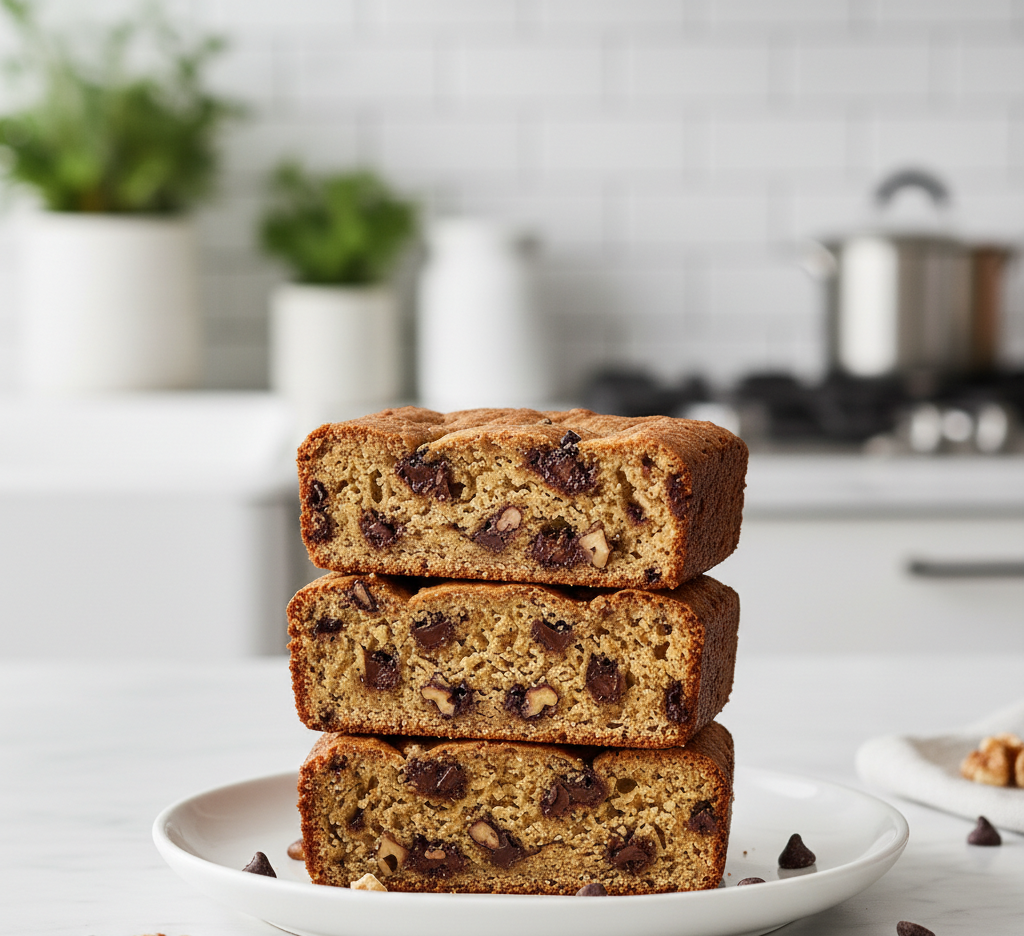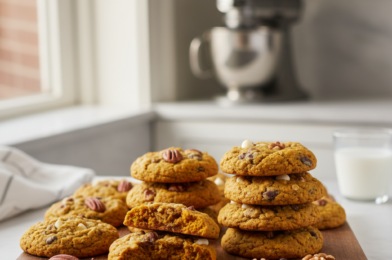
When fall rolls around and pumpkin season hits full swing, there’s nothing better than baking a batch of Soft & Chewy Pumpkin Chocolate Chip Oatmeal Cookies. These cookies are everything you crave in an autumn treat — warmly spiced, incredibly moist, studded with melty chocolate chips, and finished with hearty oats for the perfect chewy texture.
As a longtime home baker and food blogger, I can confidently say these pumpkin chocolate chip oatmeal cookies strike the ideal balance between cozy and indulgent. They’re soft in the center, slightly chewy around the edges, and packed with rich pumpkin flavor without being cakey. Whether you’re baking for a fall gathering, packing lunchbox treats, or simply craving a homemade dessert, this recipe delivers bakery-quality results every time.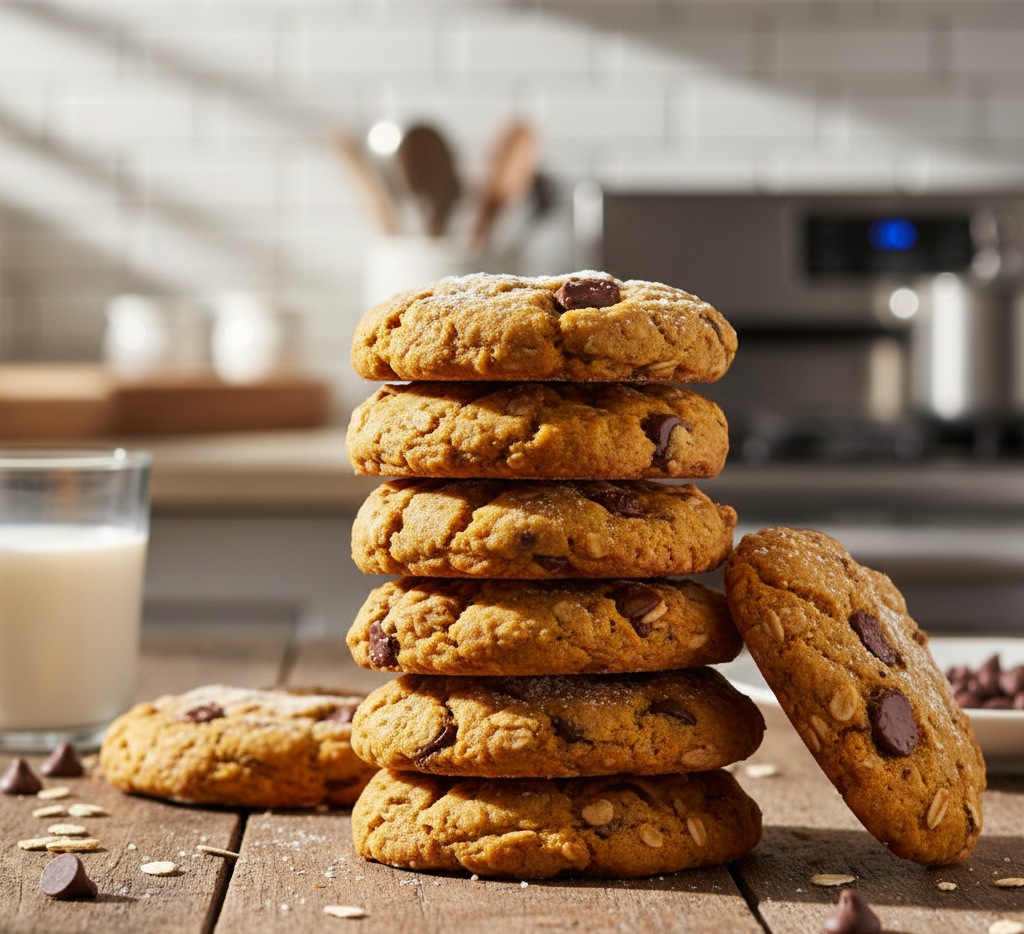
Why You’ll Love These Pumpkin Chocolate Chip Oatmeal Cookies
There are plenty of pumpkin cookie recipes out there, but these Soft & Chewy Pumpkin Chocolate Chip Oatmeal Cookies truly stand out. They combine the best features of classic oatmeal cookies and pumpkin chocolate chip cookies into one irresistible bite.
Here’s why you’ll fall in love with them:
-
Ultra soft and chewy texture
-
Perfectly spiced with warm fall flavors
-
Loaded with semi-sweet chocolate chips
-
Easy to make in under 30 minutes
-
Great for make-ahead and freezing
These cookies are ideal for holiday baking, Thanksgiving dessert tables, or cozy weekend baking sessions.
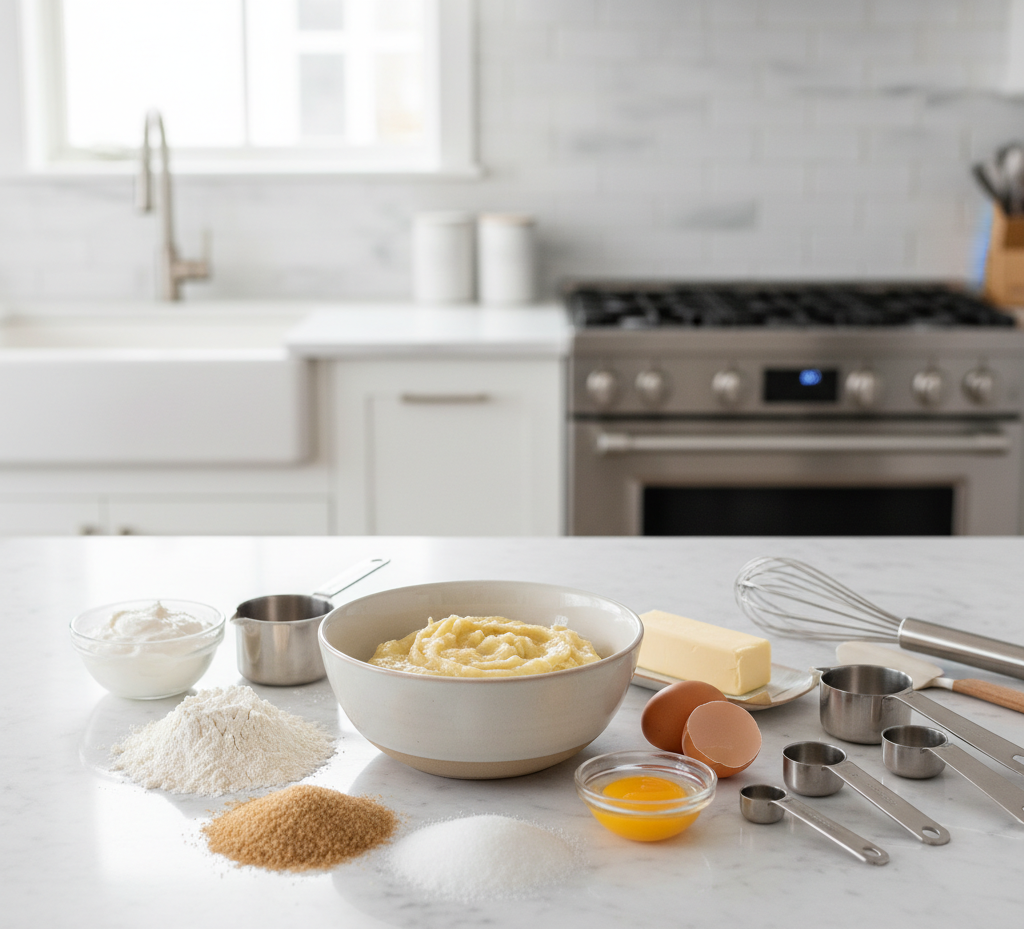
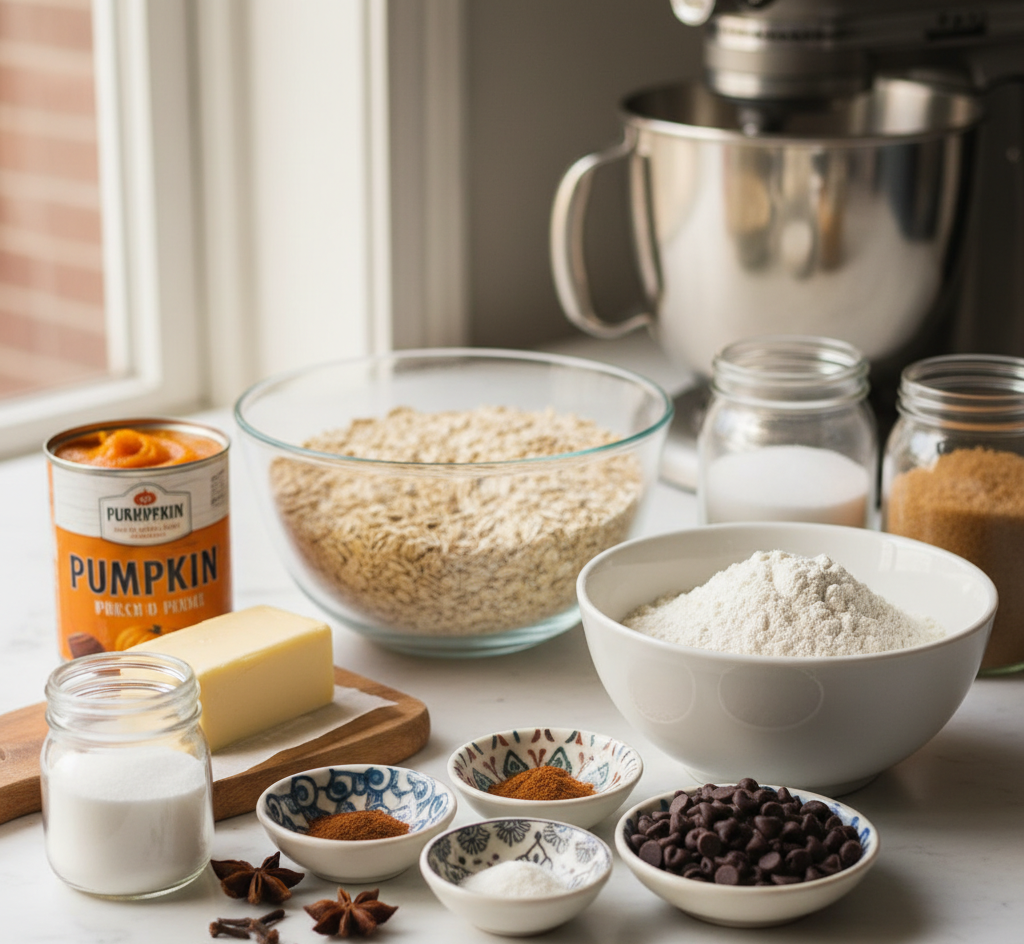
Ingredients for Soft & Chewy Pumpkin Chocolate Chip Oatmeal Cookies
To make these delicious fall cookies, you’ll need:
-
1 cup canned pumpkin puree (not pumpkin pie filling)
-
½ cup unsalted butter, softened
-
¾ cup brown sugar
-
¼ cup granulated sugar
-
1 large egg yolk
-
1 teaspoon vanilla extract
-
1 ½ cups old-fashioned rolled oats
-
1 cup all-purpose flour
-
1 teaspoon baking soda
-
½ teaspoon baking powder
-
1 ½ teaspoons pumpkin pie spice
-
½ teaspoon cinnamon
-
¼ teaspoon salt
-
1 cup semi-sweet chocolate chips
Ingredient Notes for the Best Texture
Use Pumpkin Puree, Not Pie Filling
Pumpkin puree gives these Soft & Chewy Pumpkin Chocolate Chip Oatmeal Cookies their signature moisture. Avoid pumpkin pie filling, which contains added sugar and spices.
Blot the Pumpkin for Chewiness
For extra chewy cookies, gently blot the pumpkin puree with paper towels to remove excess moisture. This helps prevent a cakey texture.
Choose Old-Fashioned Oats
Old-fashioned rolled oats create that hearty chew. Quick oats can make the texture too soft.
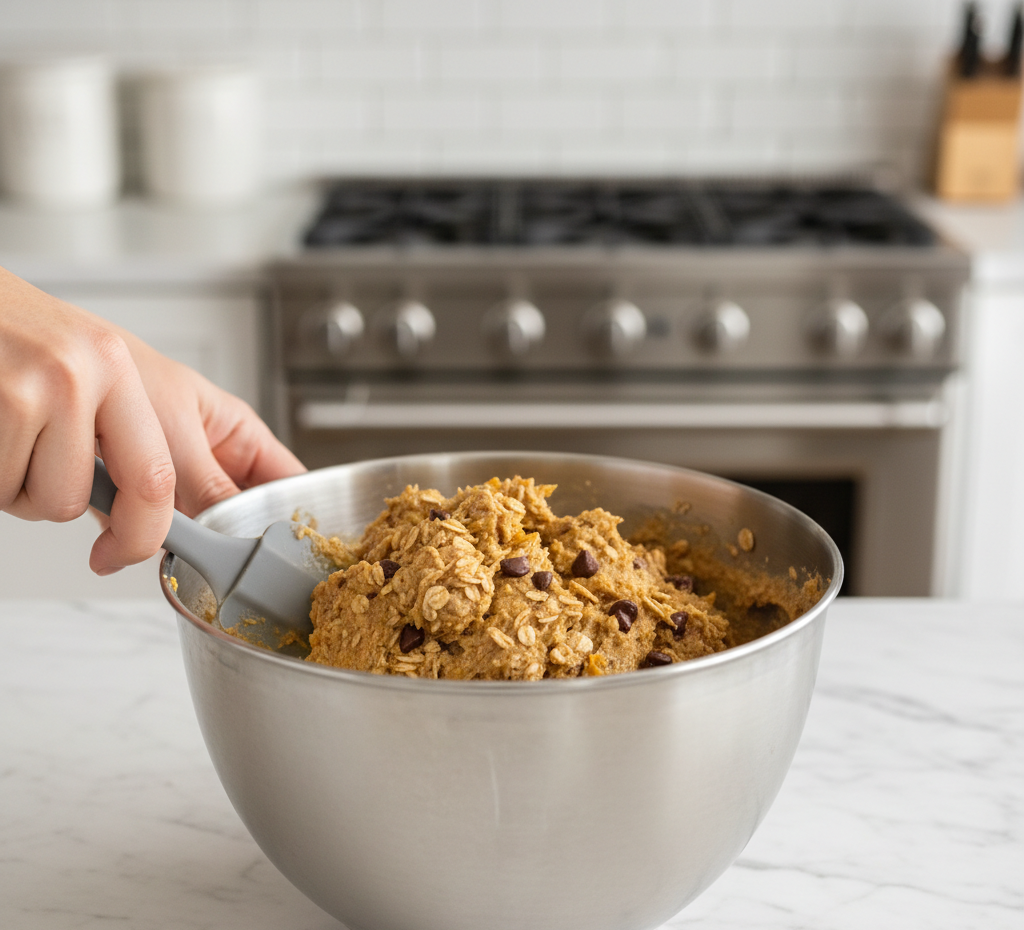
Step-by-Step Instructions
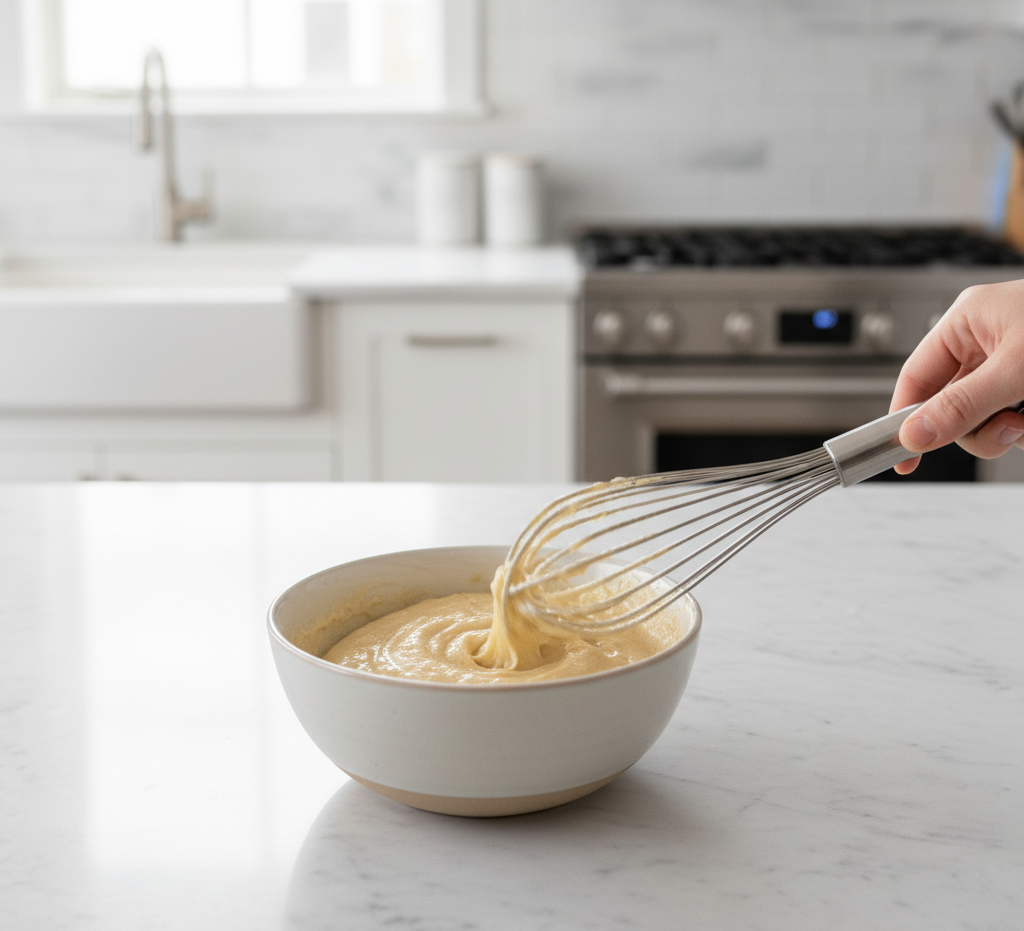
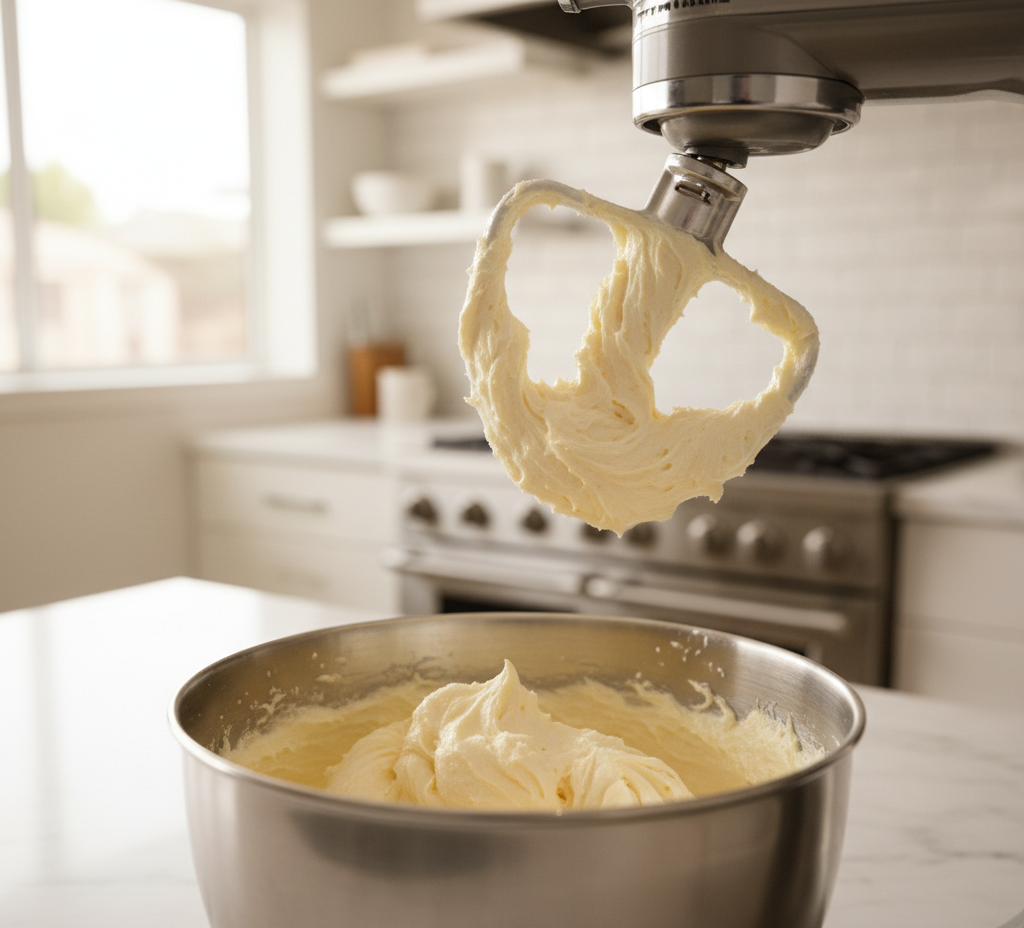
1. Cream Butter and Sugars
In a large mixing bowl, cream together softened butter, brown sugar, and granulated sugar until light and fluffy. This step creates the foundation for soft pumpkin chocolate chip oatmeal cookies.
2. Add Pumpkin and Wet Ingredients
Mix in the pumpkin puree, egg yolk, and vanilla extract until smooth and well combined.
3. Combine Dry Ingredients
In a separate bowl, whisk together flour, oats, baking soda, baking powder, pumpkin pie spice, cinnamon, and salt.
Gradually add dry ingredients to the wet mixture, stirring until just combined.
4. Fold in Chocolate Chips
Gently fold in the chocolate chips. Avoid overmixing to keep the cookies tender.
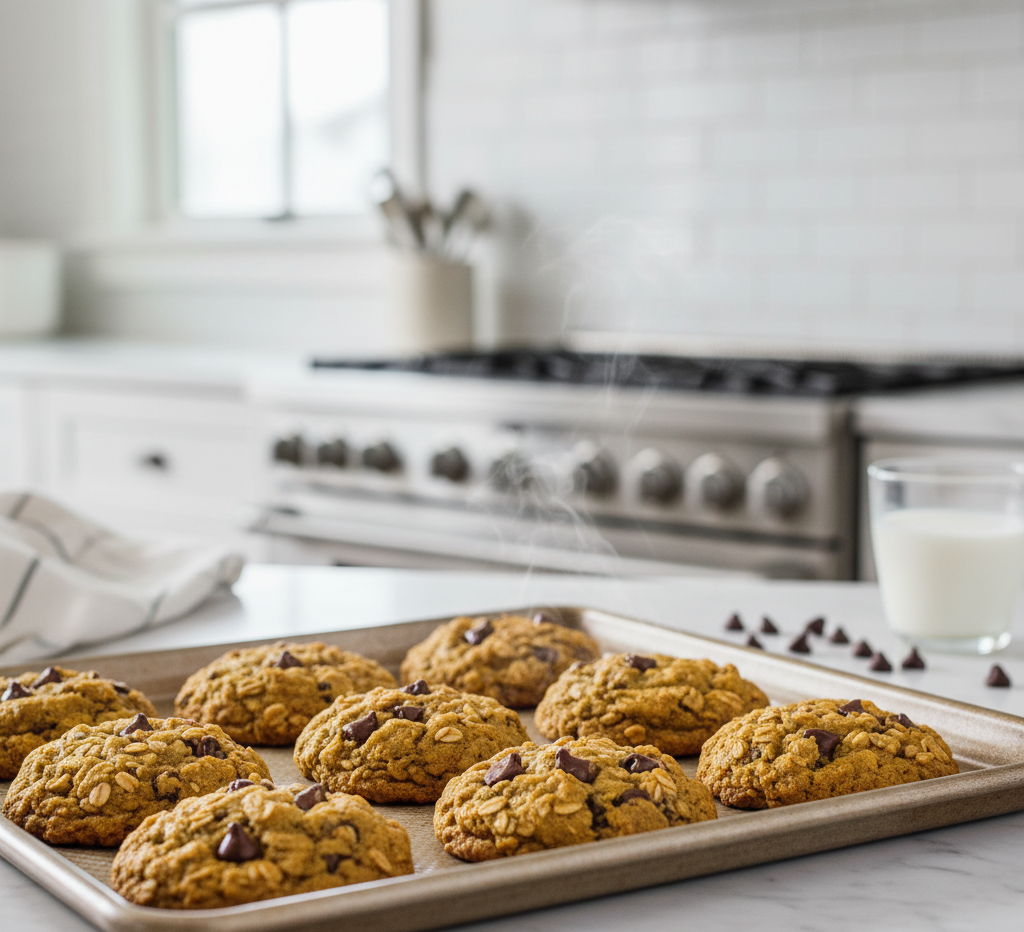
5. Bake to Soft Perfection
Preheat oven to 350°F. Scoop dough onto a lined baking sheet, spacing about 2 inches apart. Bake for 10–12 minutes, until edges are set but centers look slightly soft.
Let cool on the baking sheet for 5 minutes before transferring to a wire rack.
Tips for Perfect Soft & Chewy Pumpkin Chocolate Chip Oatmeal Cookies
-
Don’t overbake — slightly underbaked centers ensure softness.
-
Chill the dough for 30 minutes if you prefer thicker cookies.
-
Use room-temperature butter for proper creaming.
-
Measure flour correctly using spoon-and-level method.
-
Store with a slice of bread to maintain moisture.
Following these tips guarantees that your pumpkin chocolate chip oatmeal cookies stay soft and chewy for days.
Delicious Variations
These cookies are incredibly versatile. Try these fun twists:
Nutty Pumpkin Cookies
Add:
-
½ cup chopped pecans
-
½ cup walnuts
Dark Chocolate Upgrade
Swap semi-sweet chips for dark chocolate chunks.
White Chocolate Cranberry Version
Use white chocolate chips and dried cranberries for a festive touch.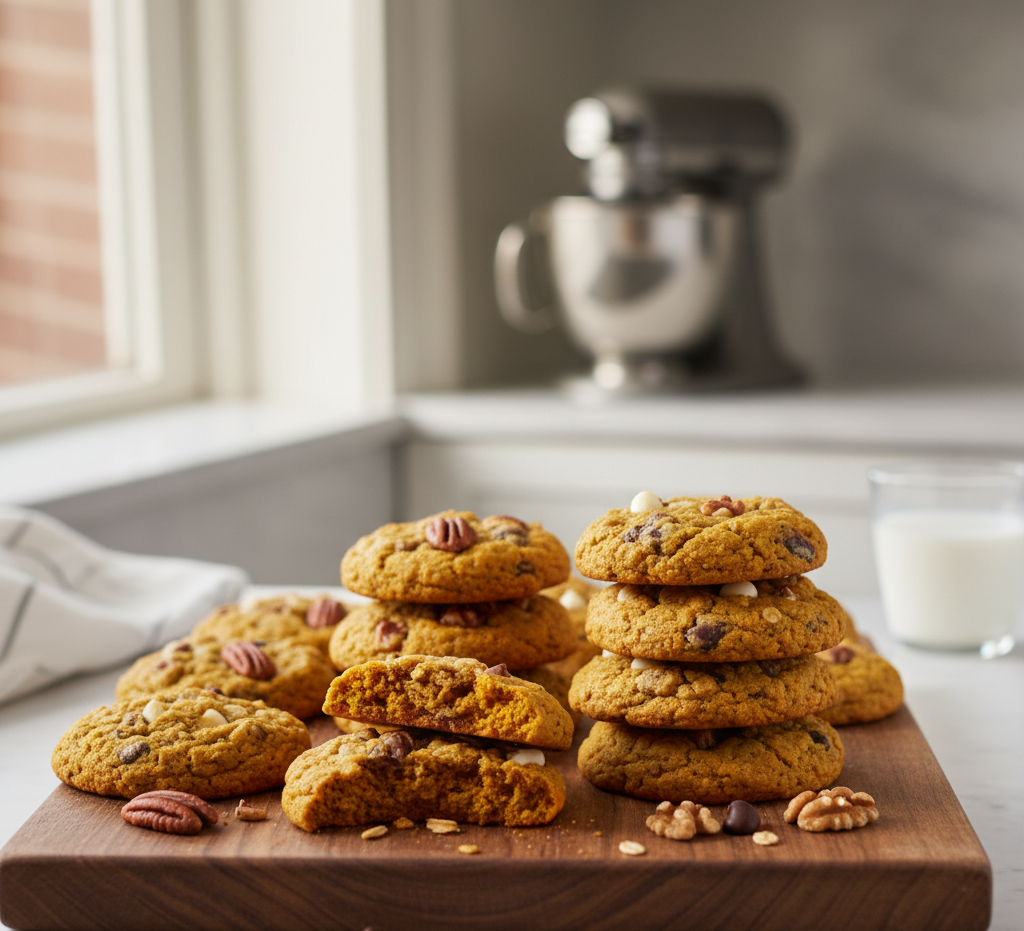
What to Serve With Pumpkin Chocolate Chip Oatmeal Cookies
These cookies pair beautifully with:
-
Hot apple cider
-
Pumpkin spice latte
-
Cold milk
-
Chai tea
-
Vanilla ice cream
For an extra indulgent dessert, turn them into ice cream sandwiches.
Storage & Freezing Tips
Store Soft & Chewy Pumpkin Chocolate Chip Oatmeal Cookies in an airtight container at room temperature for up to 5 days.
Freezing options:
-
Freeze baked cookies for up to 2 months.
-
Freeze dough balls and bake straight from frozen (add 1–2 minutes to bake time).
Proper storage keeps these pumpkin oatmeal cookies soft and delicious.
Common Mistakes to Avoid
-
Using too much pumpkin — leads to cakey cookies.
-
Overmixing dough — makes cookies tough.
-
Skipping blotting step — affects texture.
-
Overbaking — dries them out quickly.
Pay attention to these details for consistently perfect results.
Frequently Asked Questions
1. Why are my pumpkin cookies cakey?
Too much moisture from pumpkin puree can cause a cake-like texture. Blot excess moisture for chewiness.
2. Can I make these gluten-free?
Yes! Use a 1:1 gluten-free flour blend and certified gluten-free oats.
3. Do I need to chill the dough?
Not required, but chilling helps create thicker cookies.
4. Can I use quick oats instead of rolled oats?
You can, but the texture will be softer and less chewy.
5. Can I double this recipe?
Absolutely. These Soft & Chewy Pumpkin Chocolate Chip Oatmeal Cookies are perfect for batch baking.
Final Thoughts
These Soft & Chewy Pumpkin Chocolate Chip Oatmeal Cookies capture everything we love about fall baking. Warm spices, hearty oats, rich chocolate chips, and that irresistible pumpkin flavor come together in a cookie that’s comforting, nostalgic, and absolutely delicious.
Whether you’re baking for a holiday gathering or simply embracing pumpkin season, this recipe is guaranteed to become a favorite. Soft, chewy, and loaded with flavor — these pumpkin chocolate chip oatmeal cookies truly deliver on every level.
Bake a batch once, and you’ll find yourself making them all season long. 🍂🍪✨